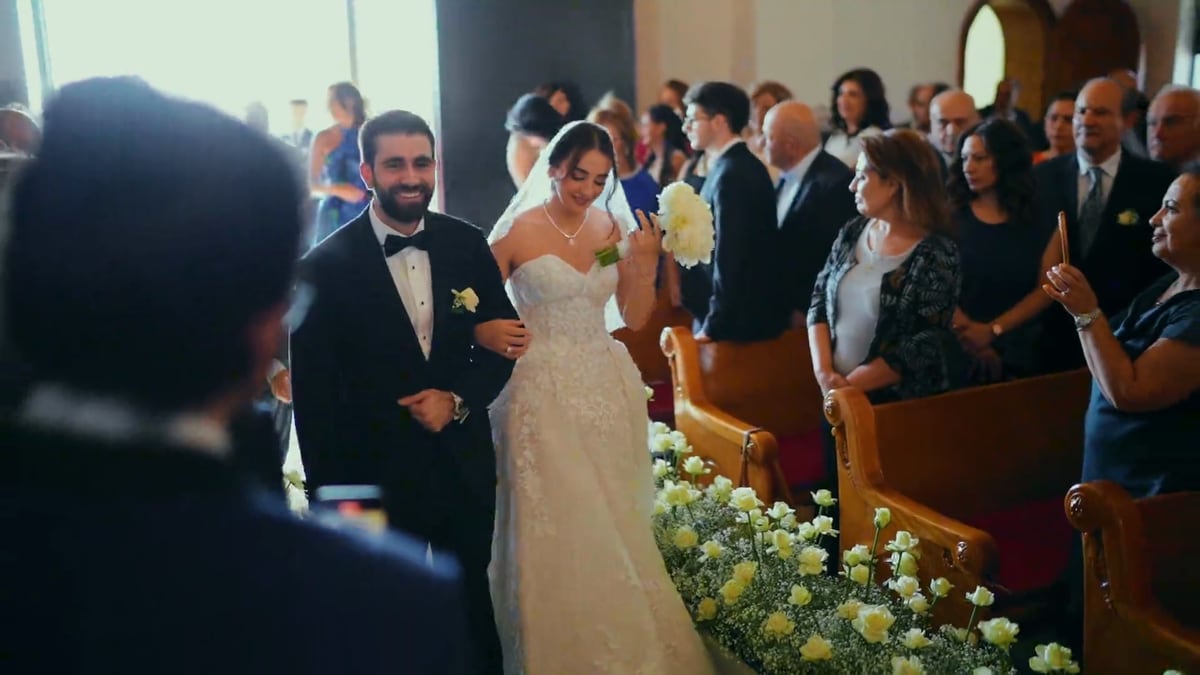
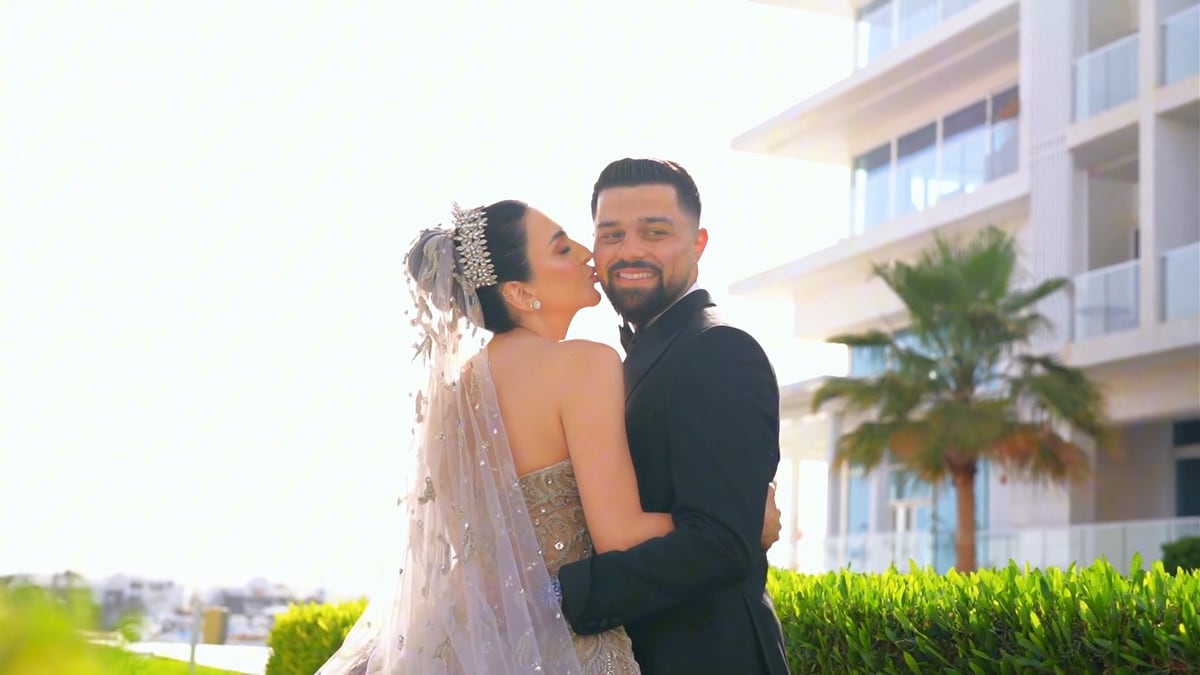
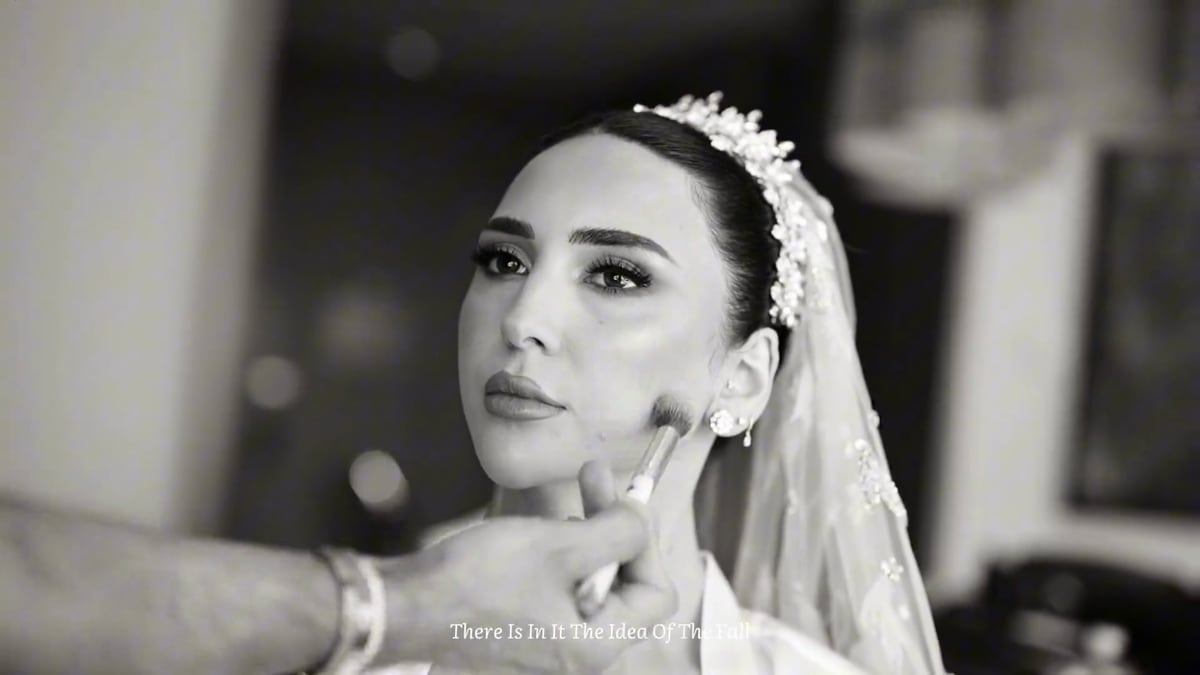
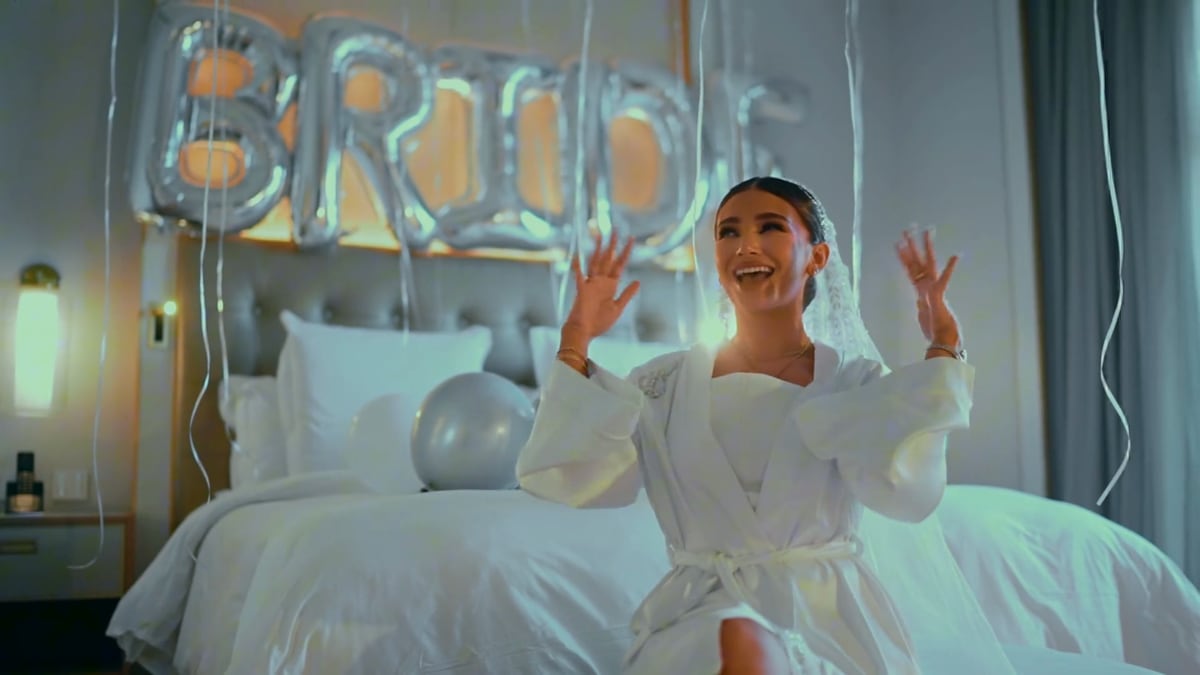
Selected work

Weddings, brands & evenings.

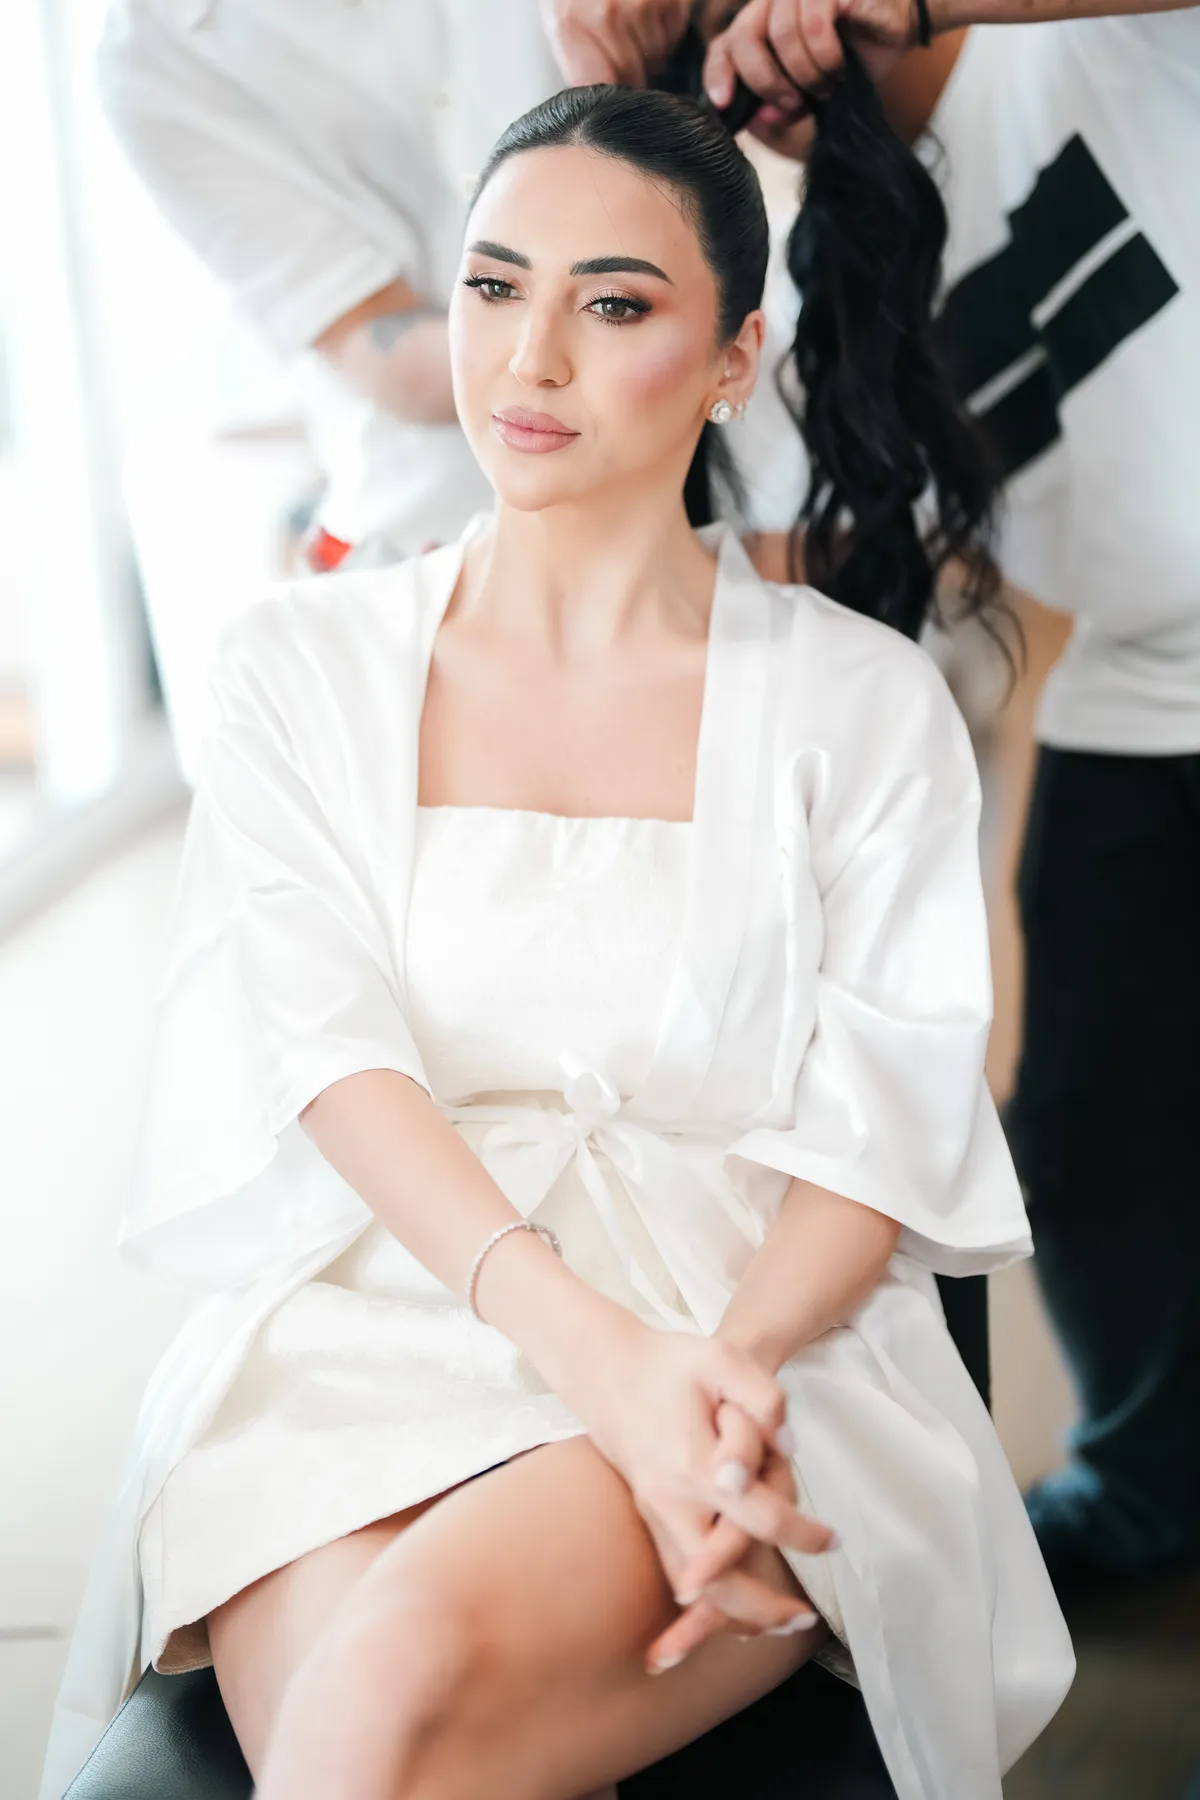
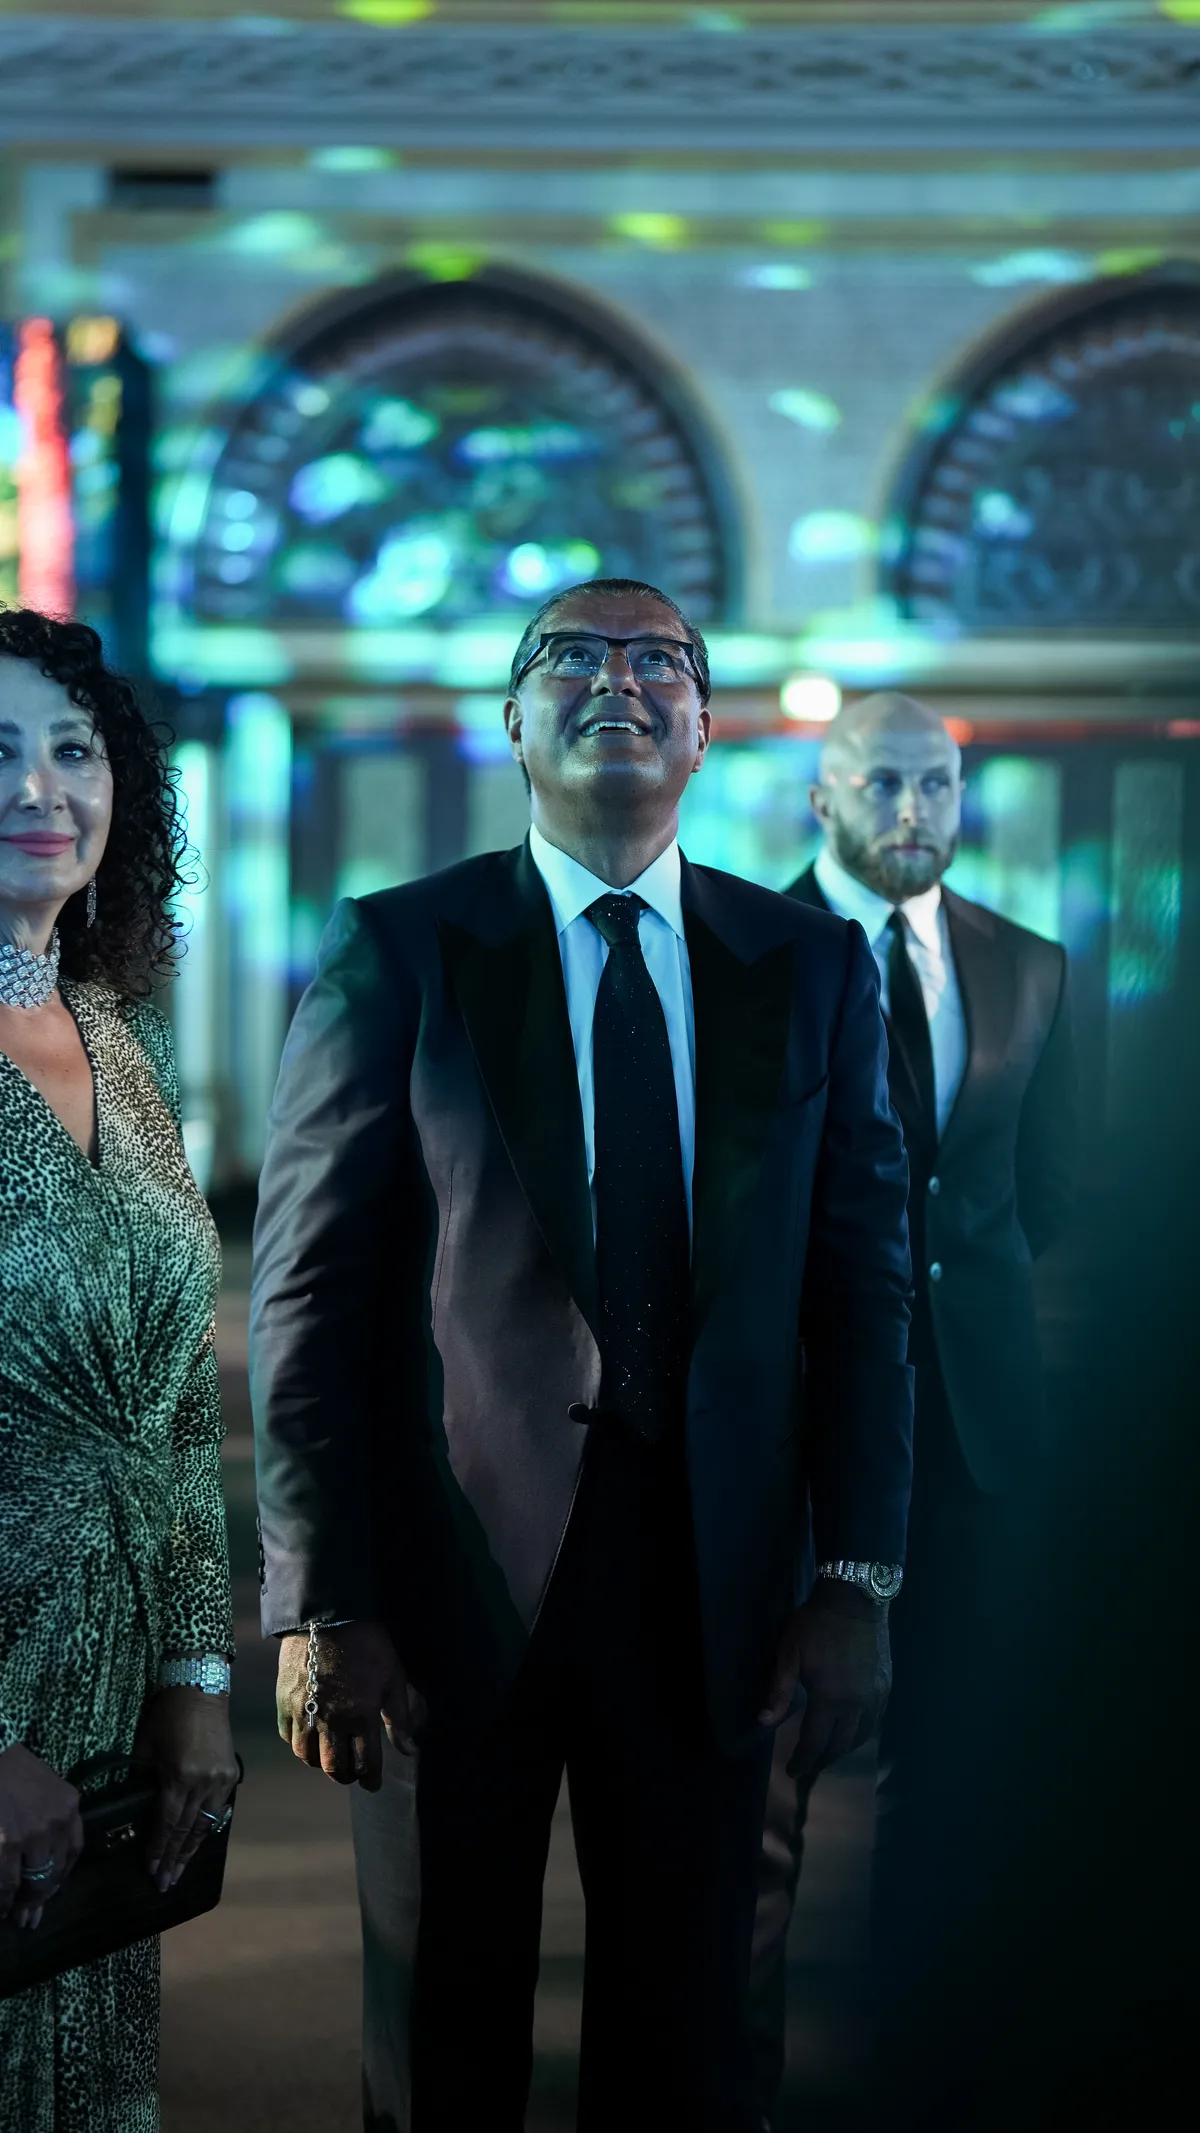
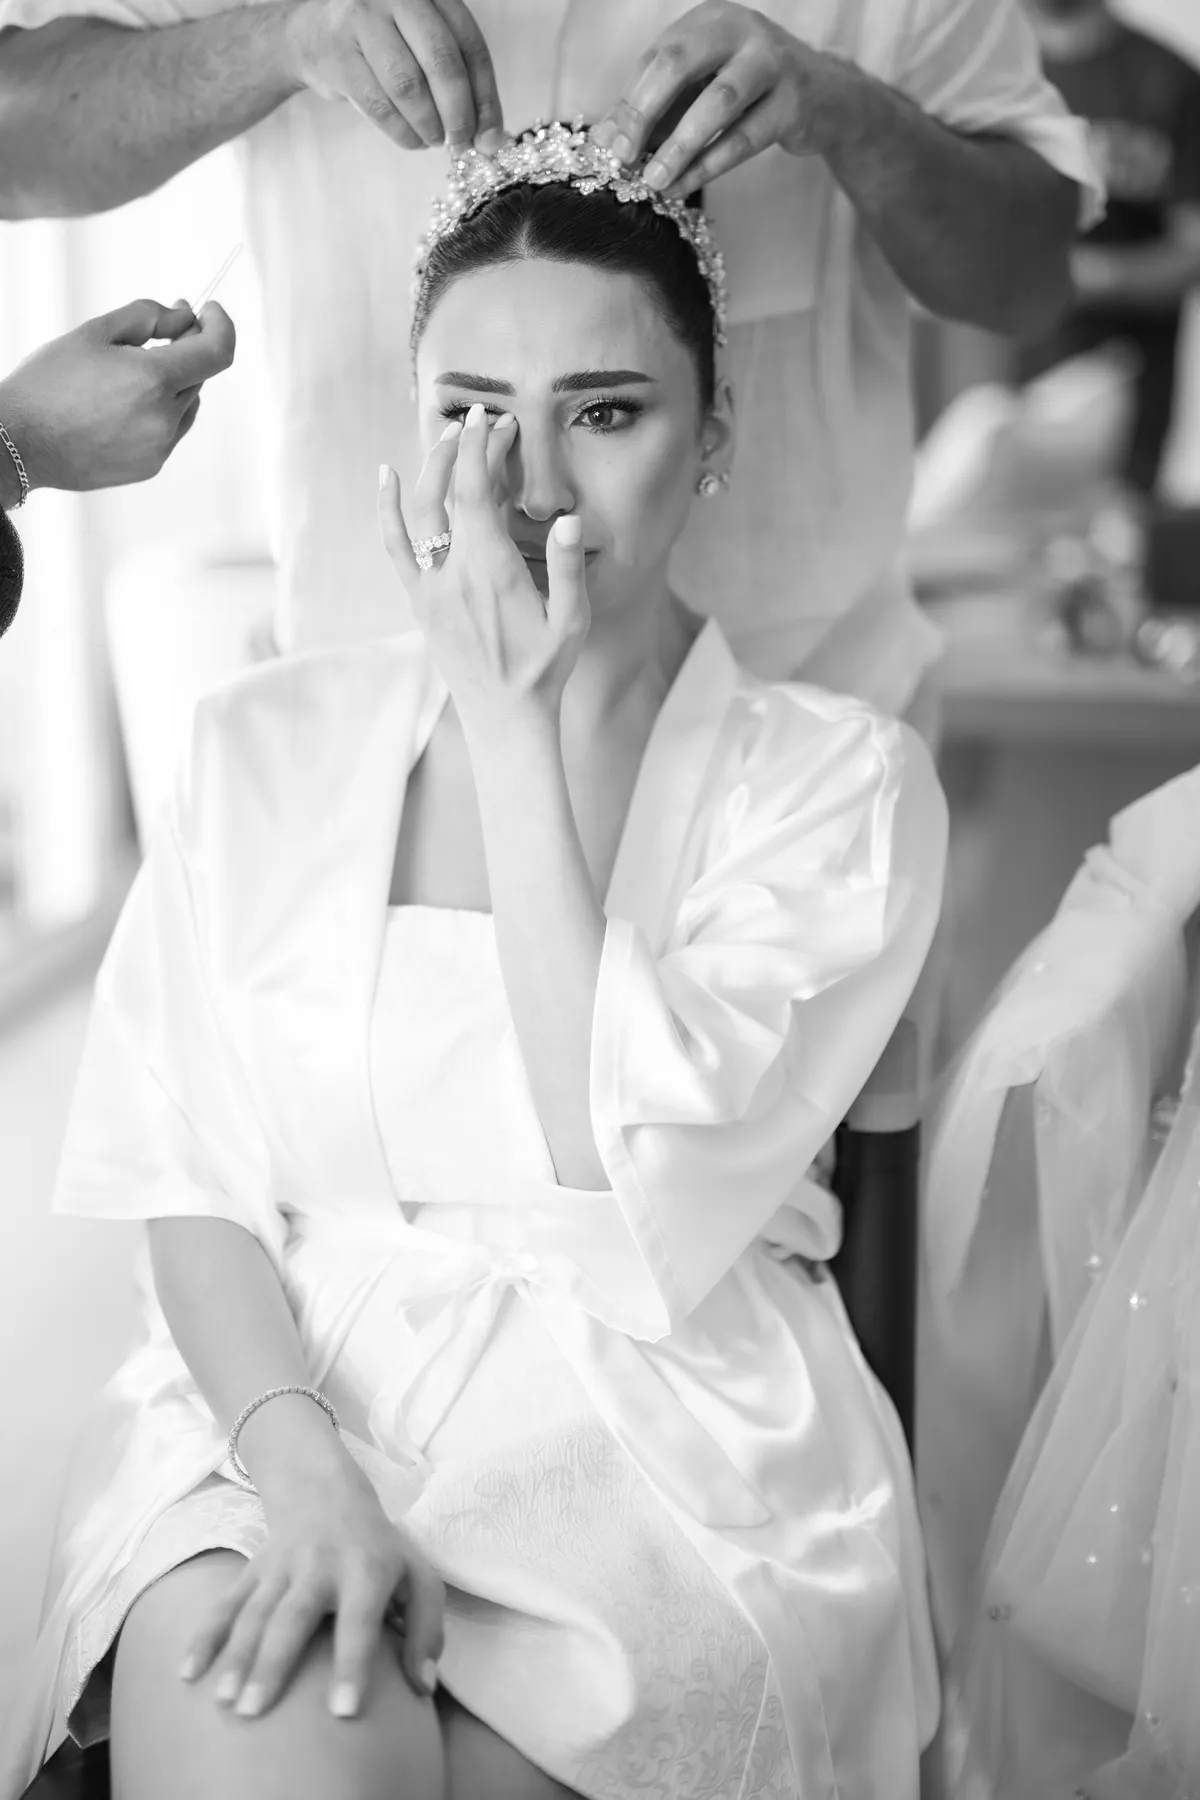
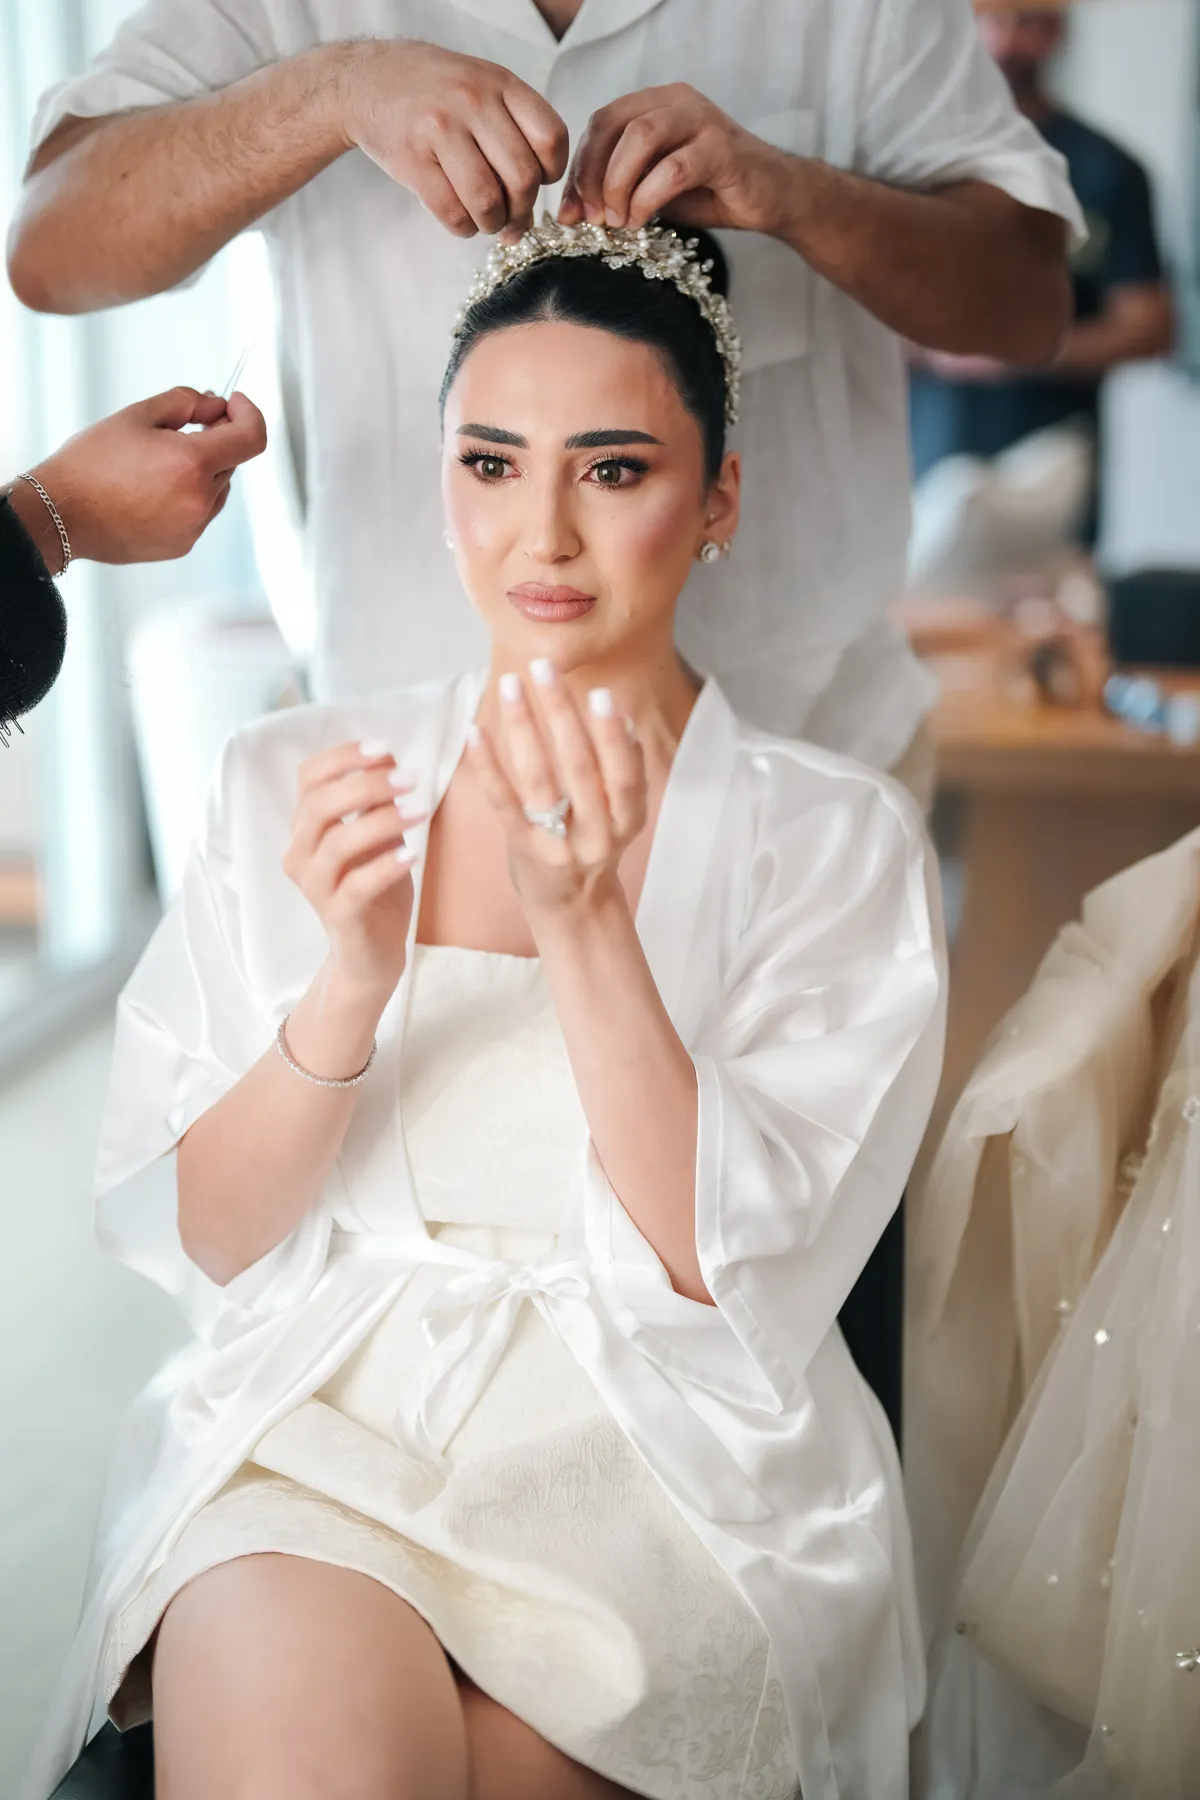
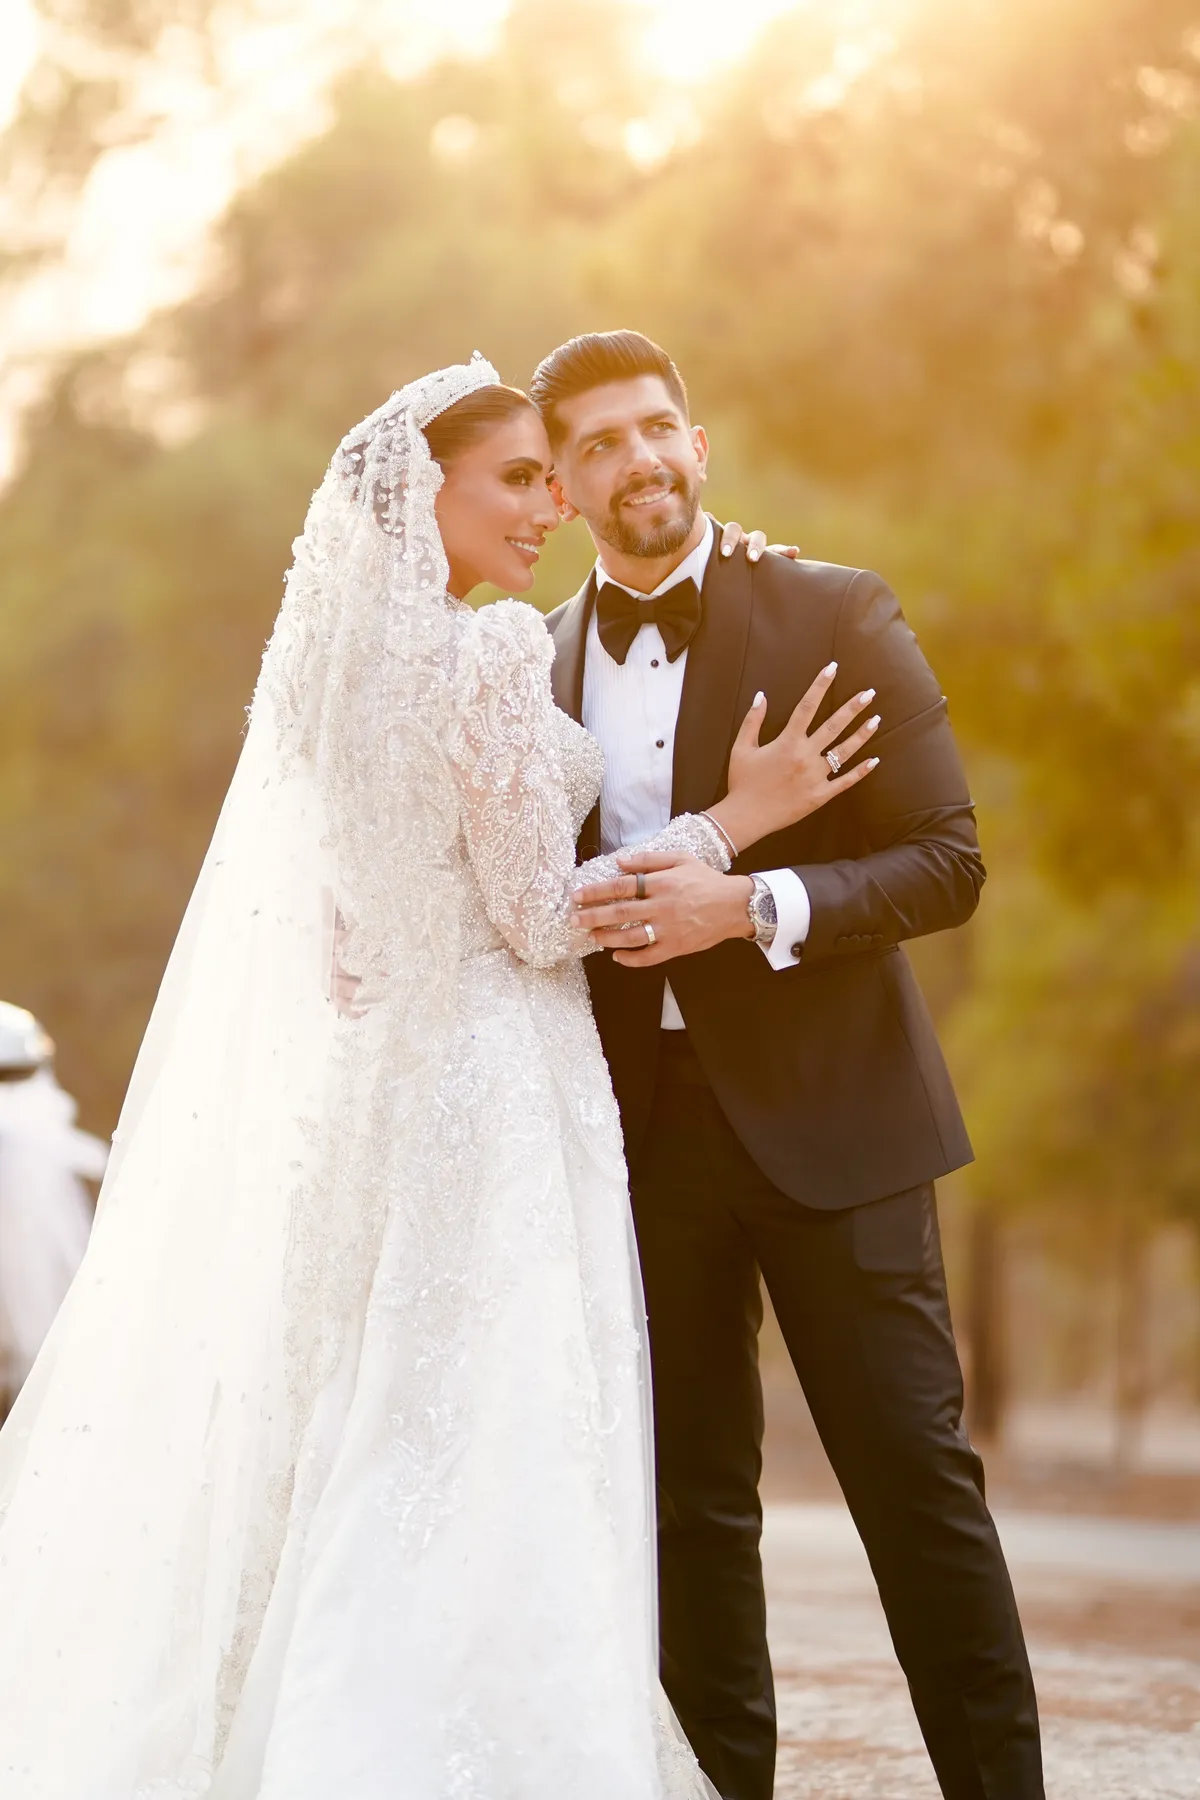
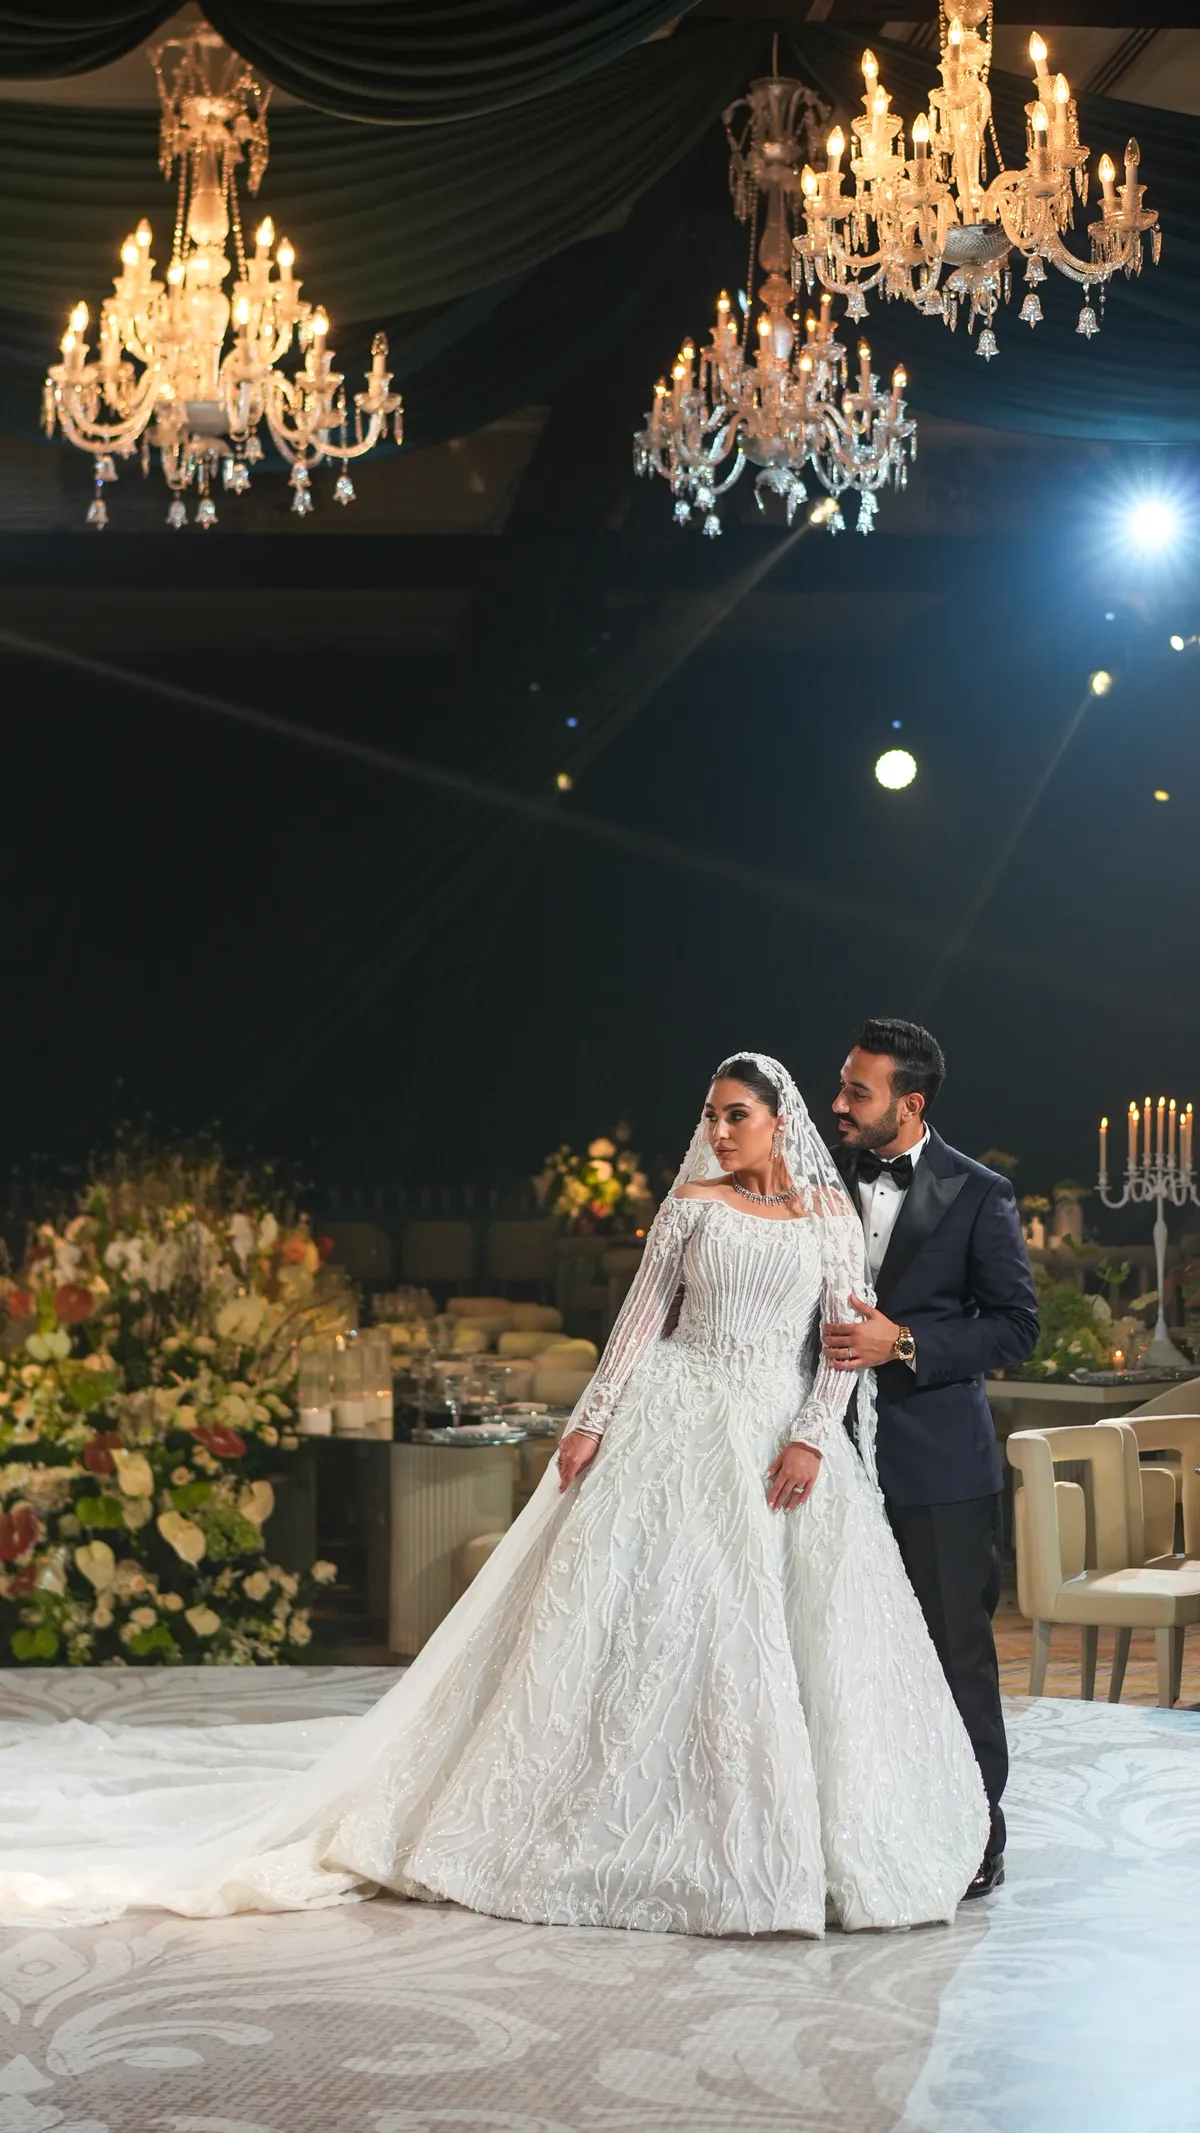
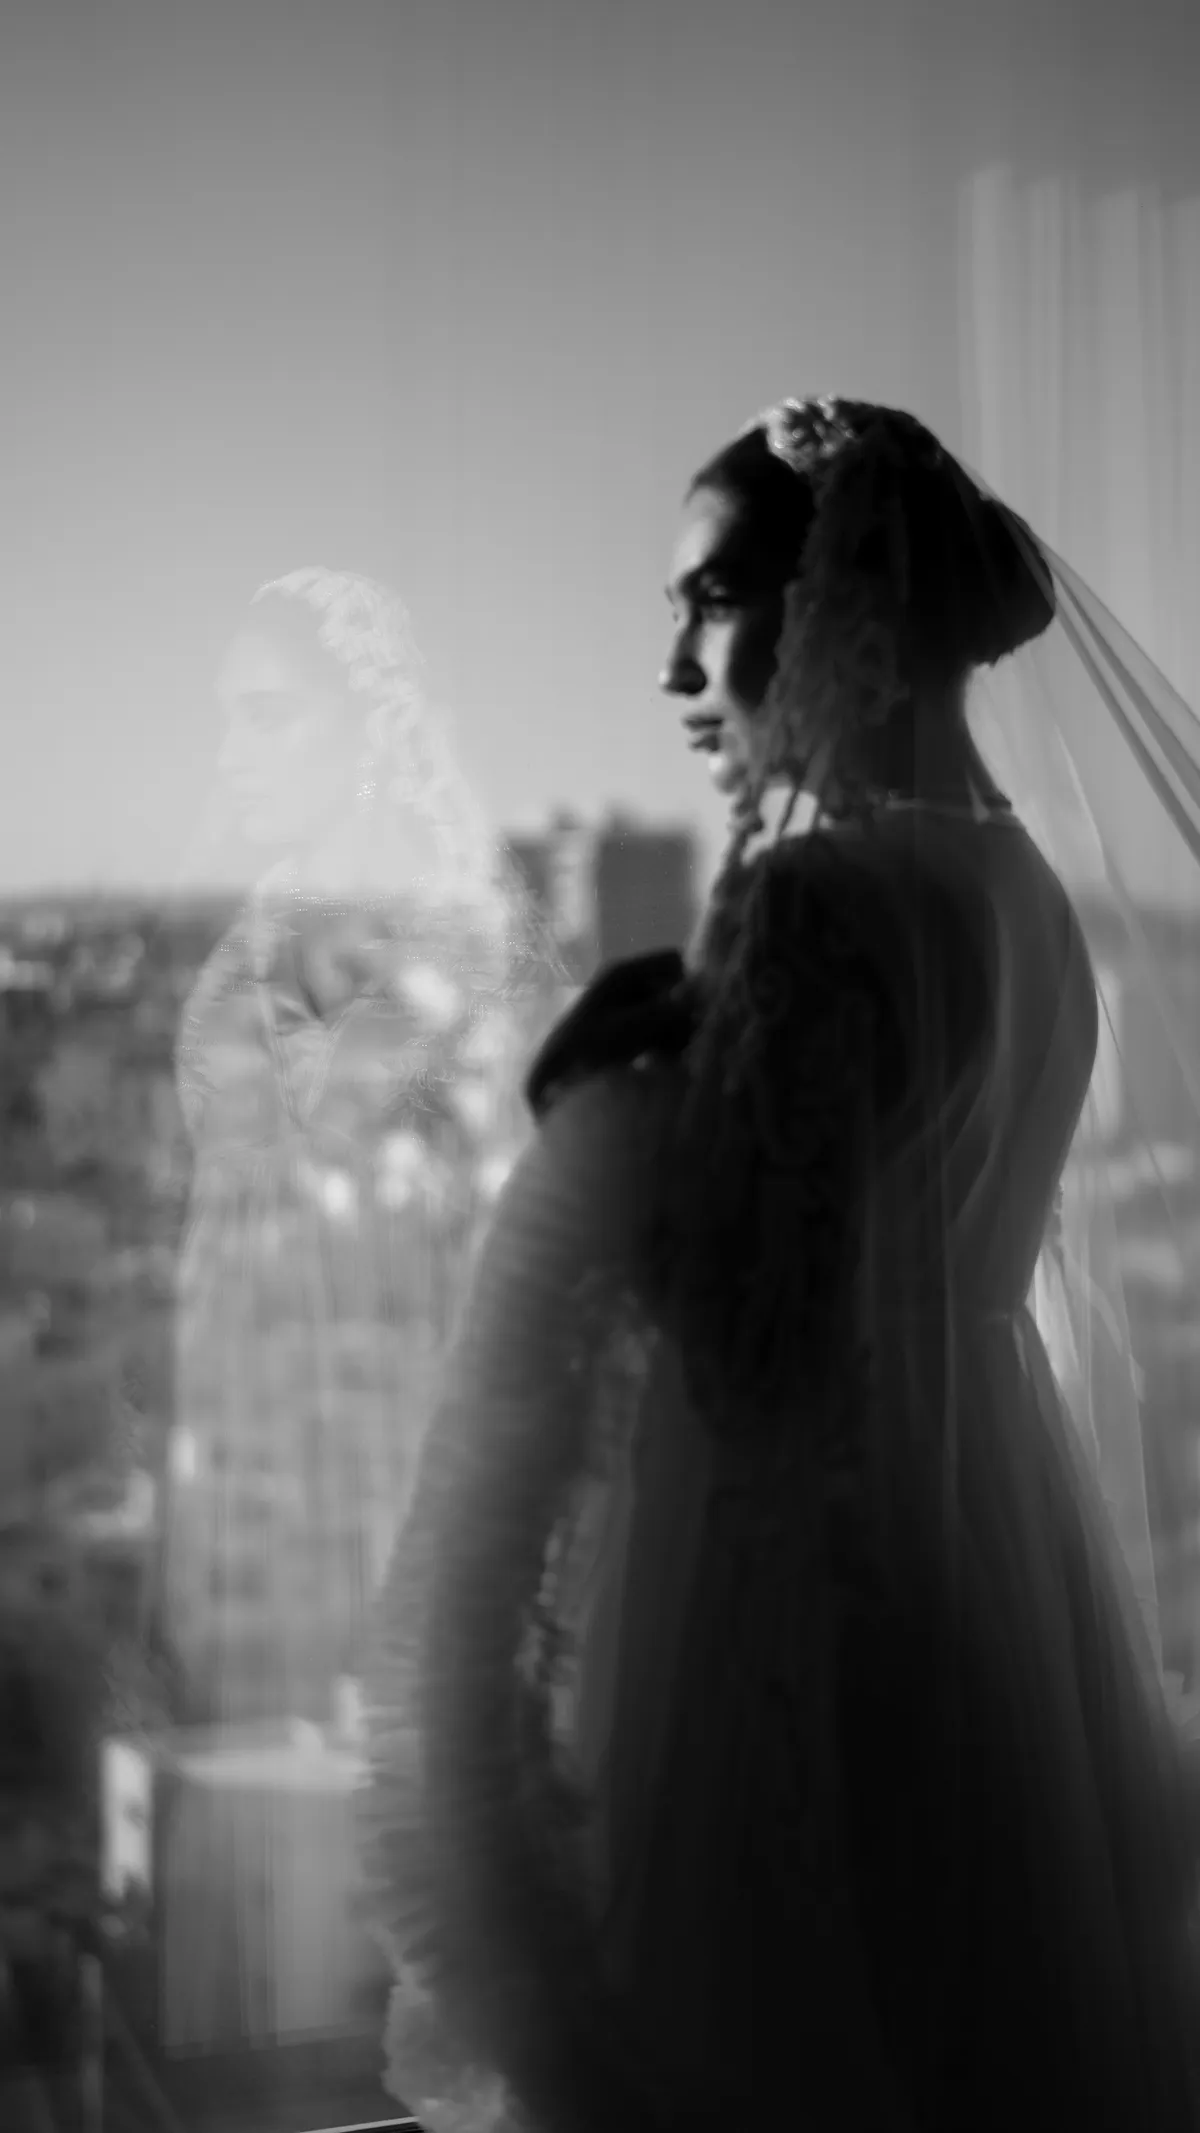
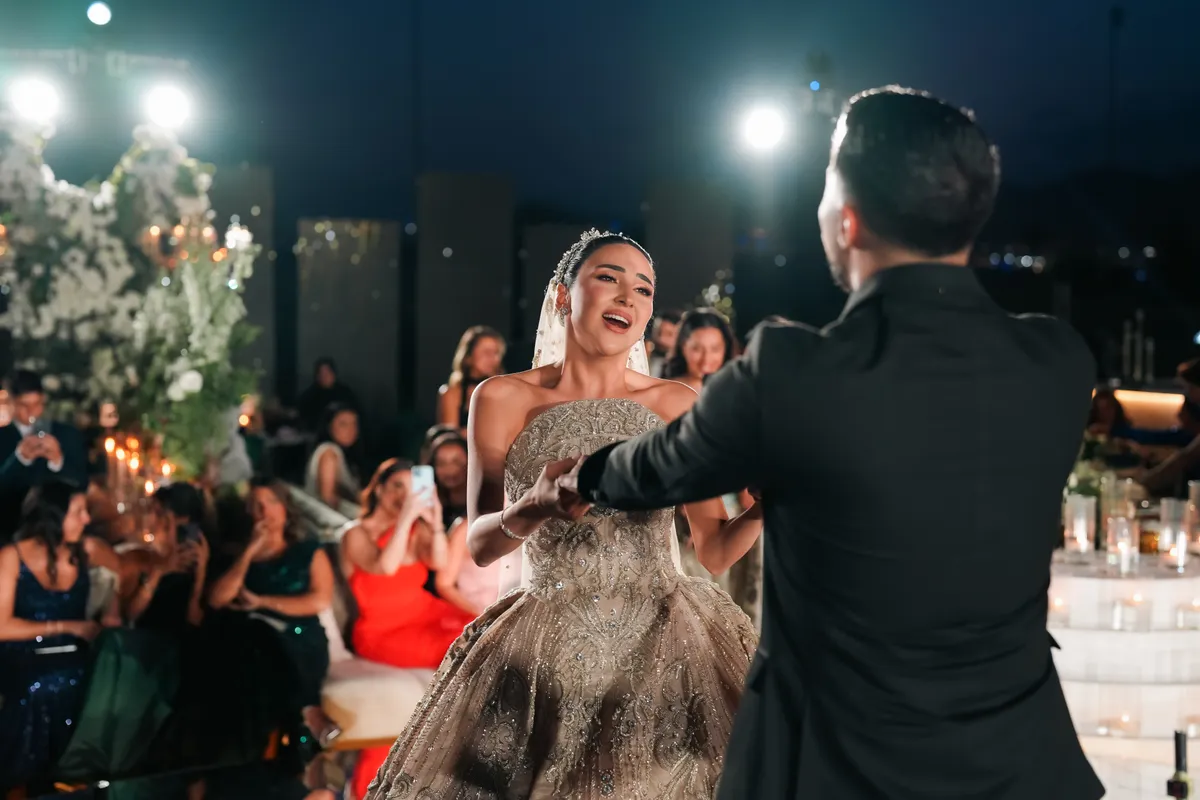
A selection from more than 1,000 weddings and campaigns for the region’s leading houses since 2015.
← All films

Photographs

← All brands

← All influencers & VIPs

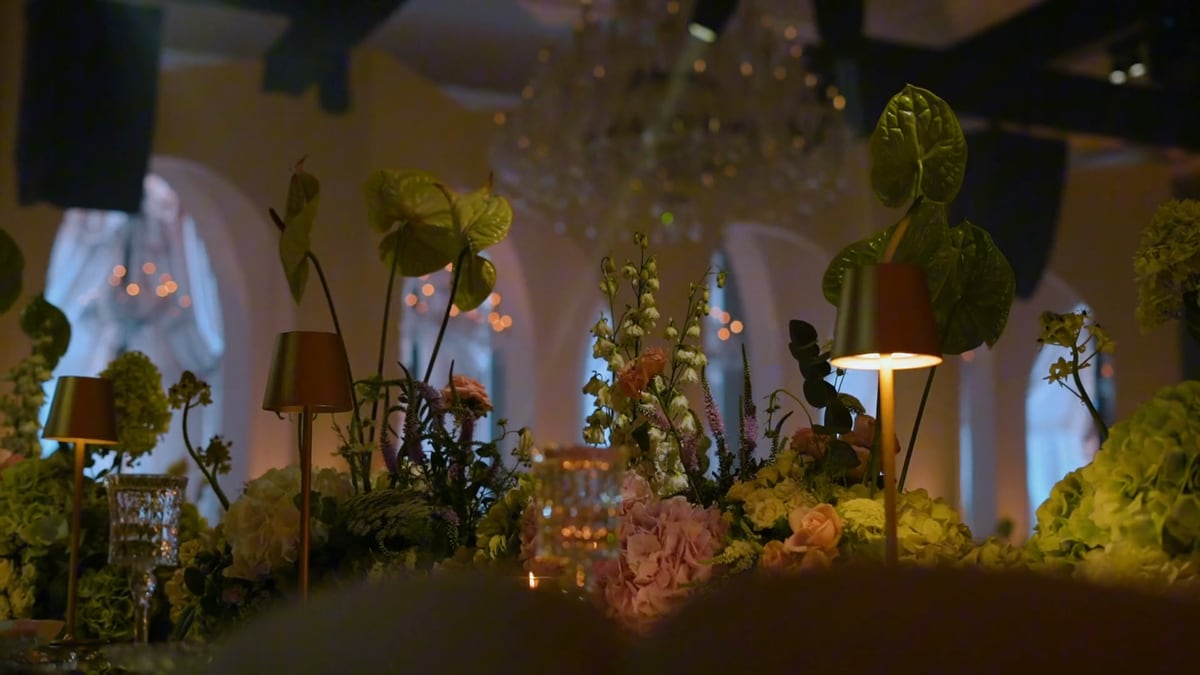
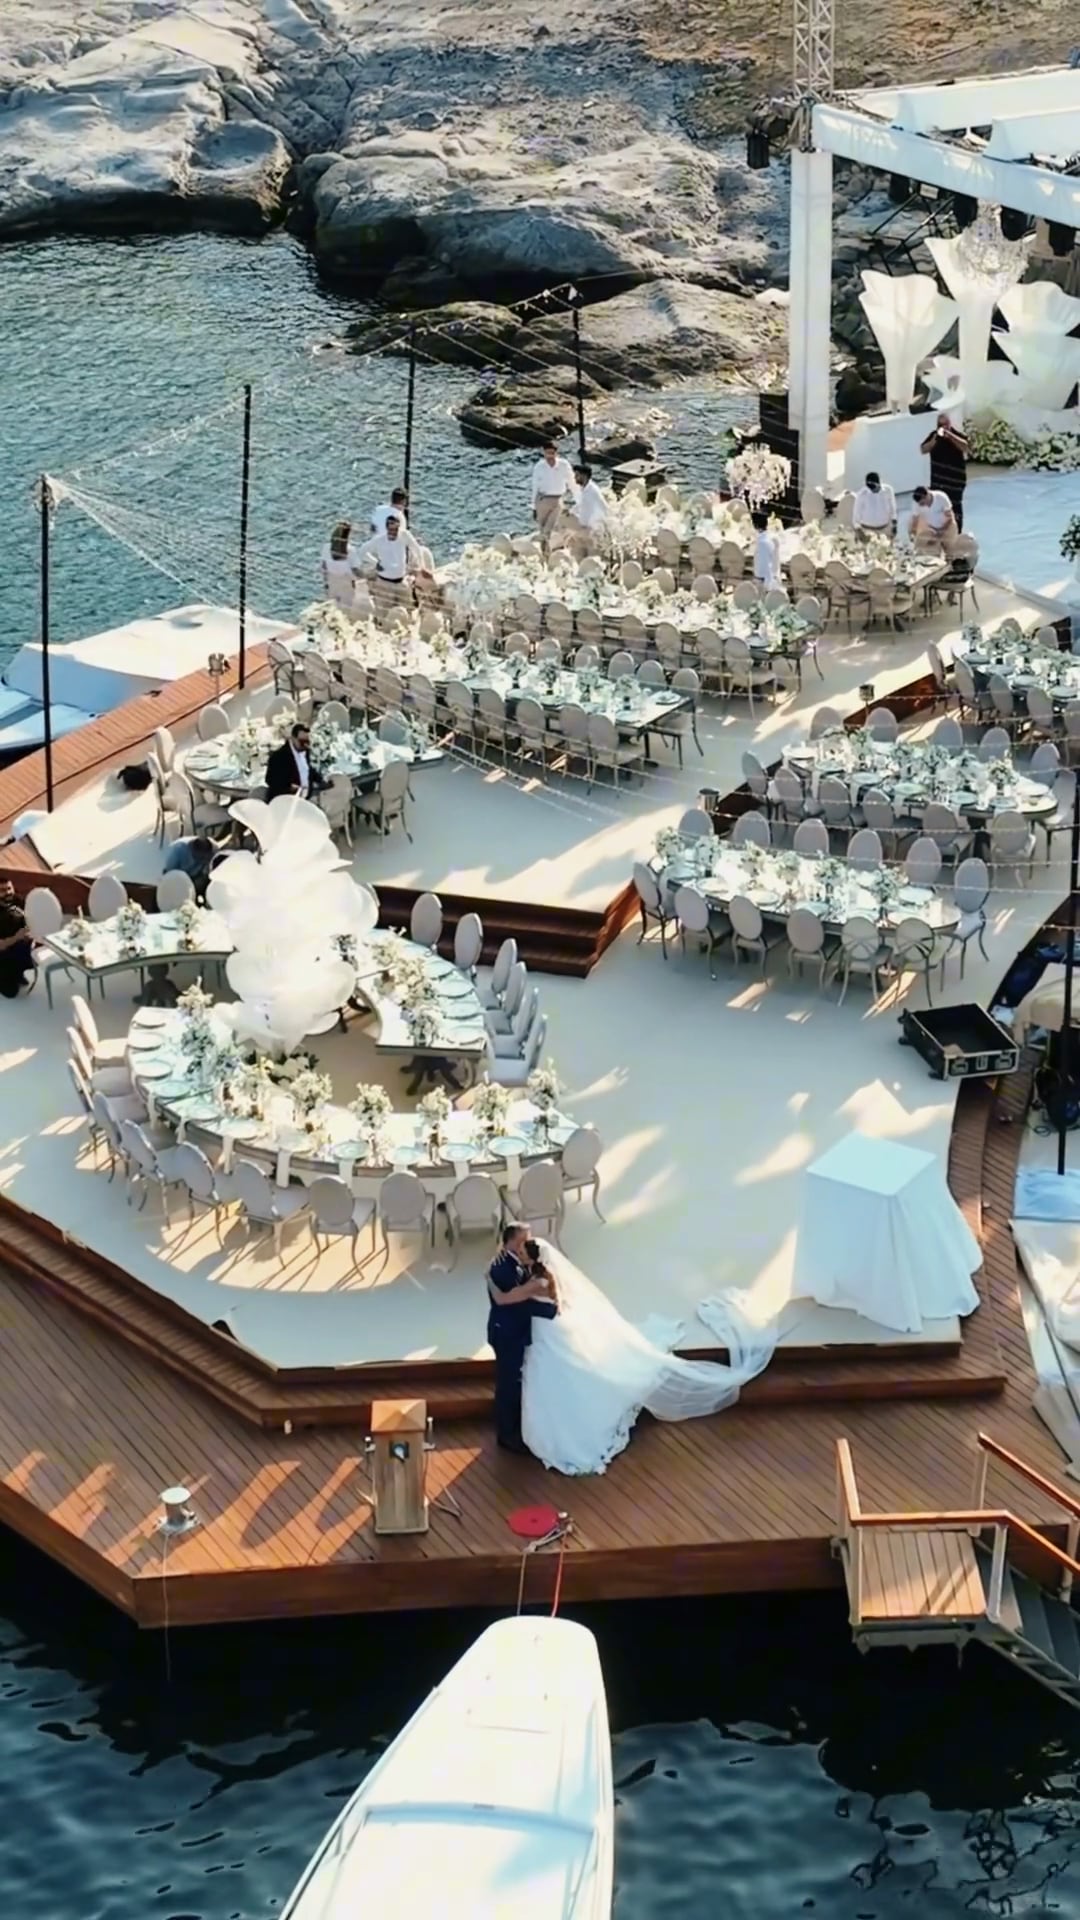
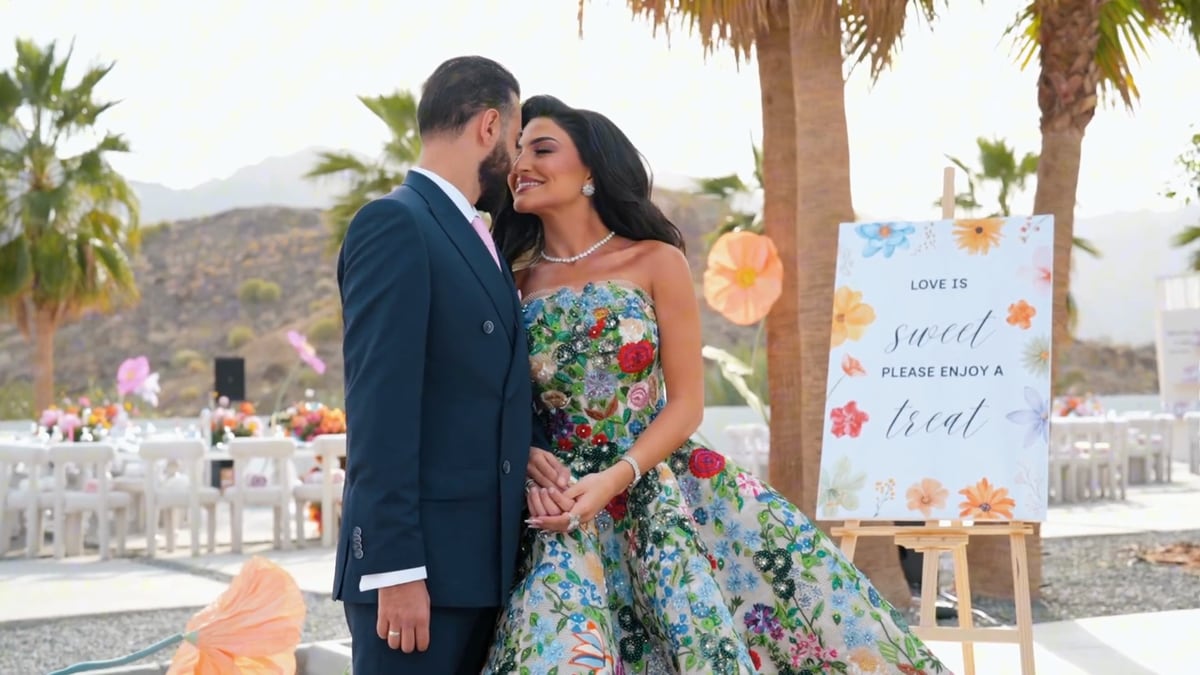
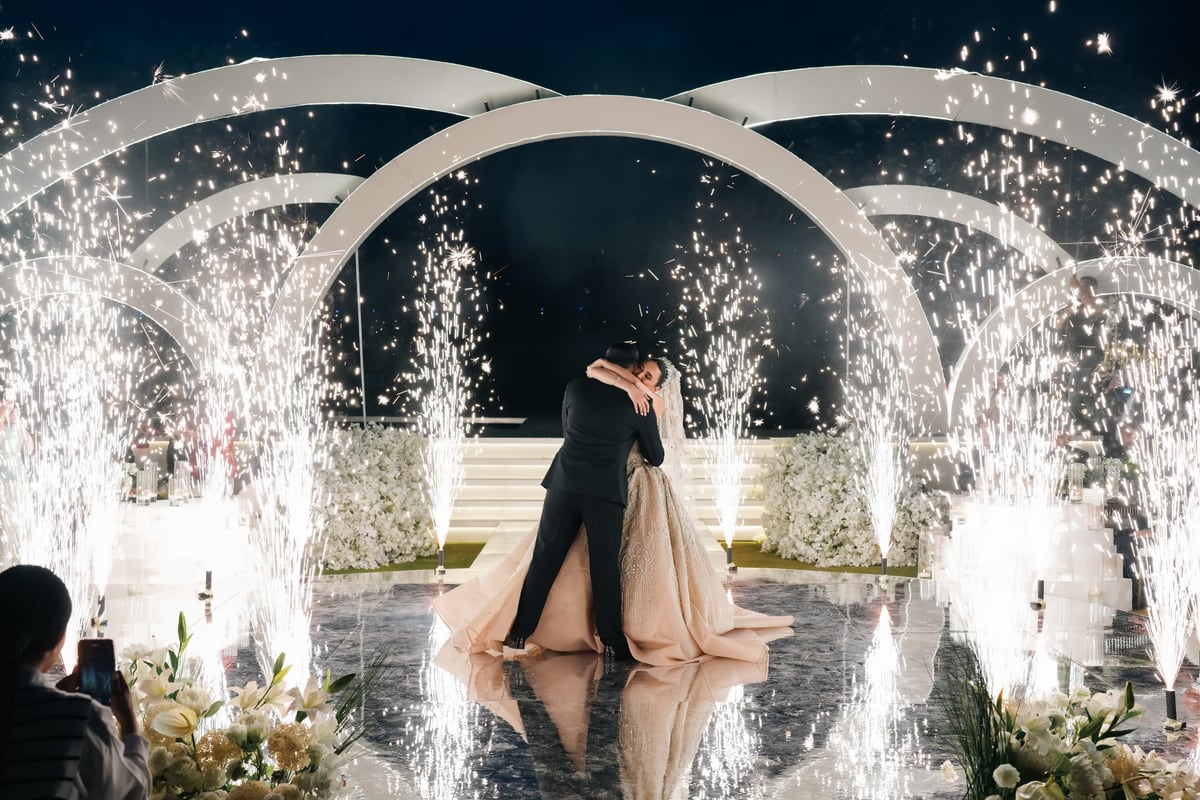
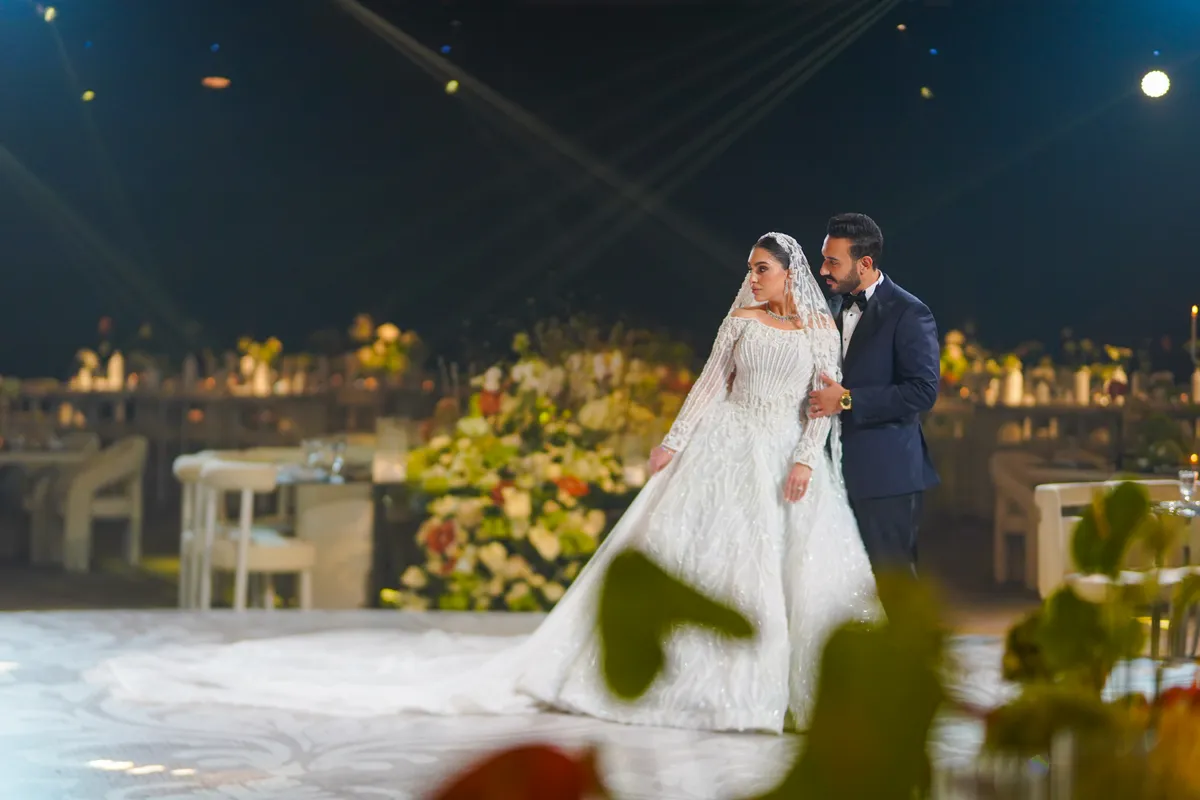
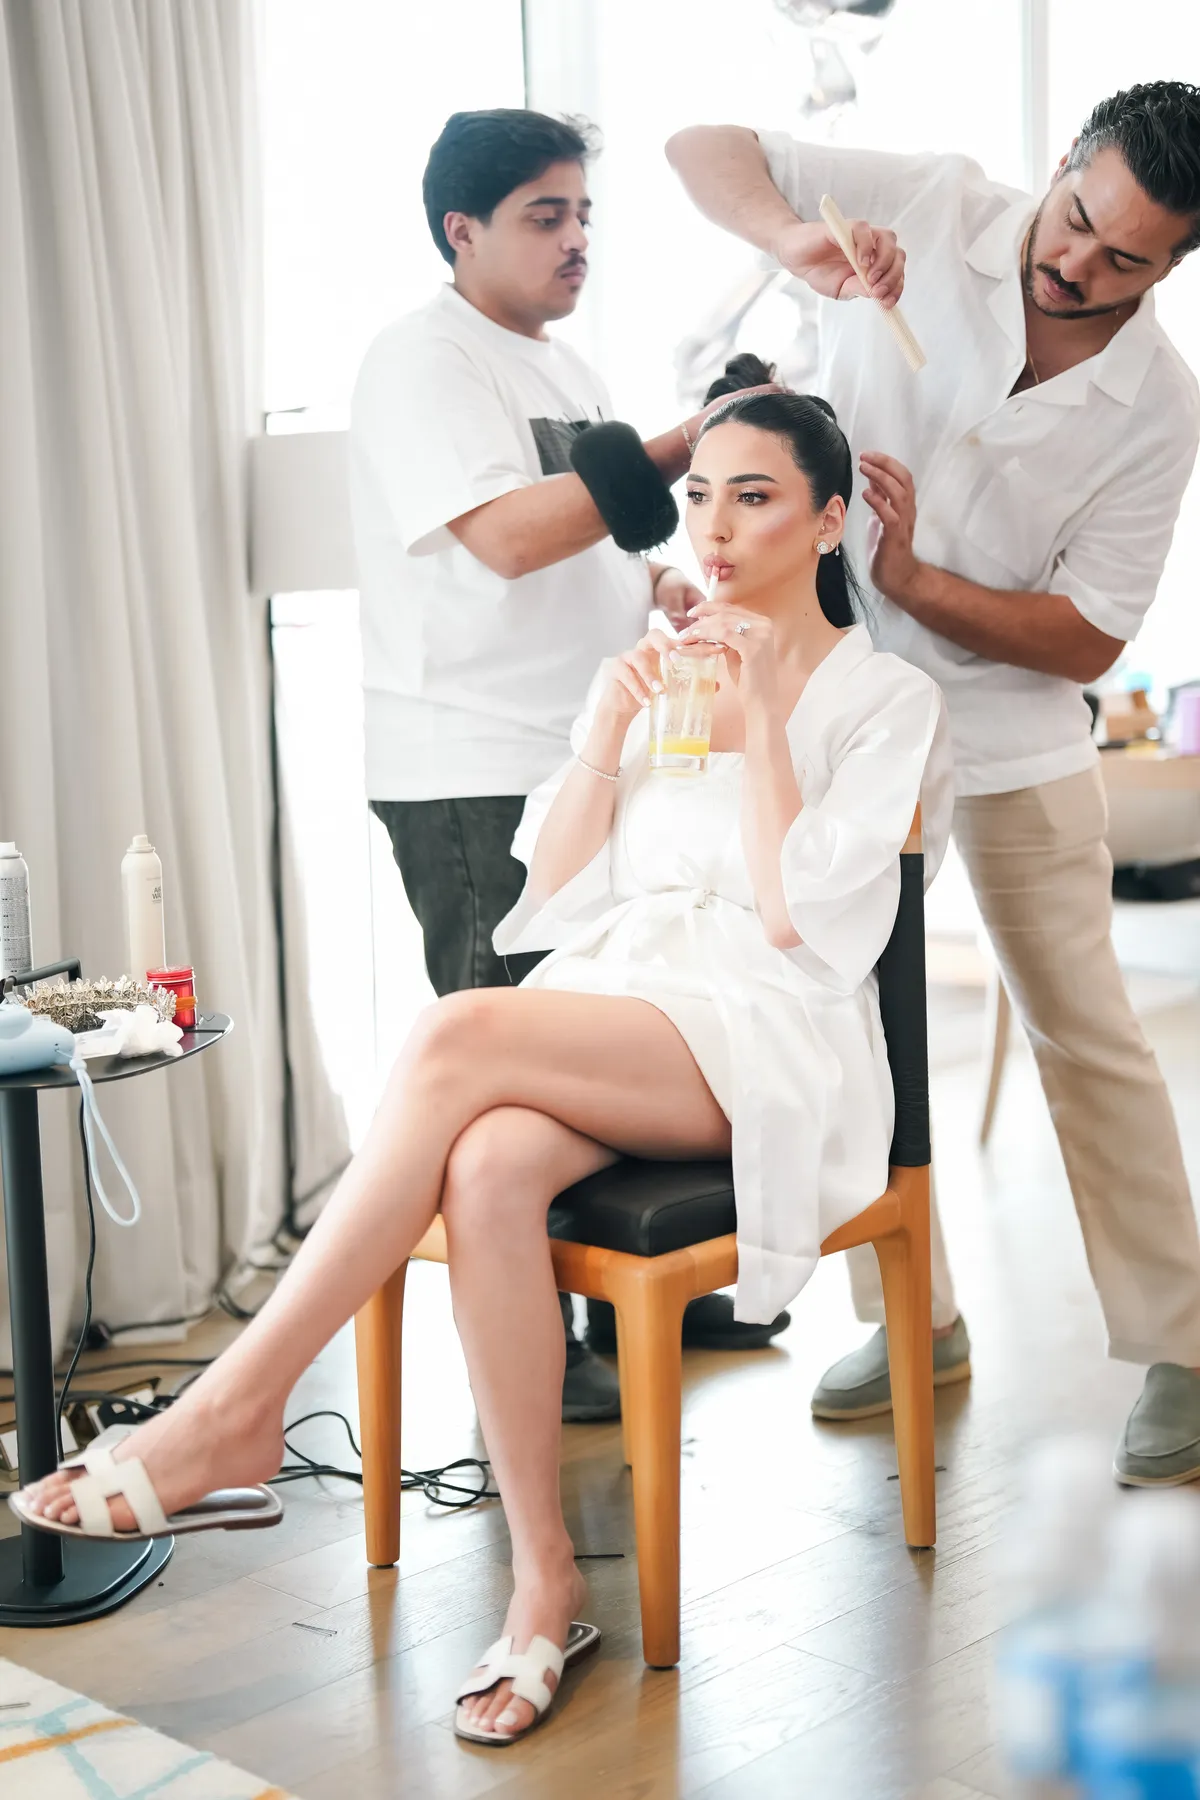
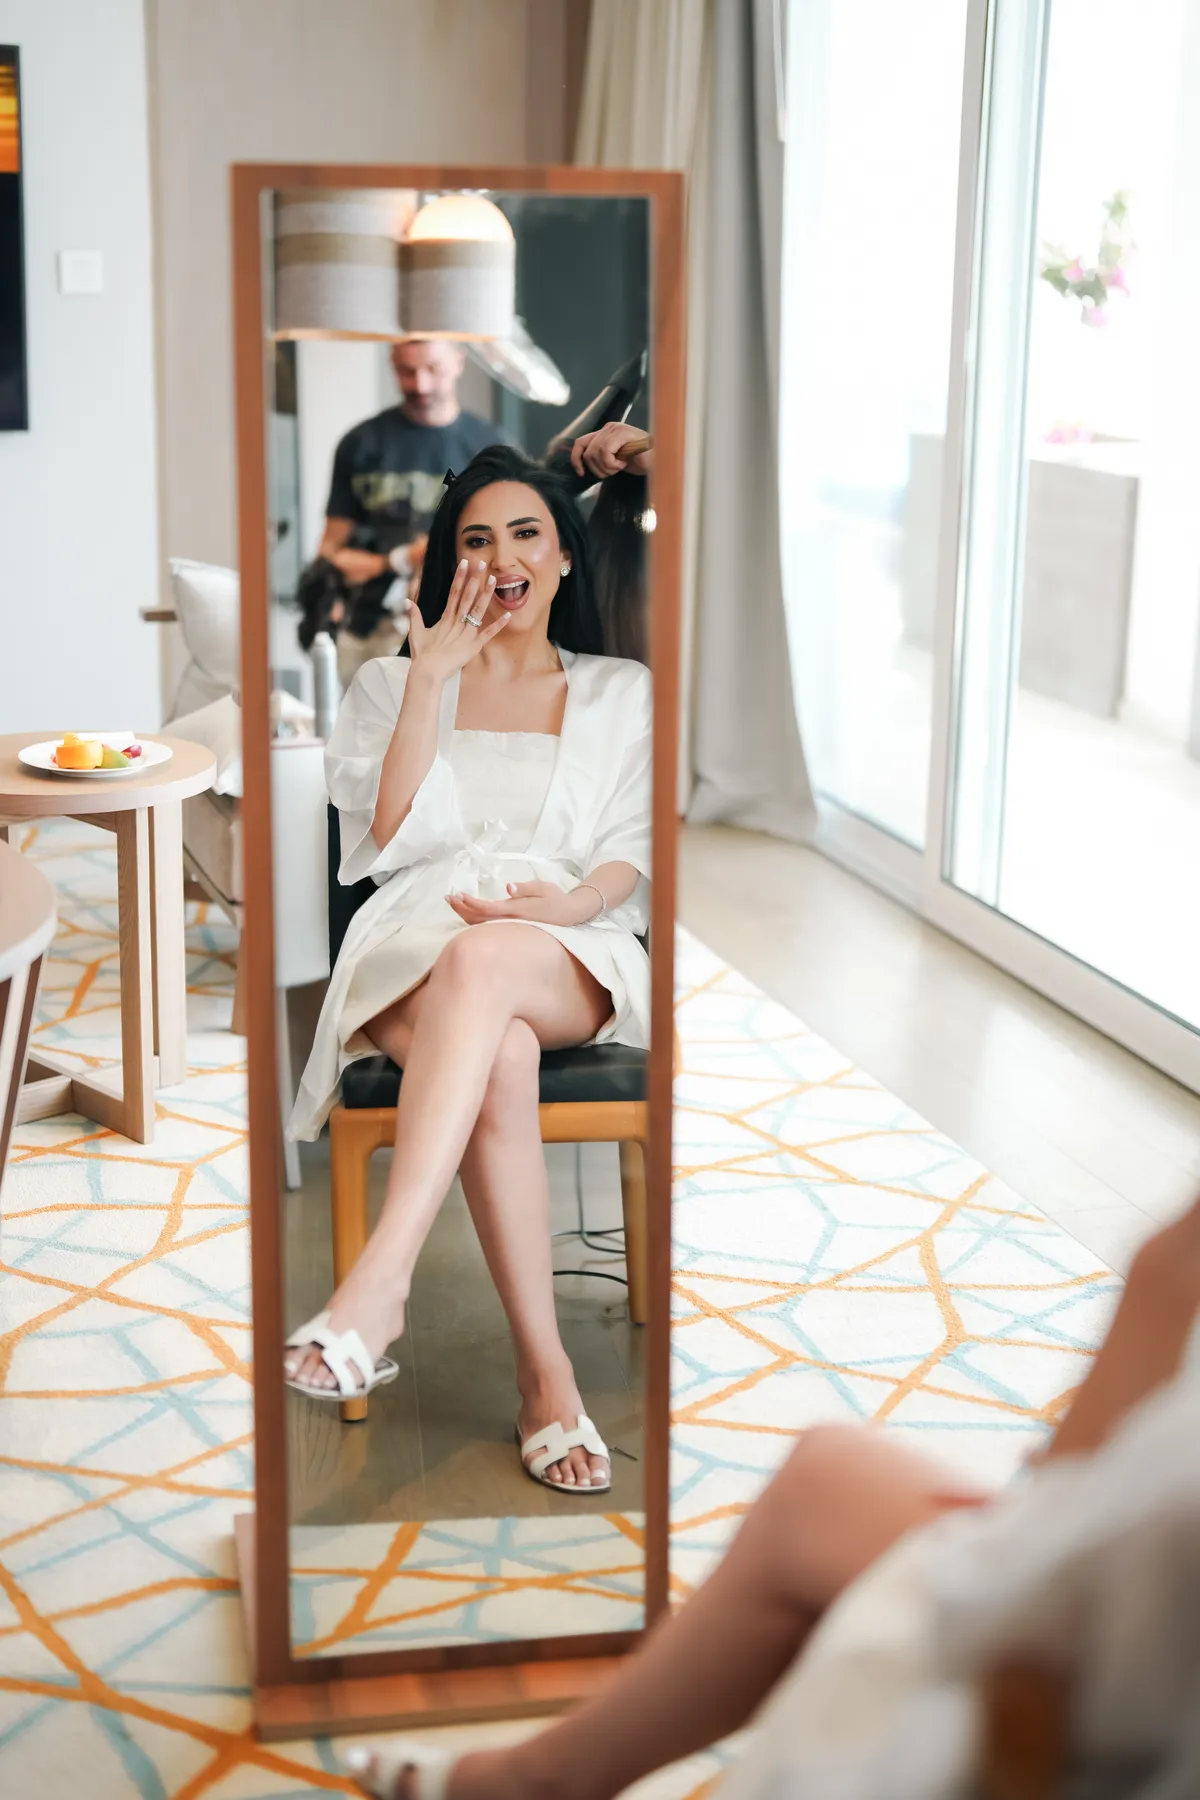
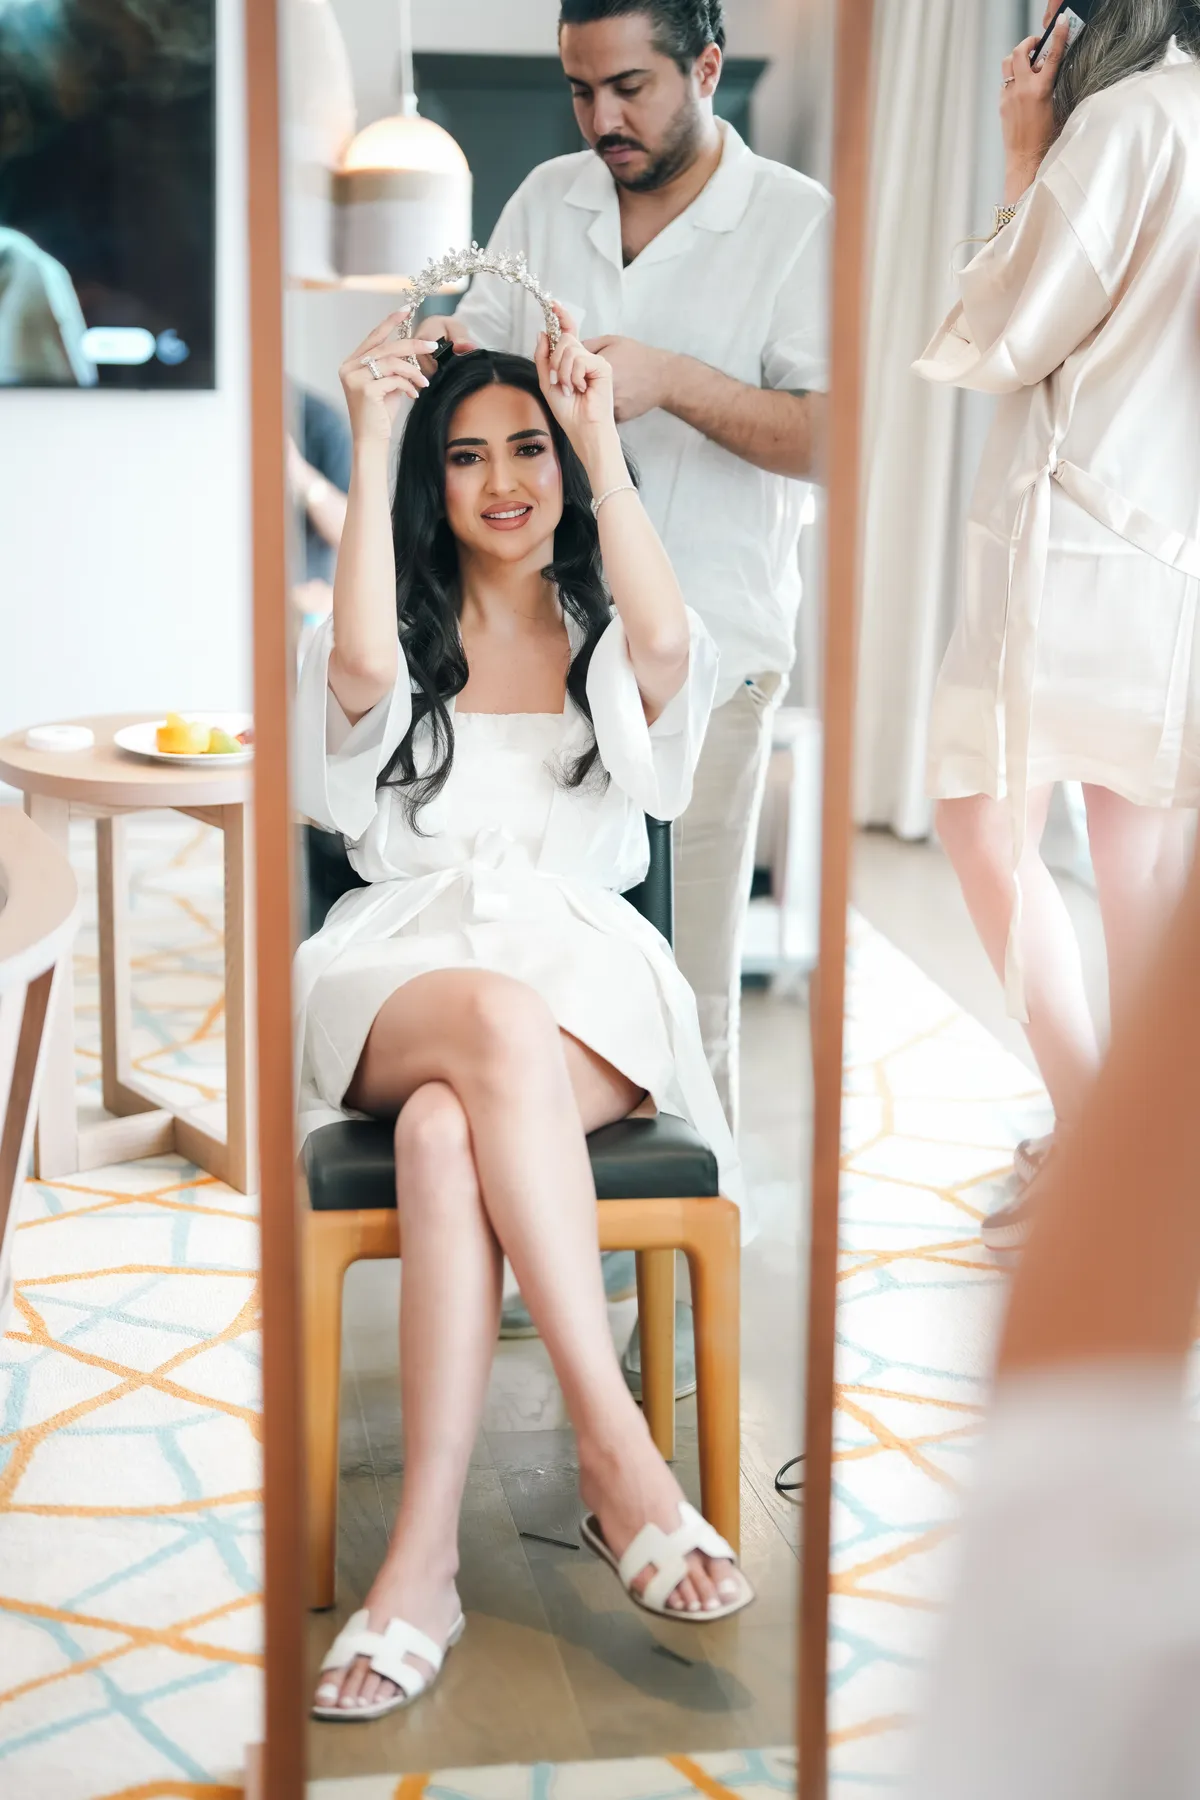
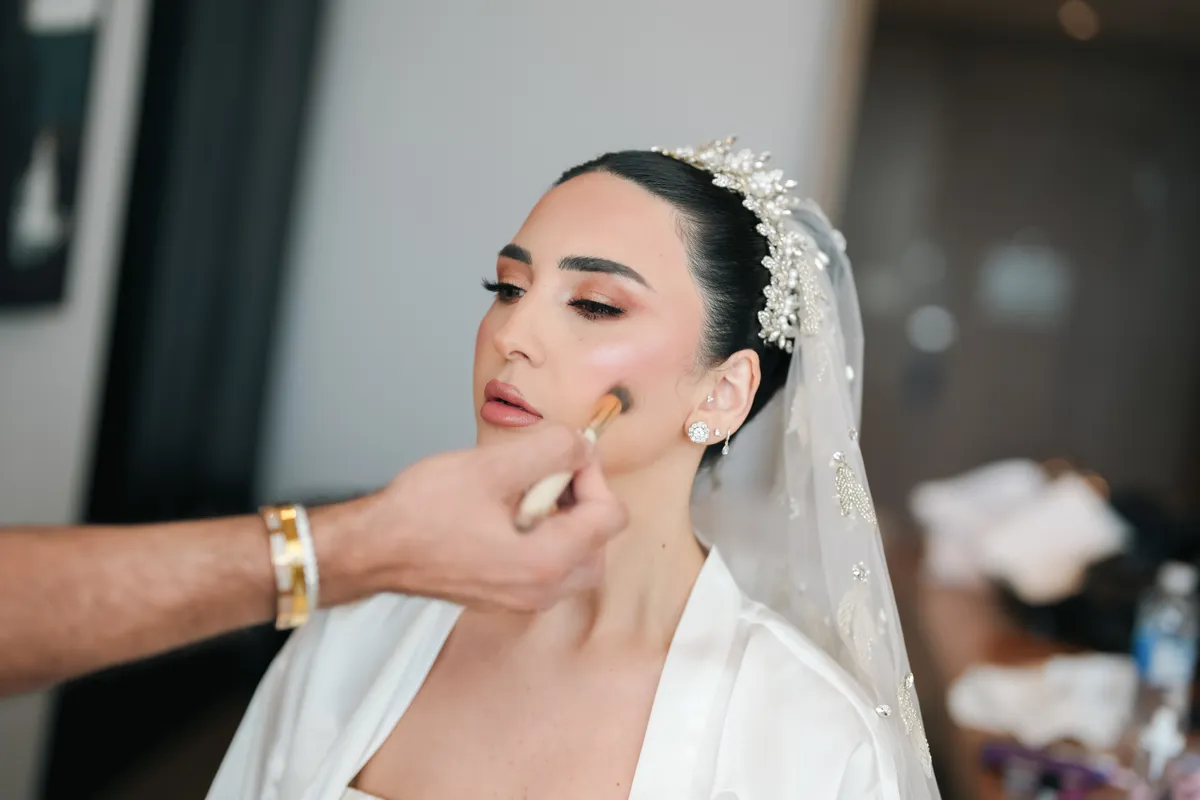
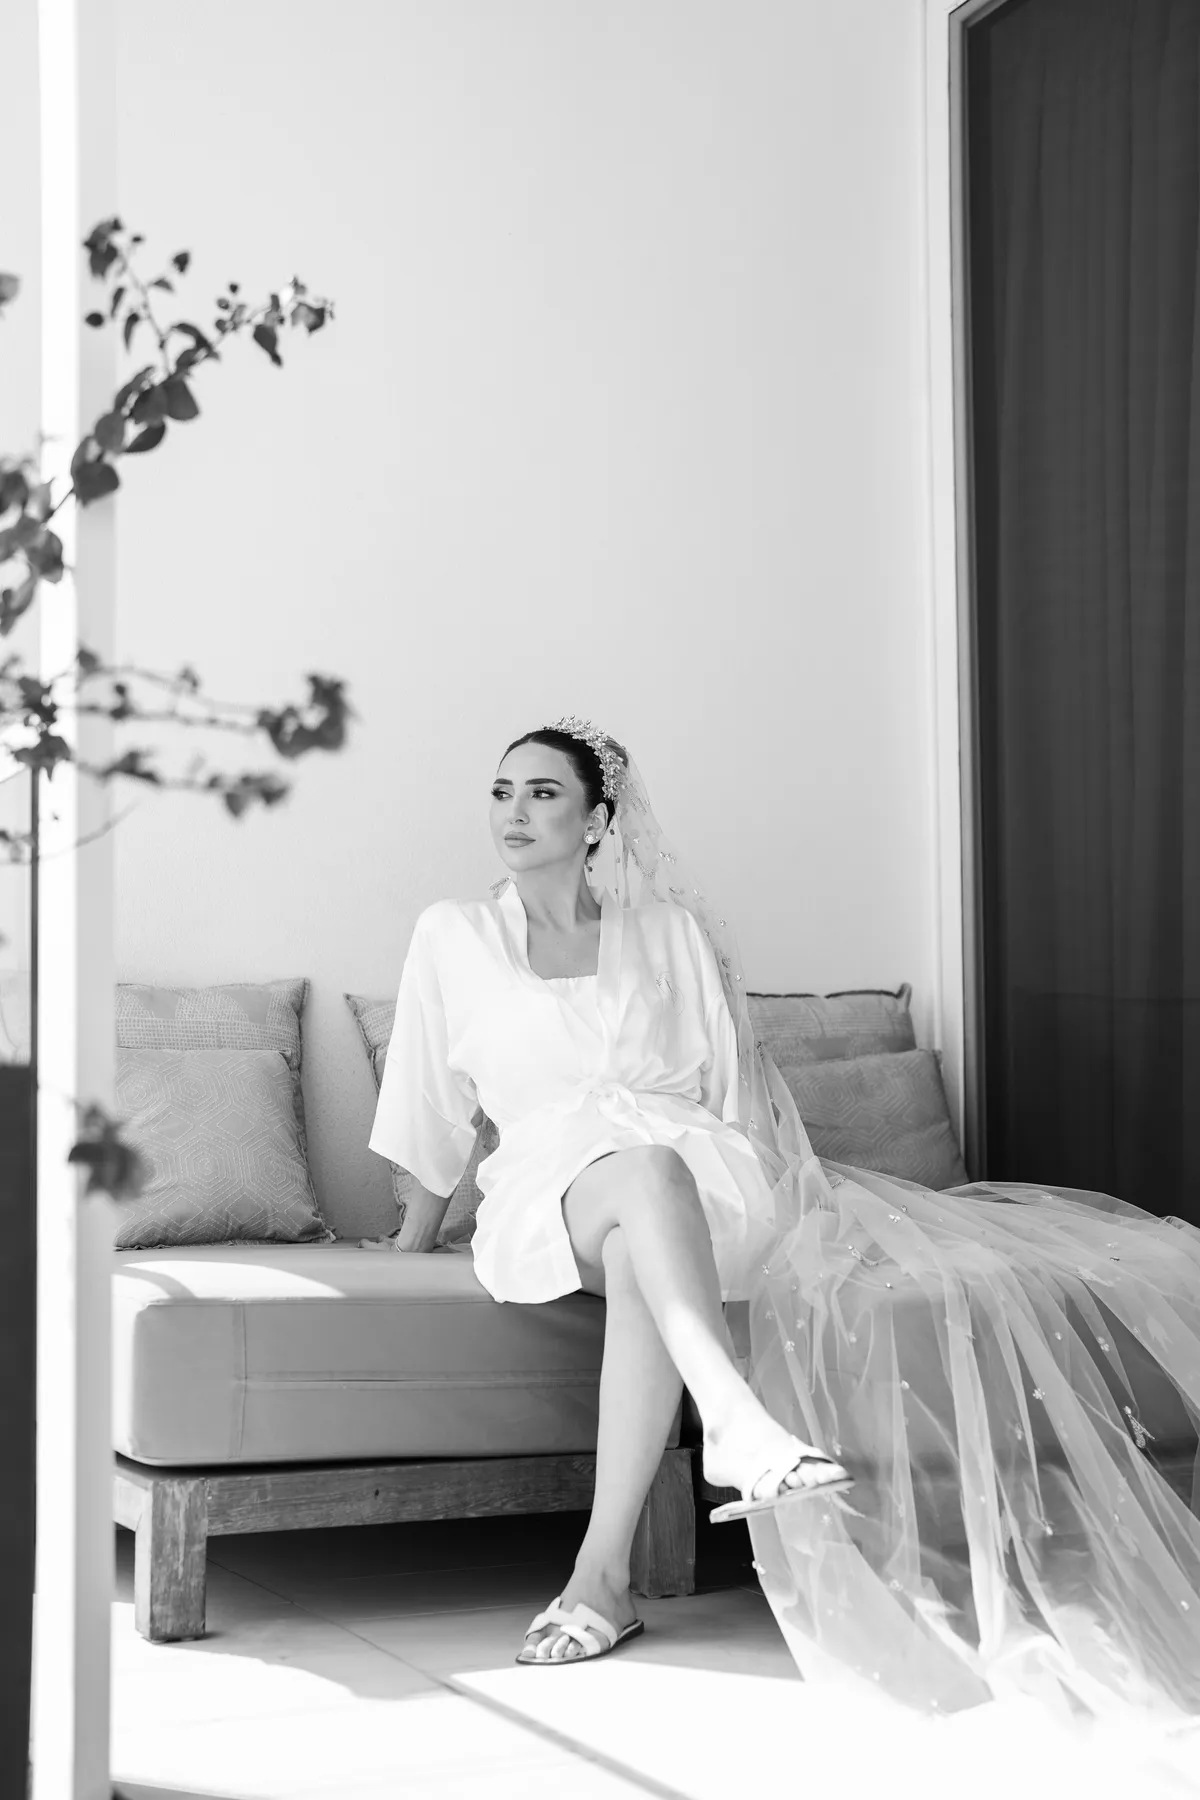
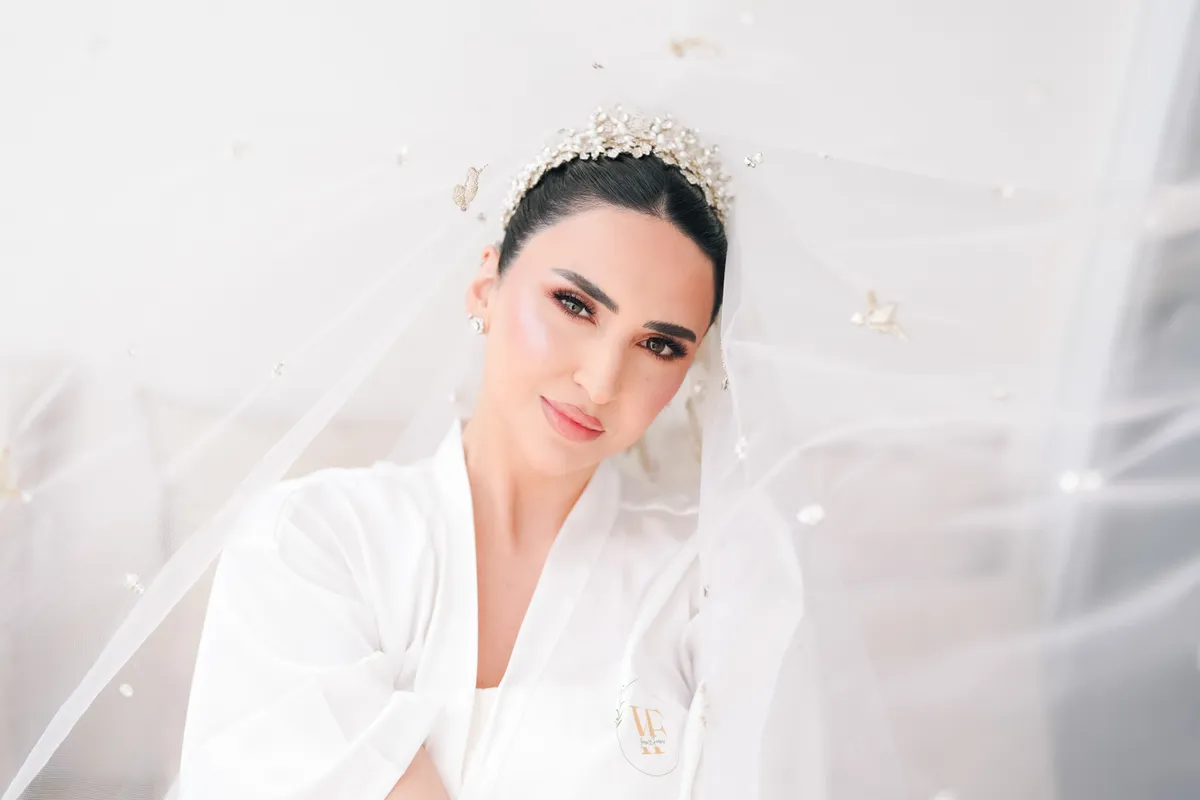
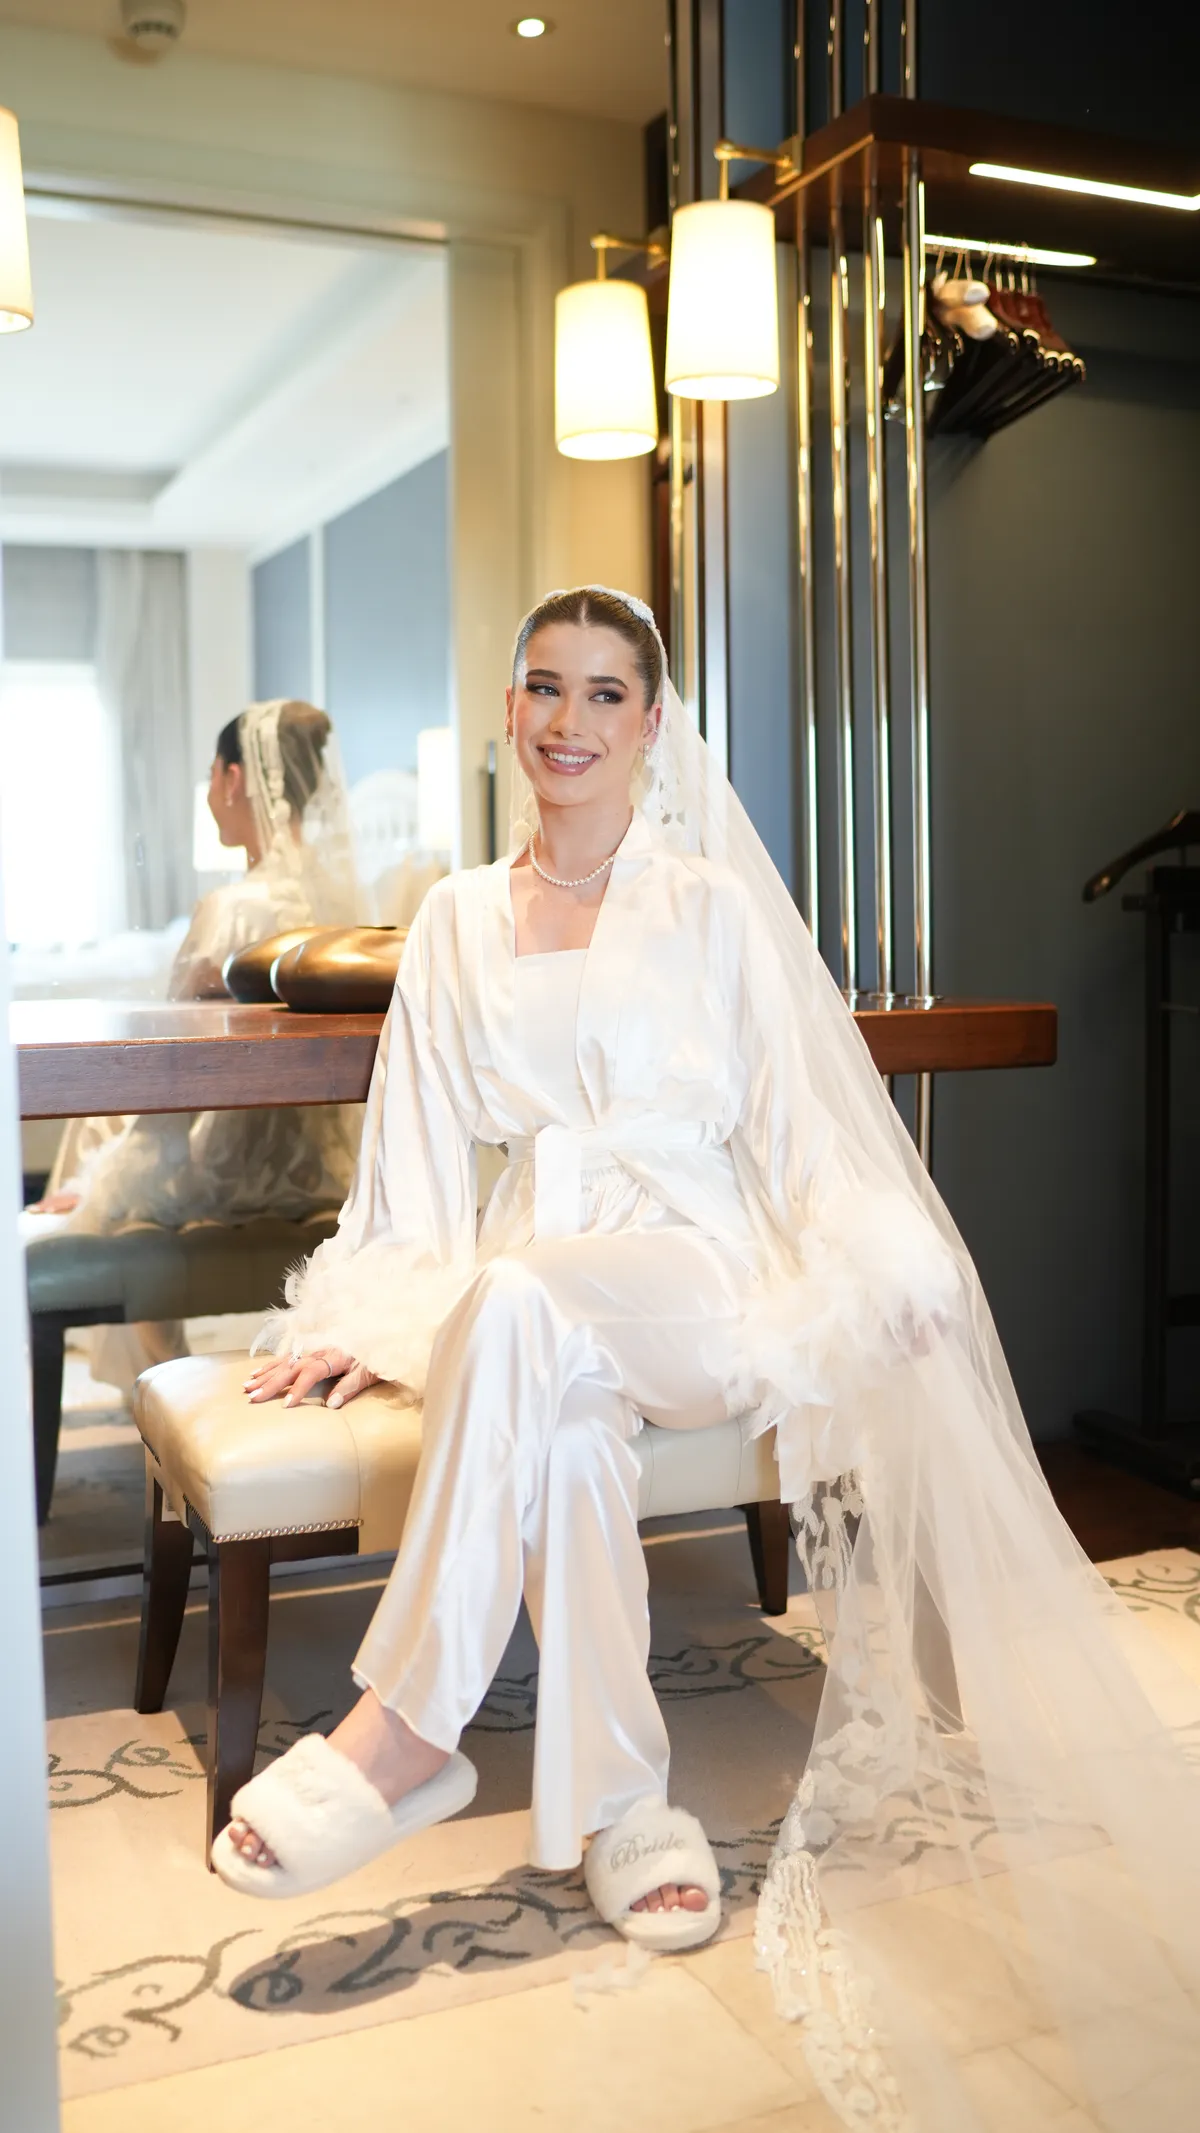
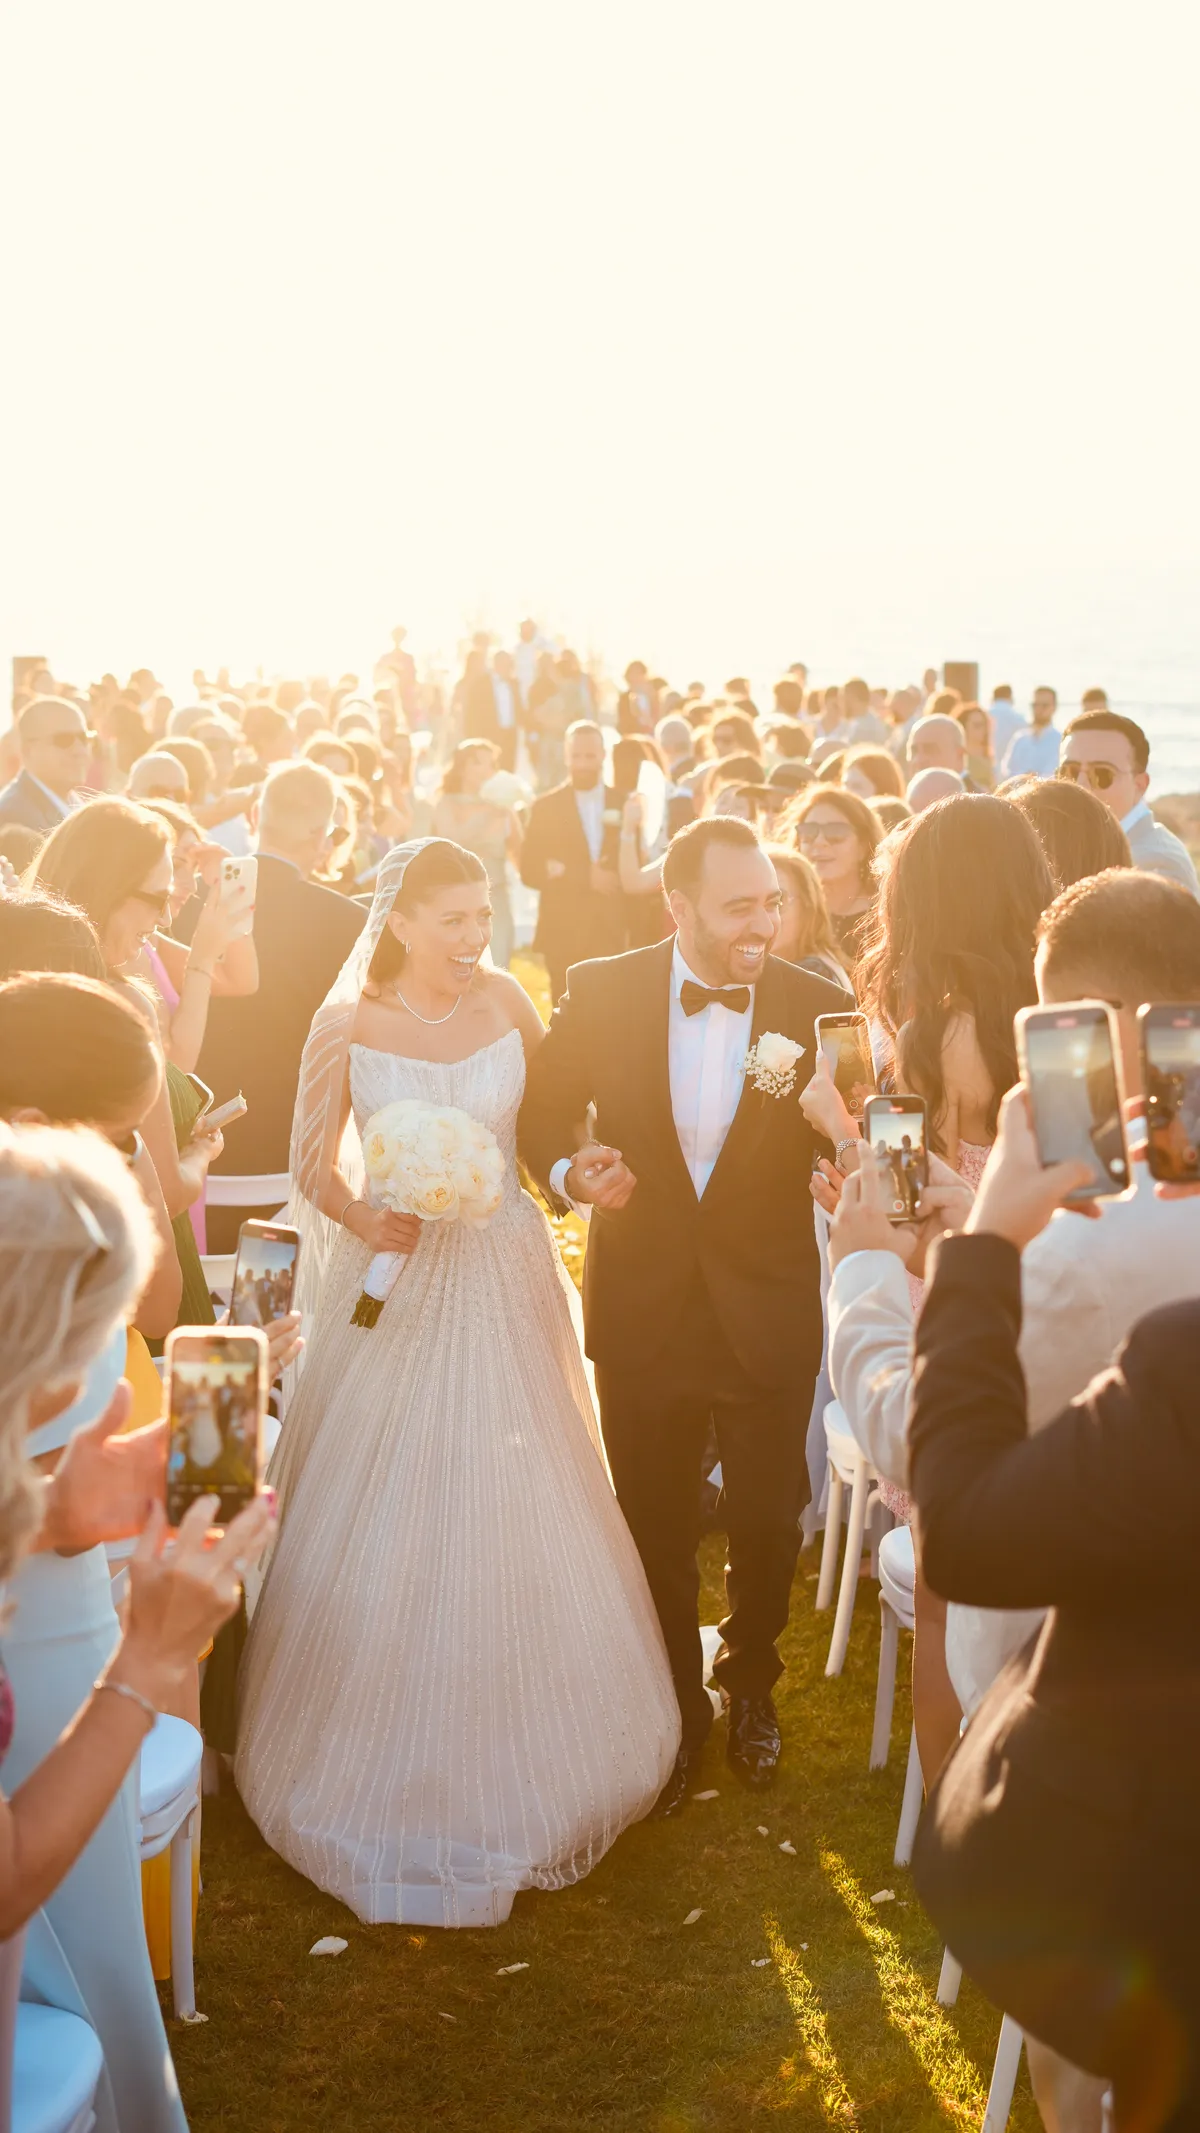
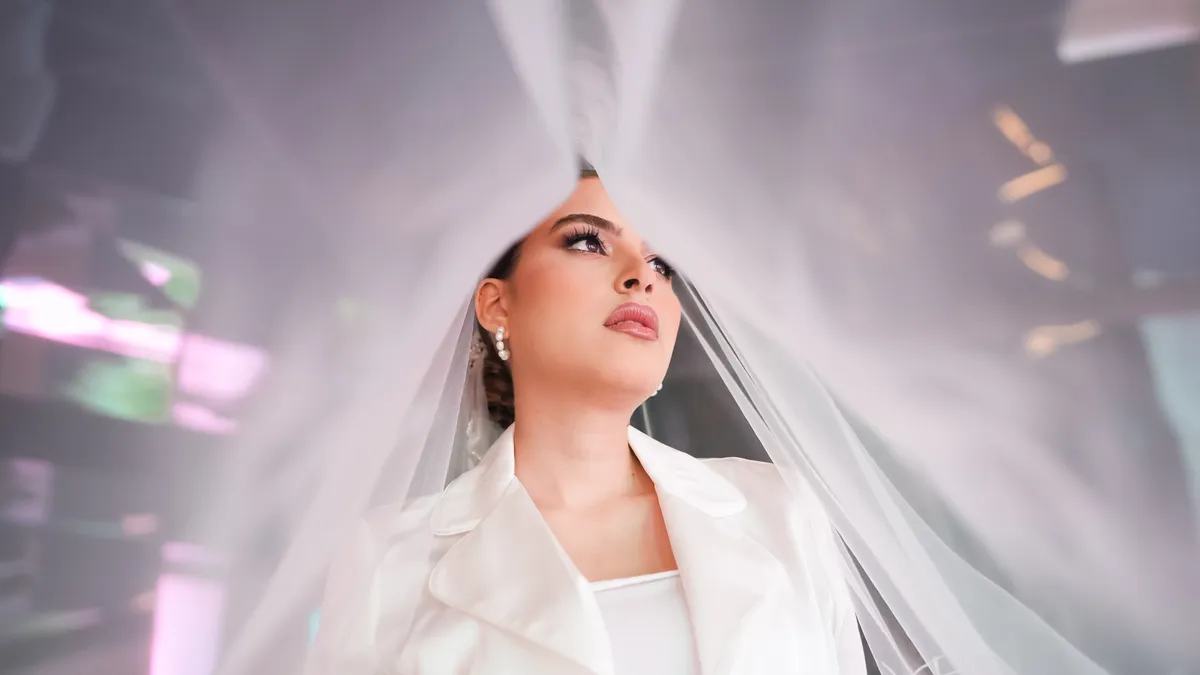
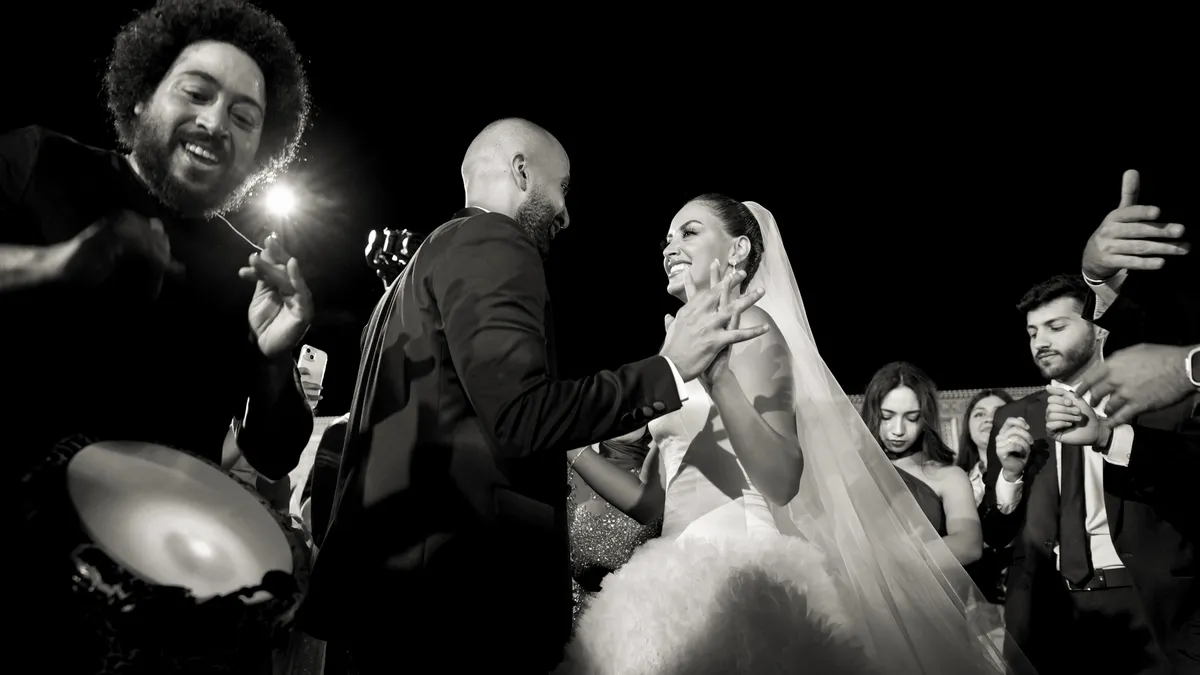
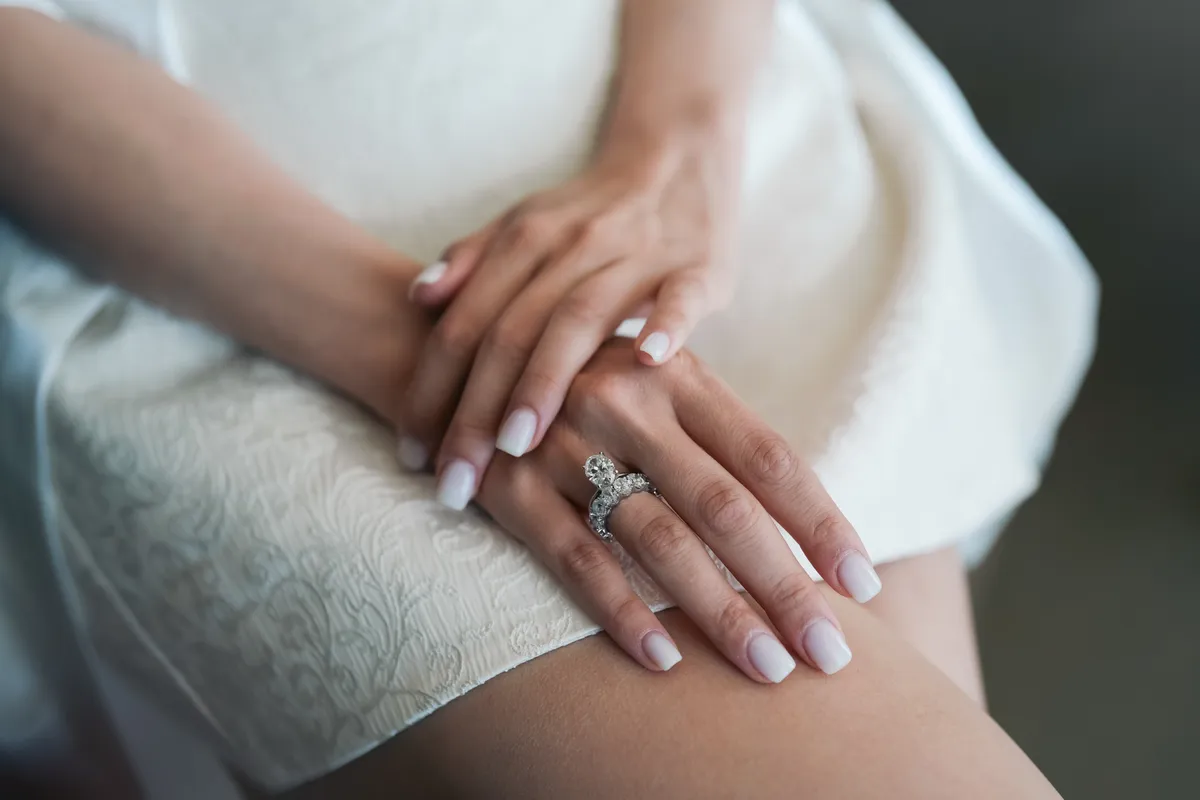
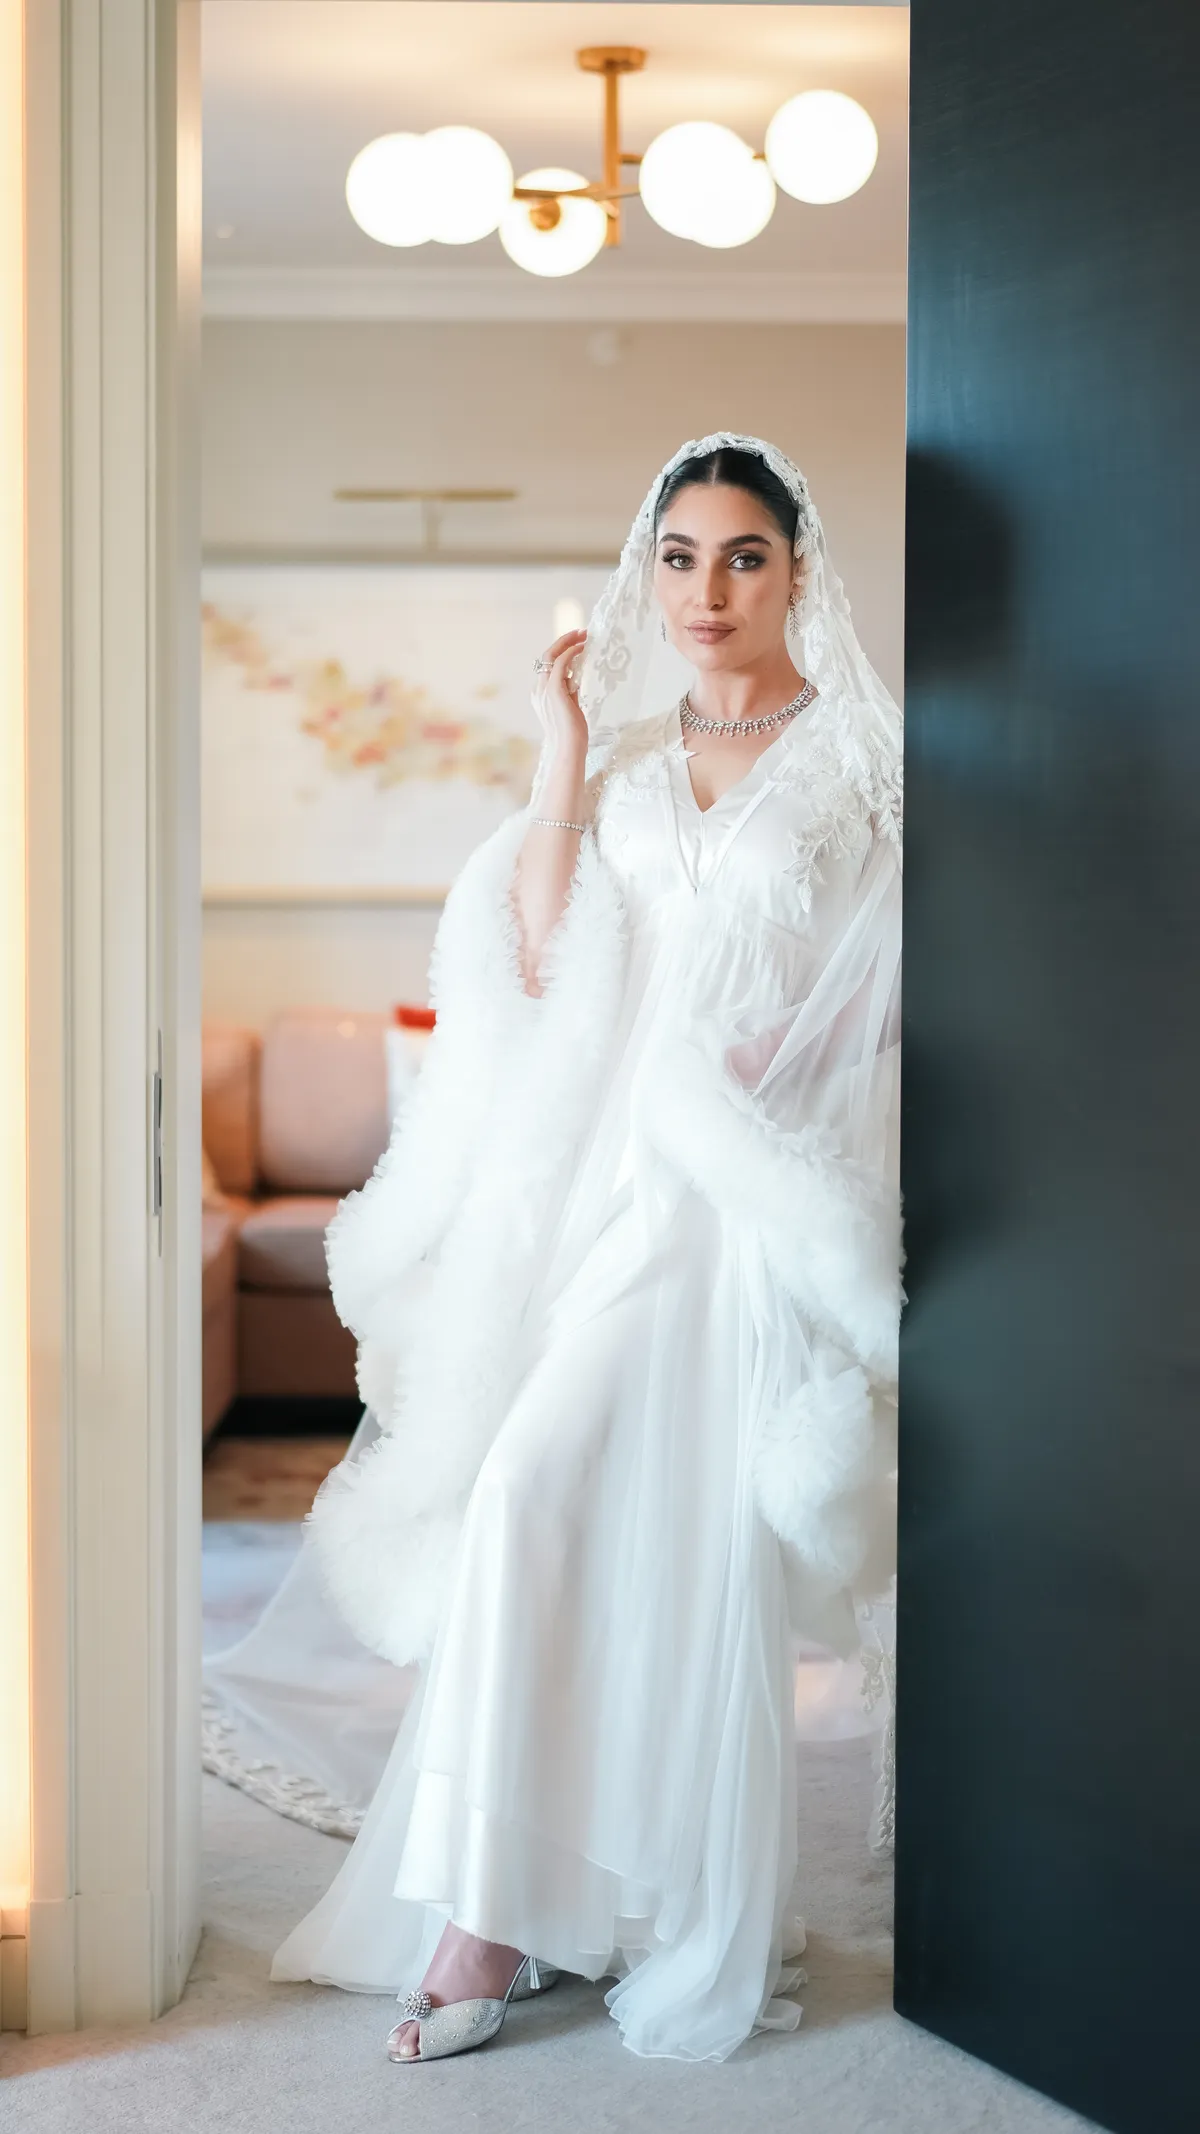
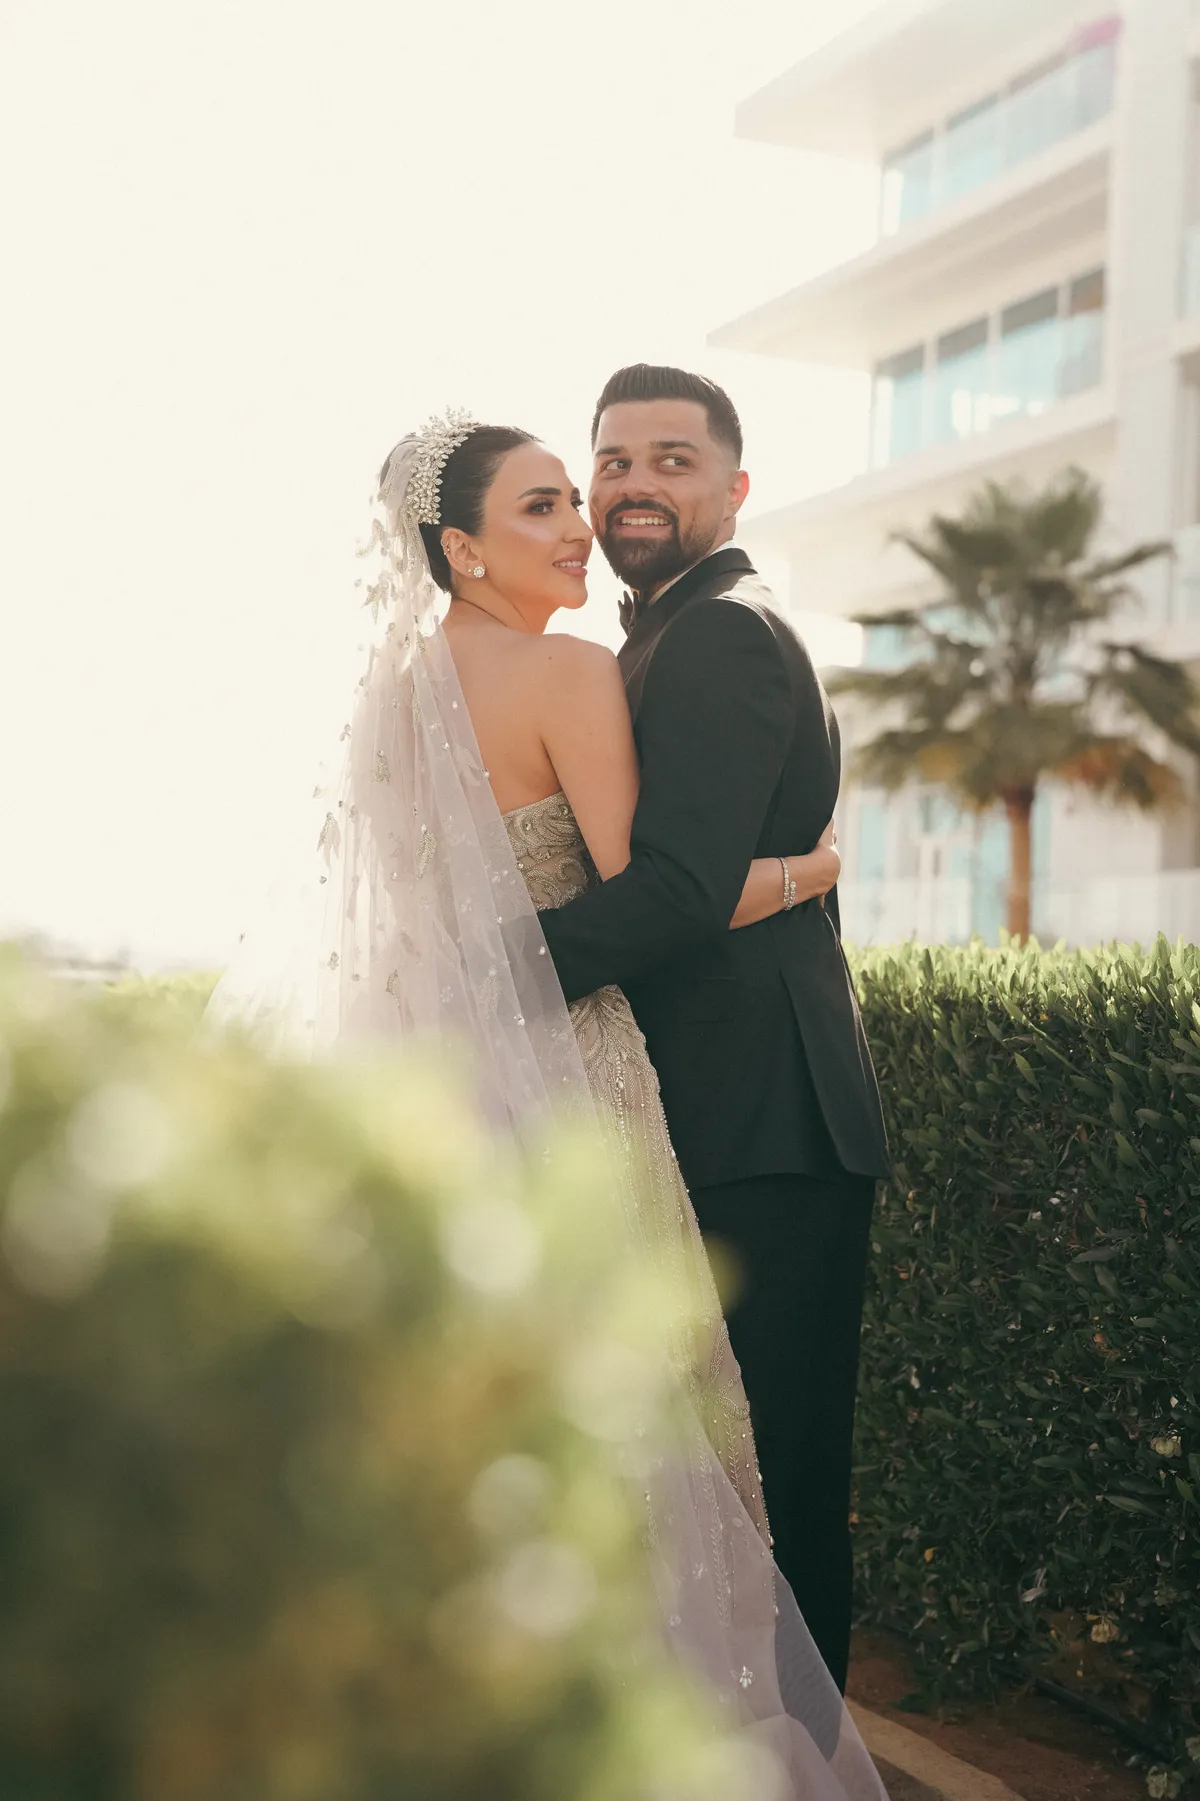
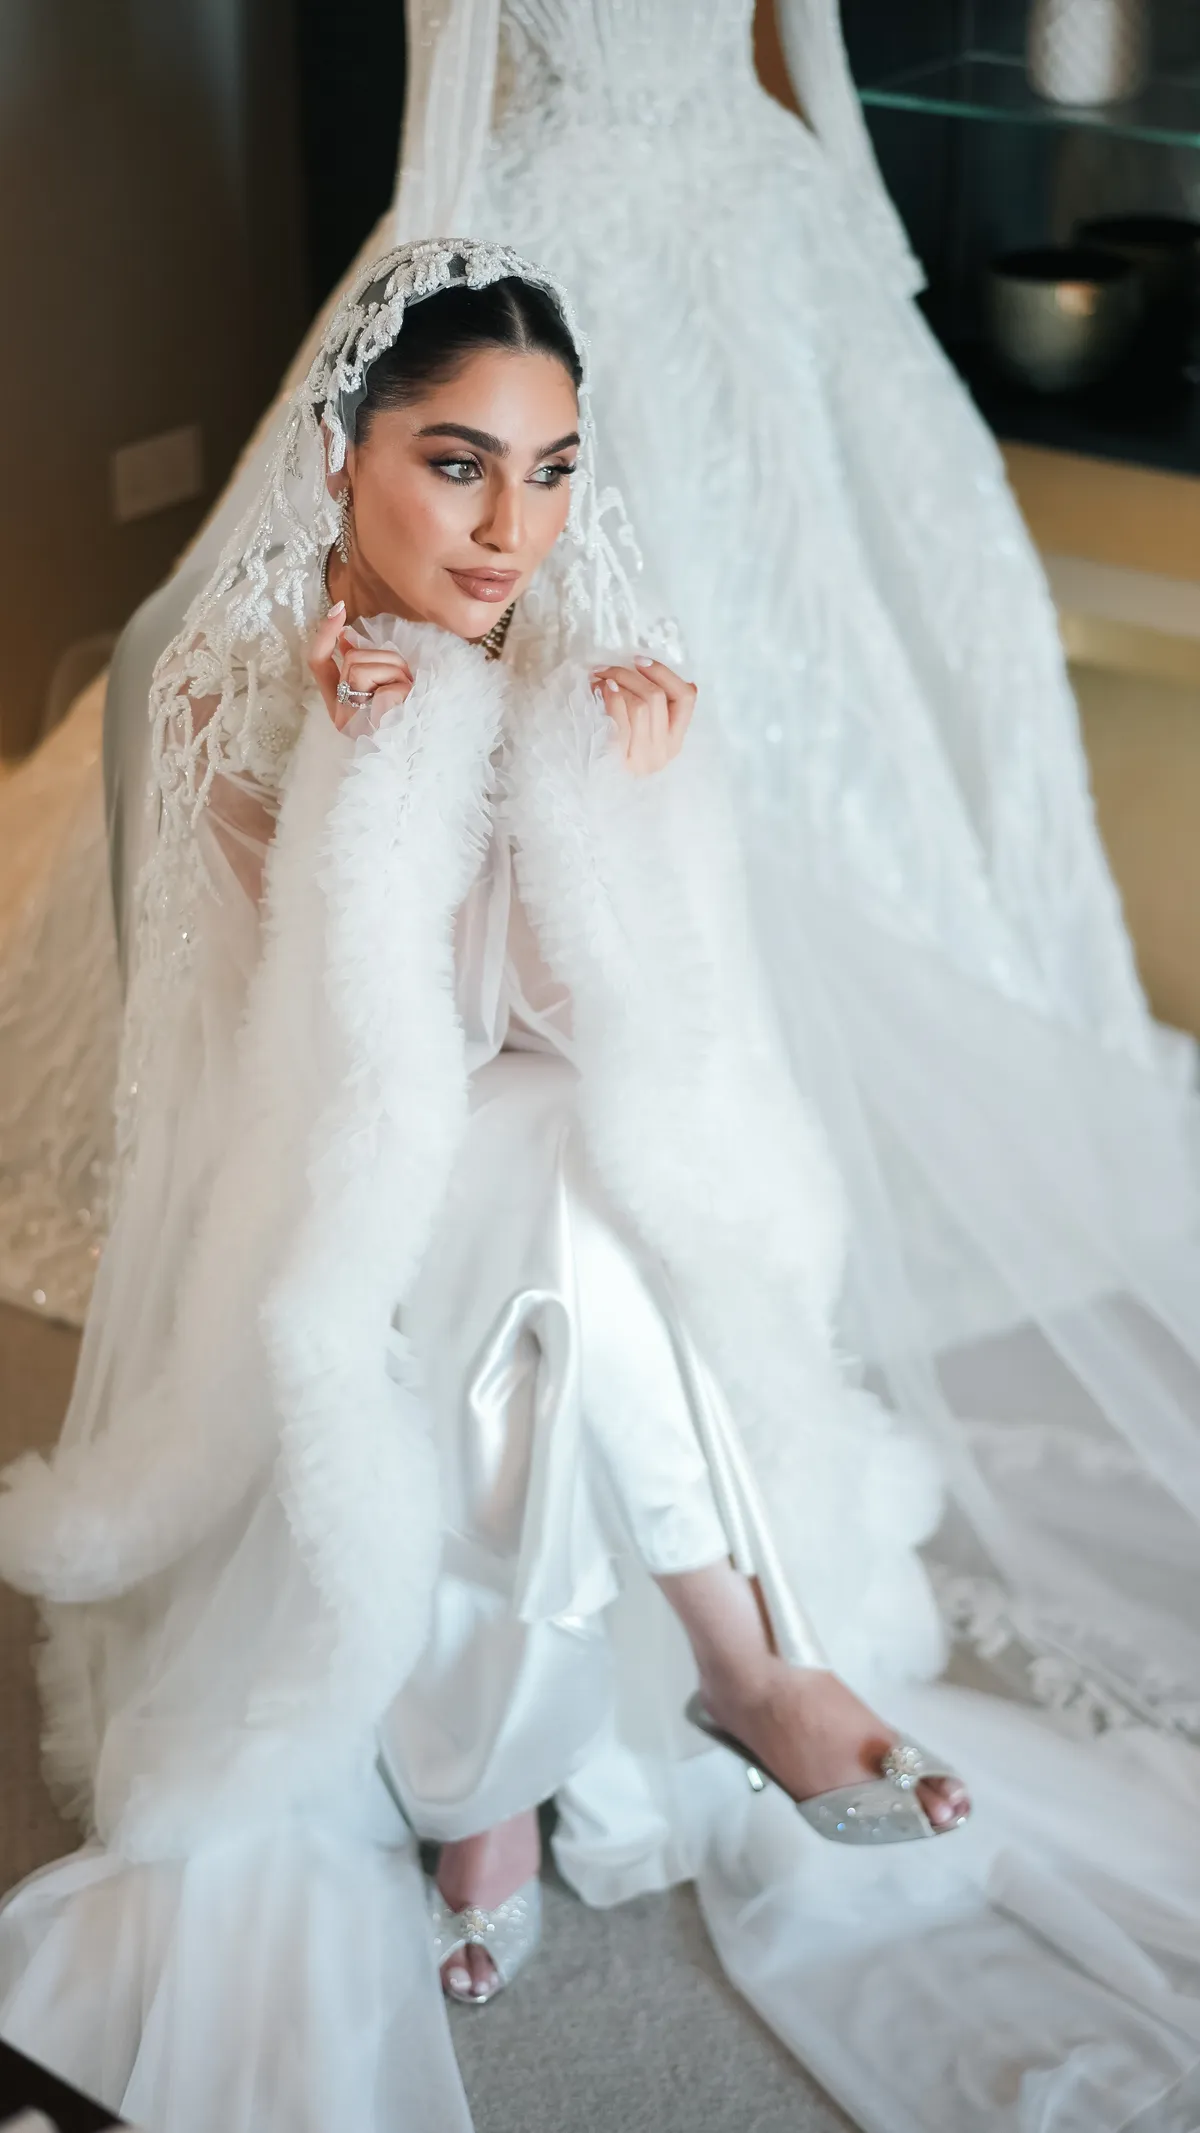
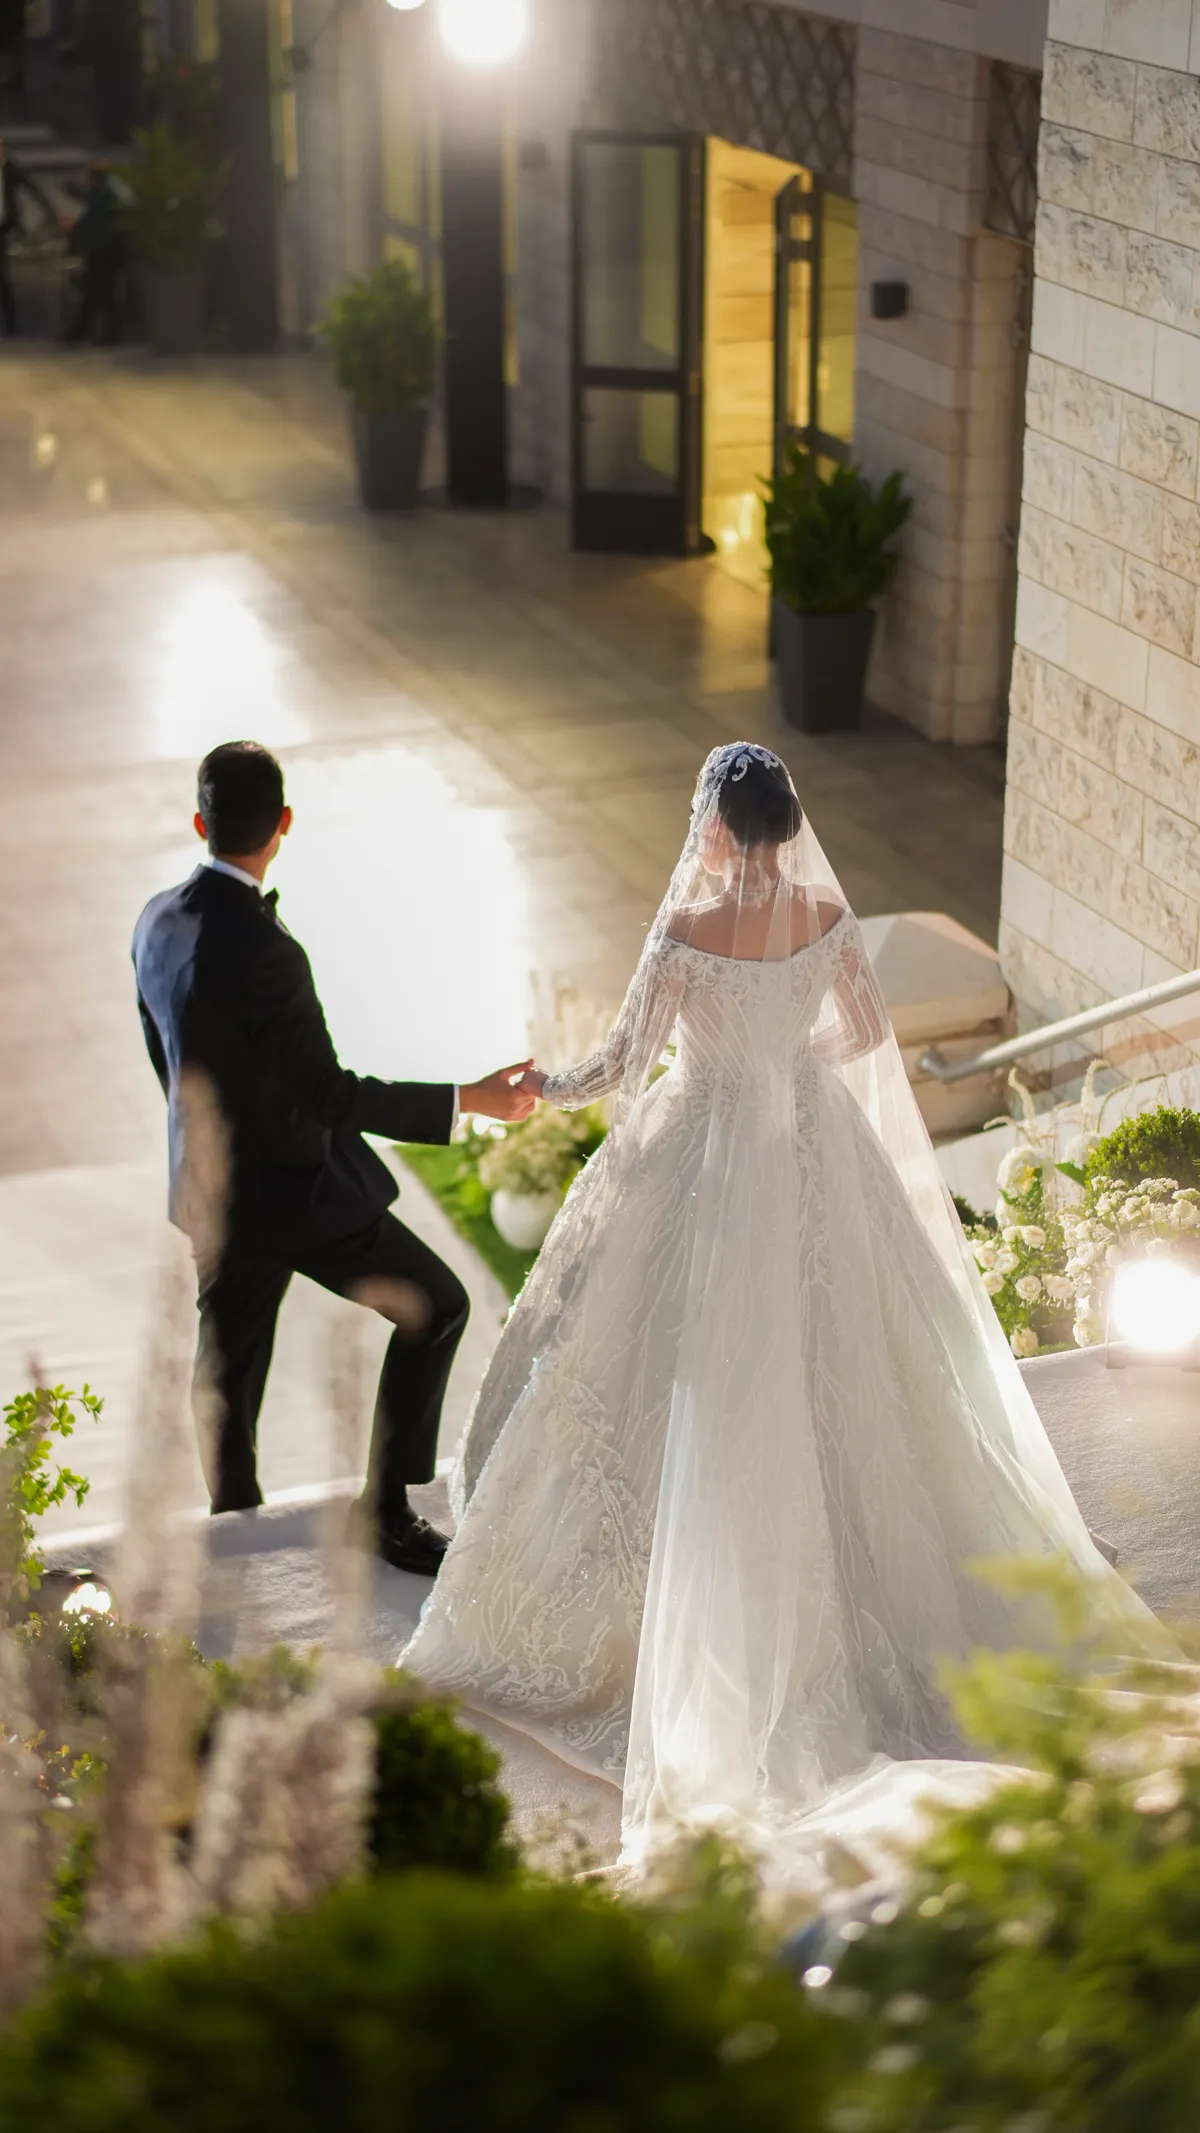
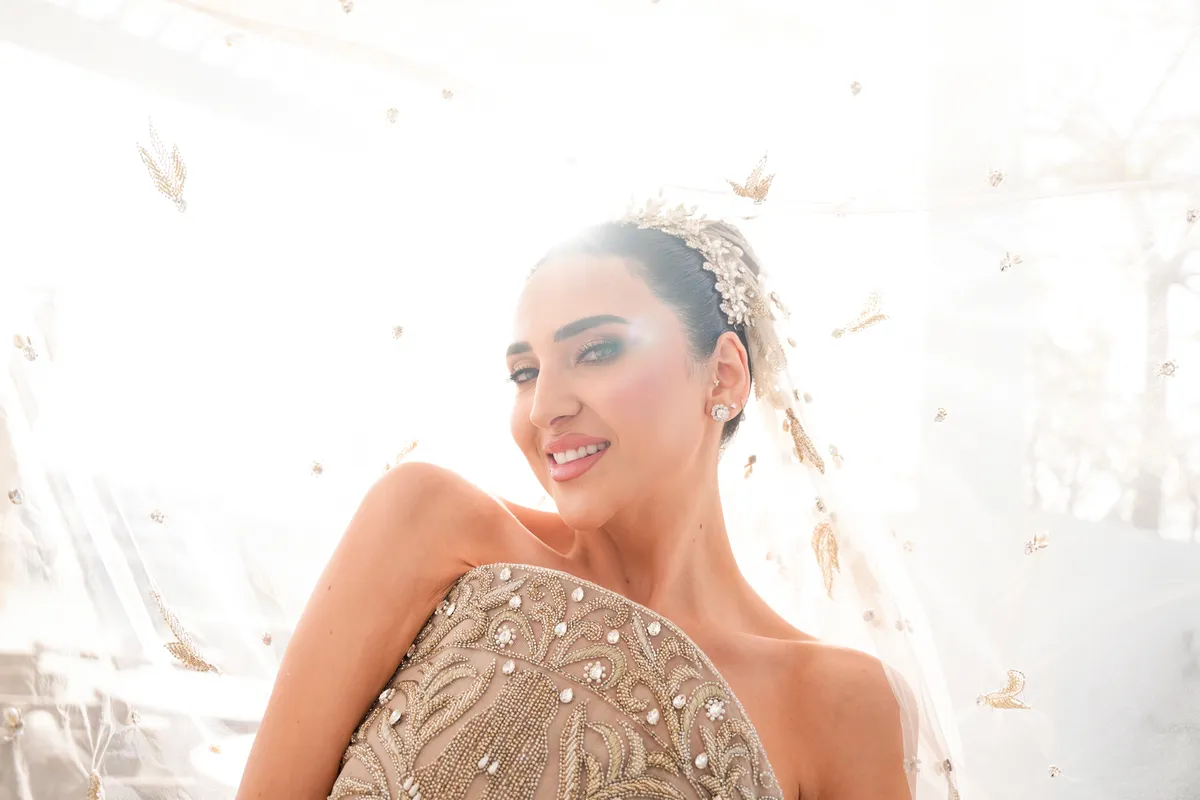
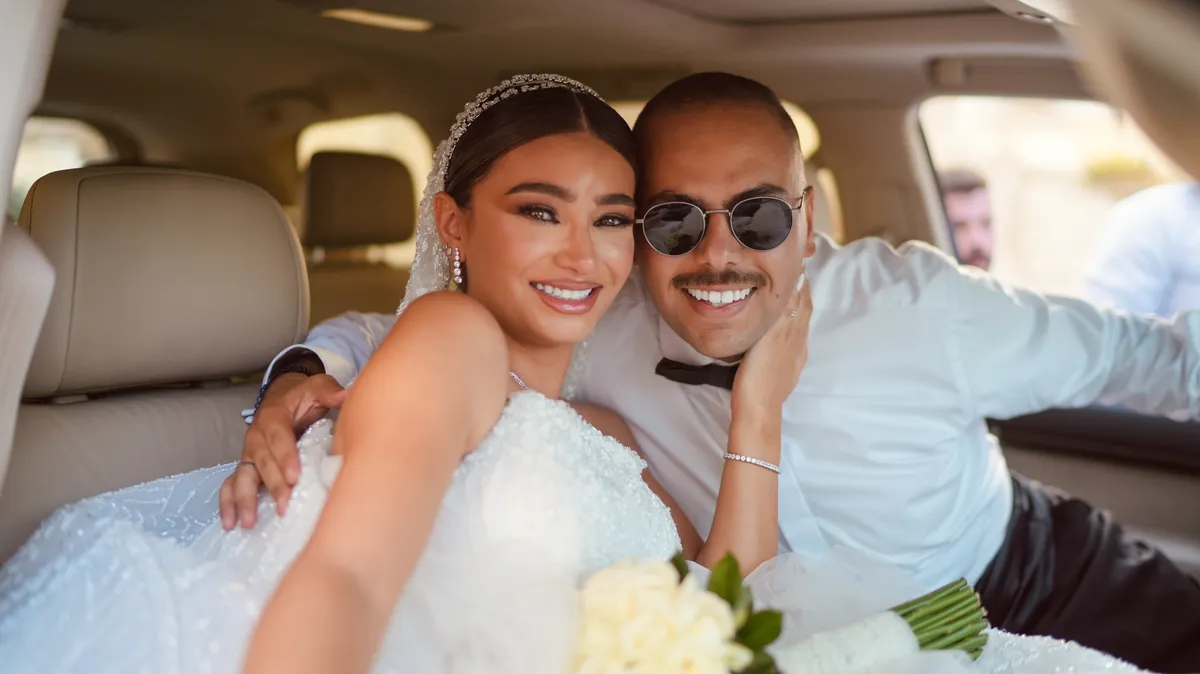
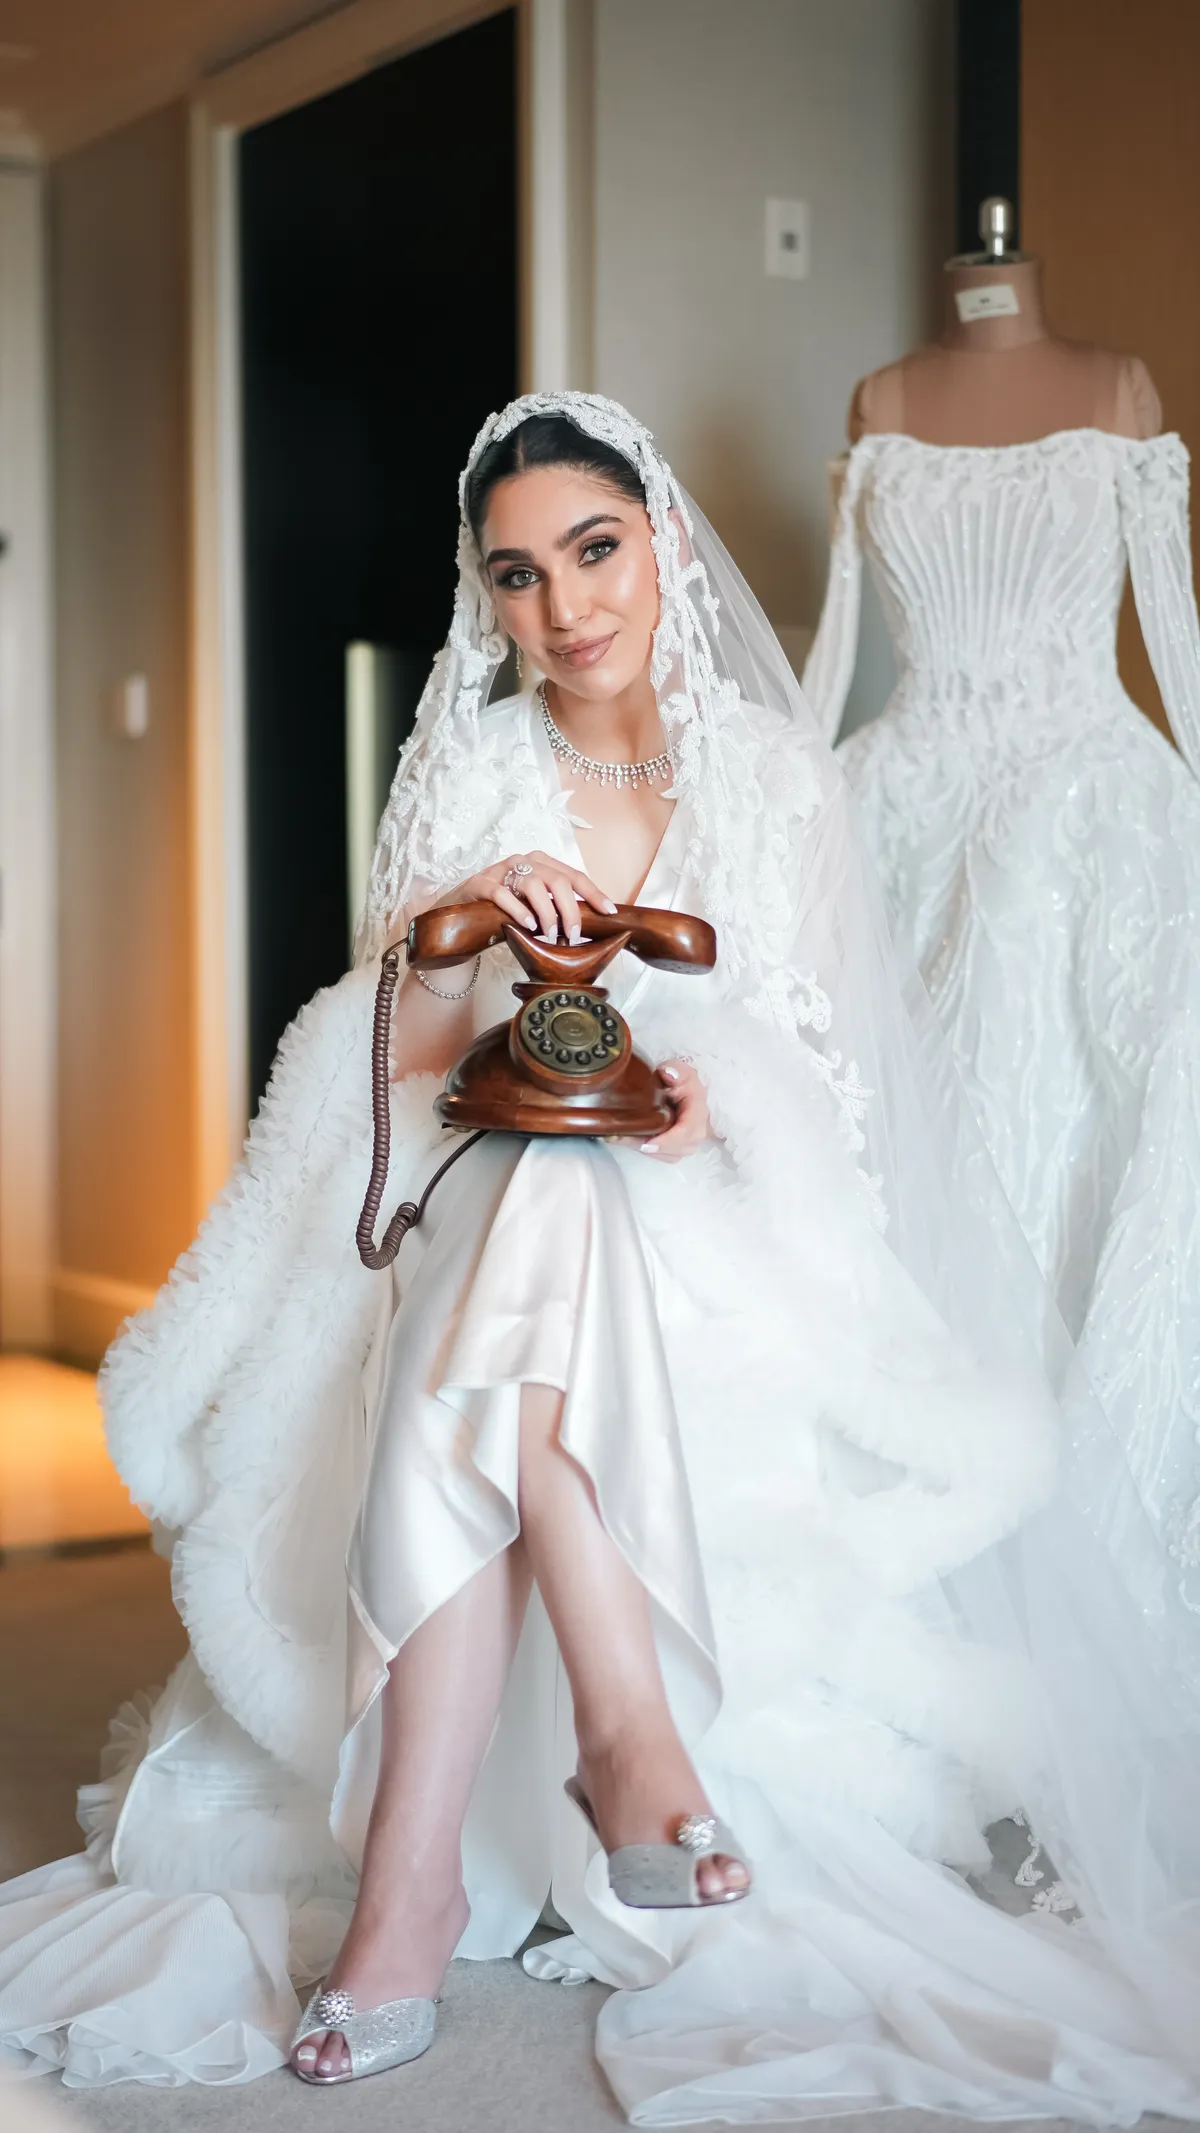
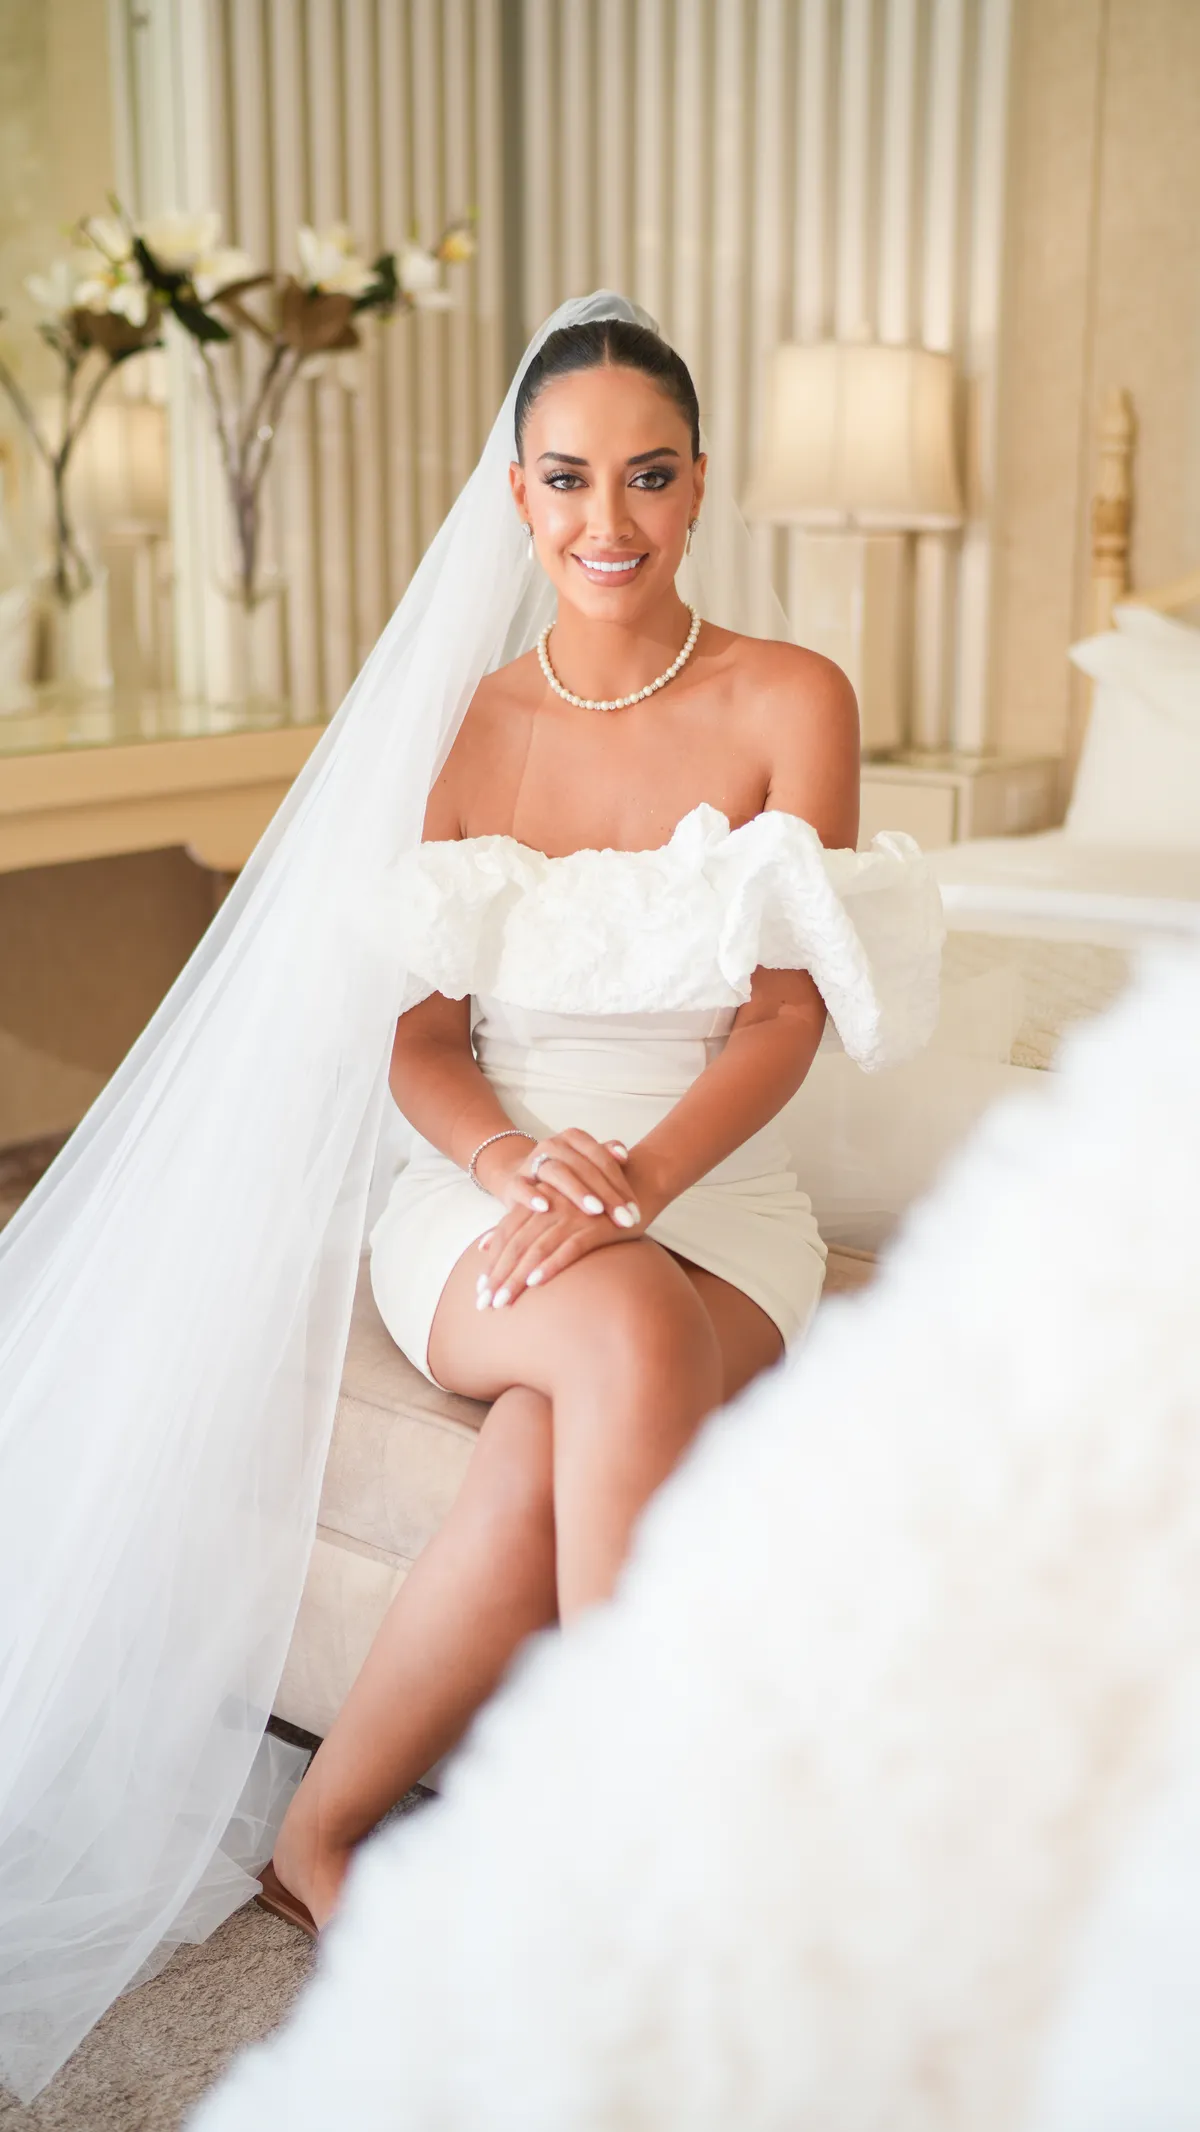
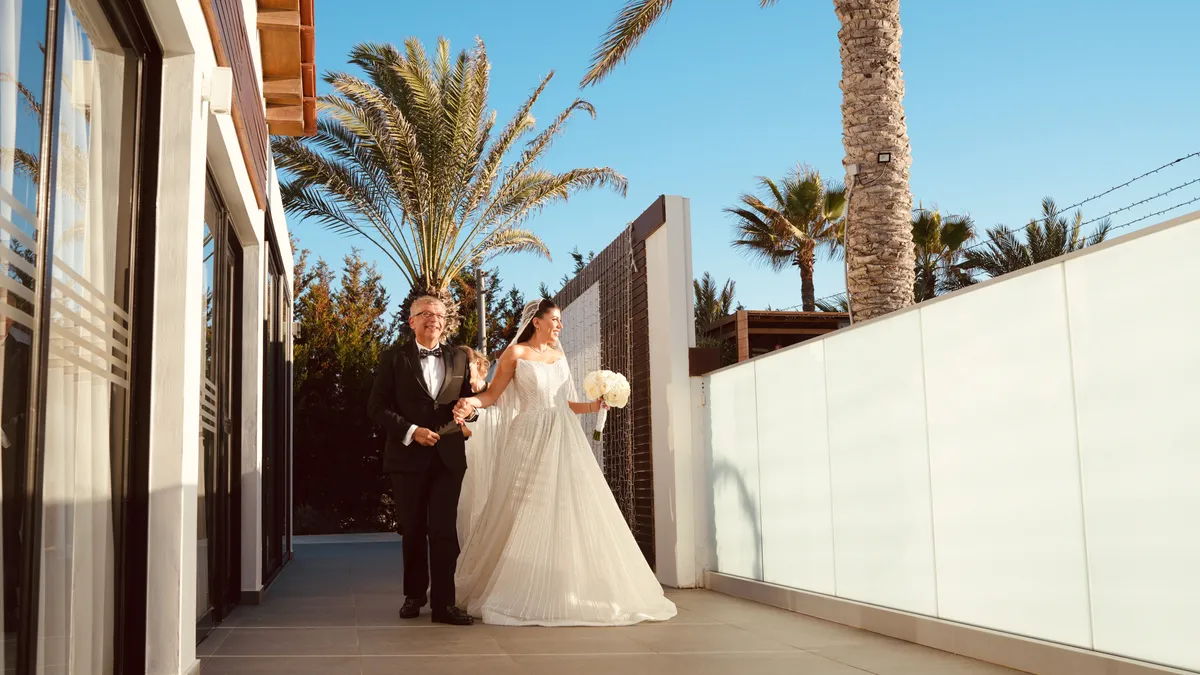
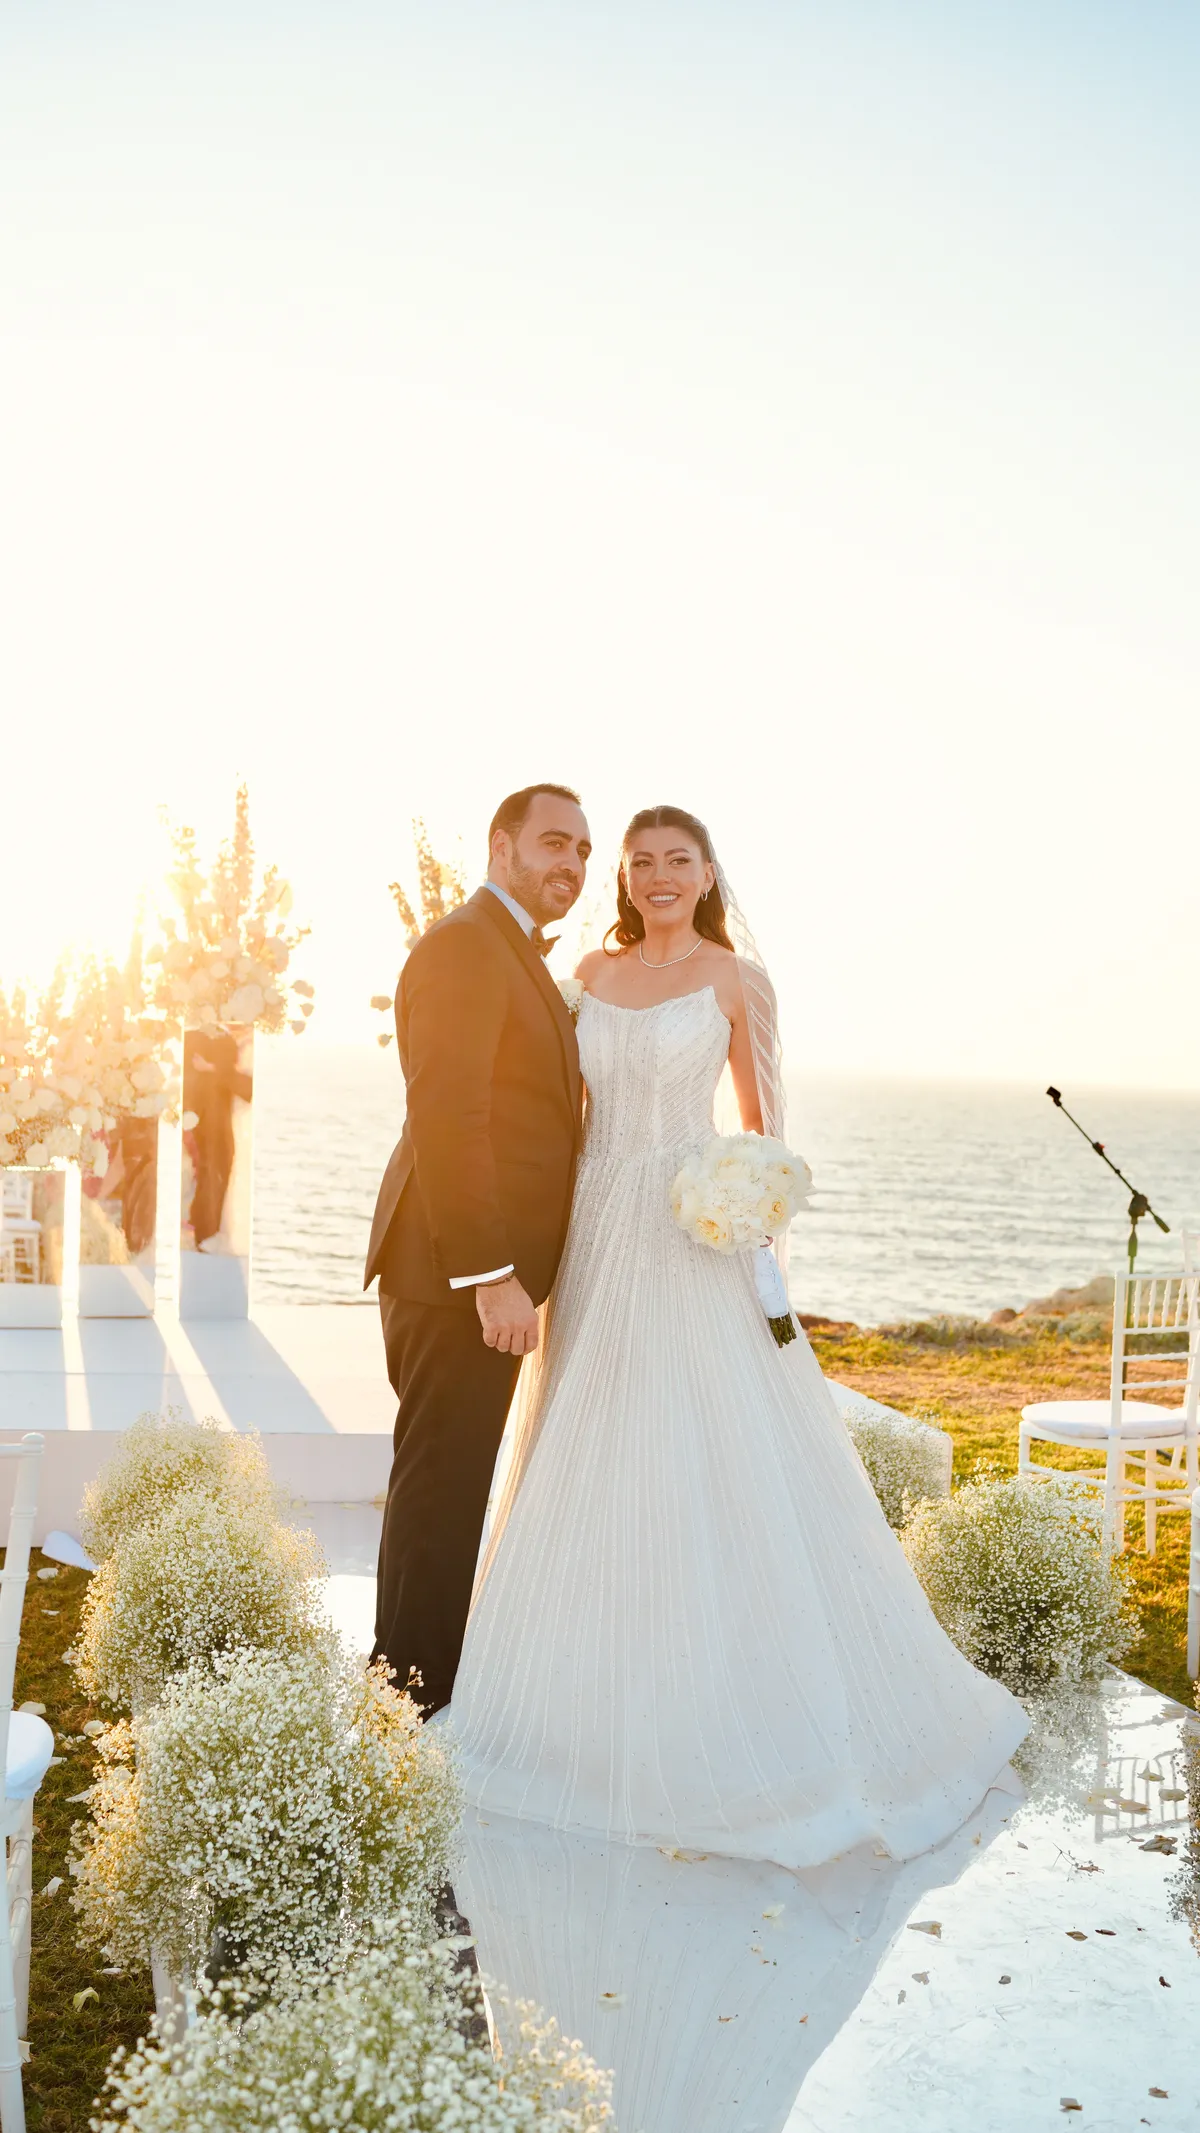
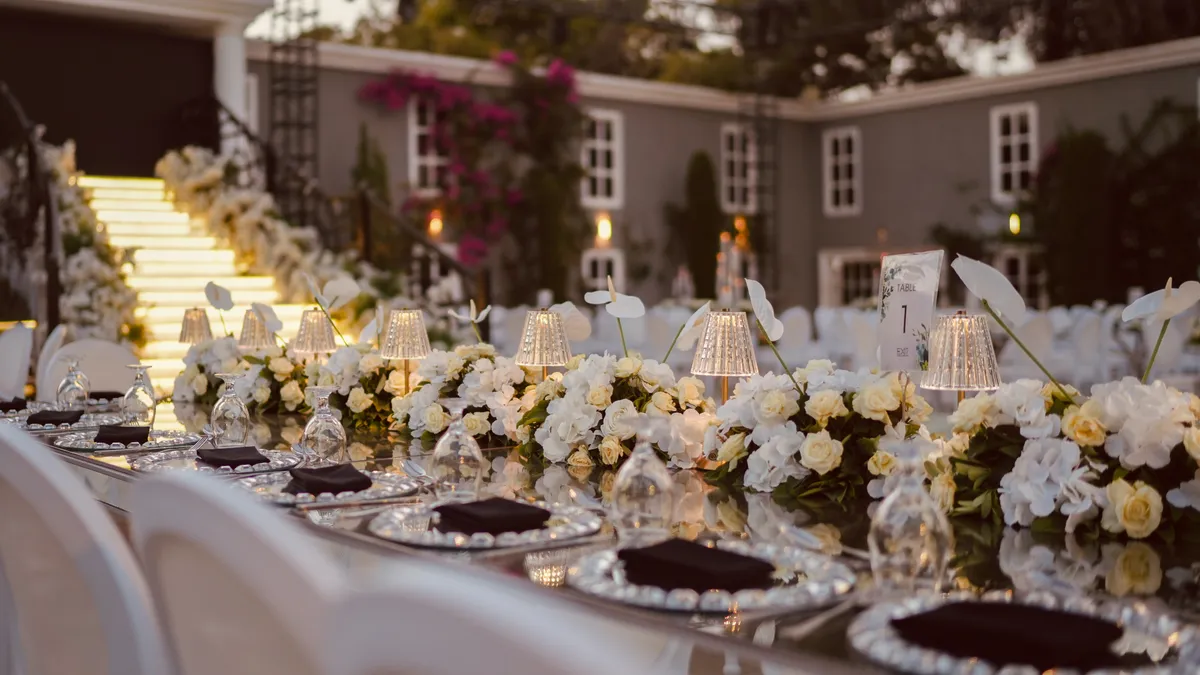
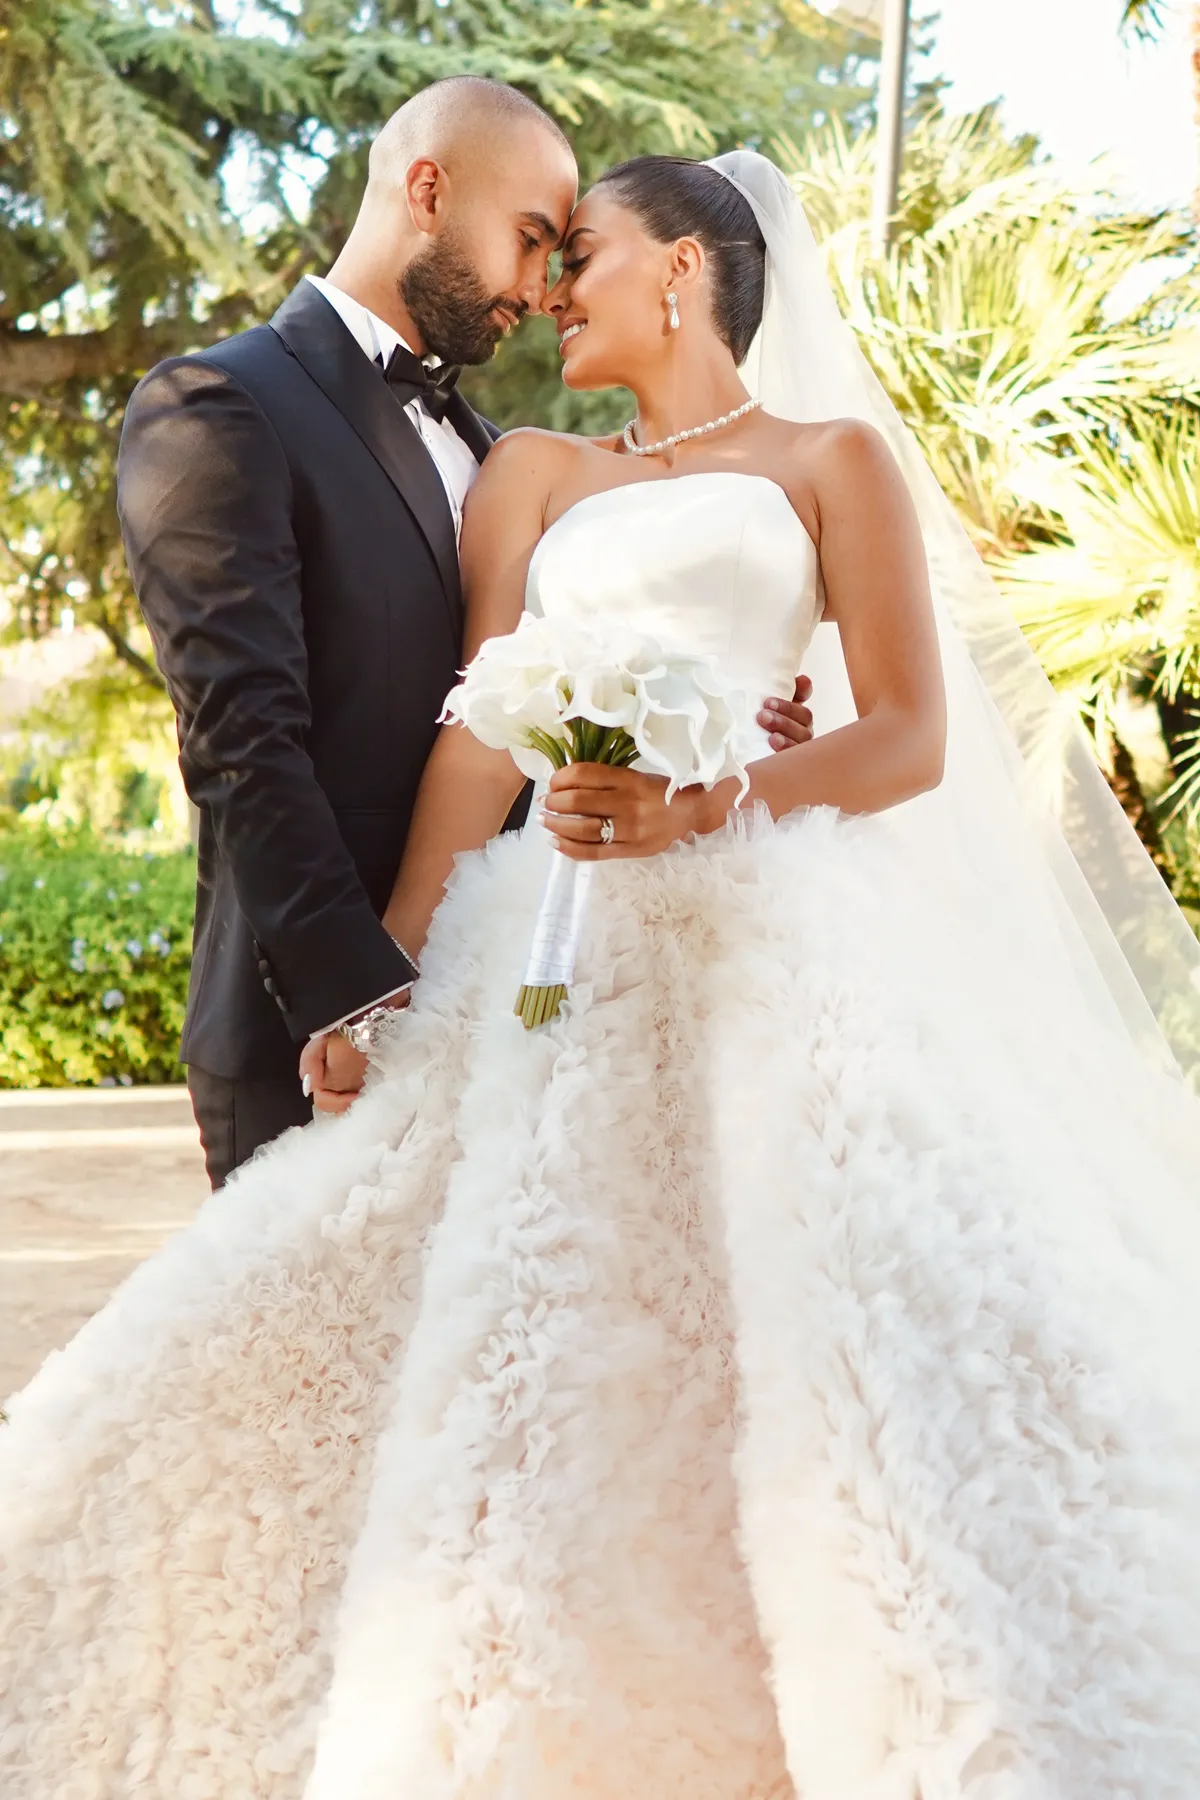
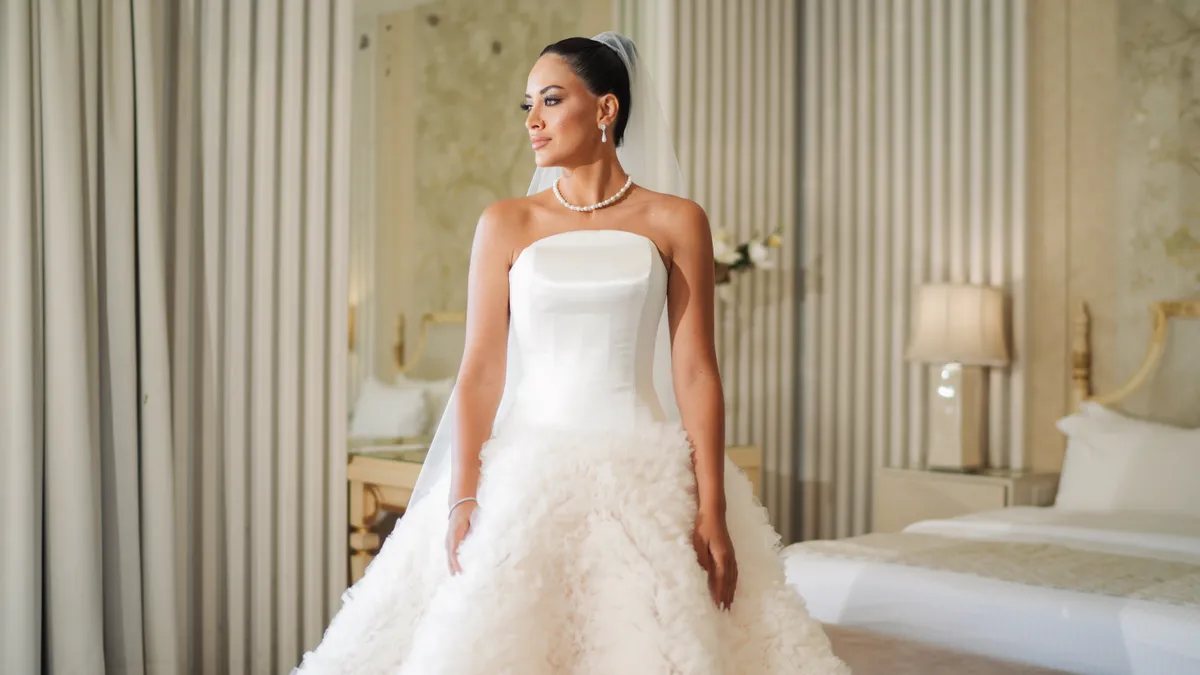
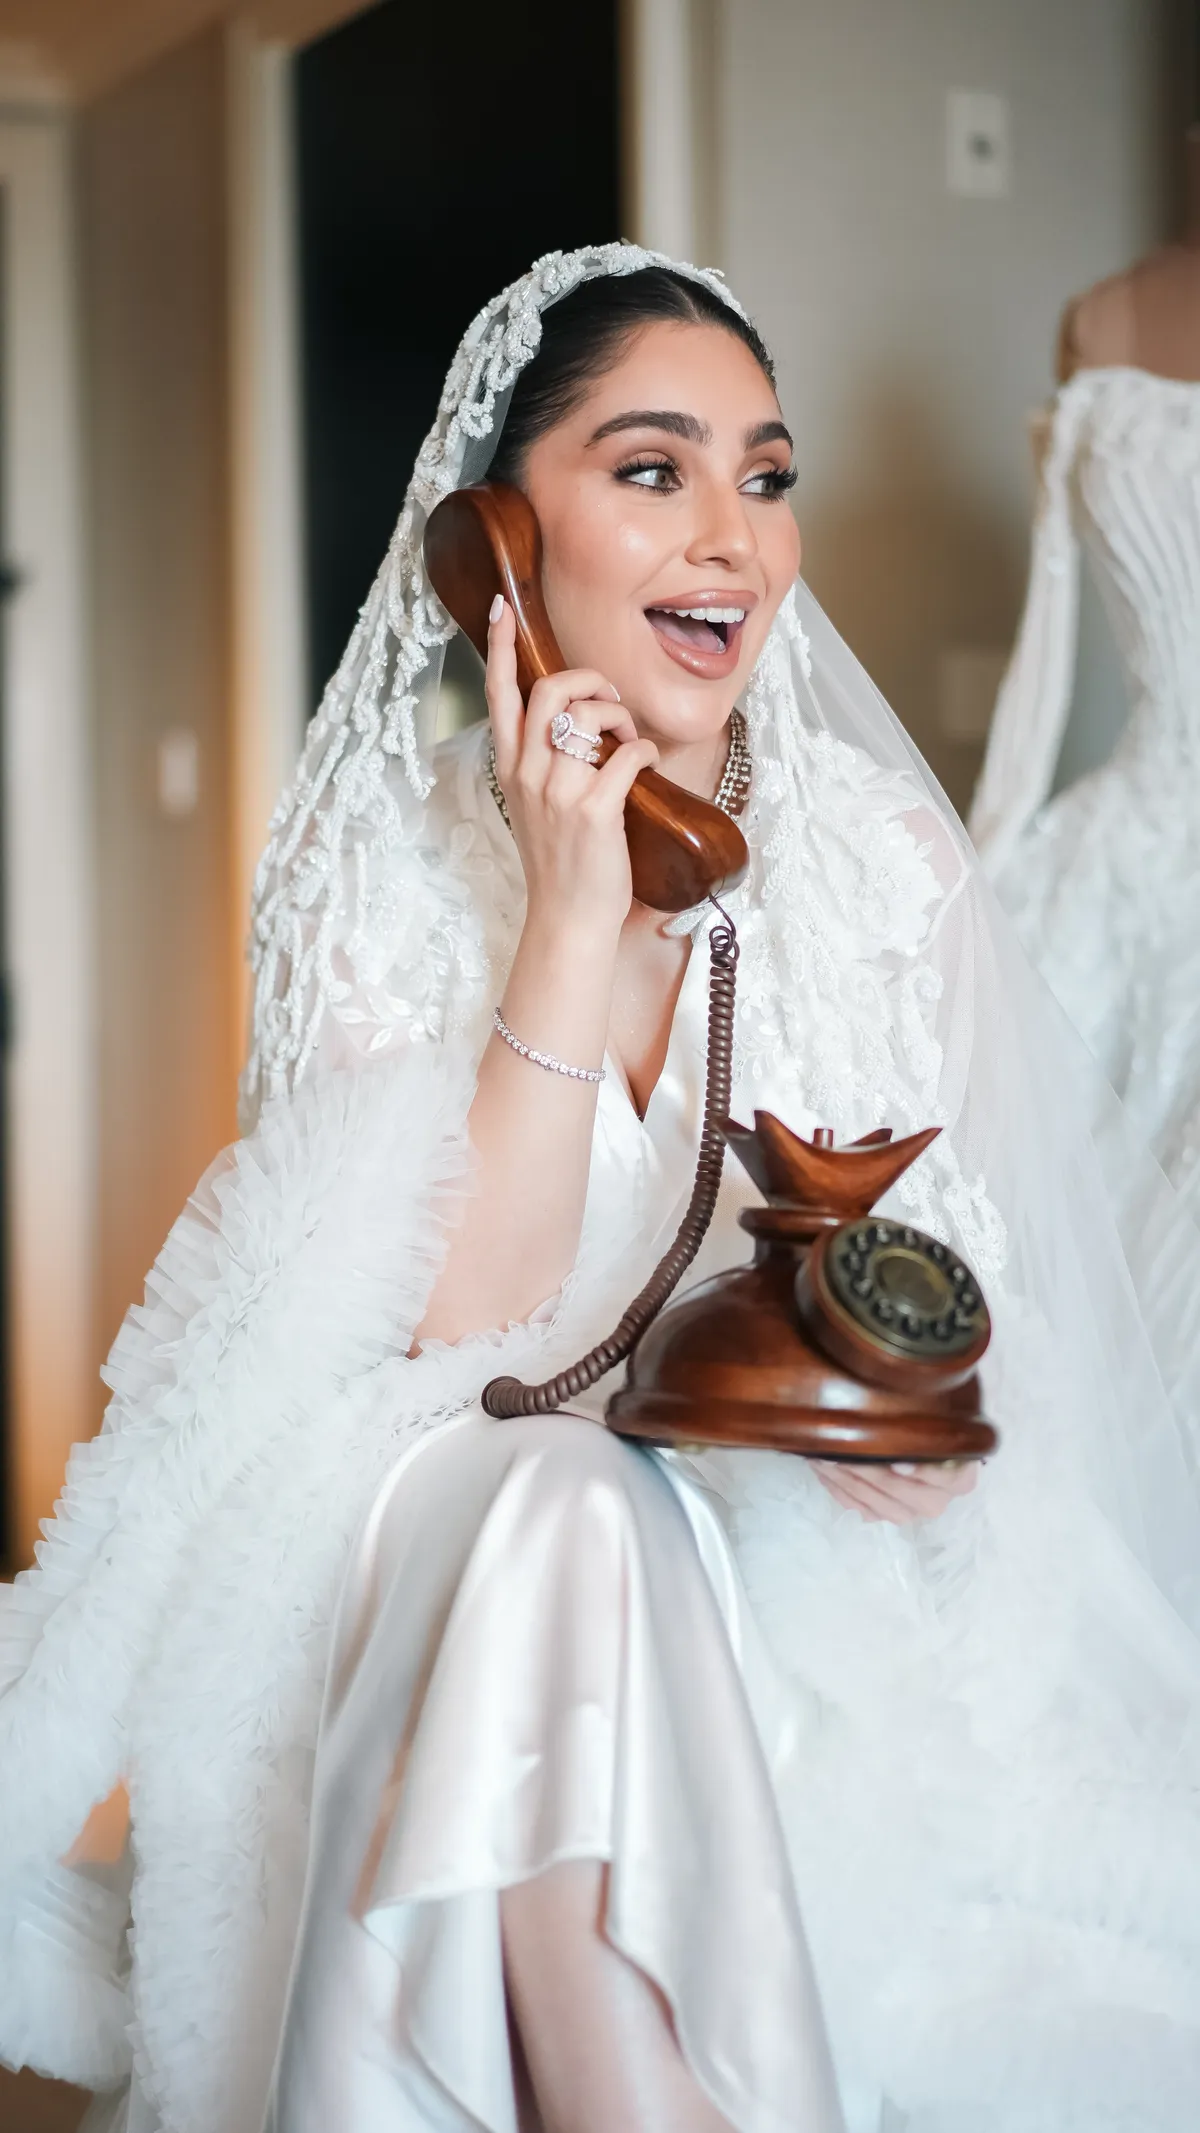
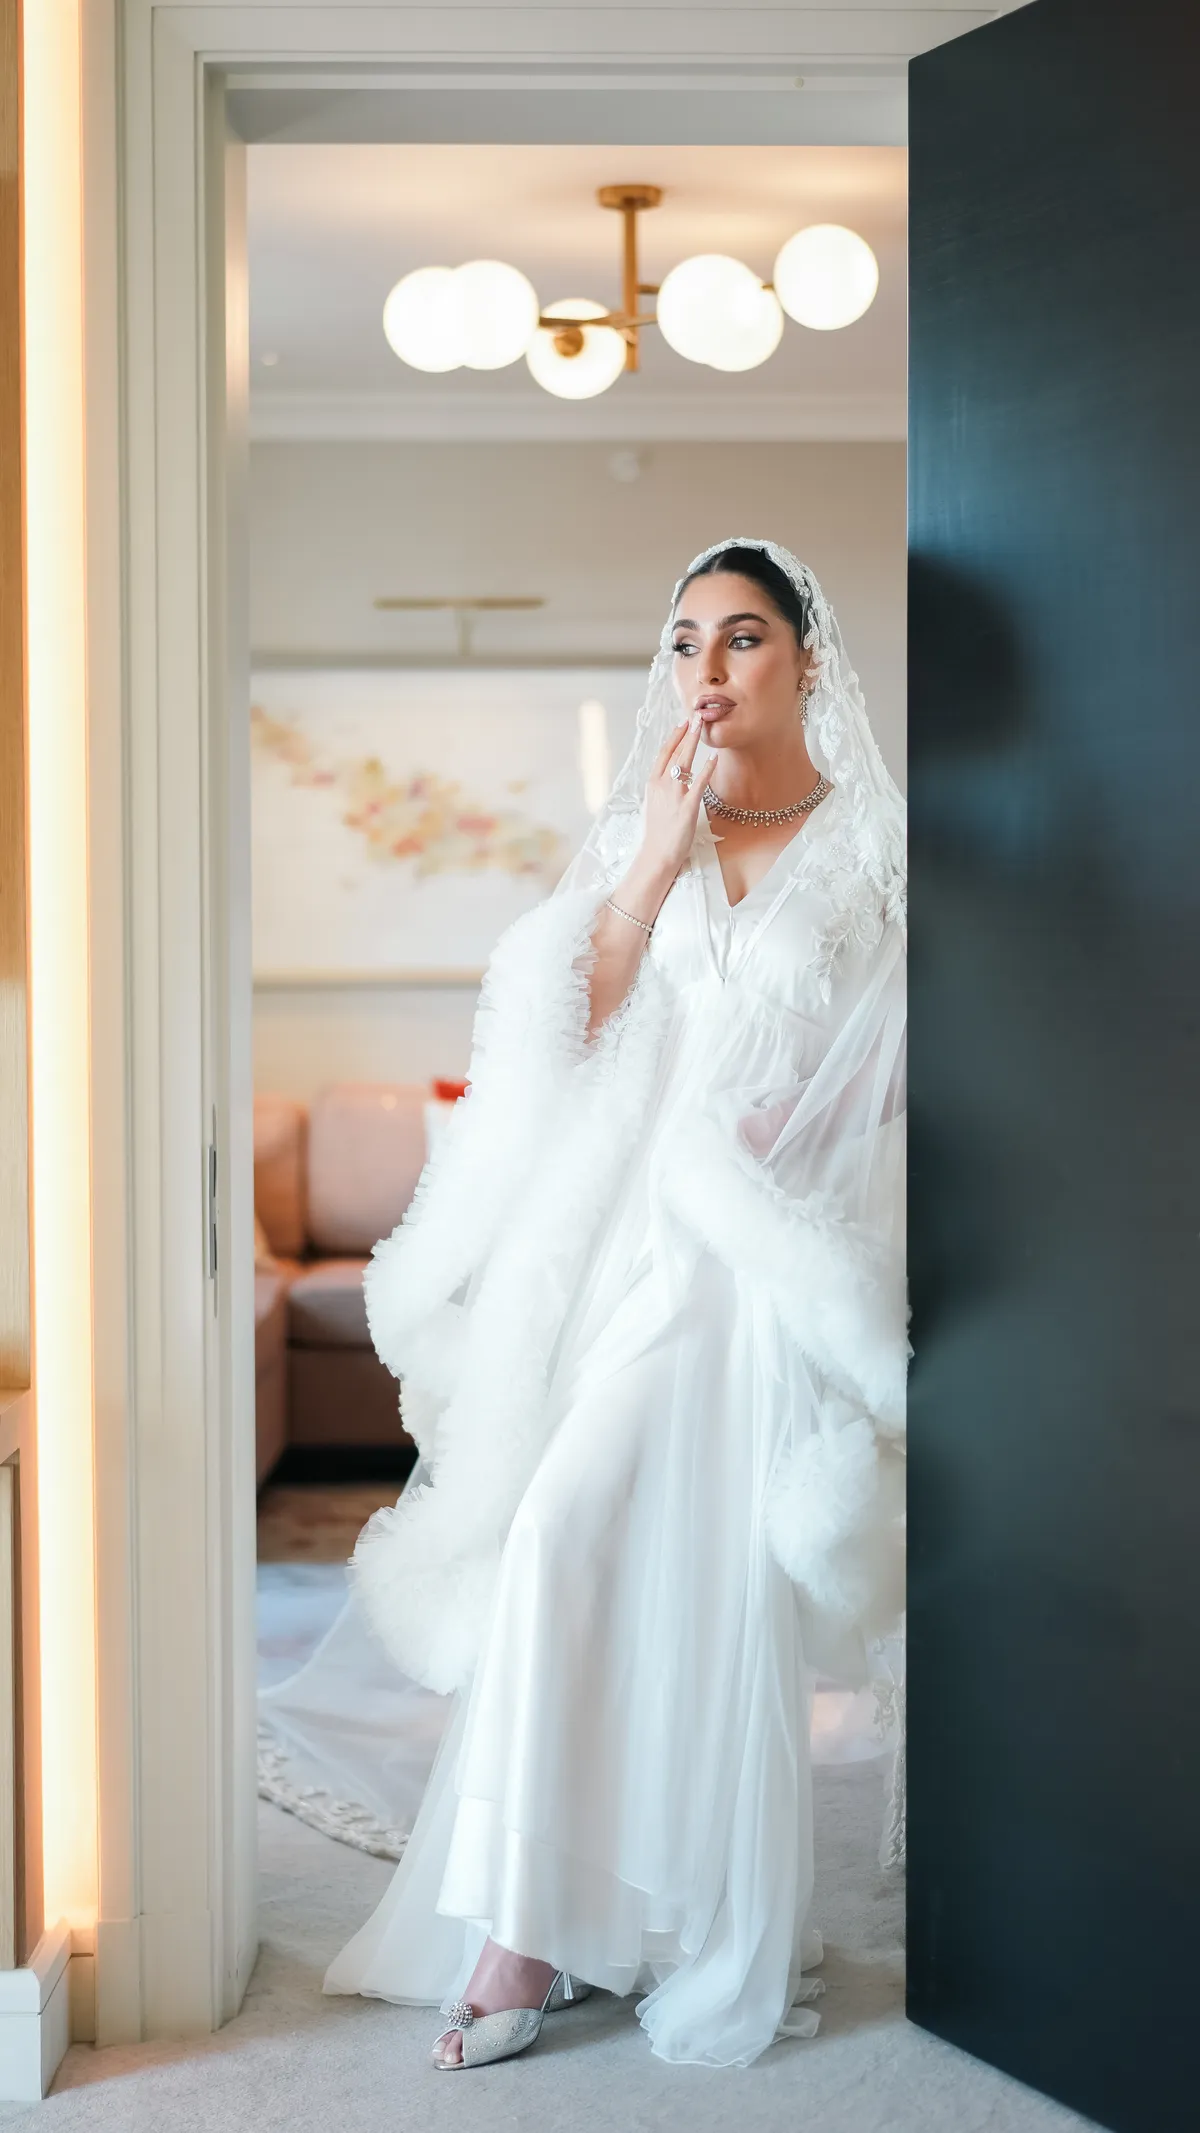
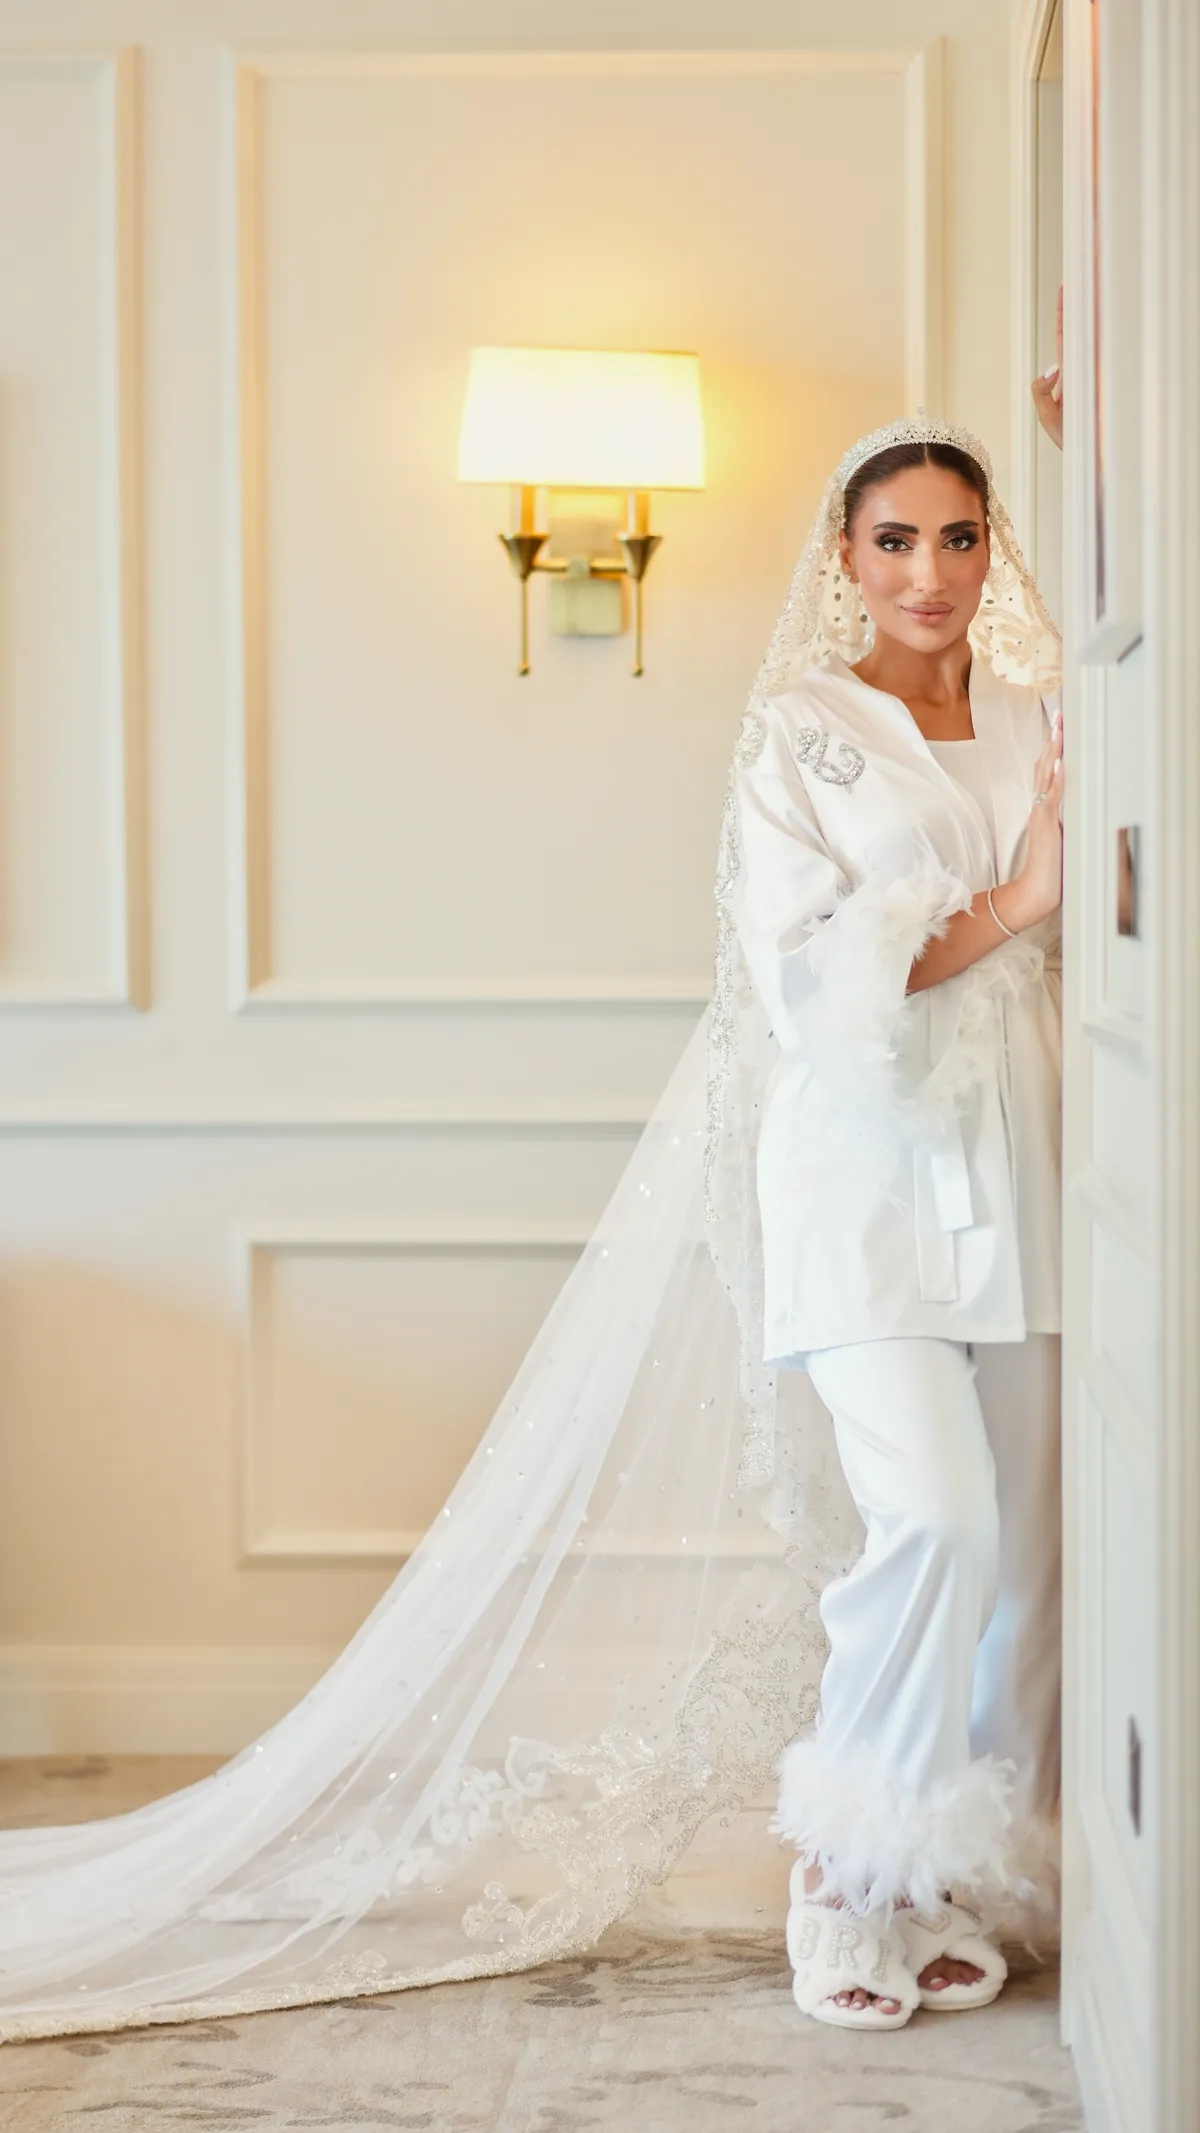
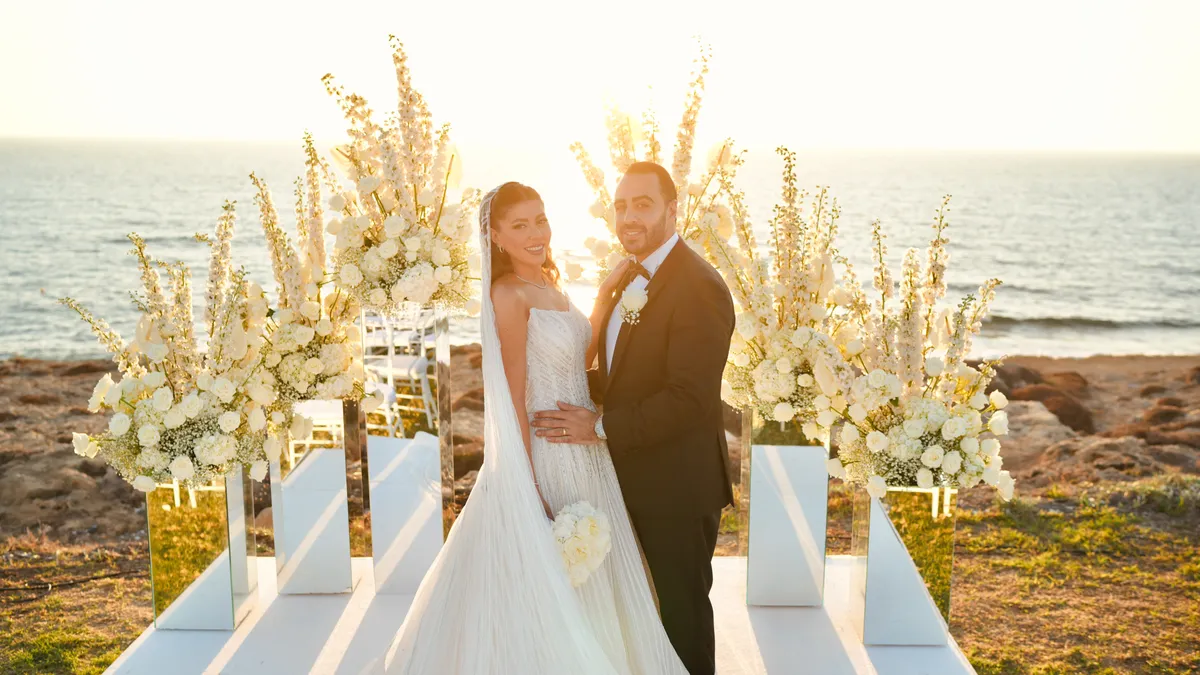
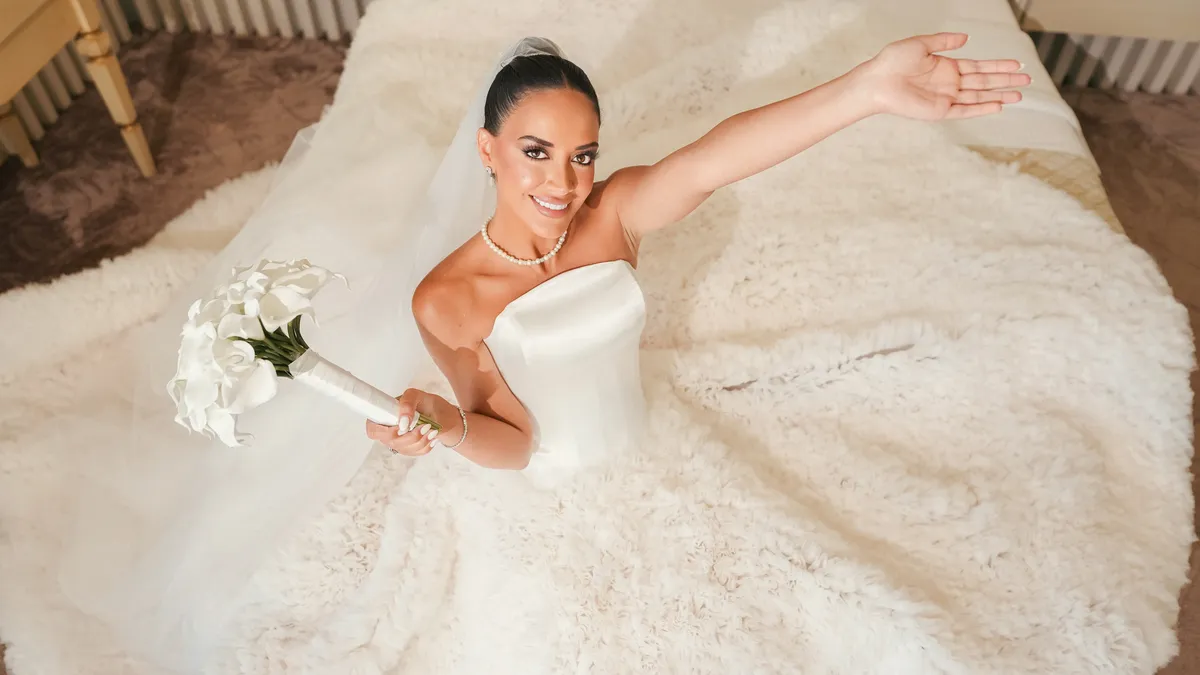
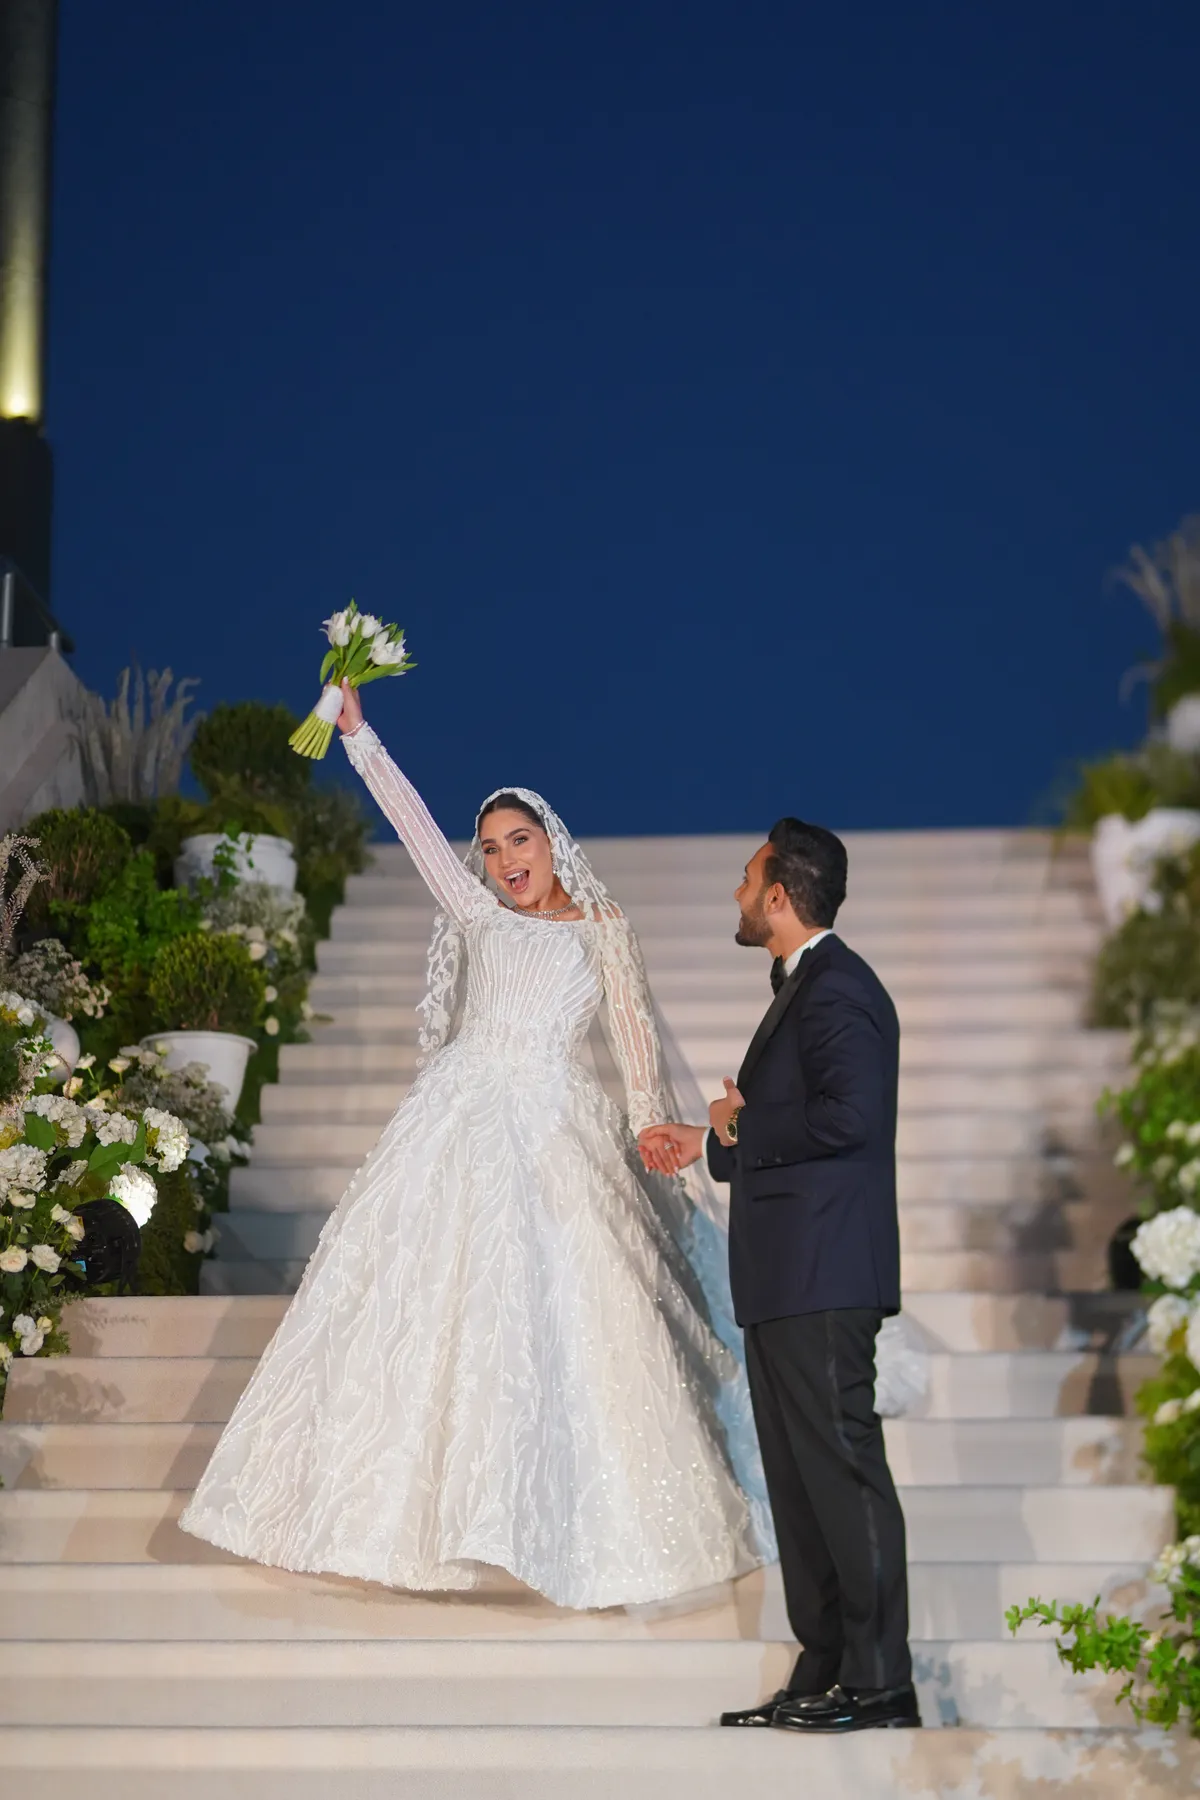
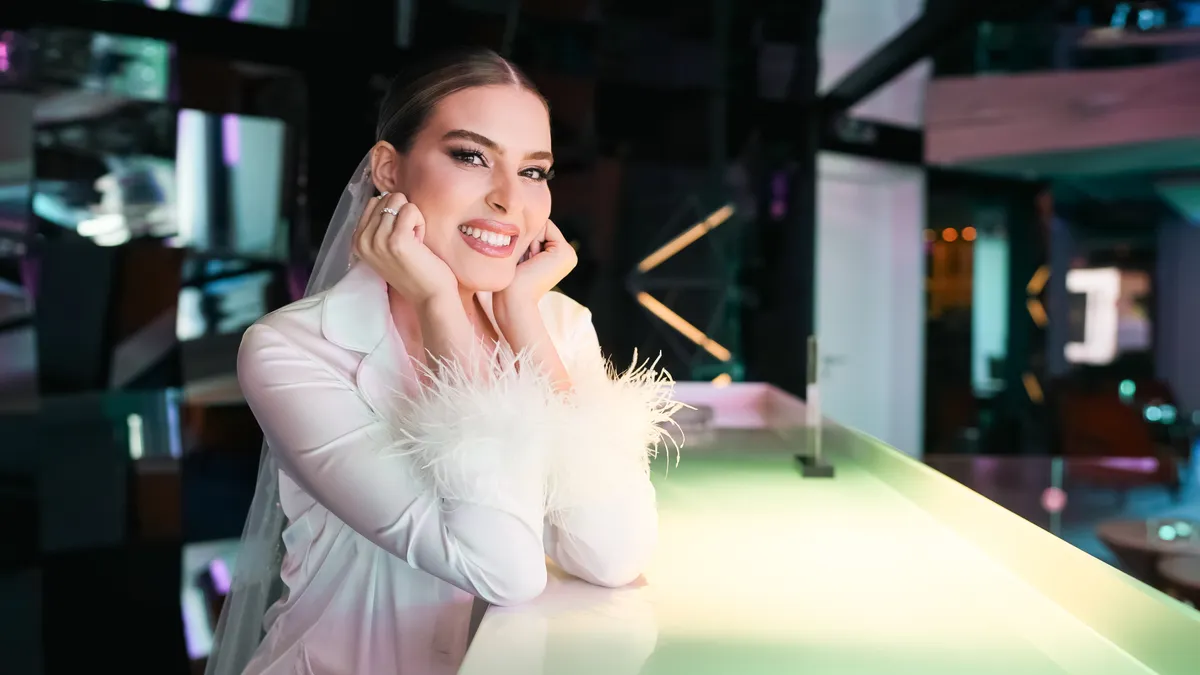
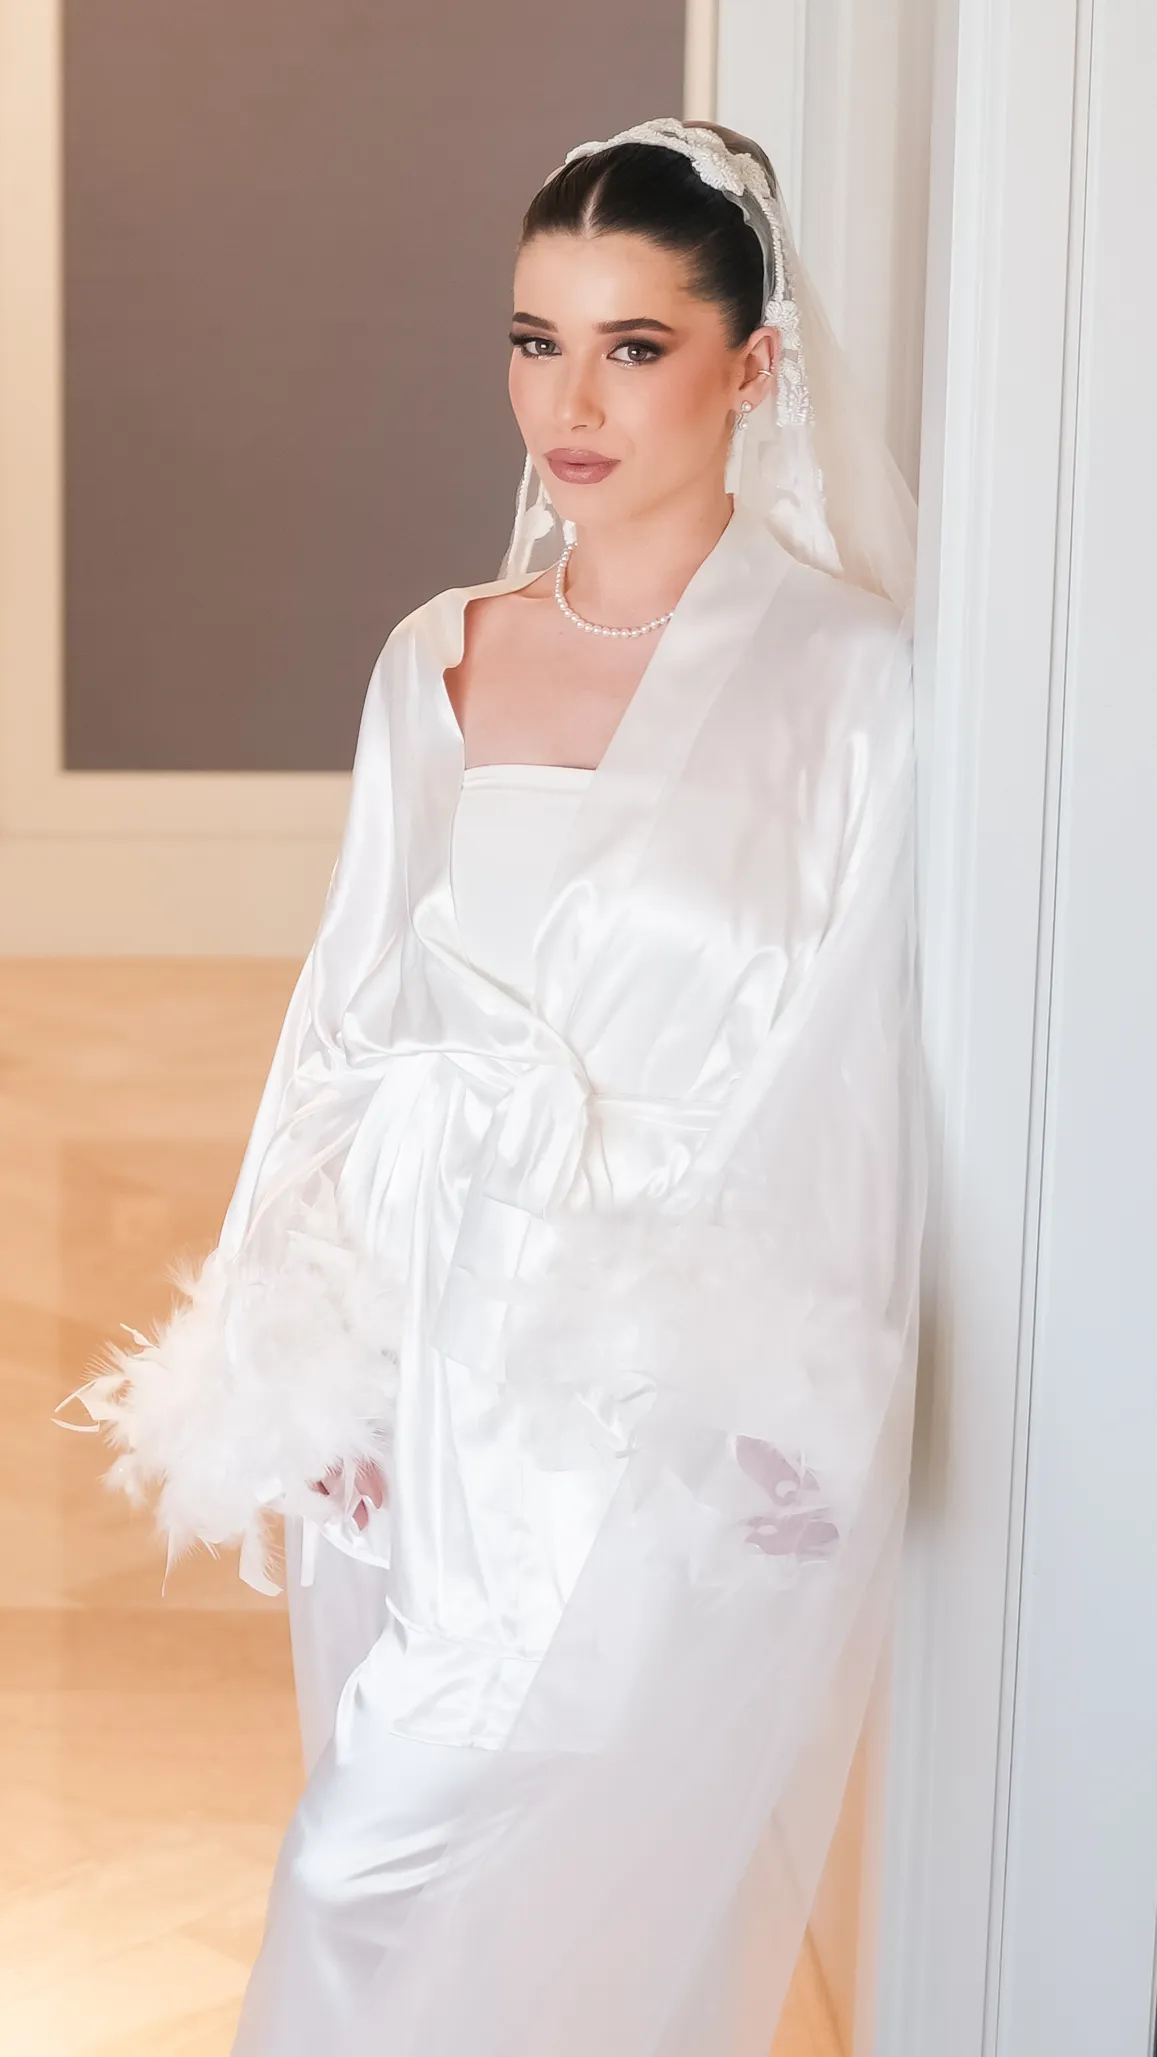
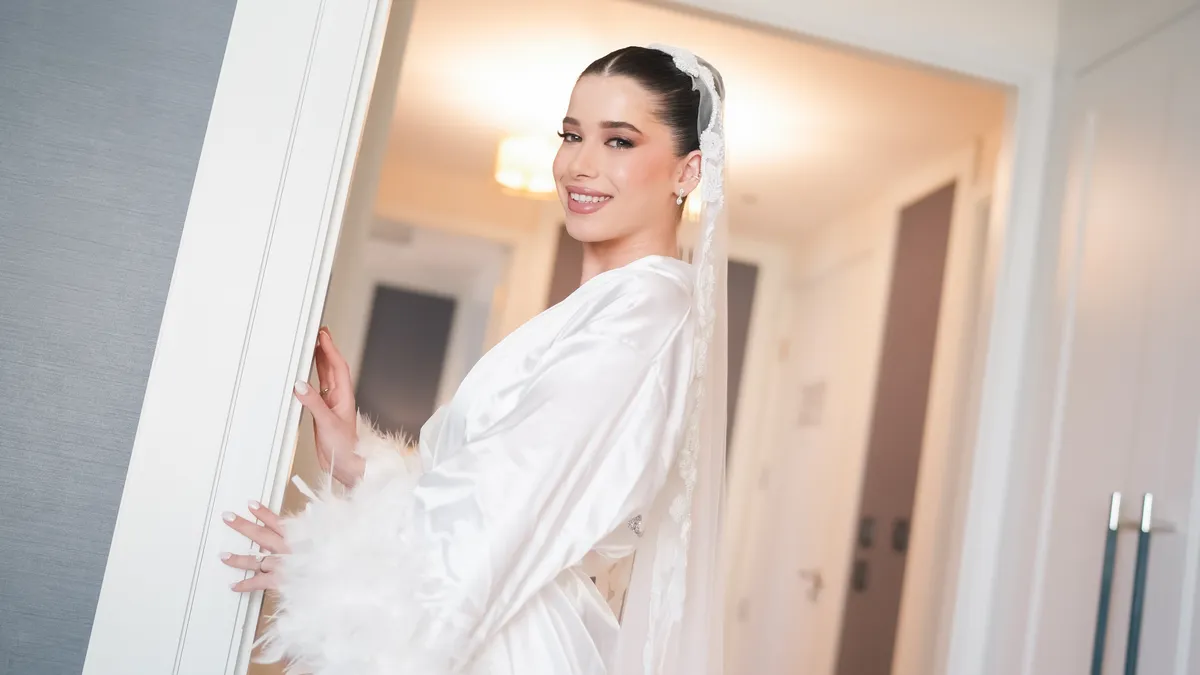
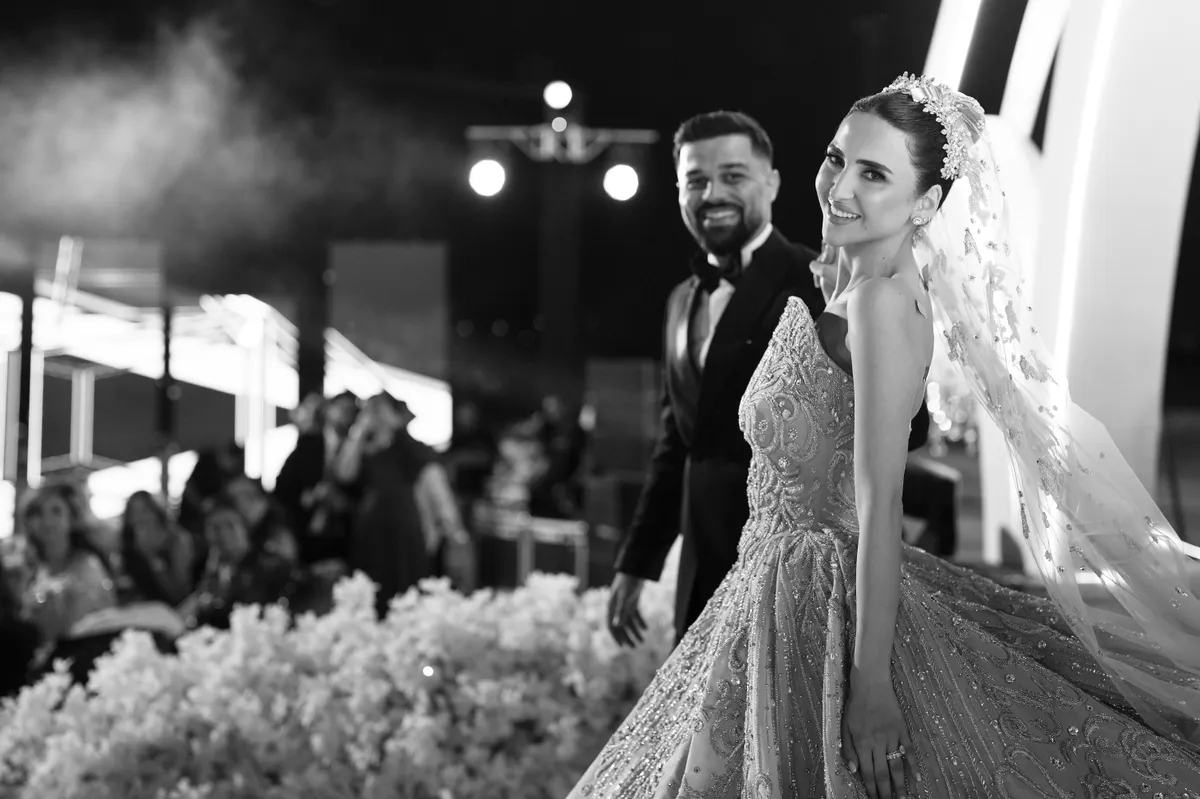
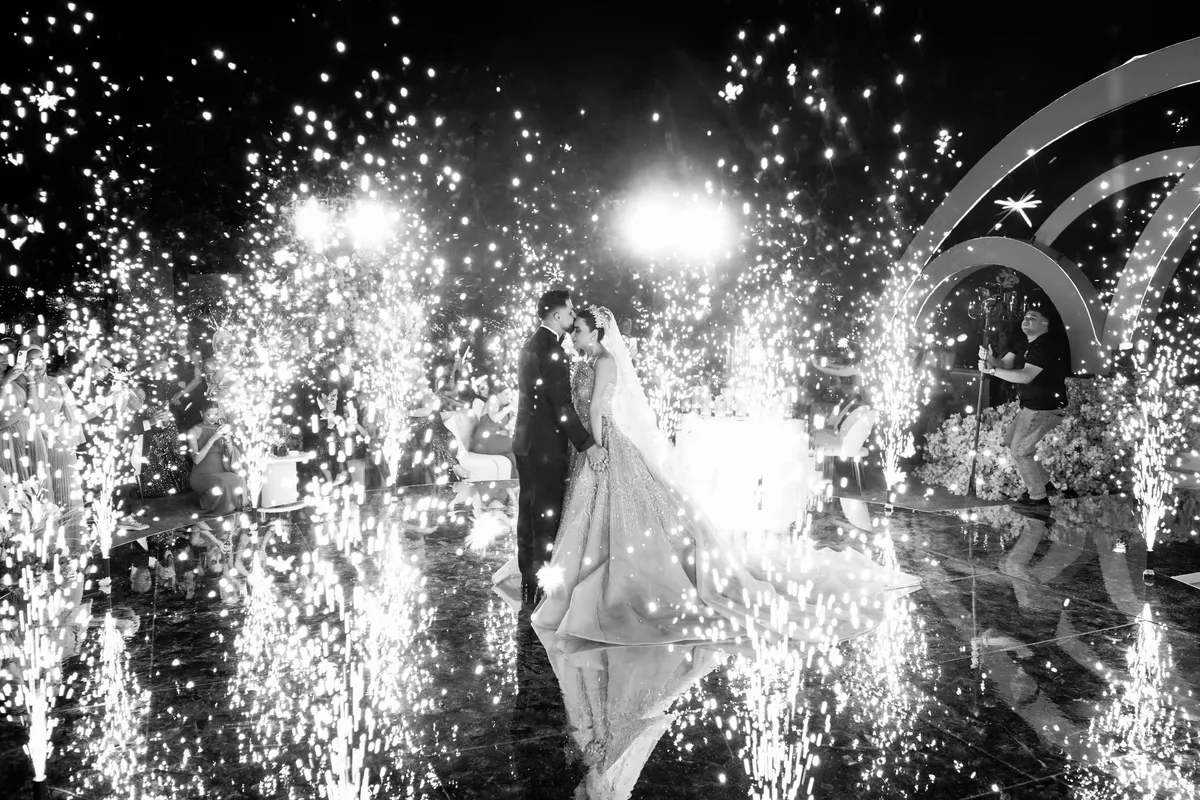
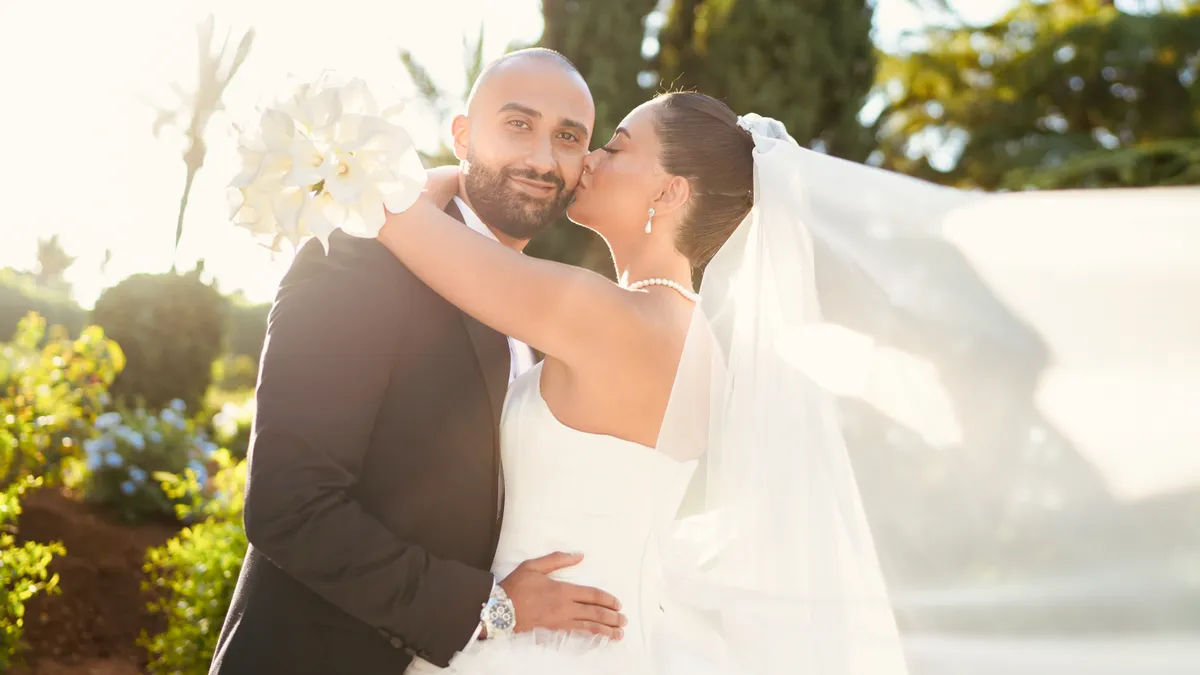
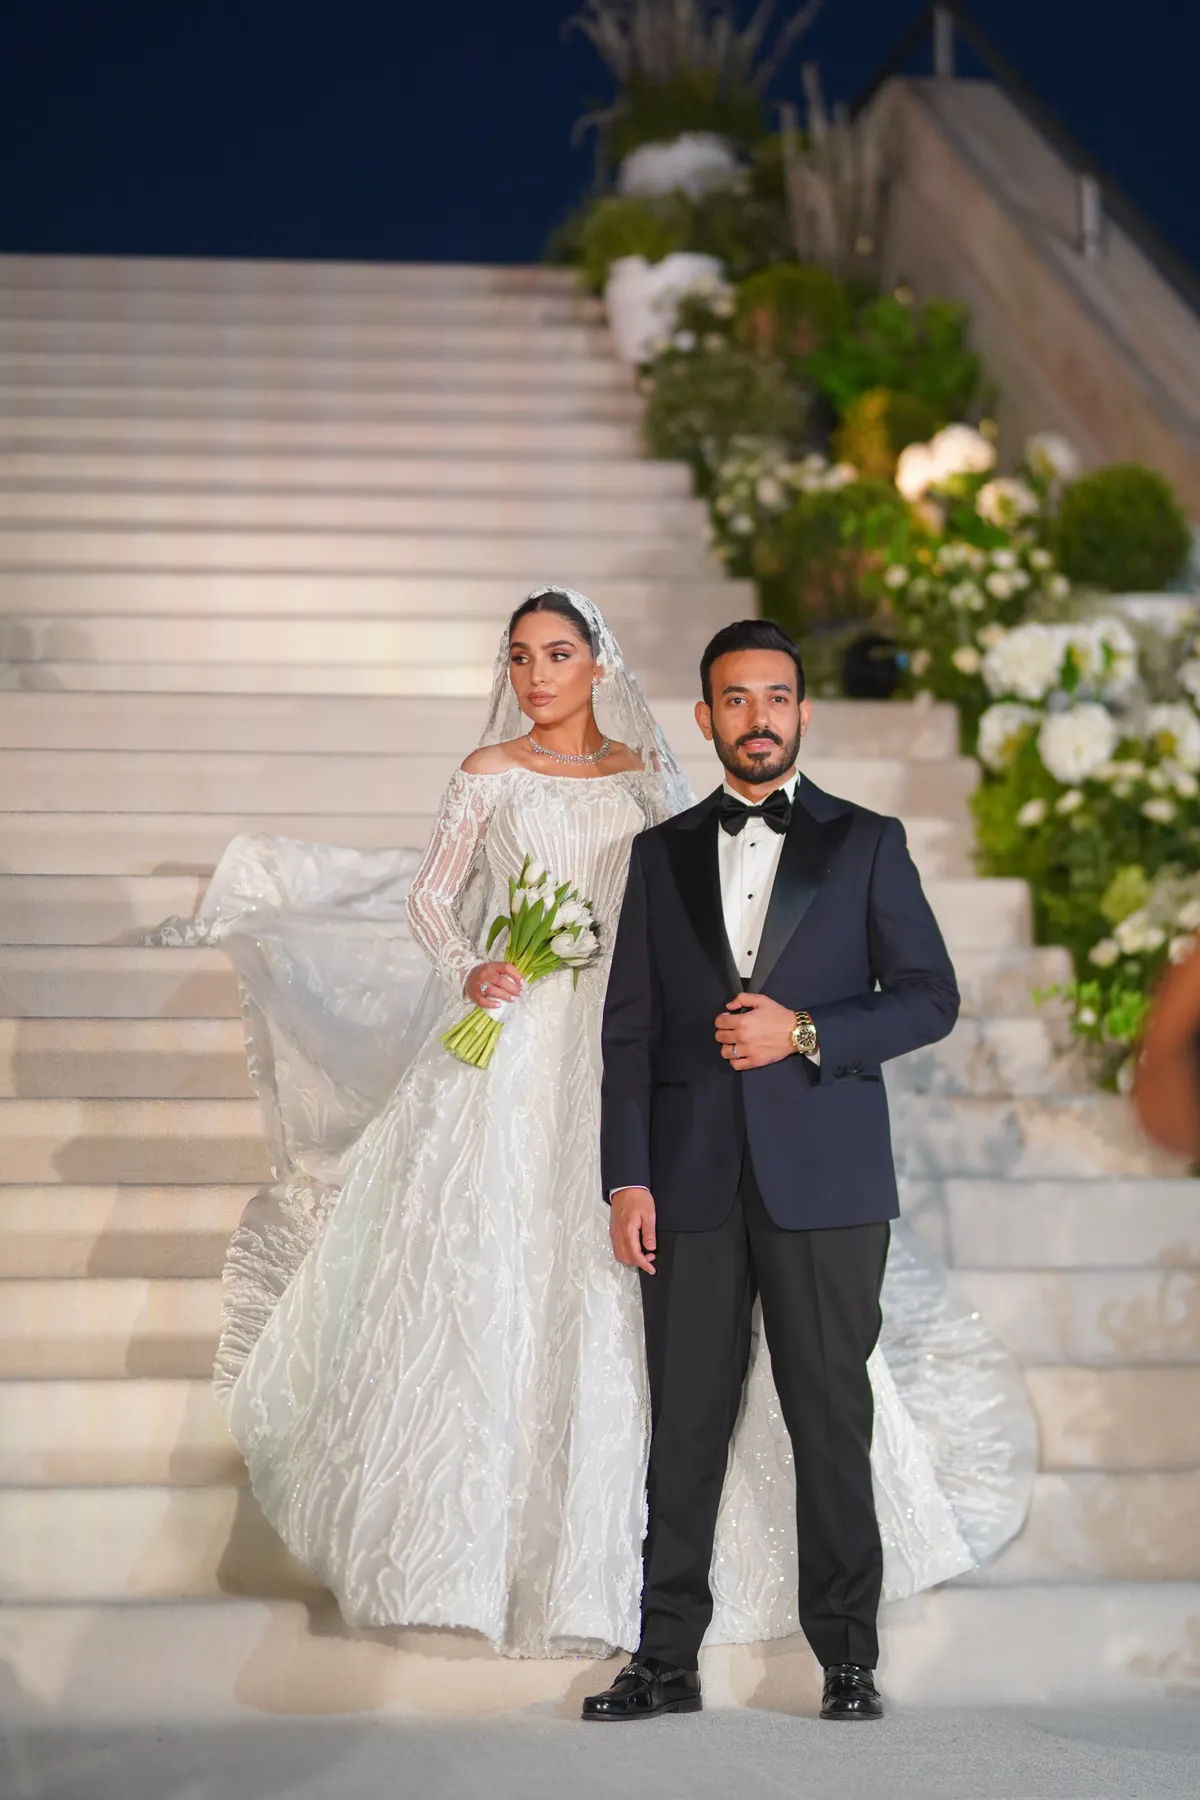
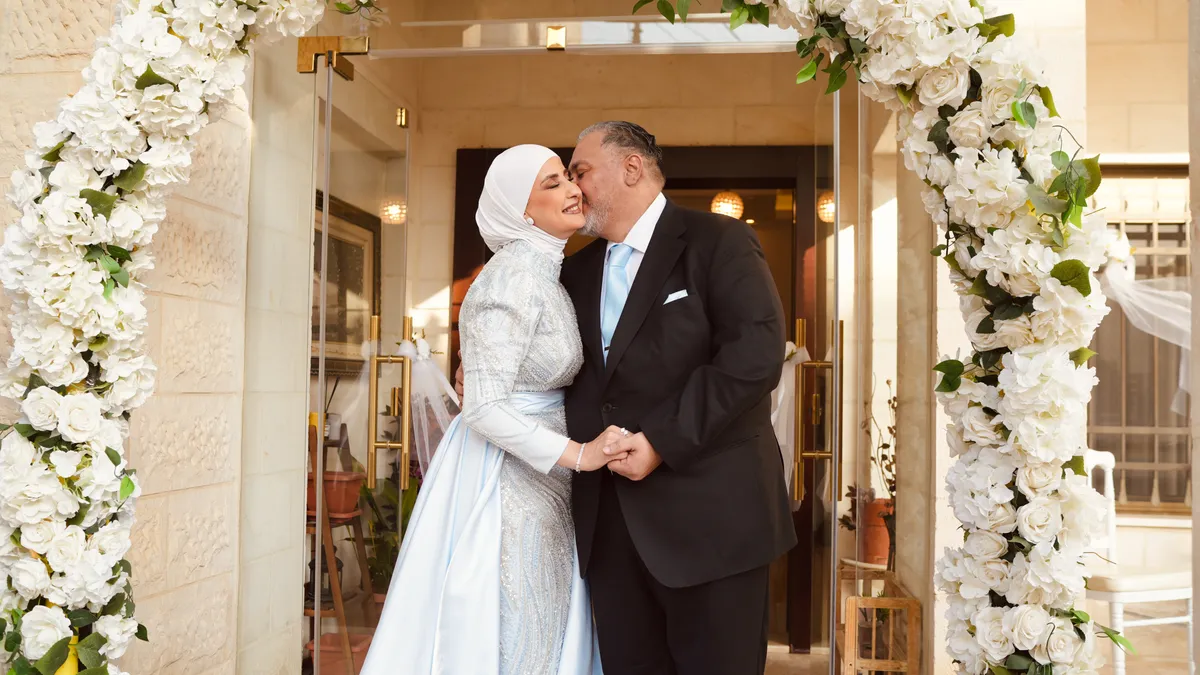
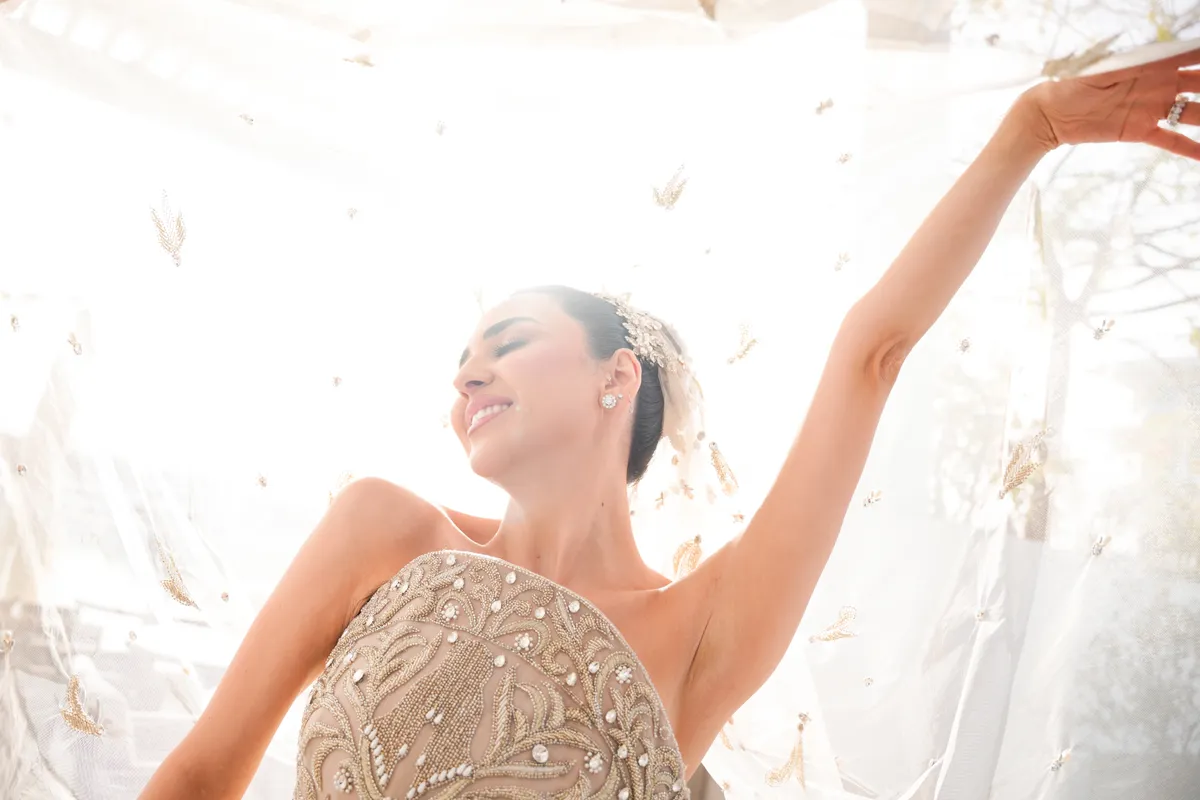
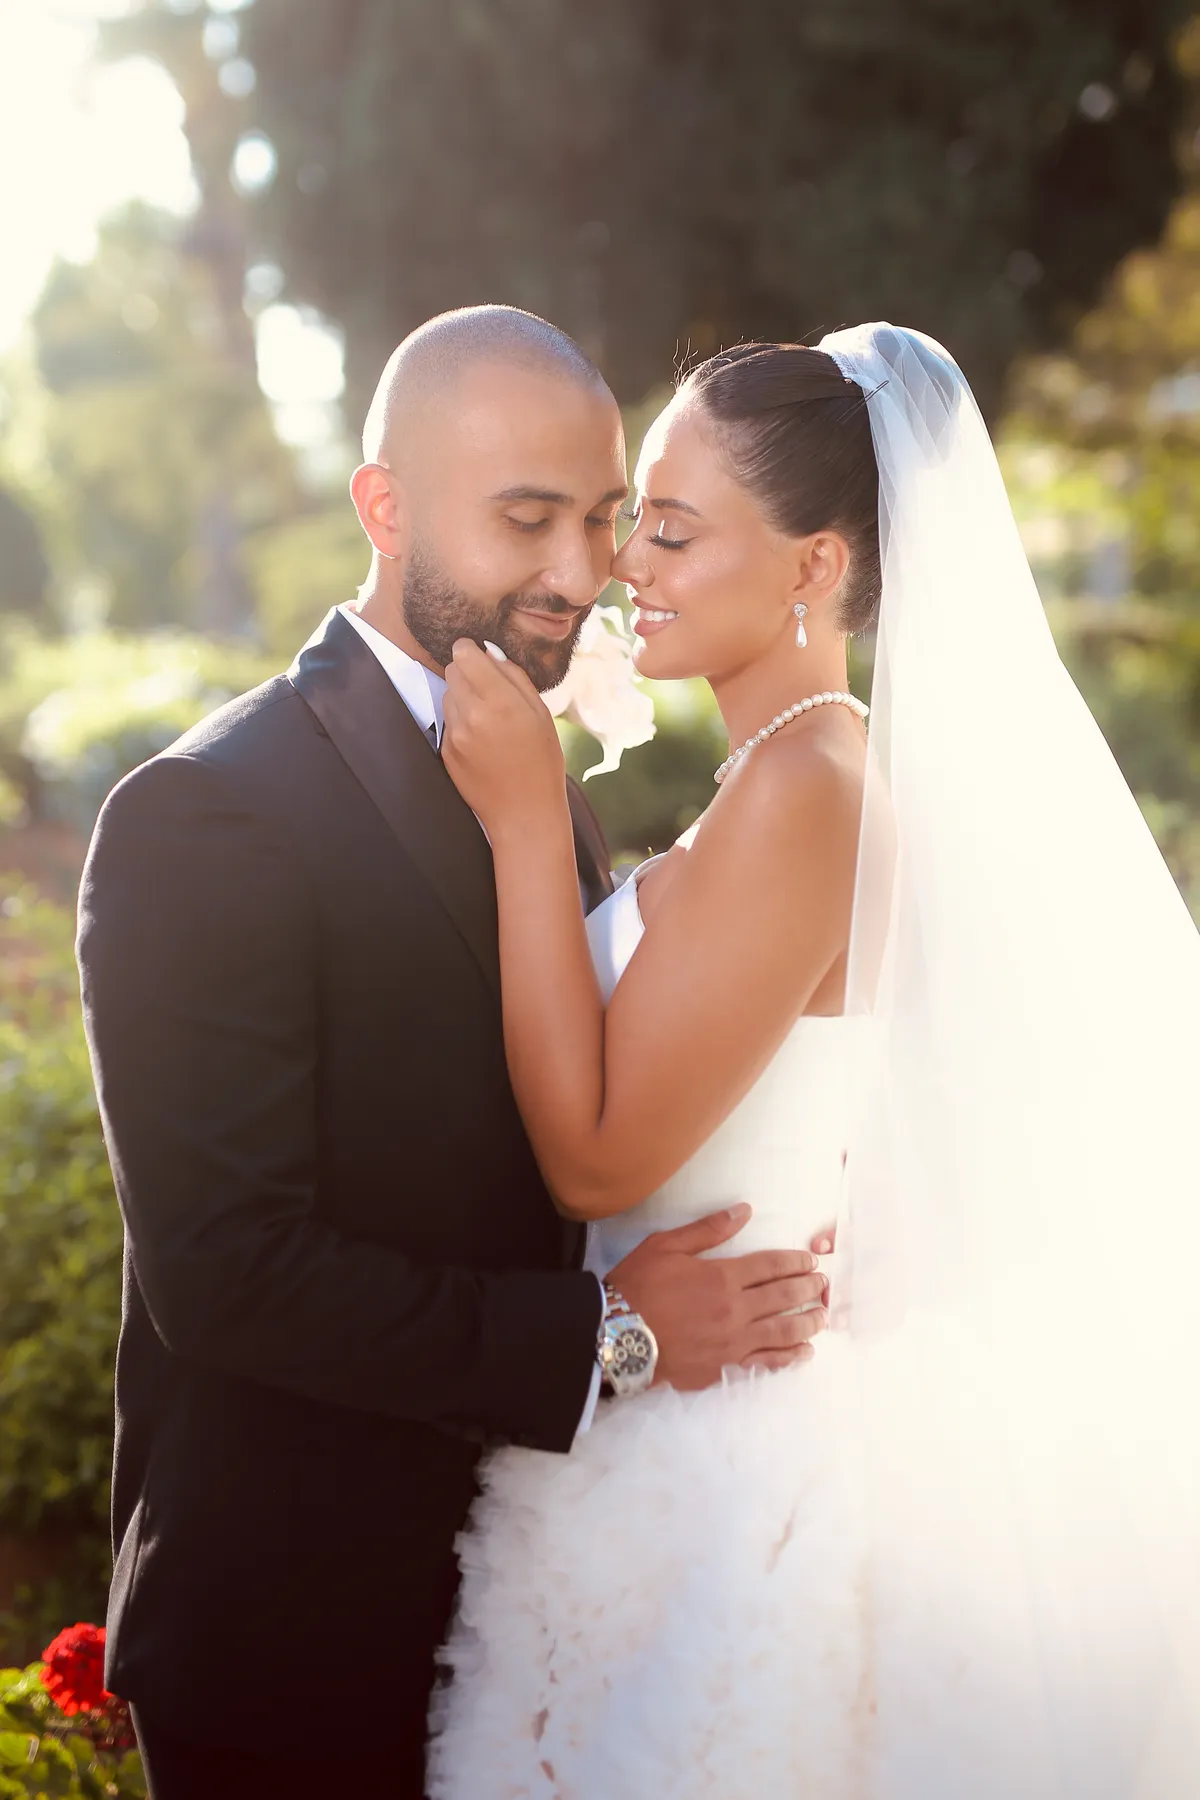
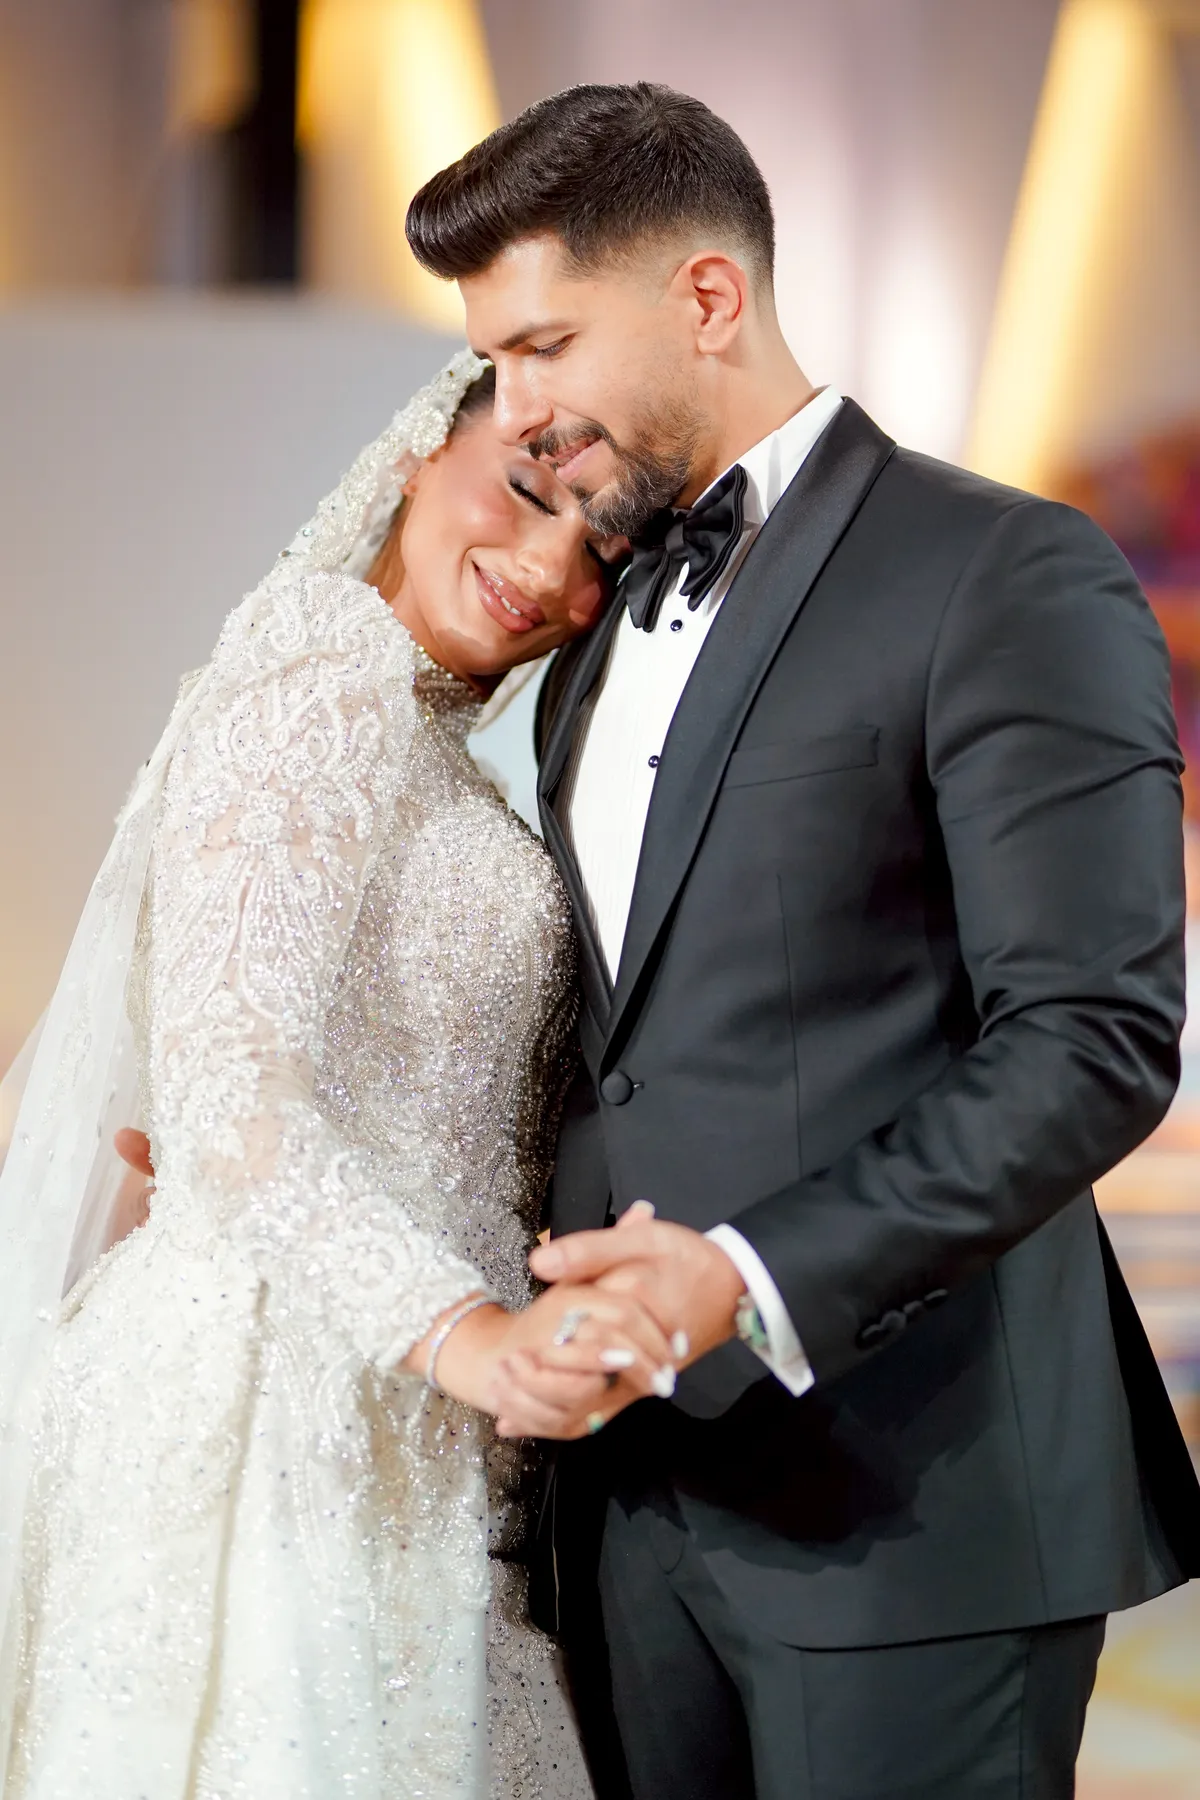
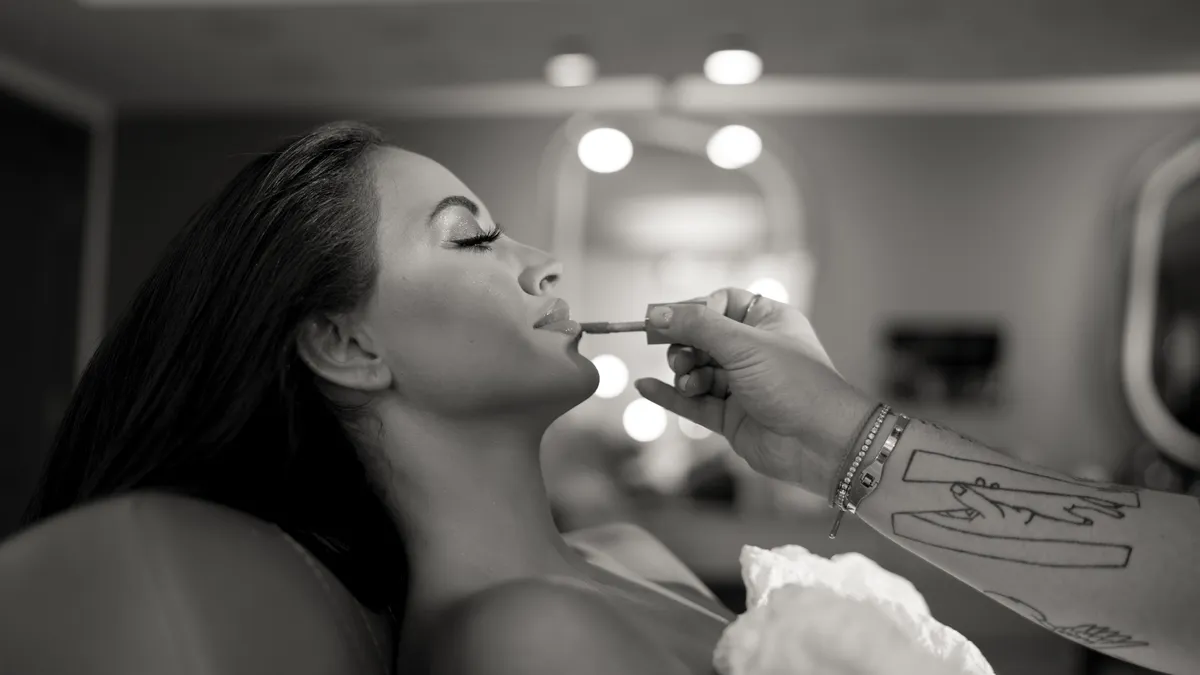
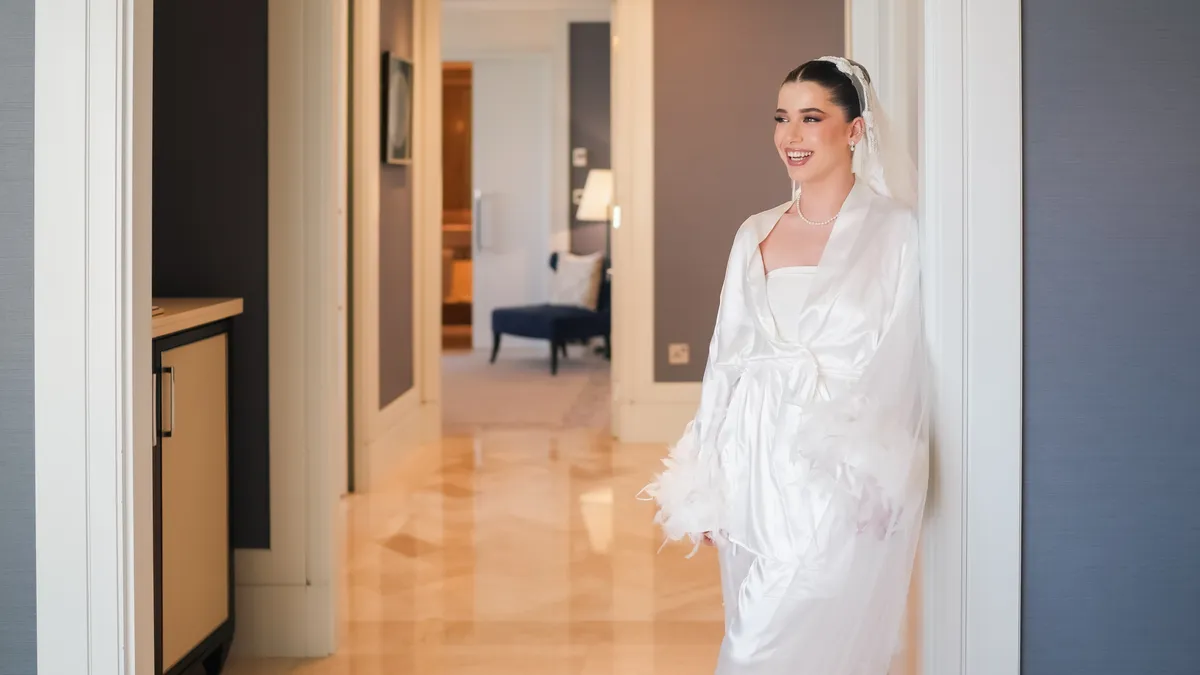
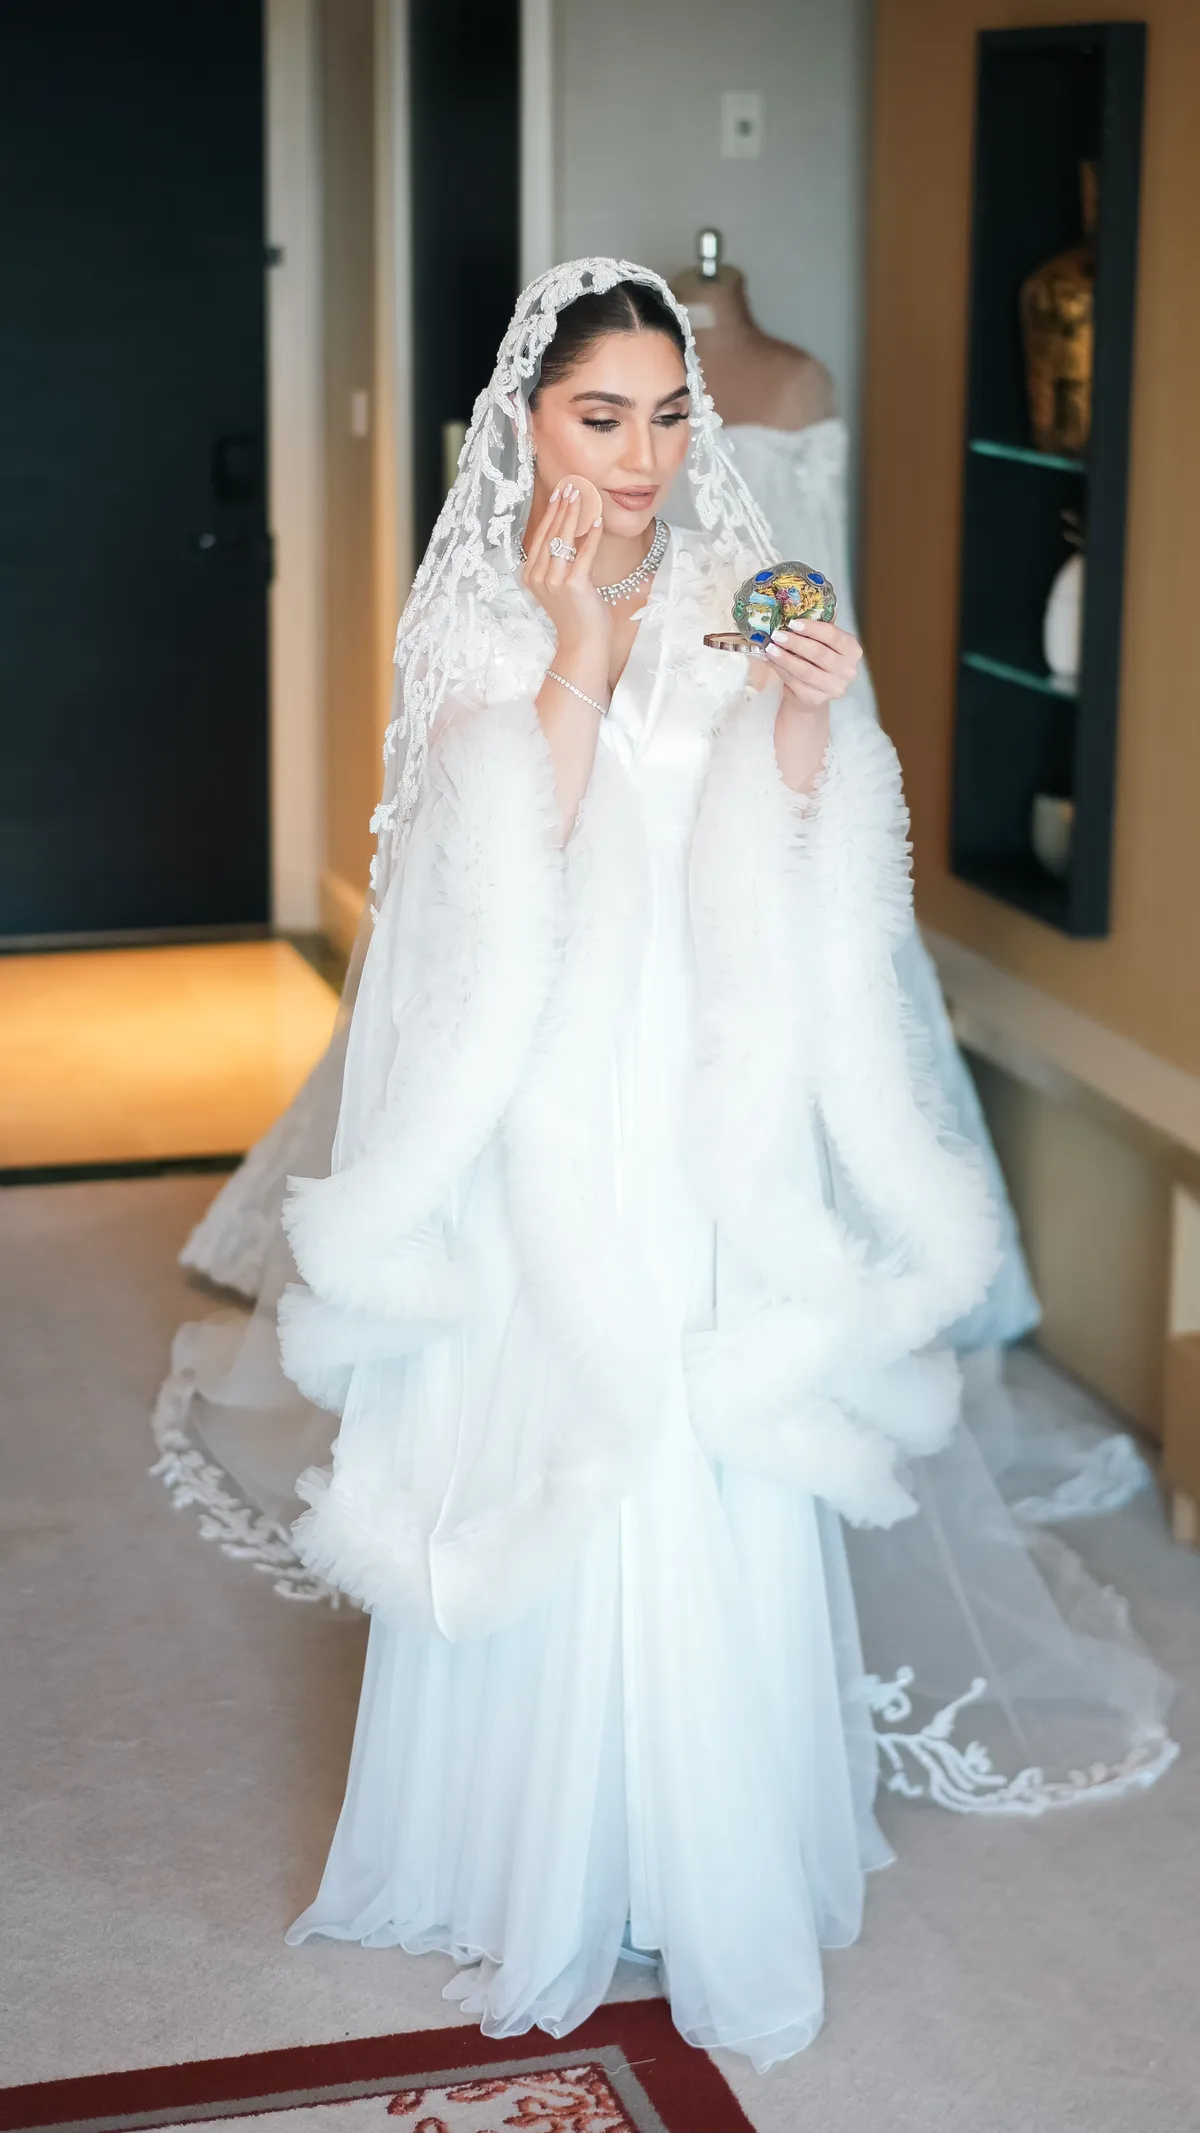
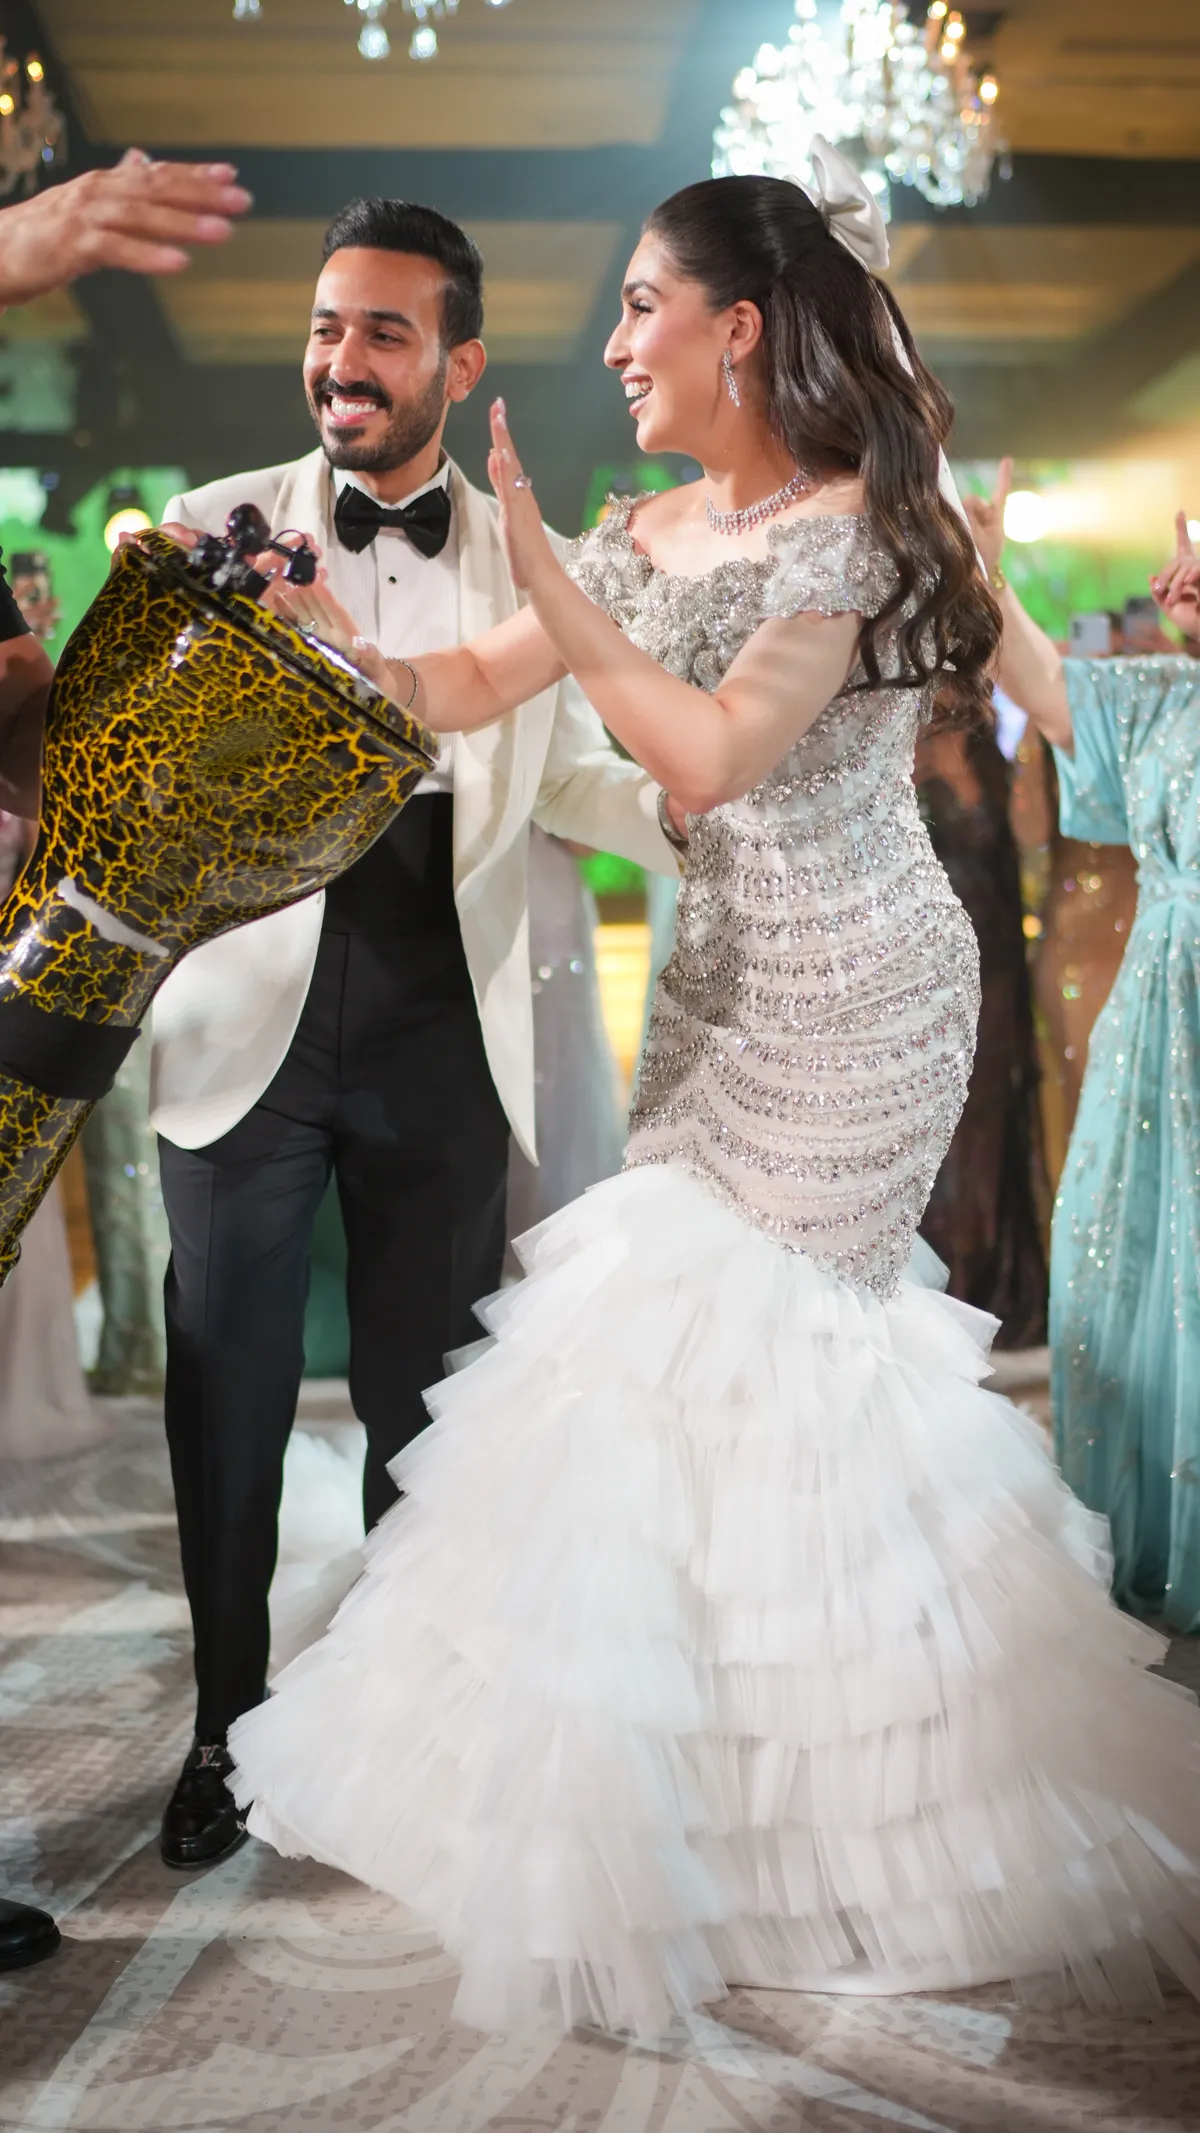
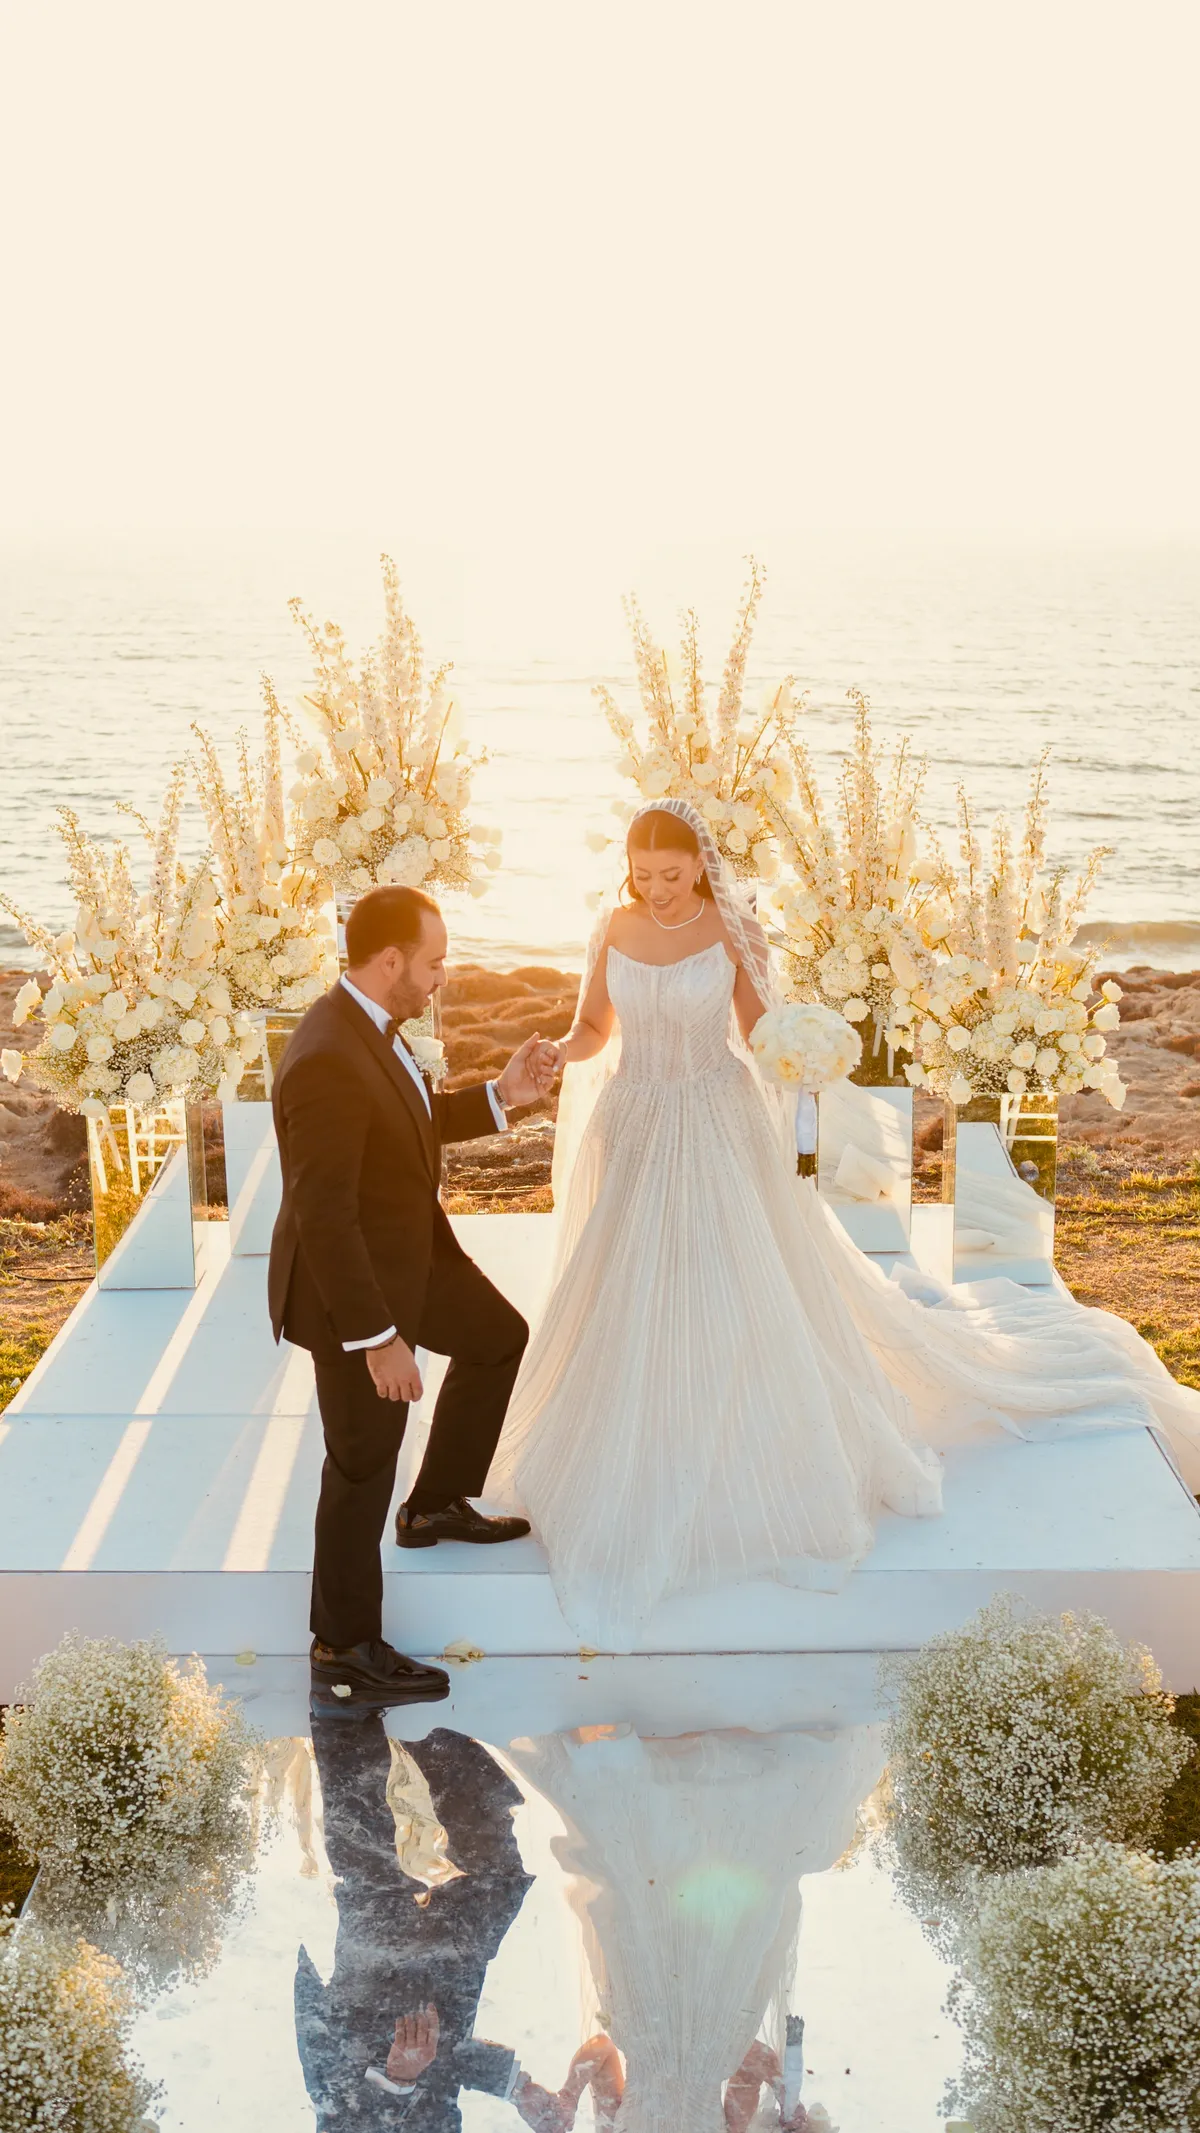
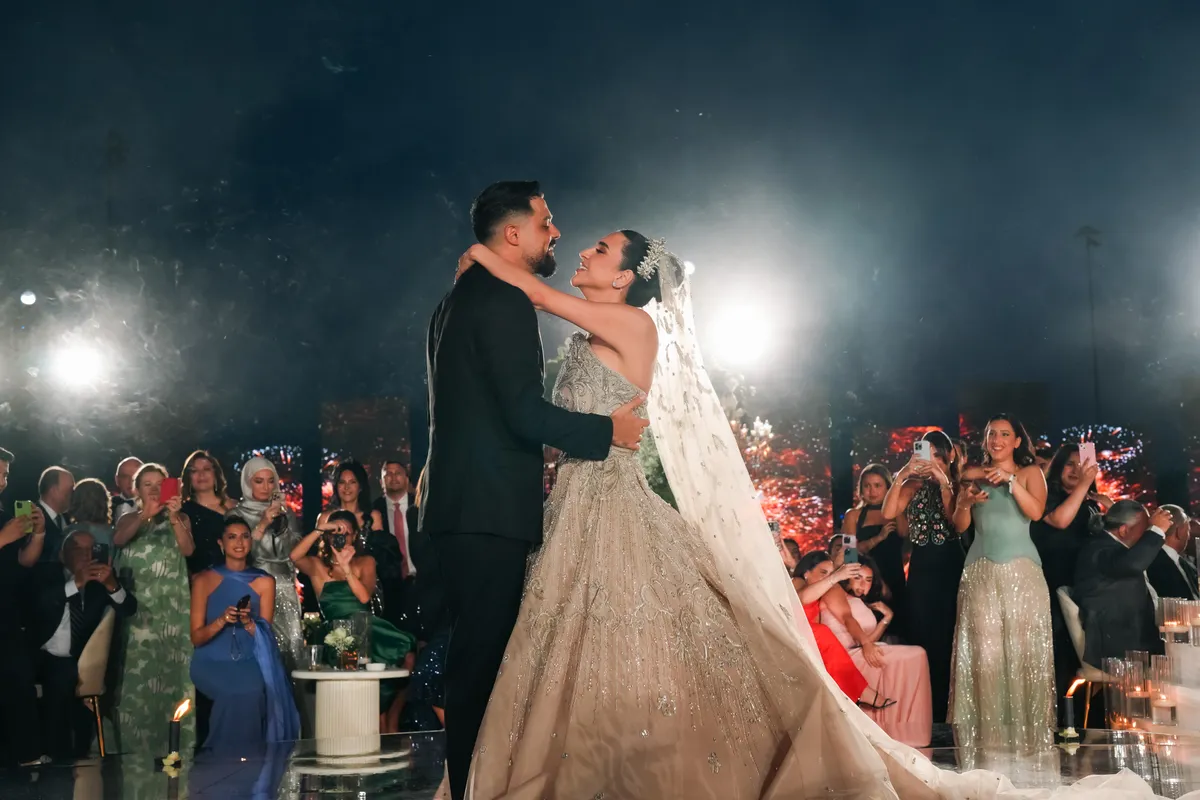
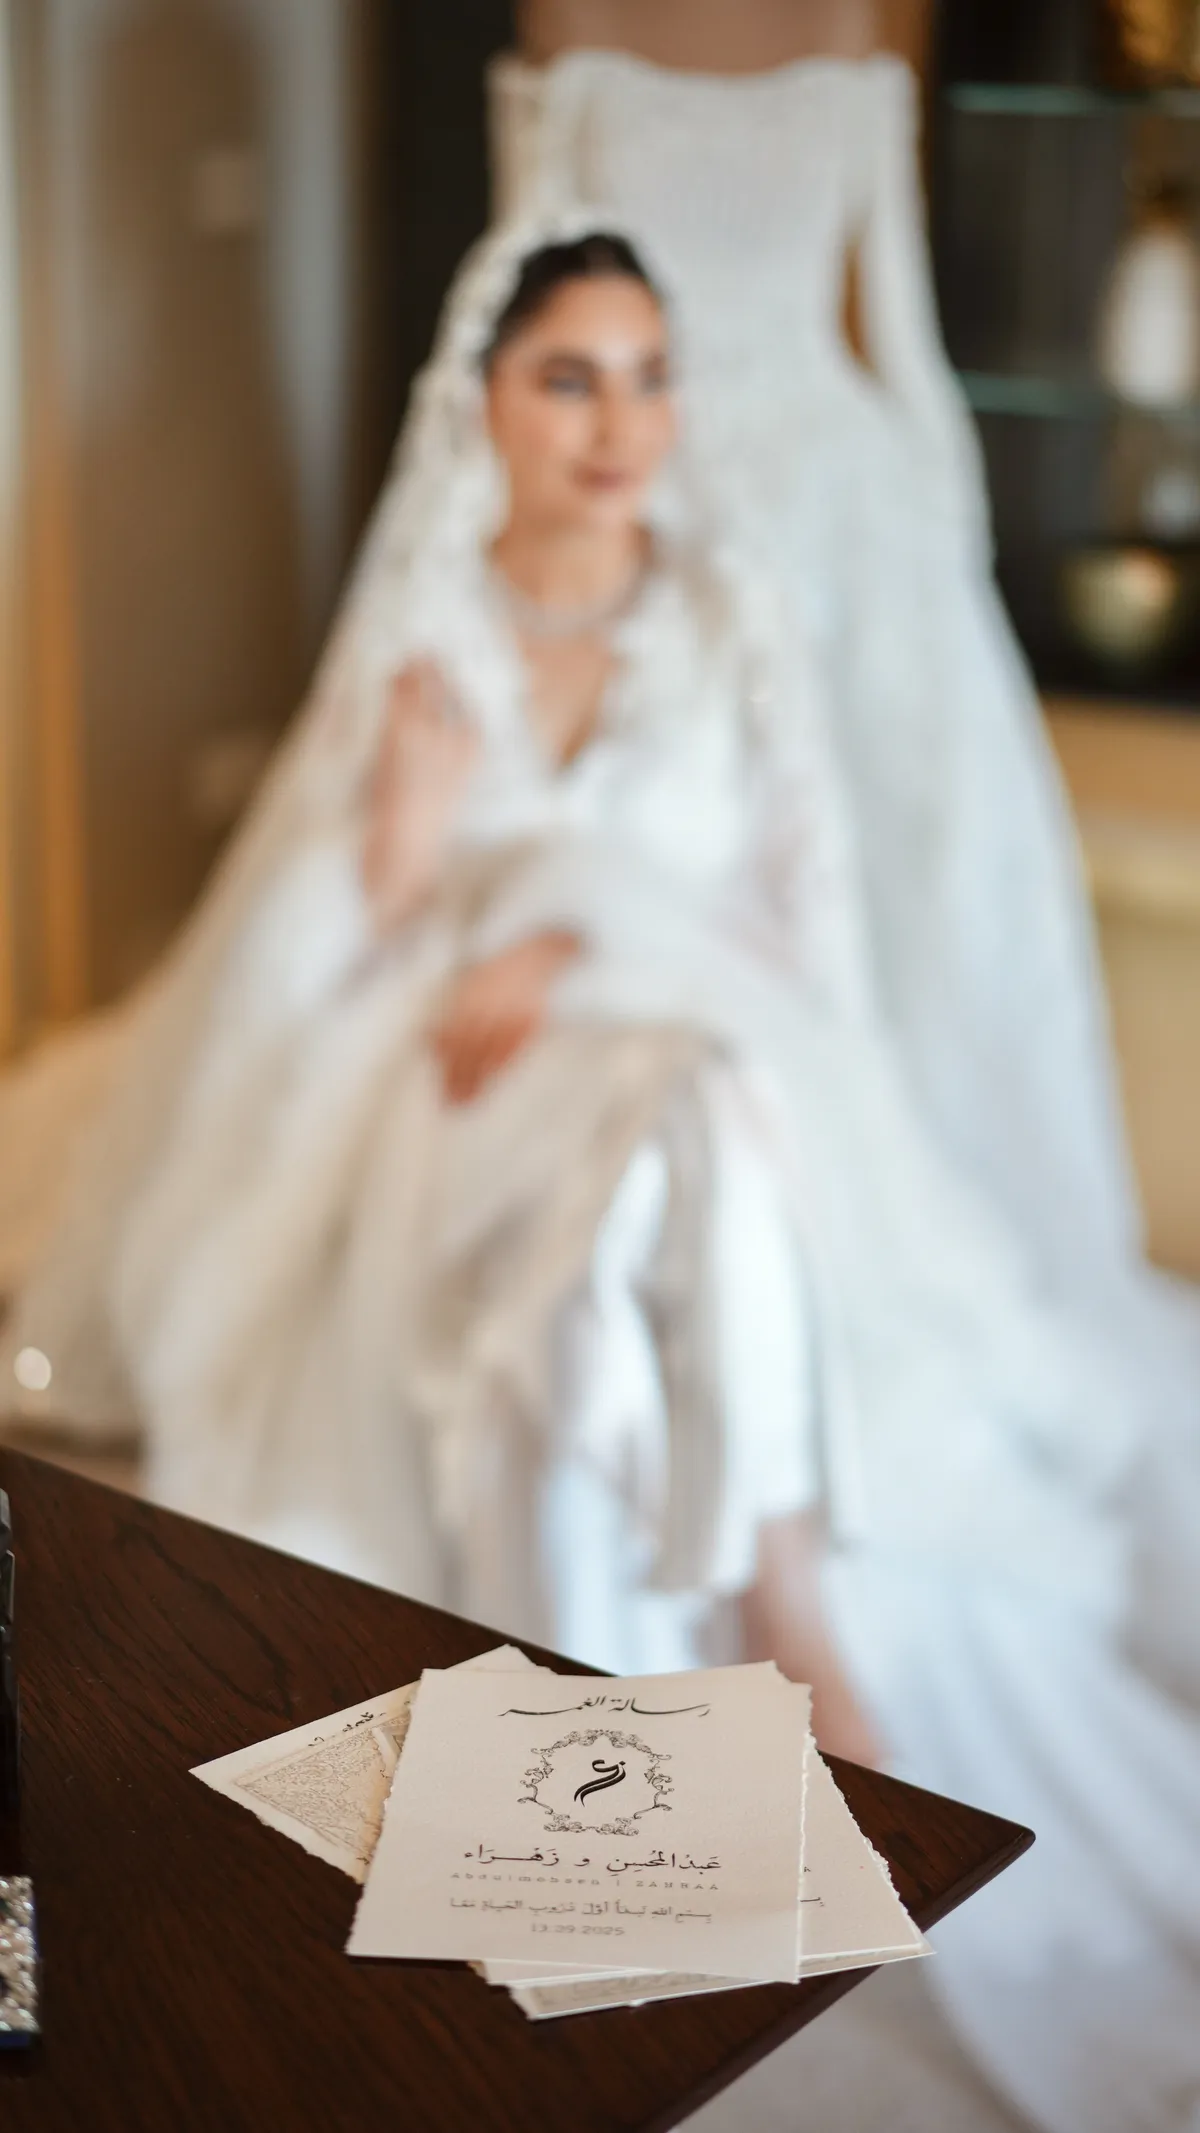
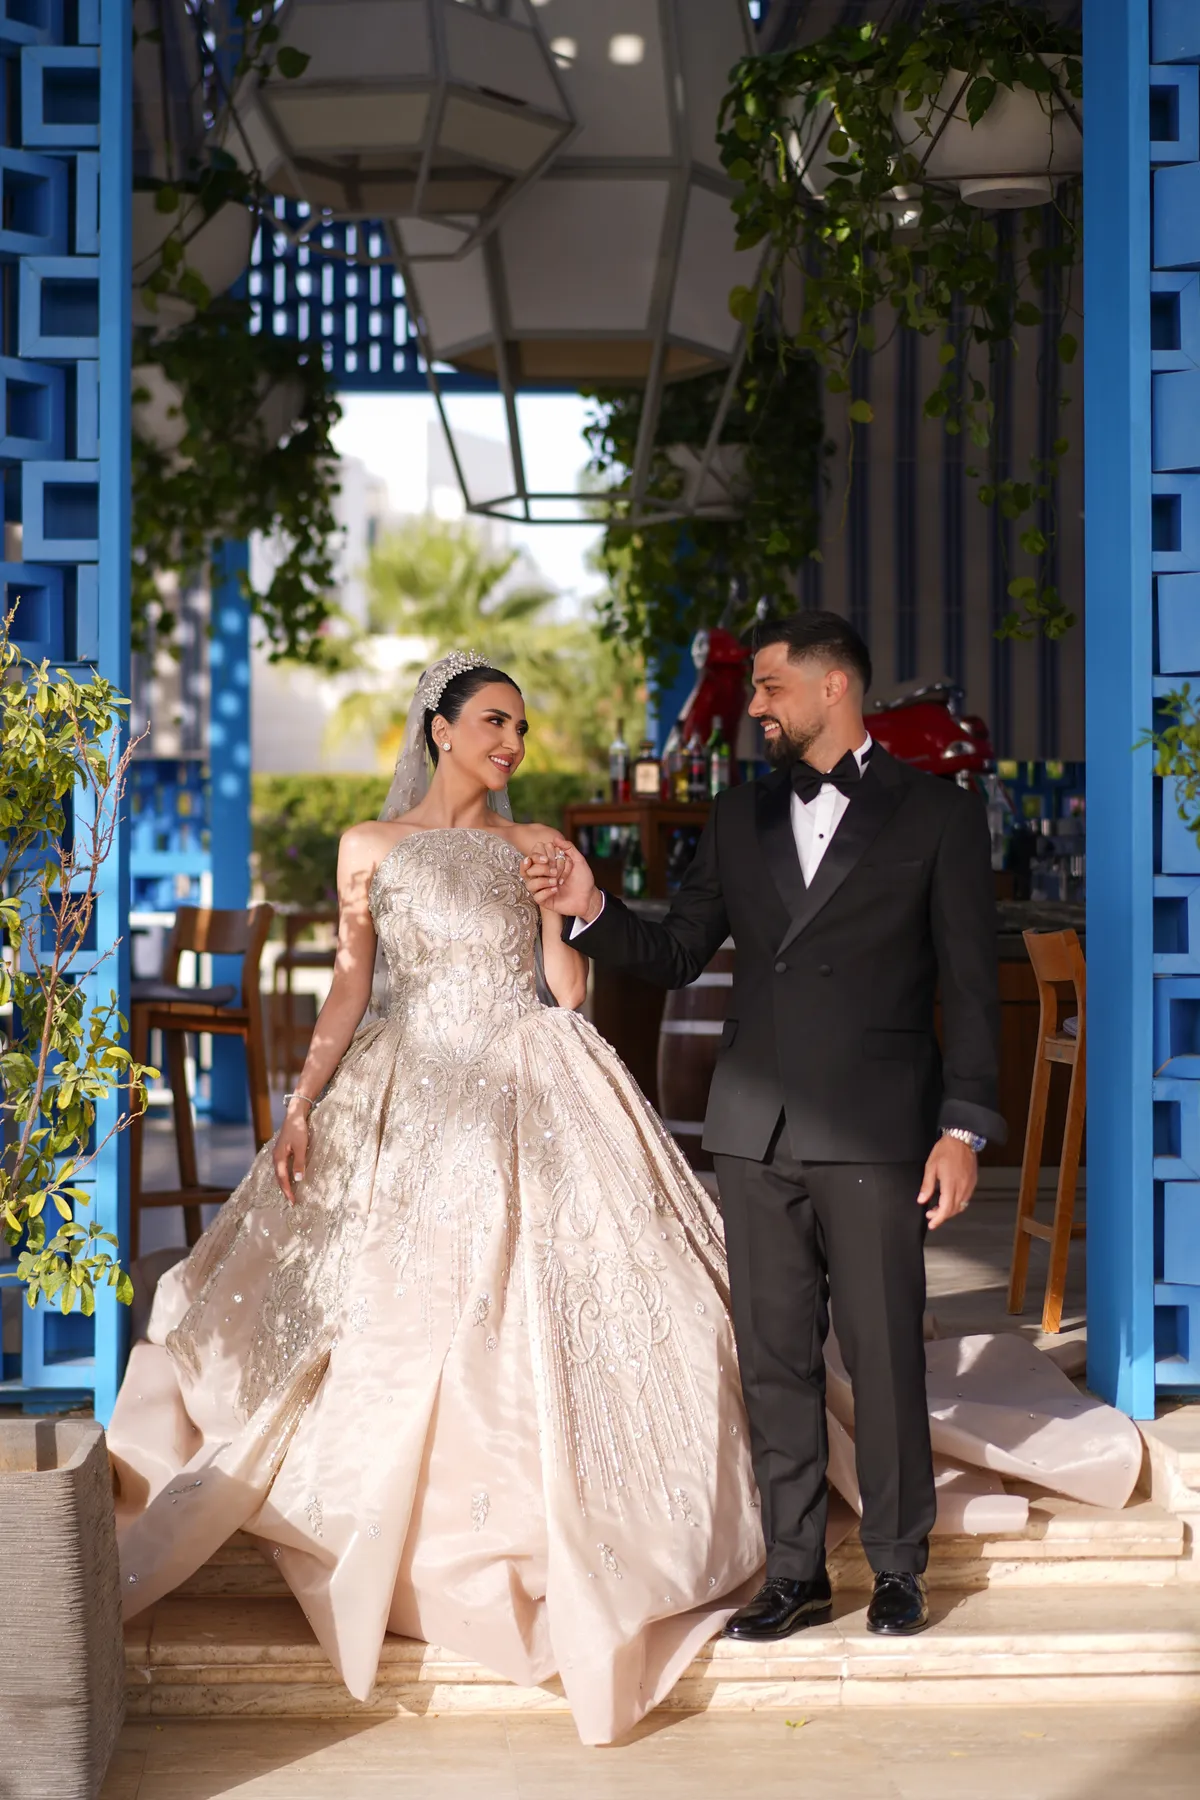
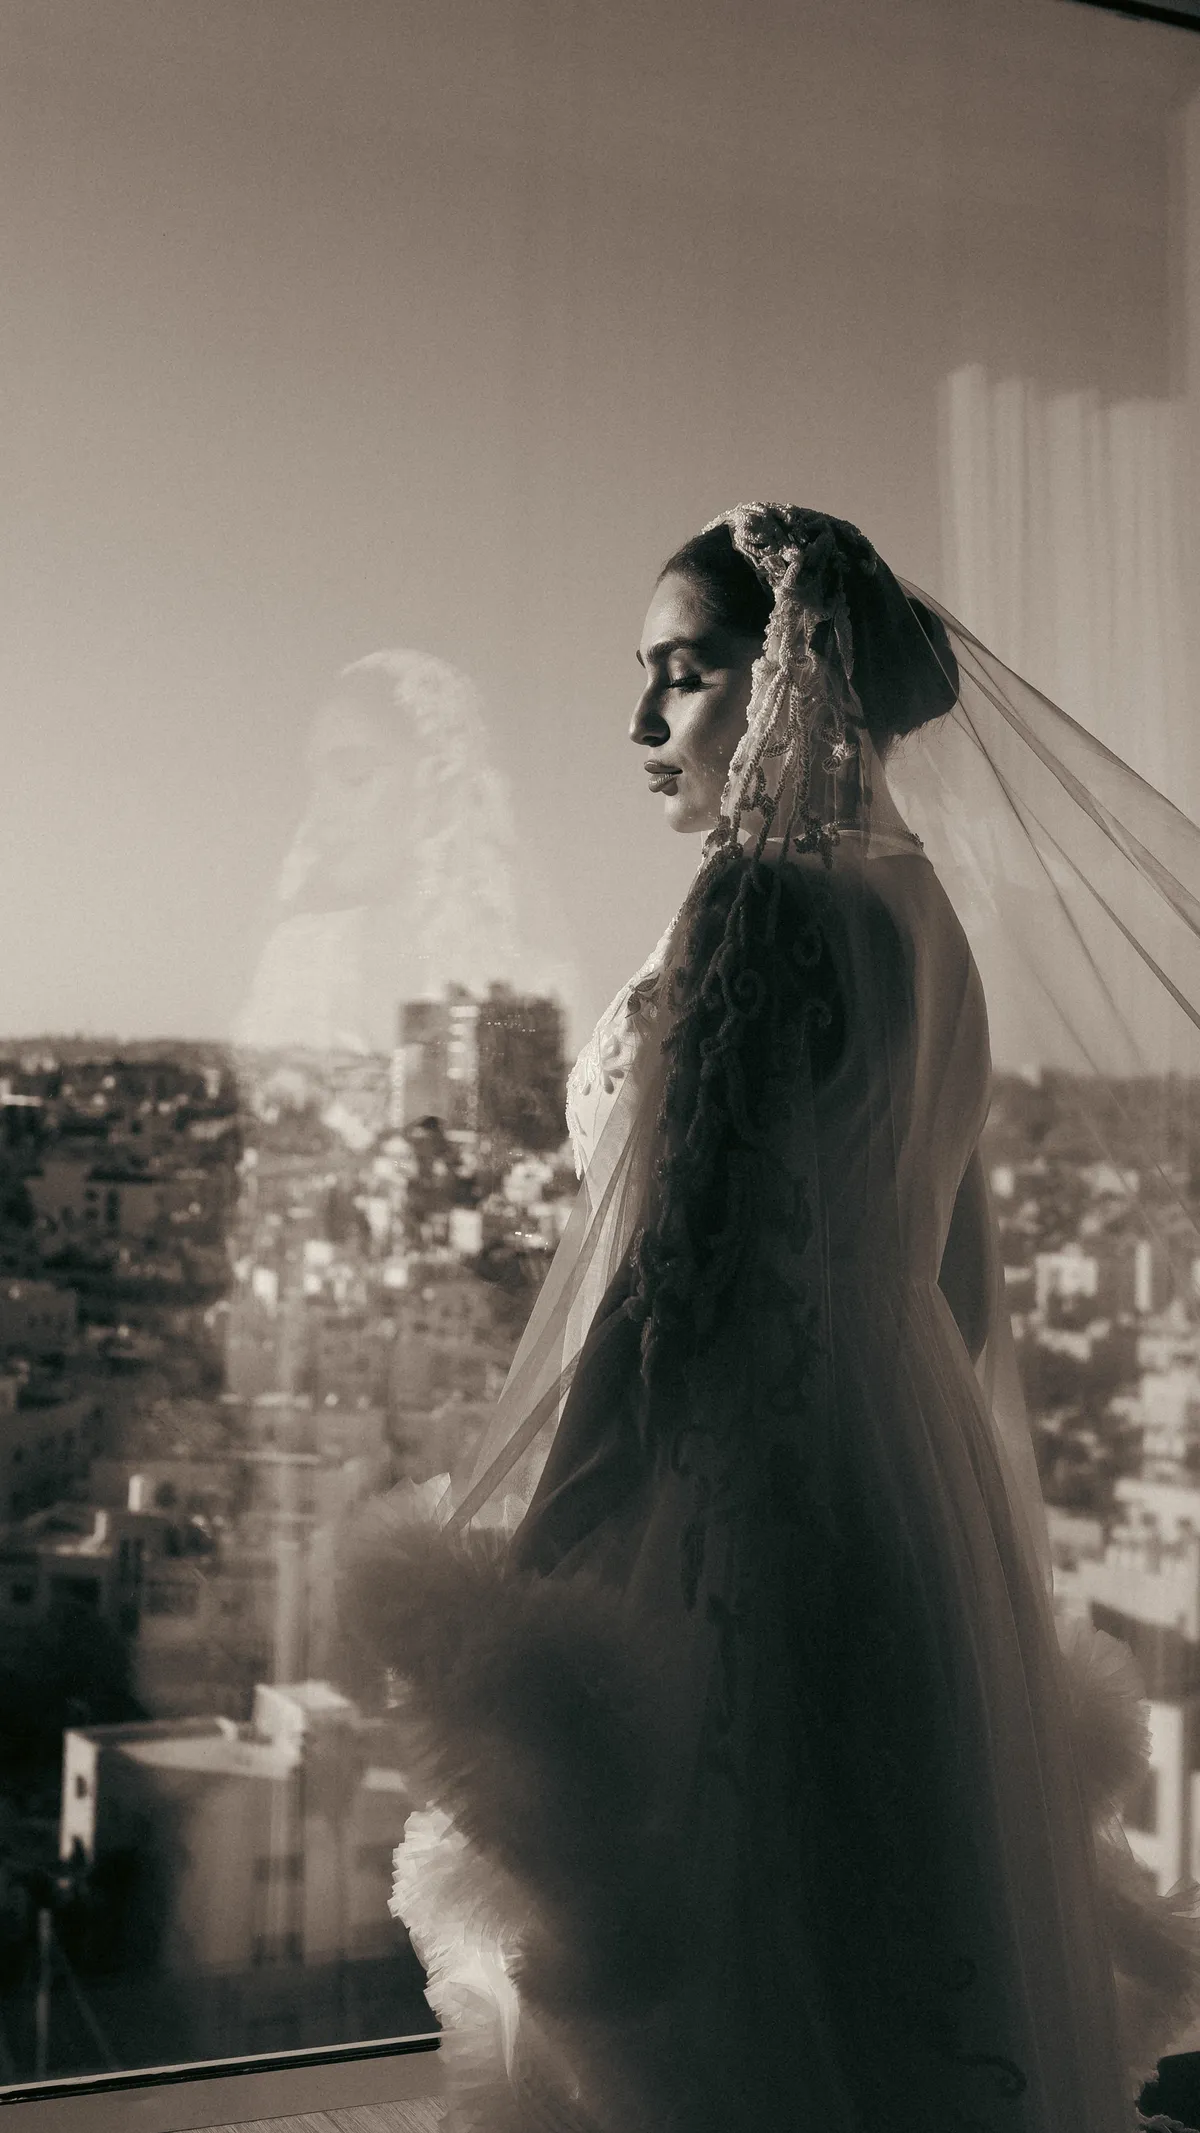
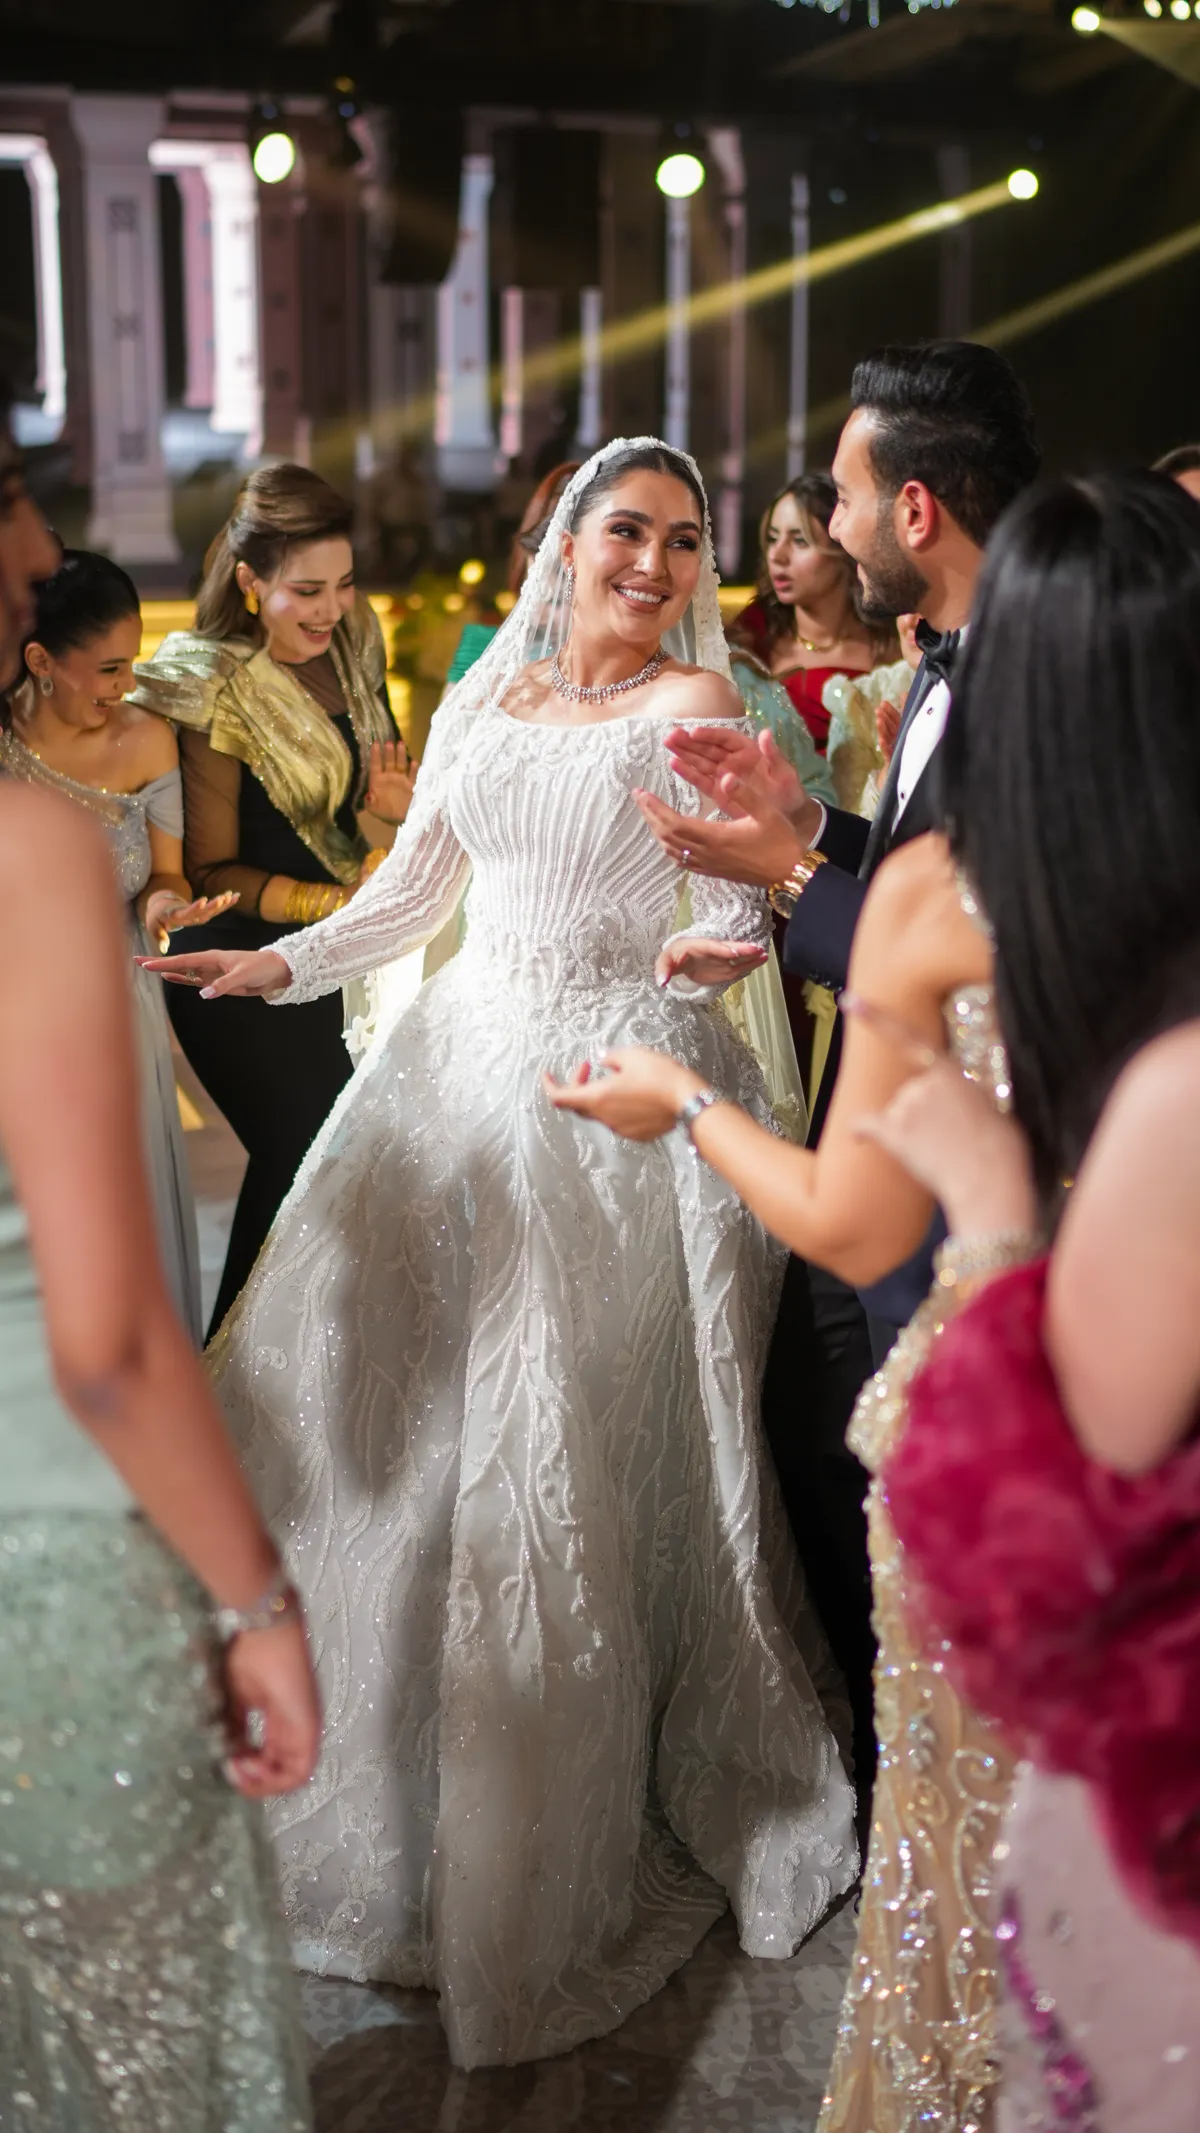
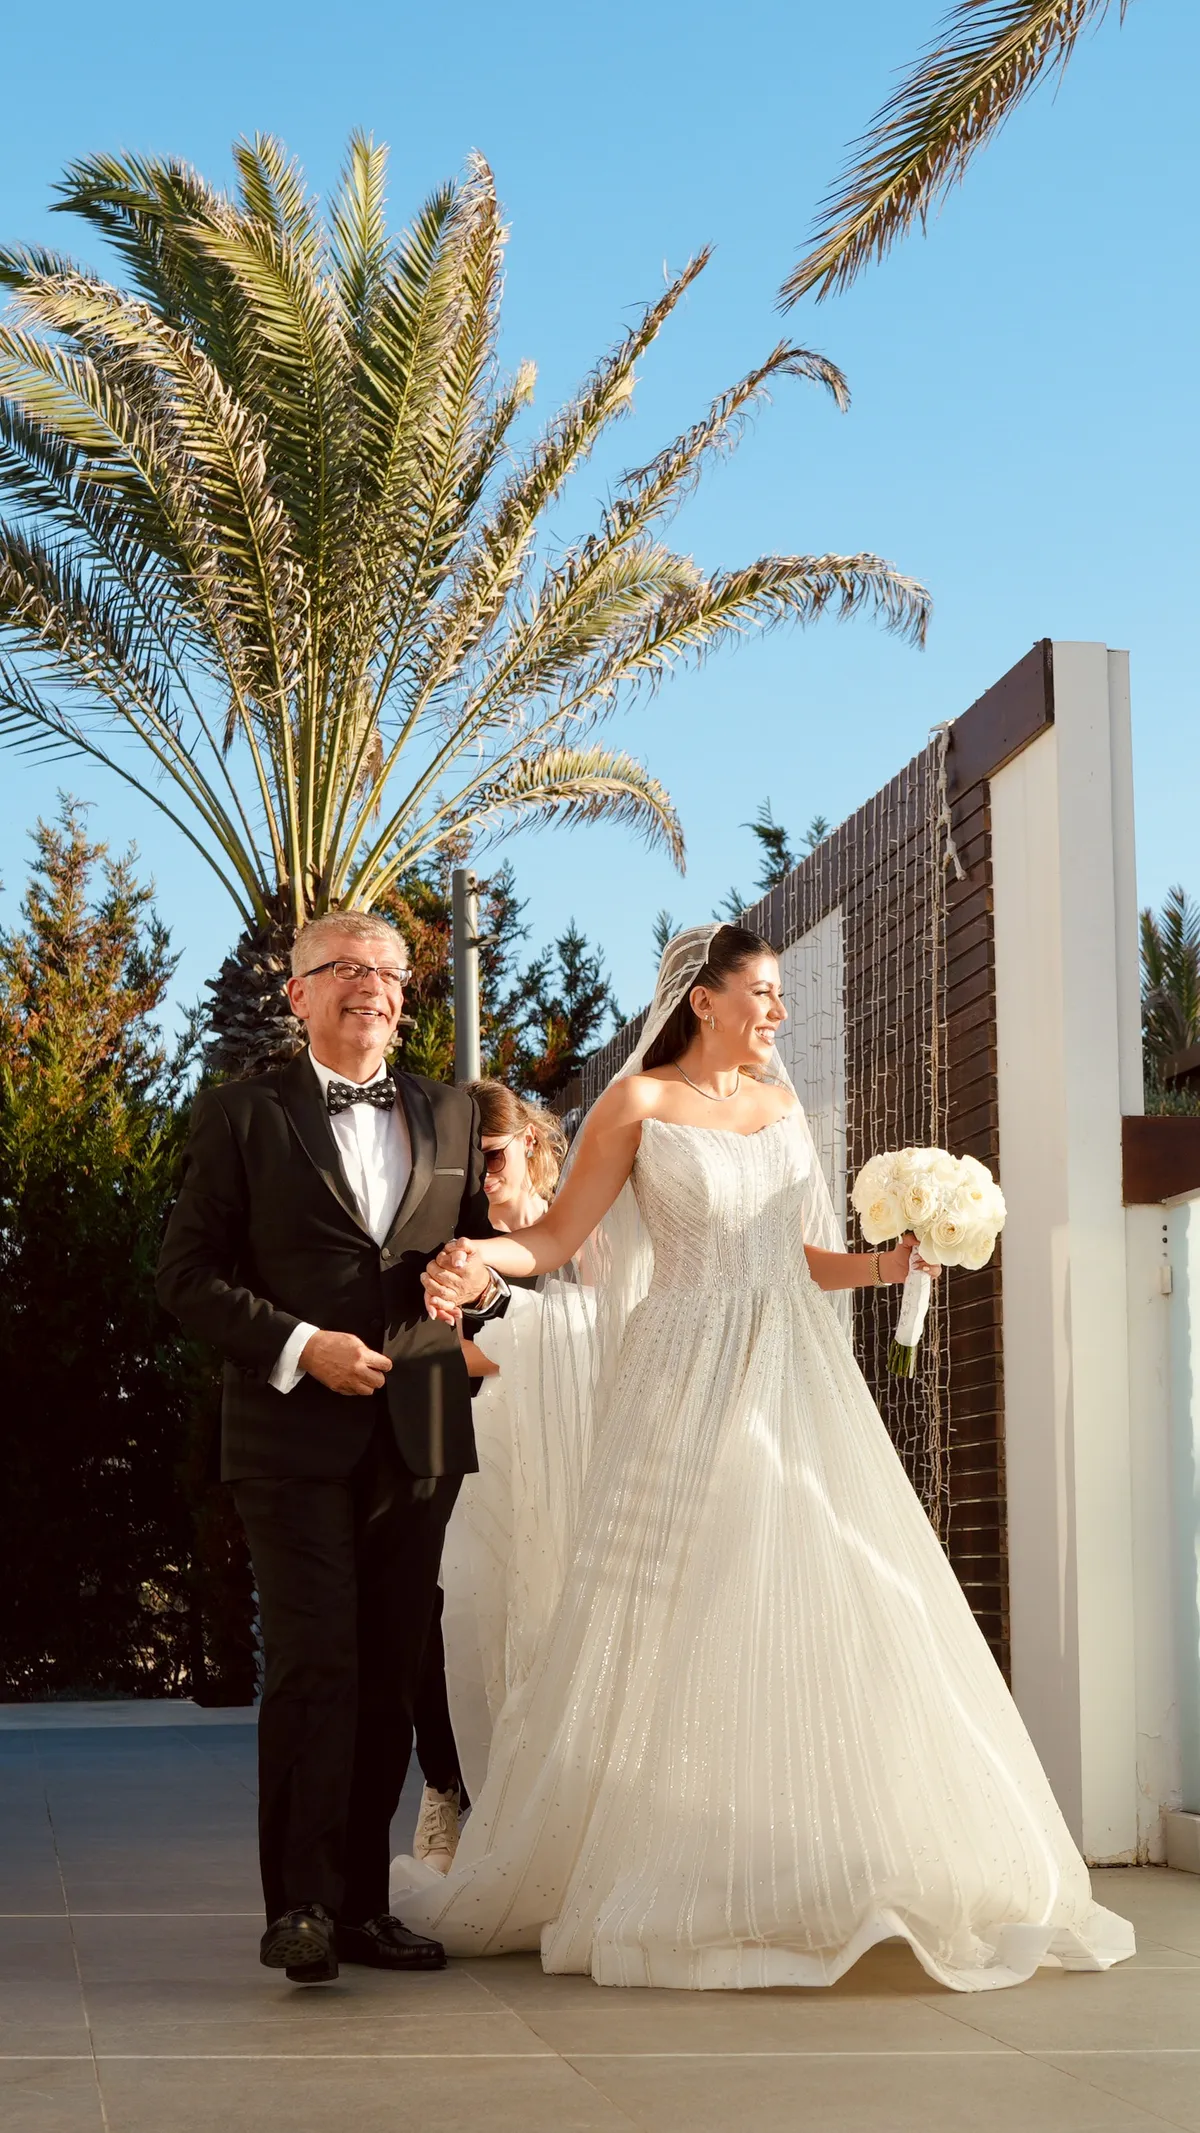
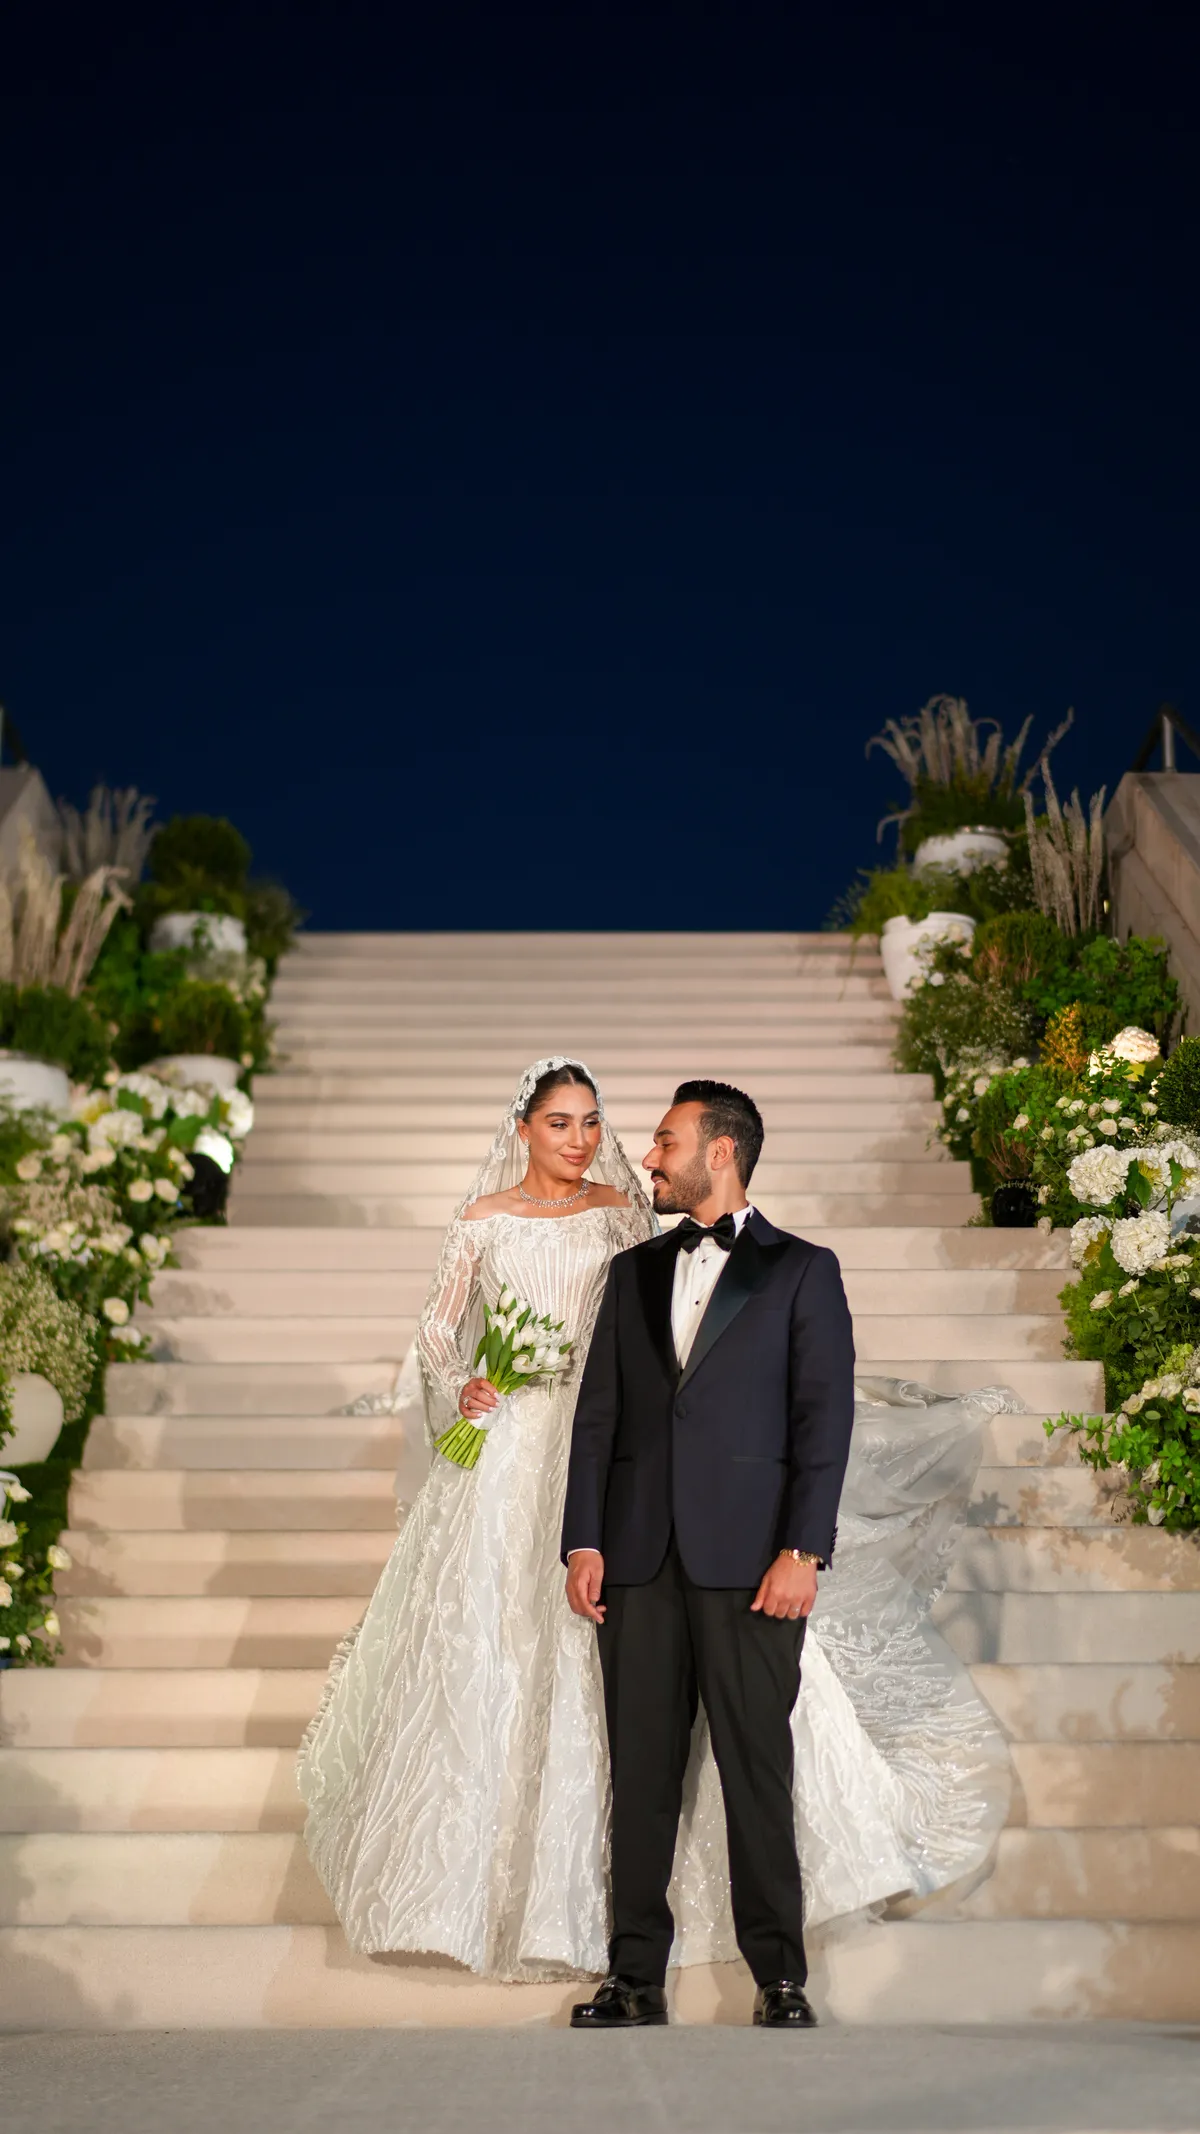
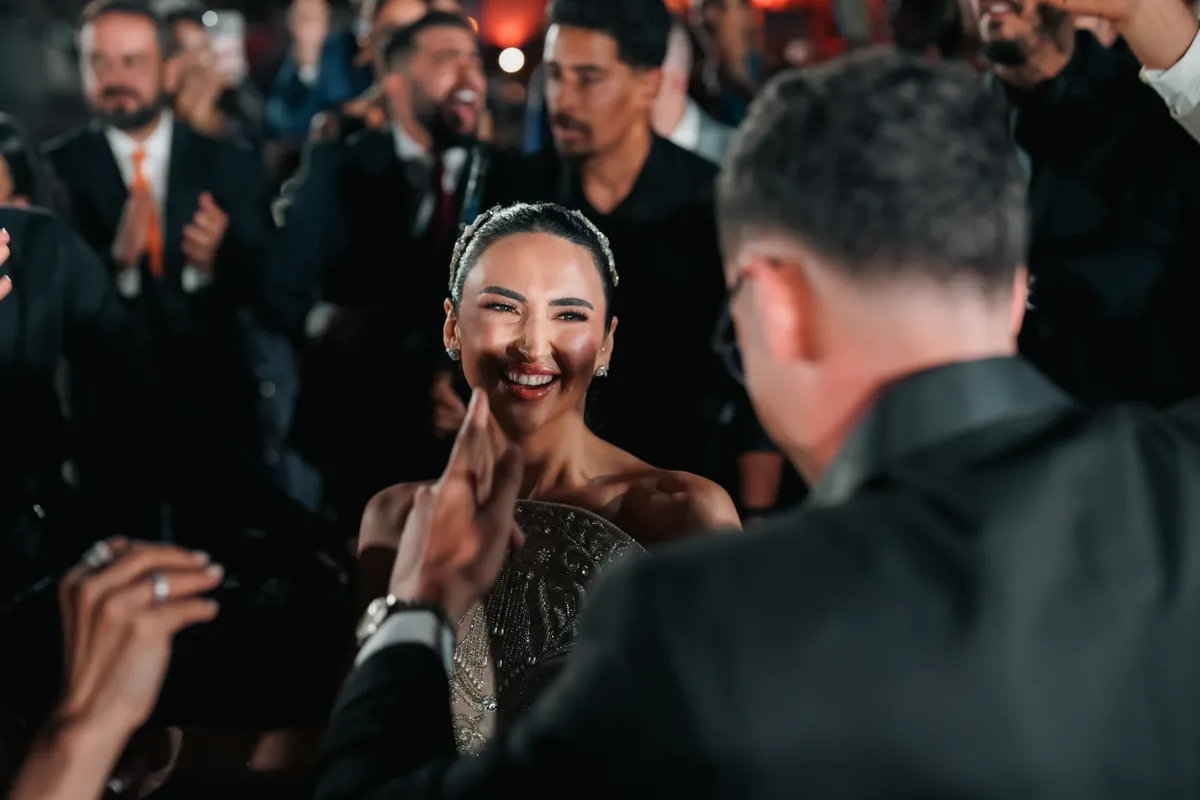
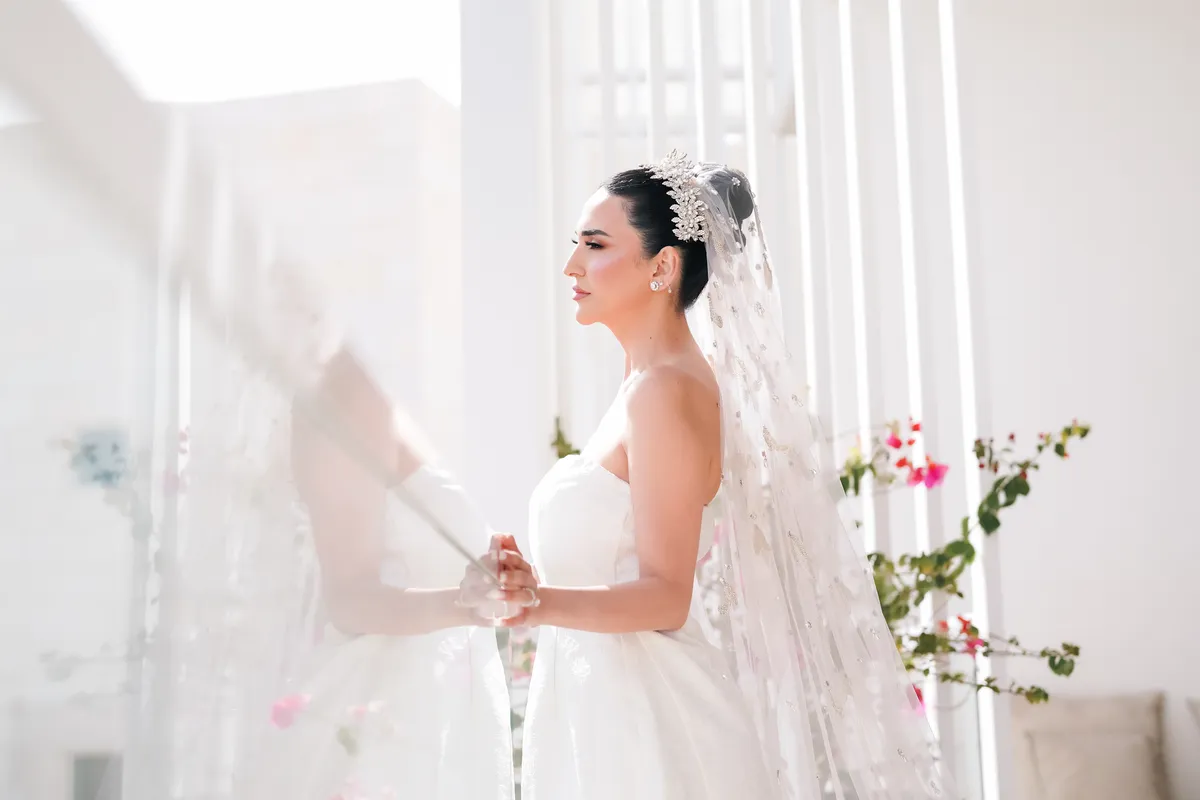
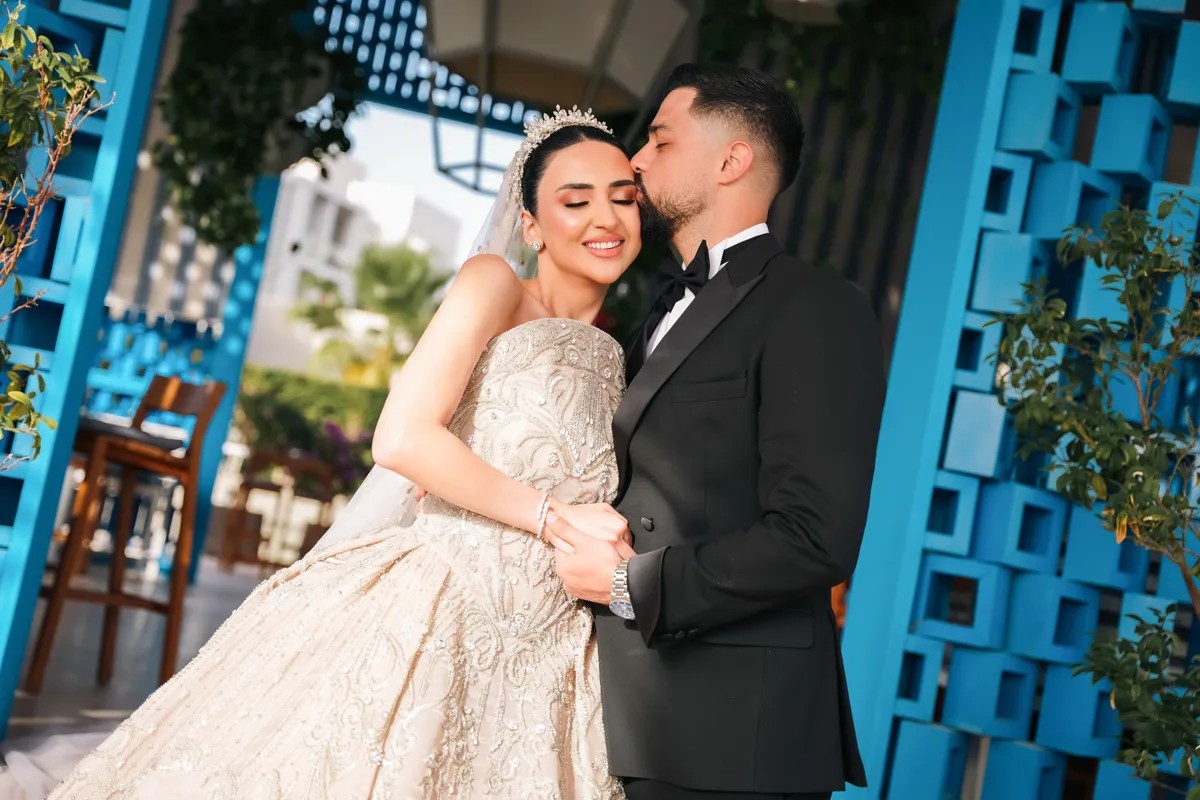
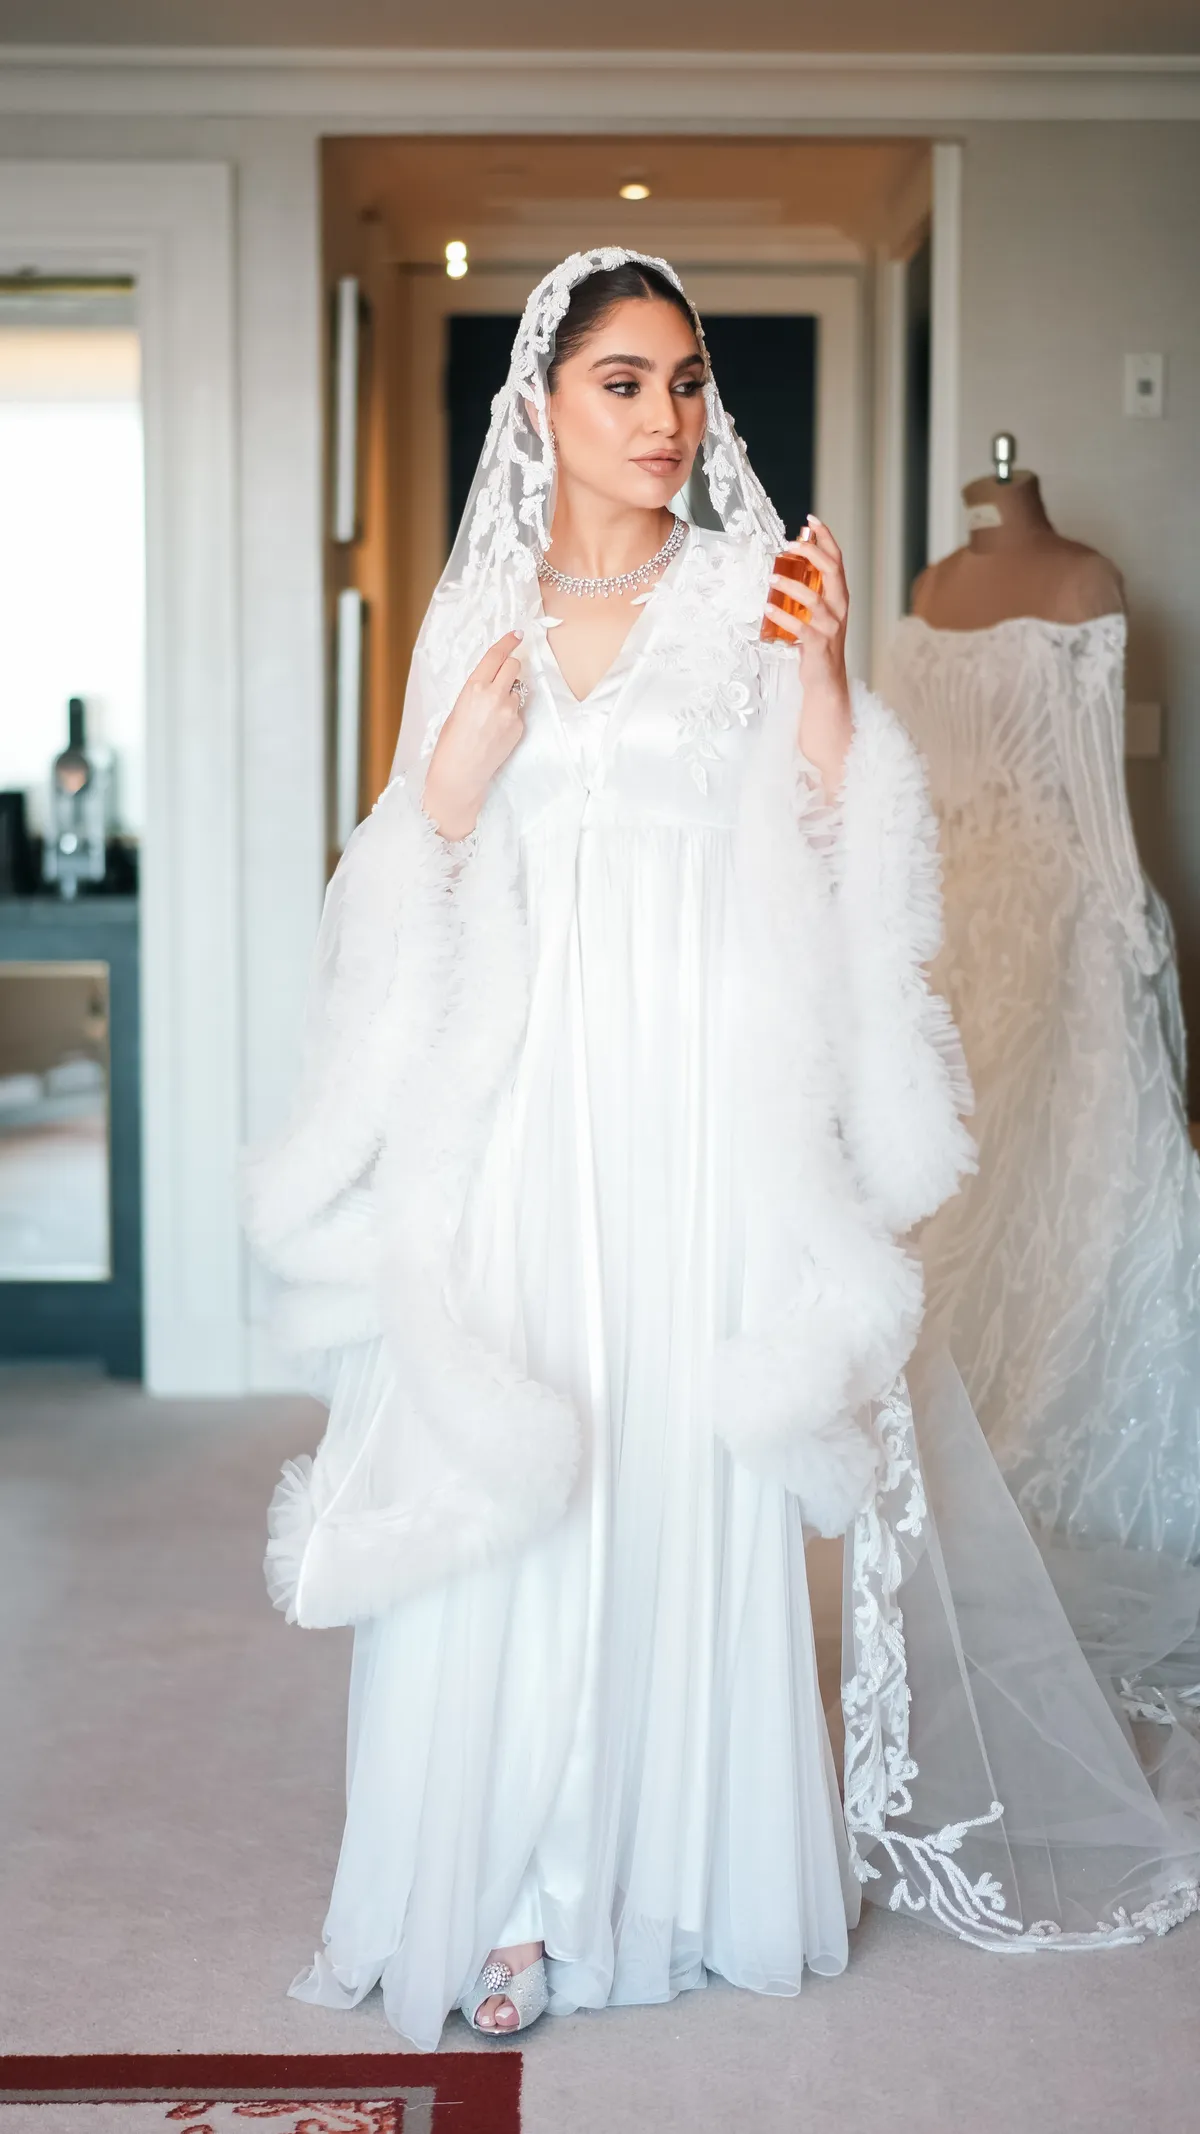
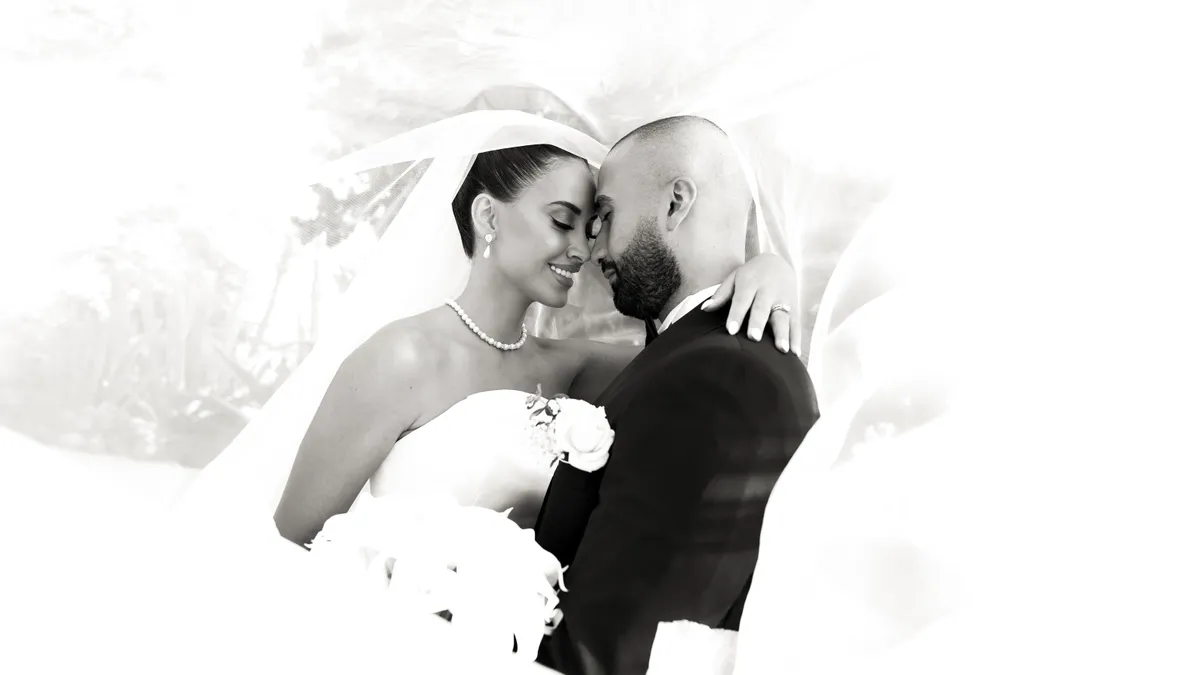
  • Wedding photograph by DawwasEye Studios
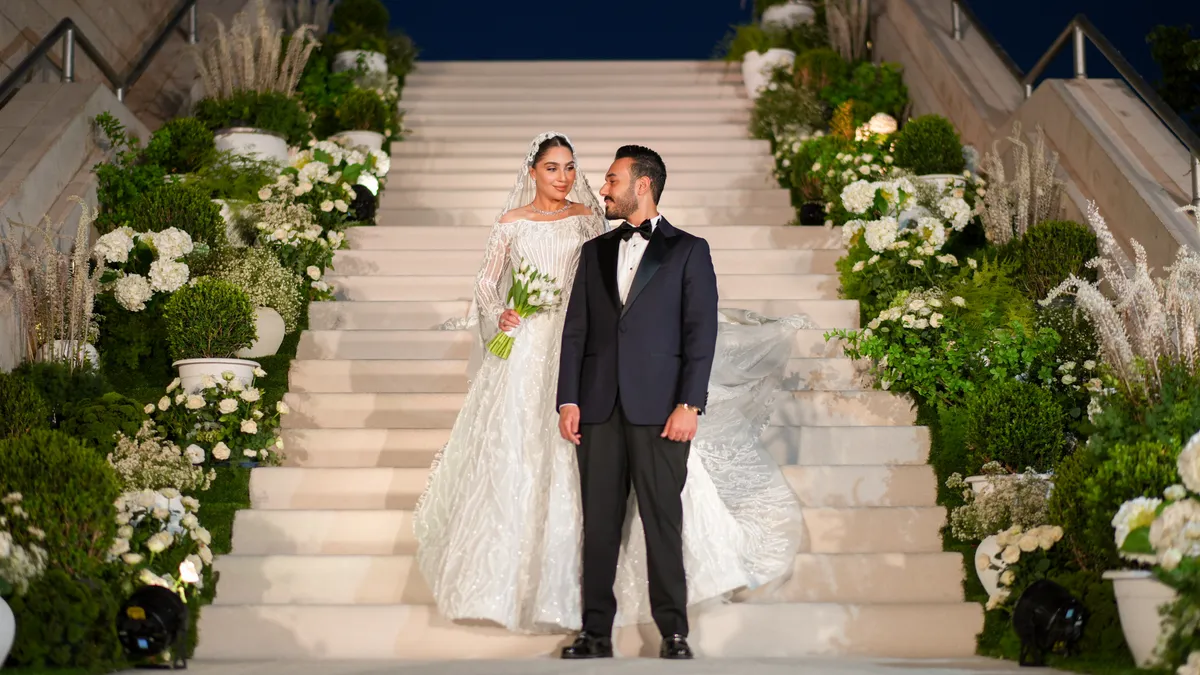
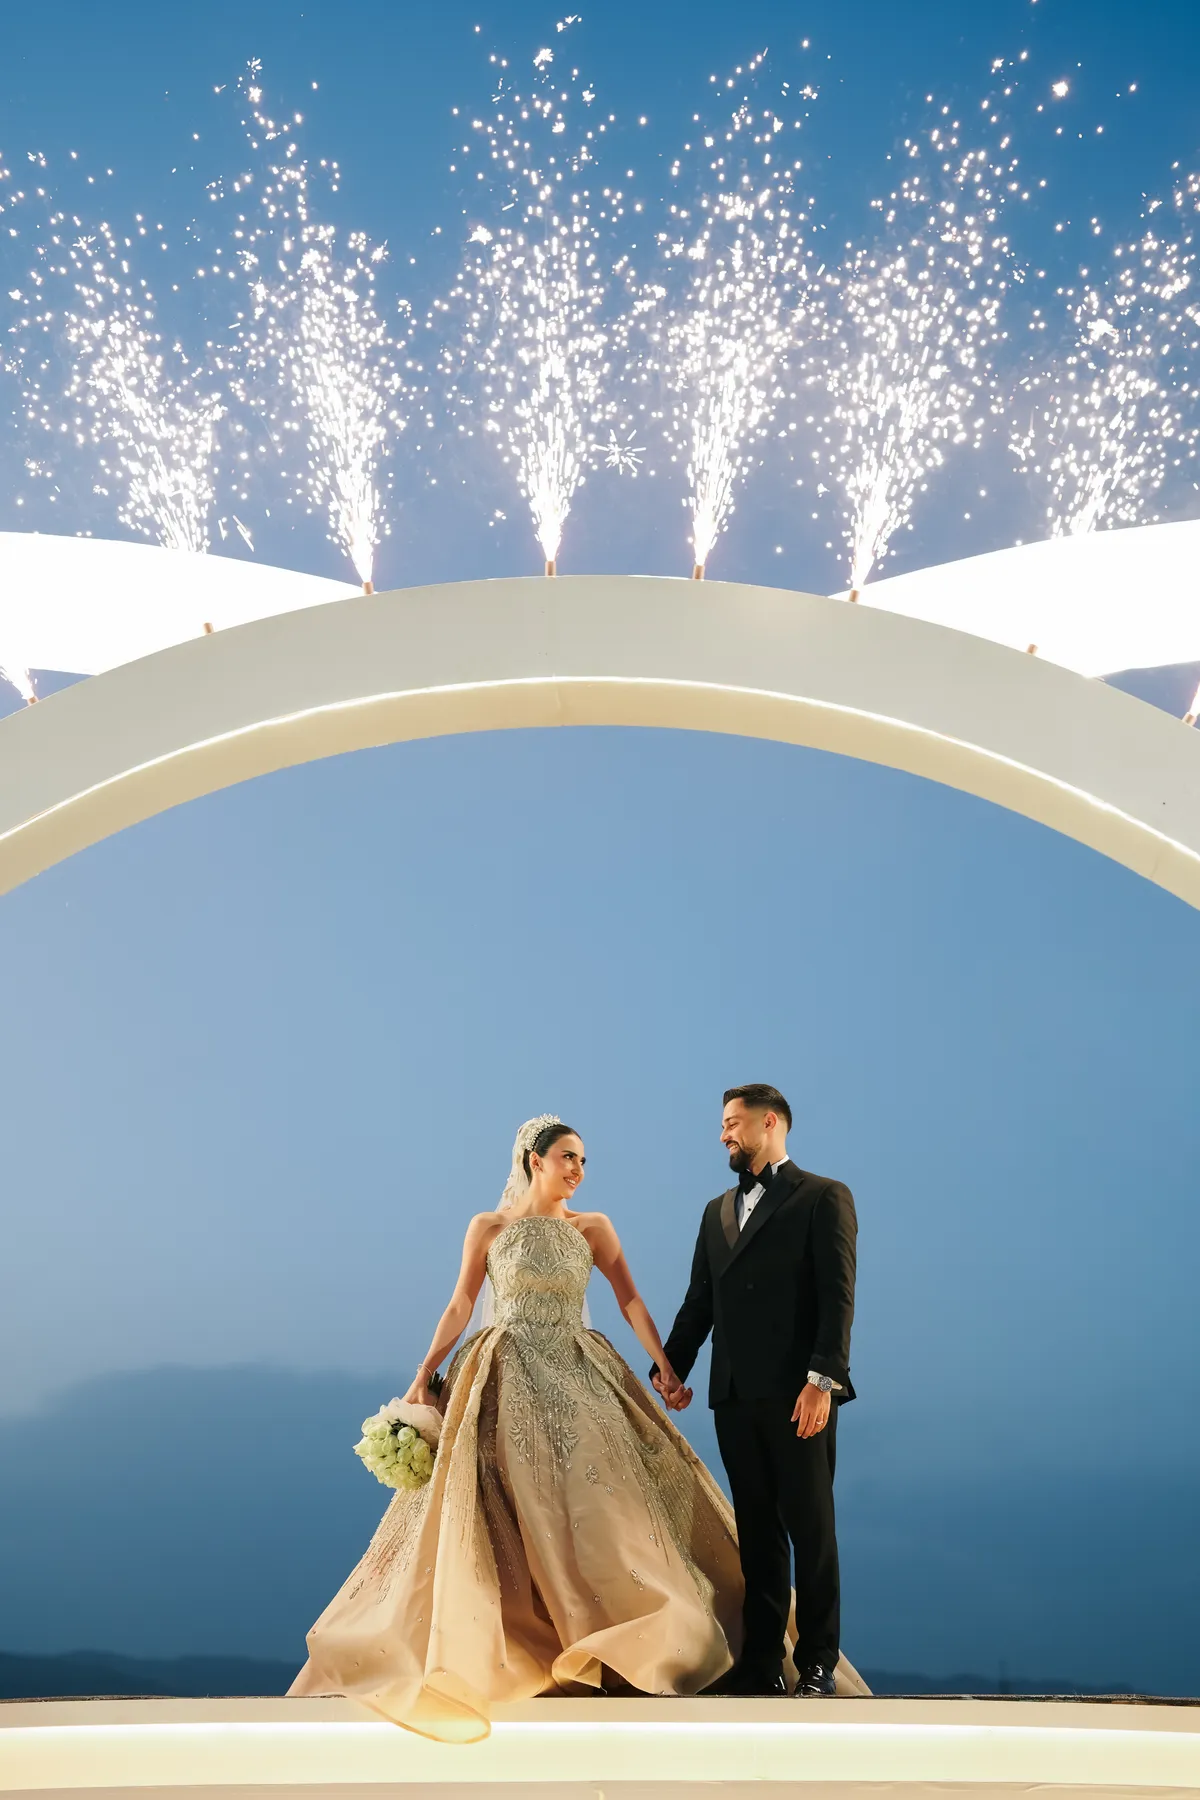
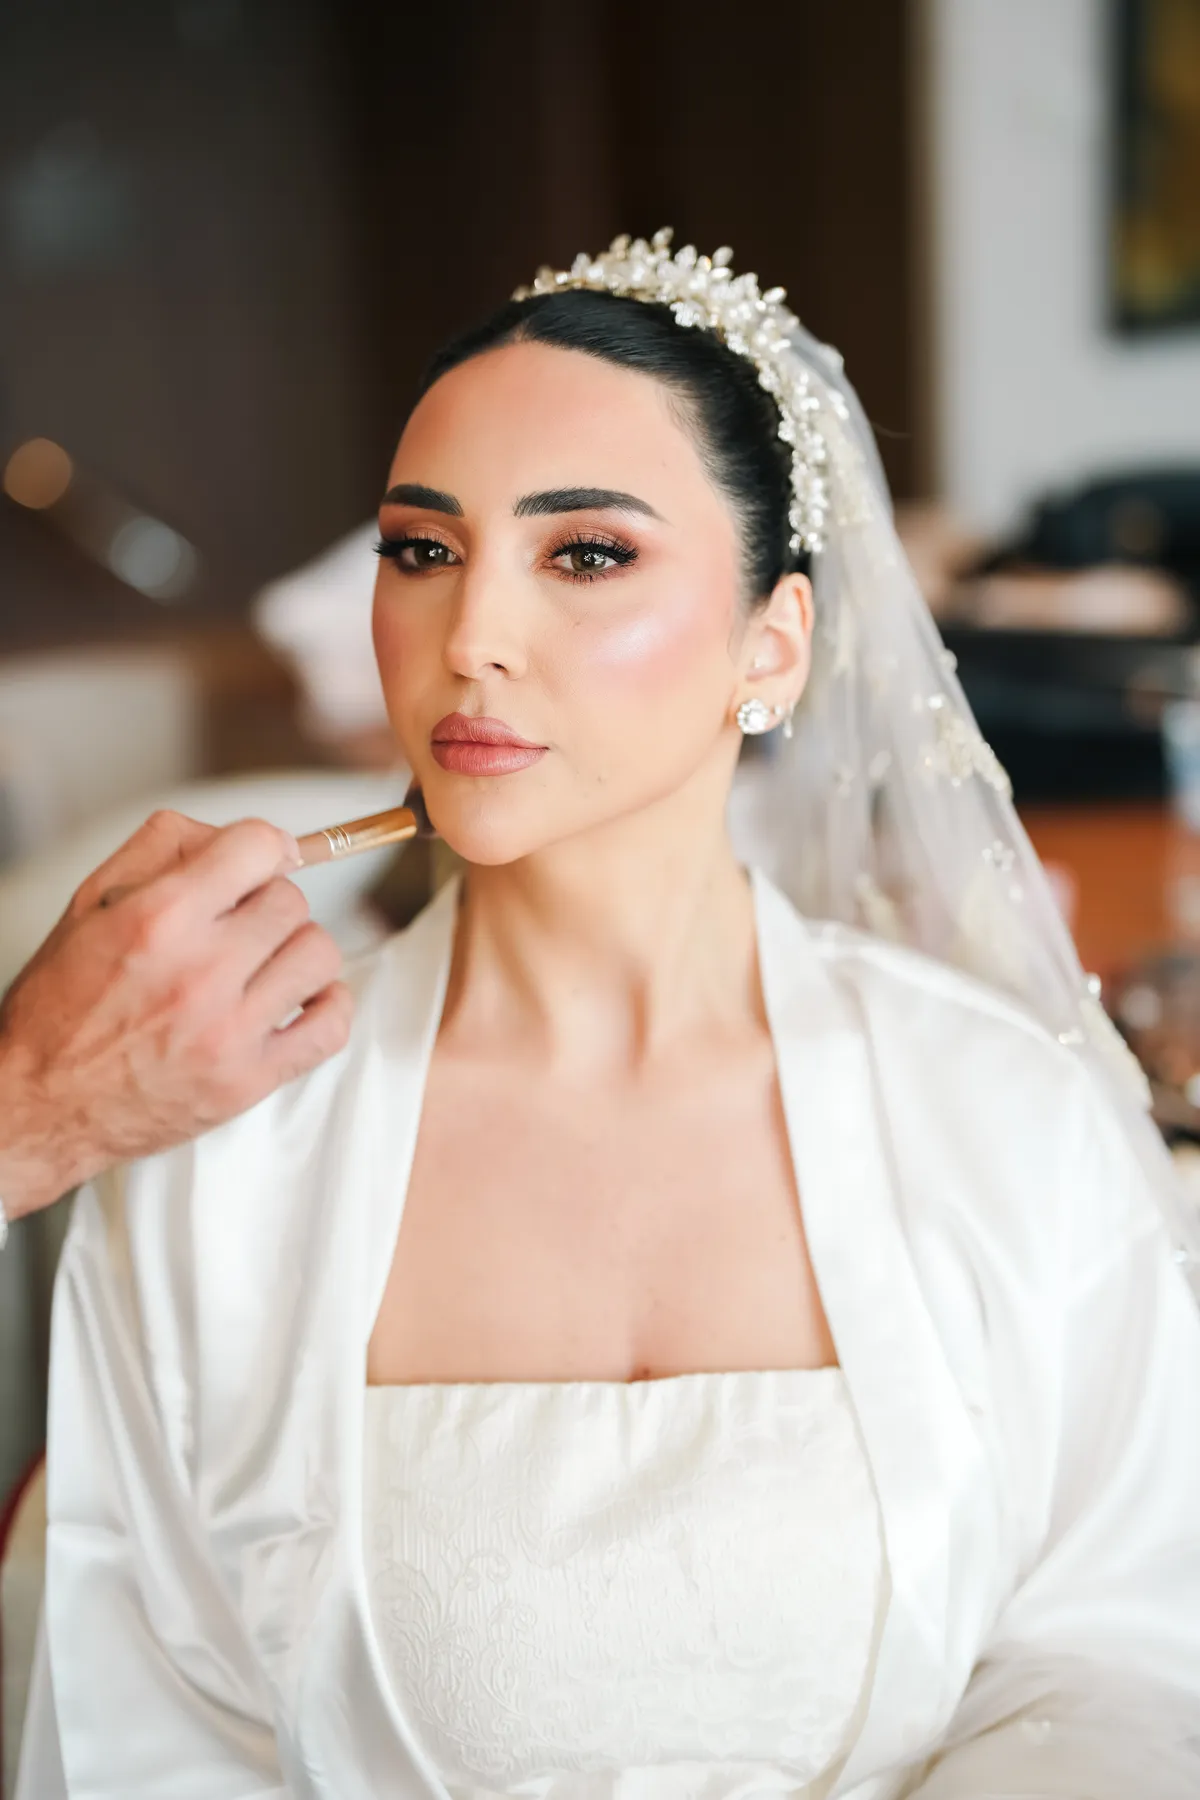
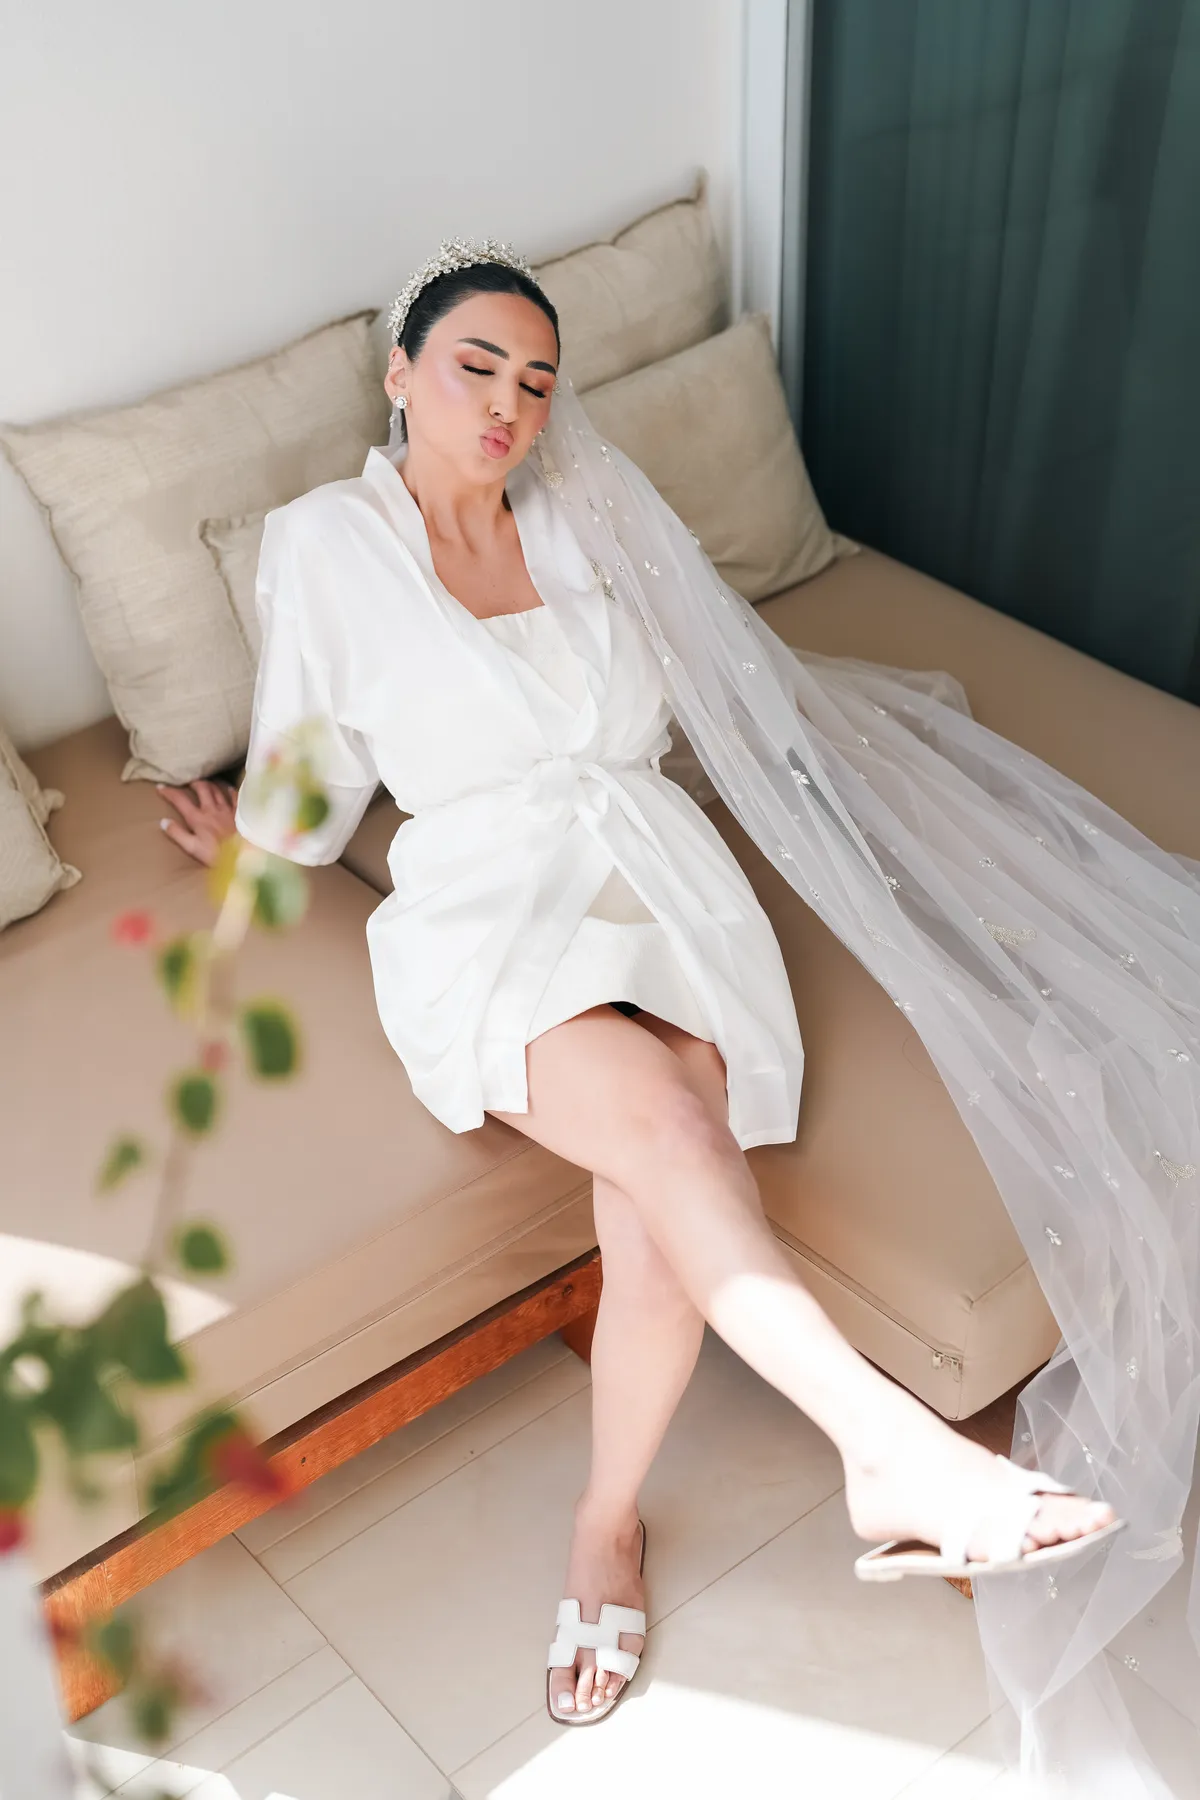
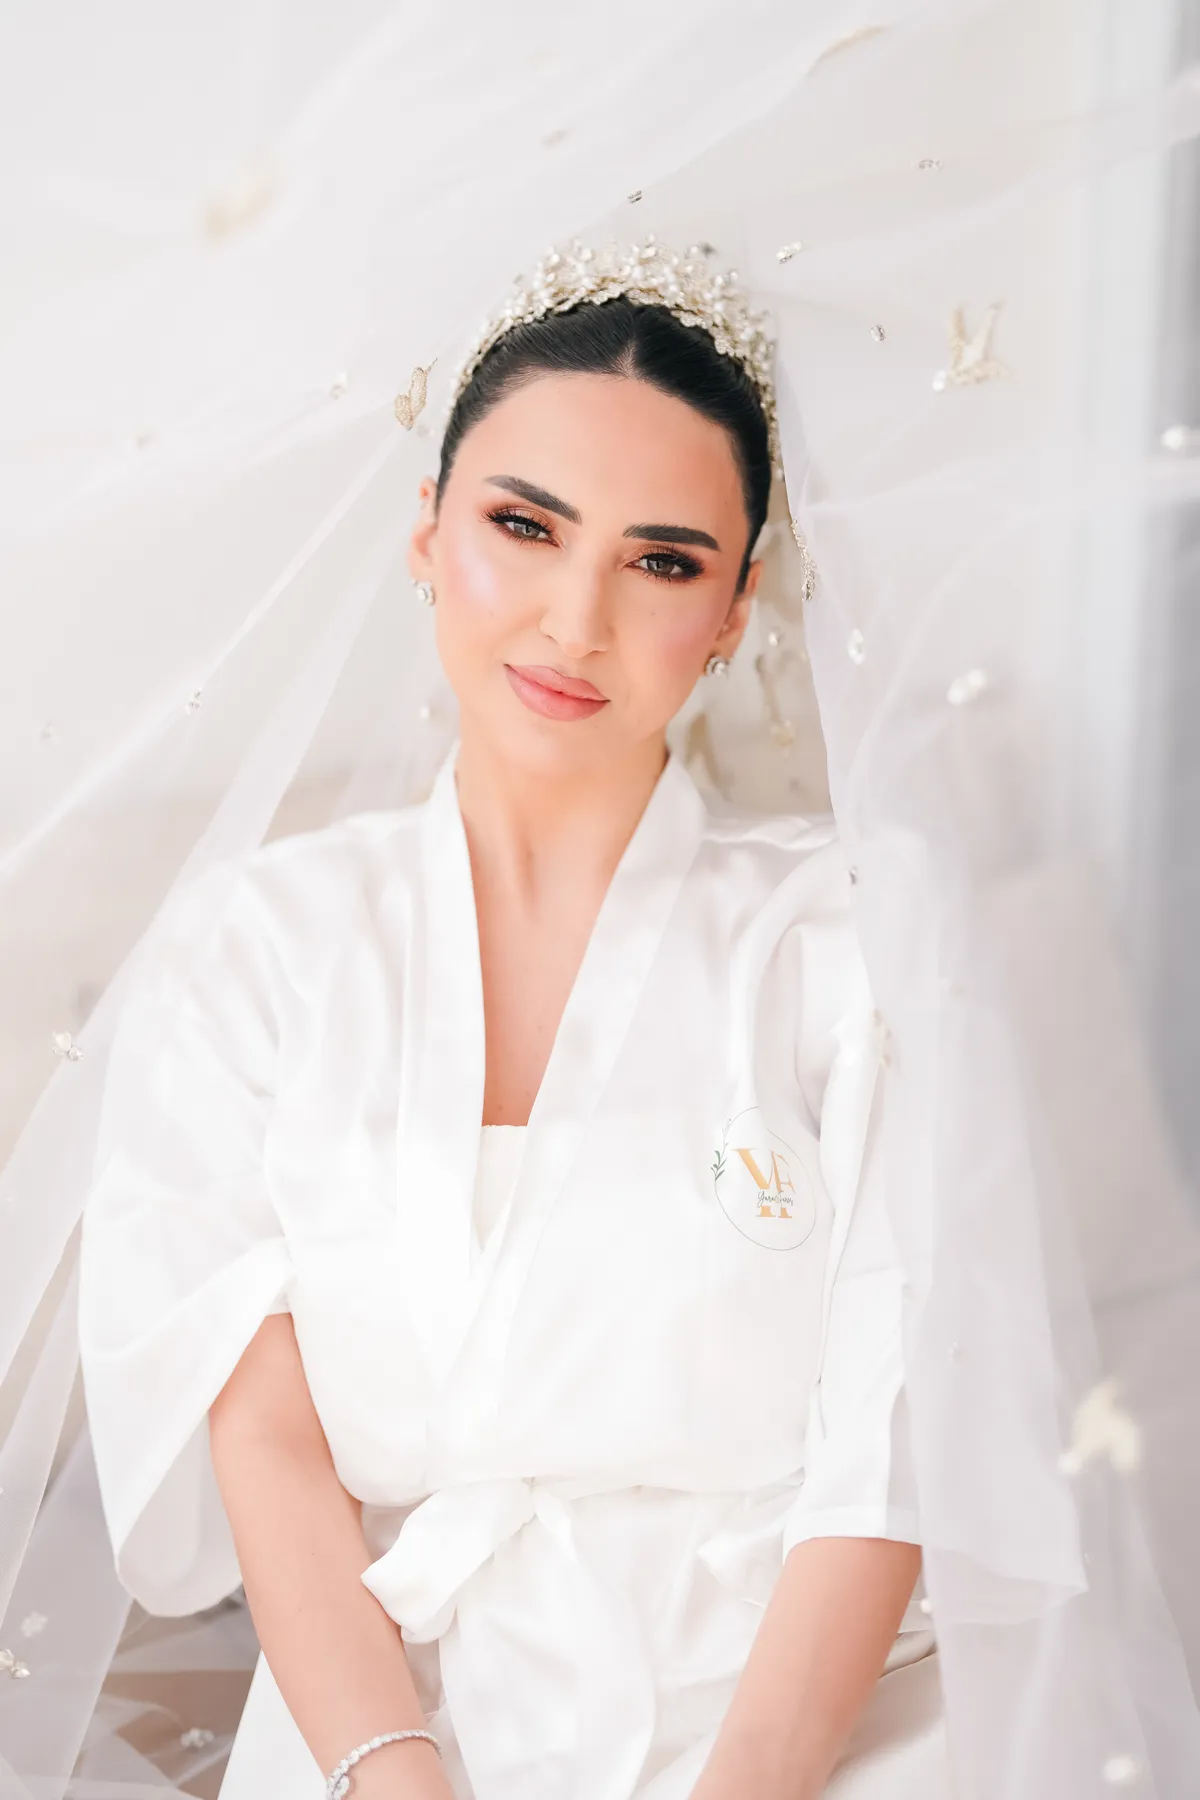
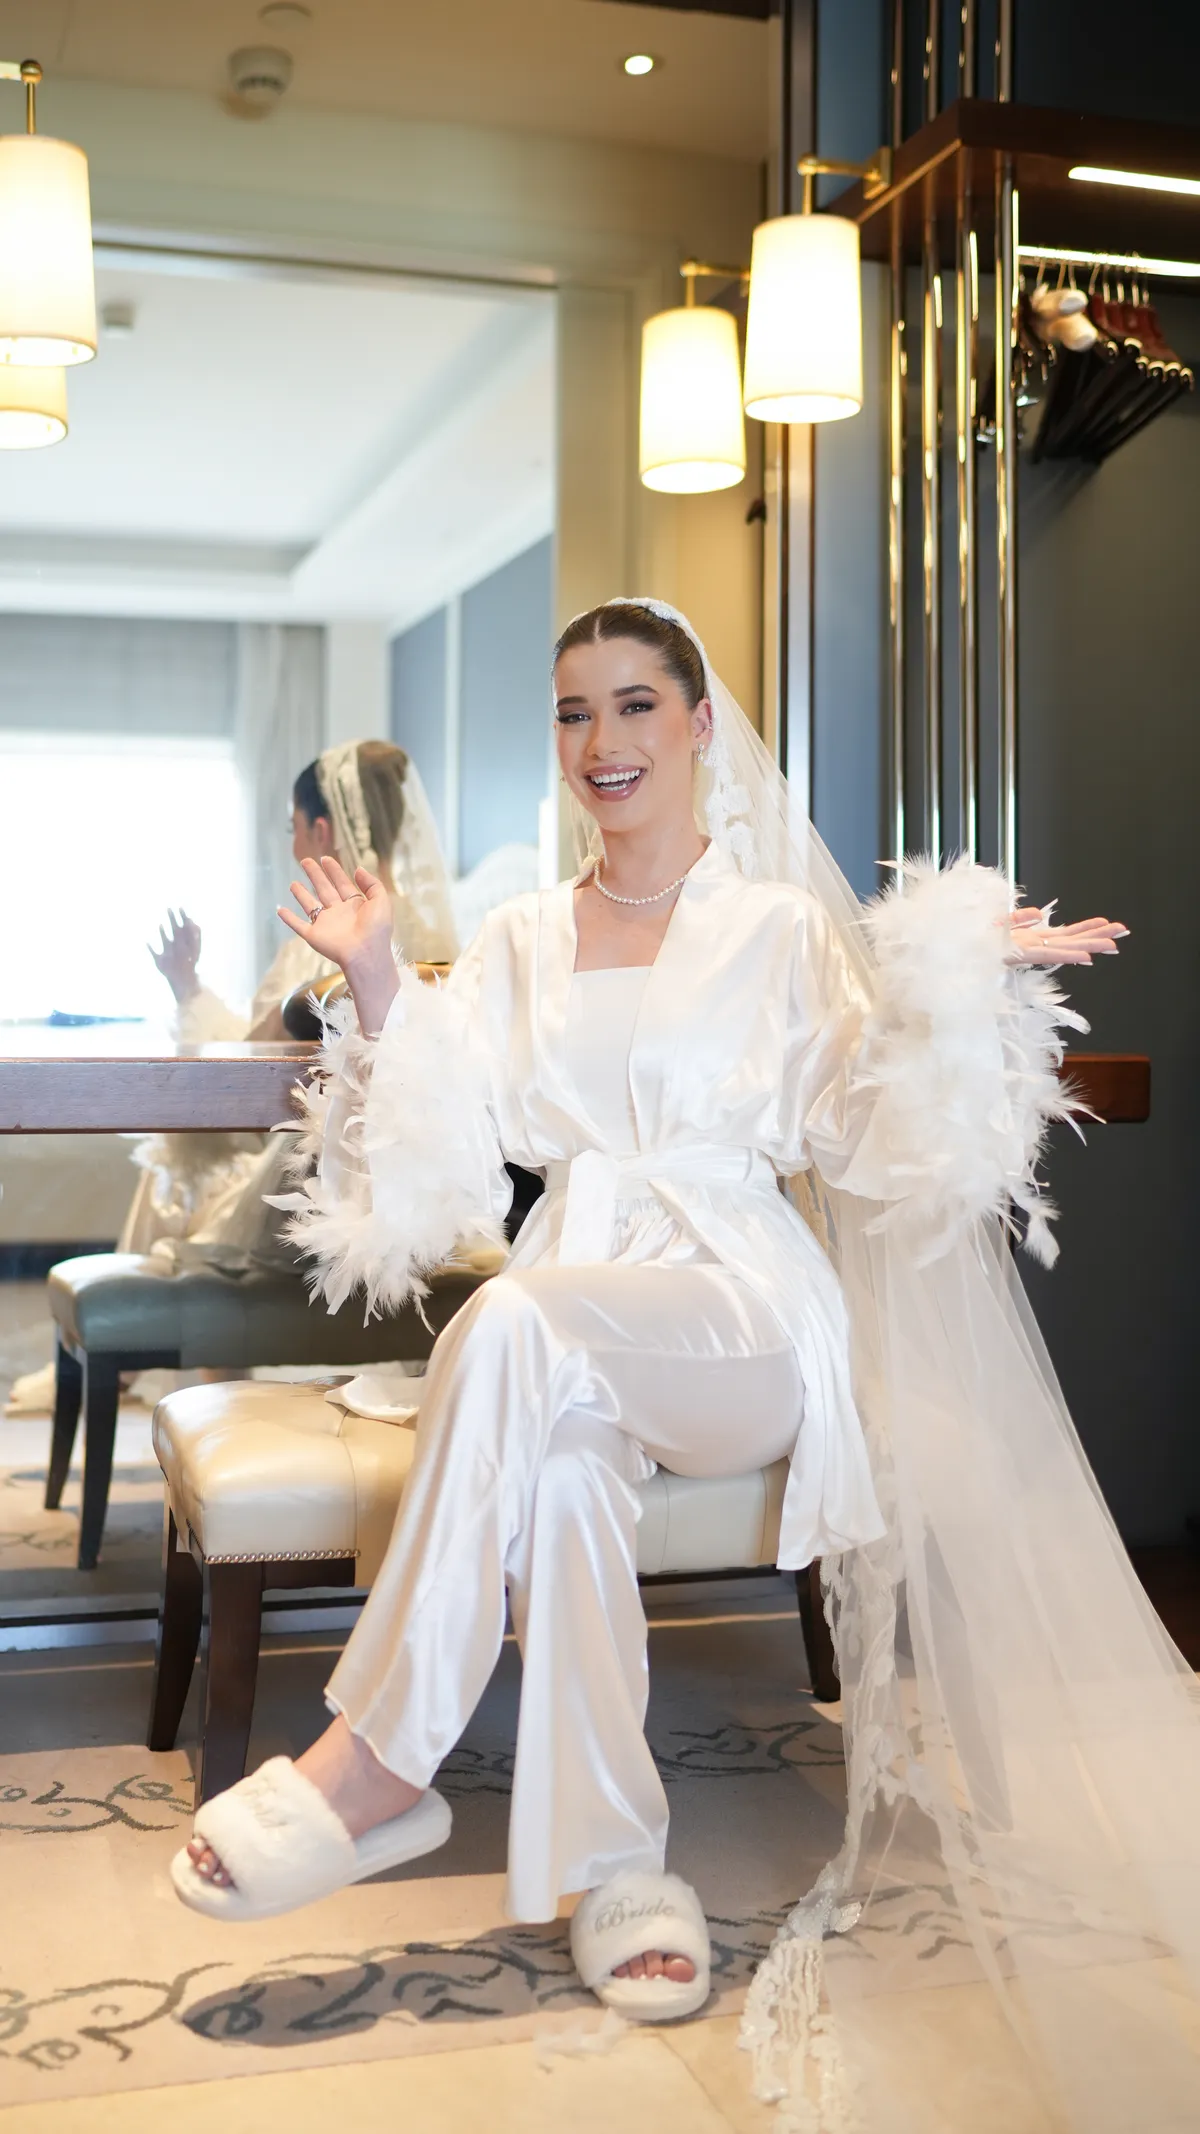
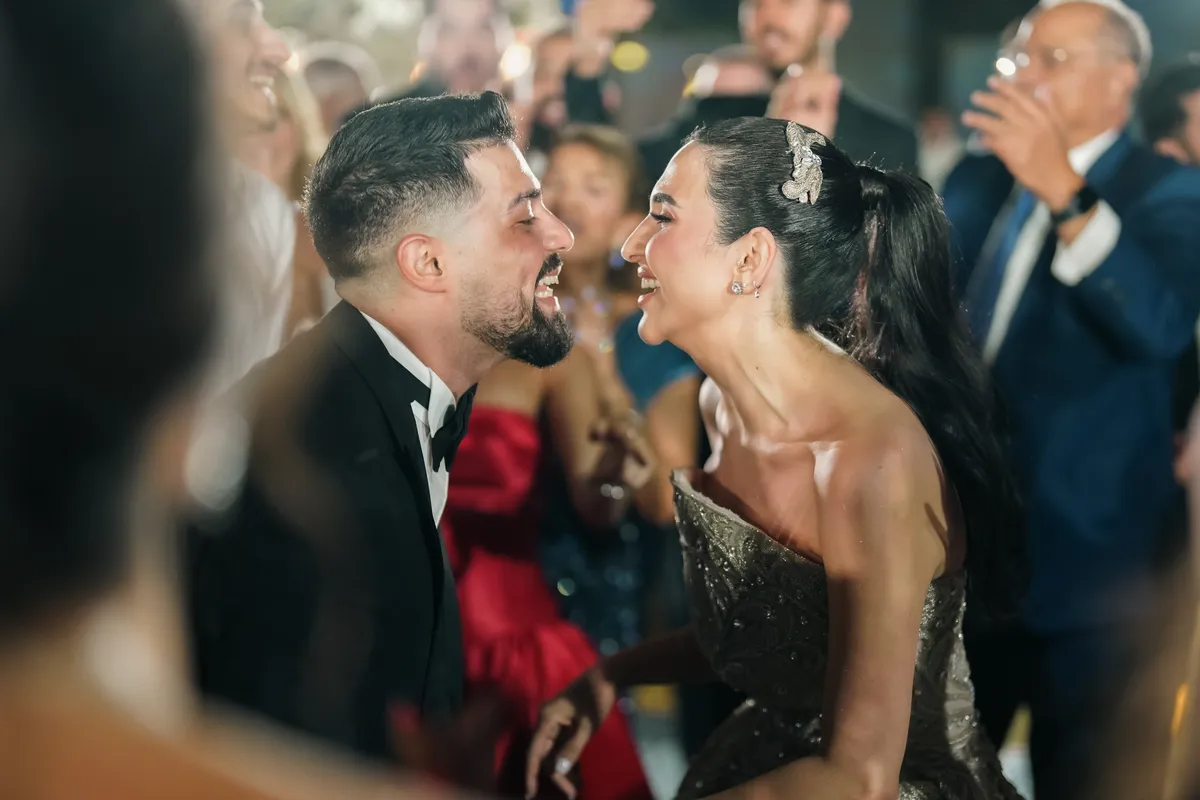
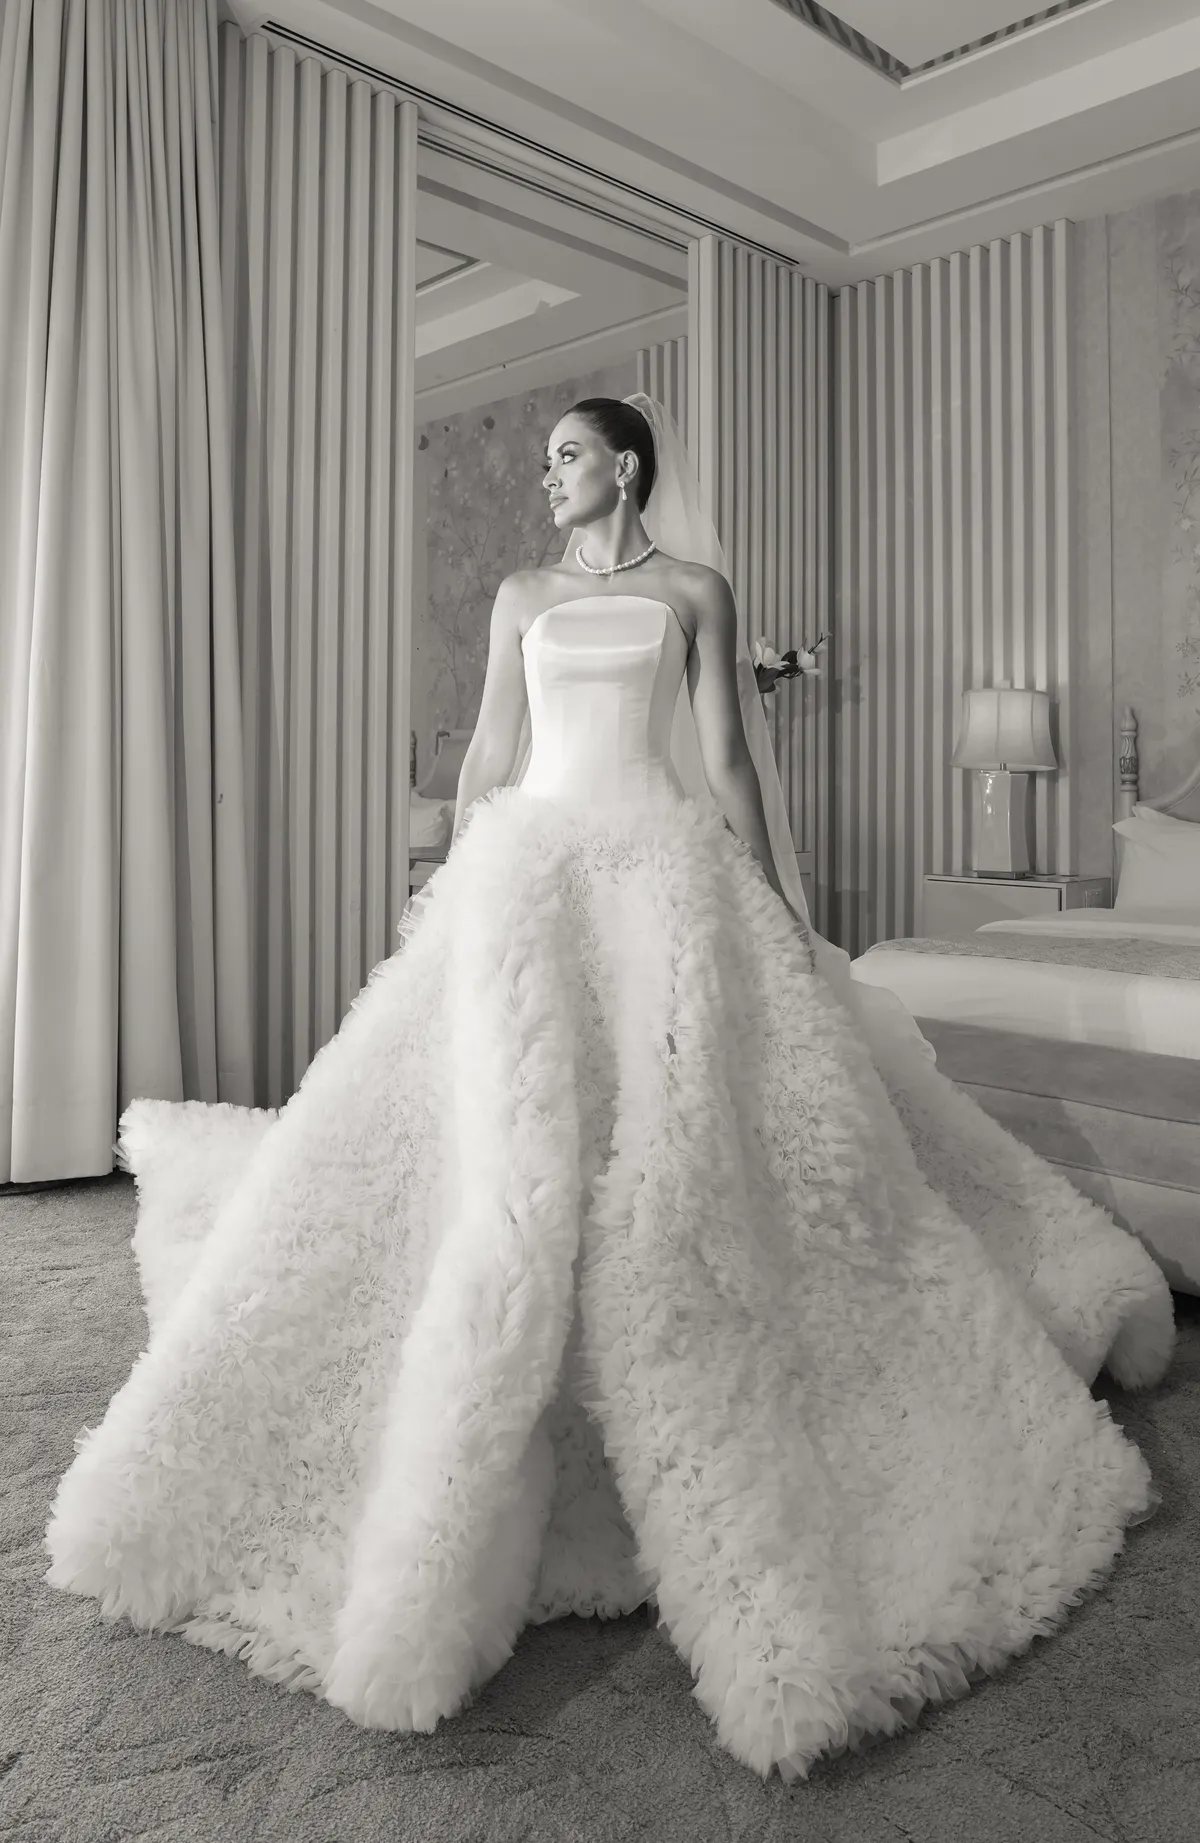
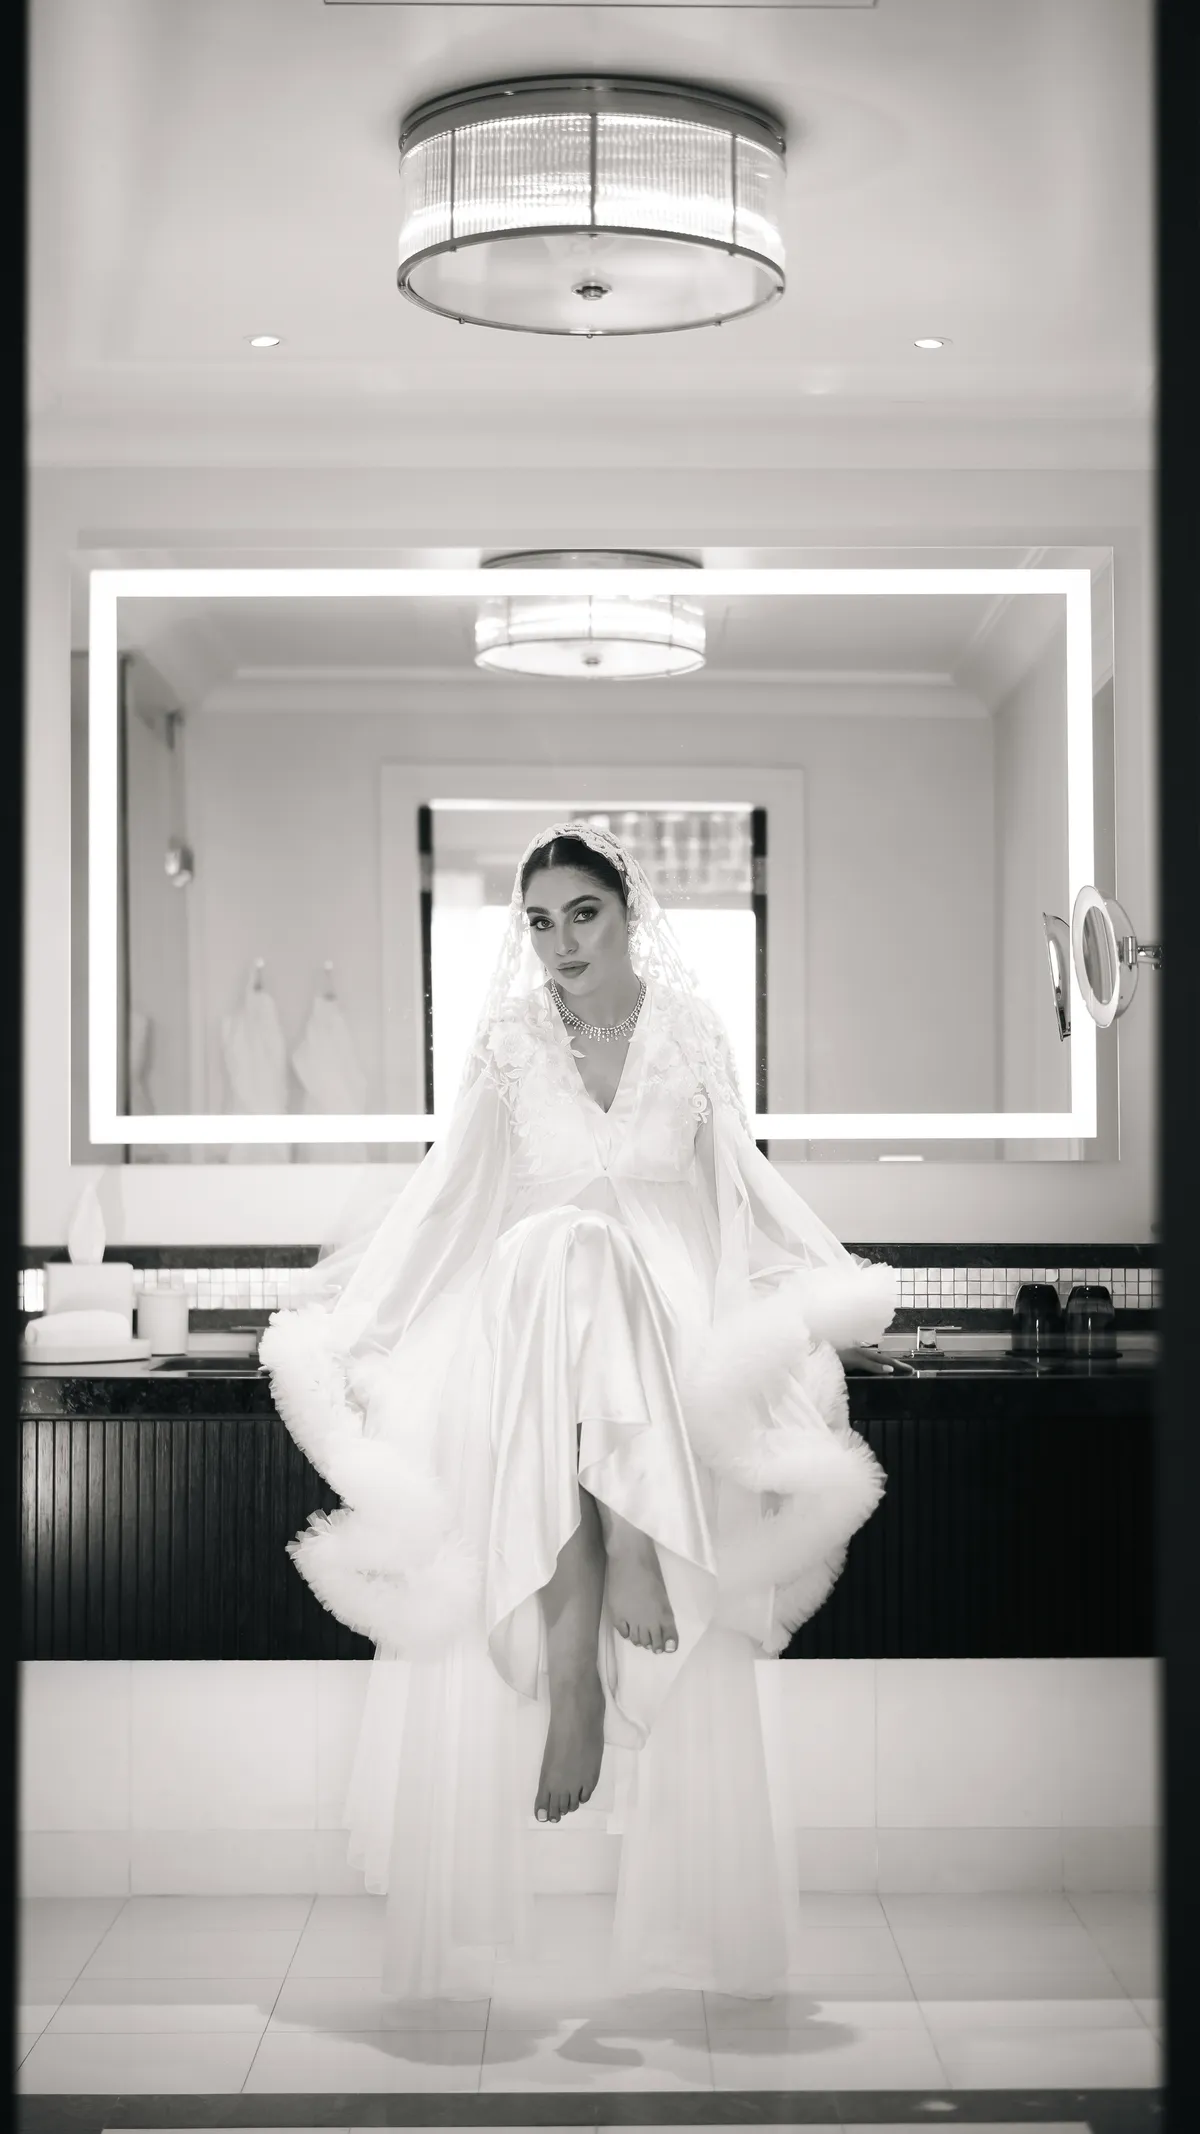
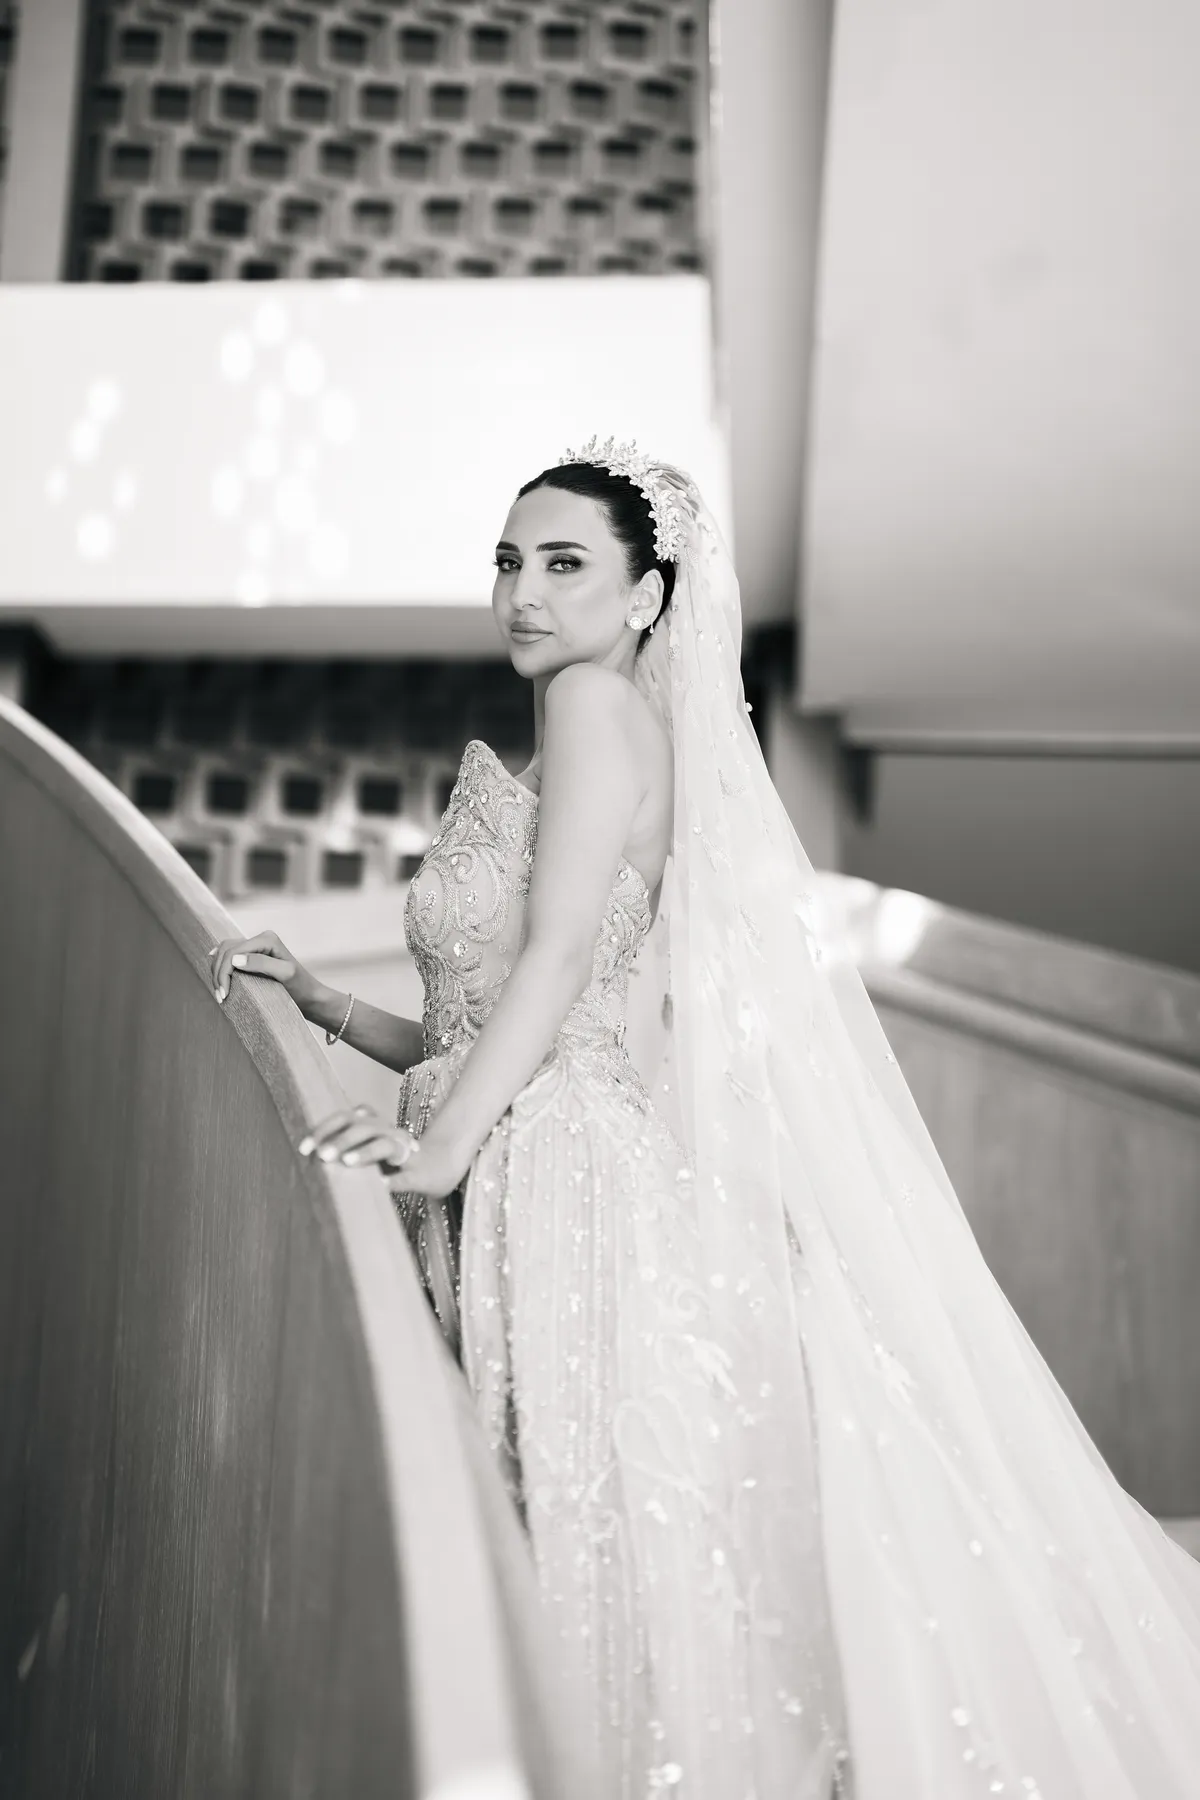
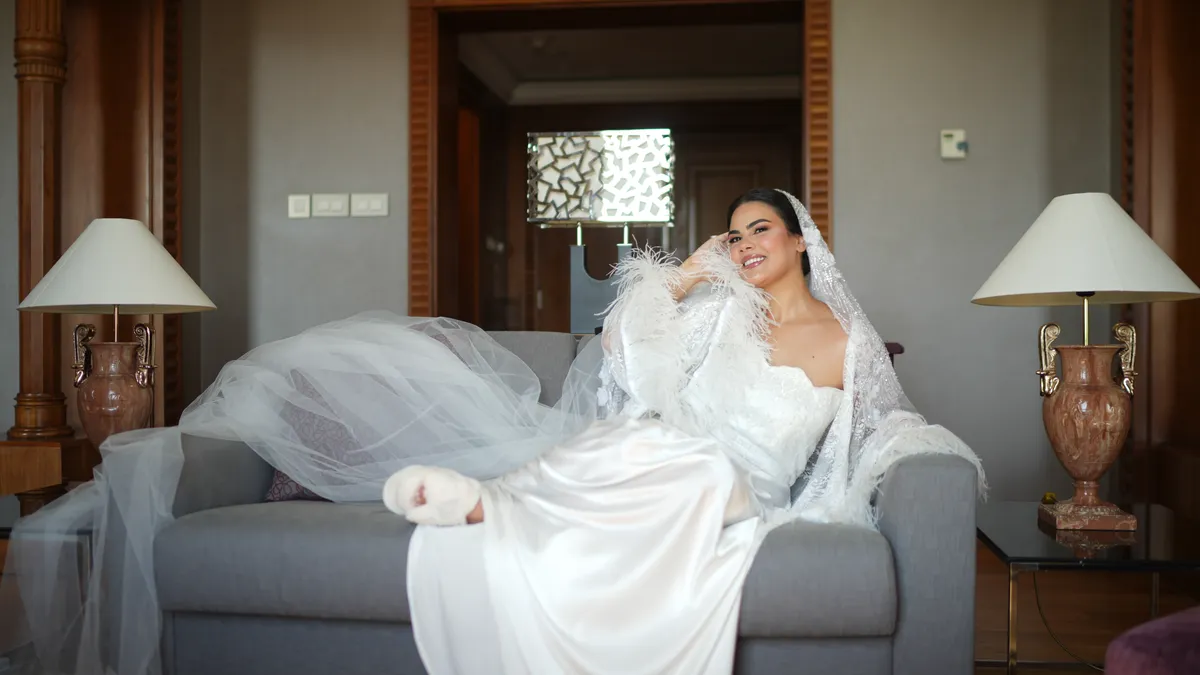
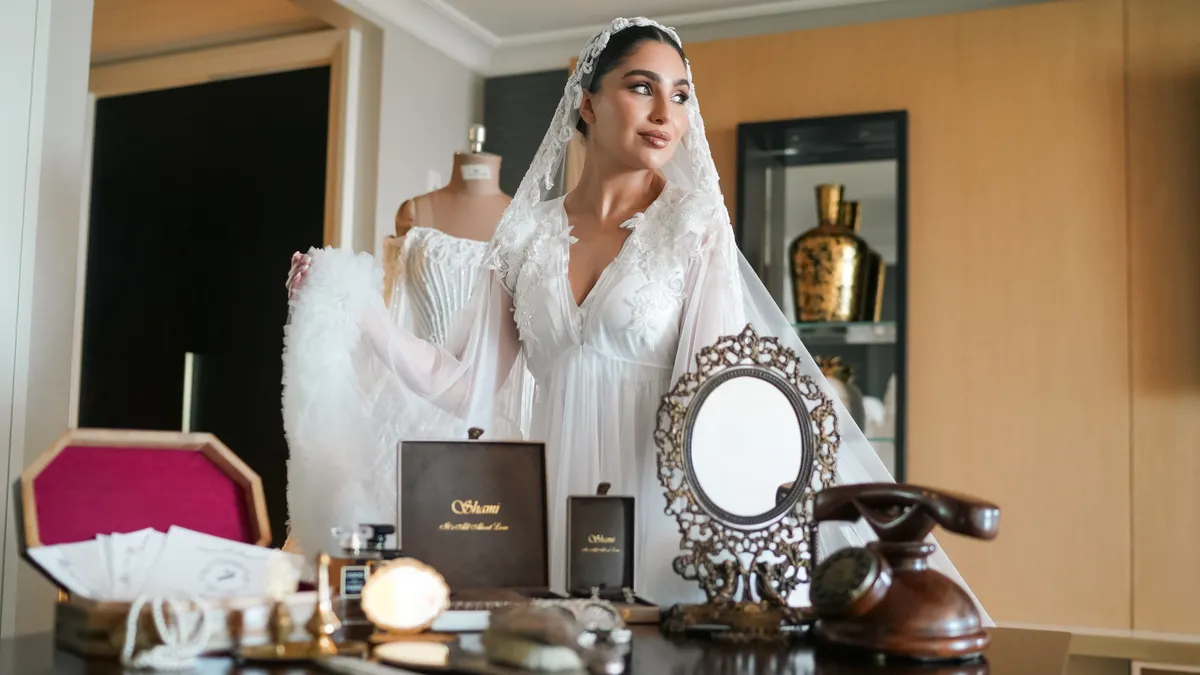
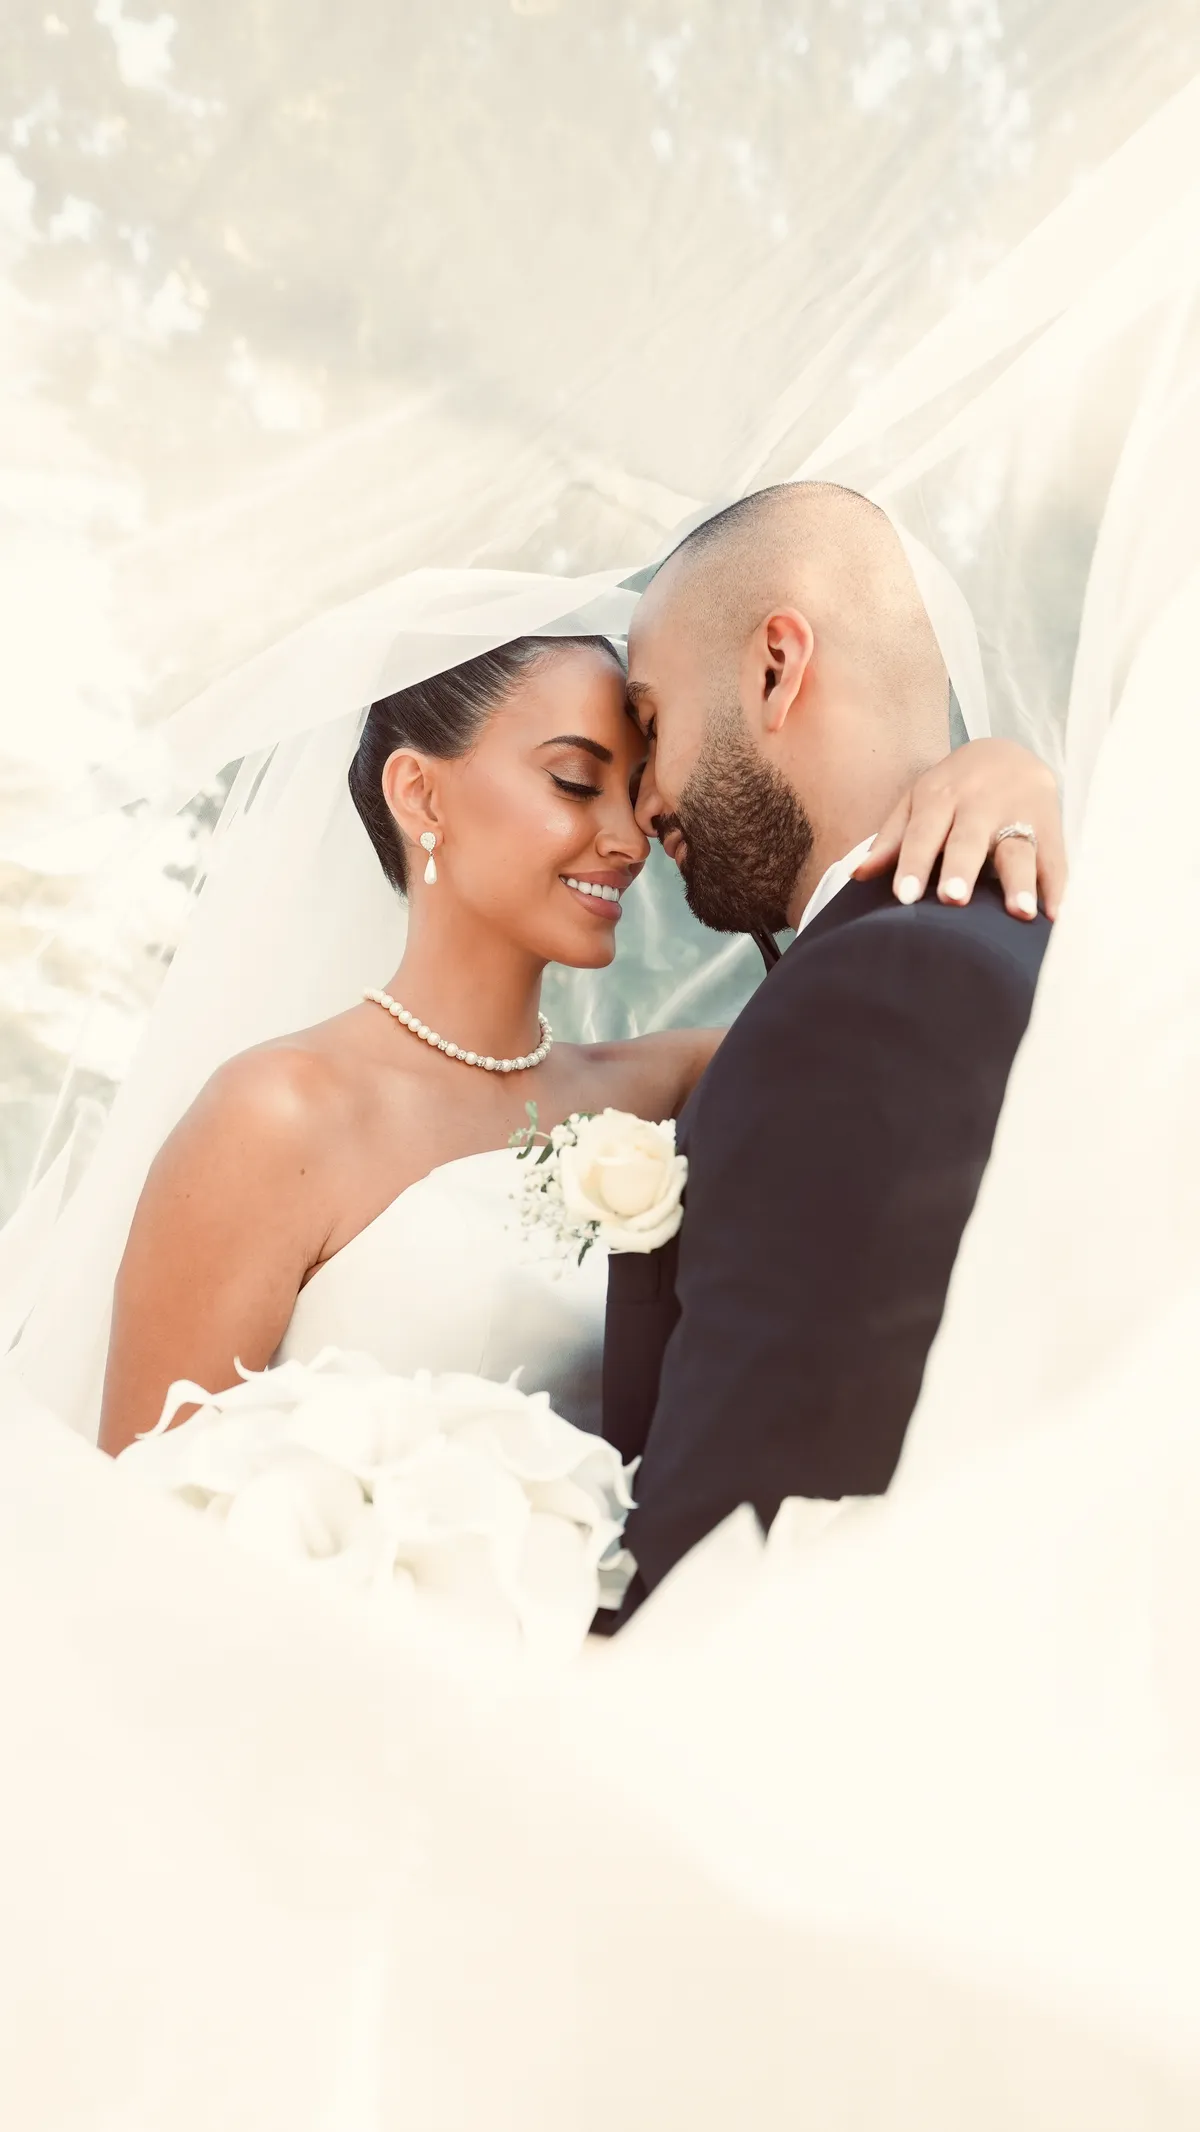
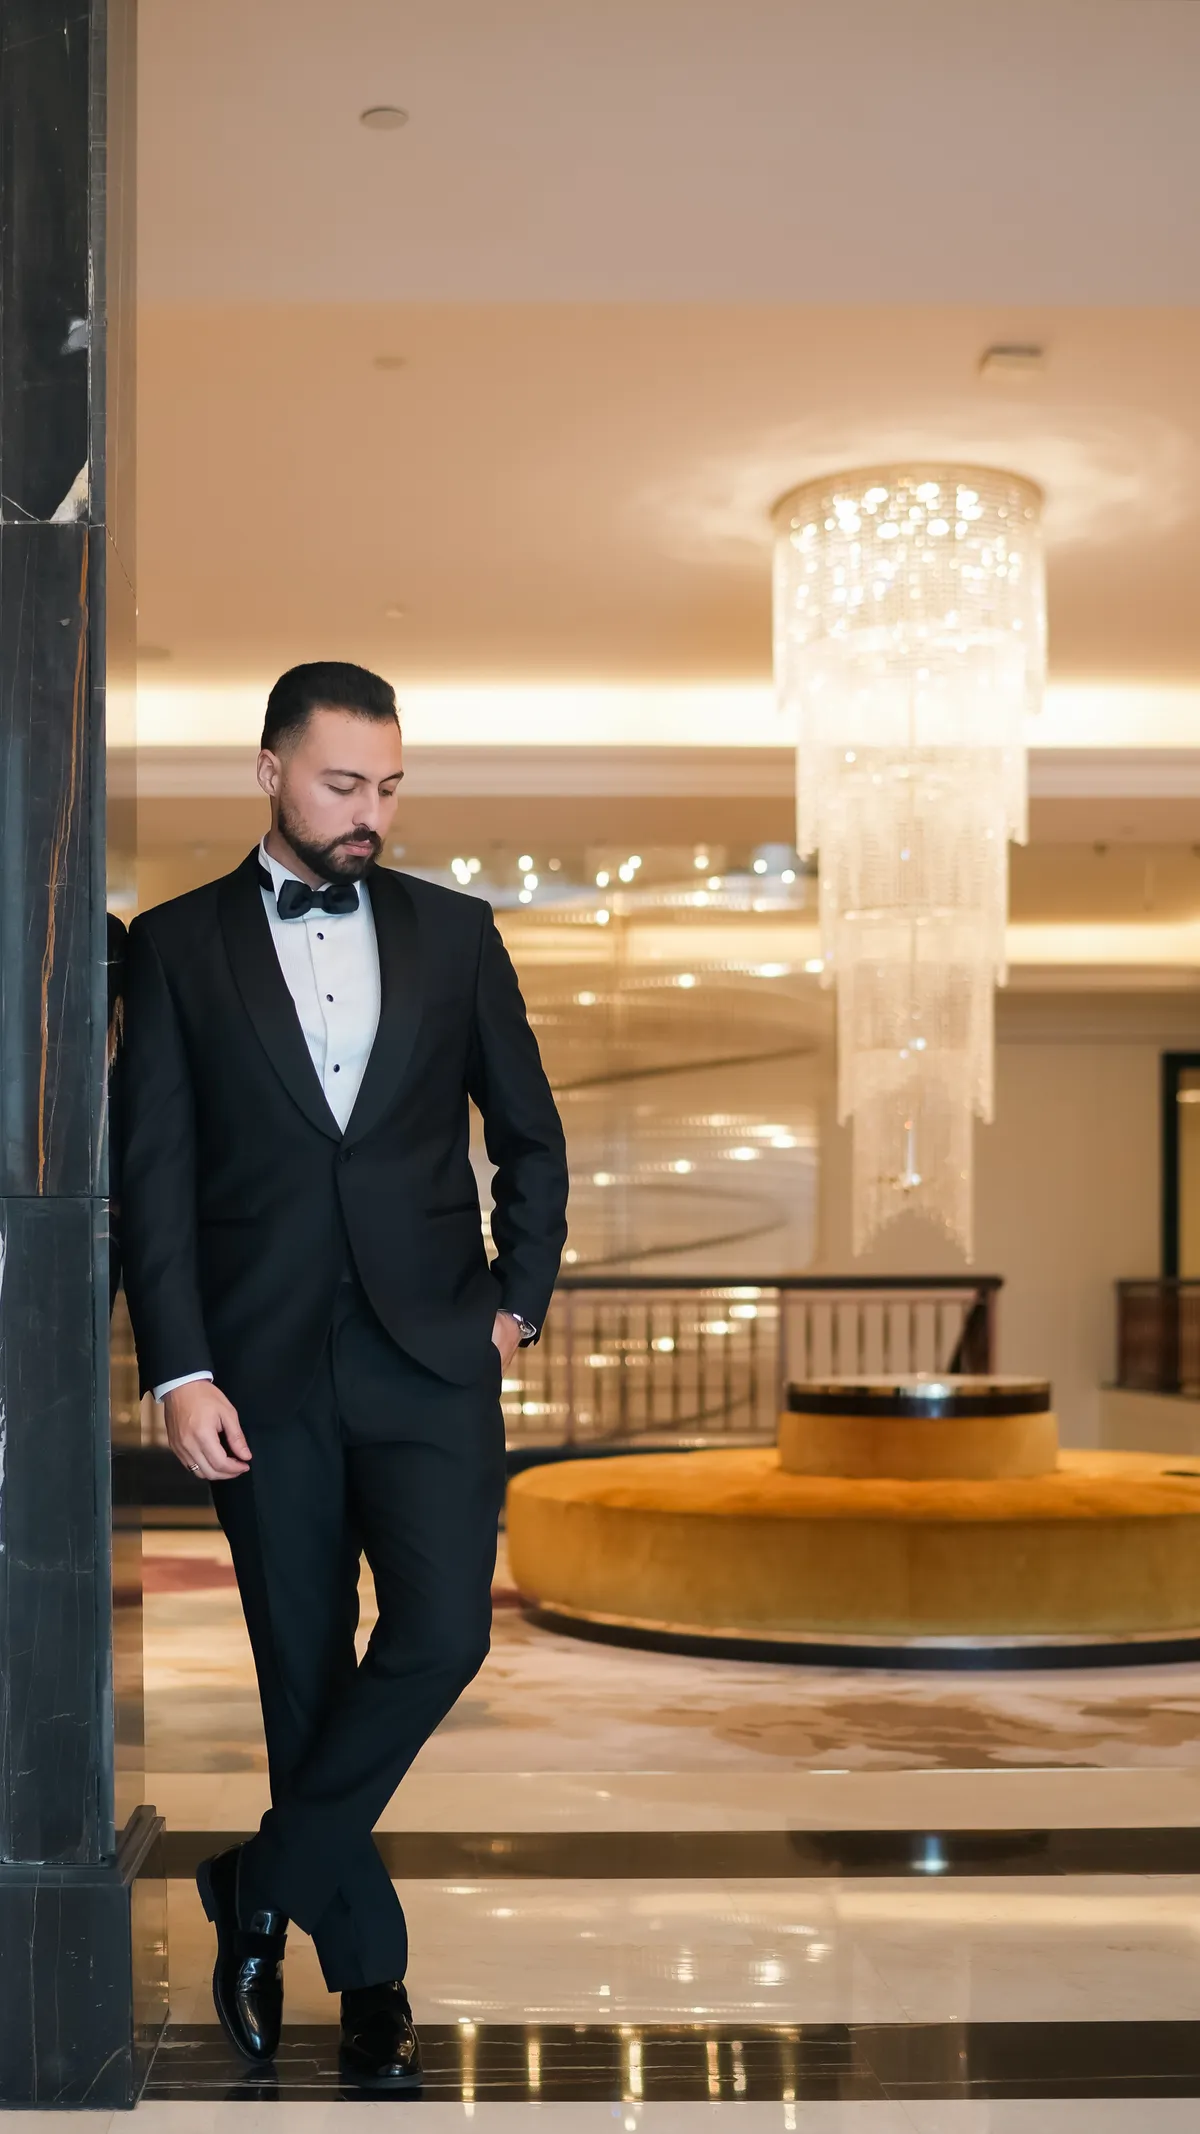
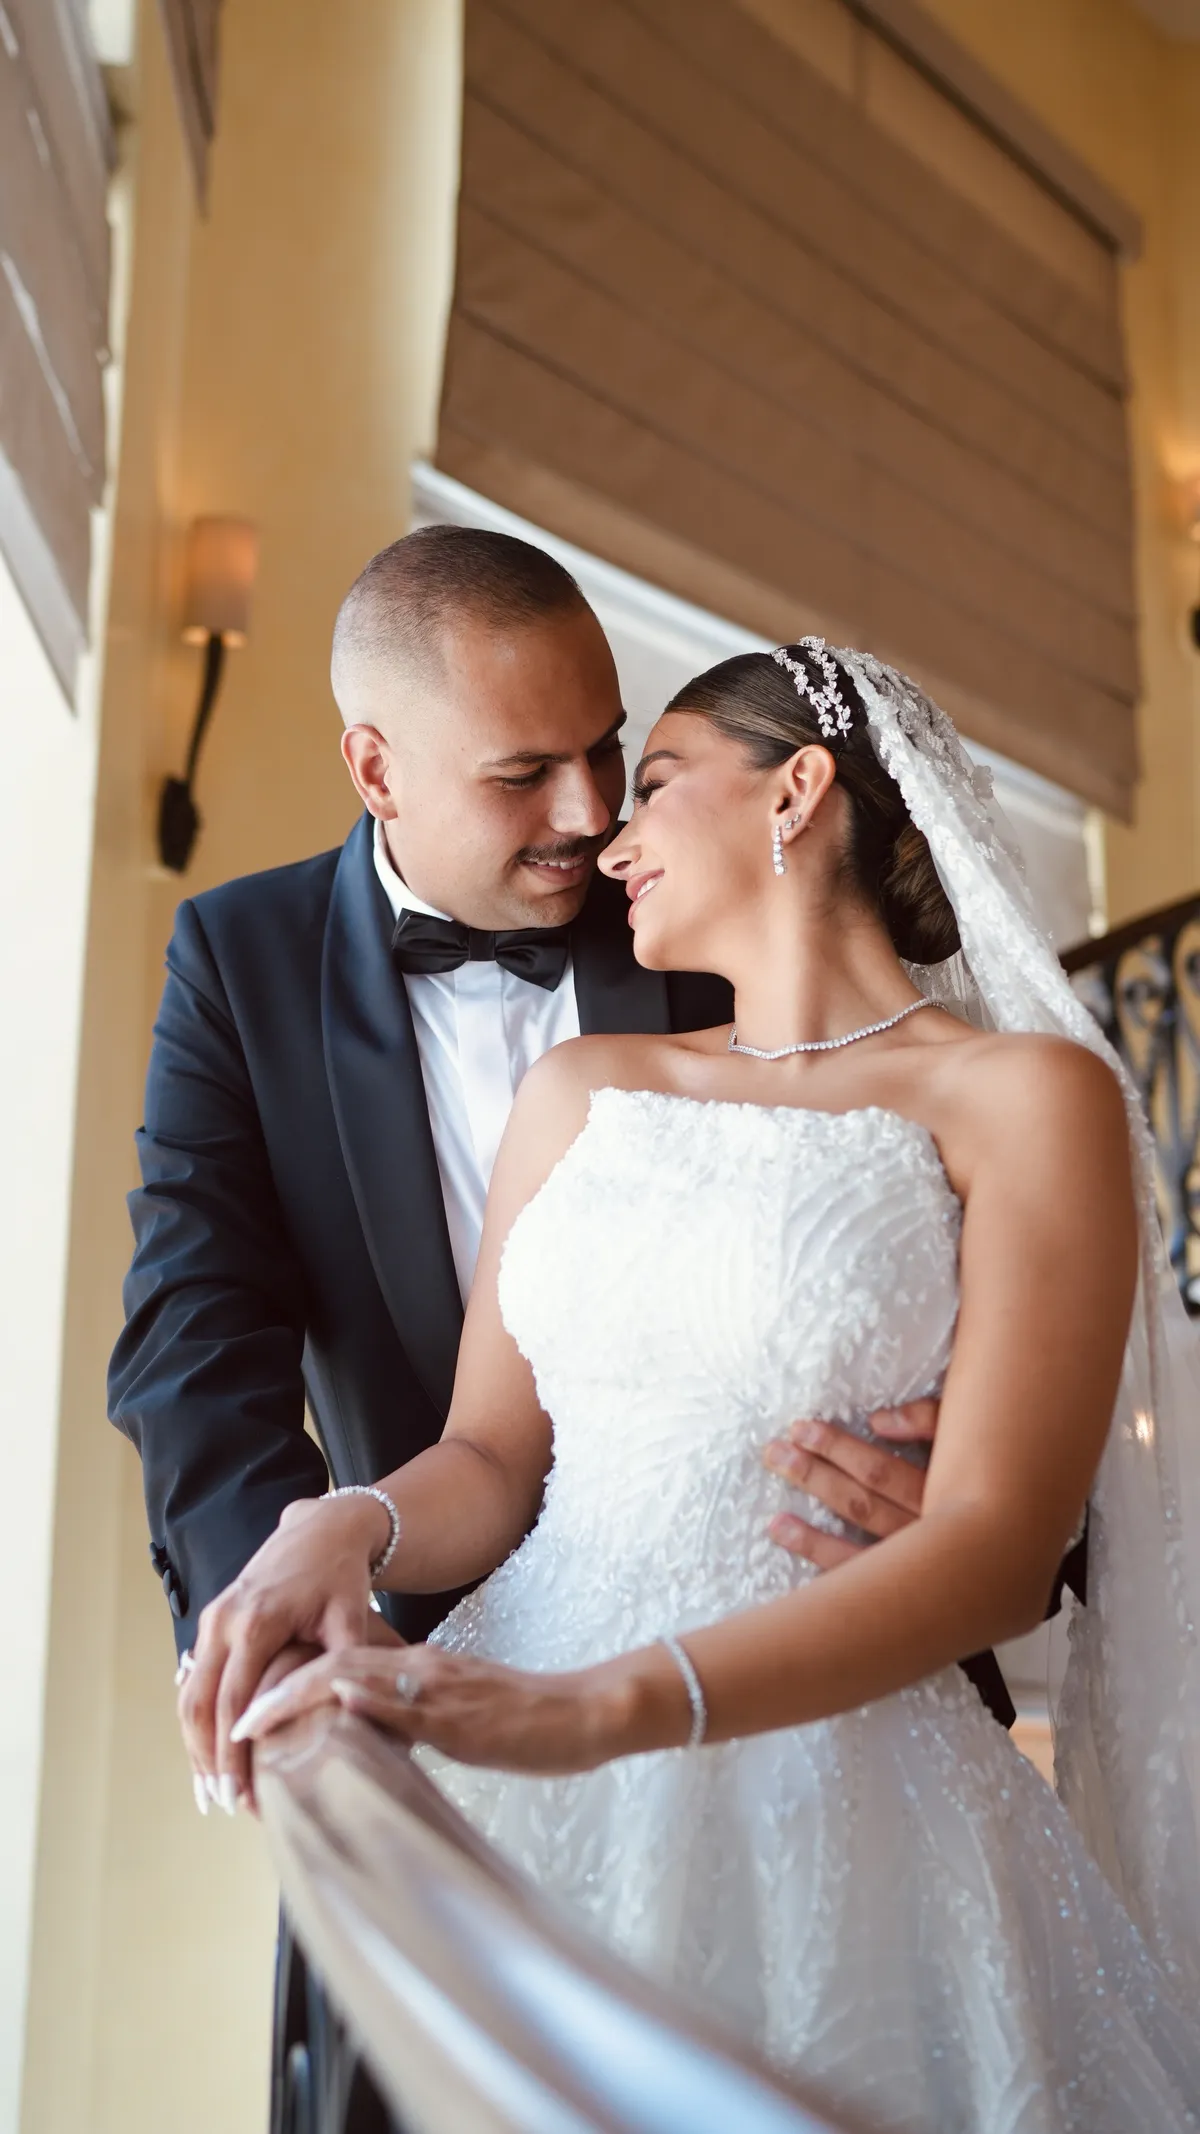
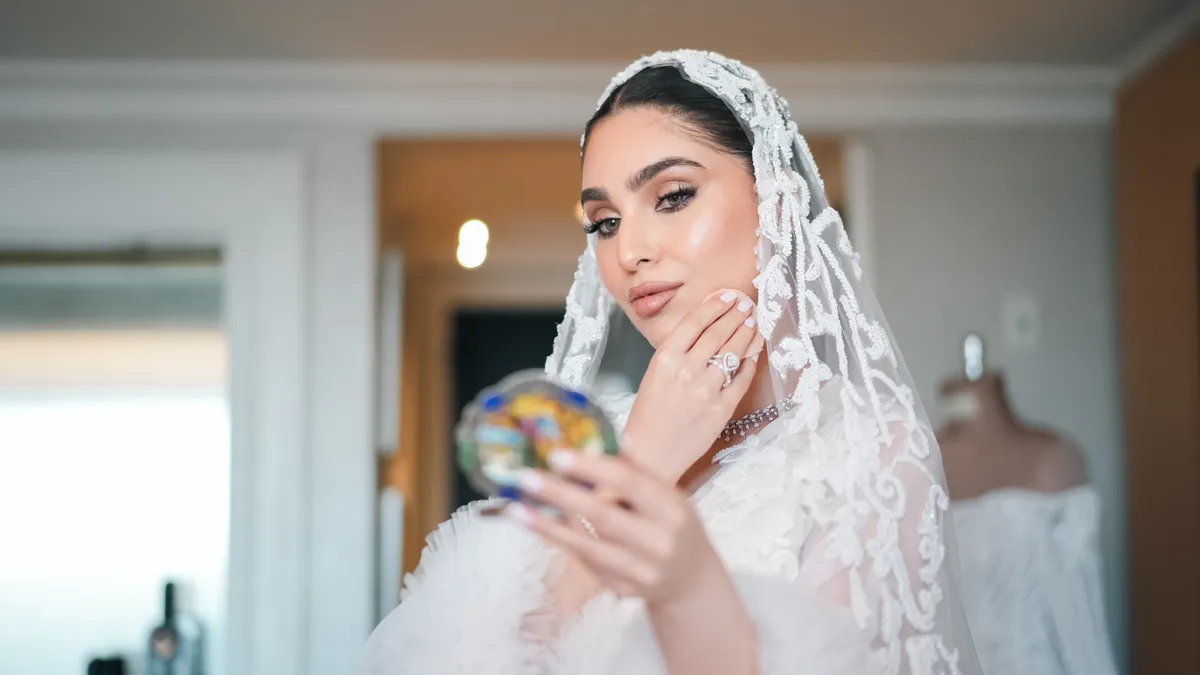
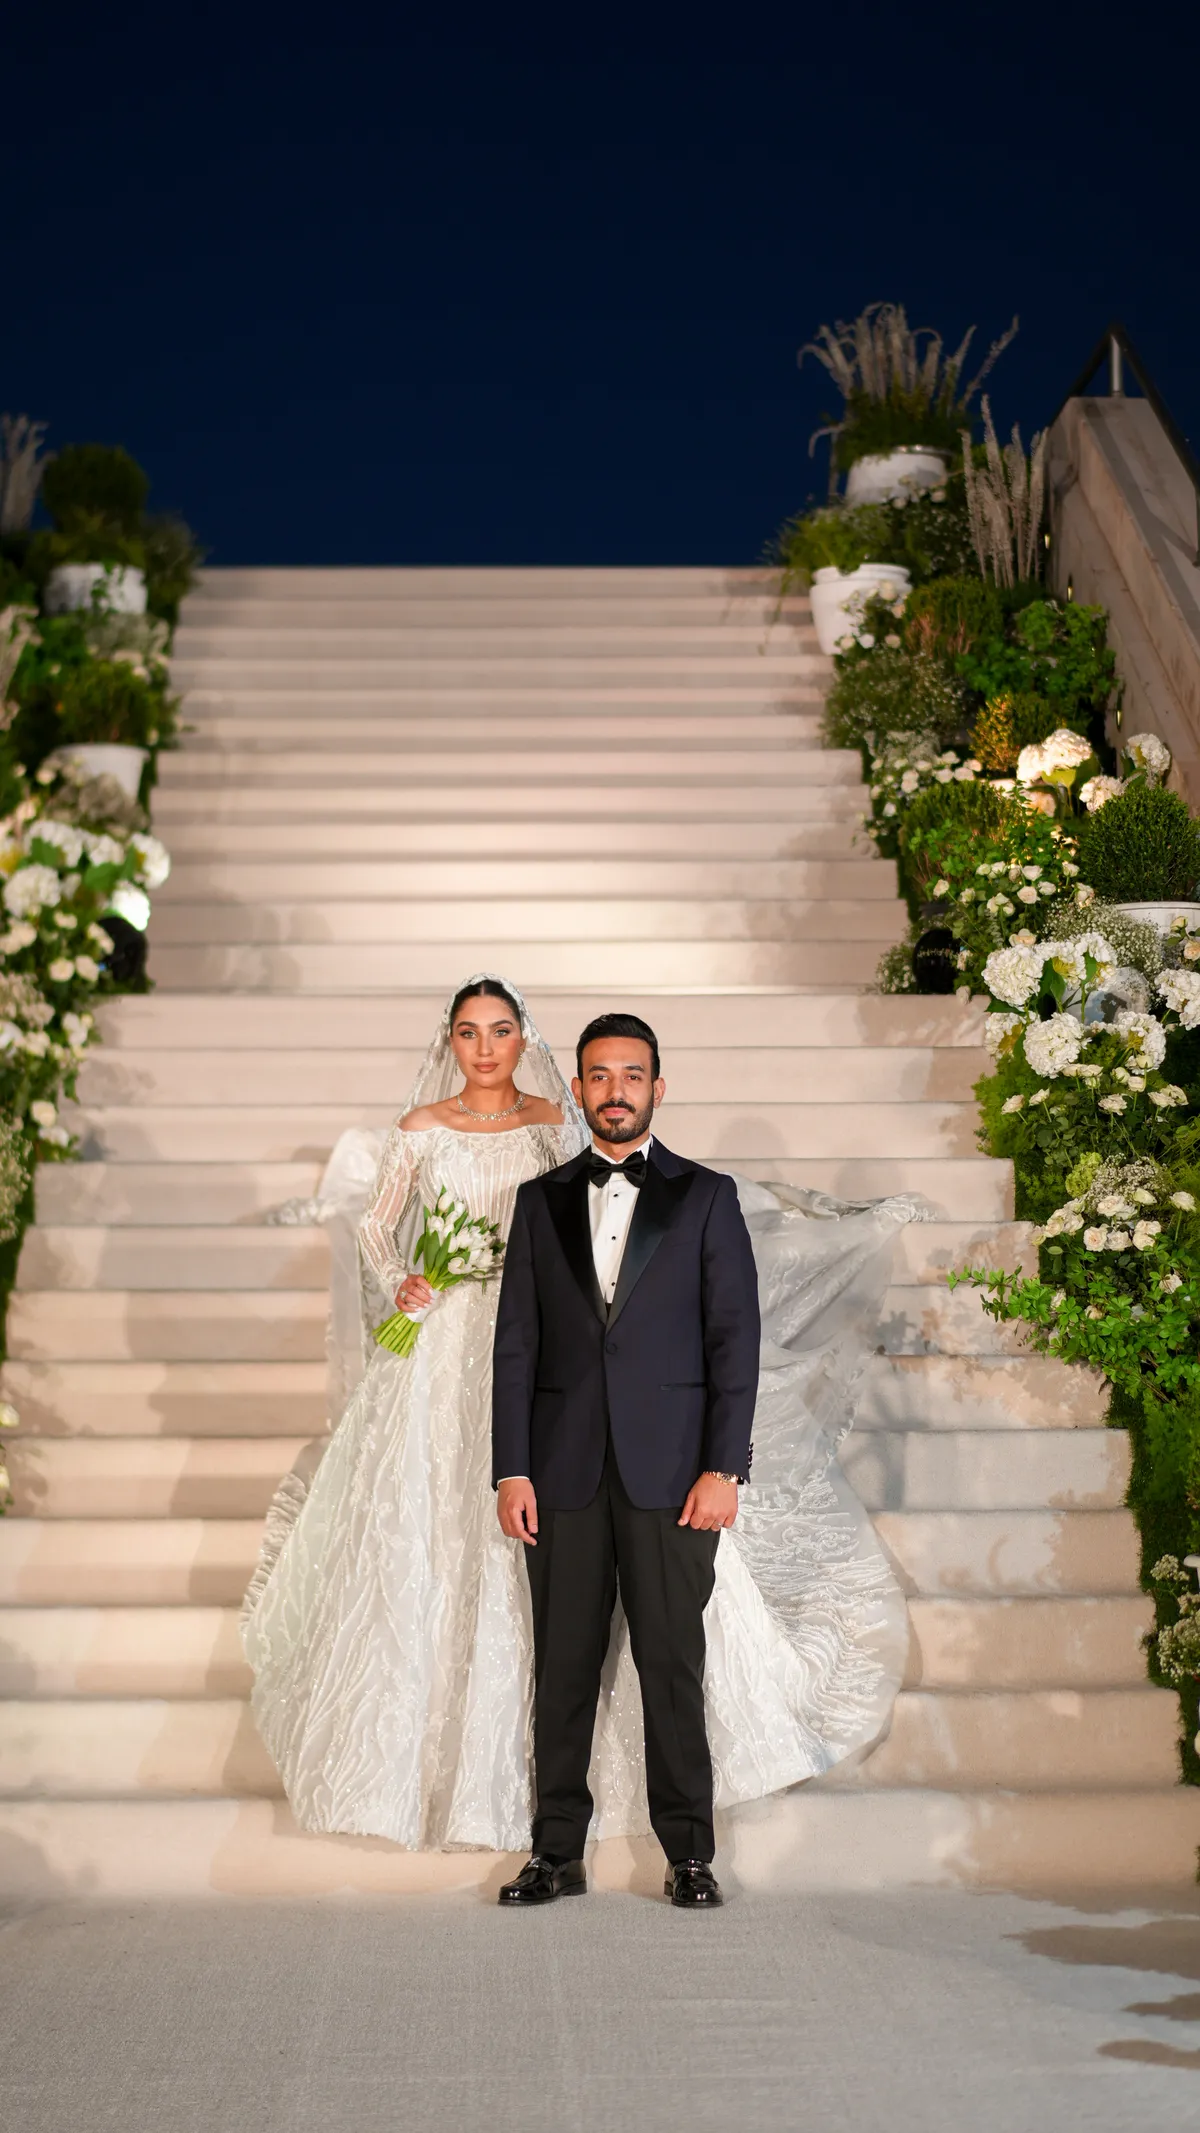
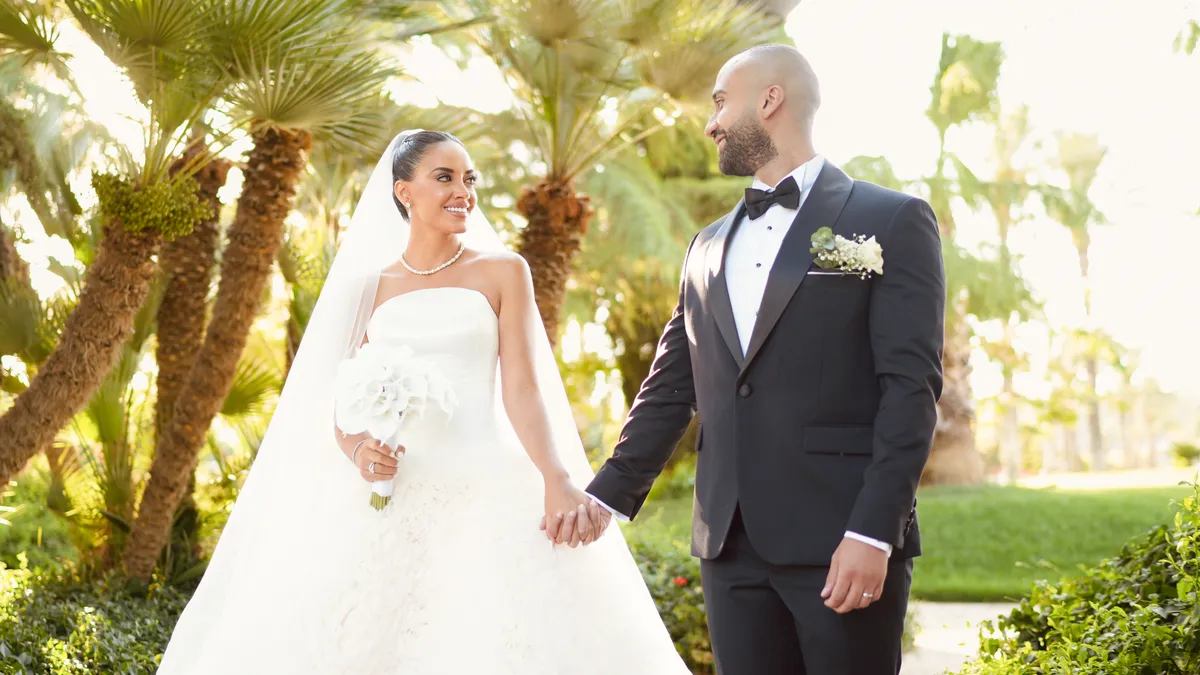
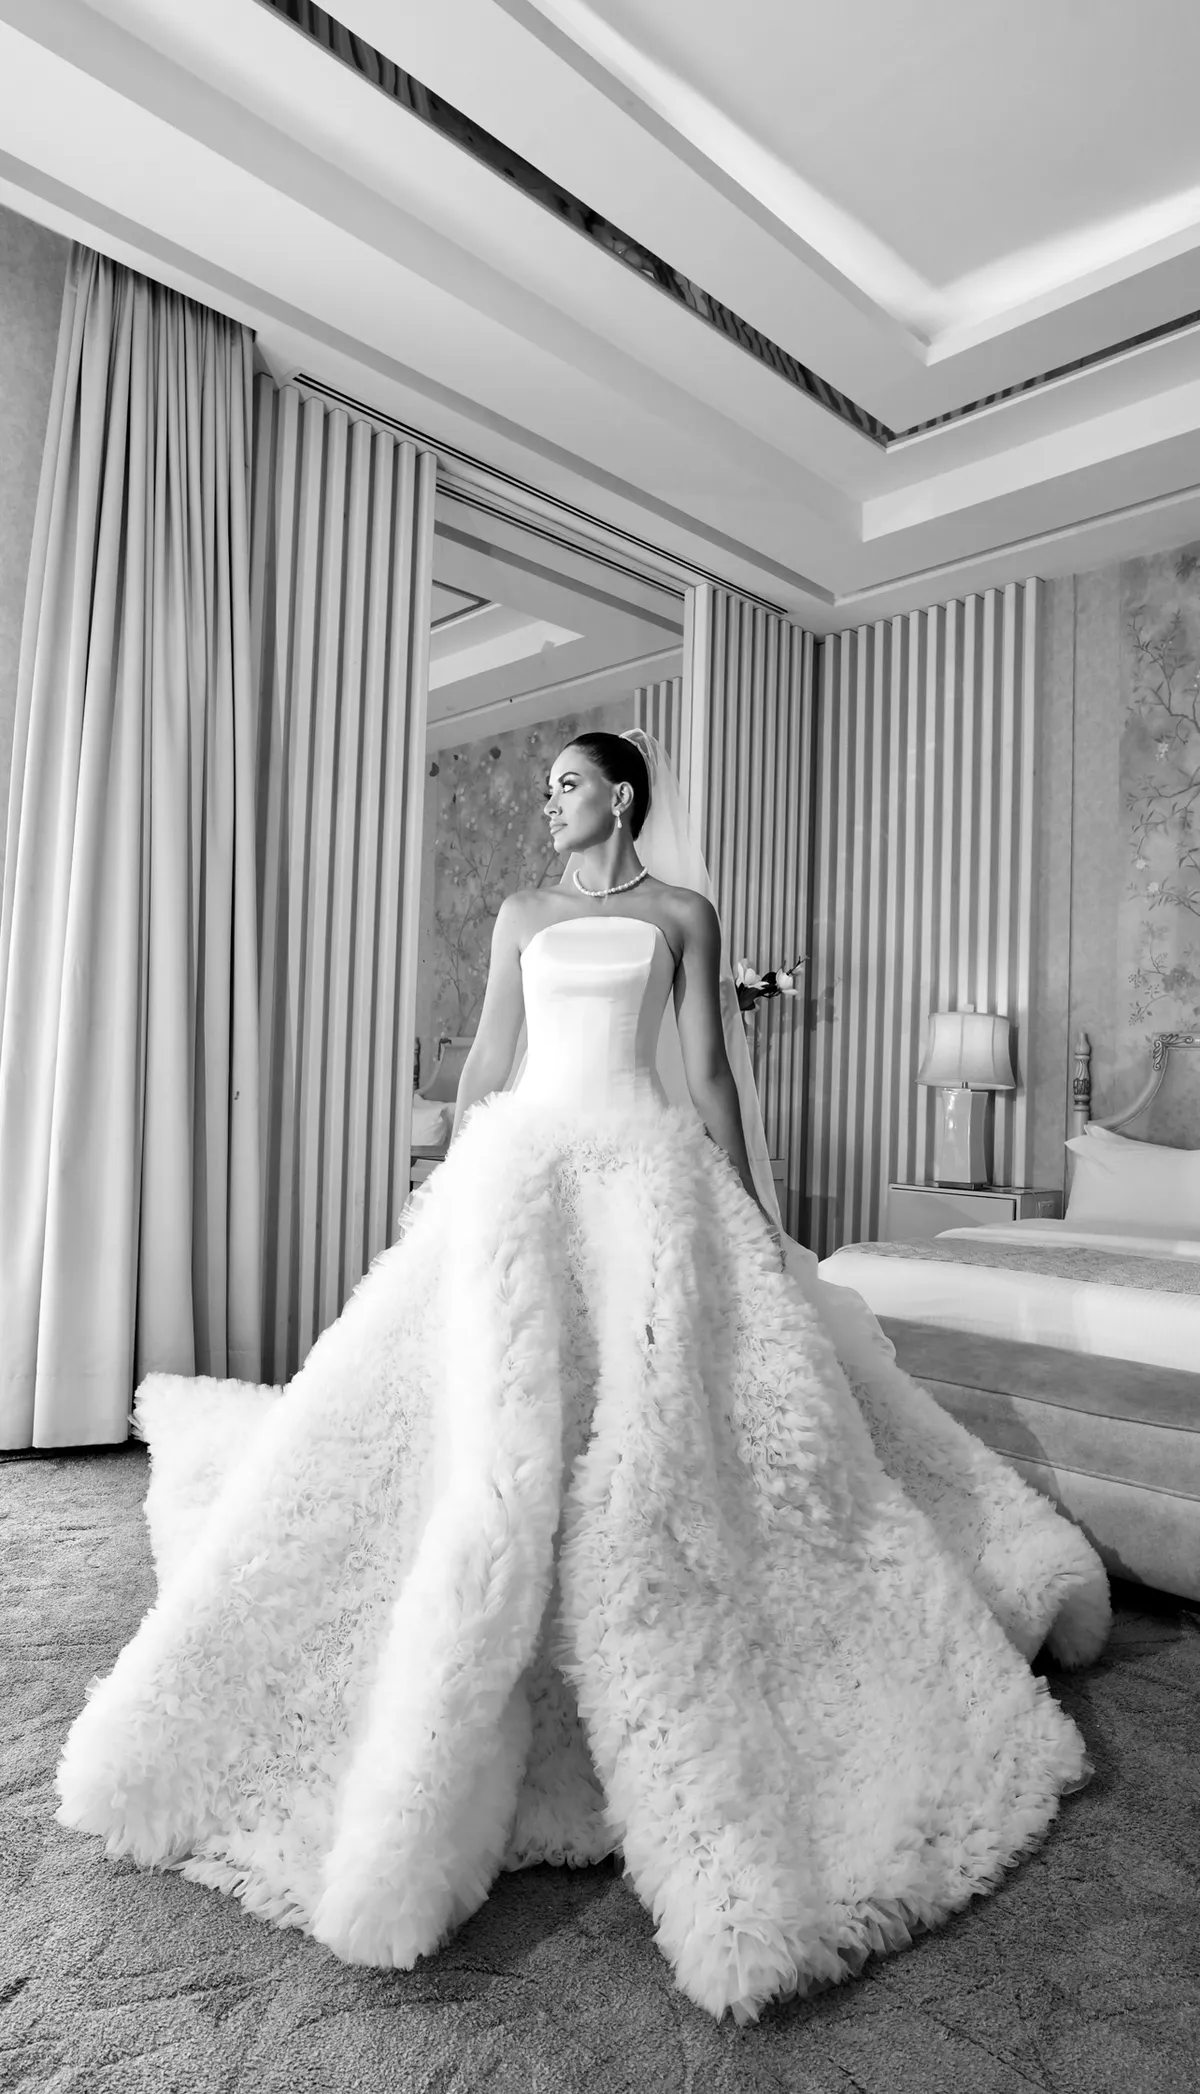
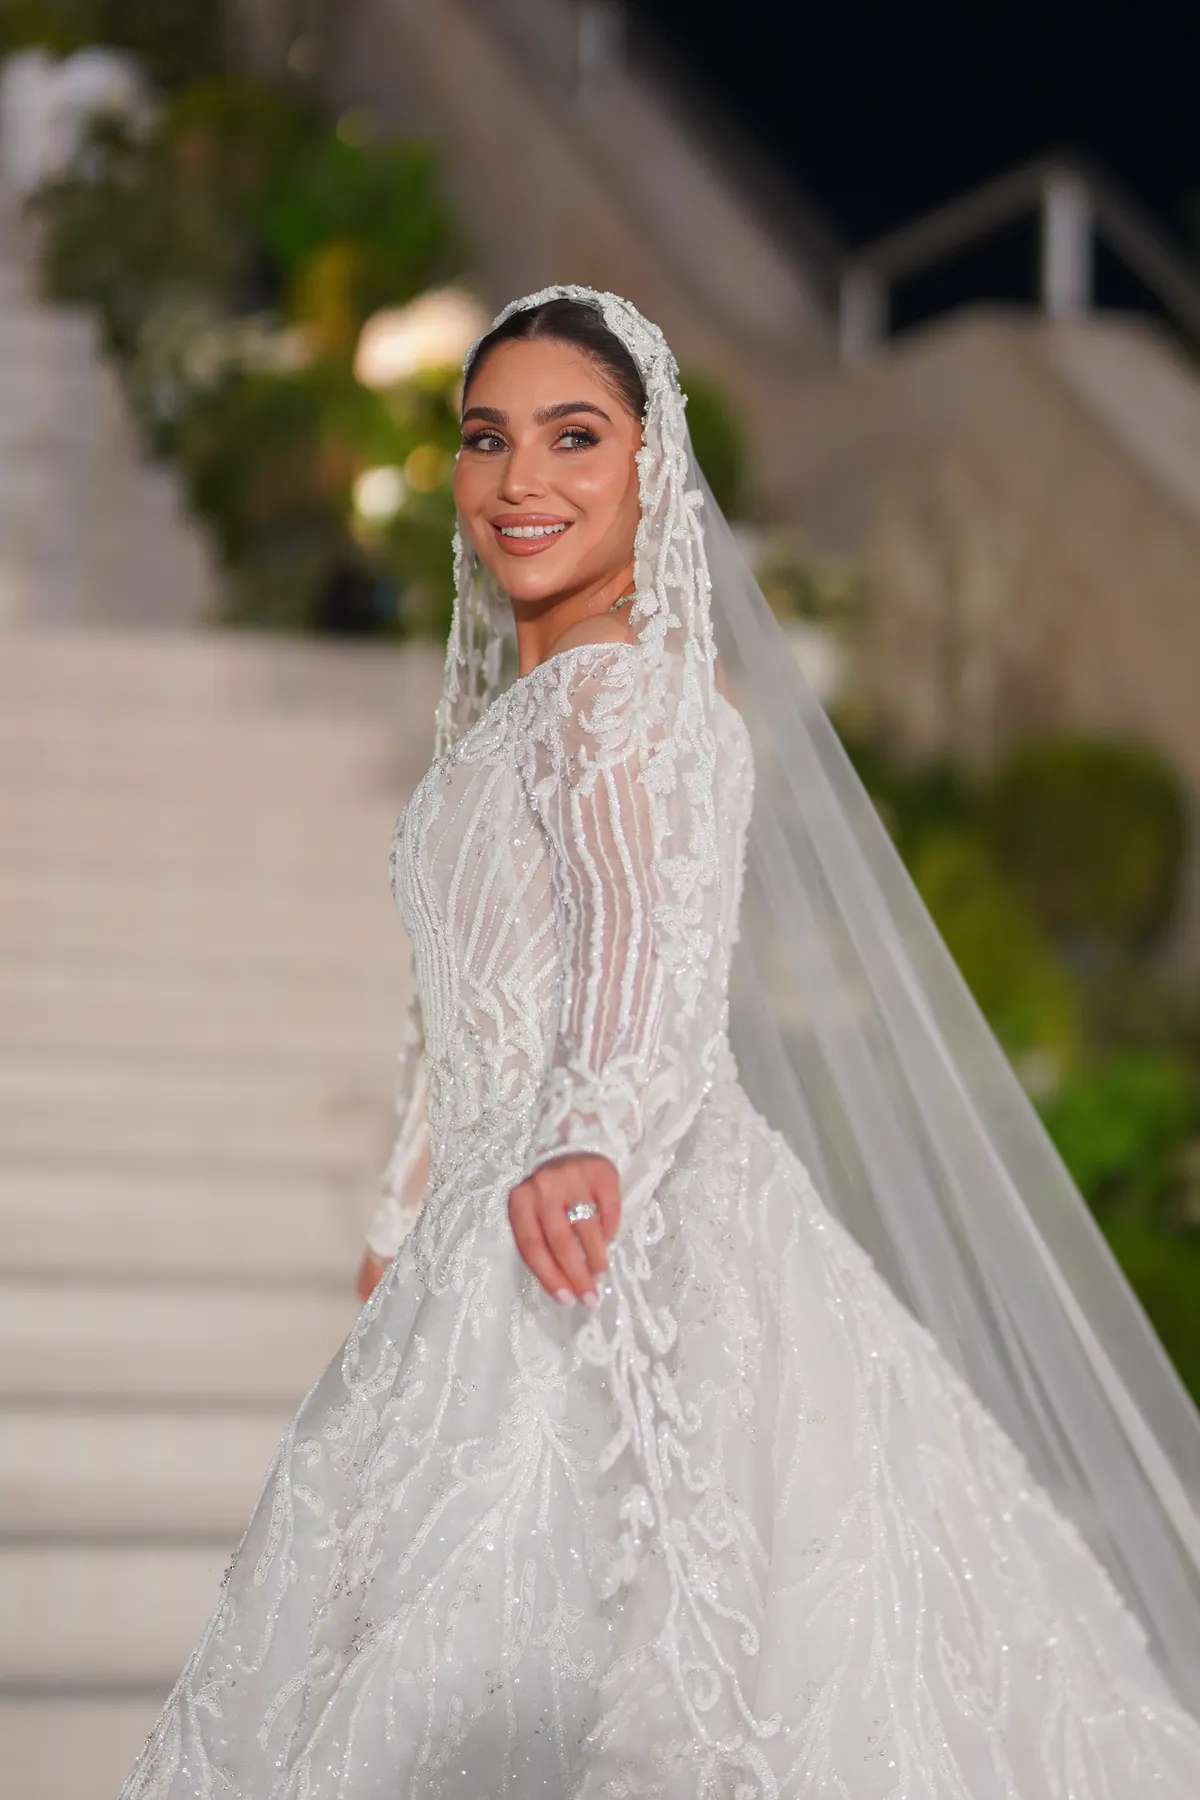
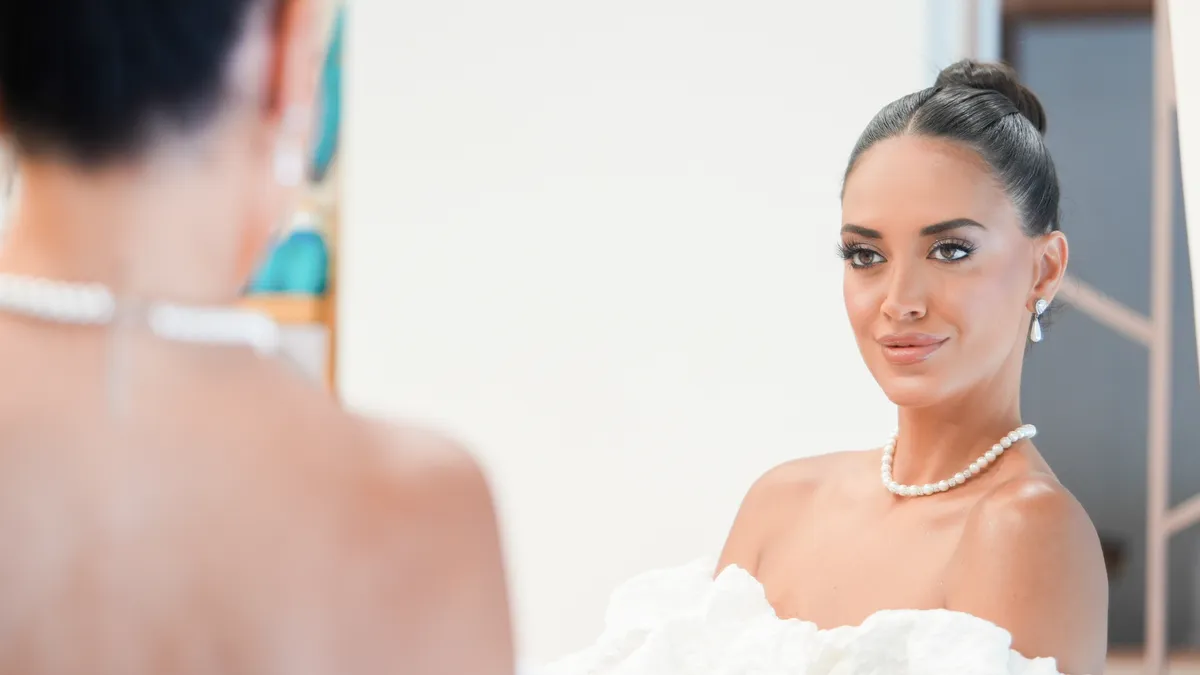
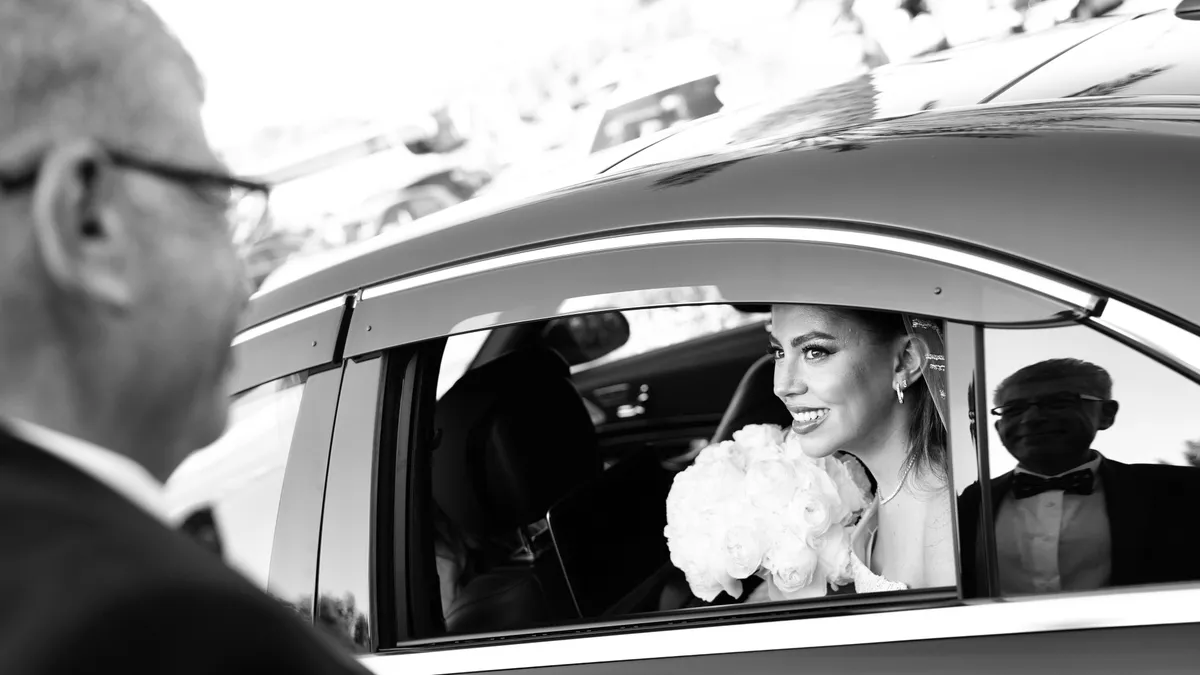
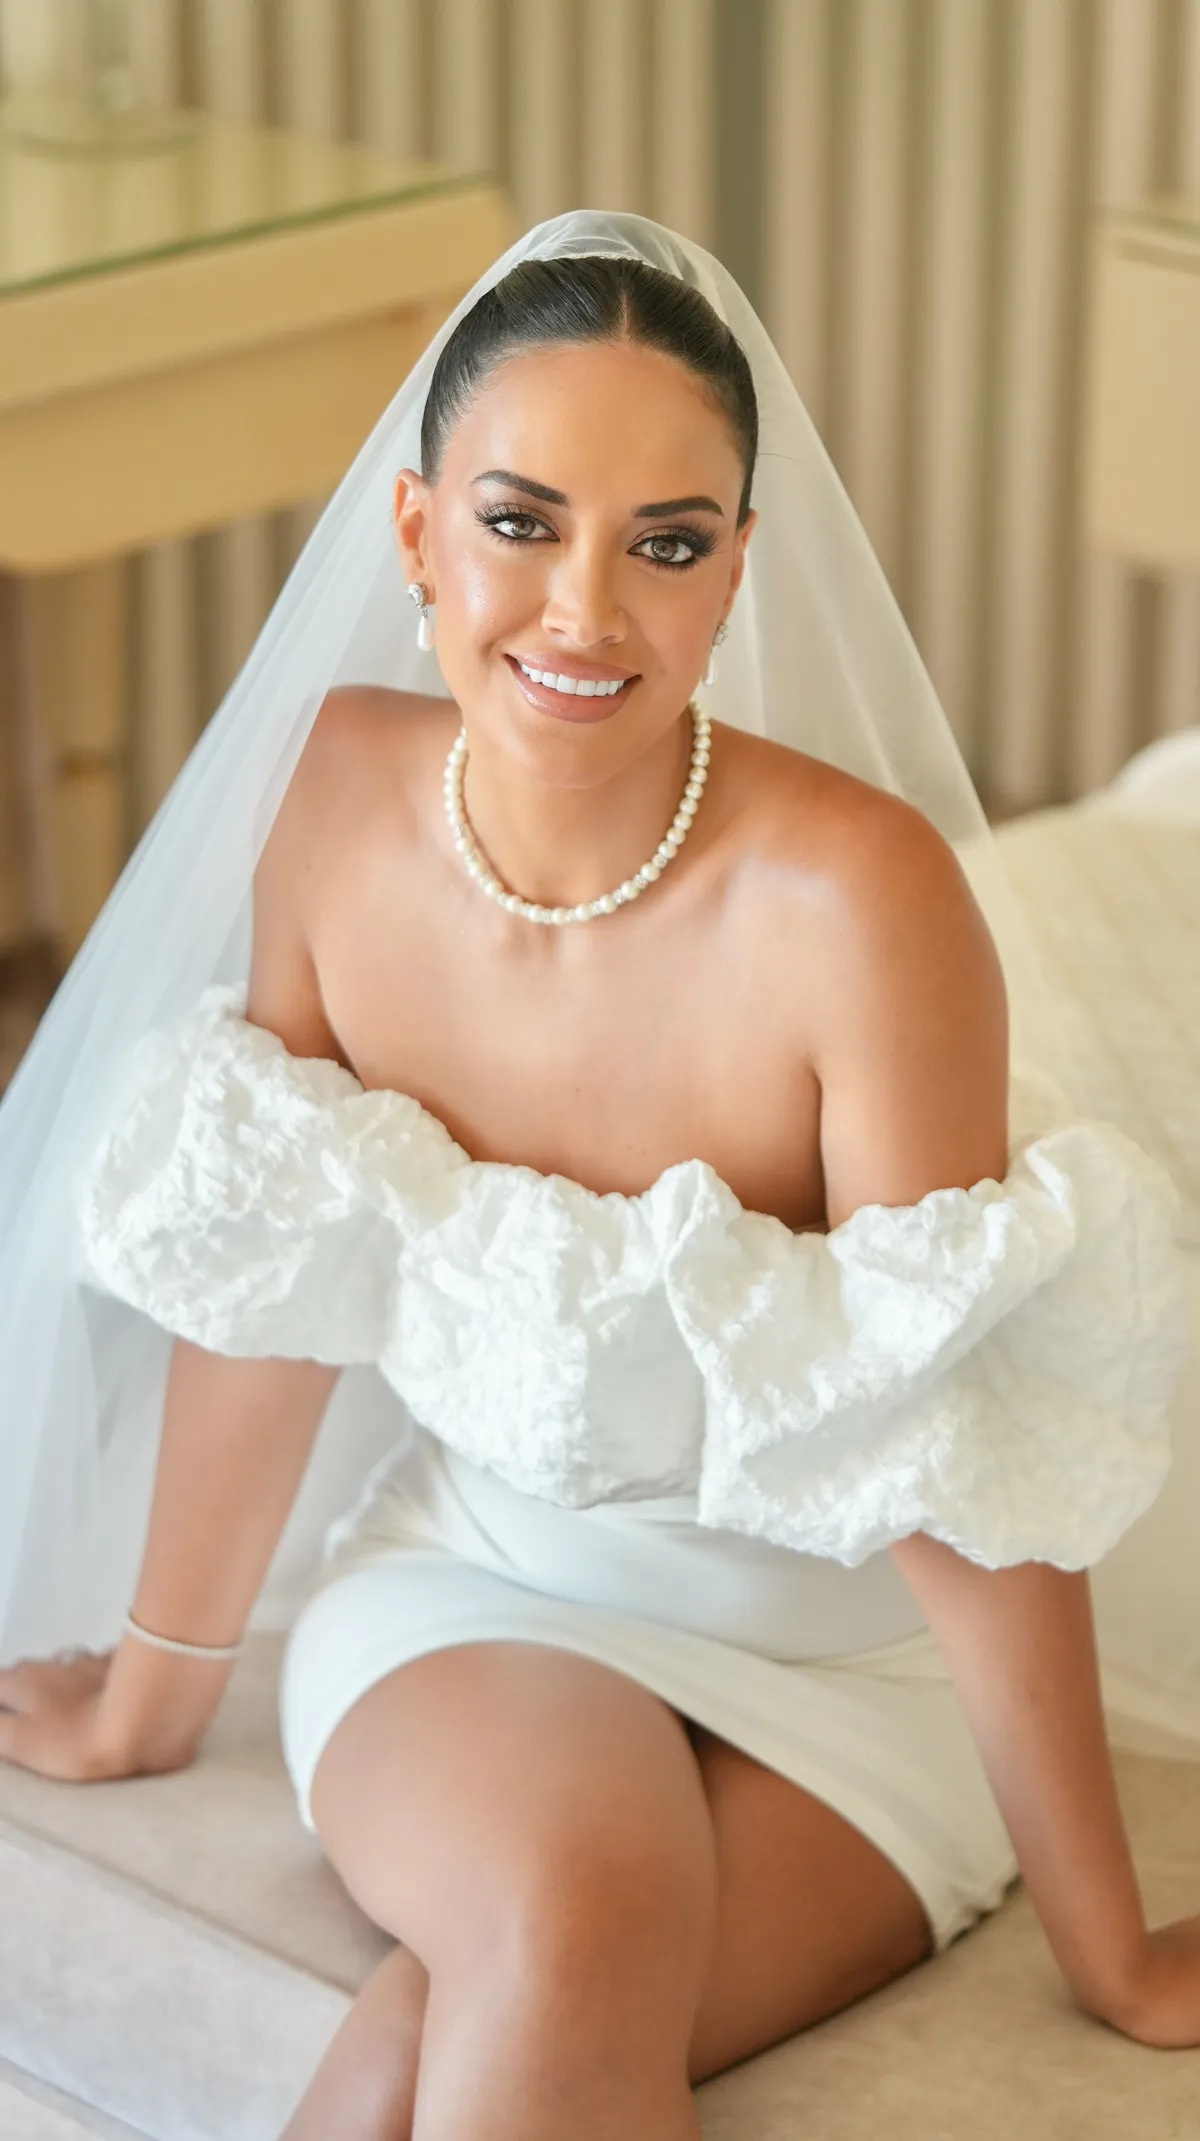
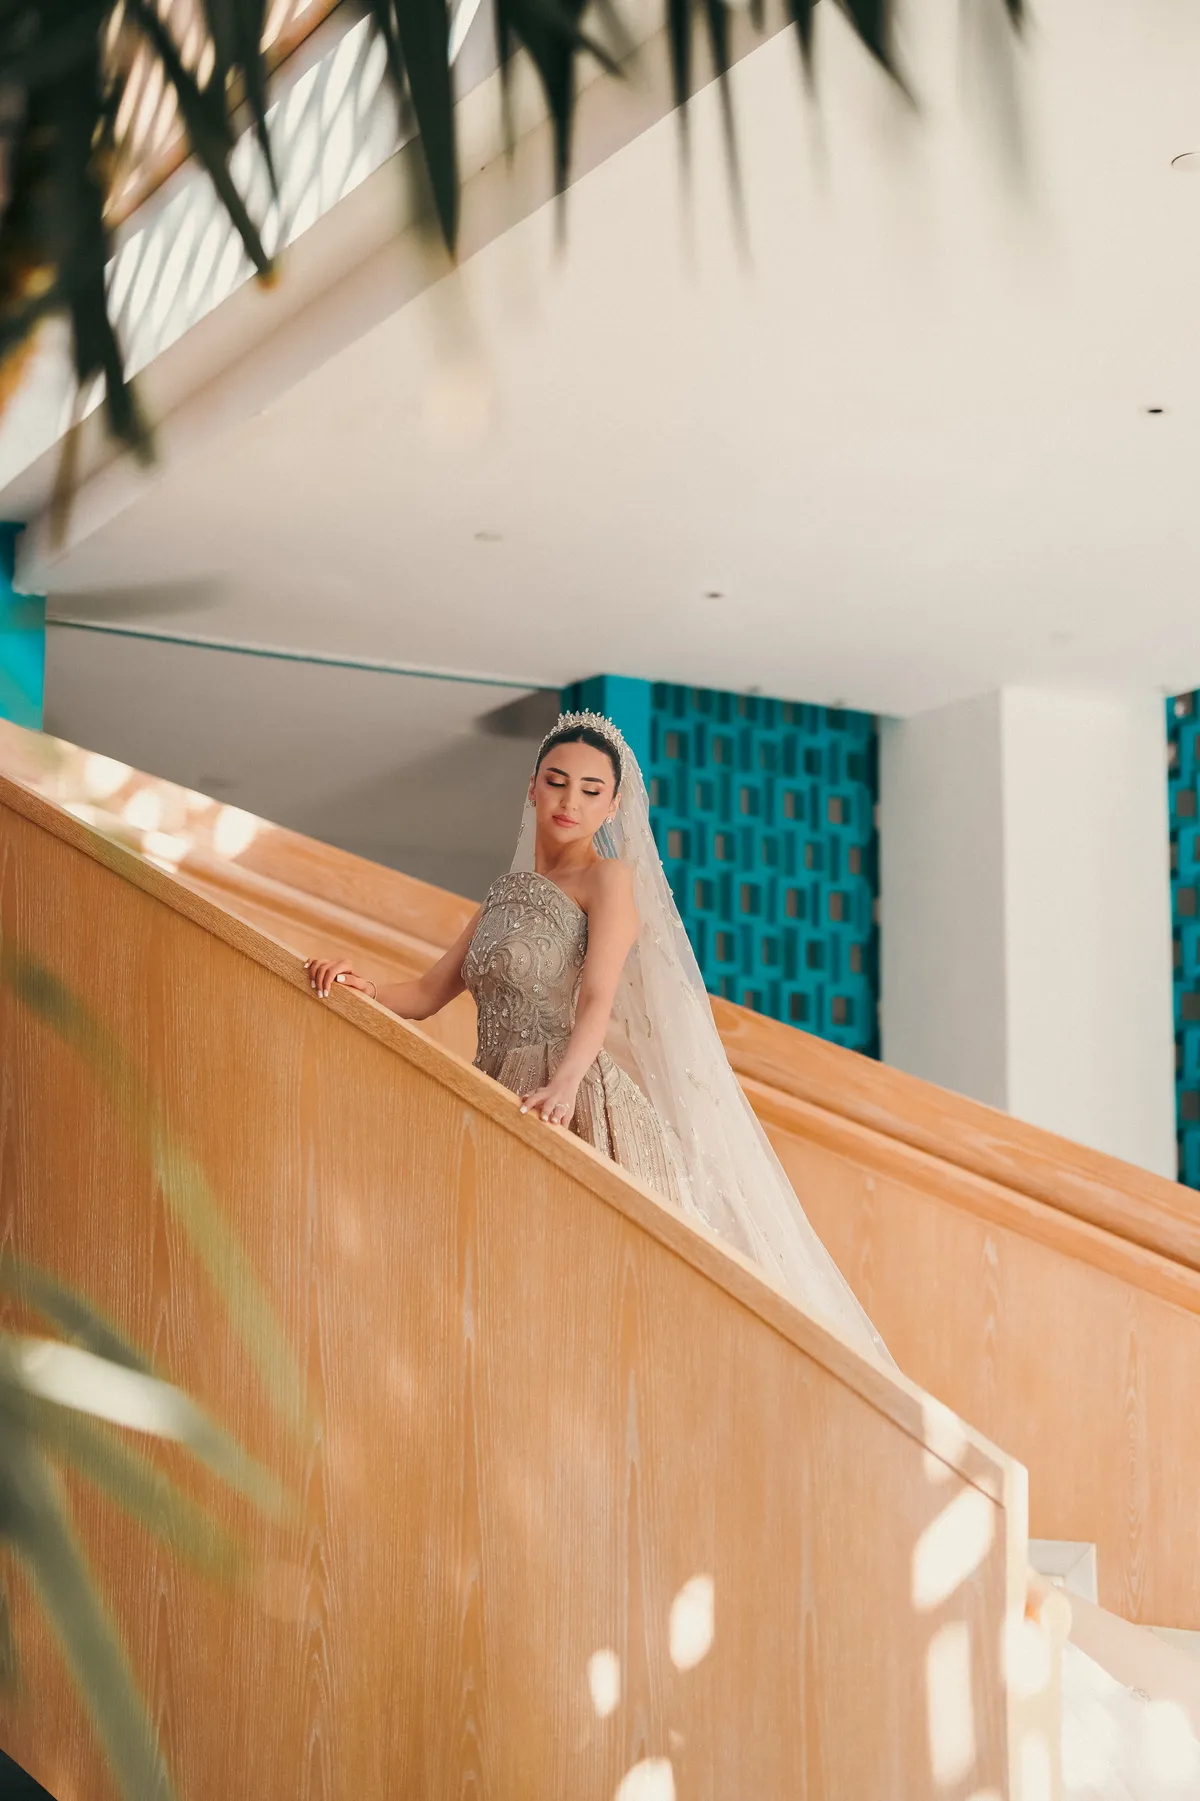
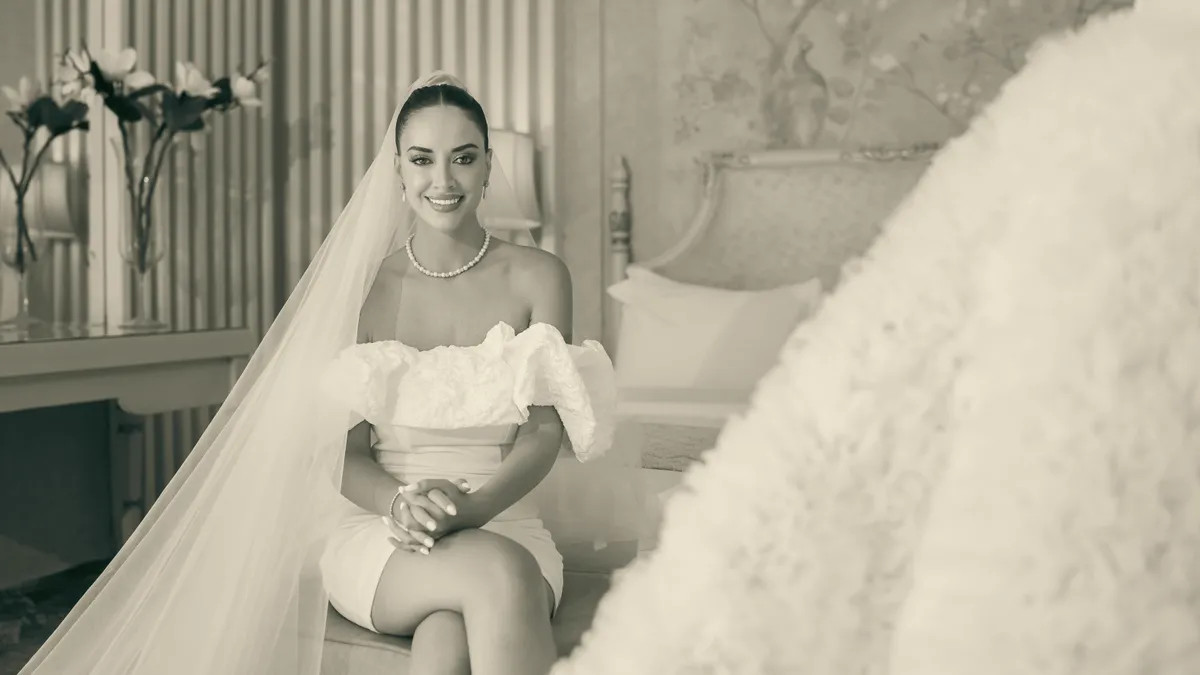
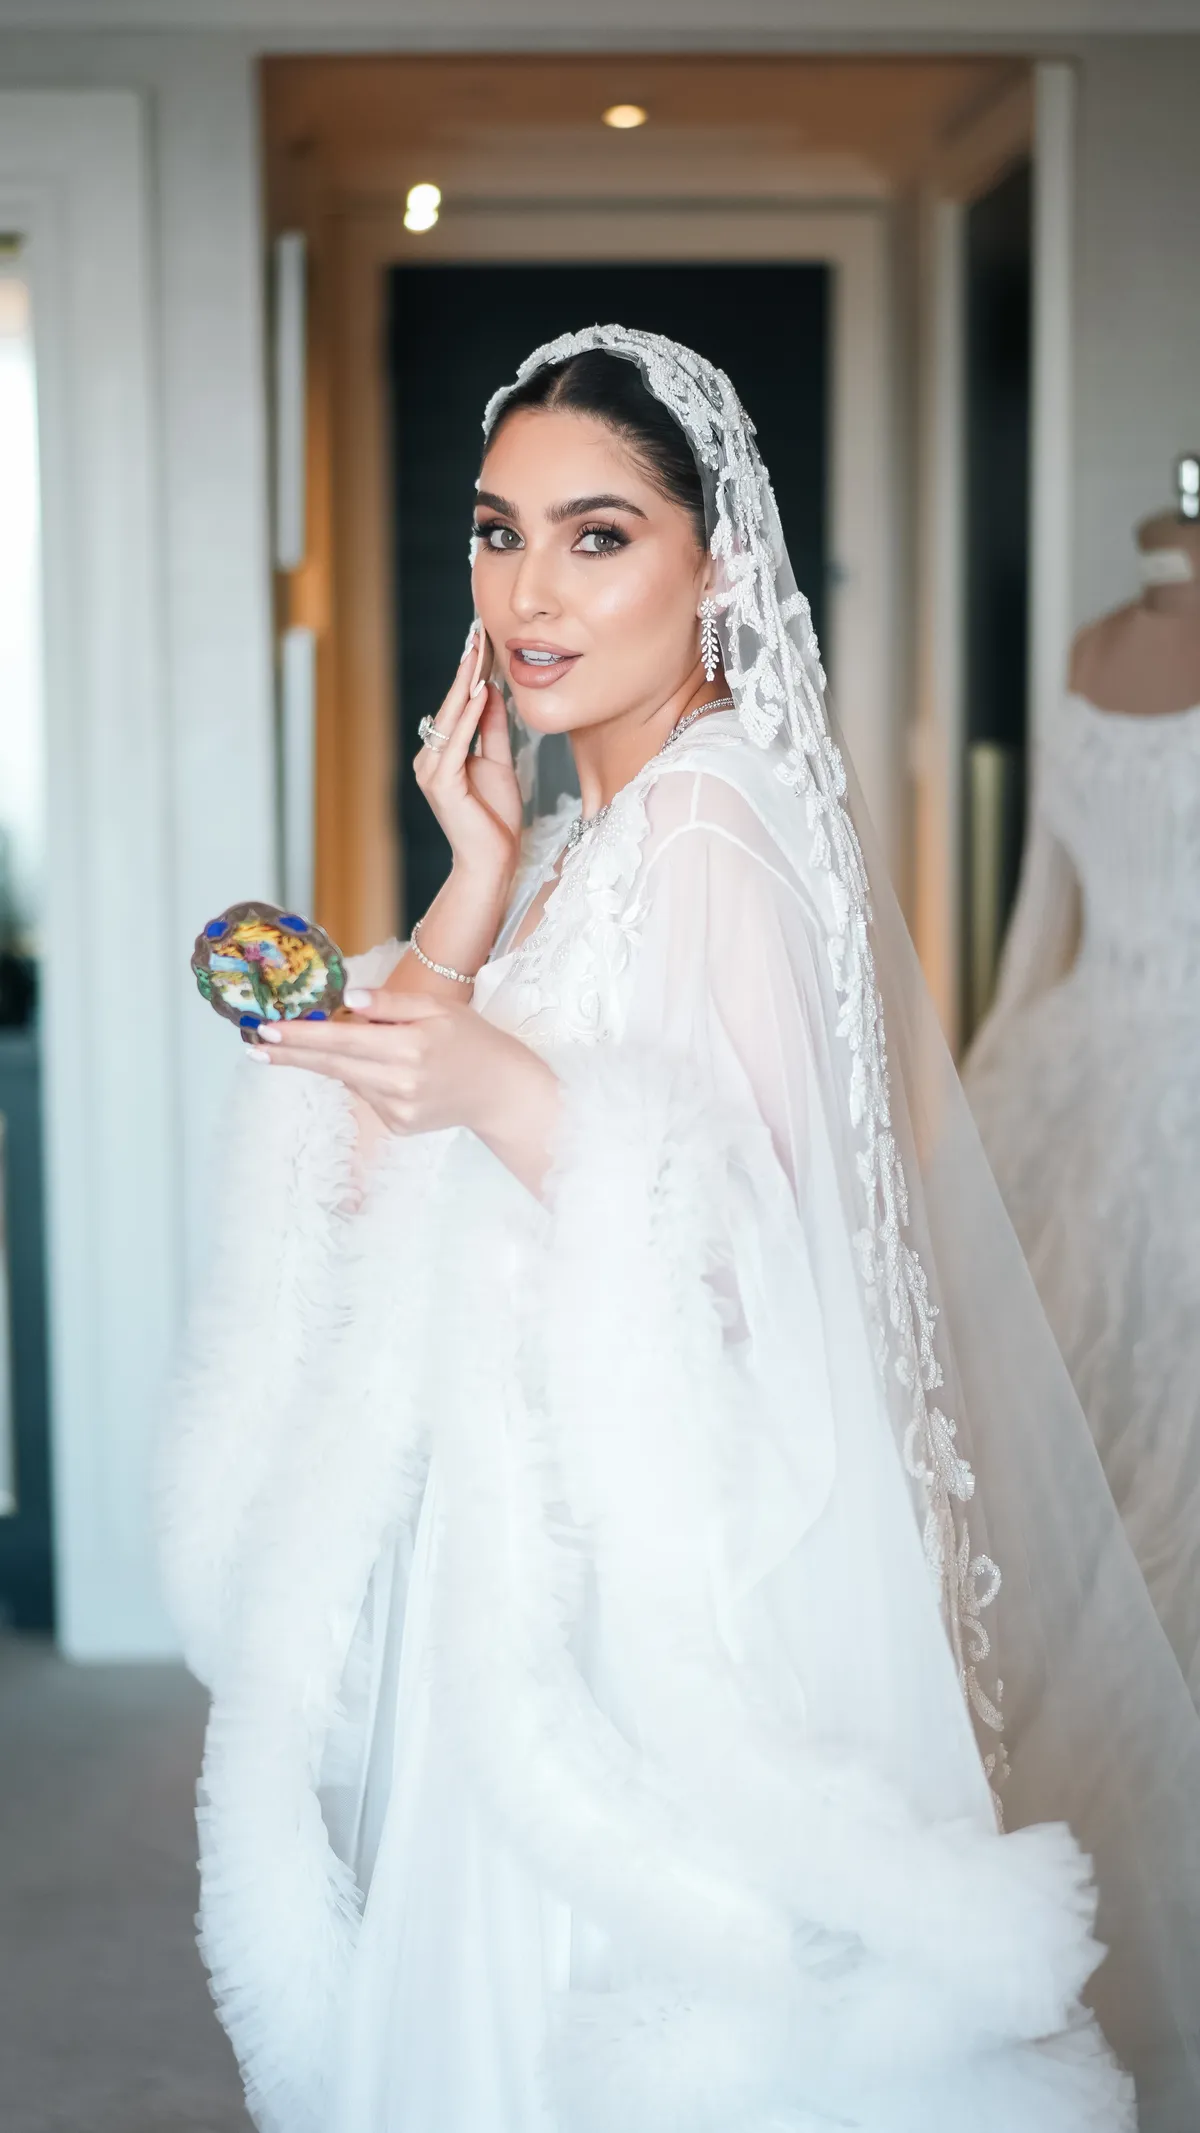
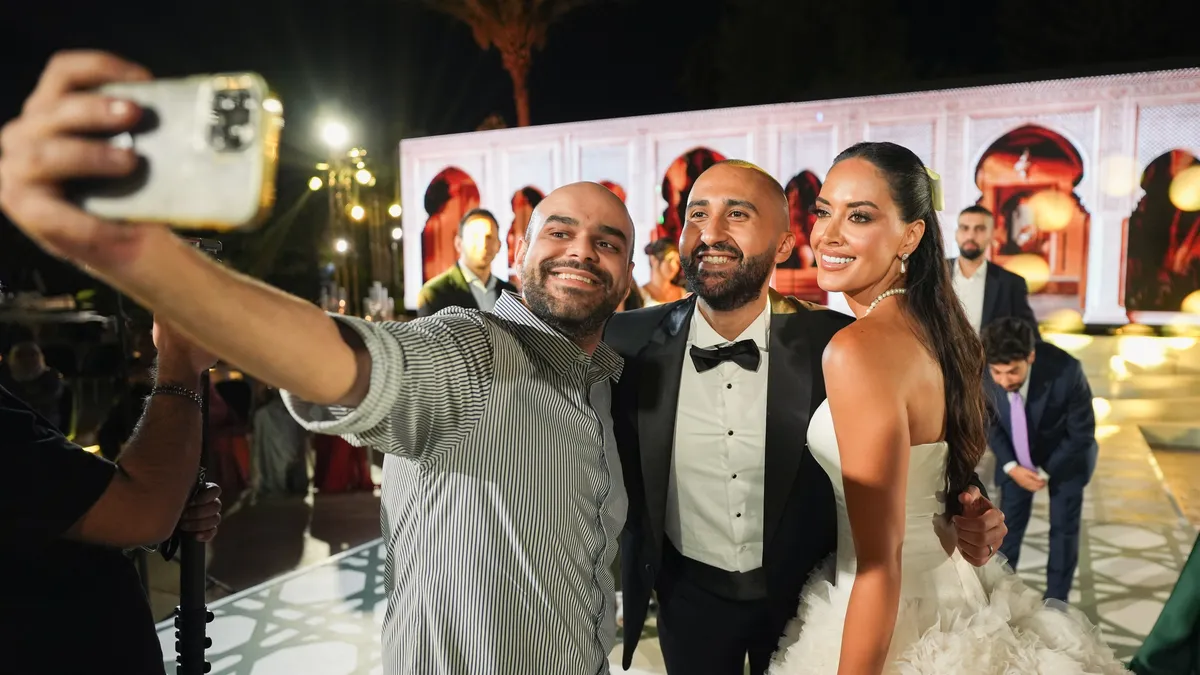
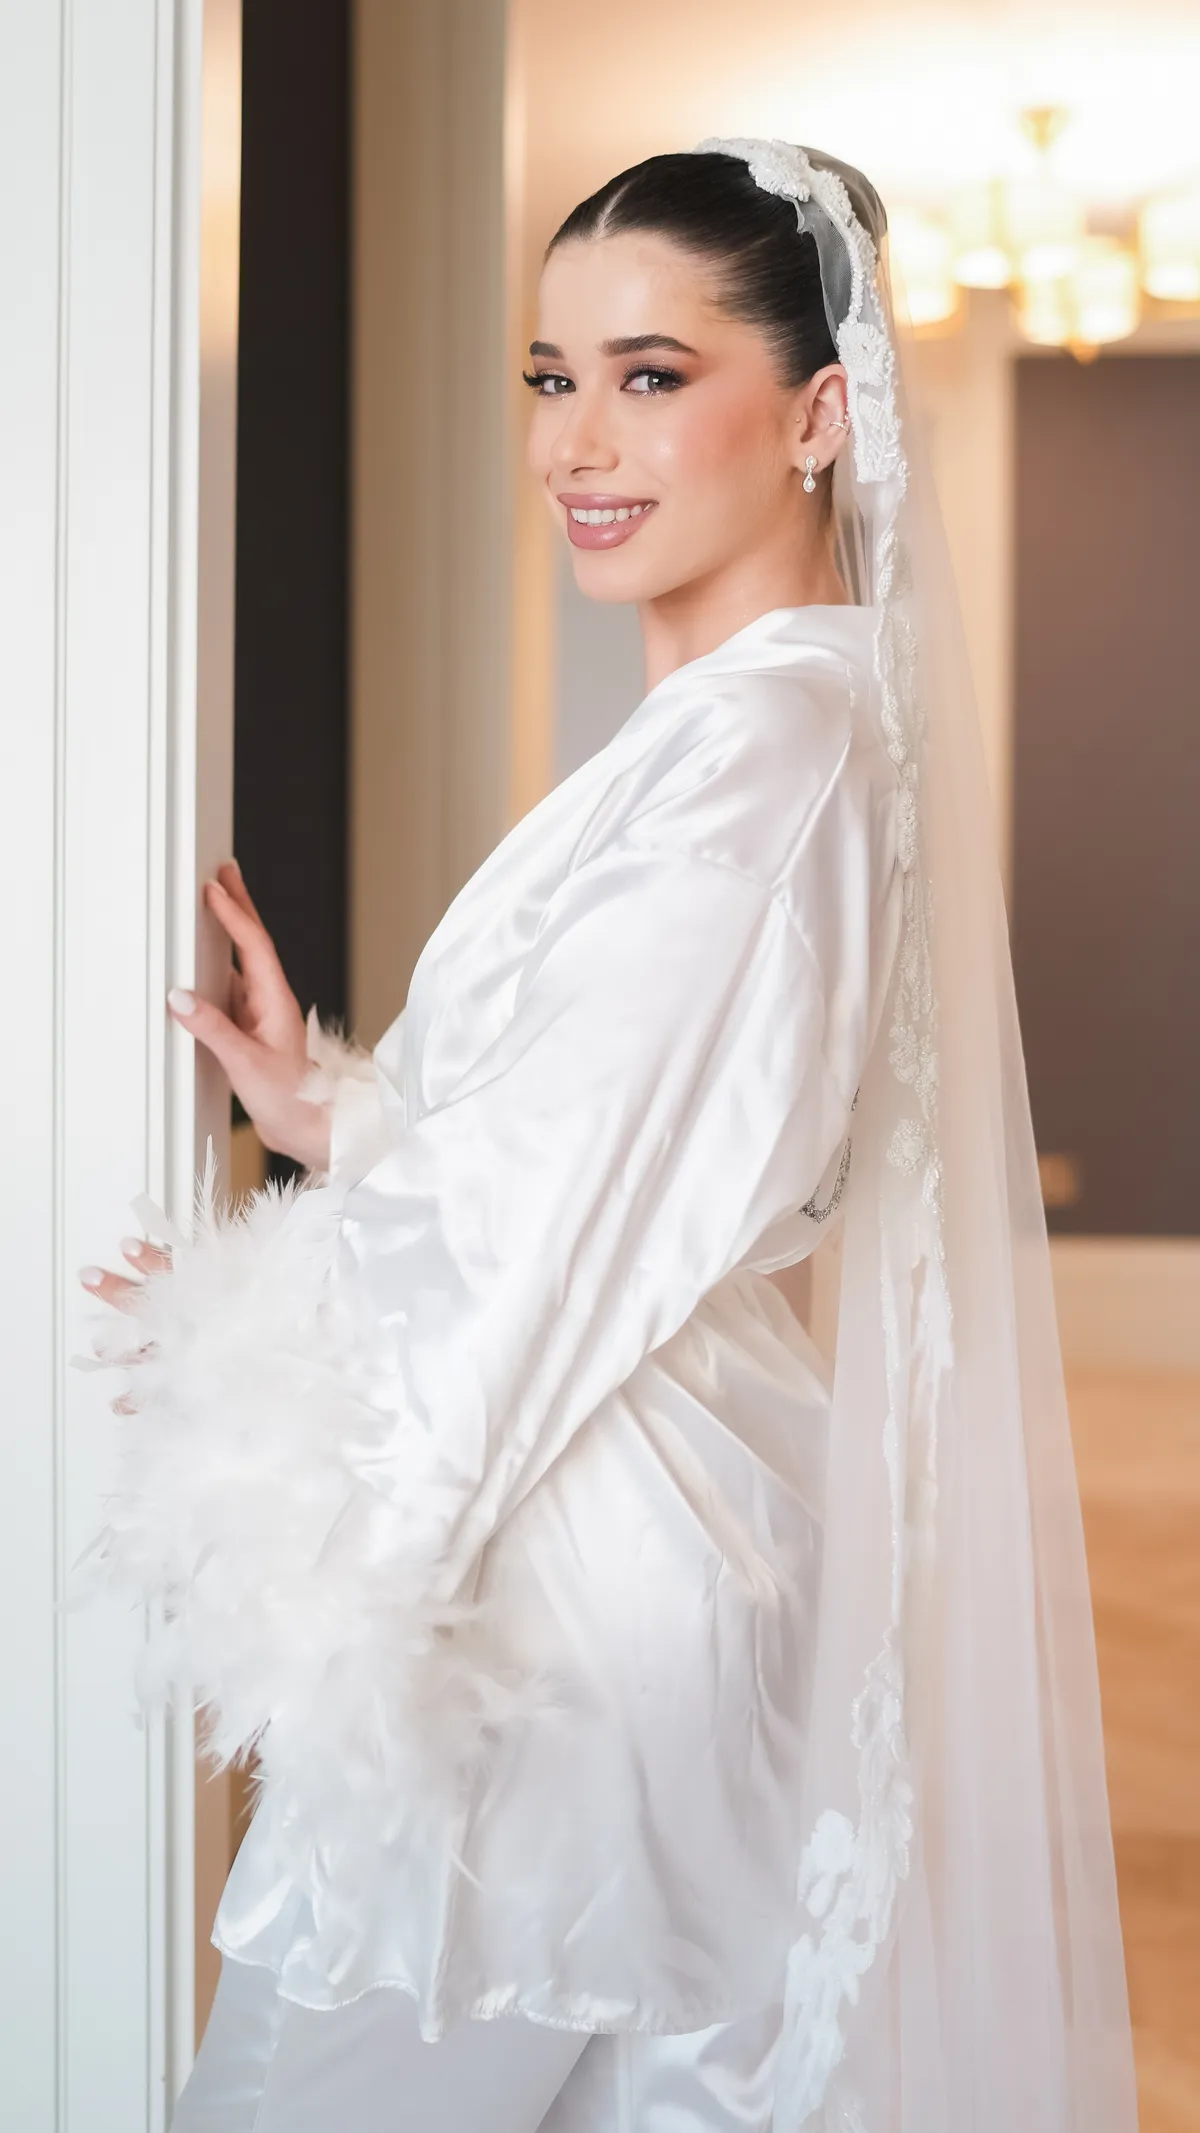
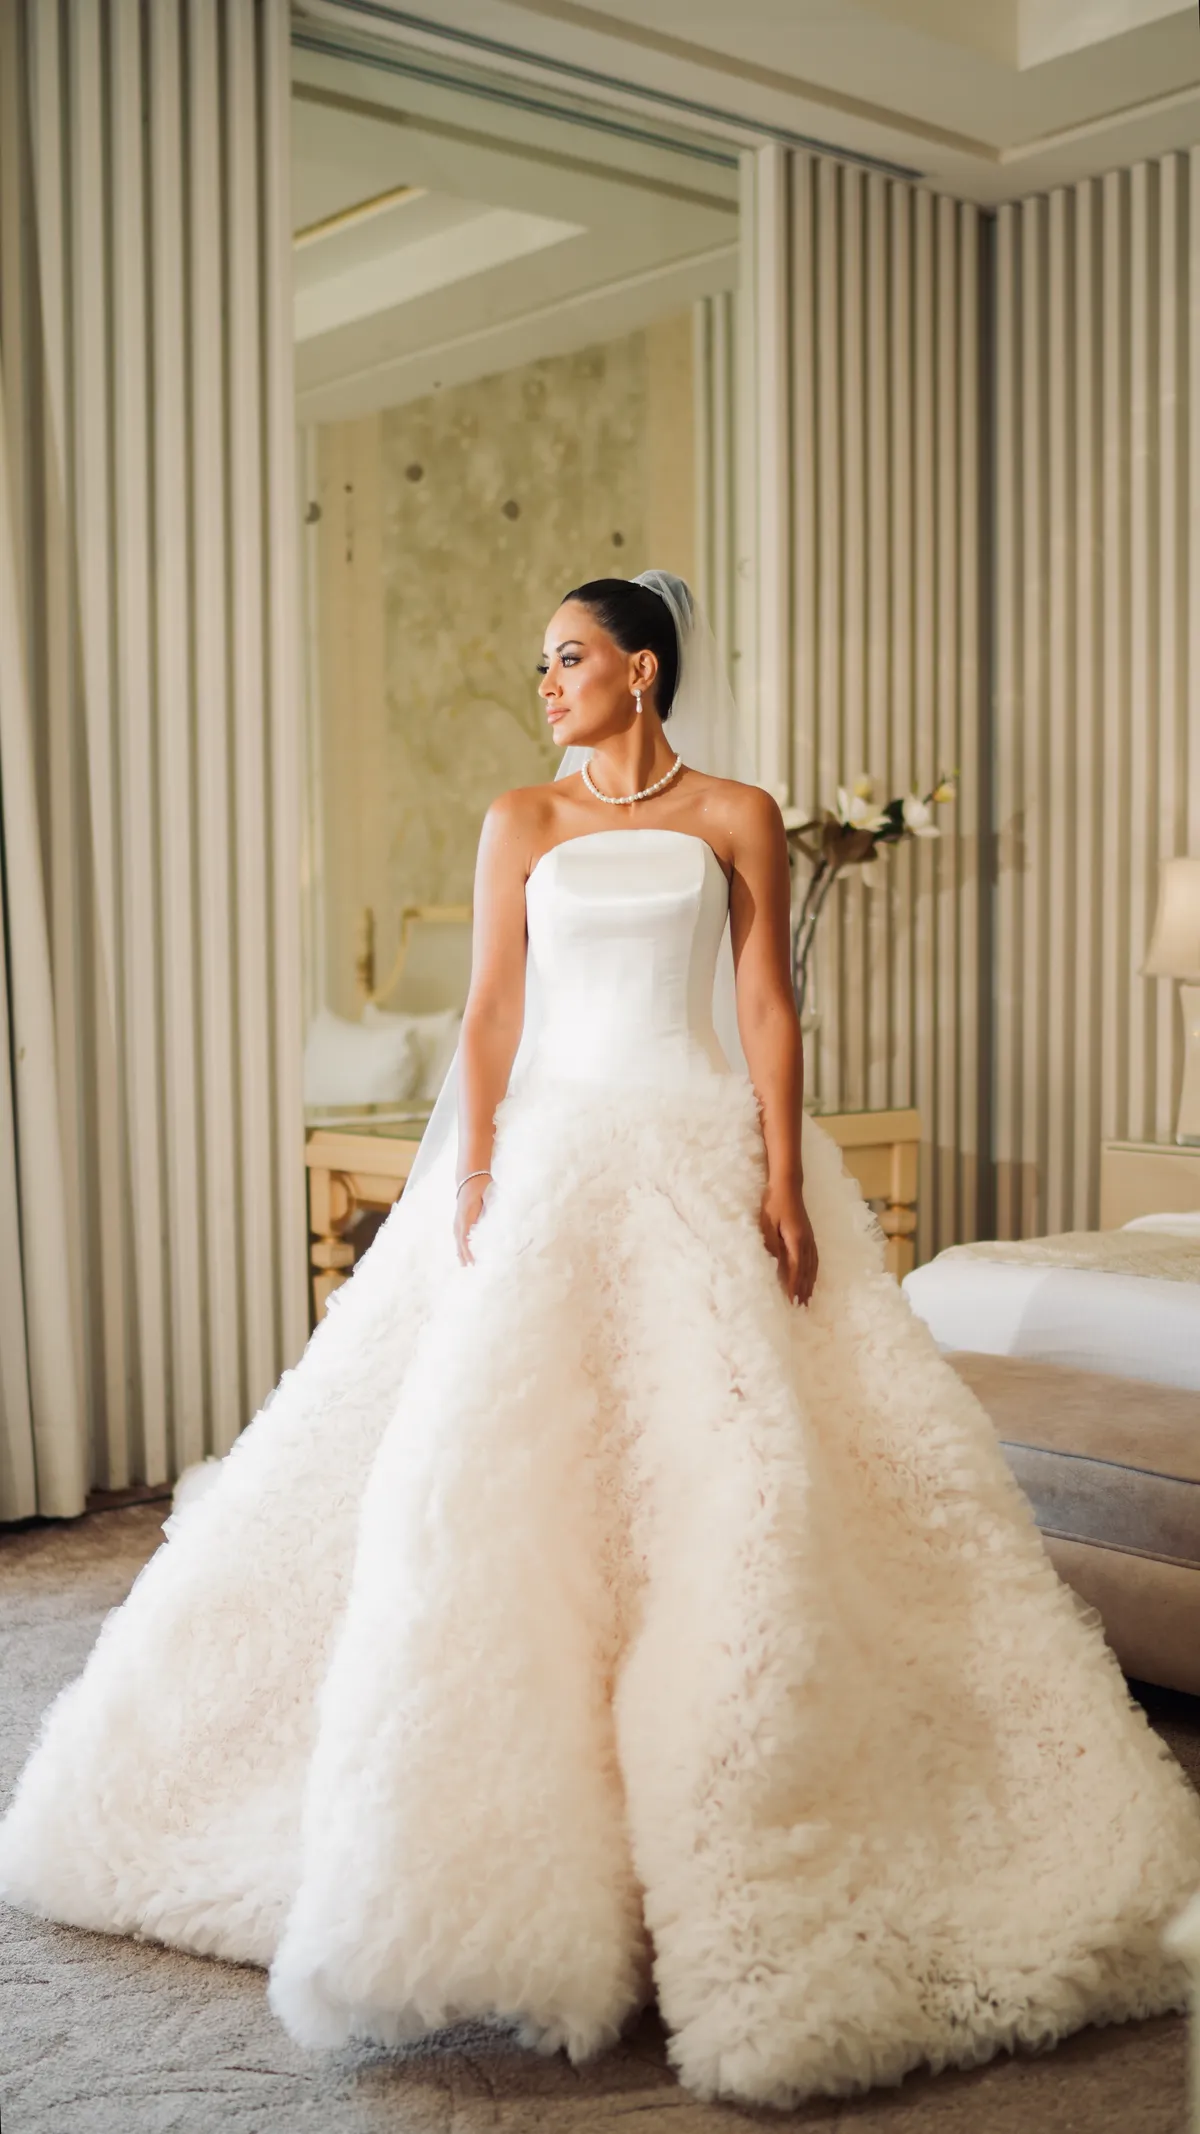
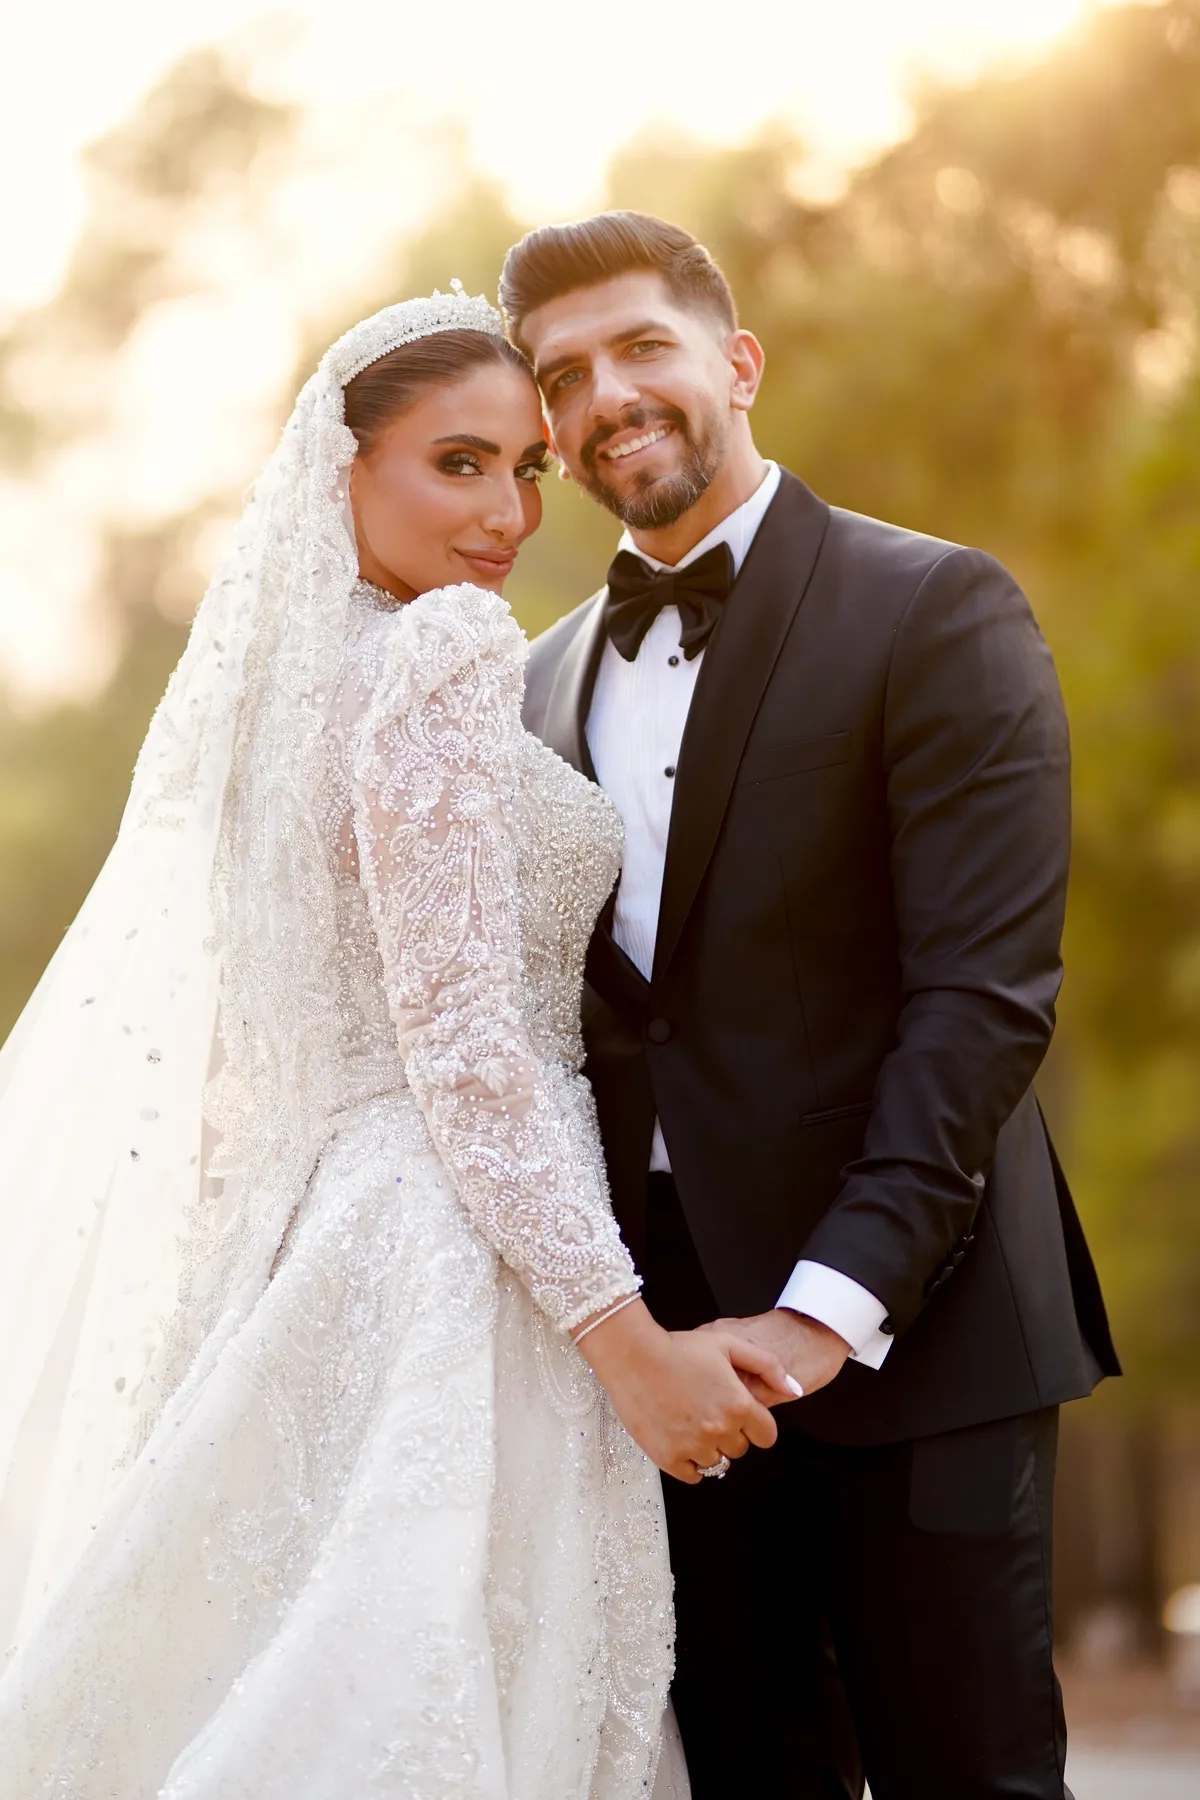
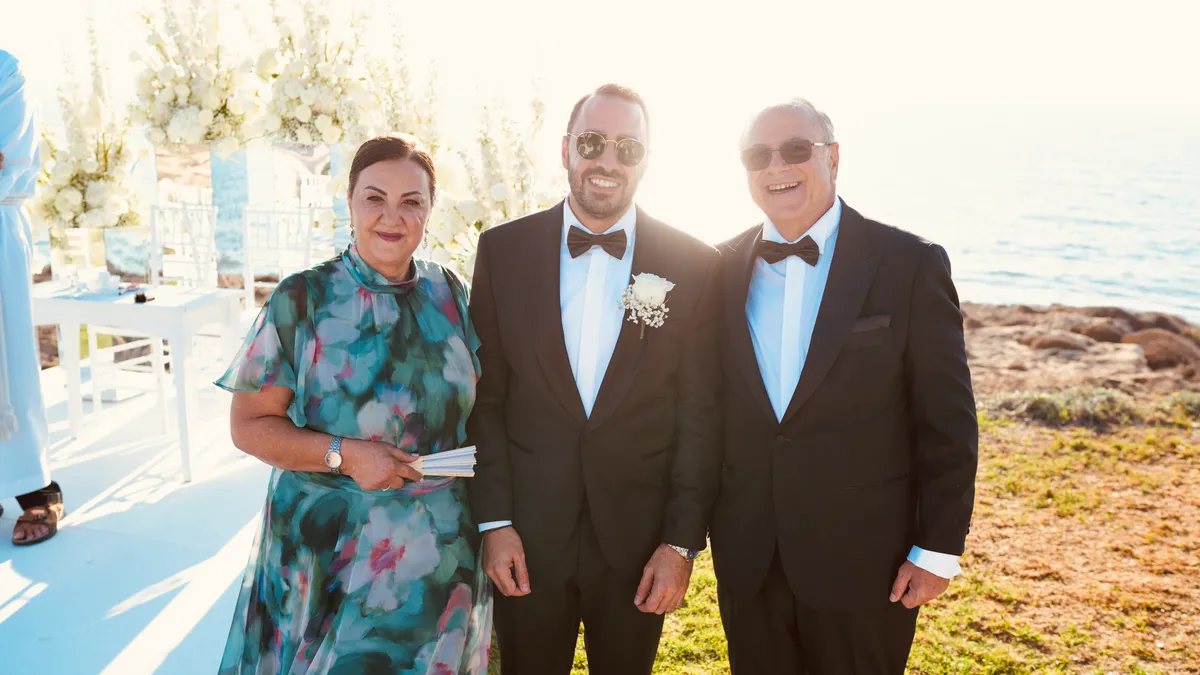
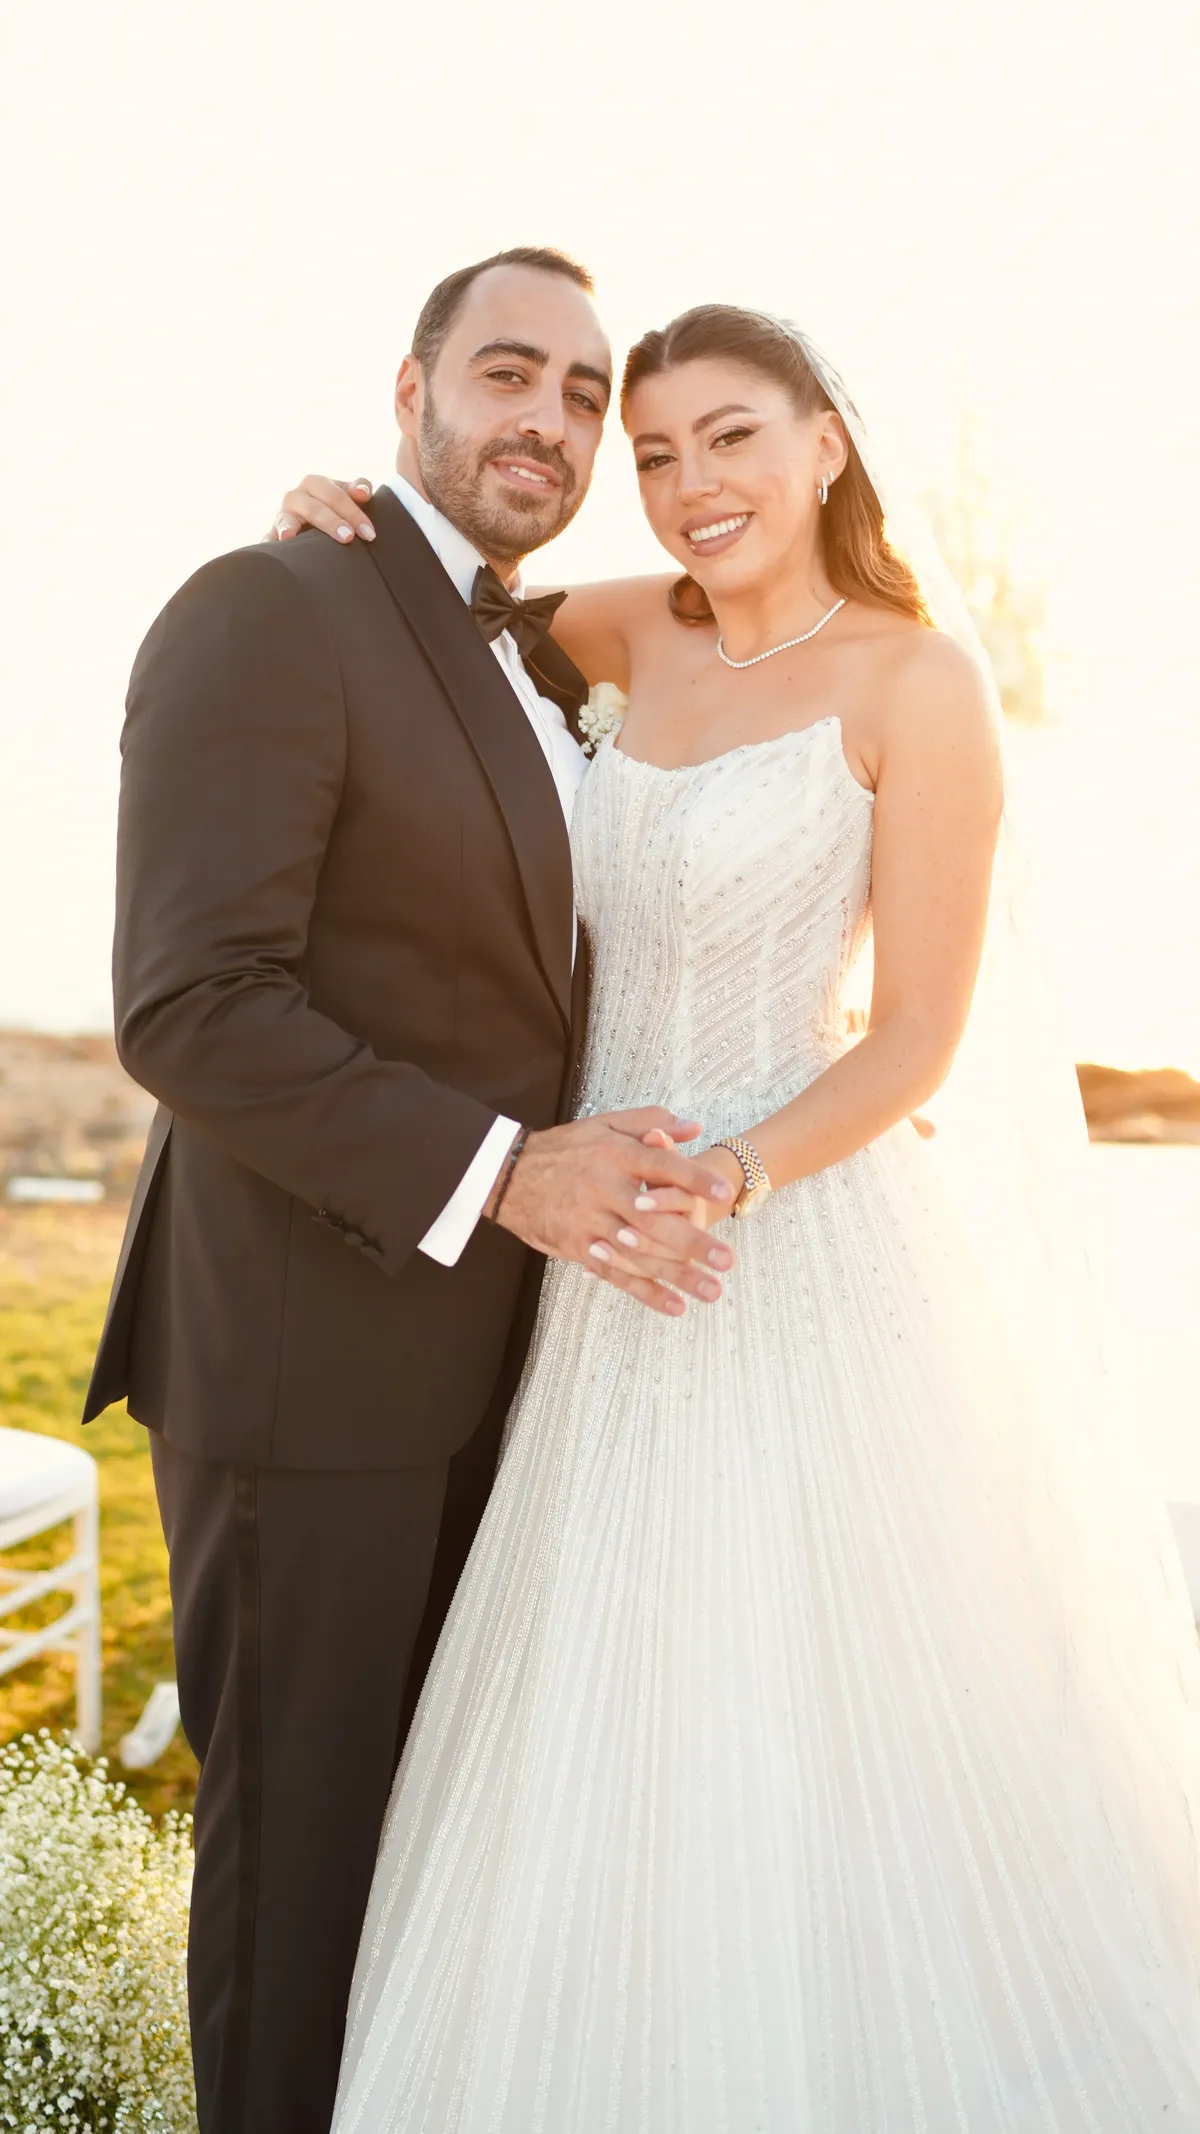
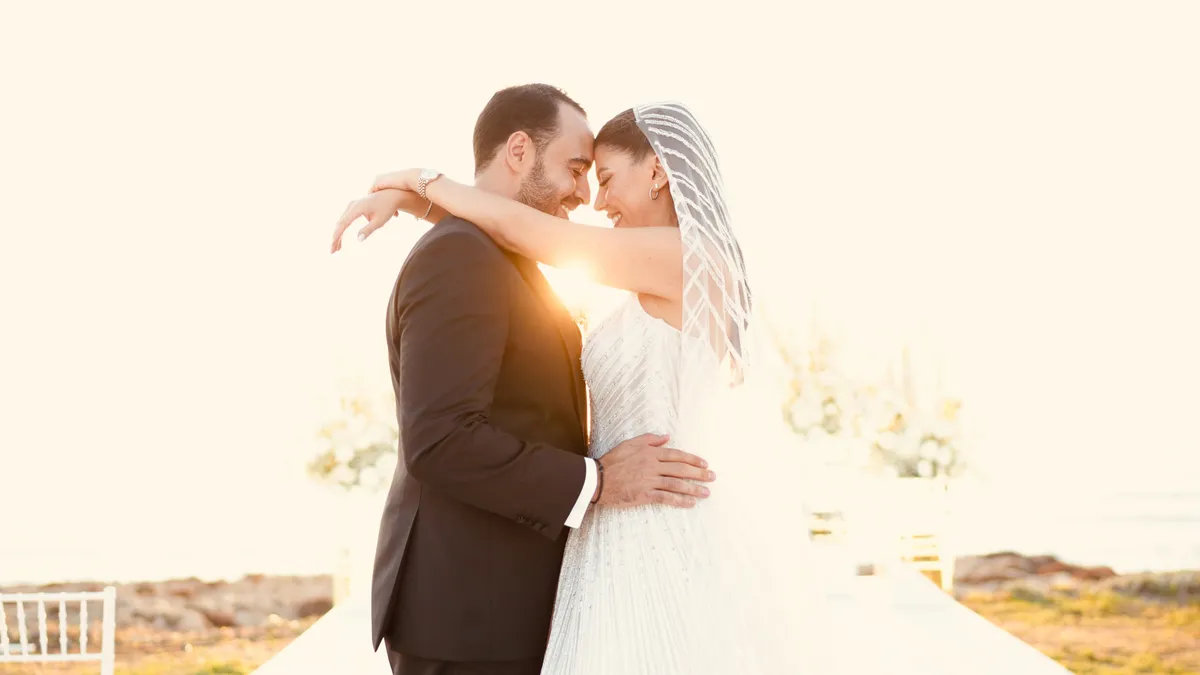
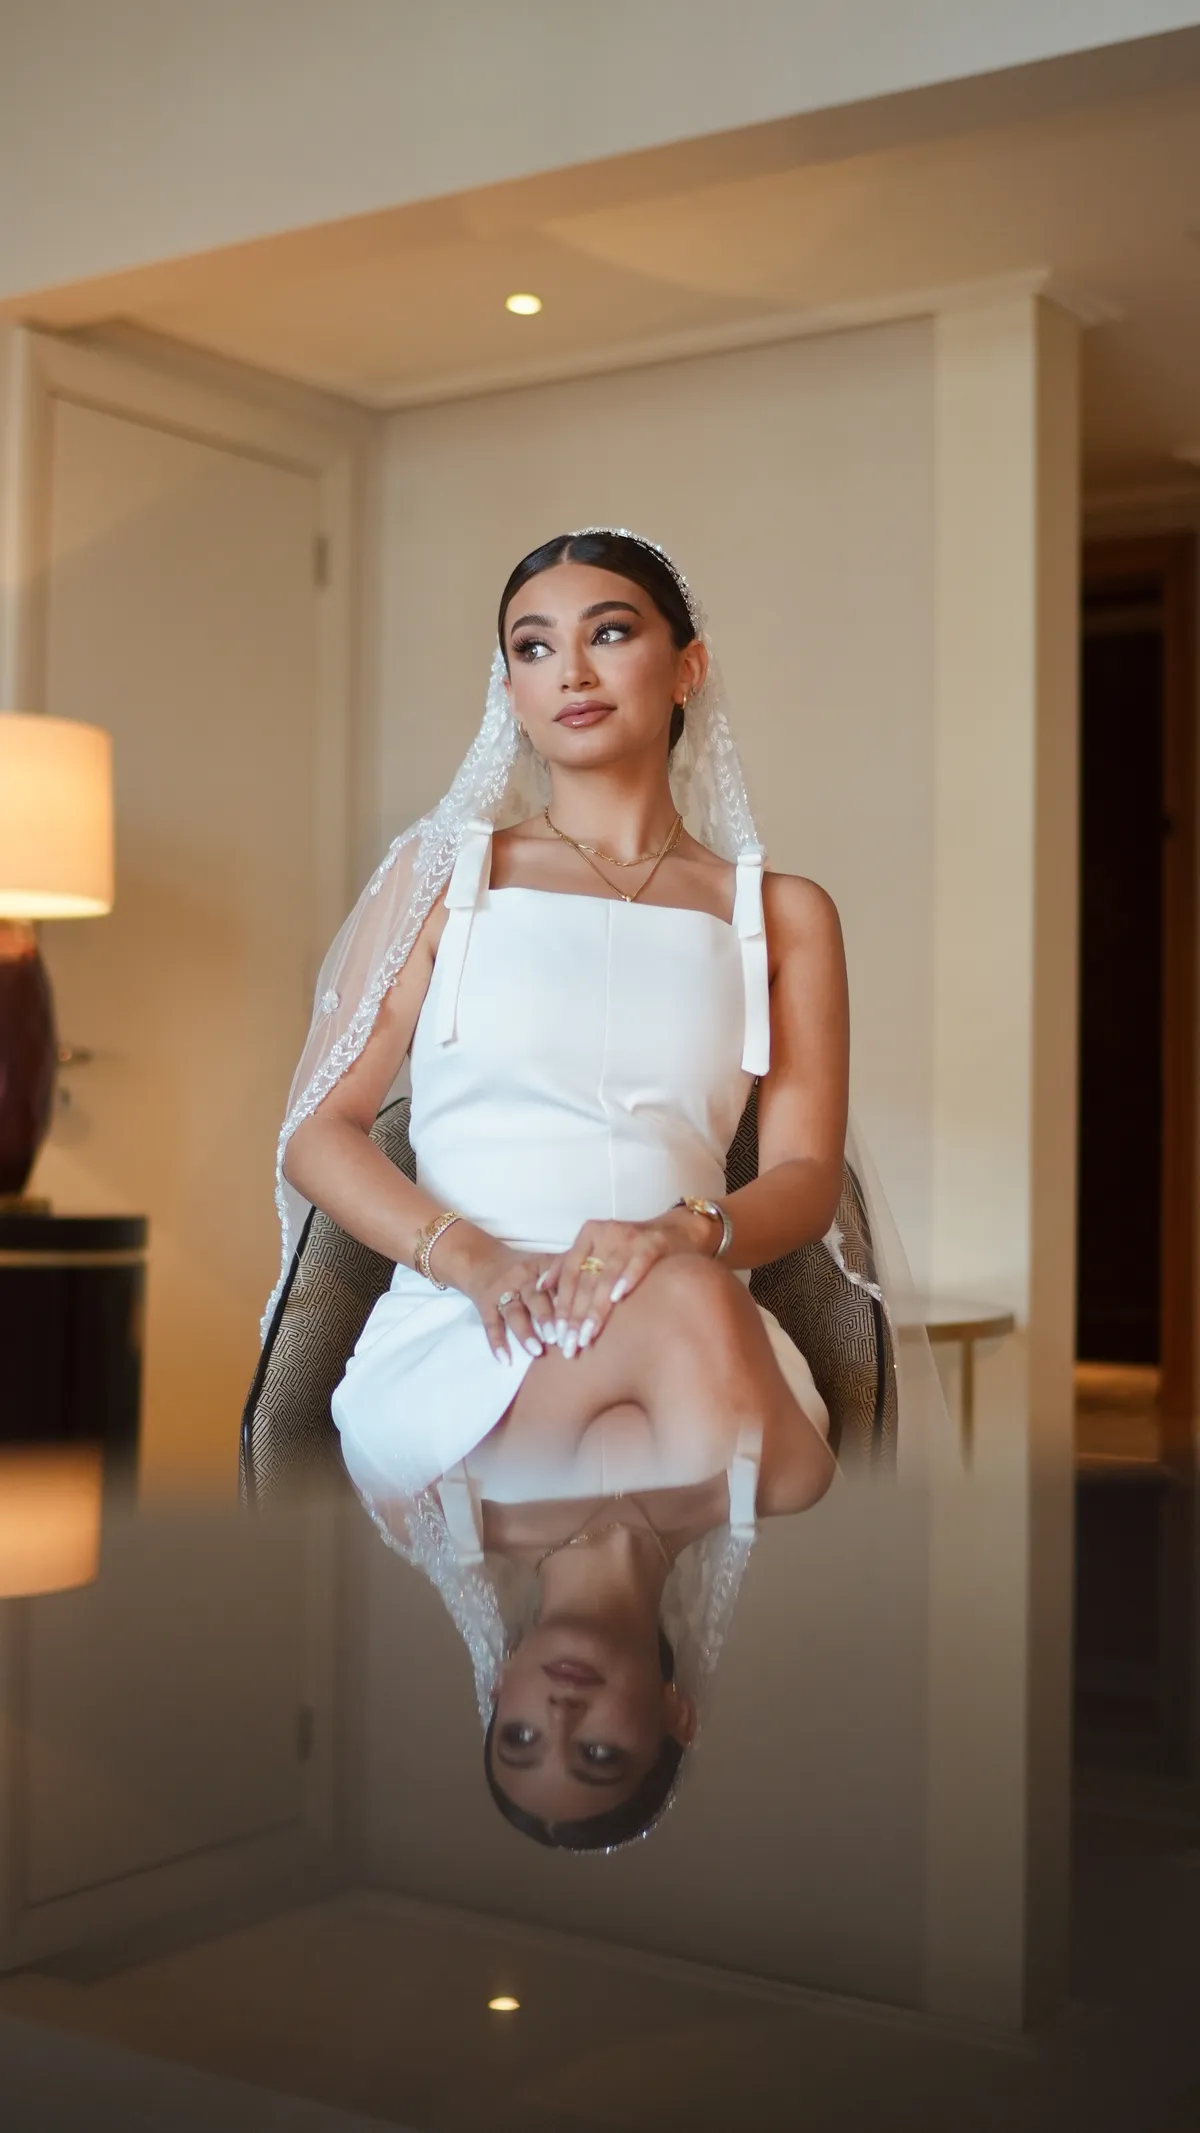
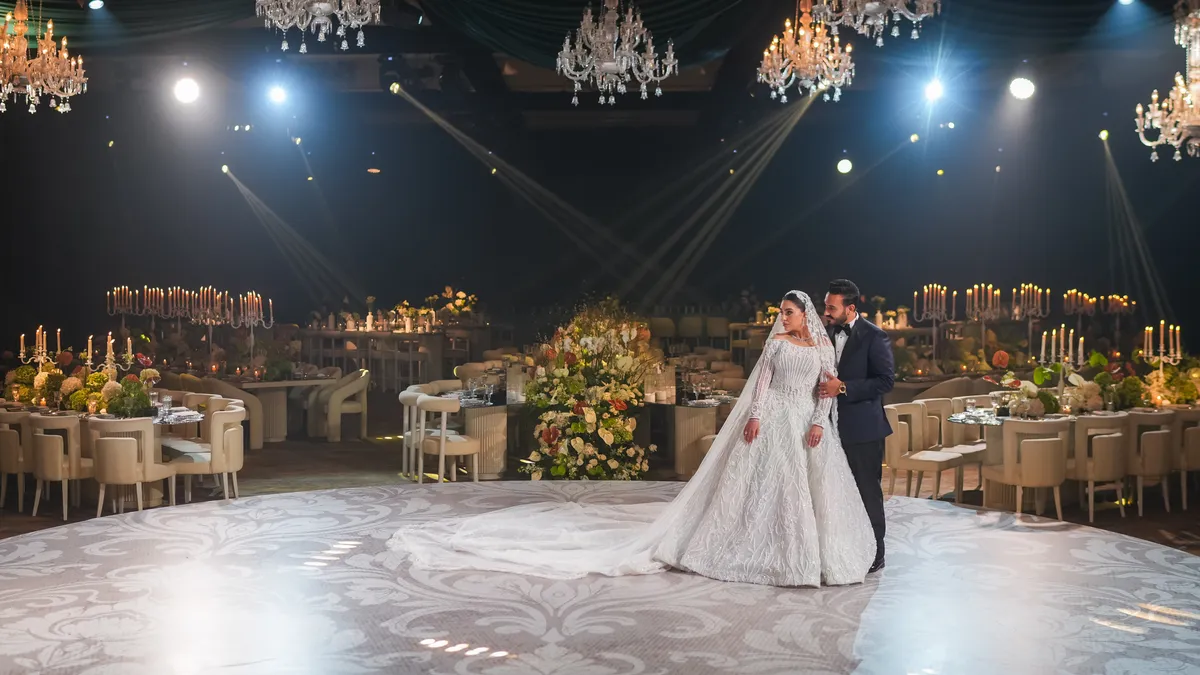
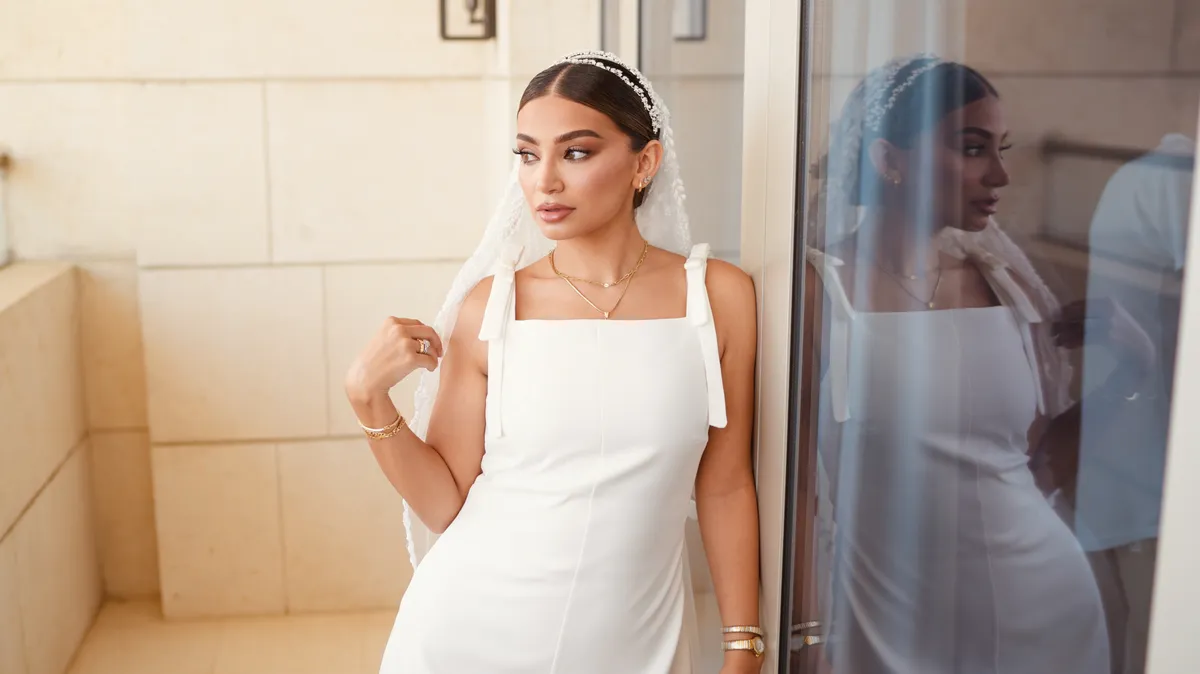
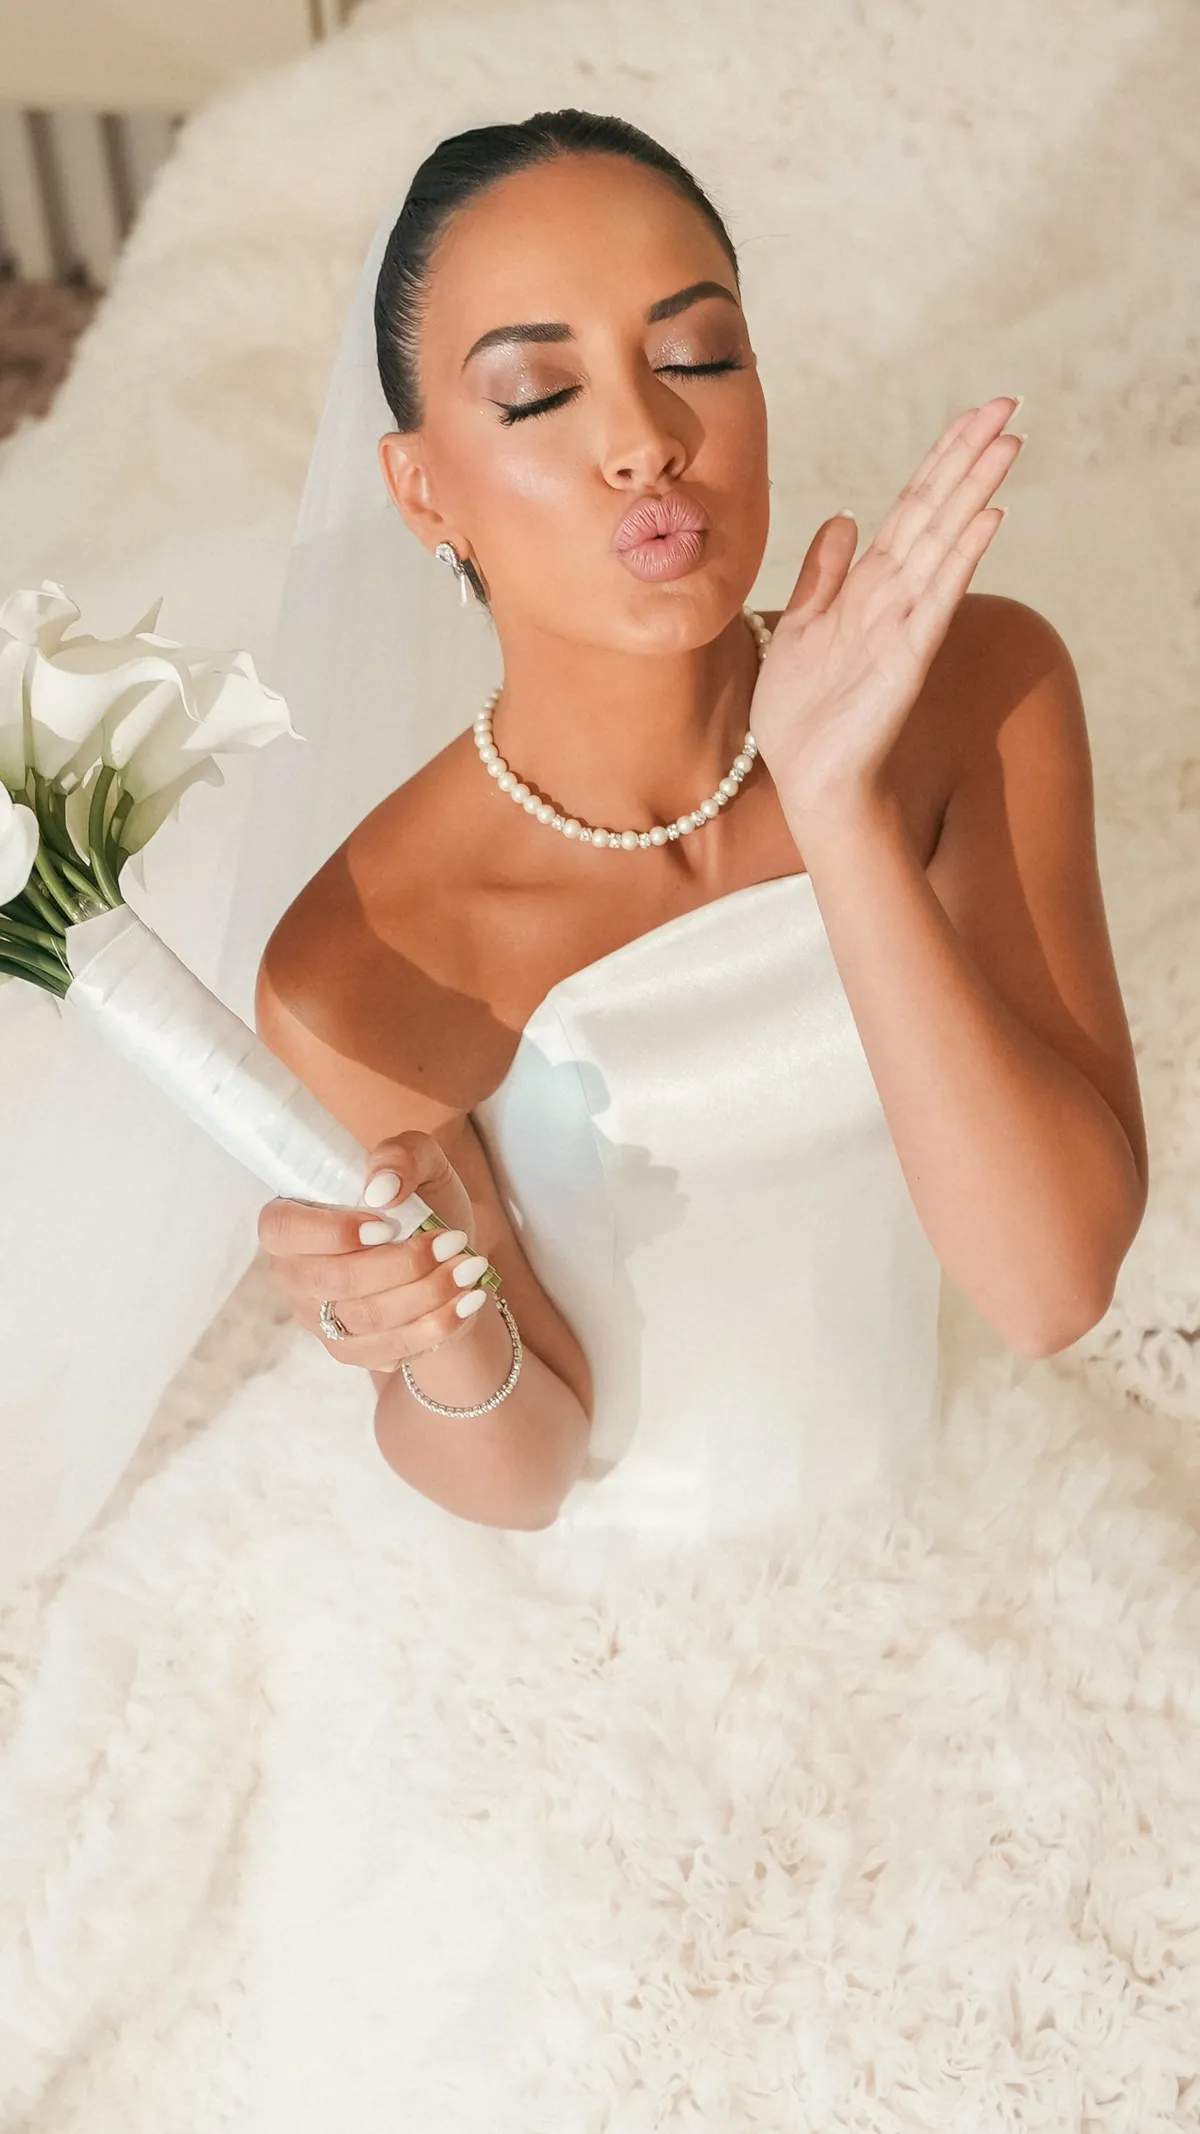
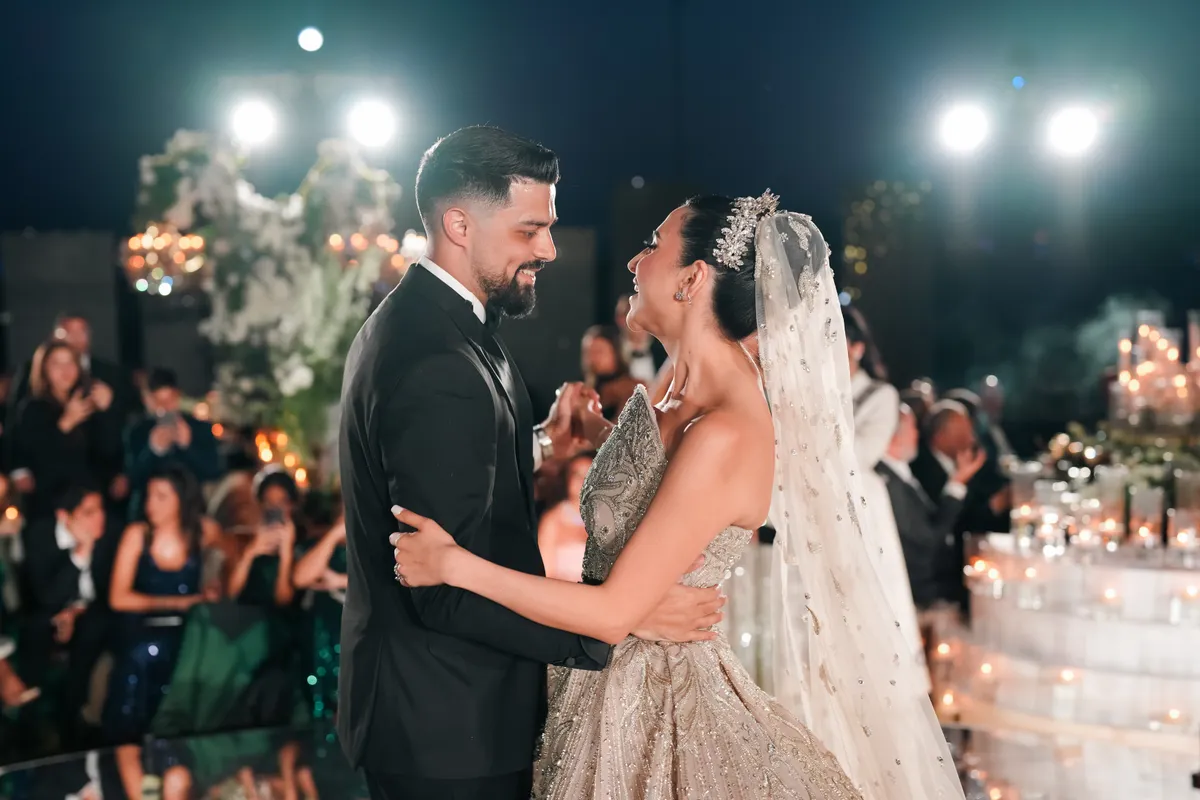
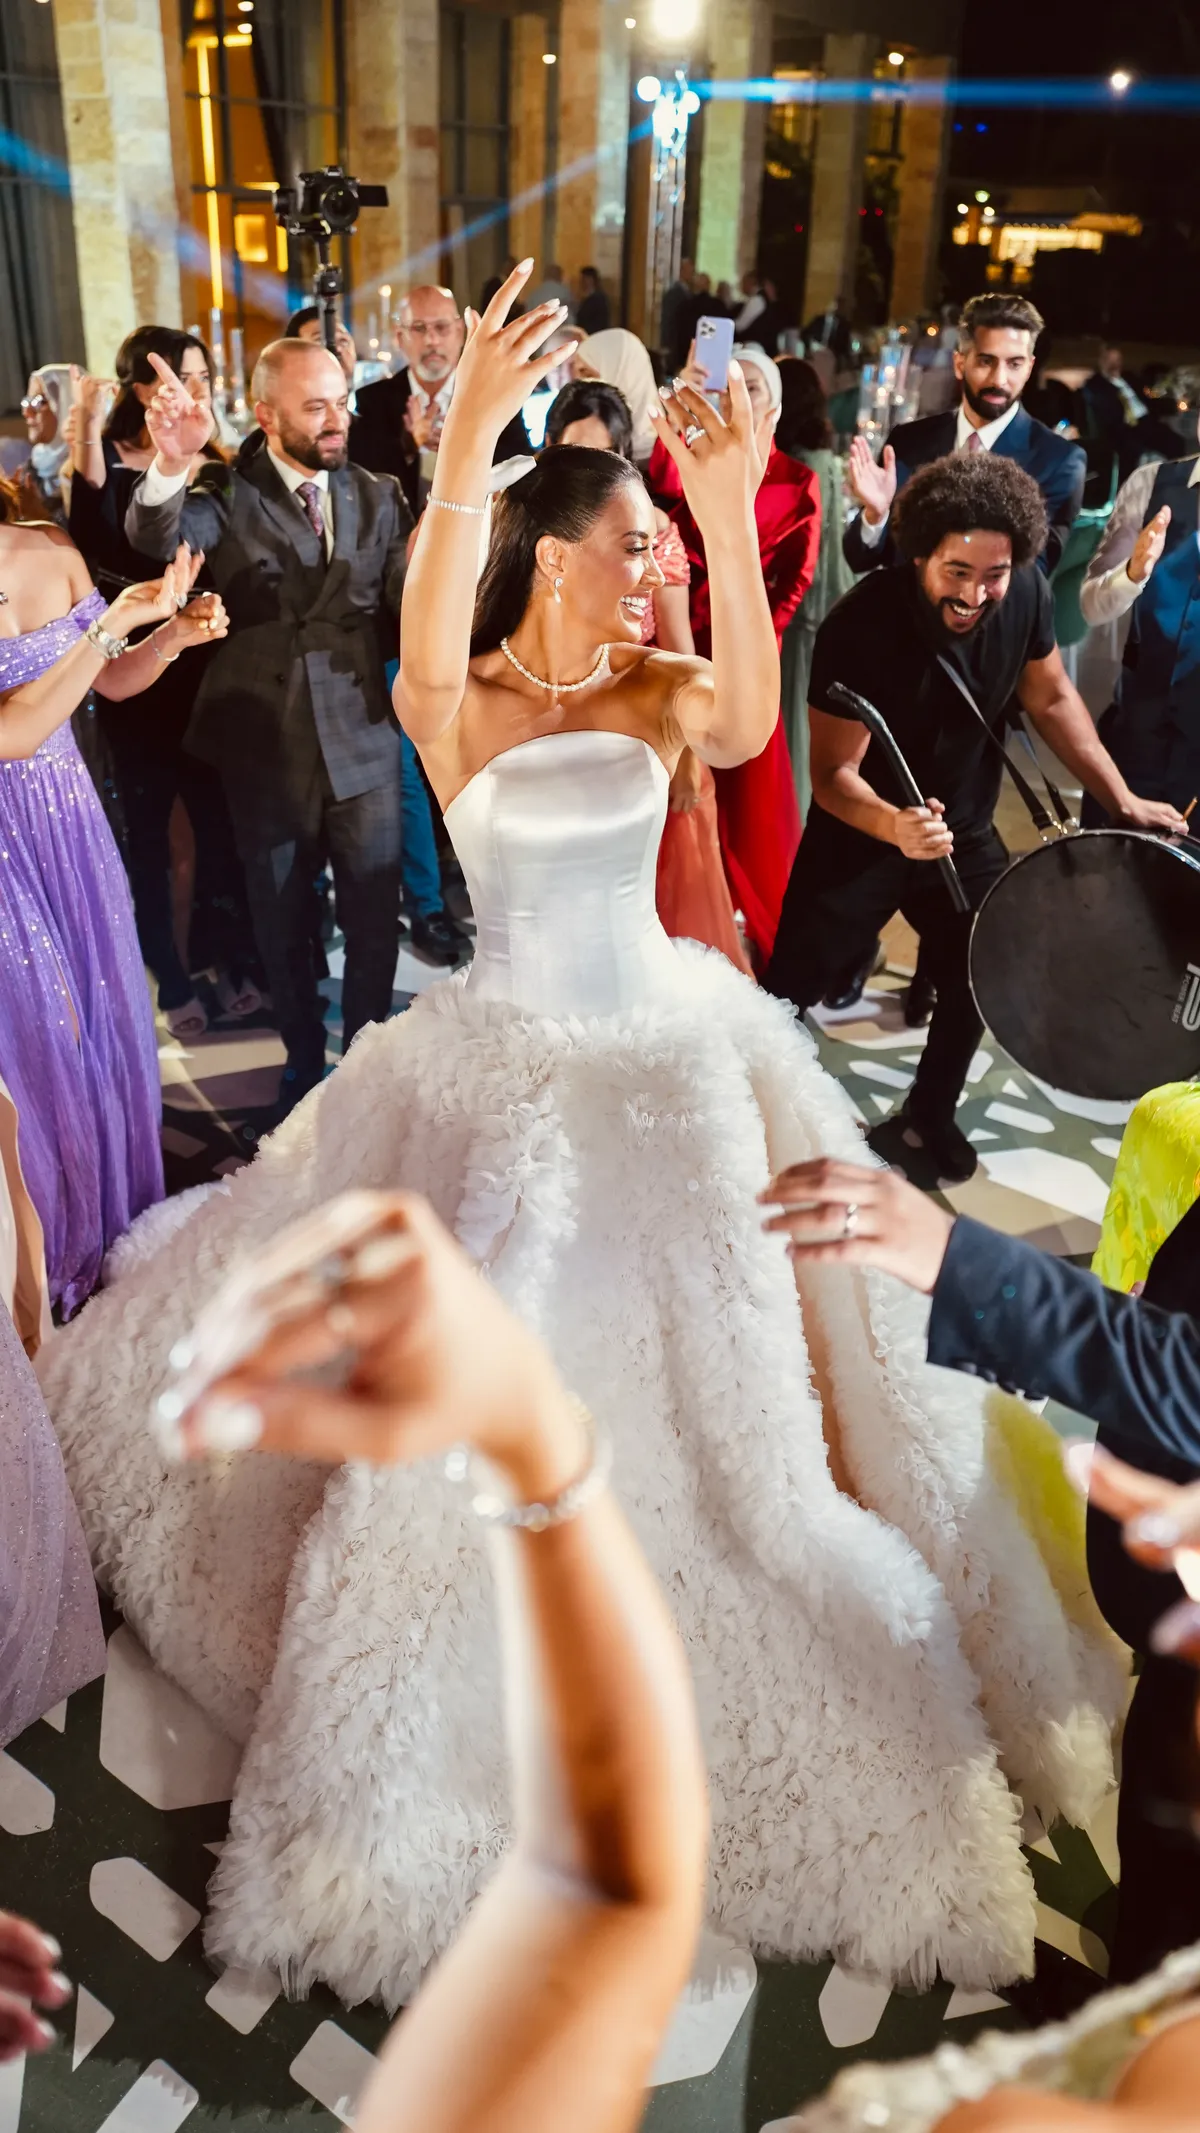
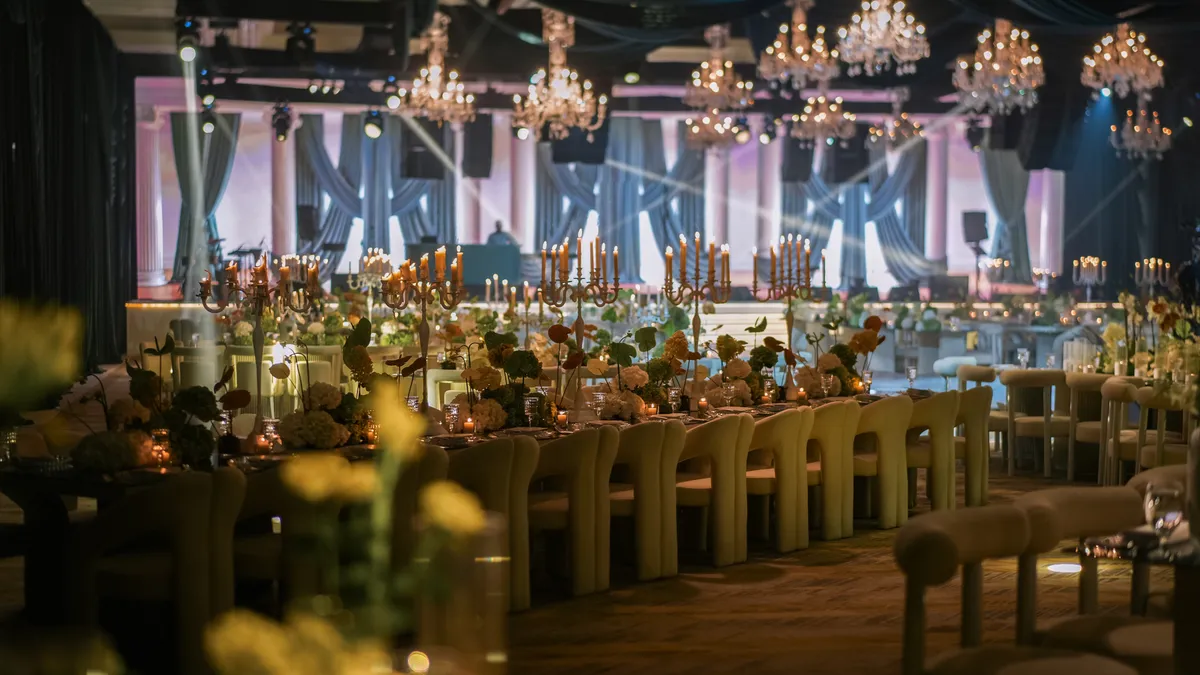
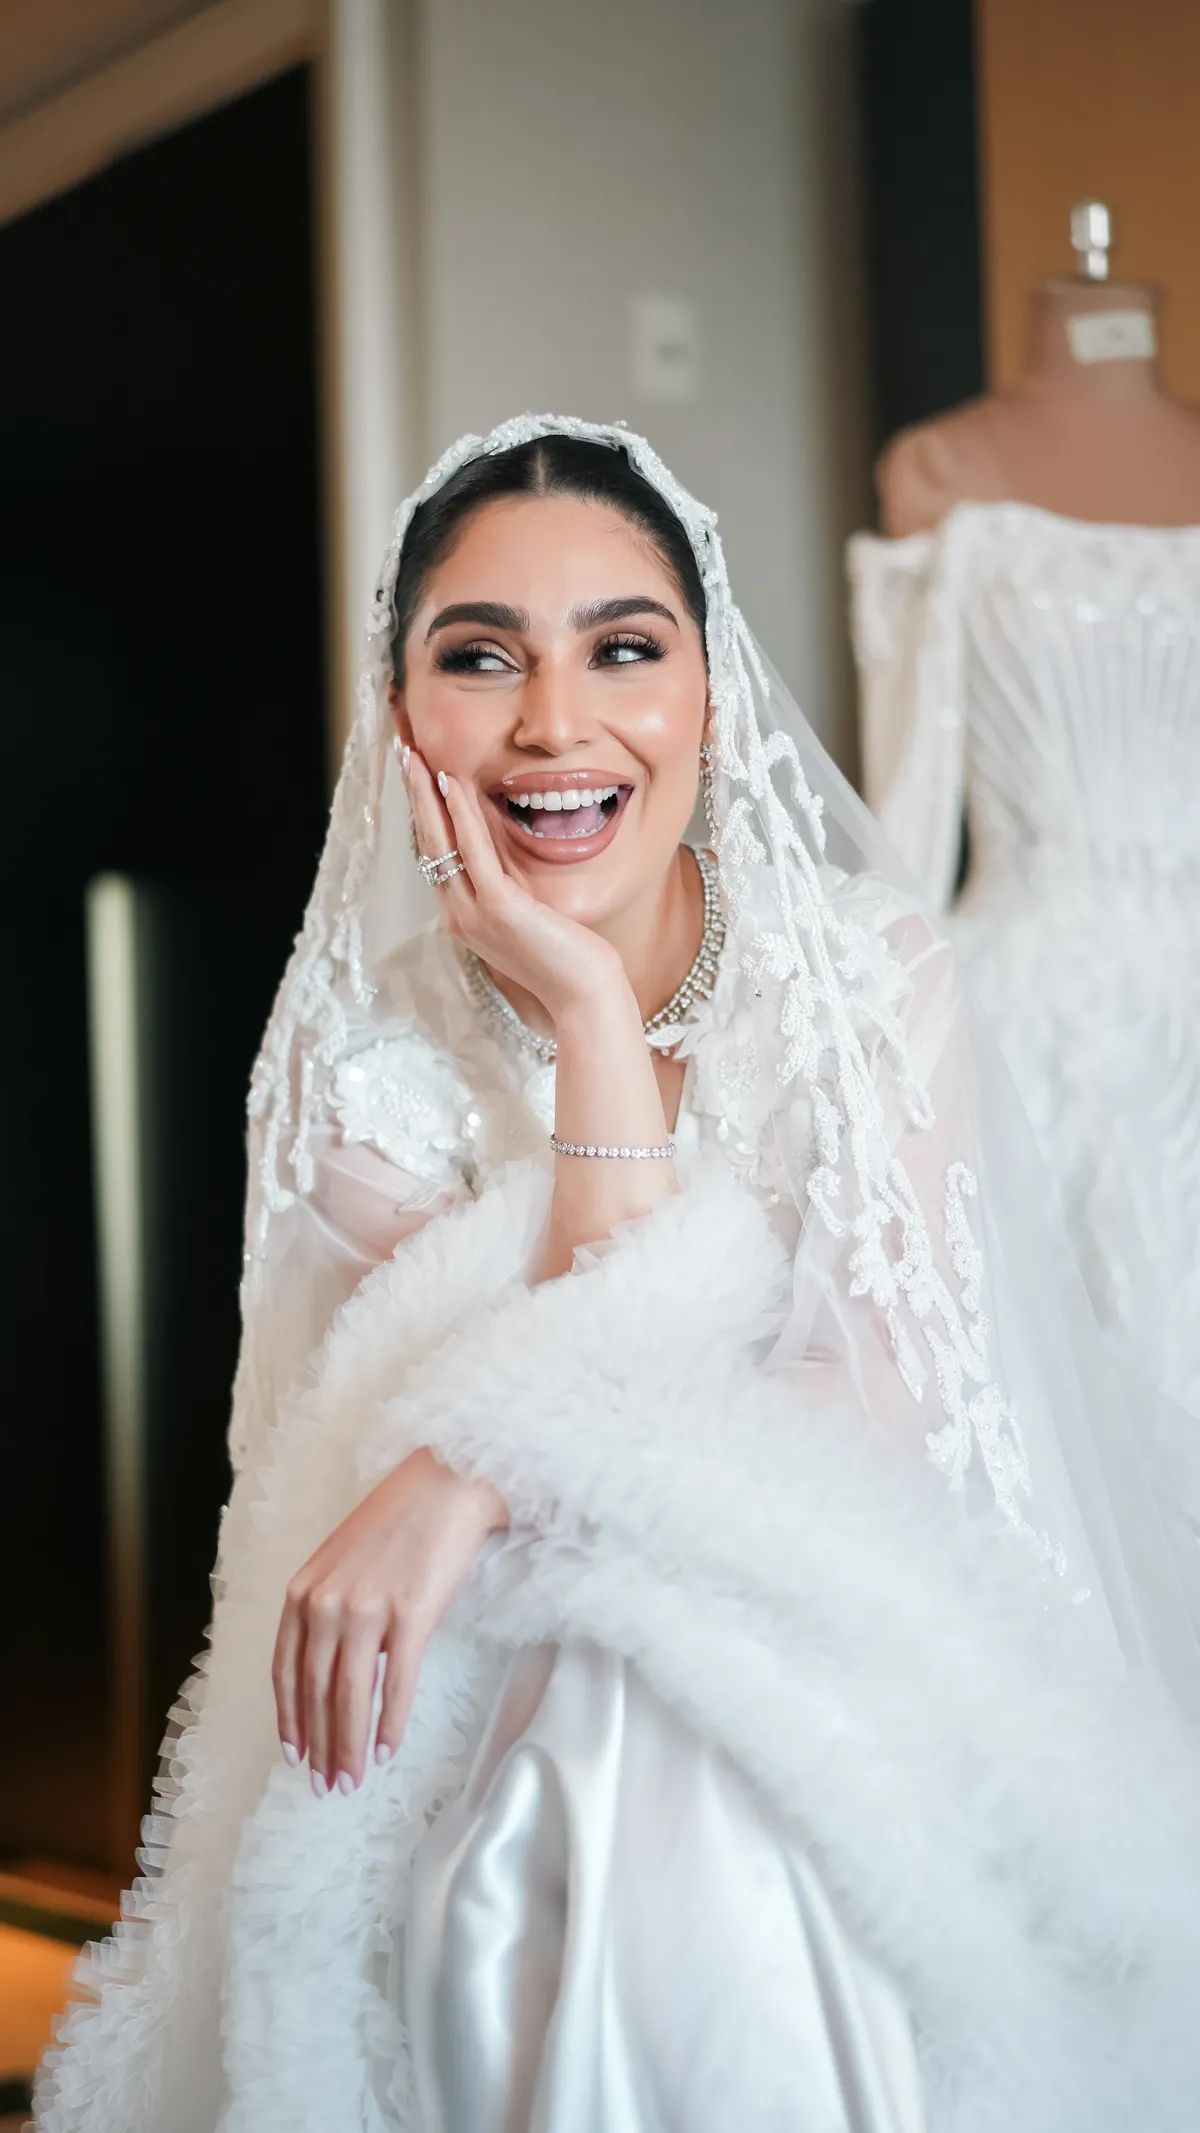
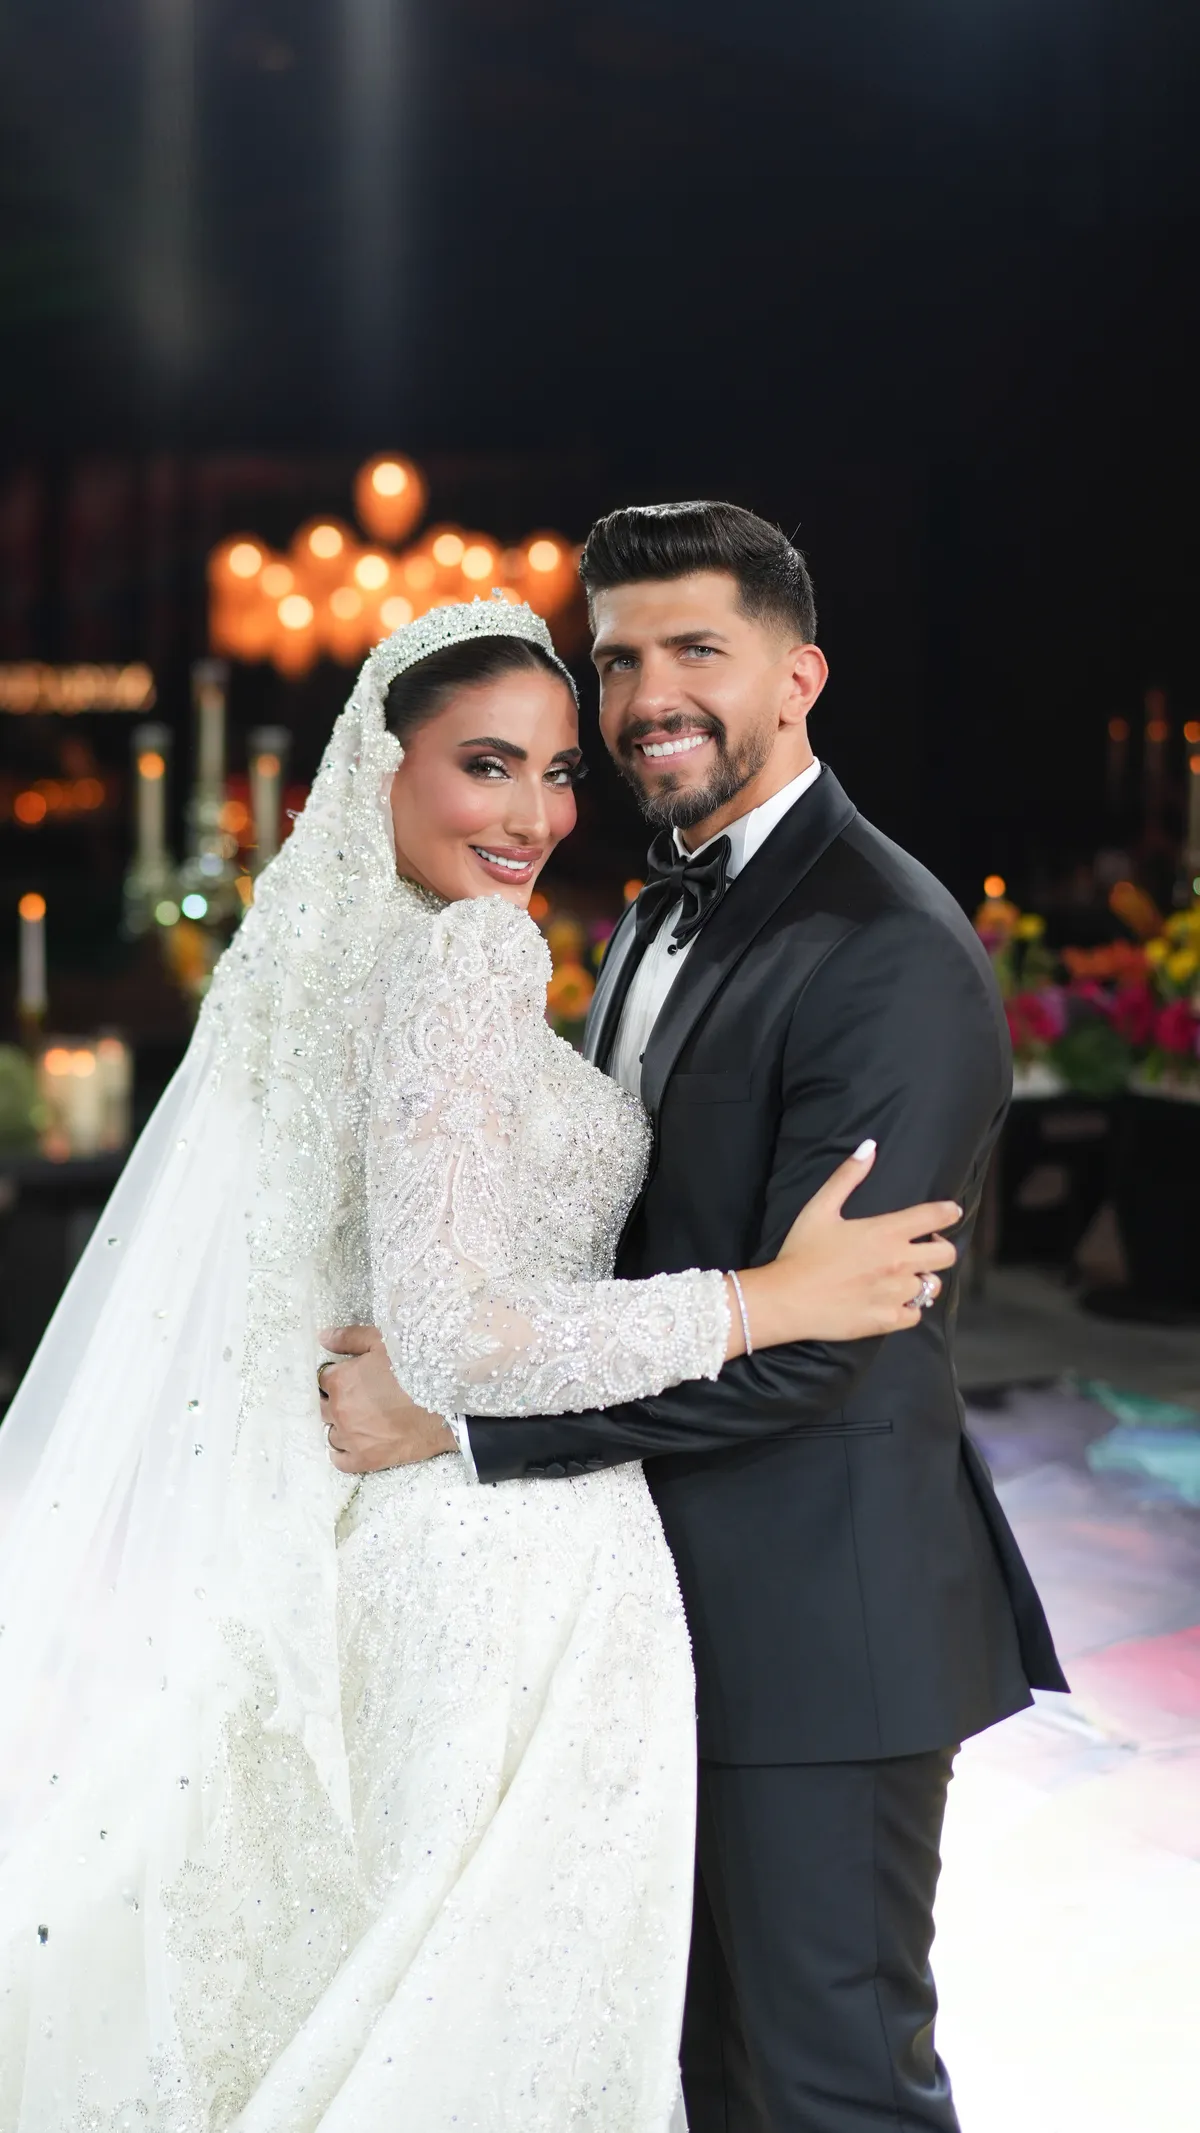
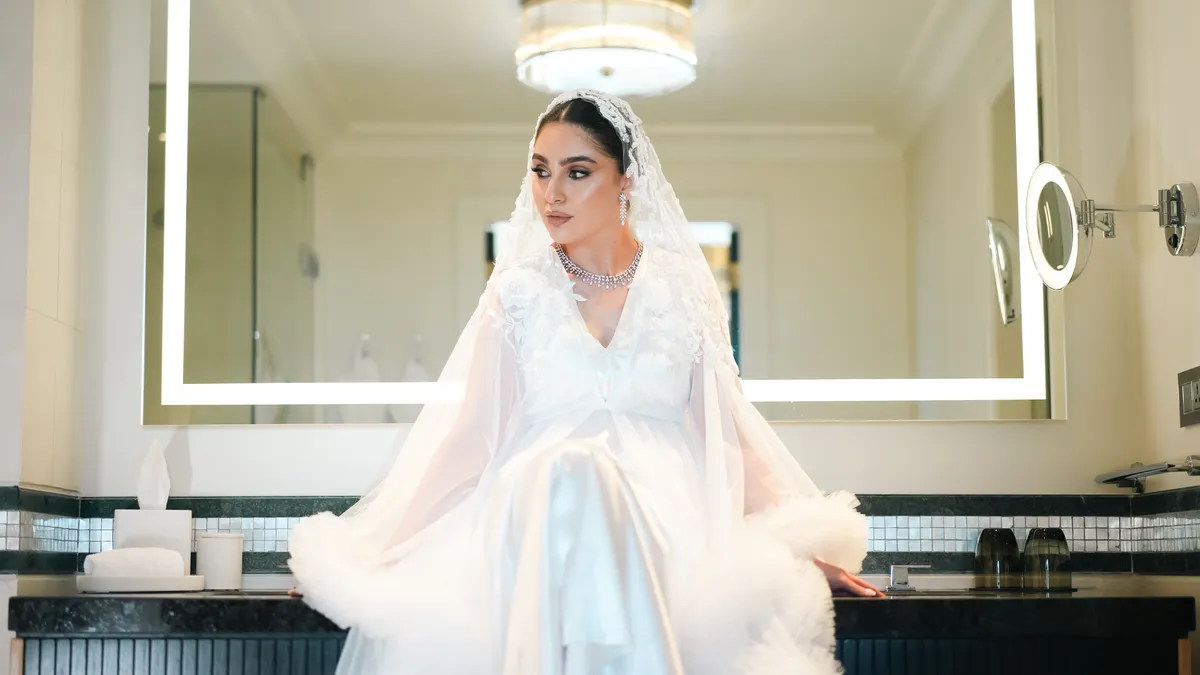
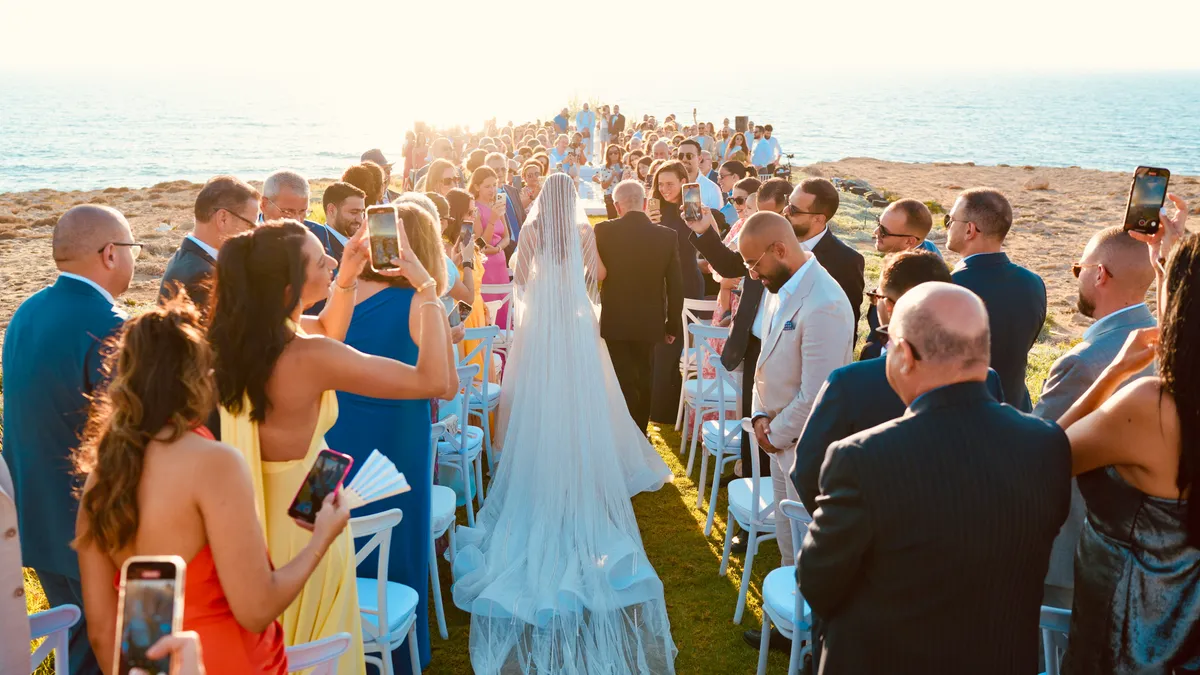
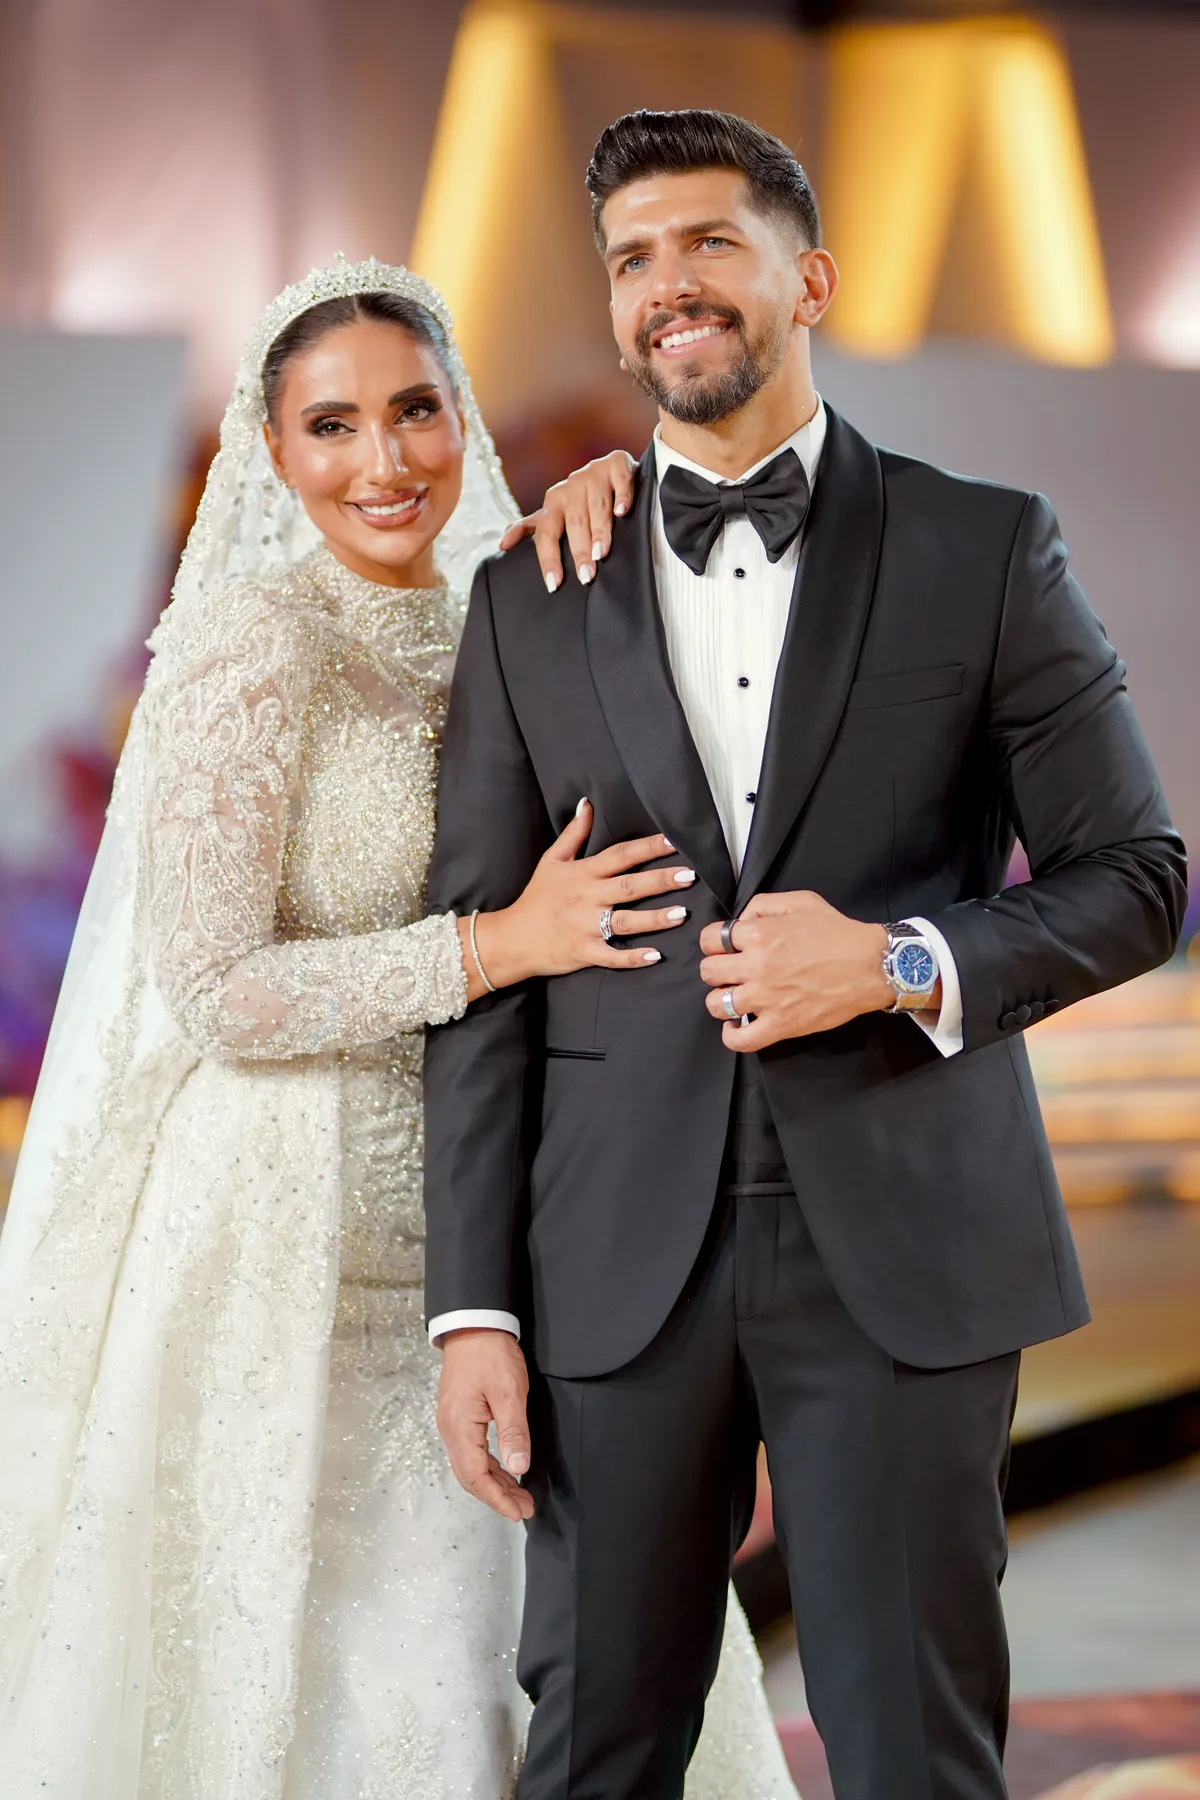
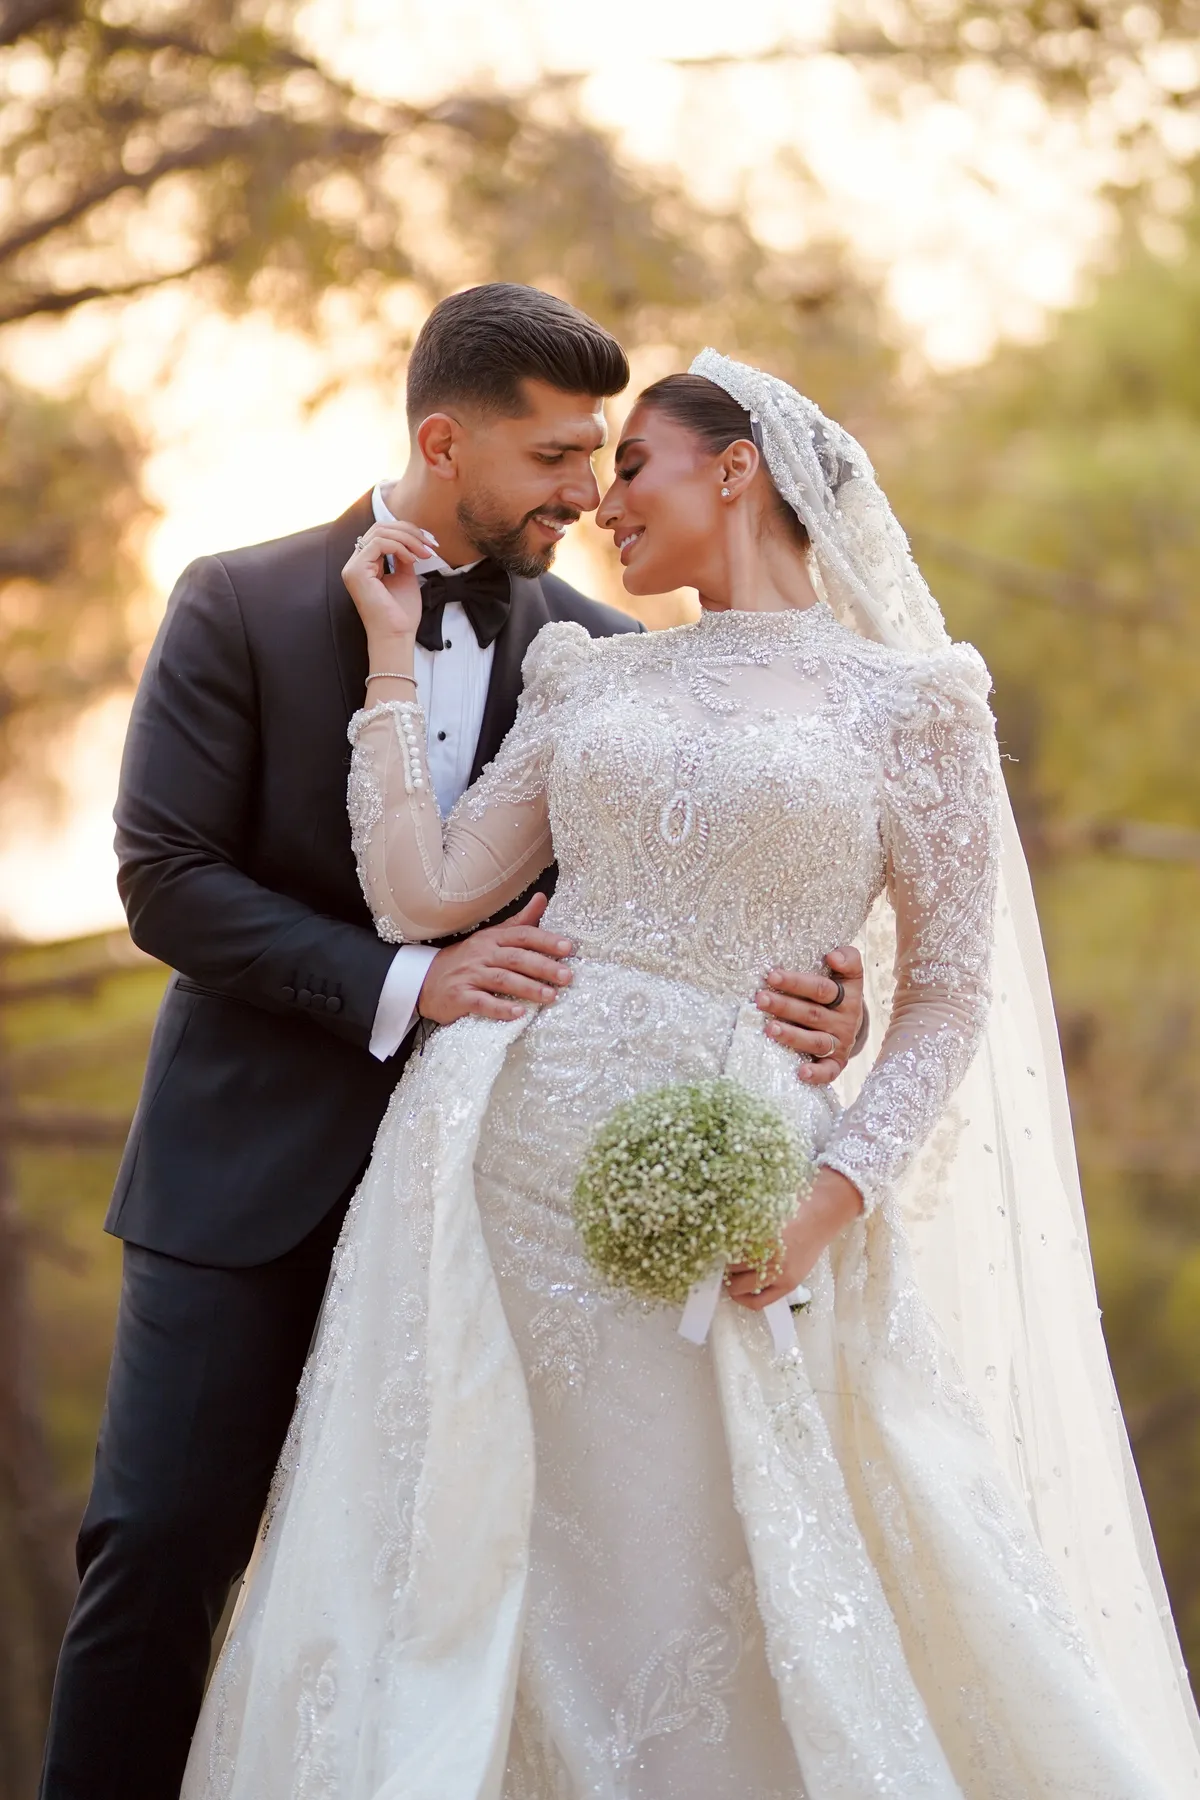
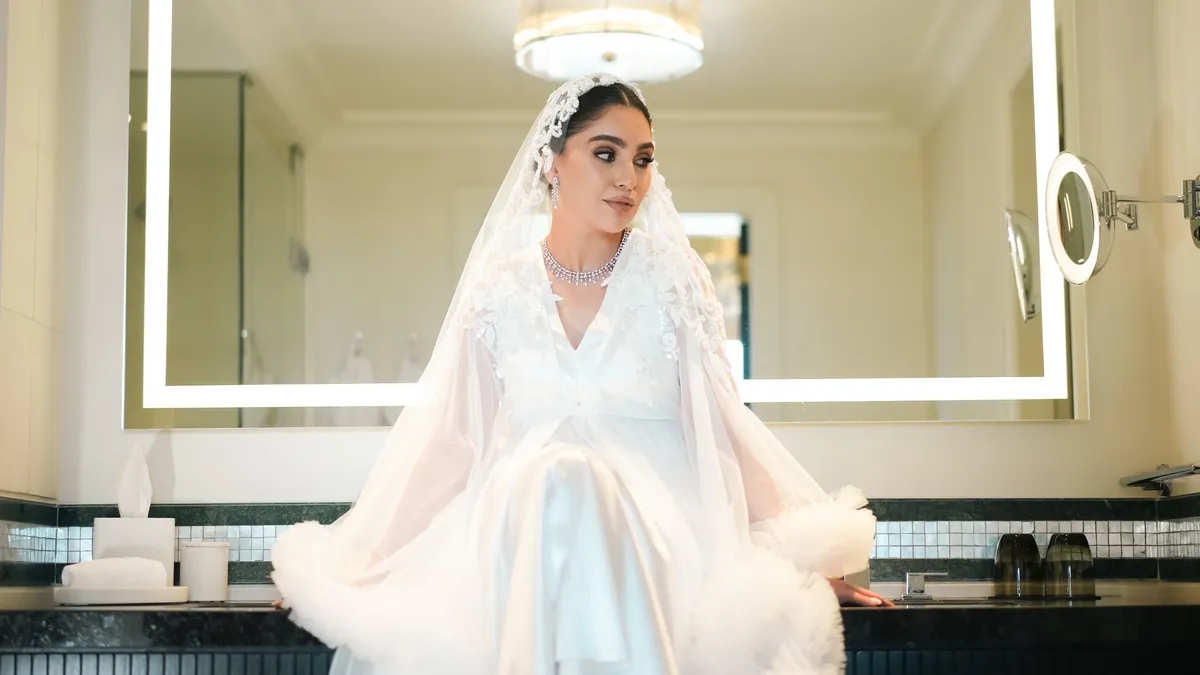
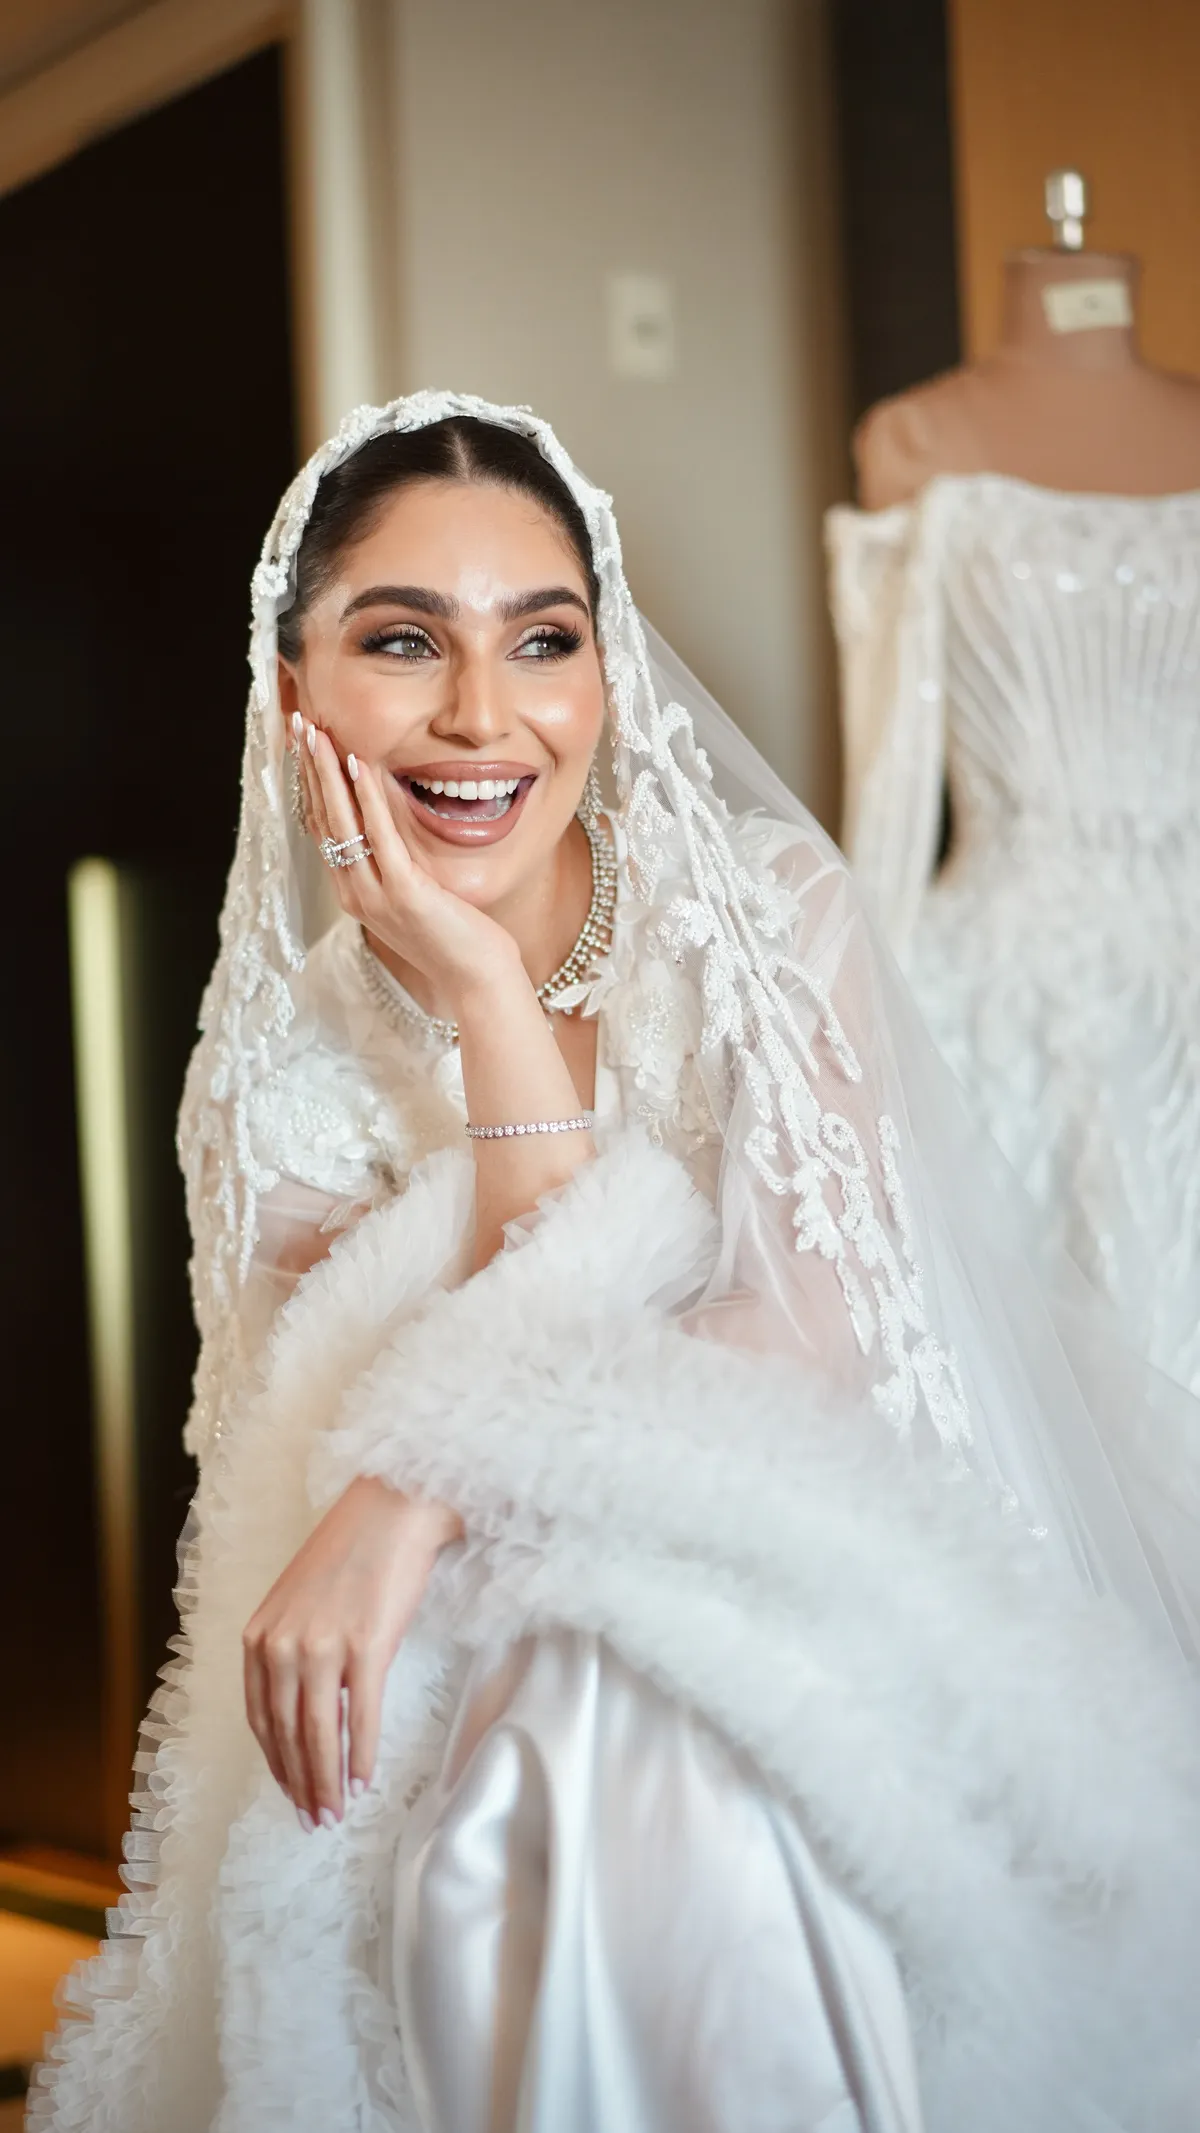
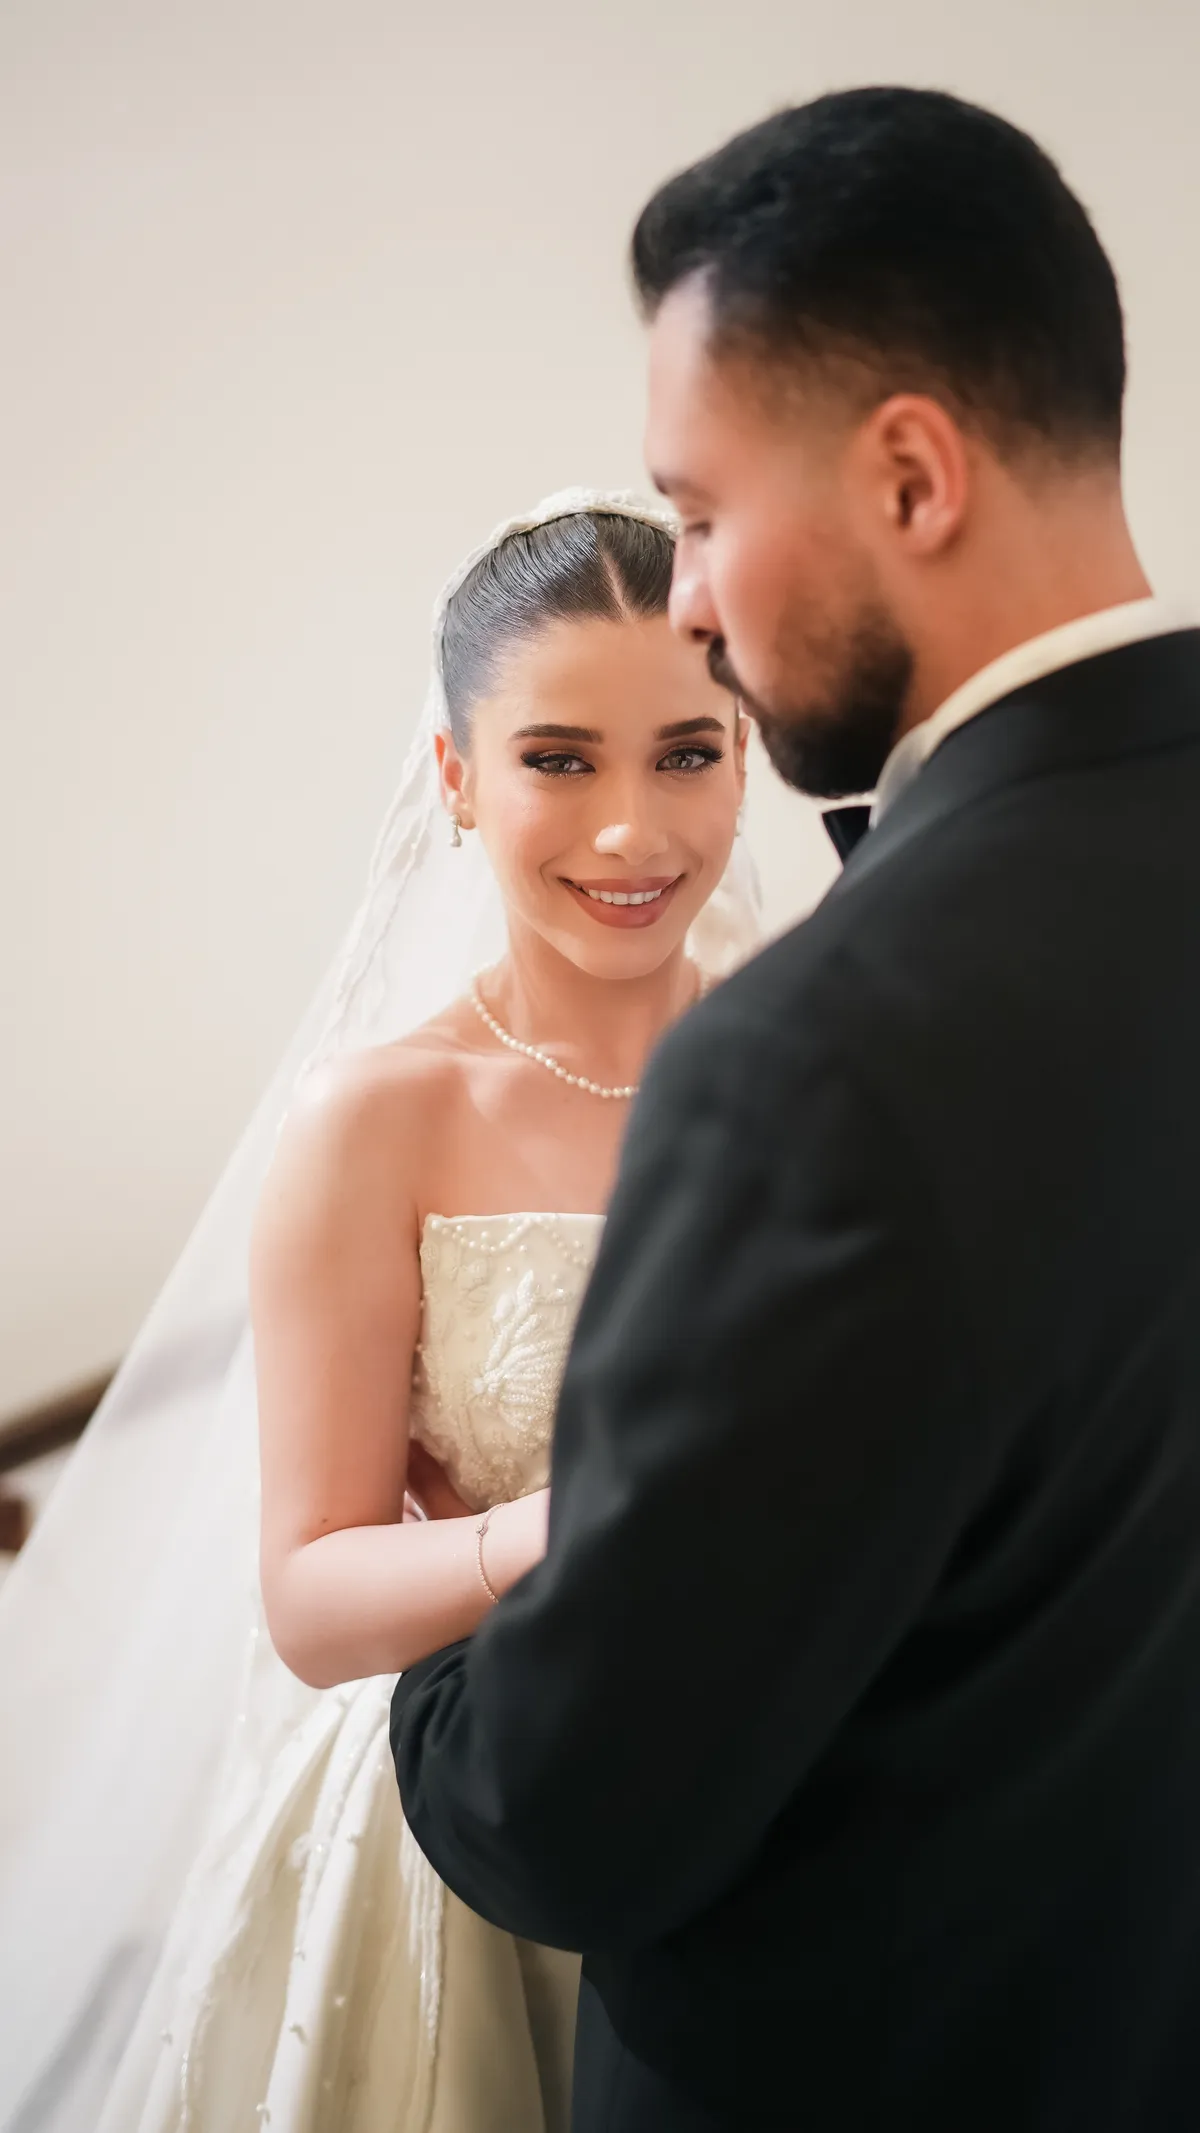
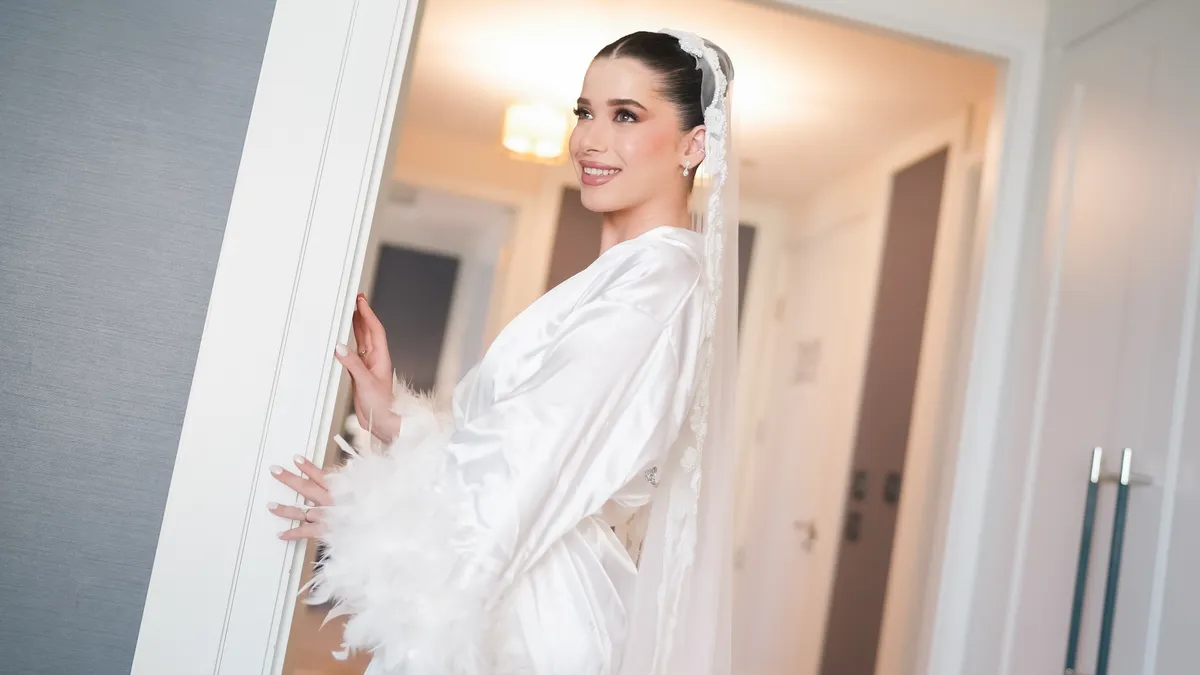
  • Wedding photograph by DawwasEye Studios
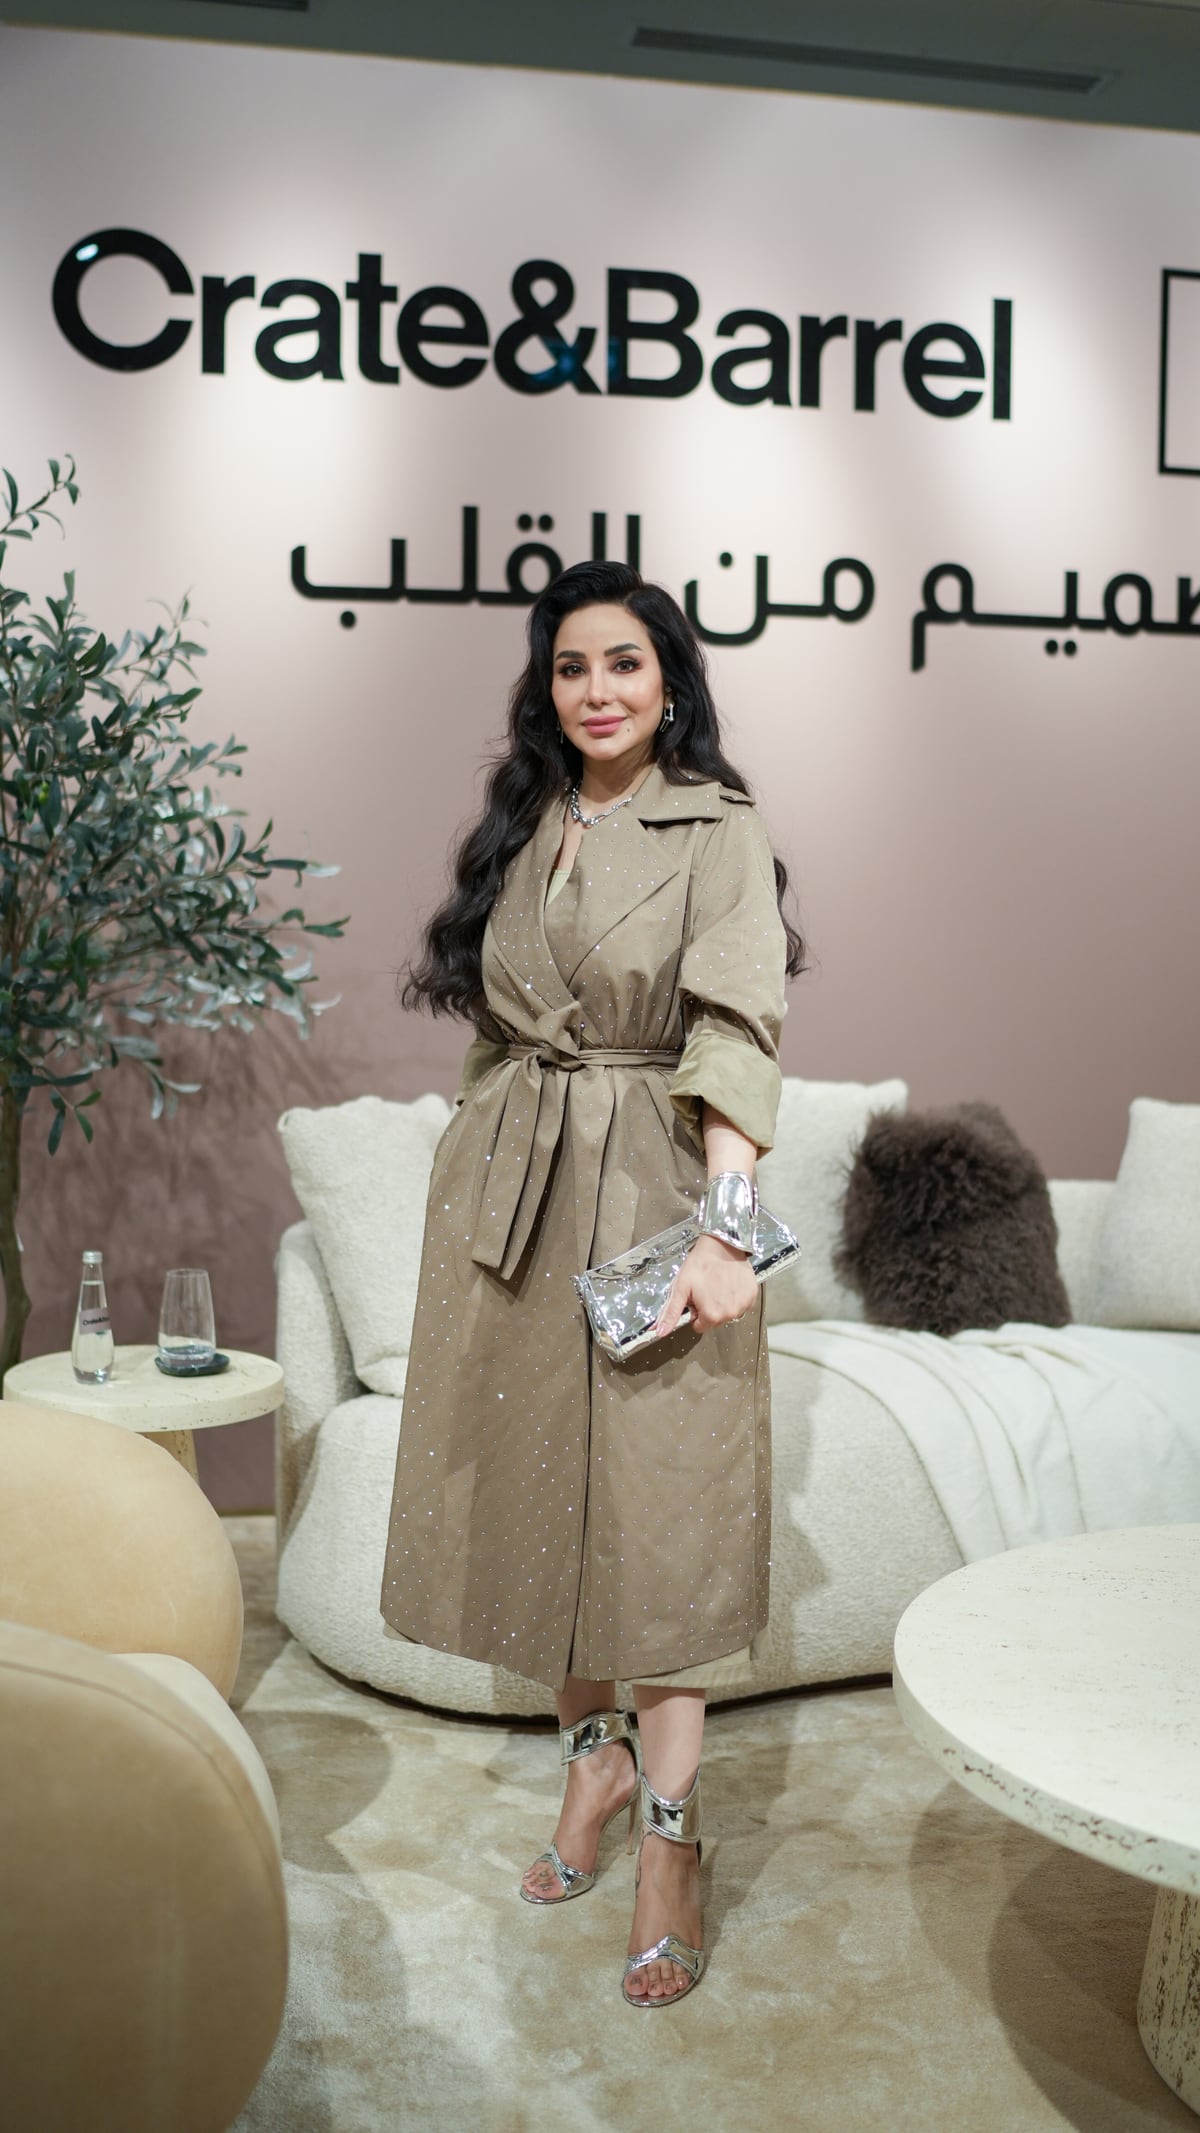
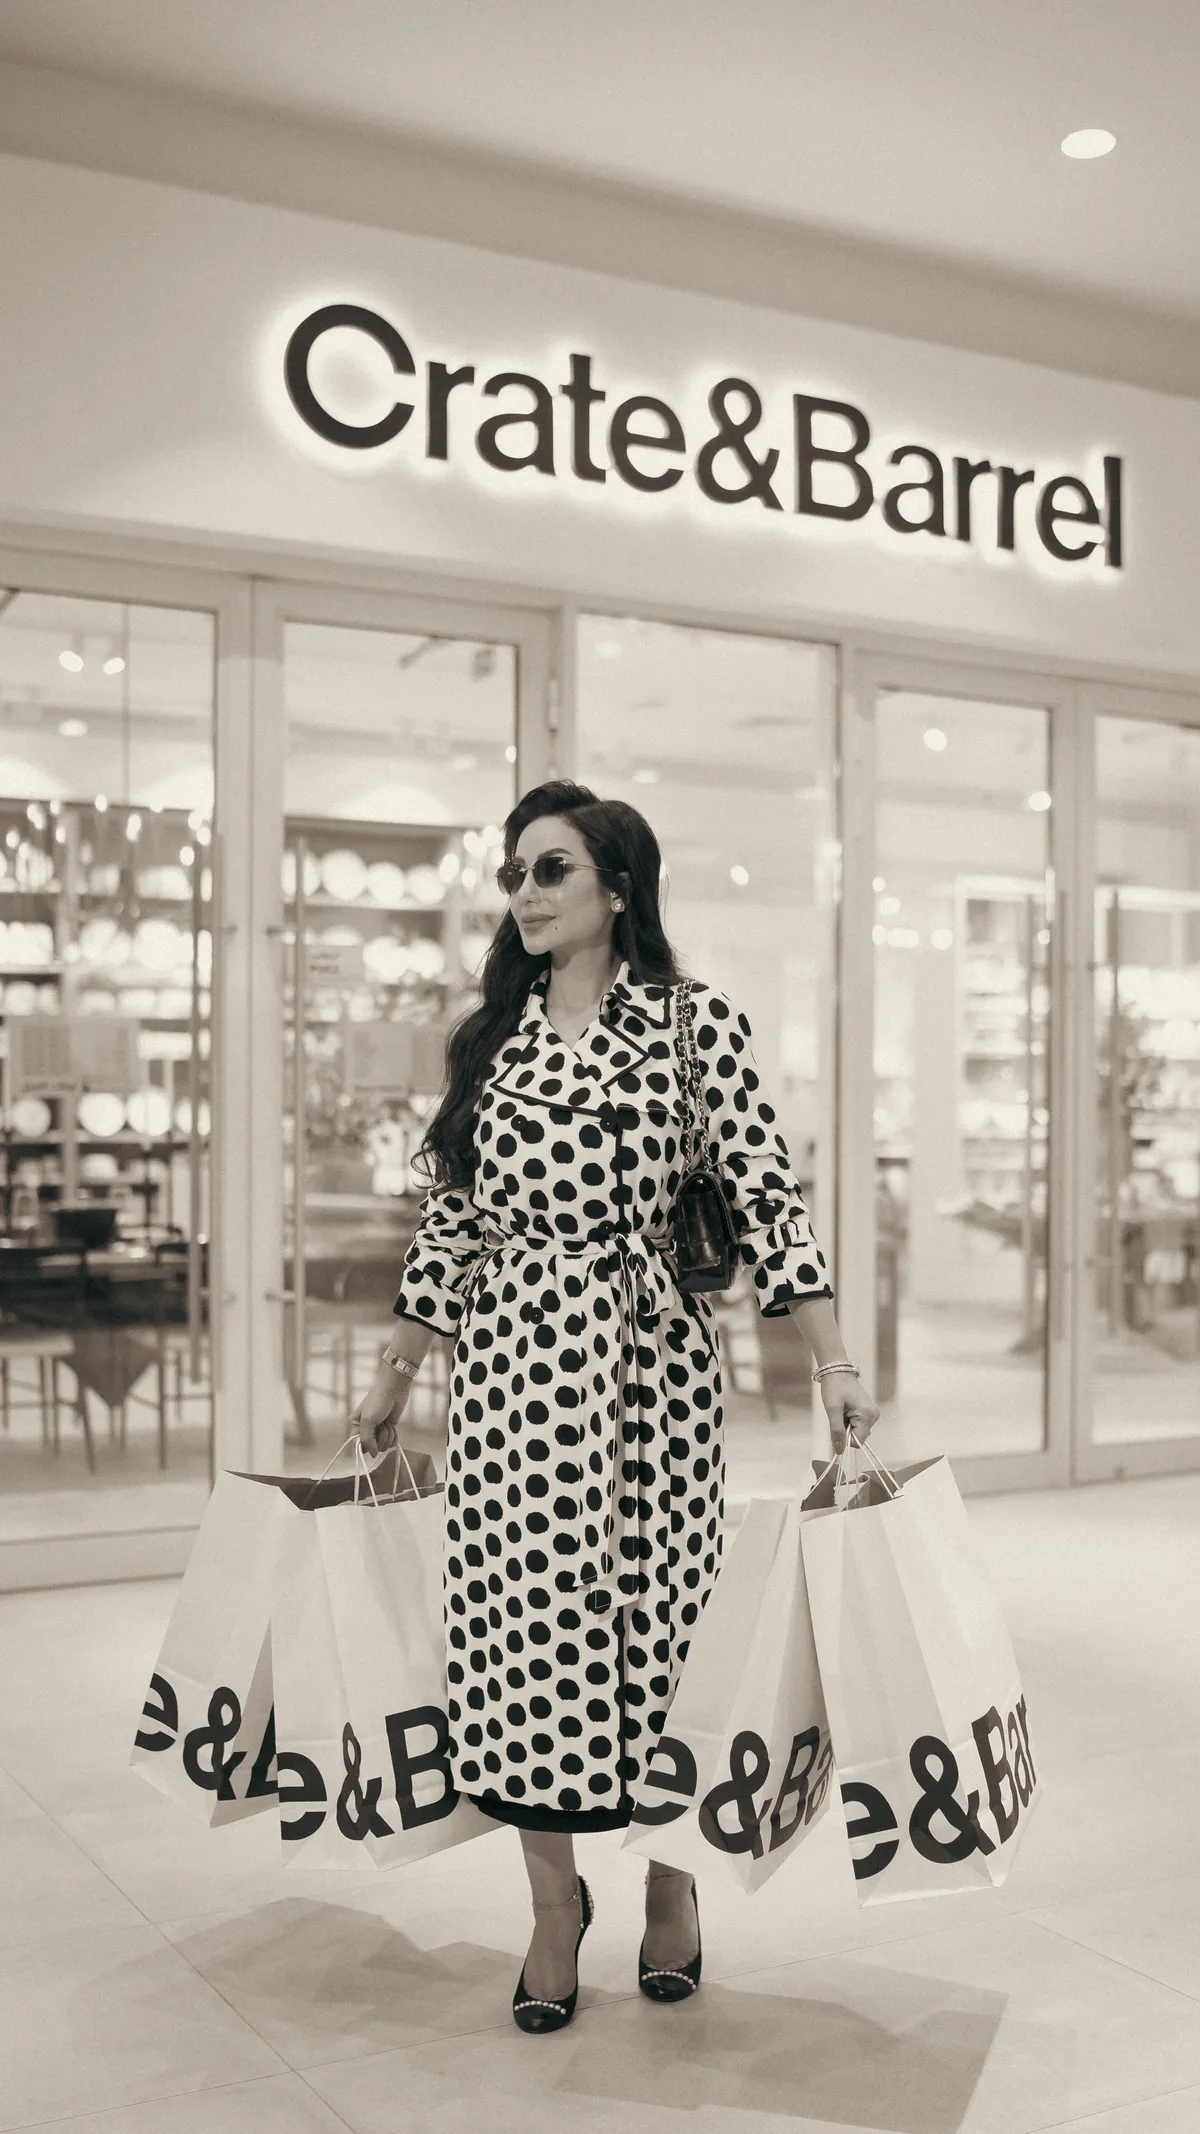
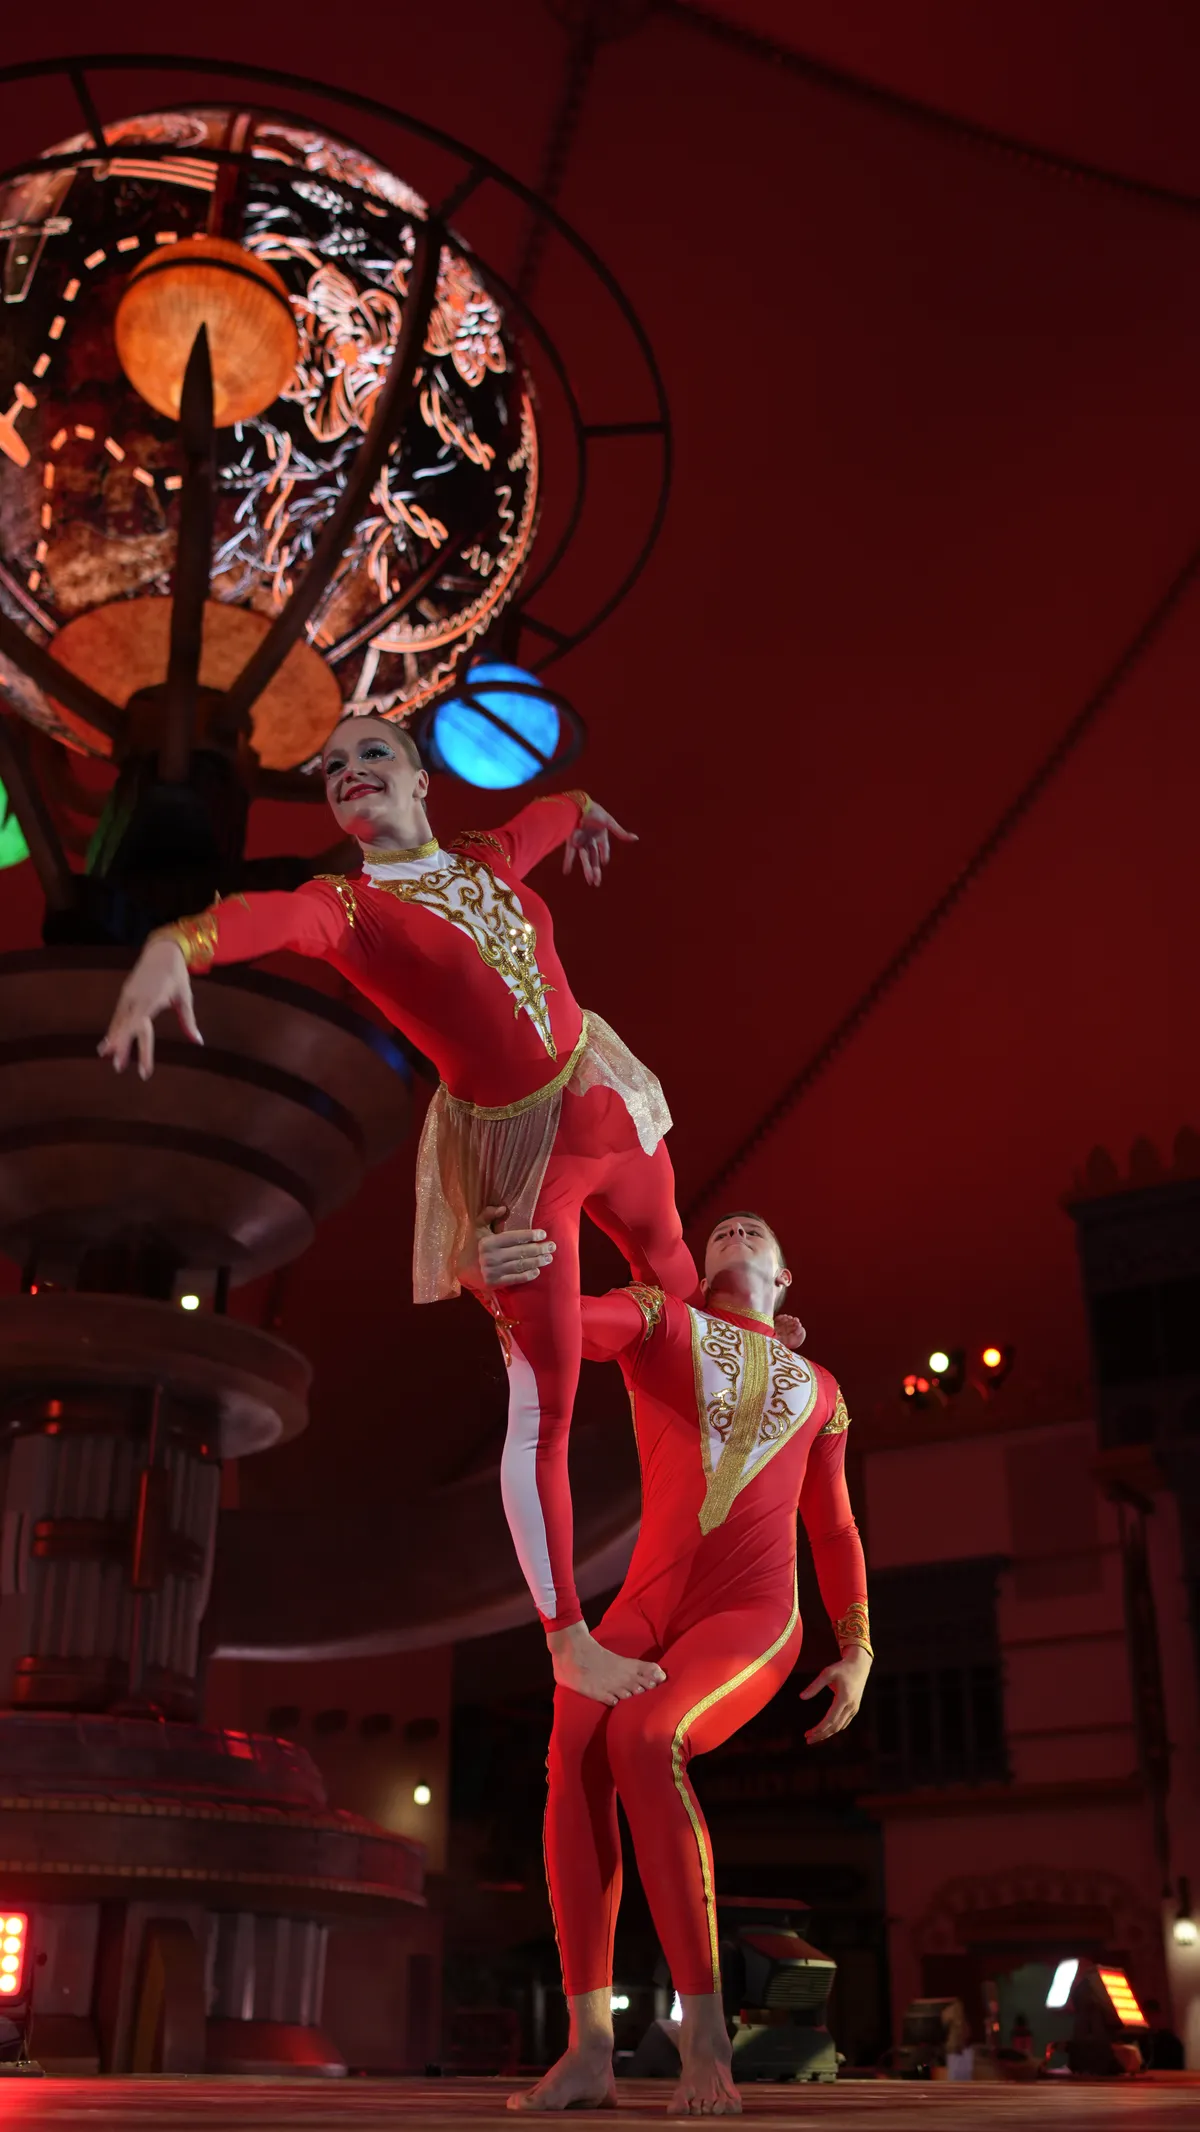
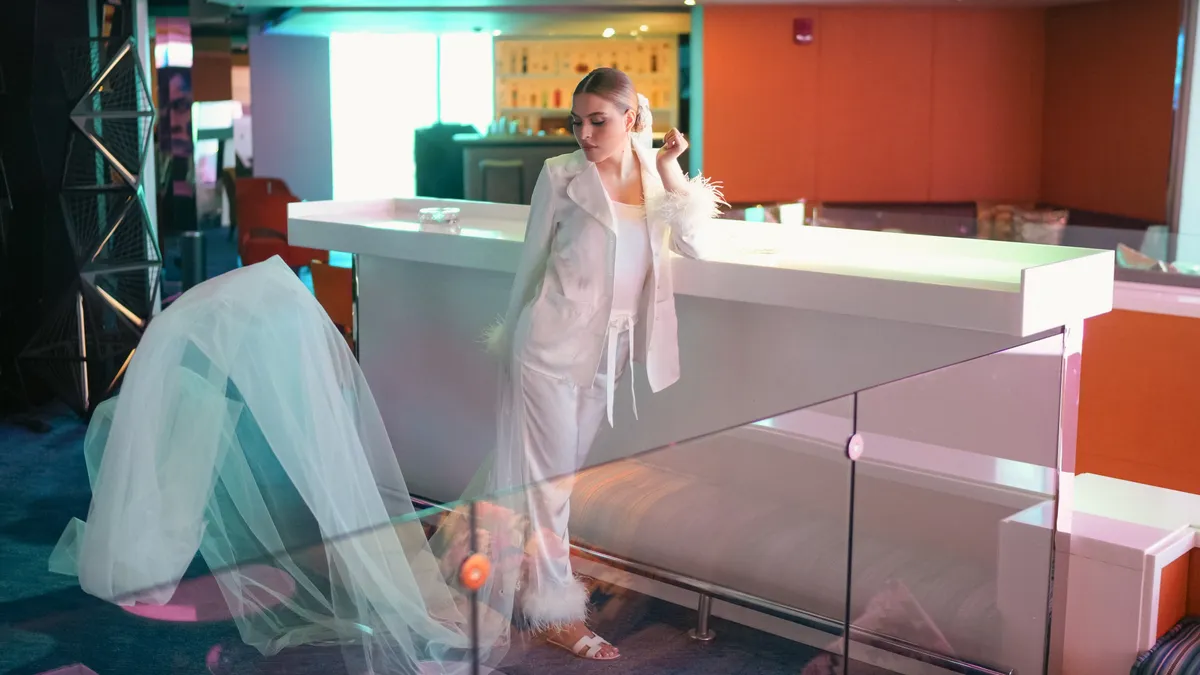
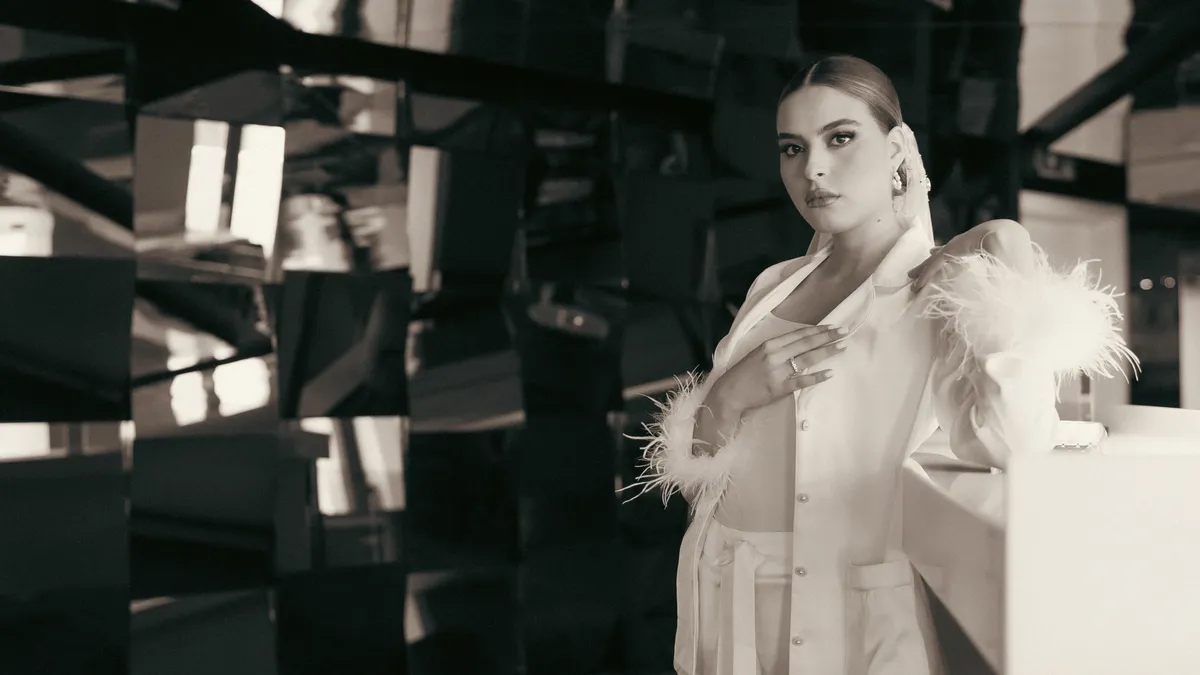
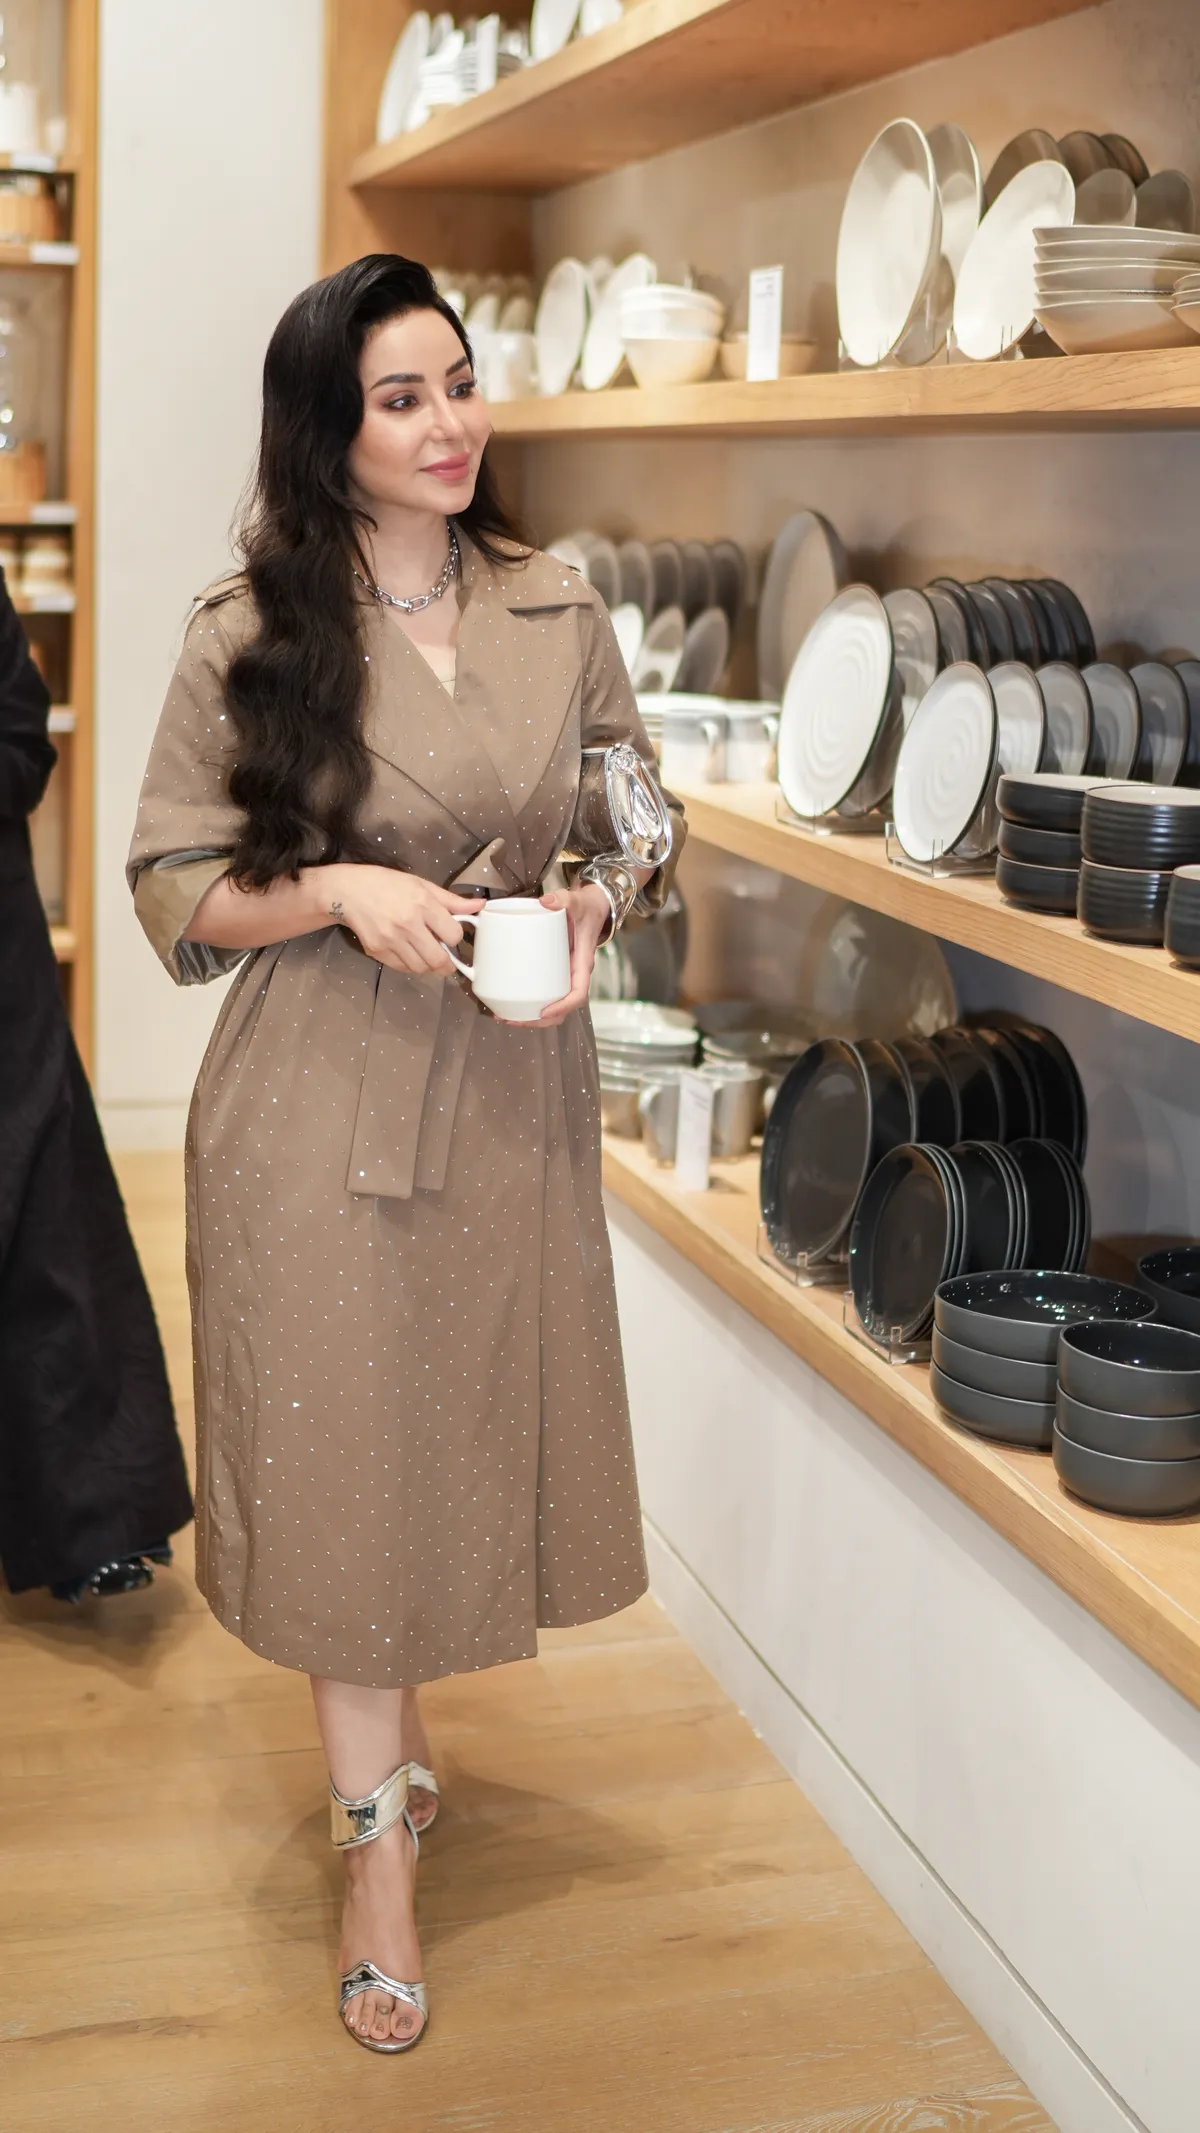
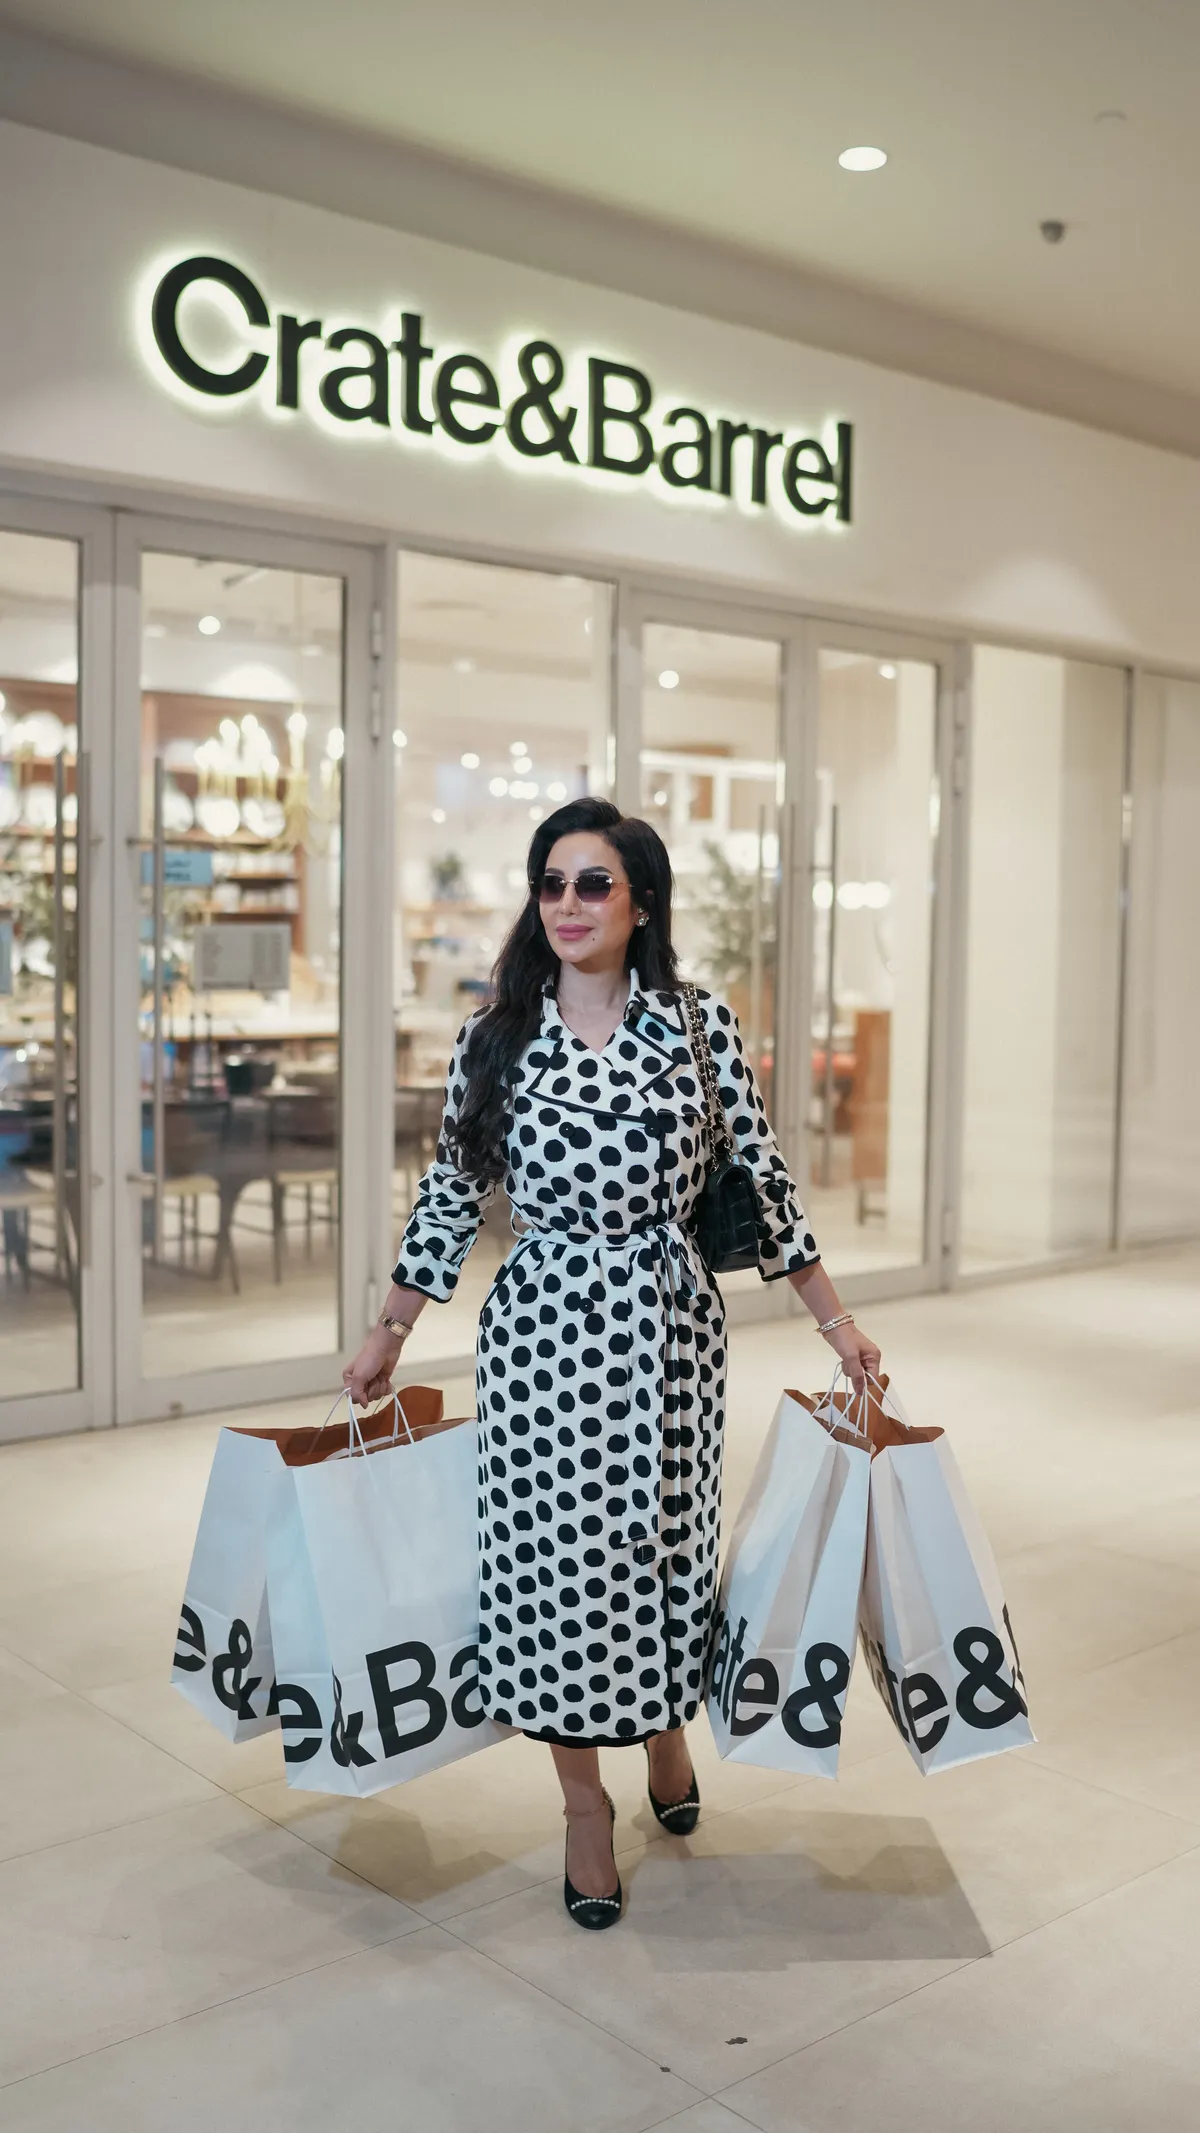
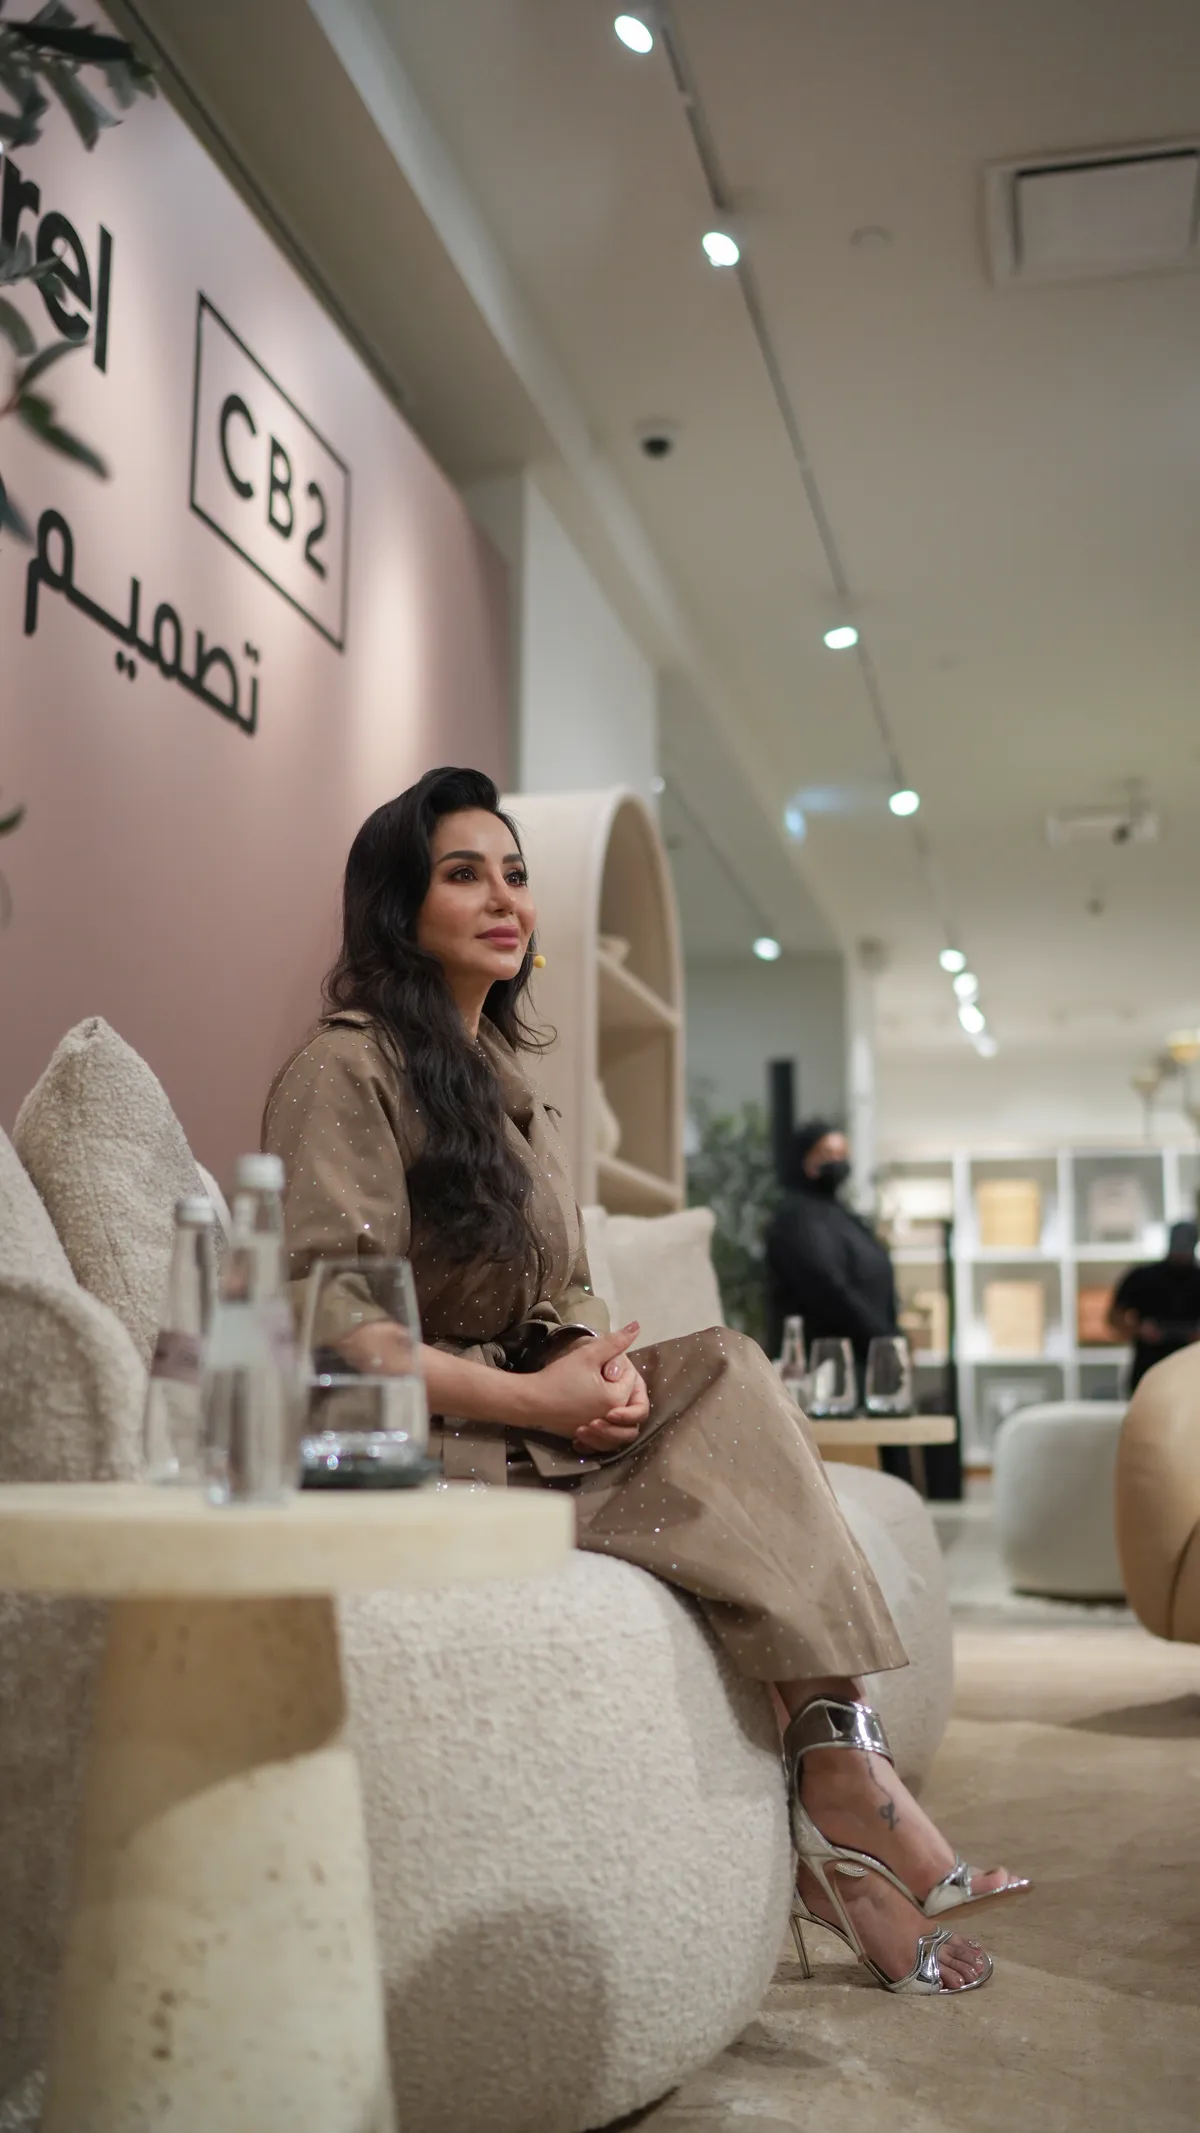
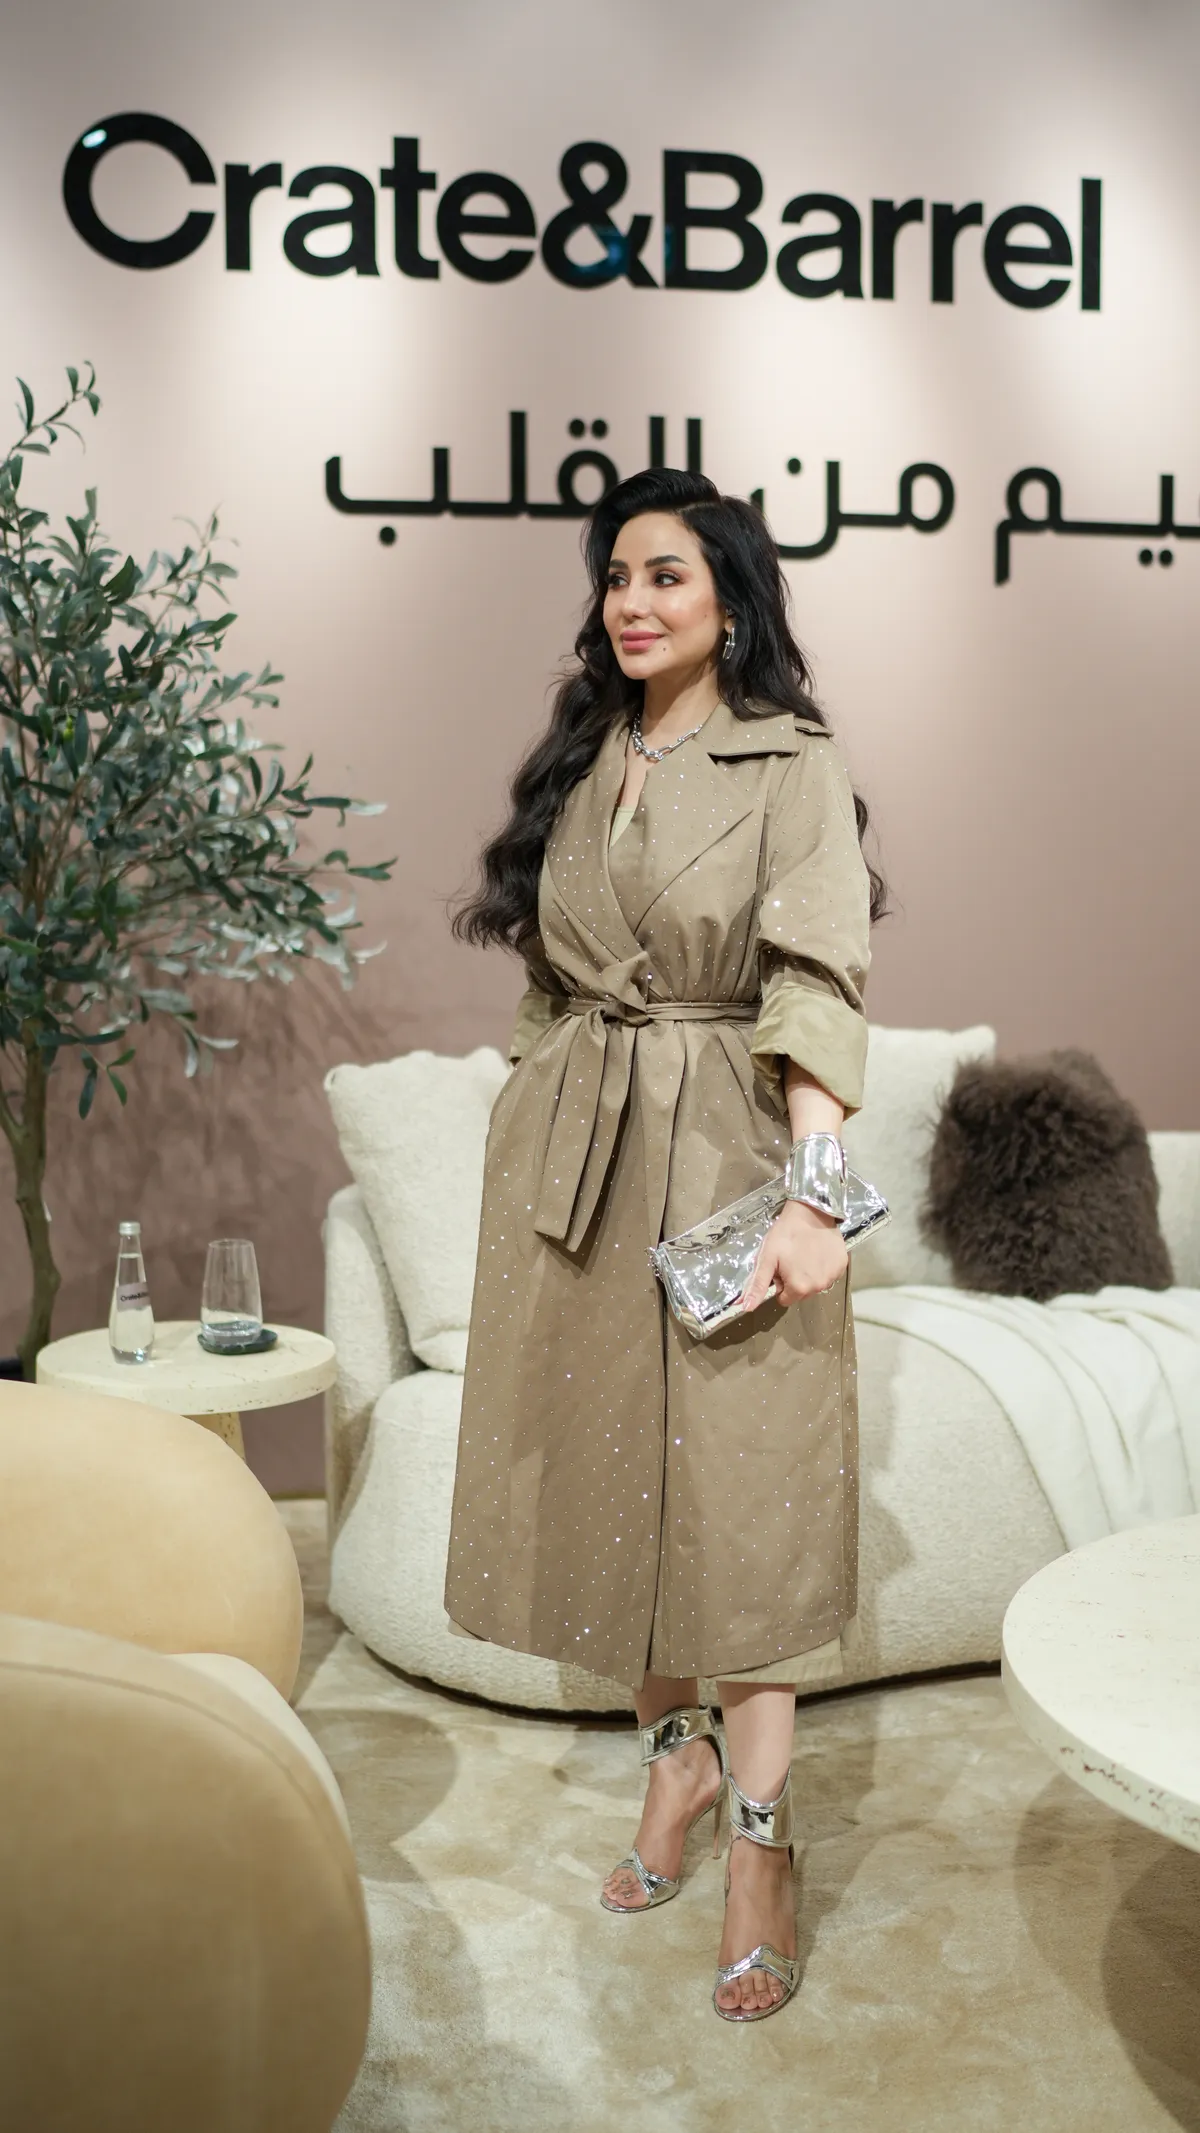
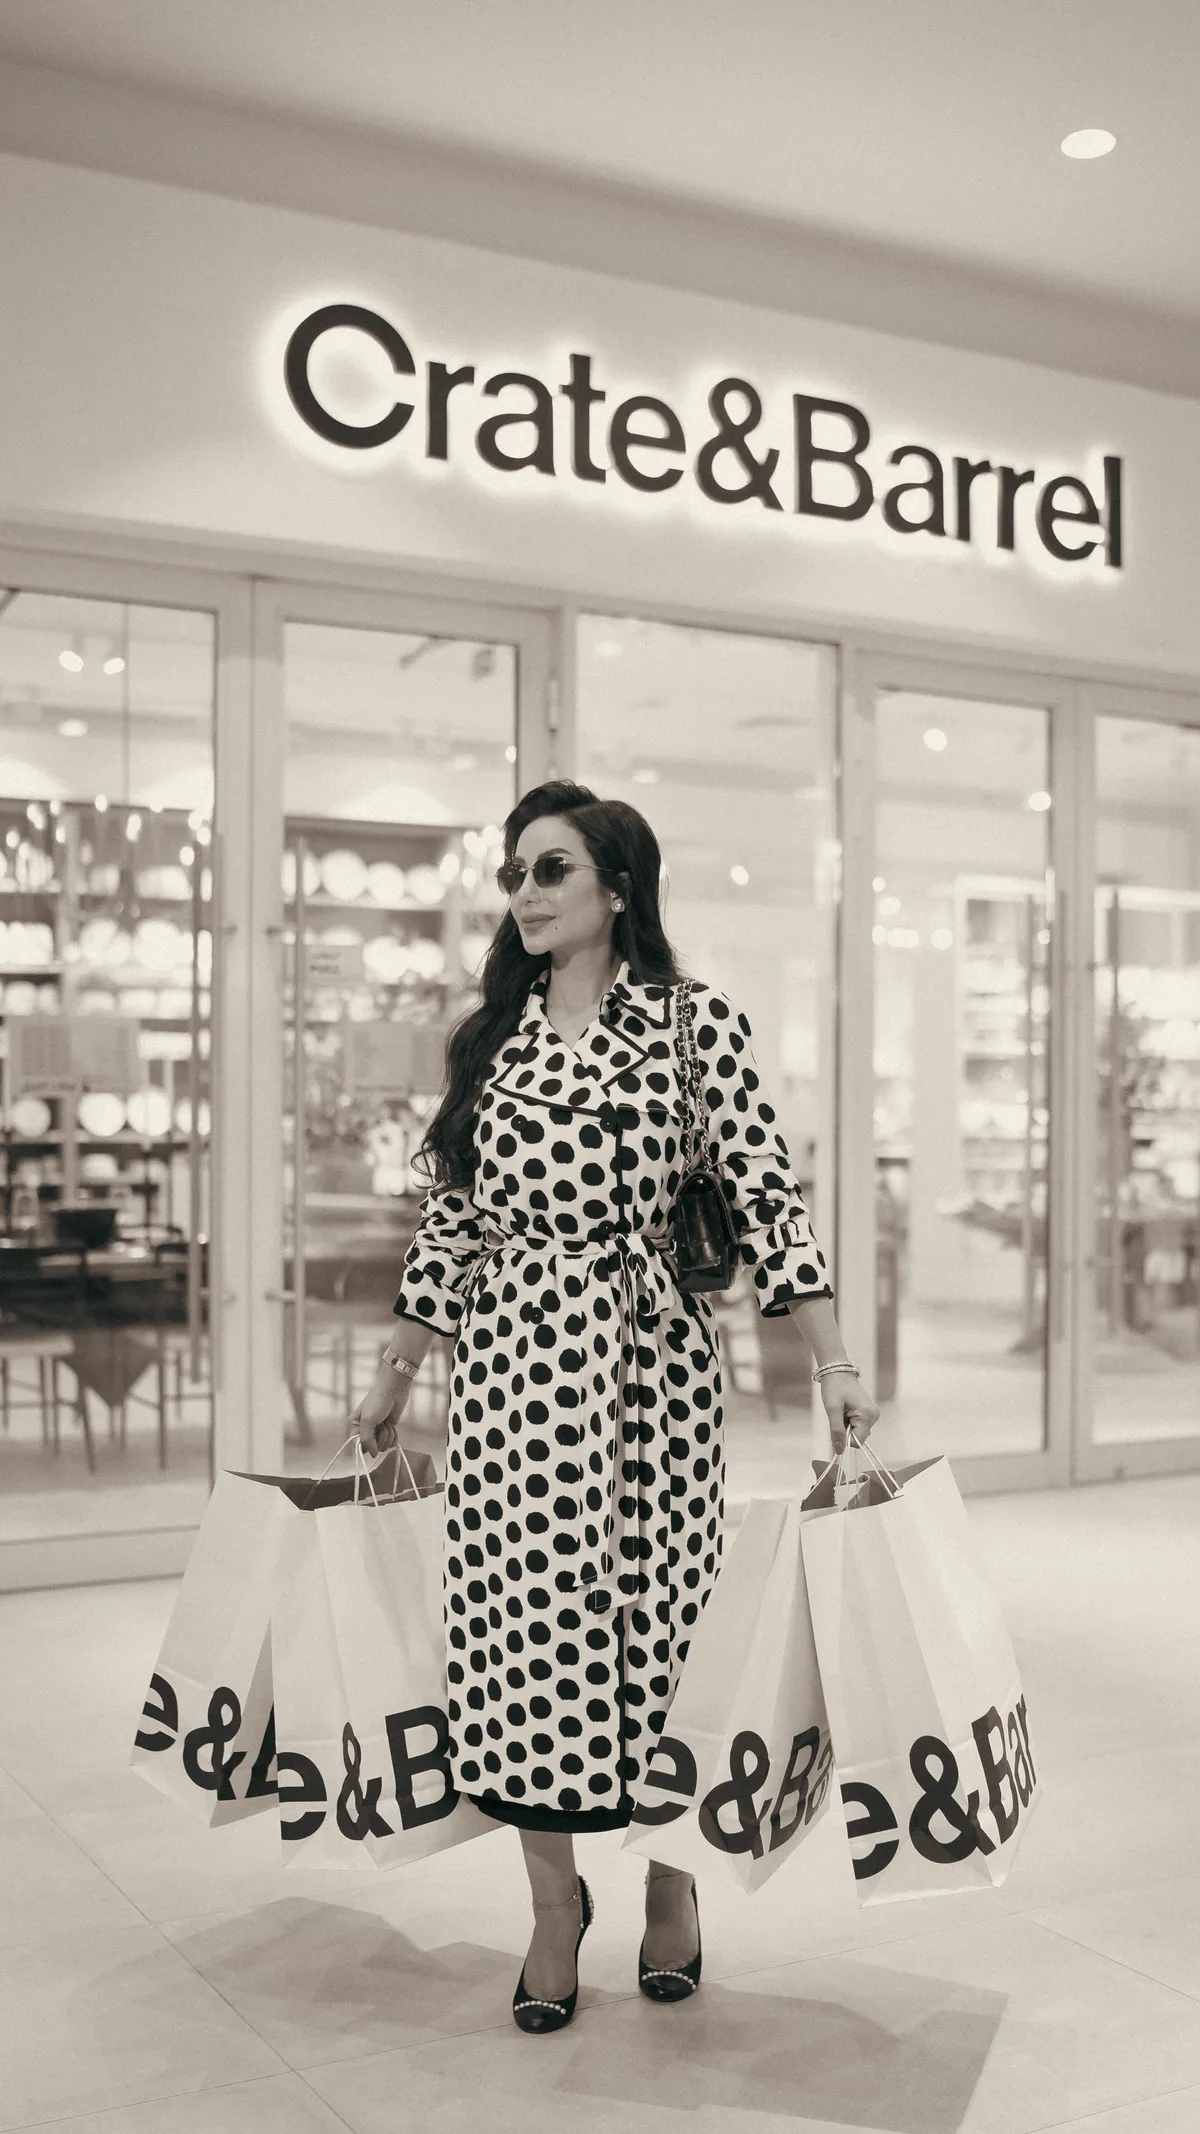
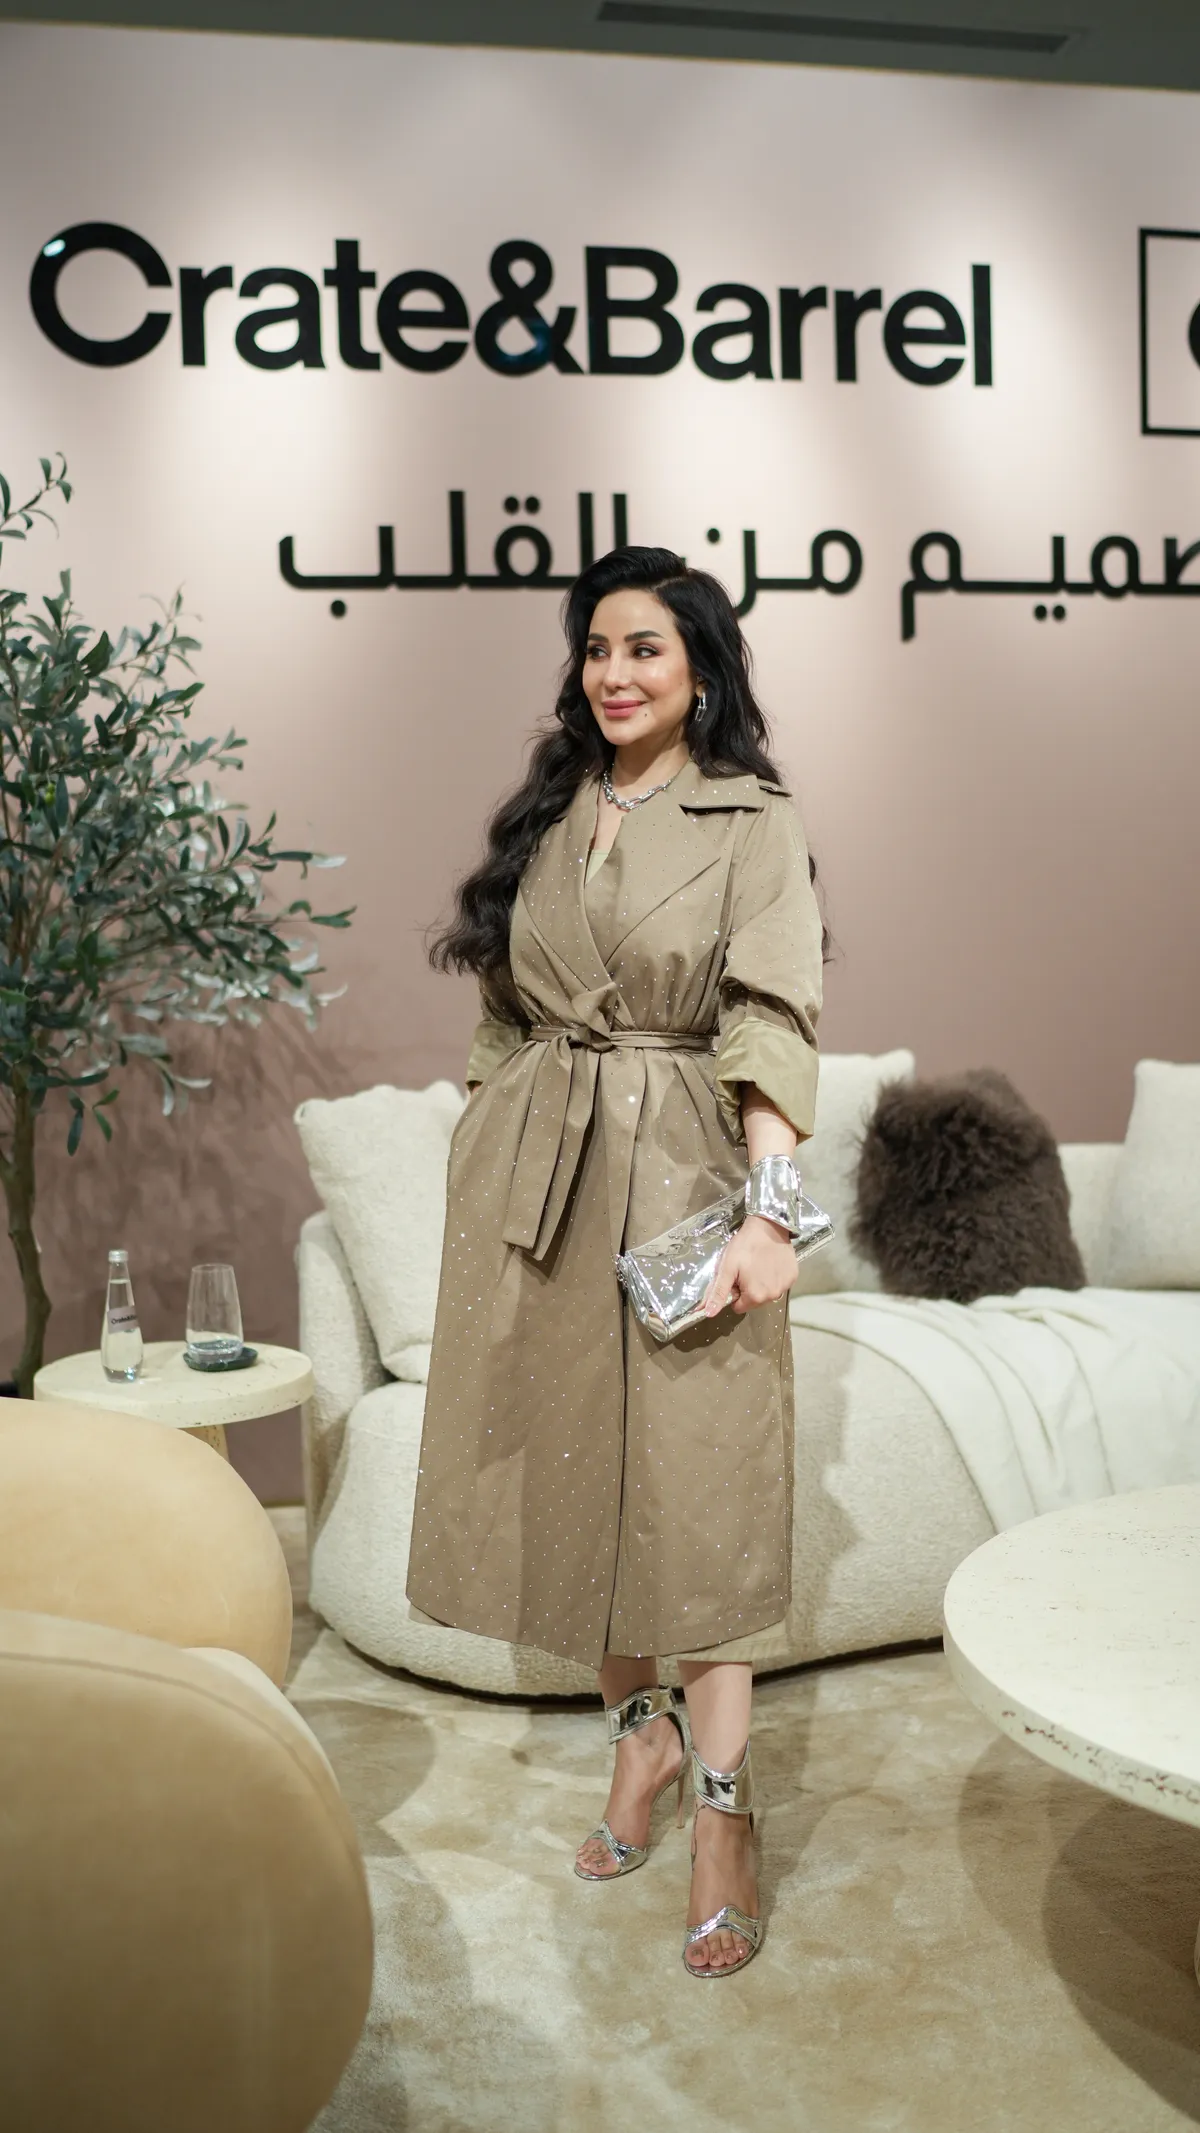
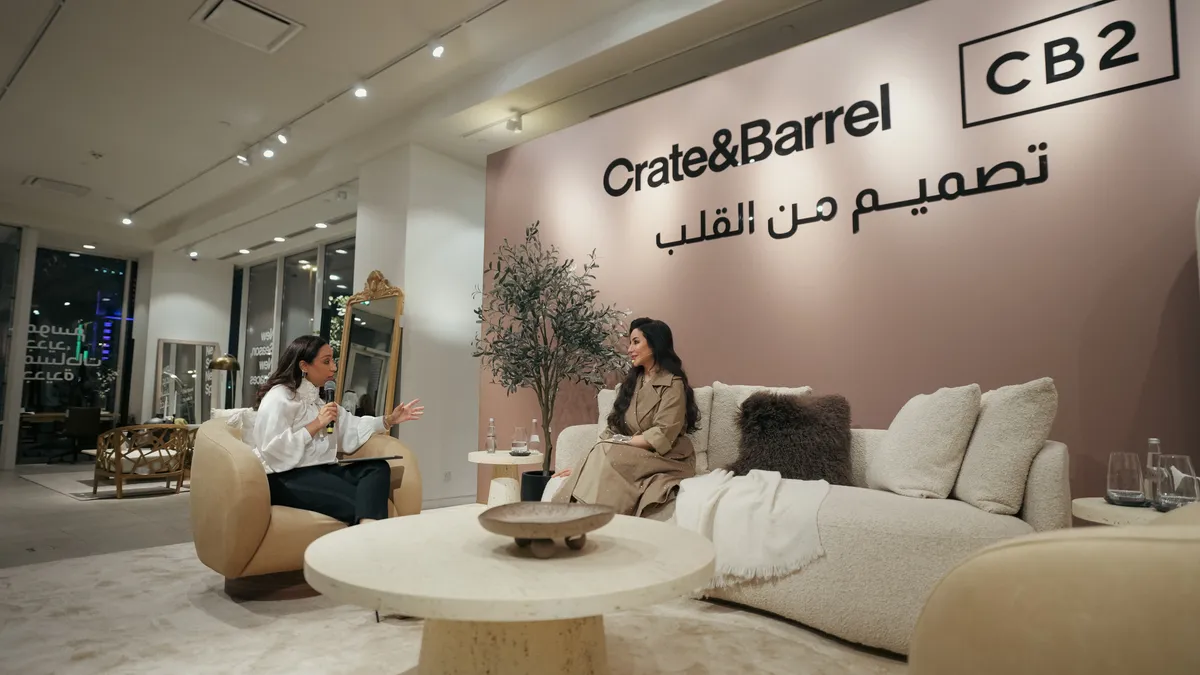
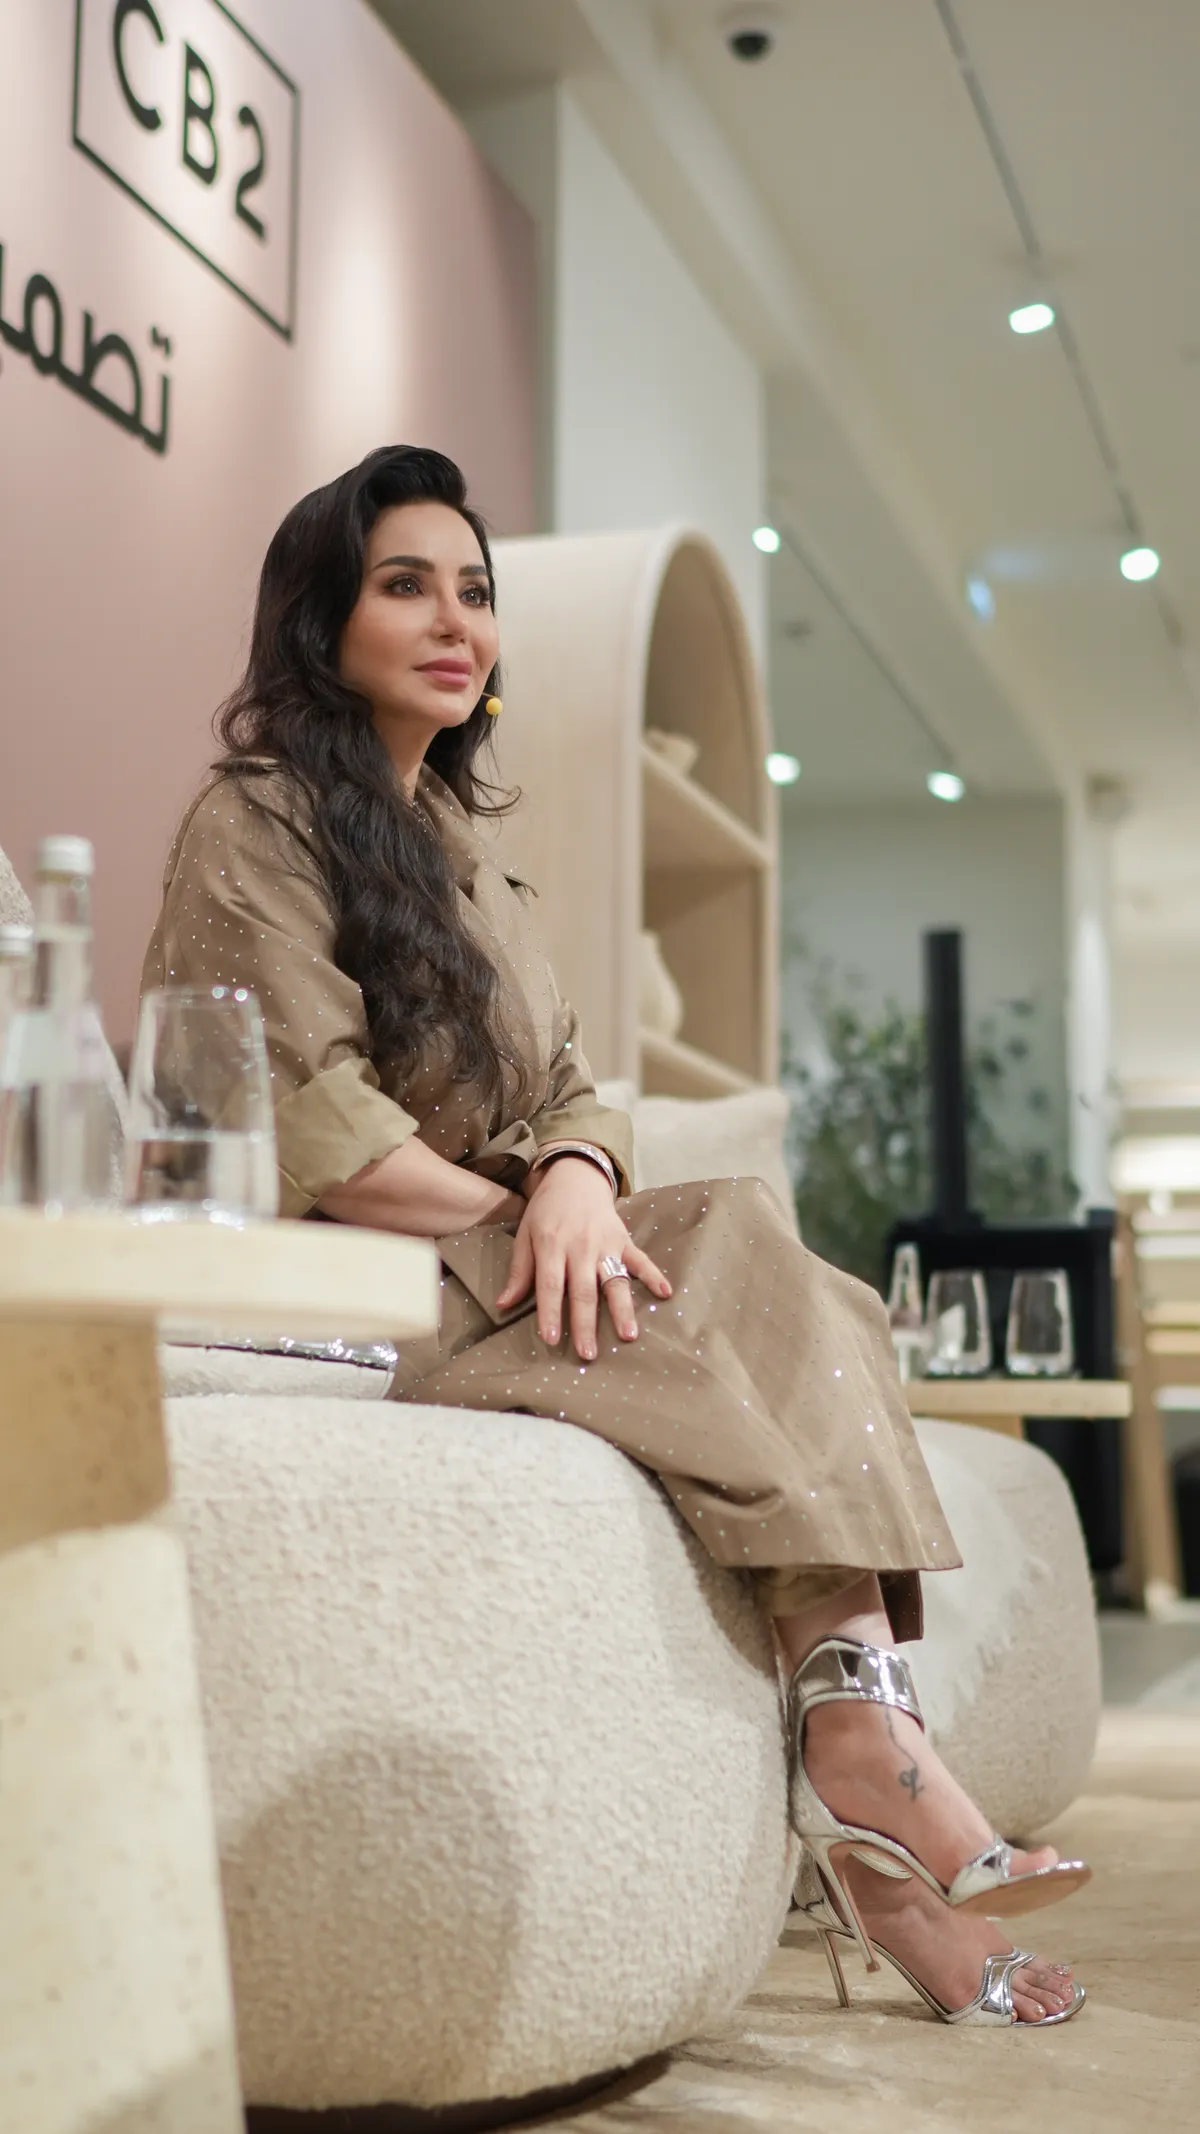
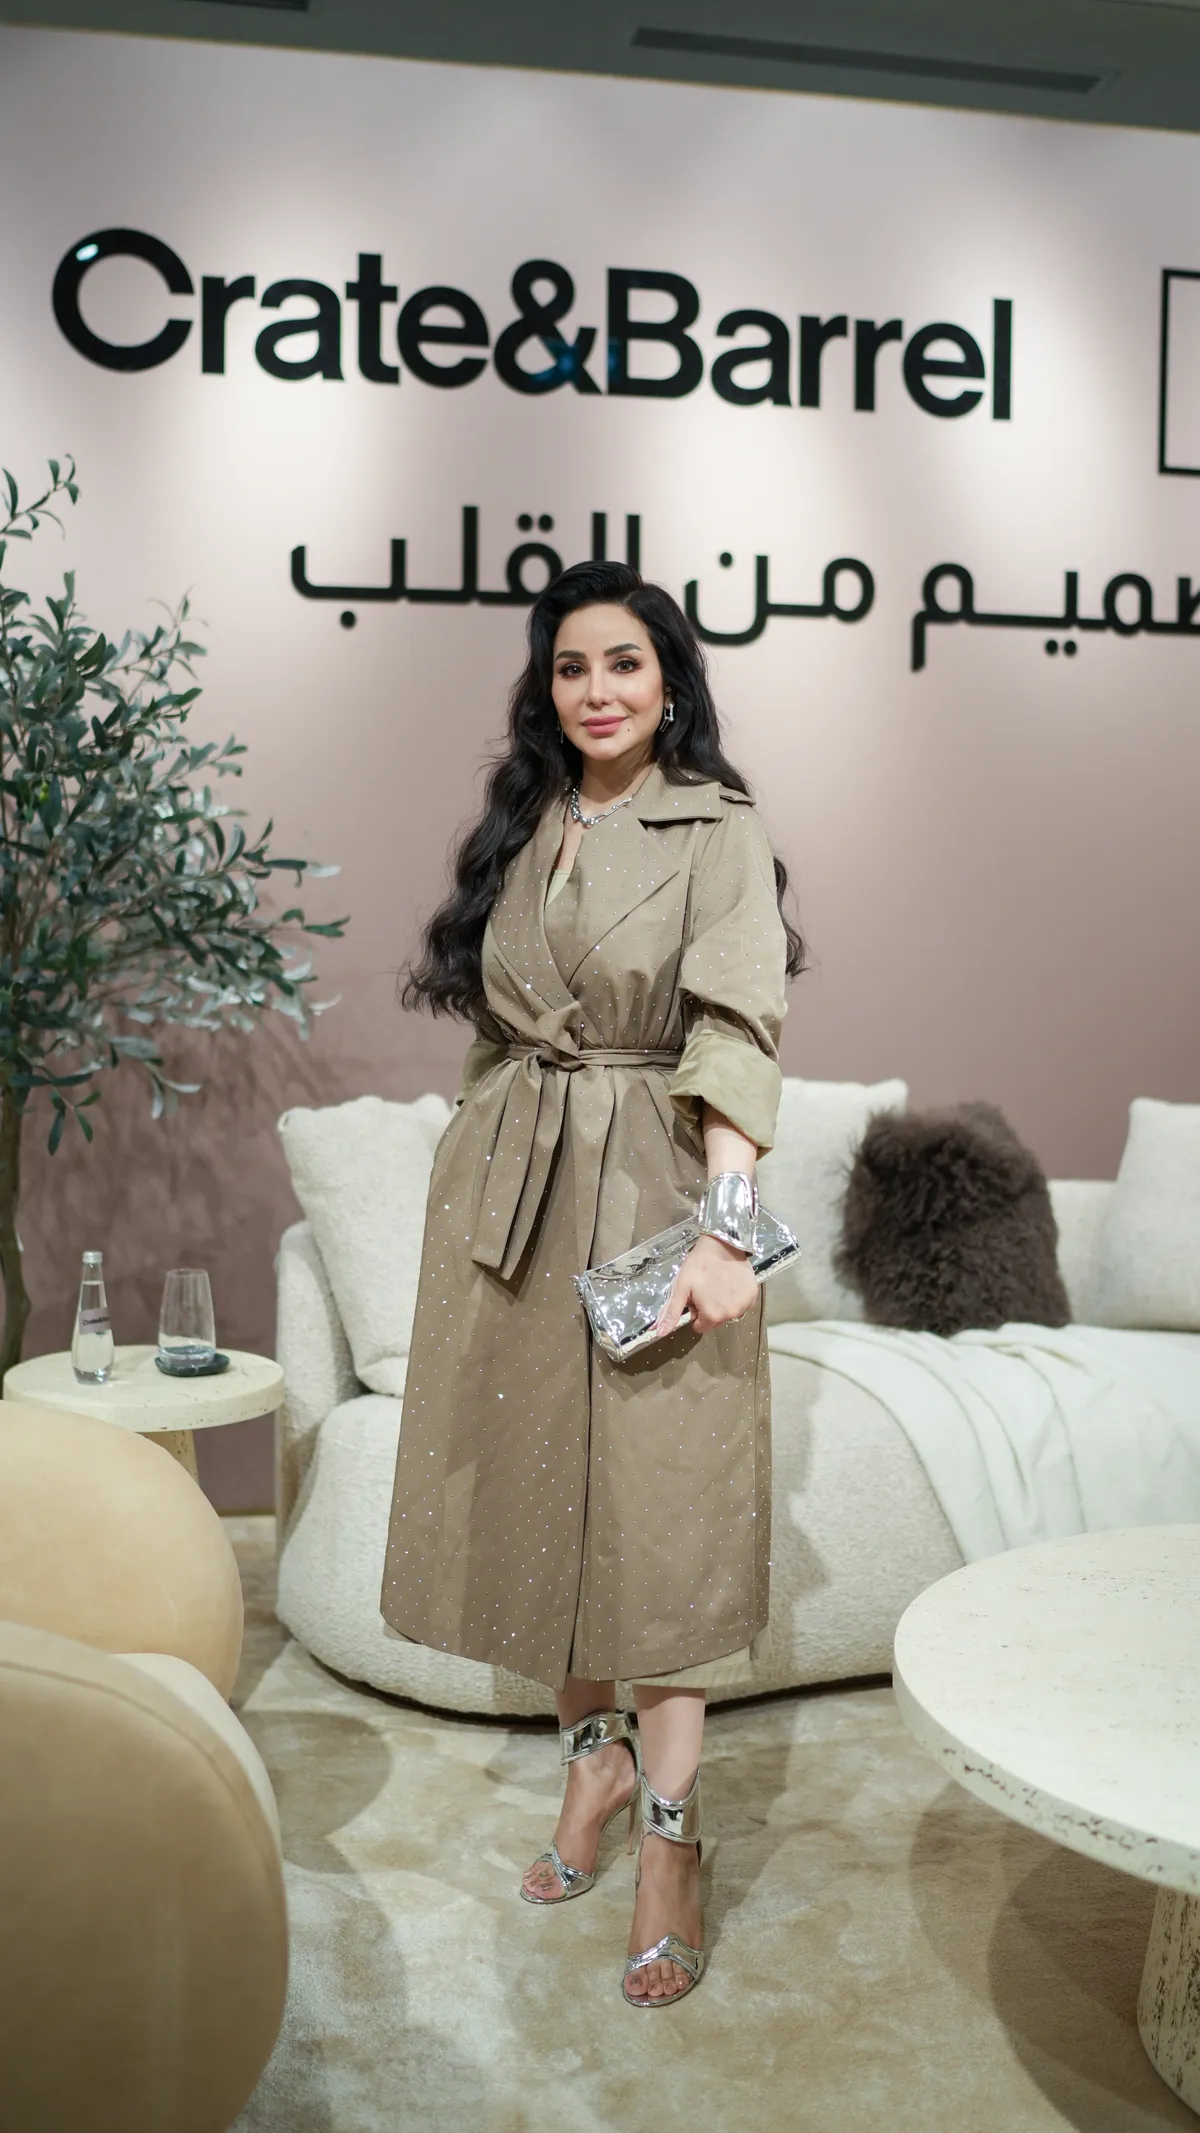
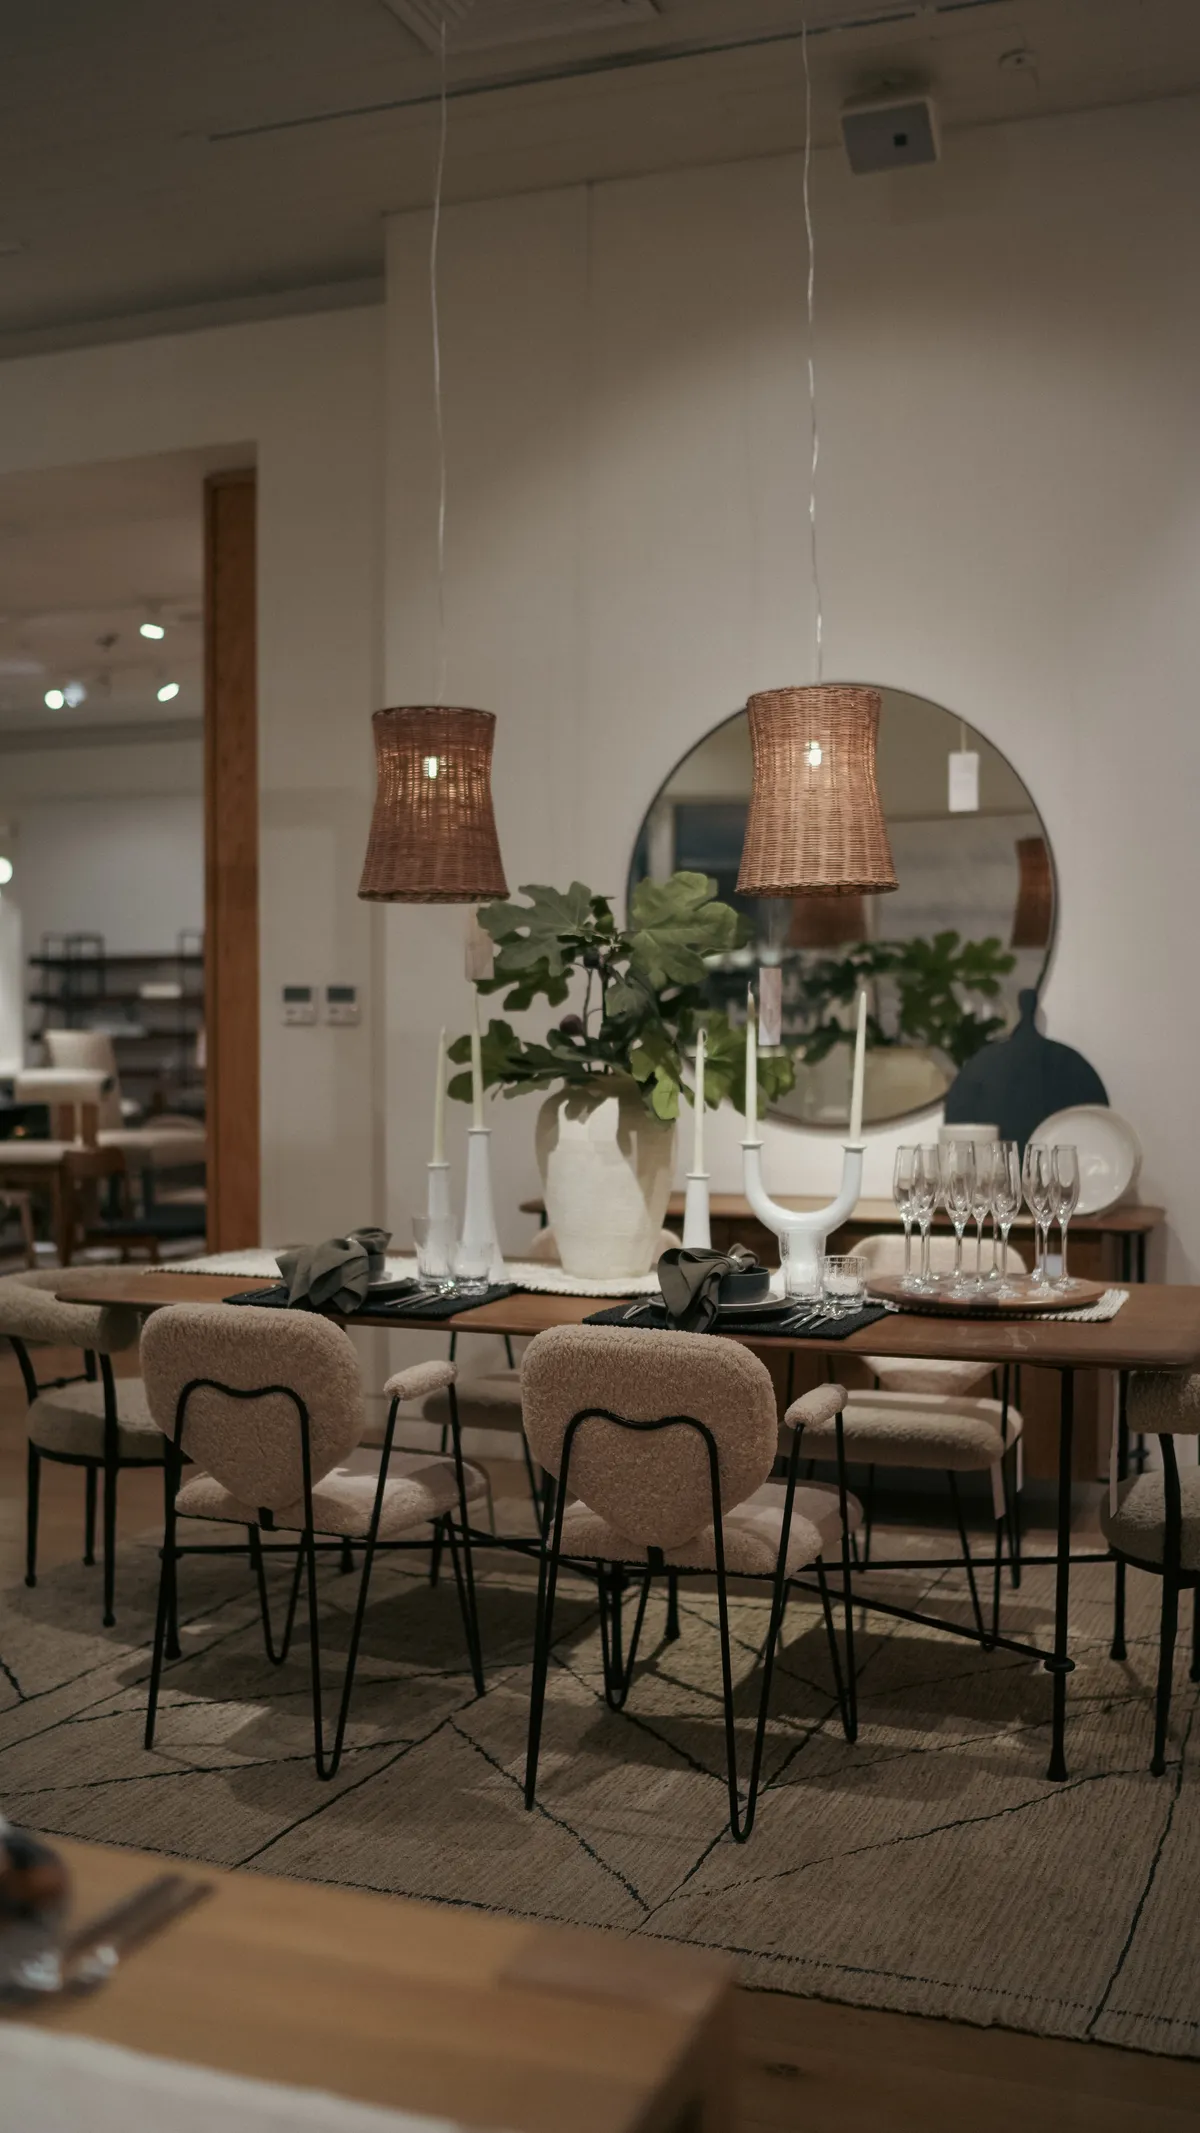
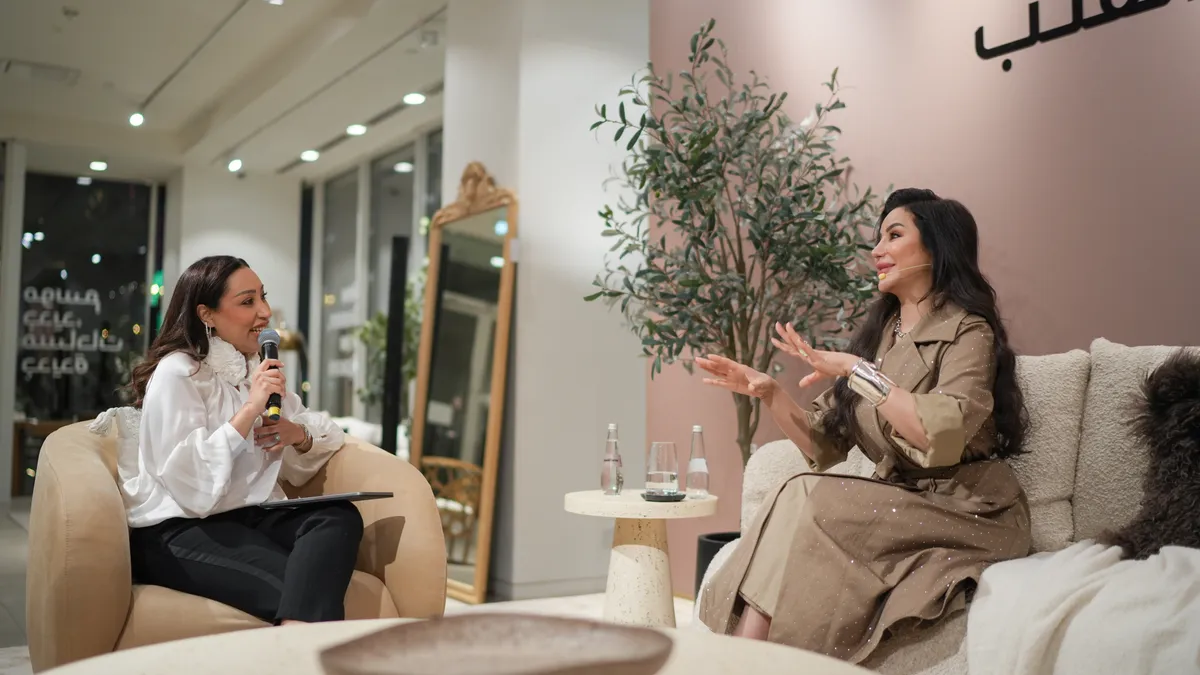
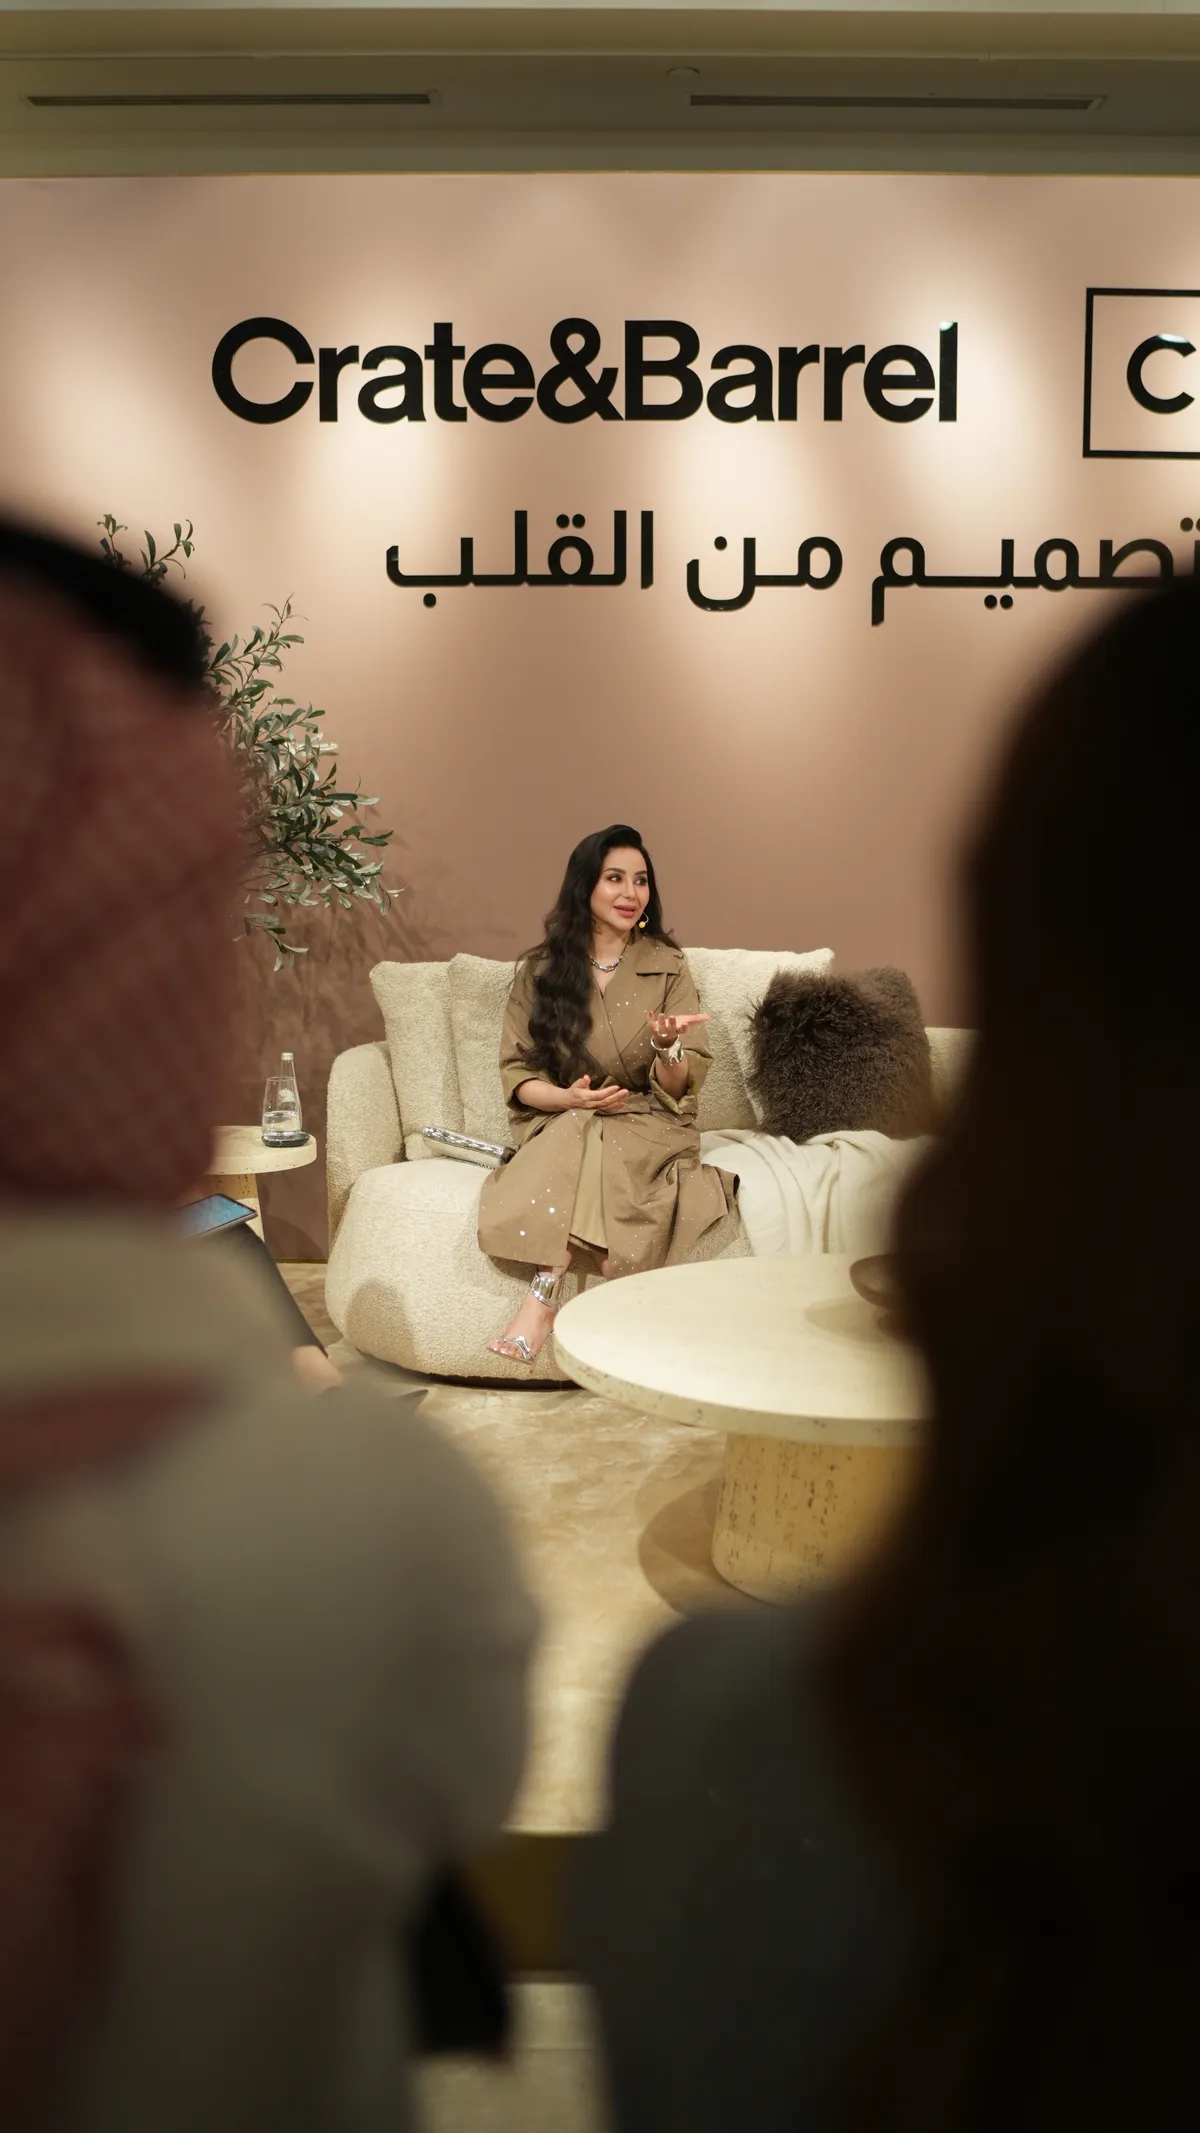
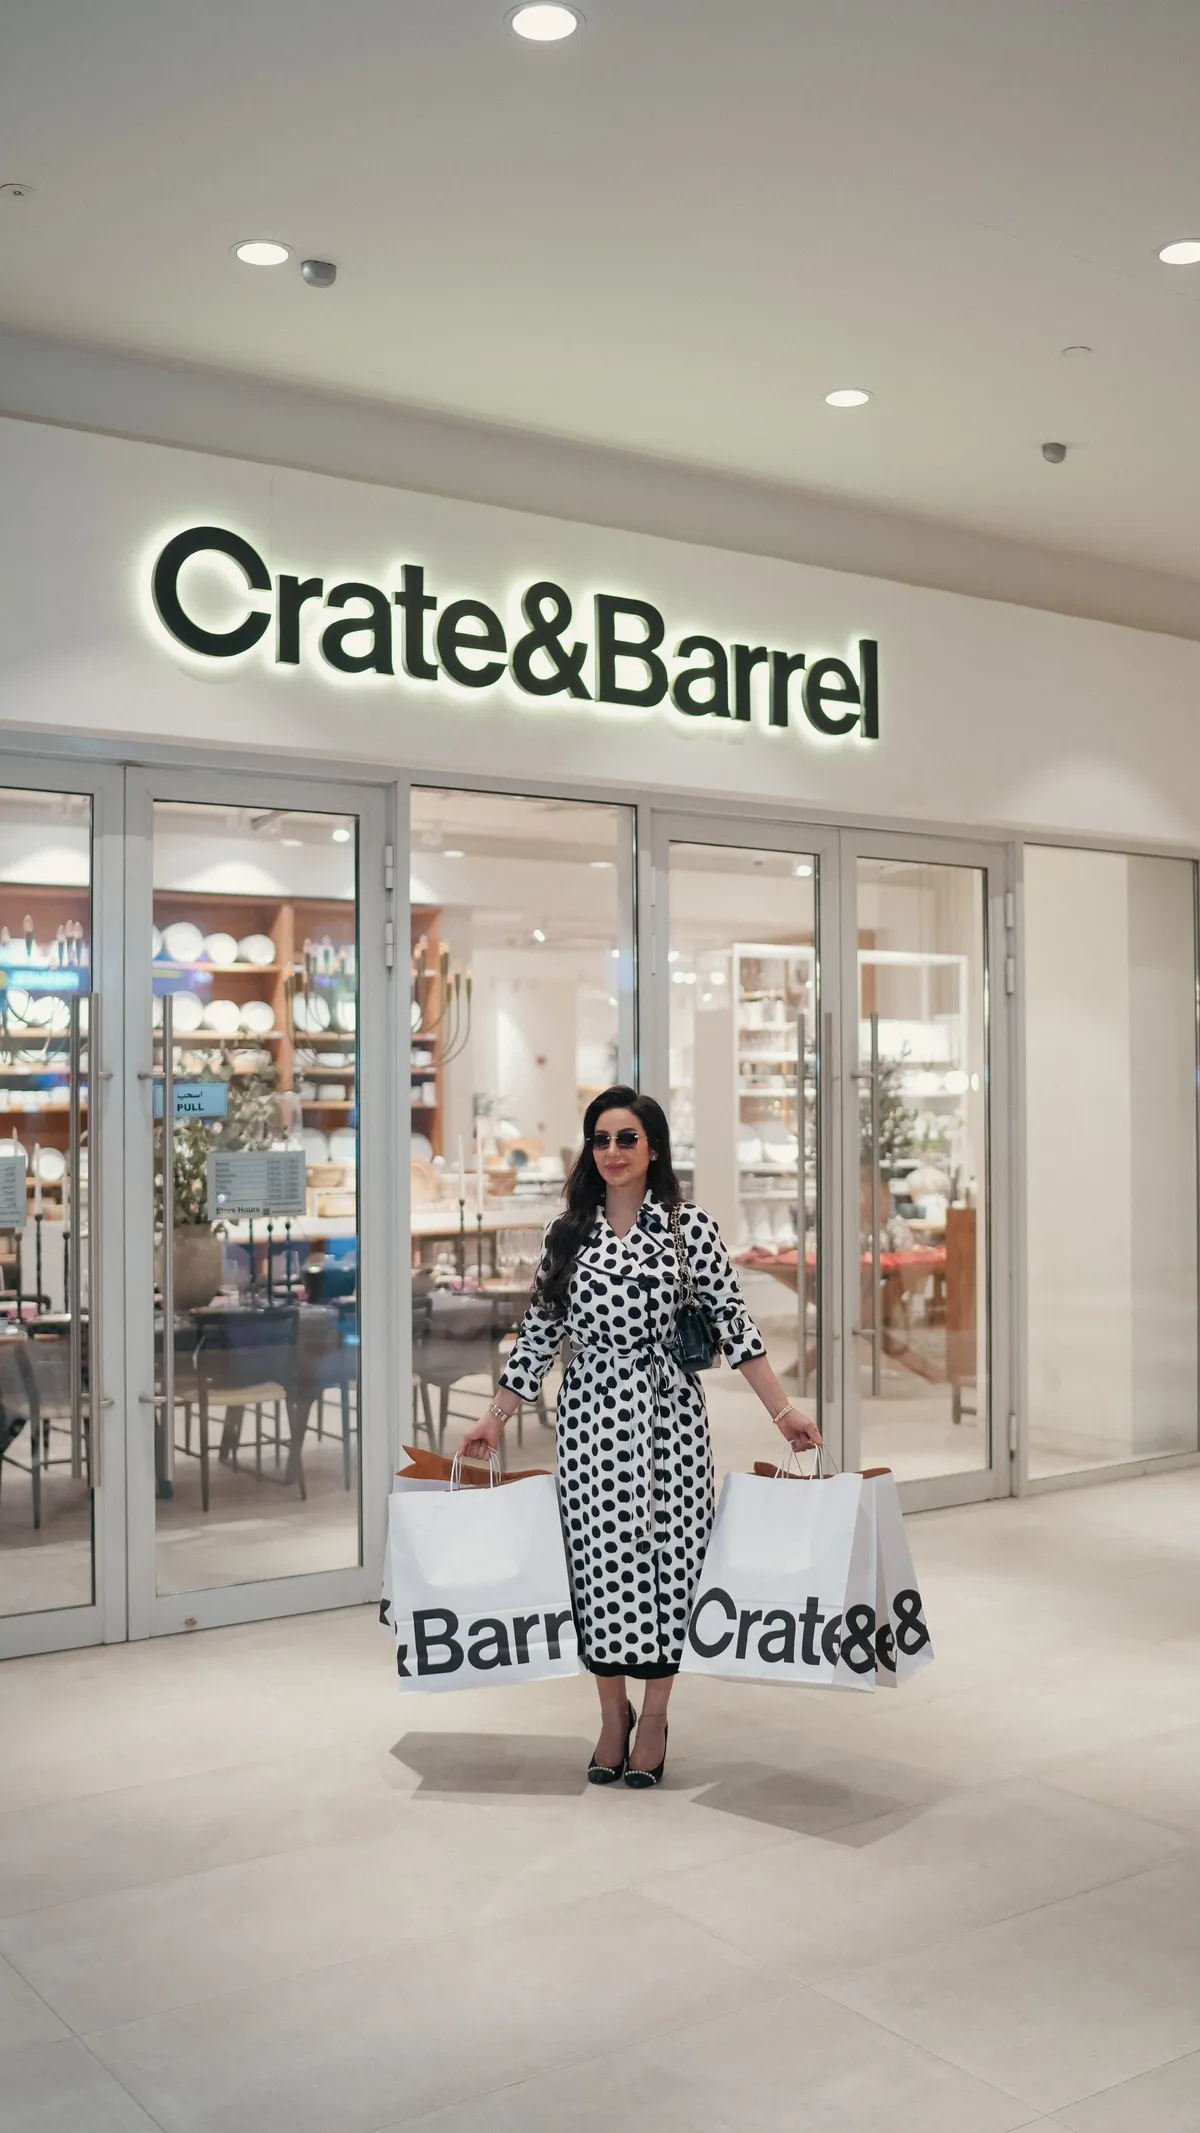
  • Crate & Barrel, photographed by DawwasEye Studios
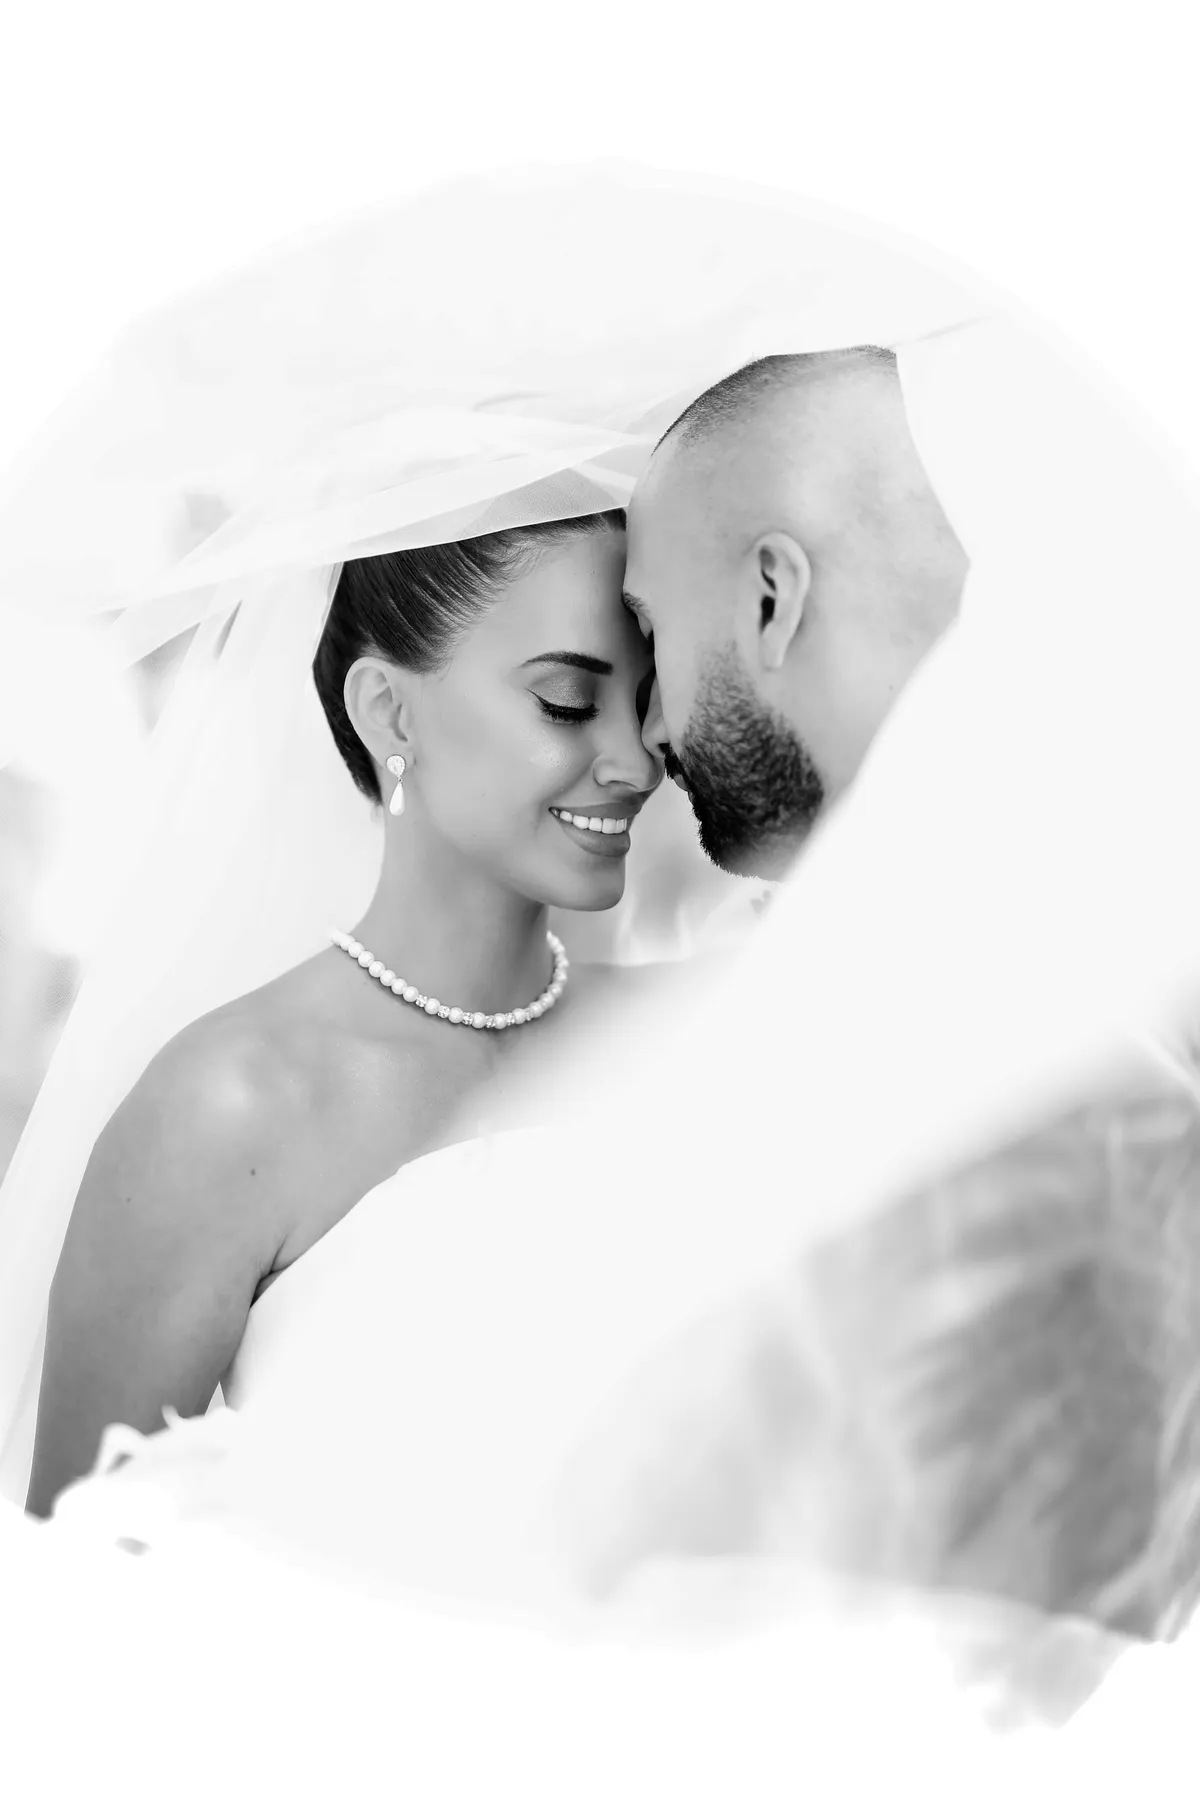
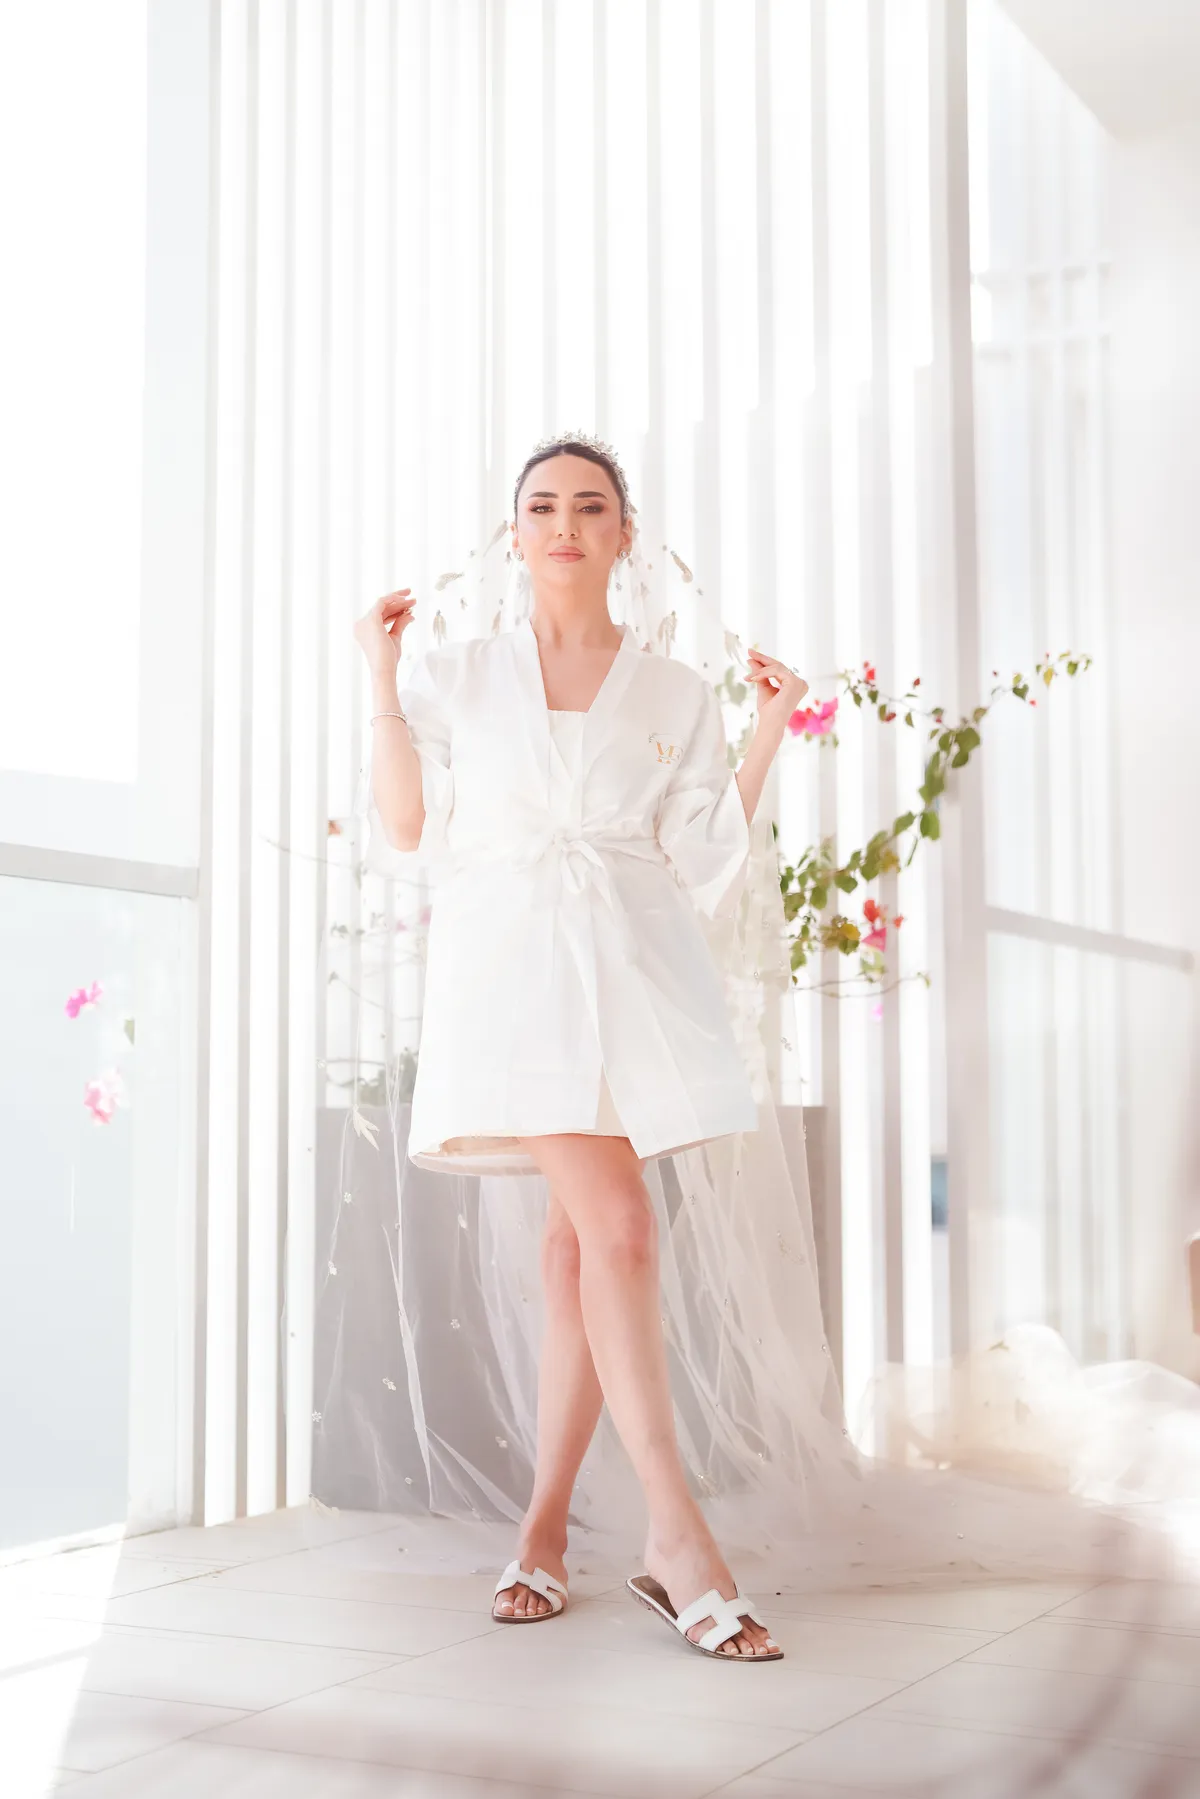
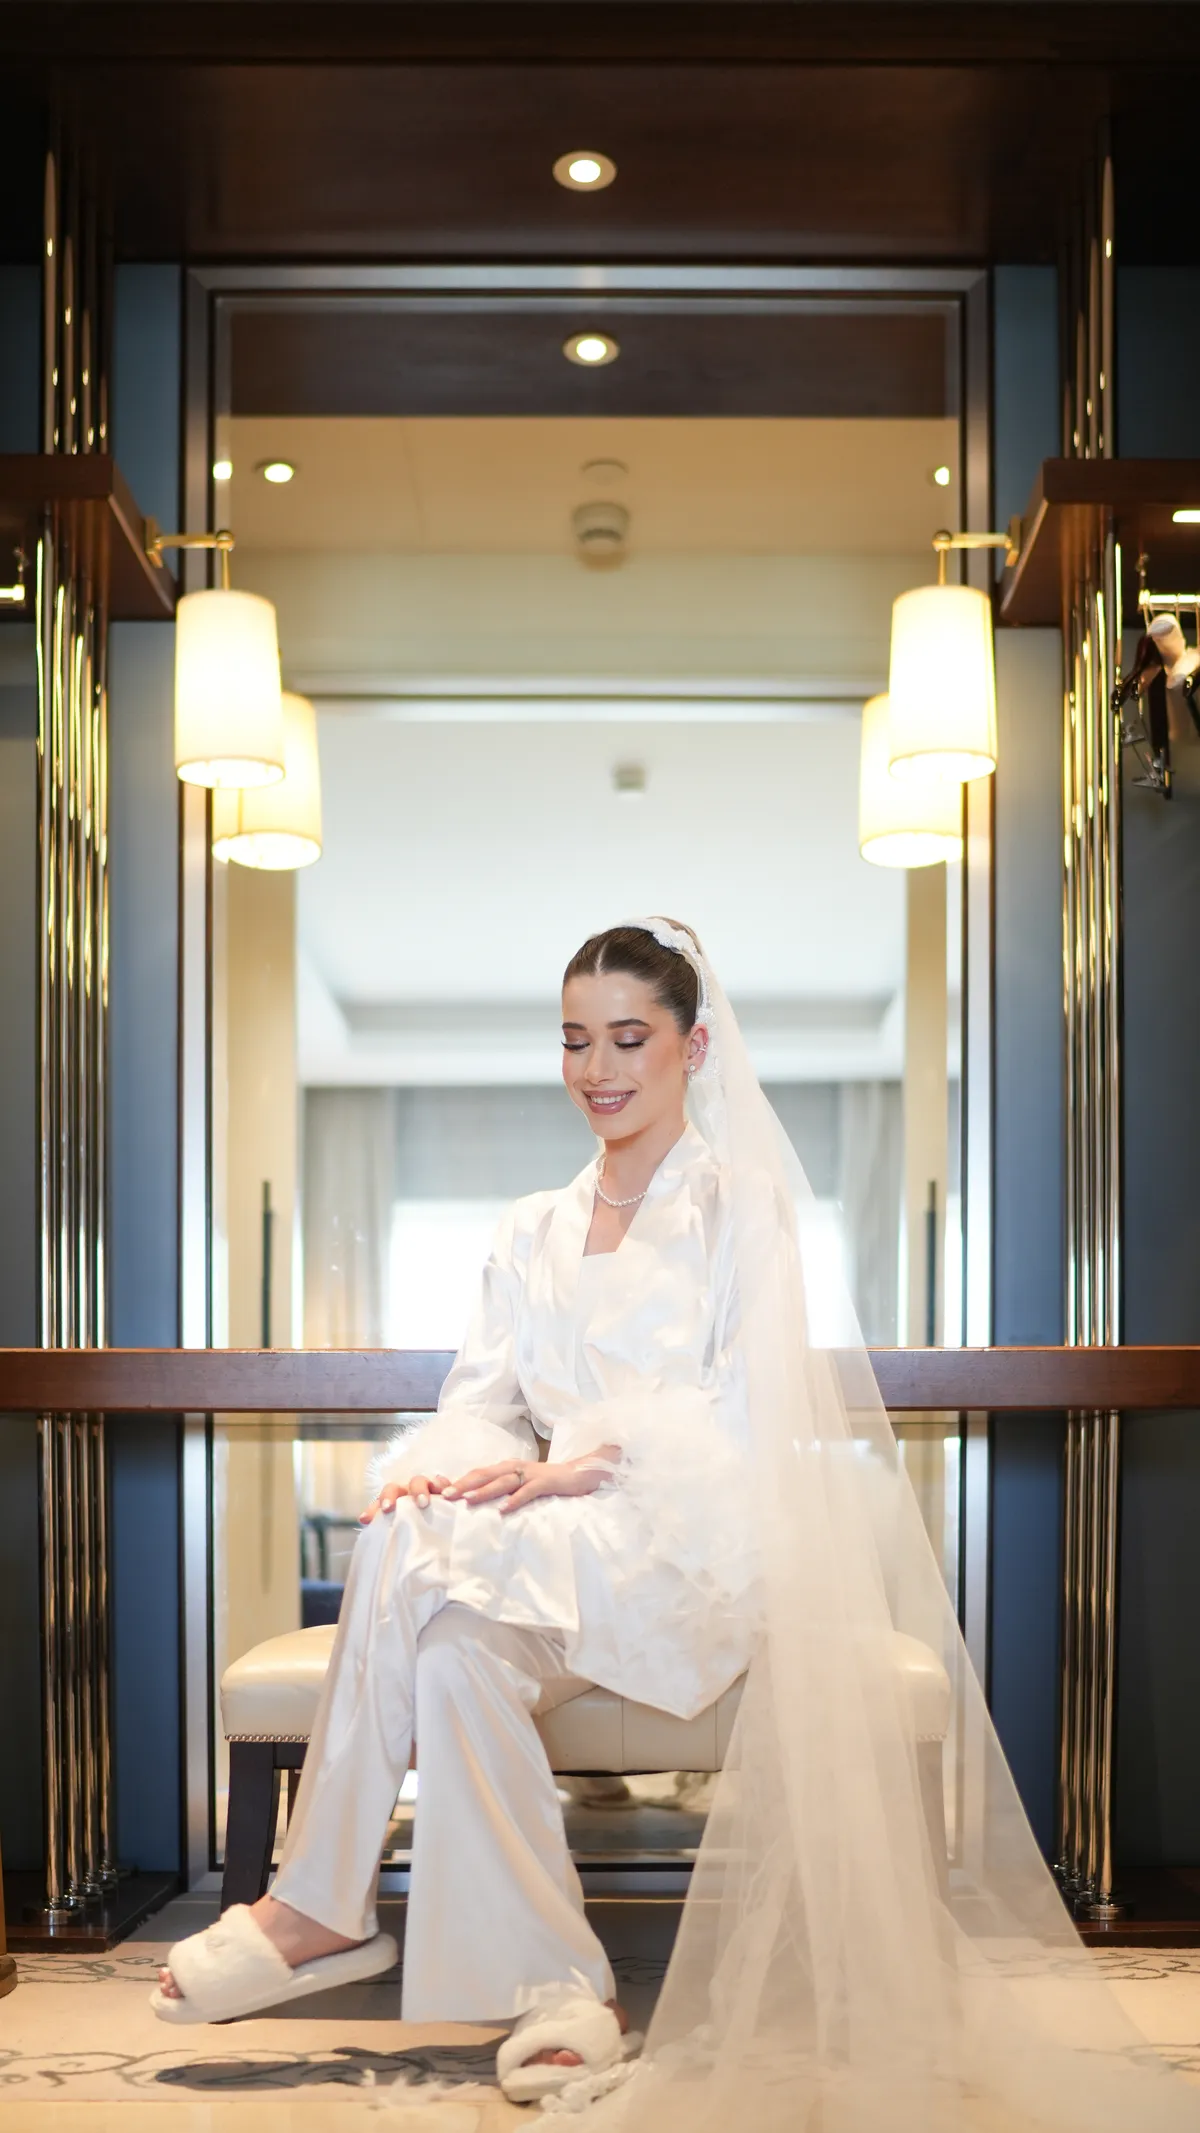
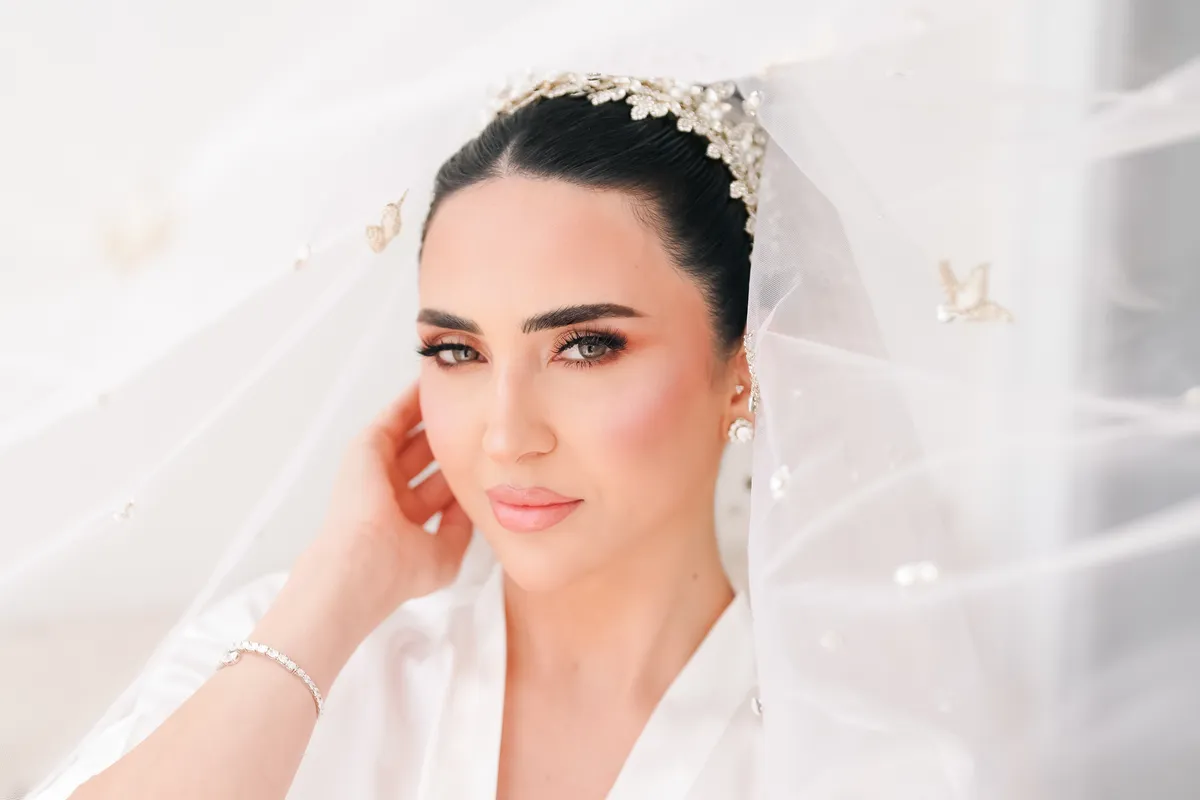
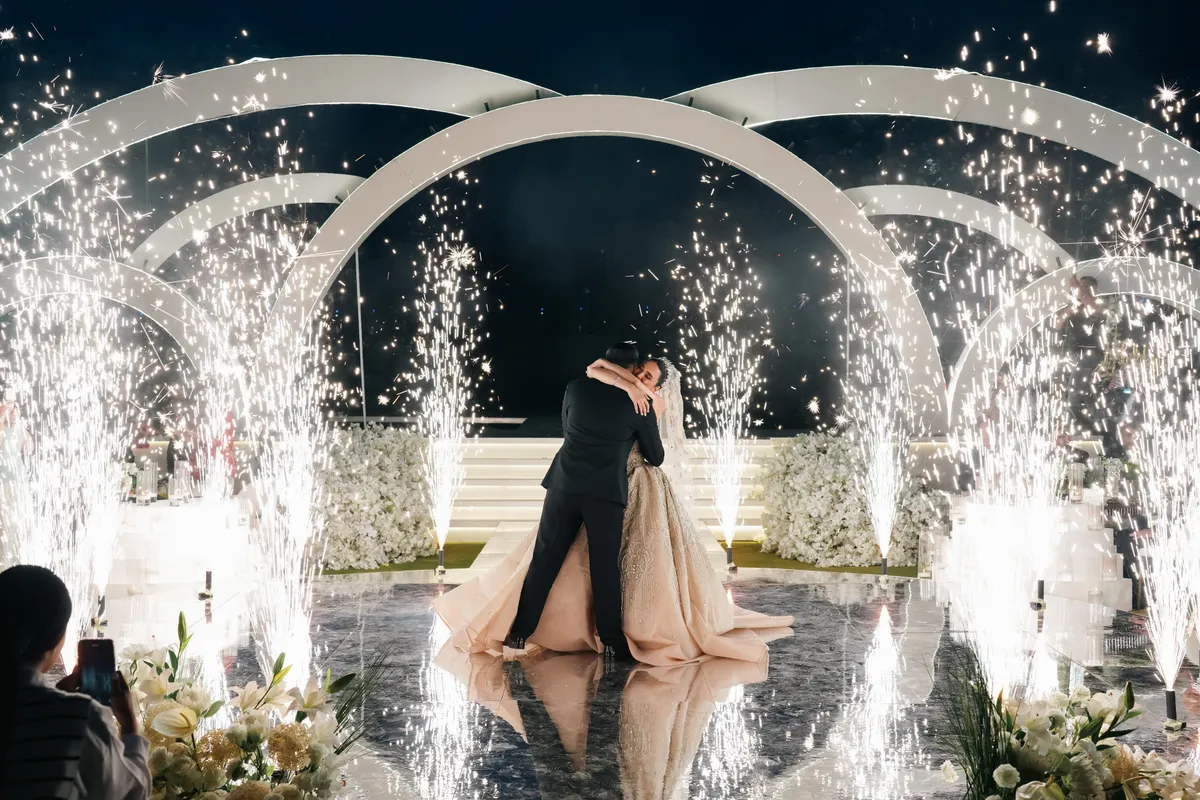
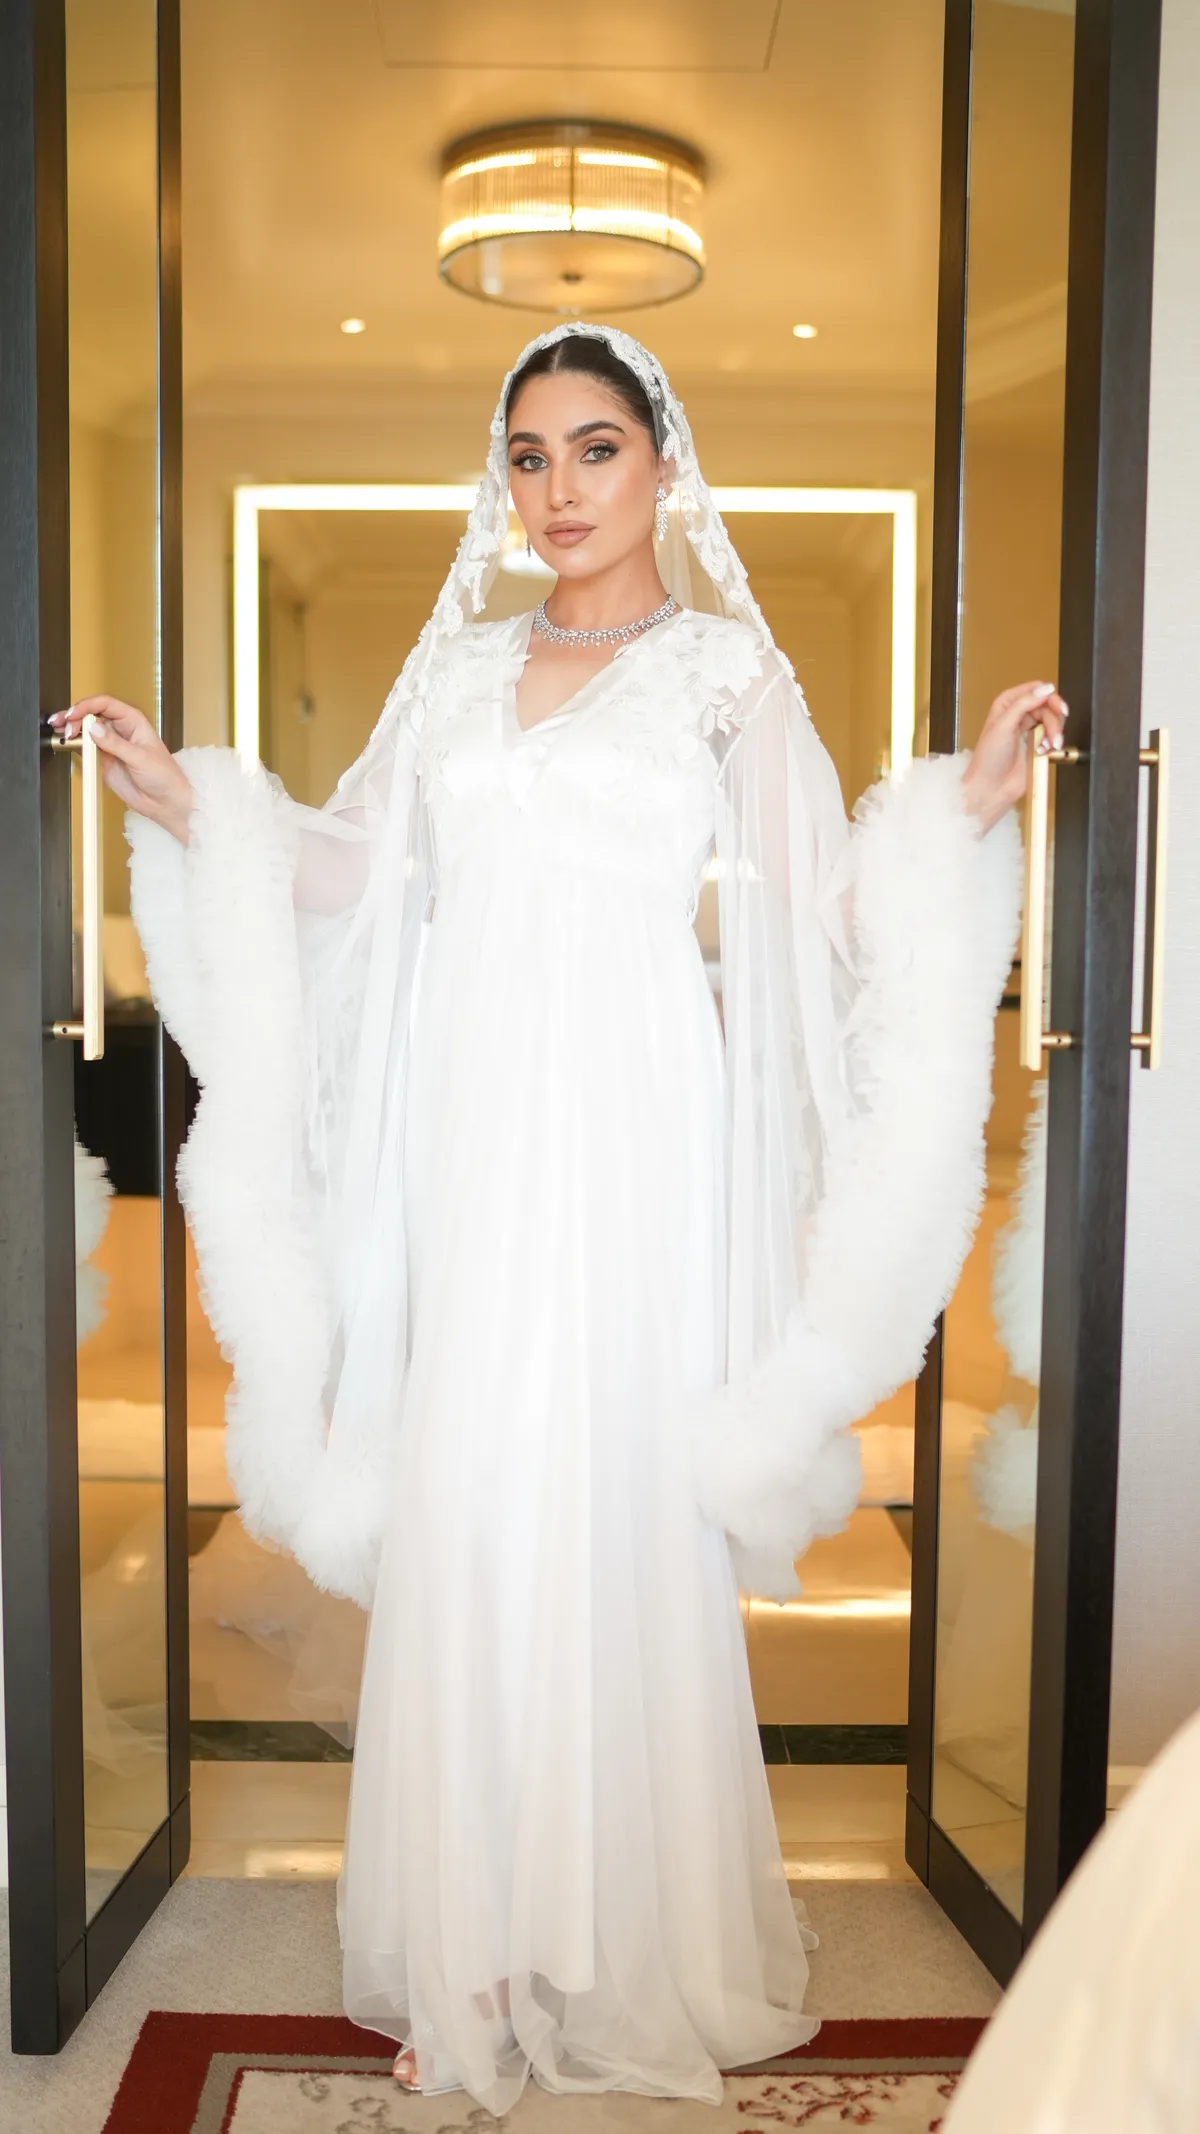
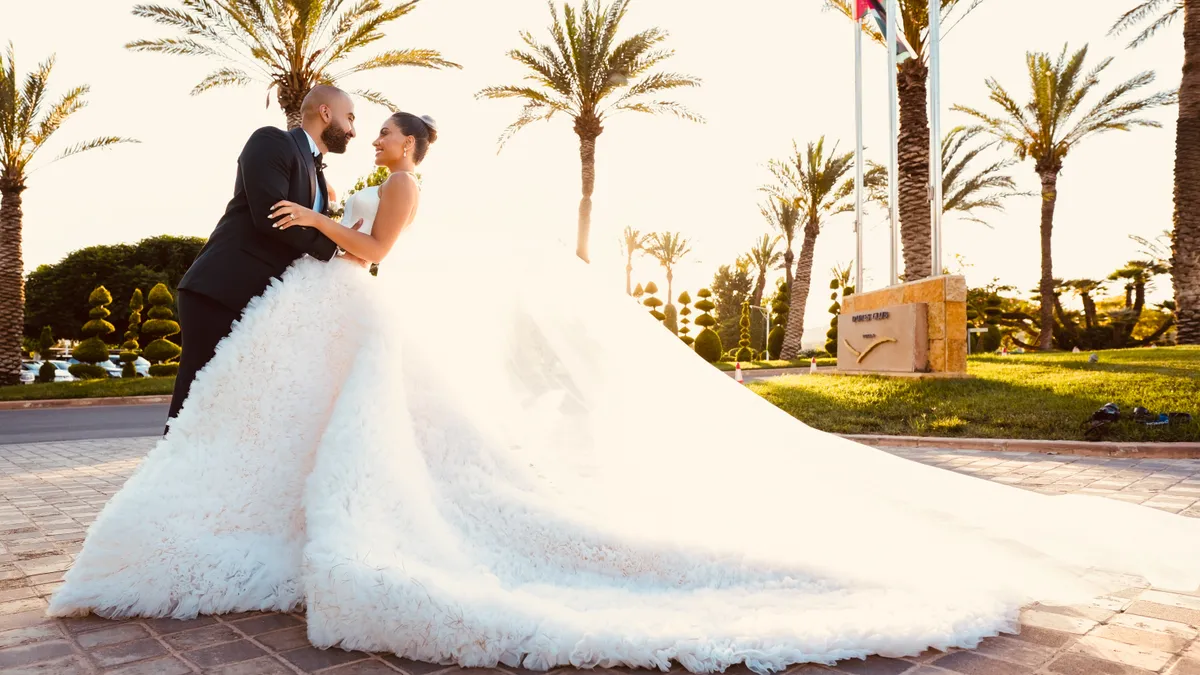
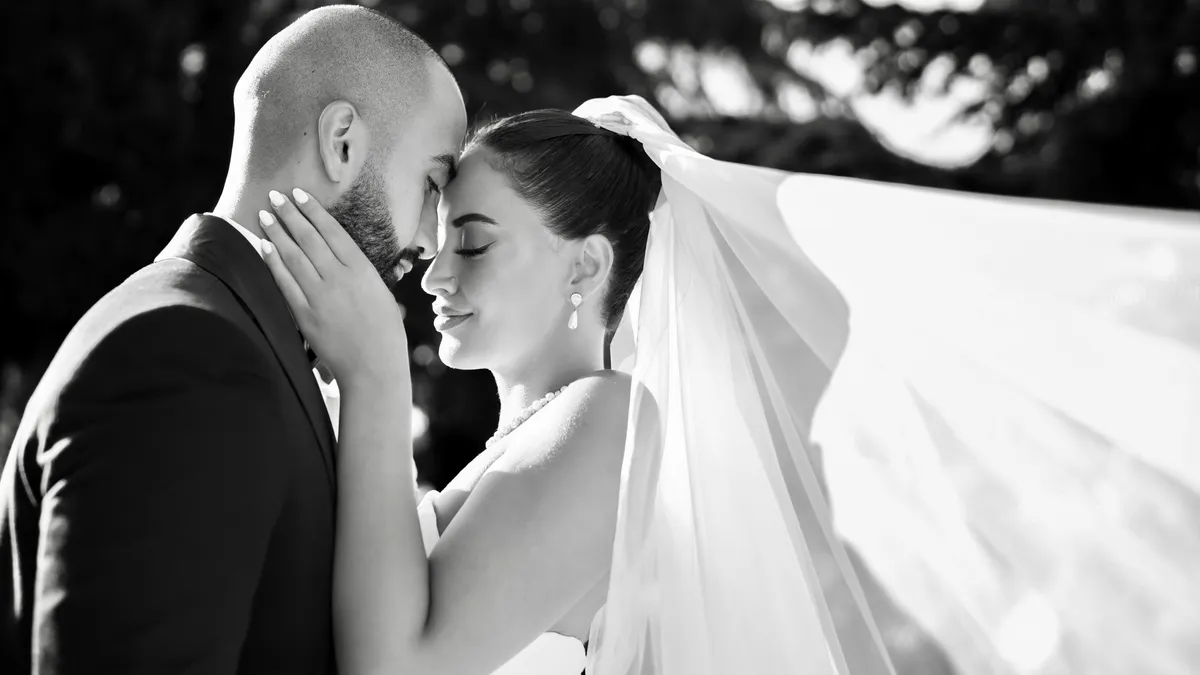
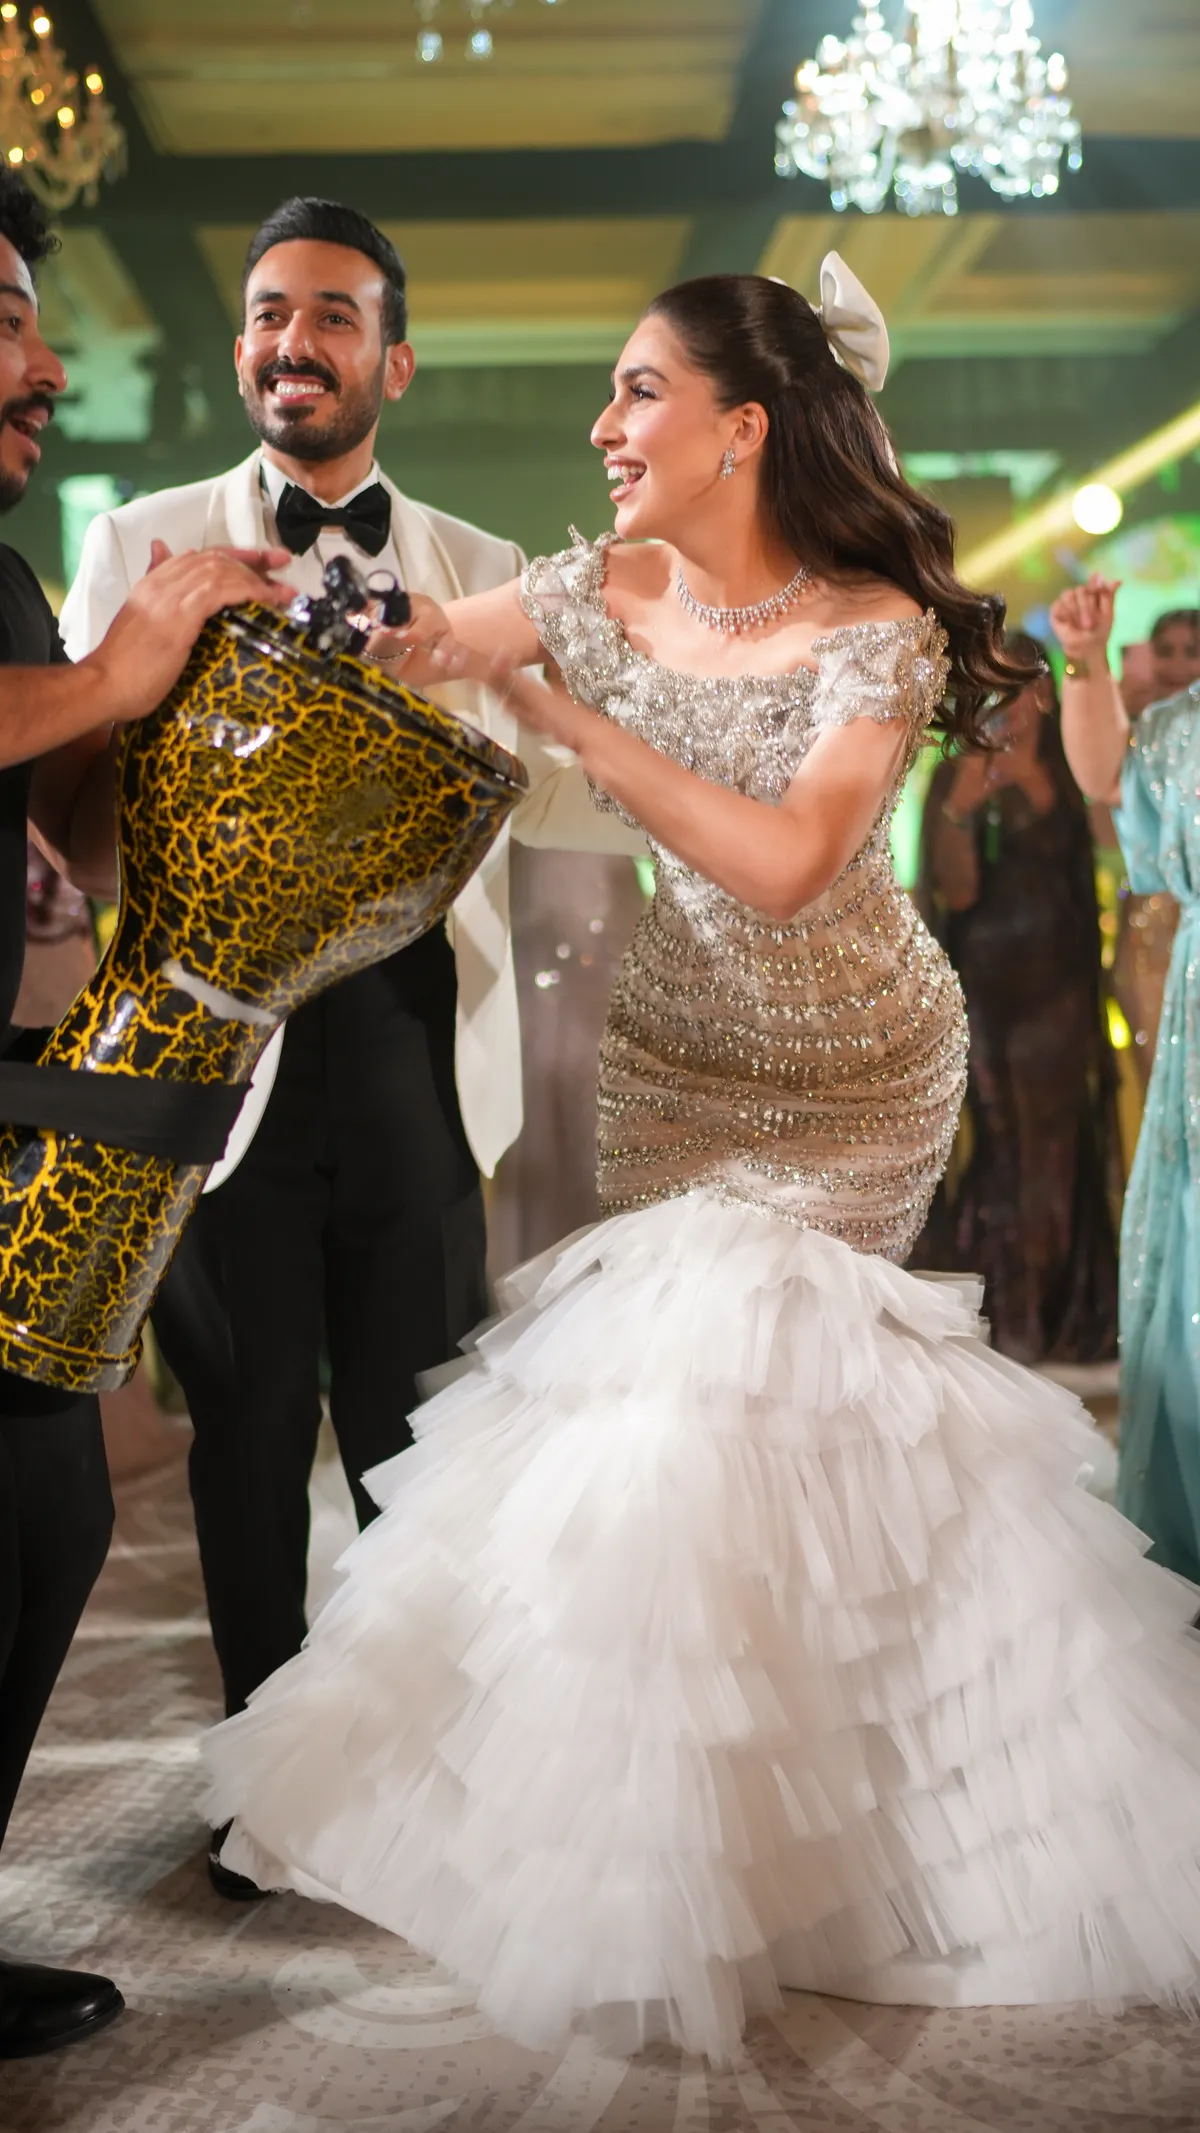
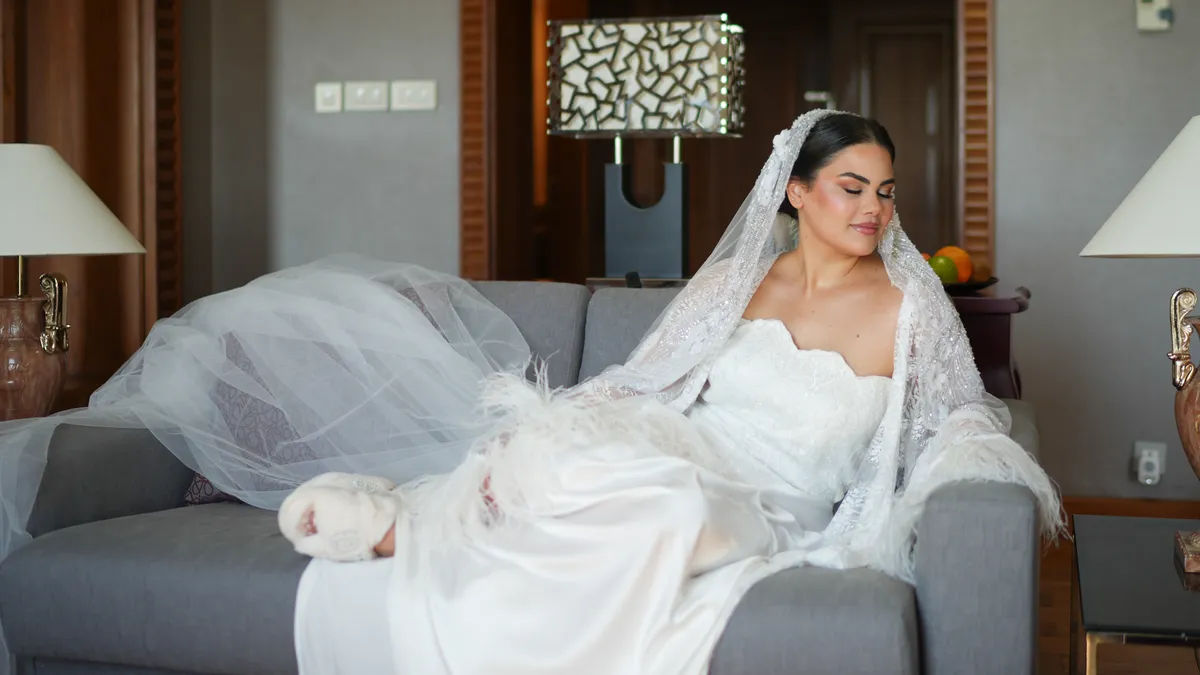
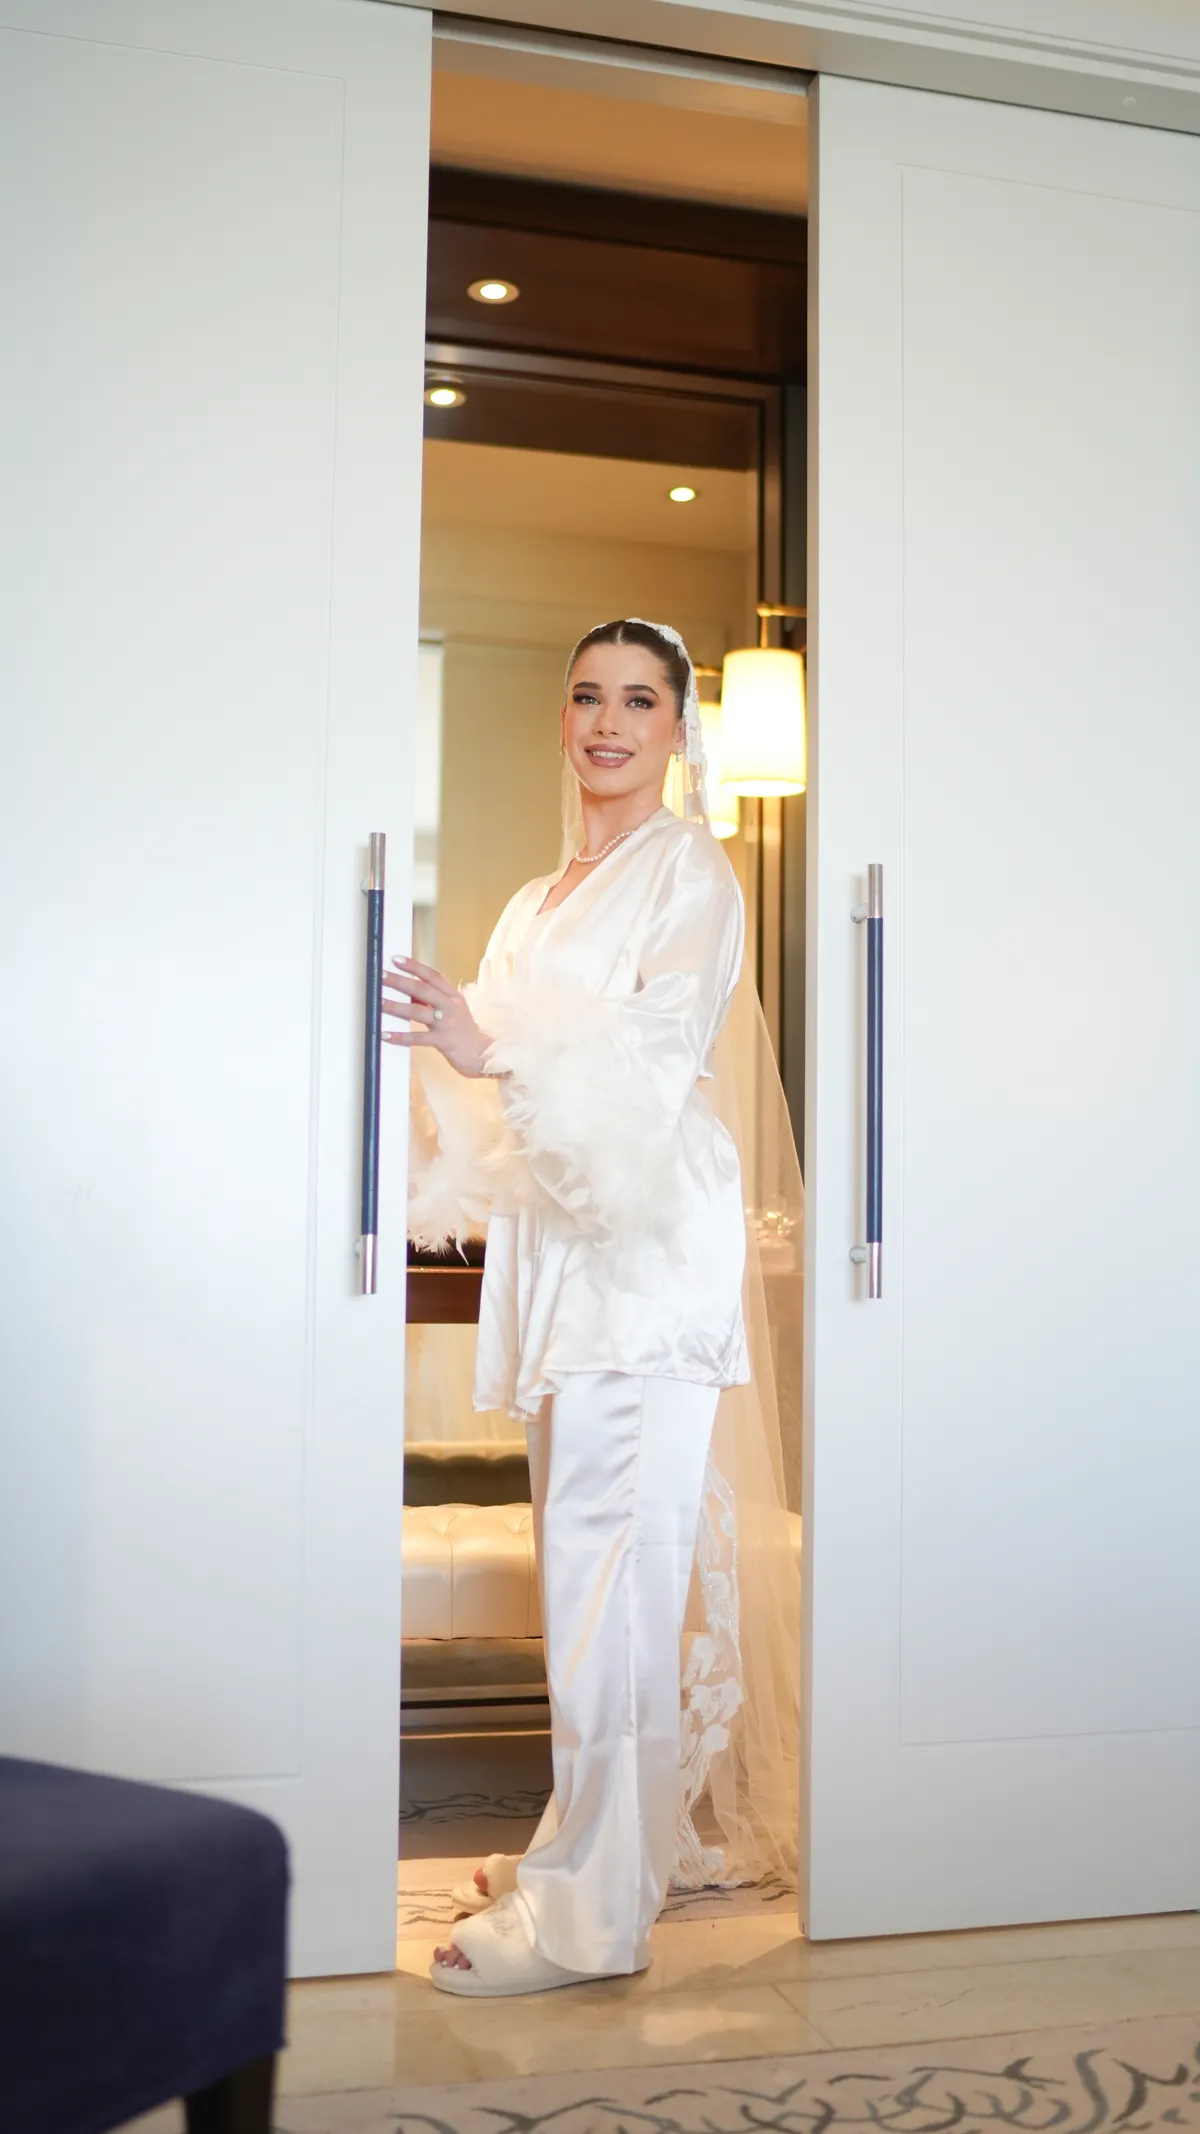
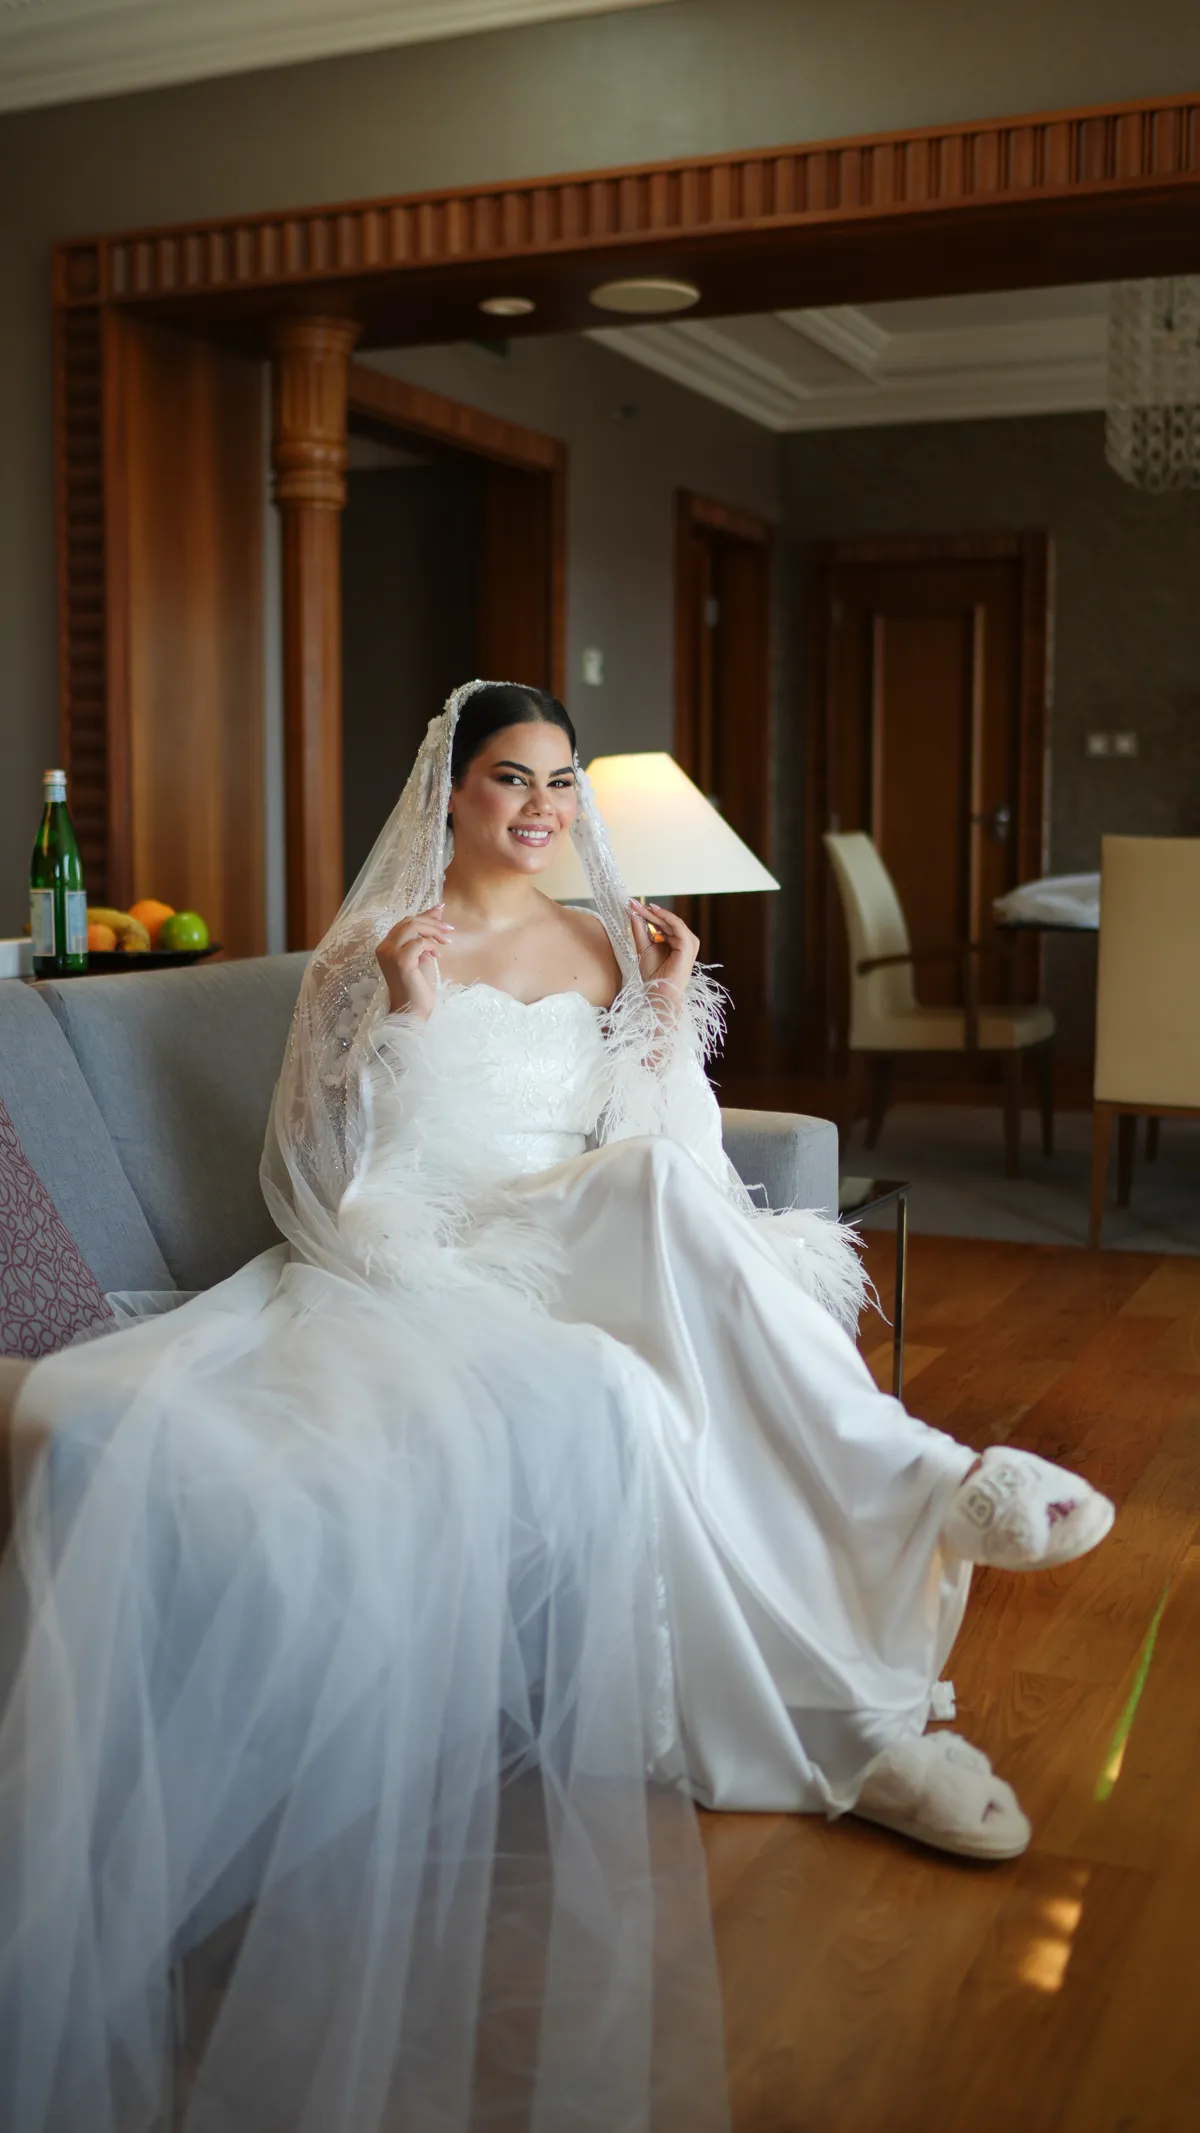
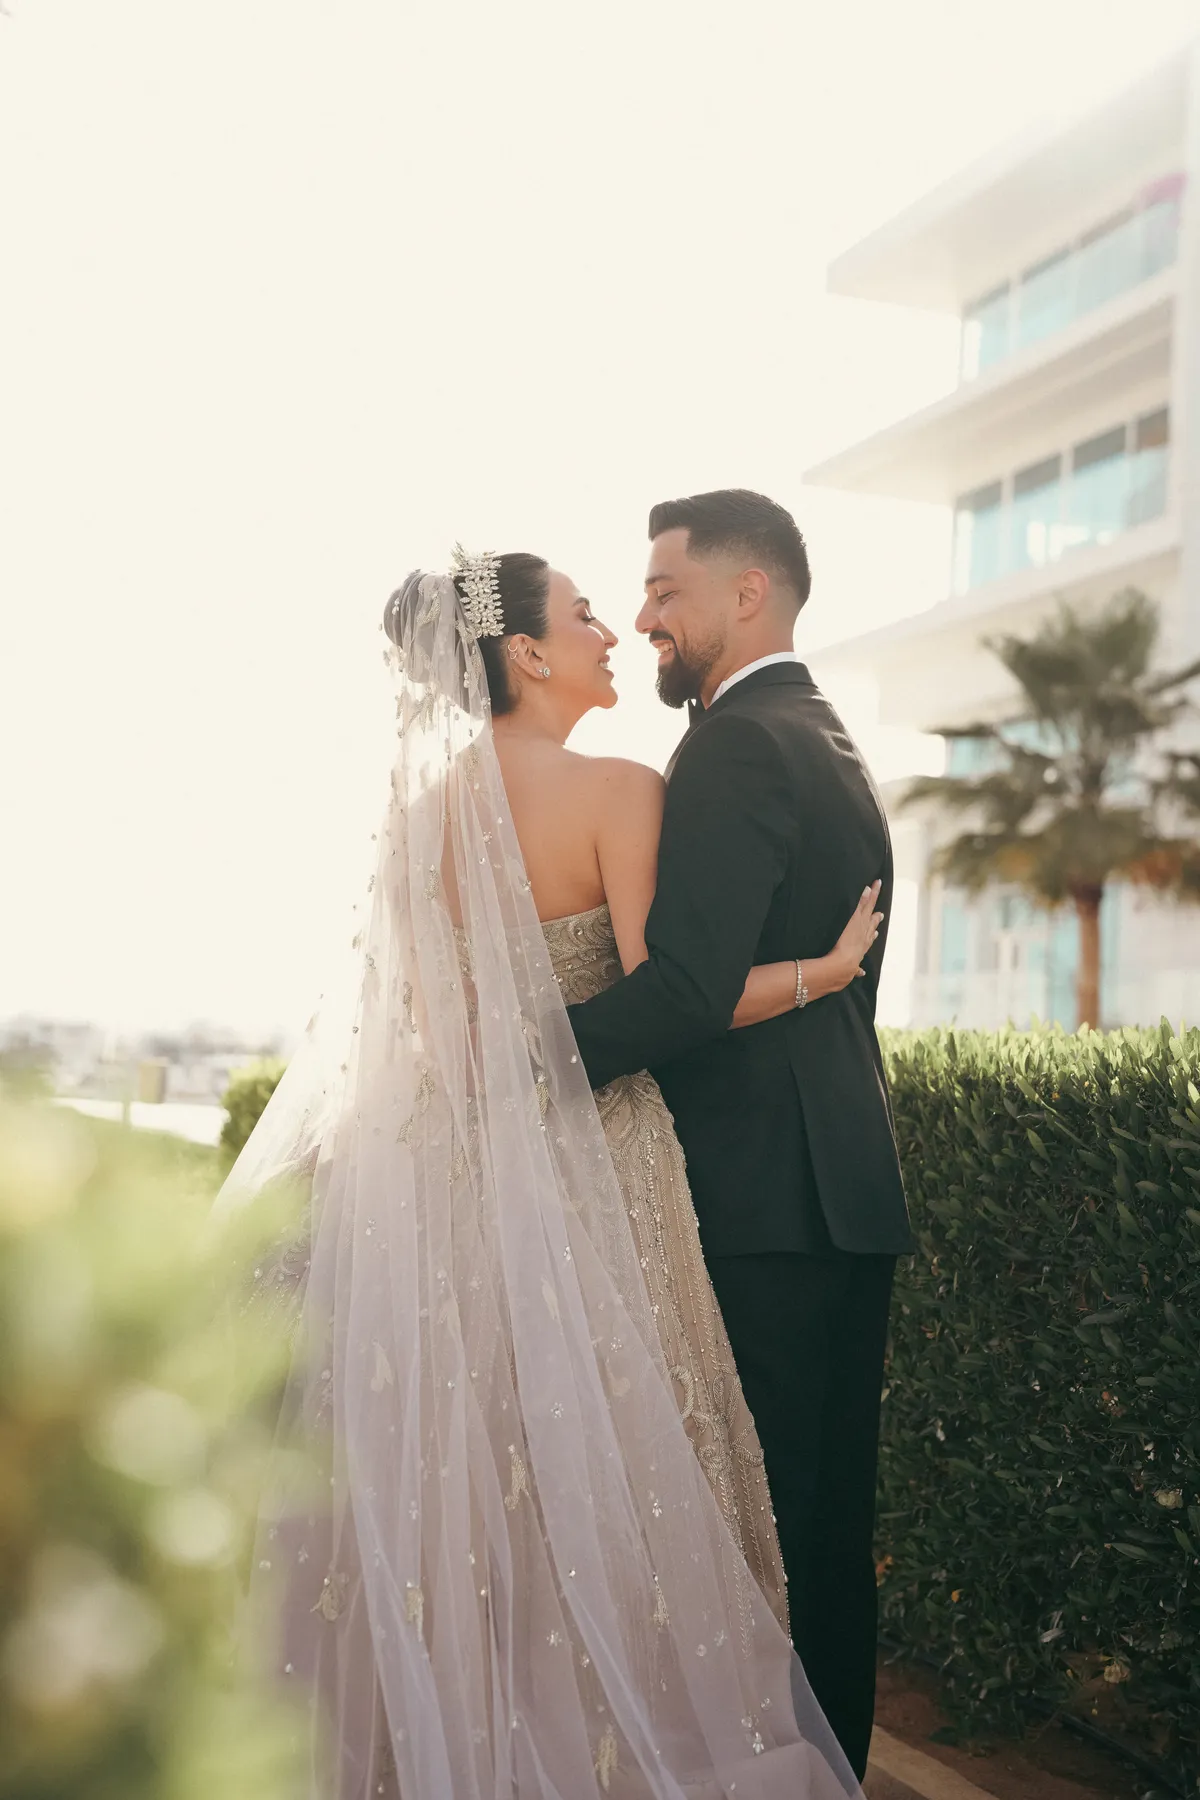
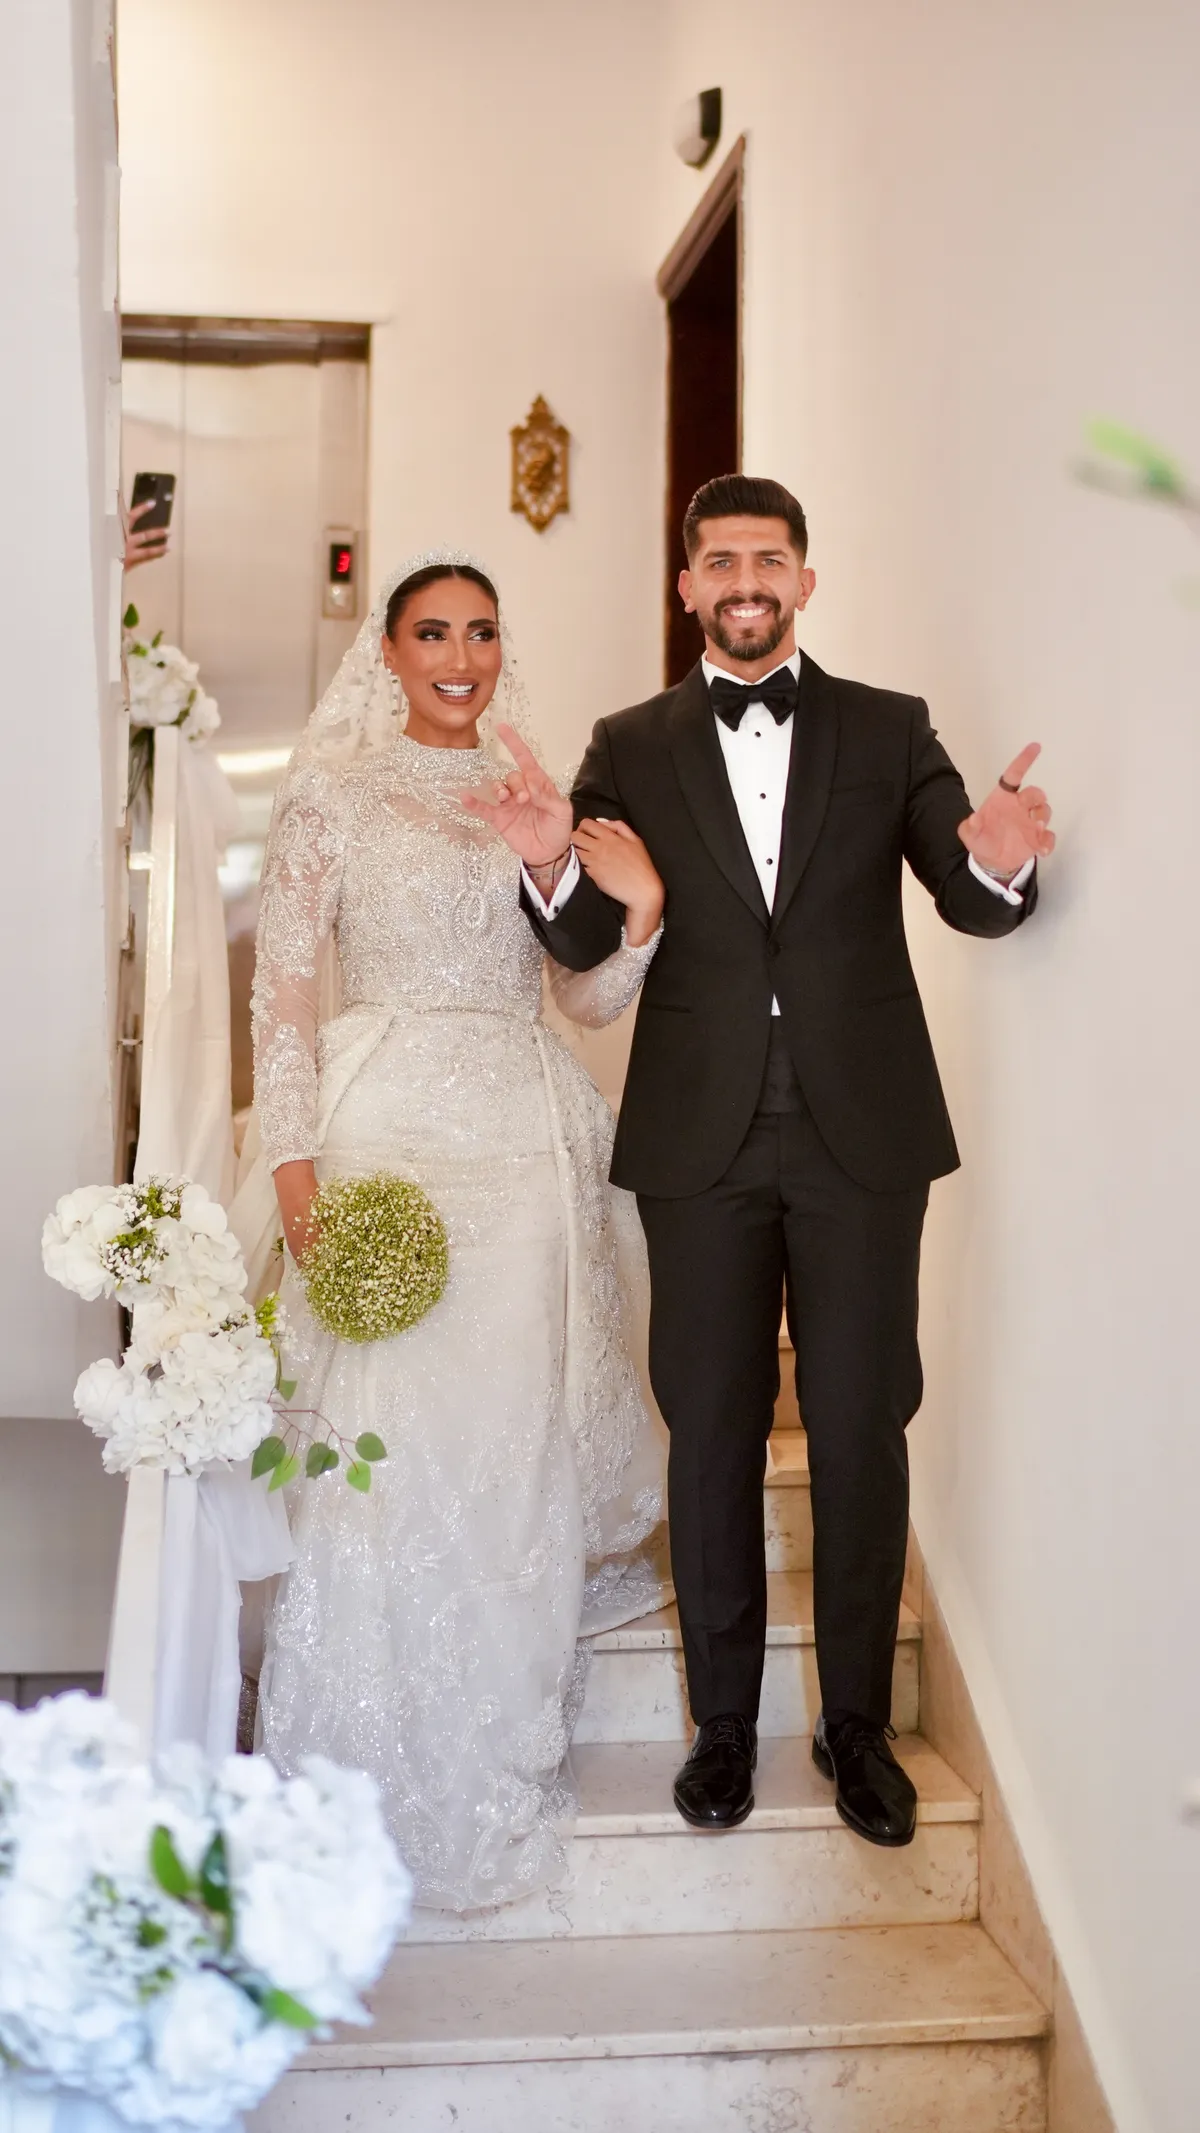
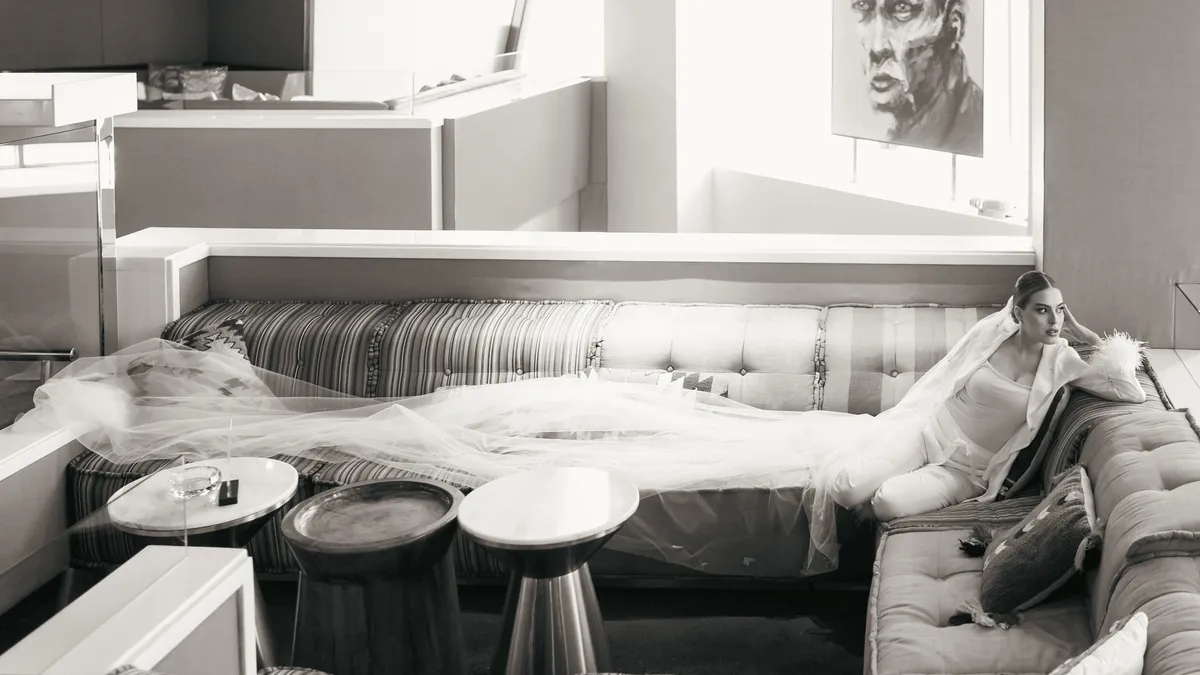
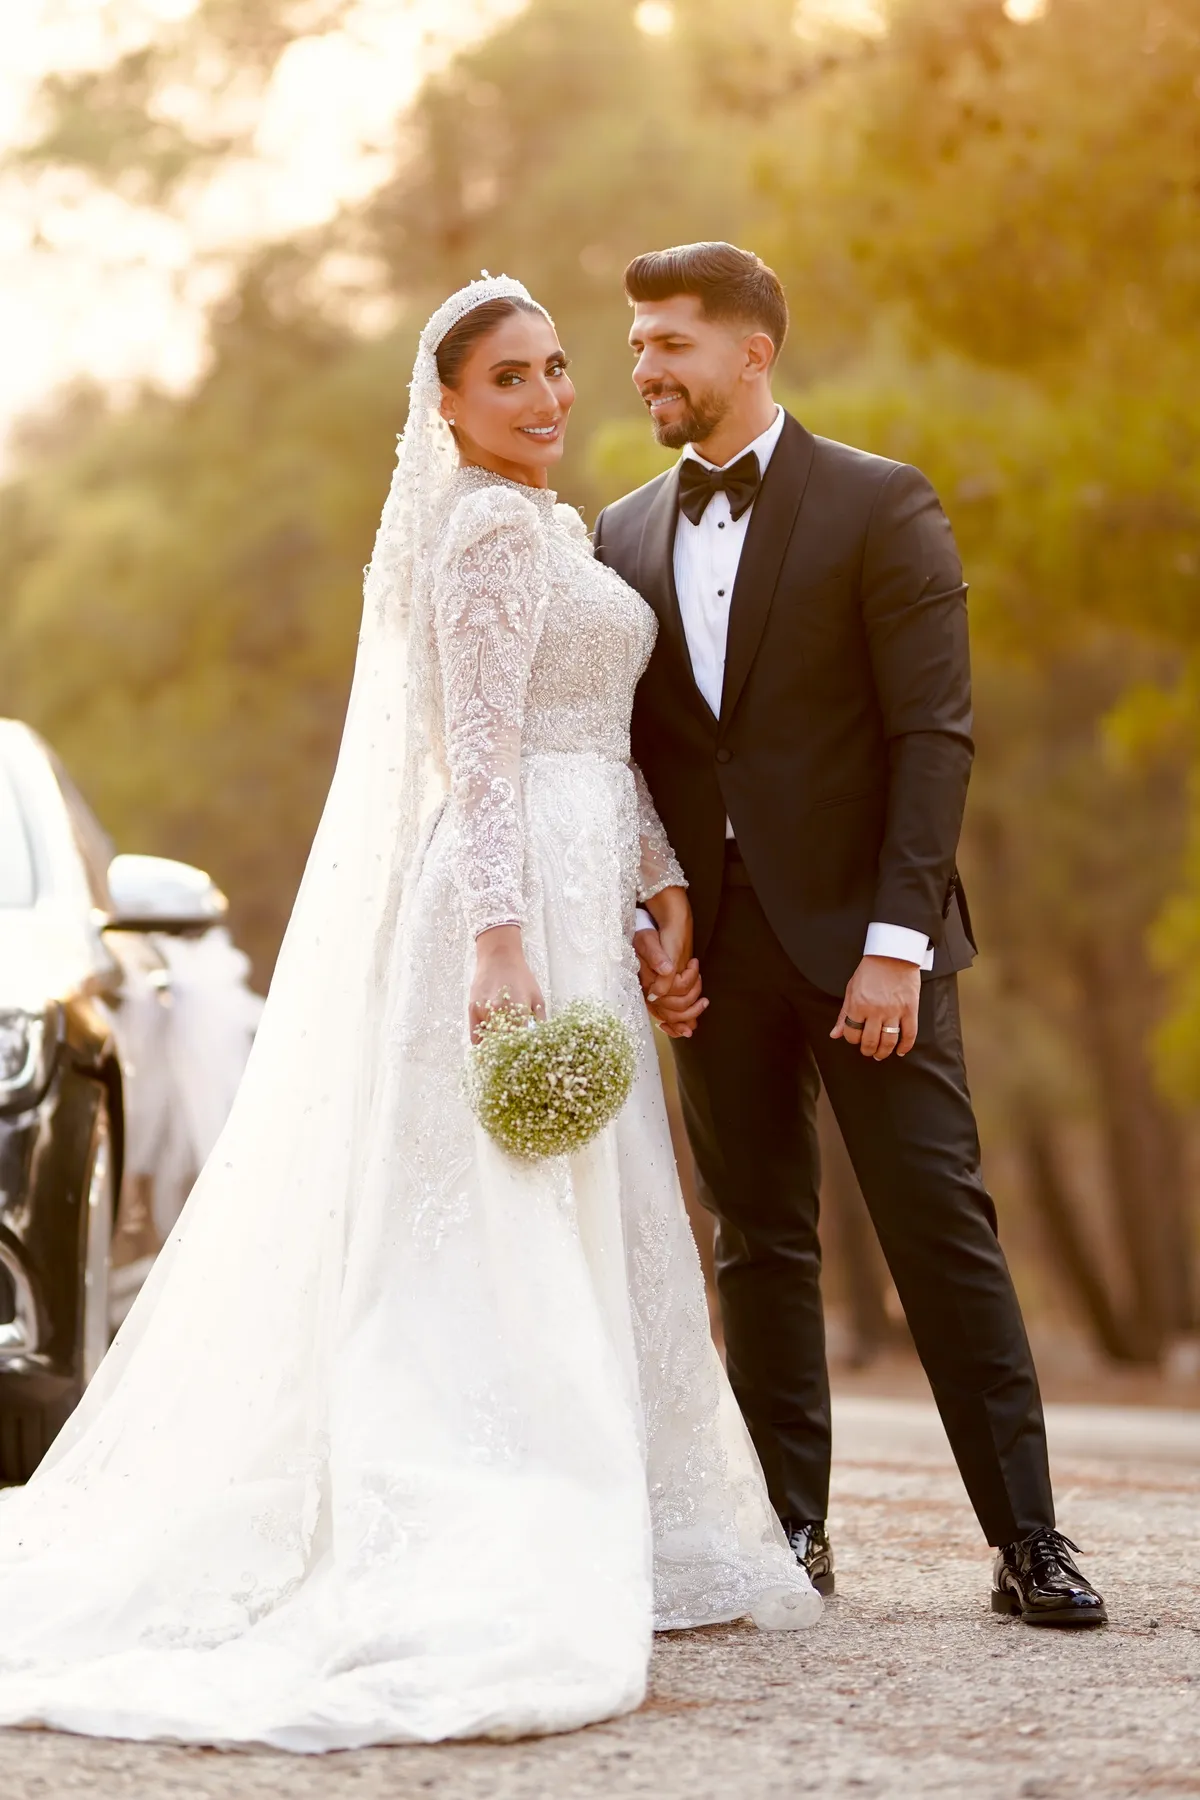
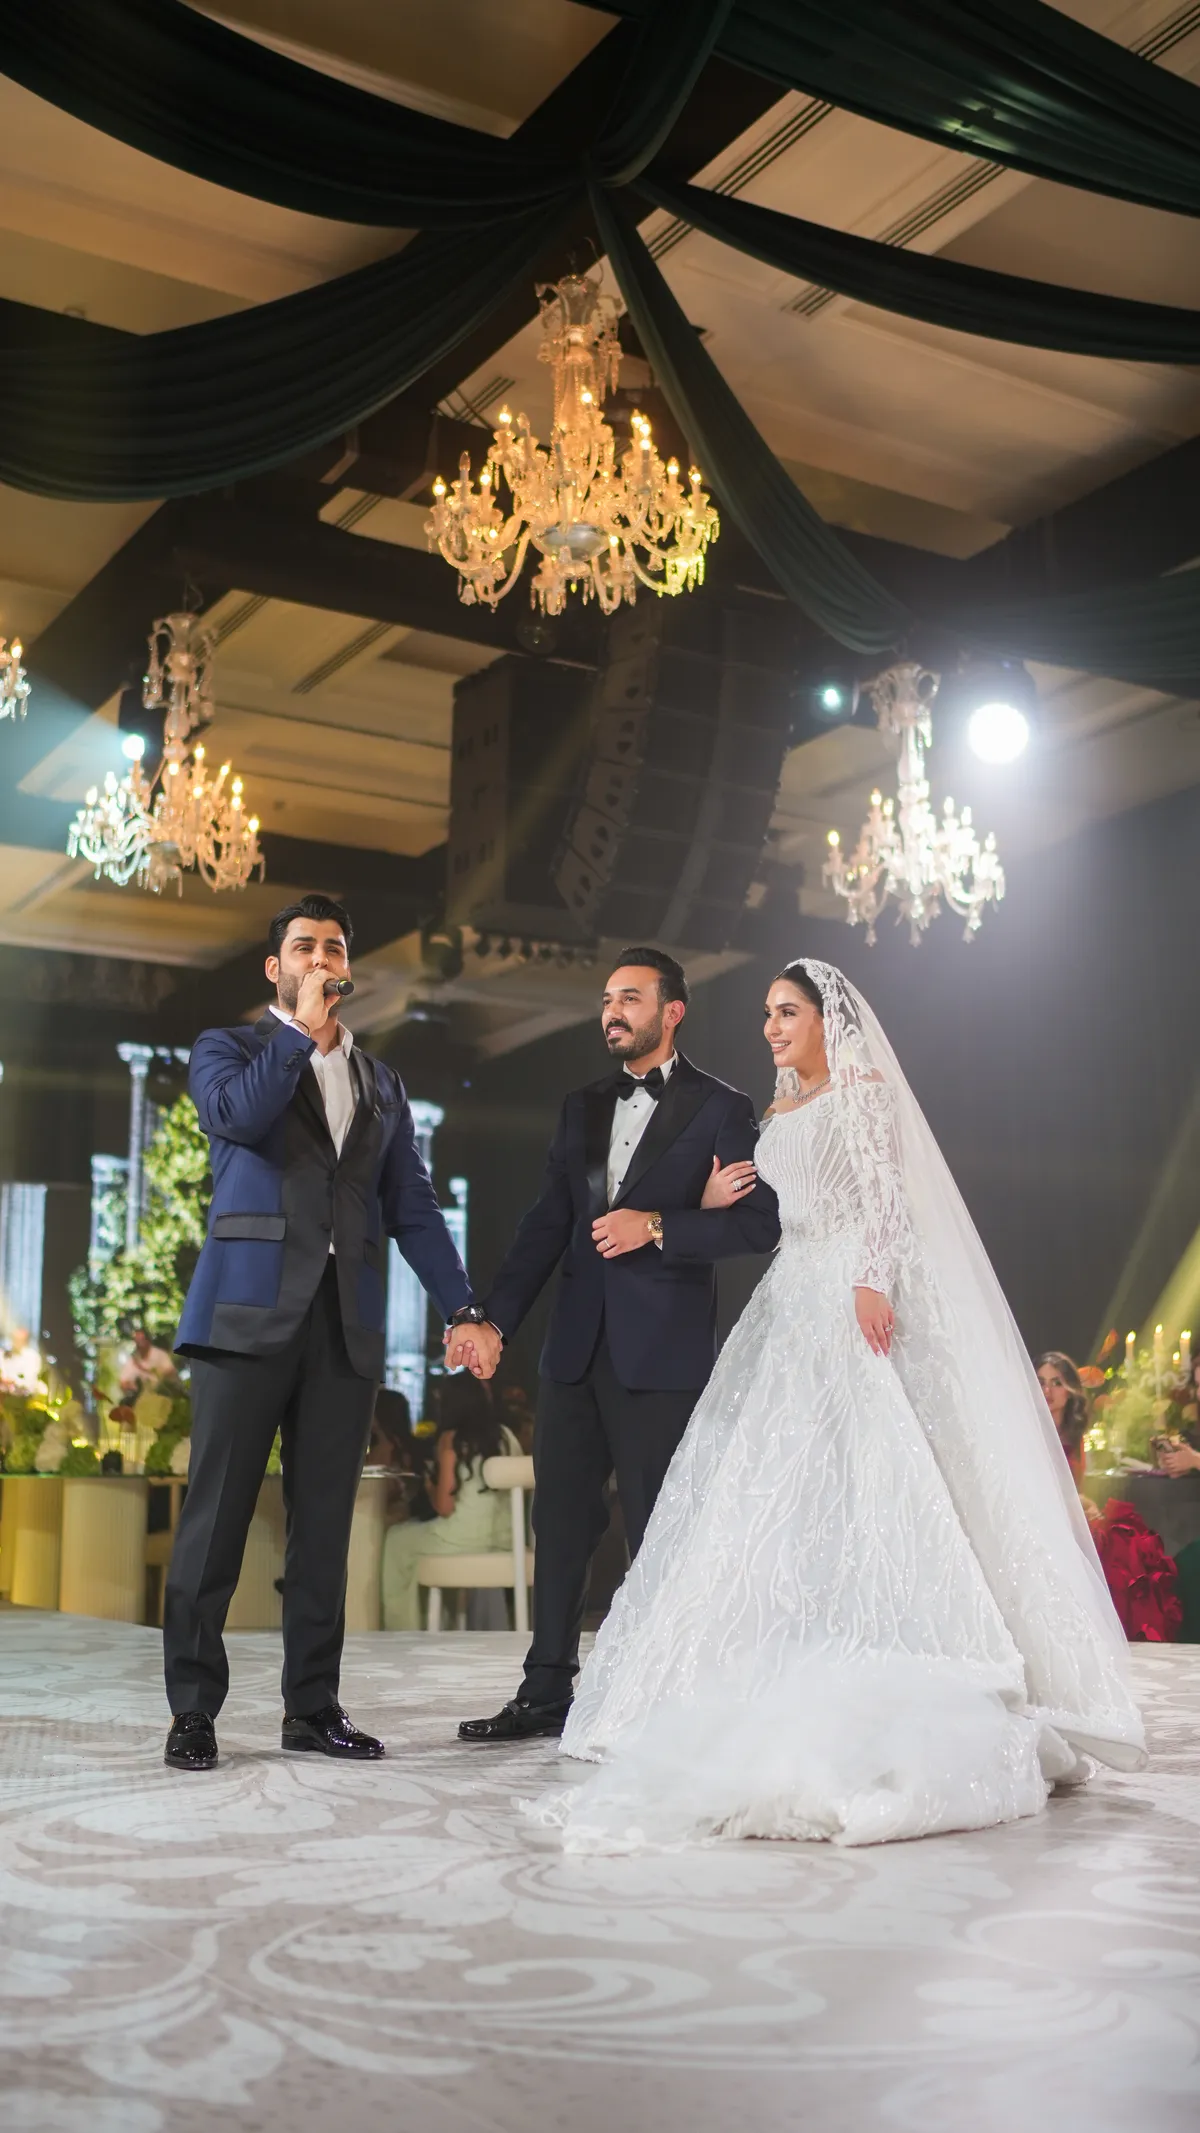
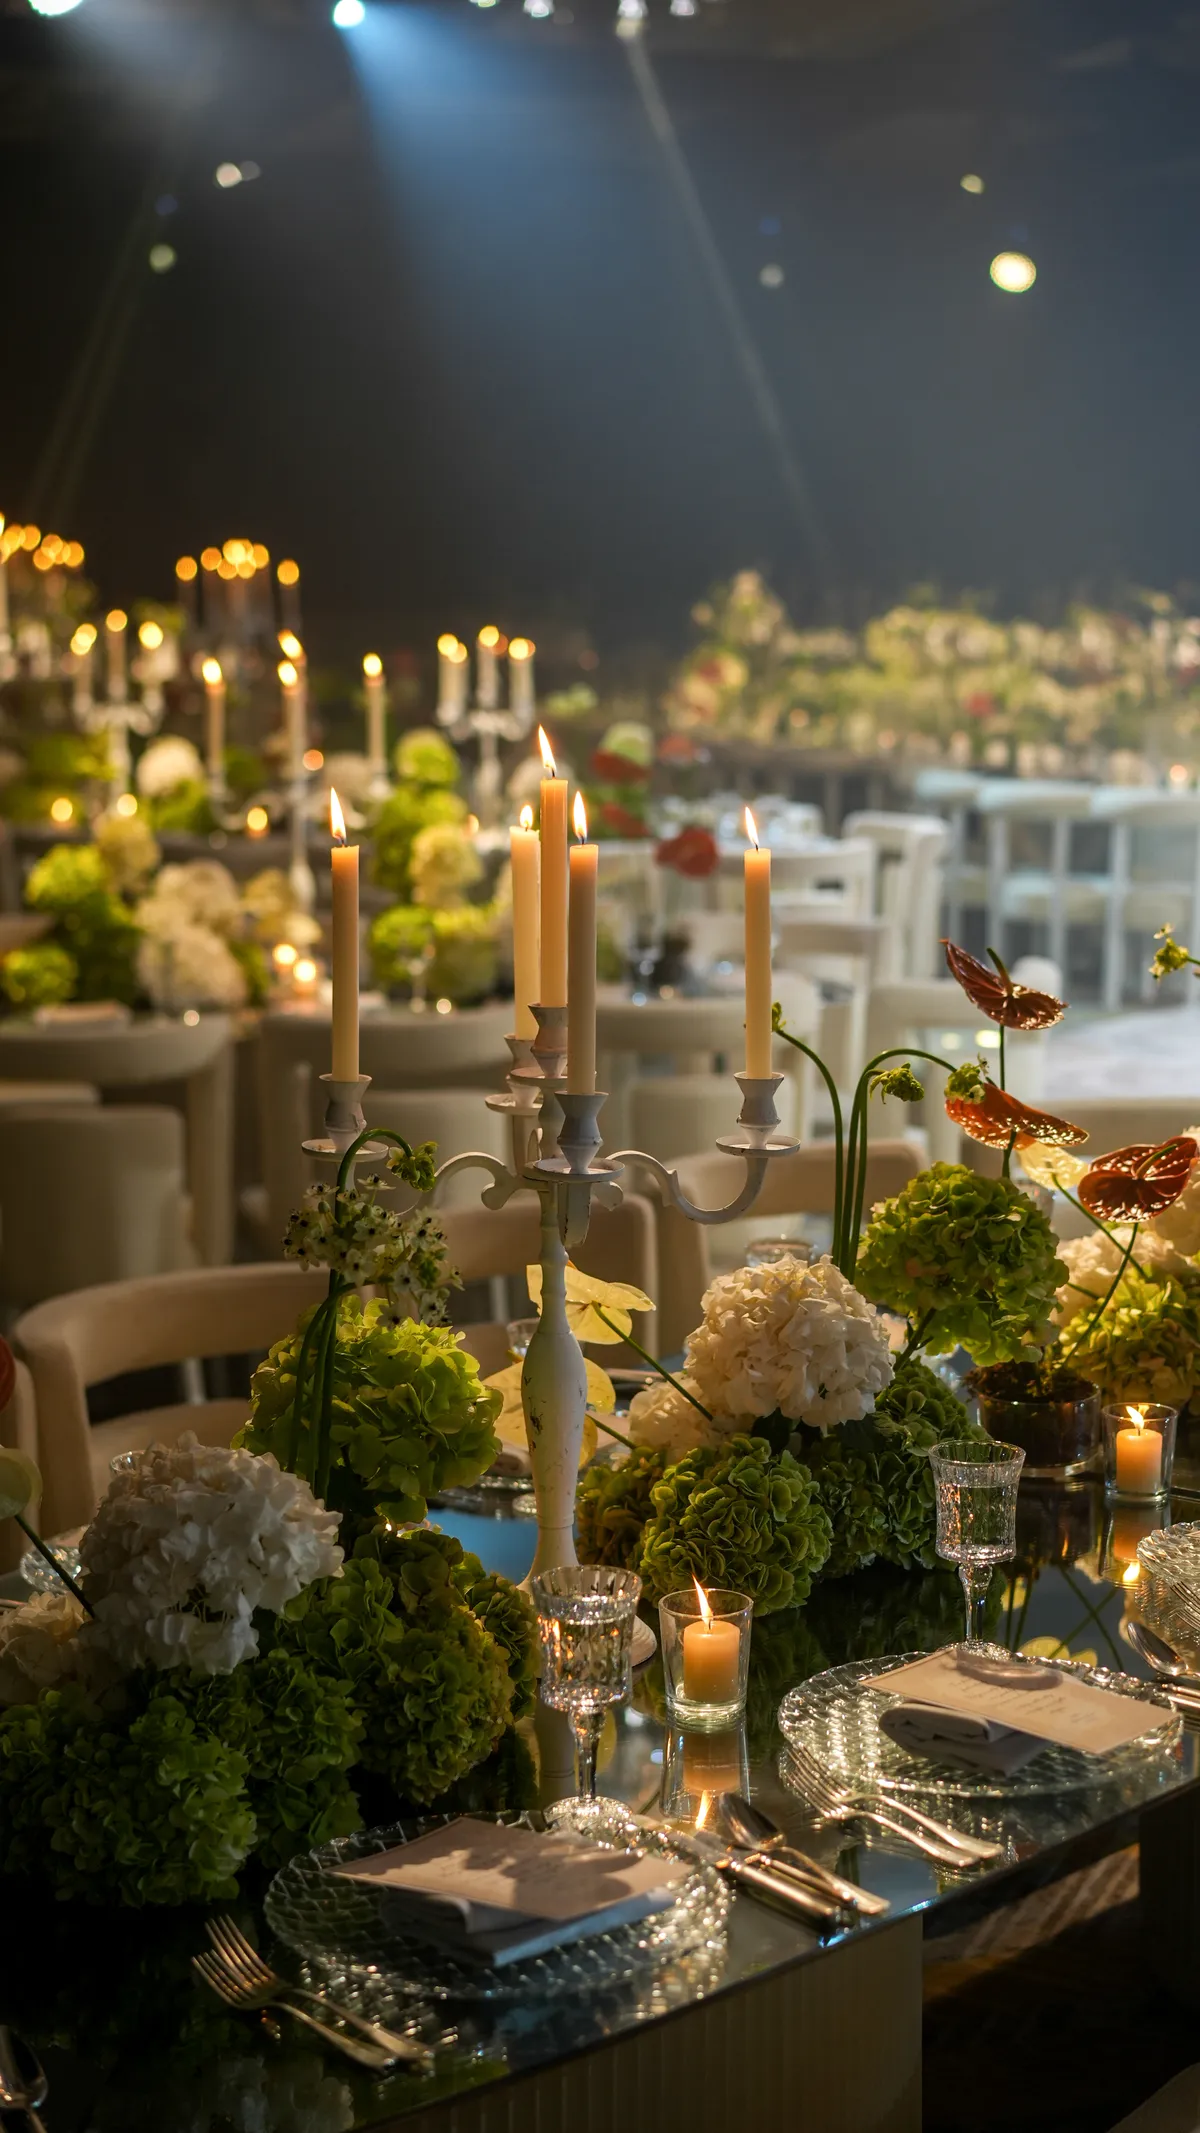
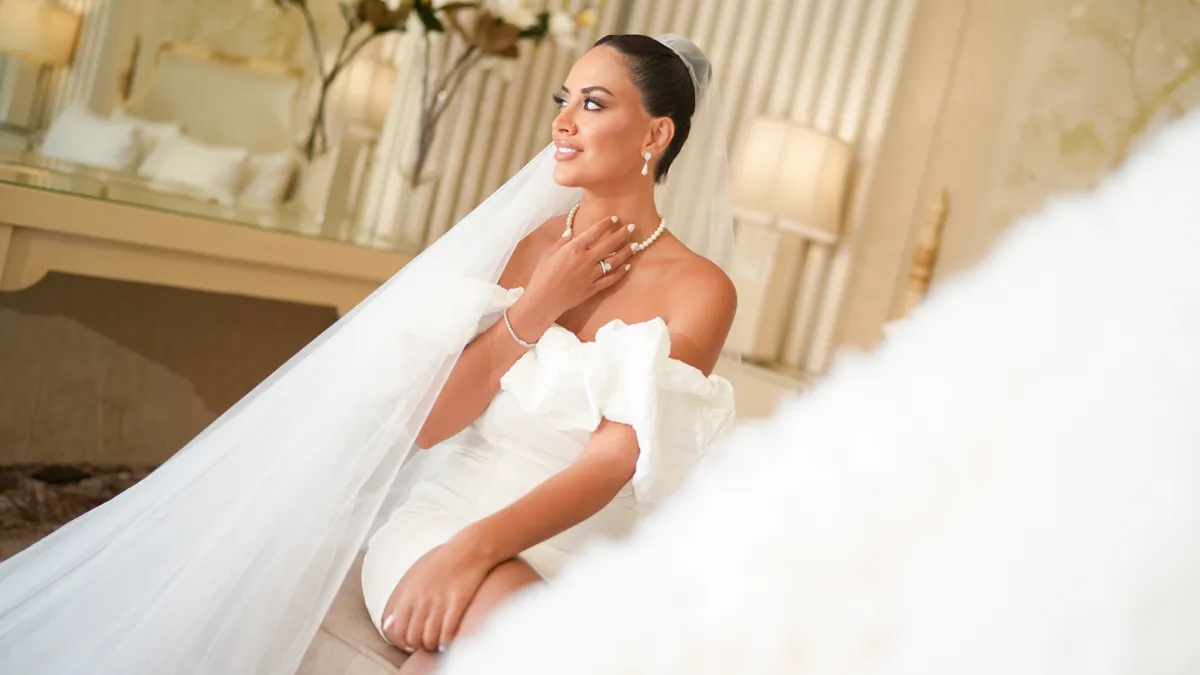
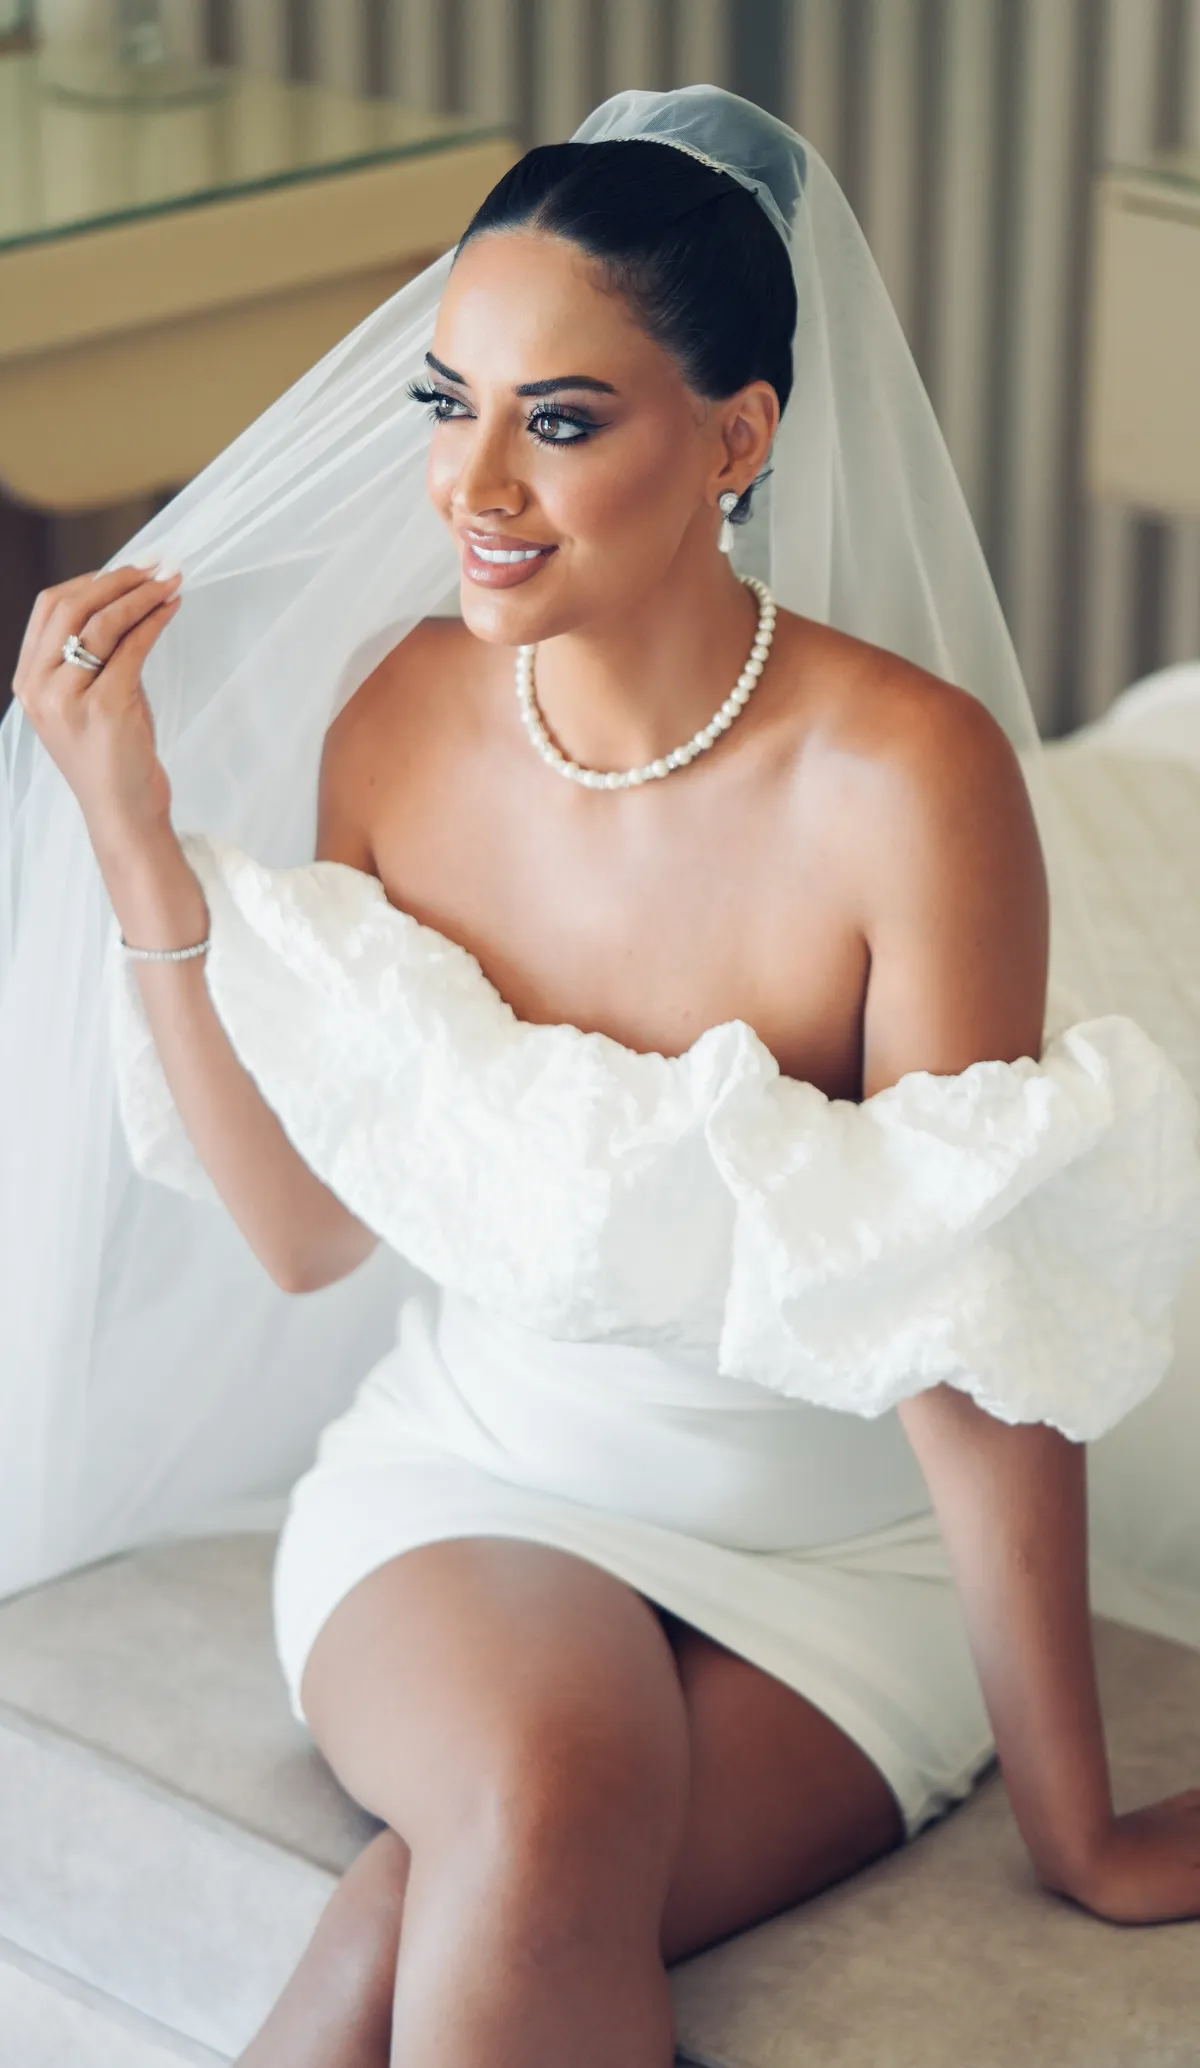
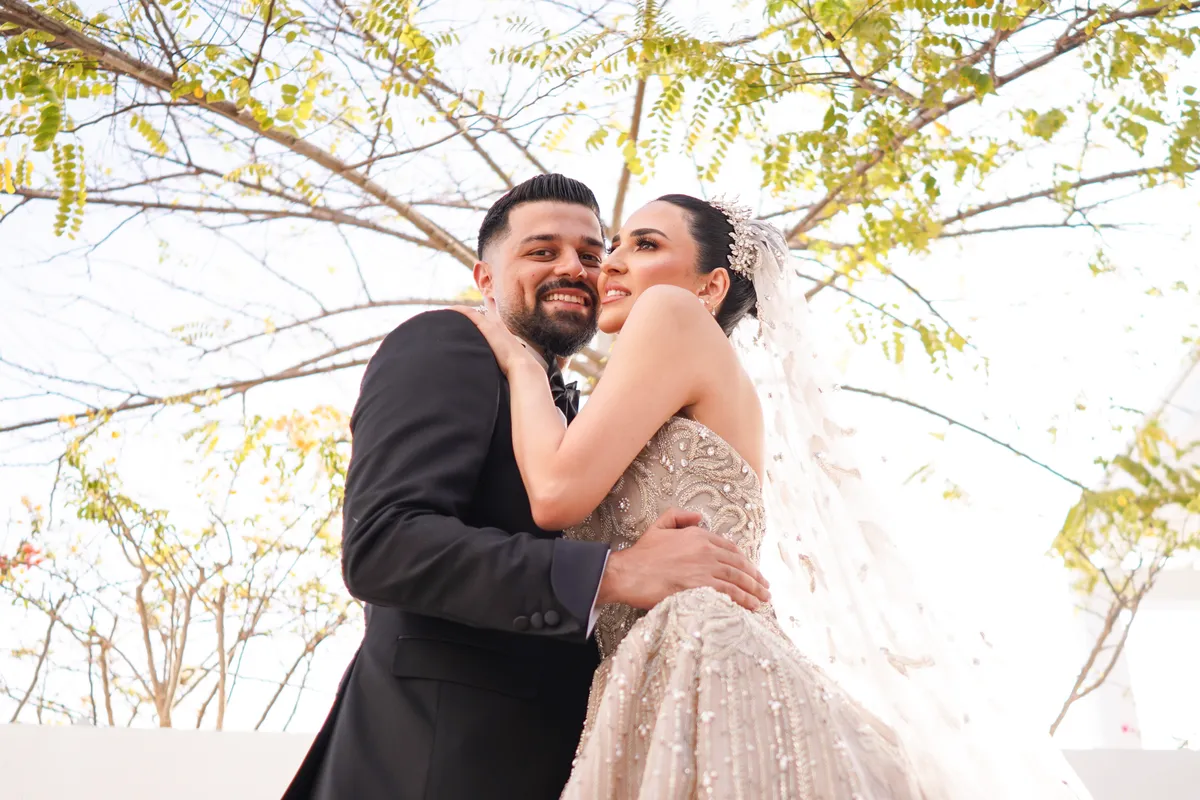
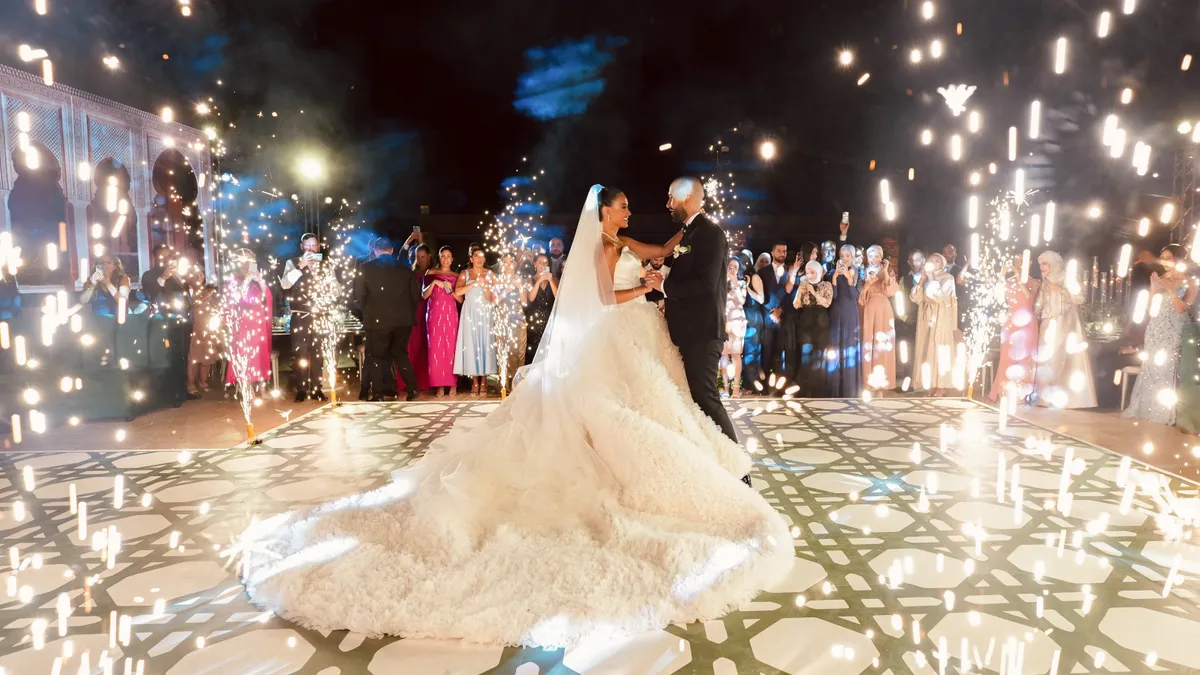
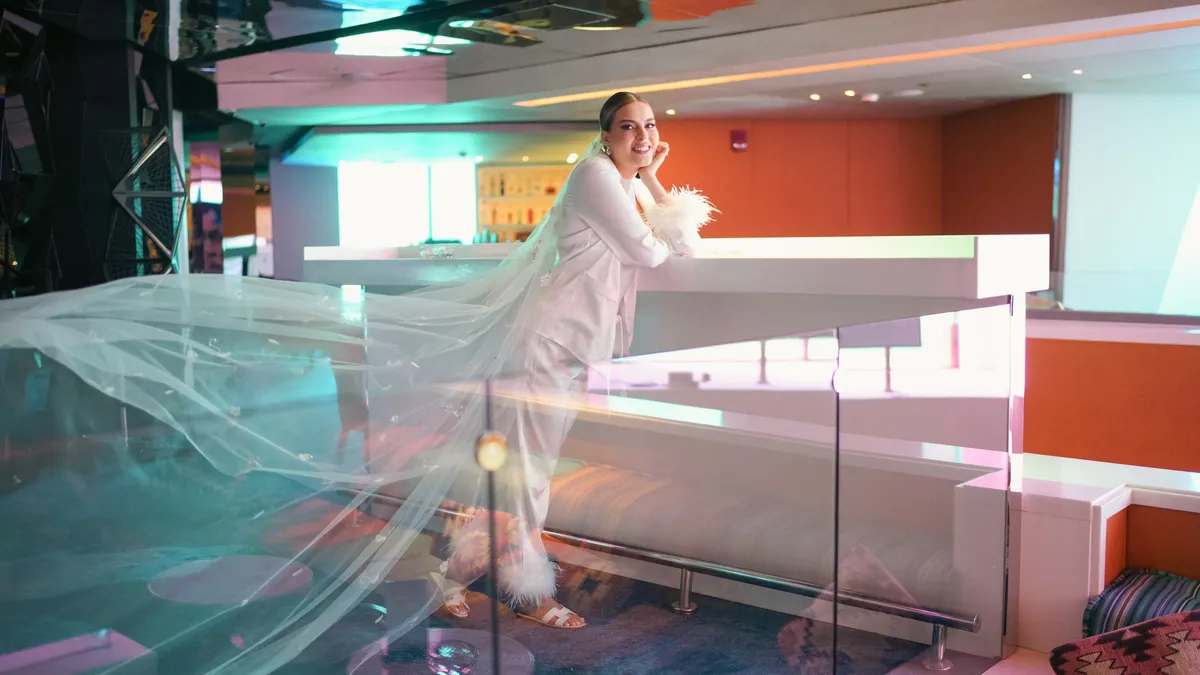
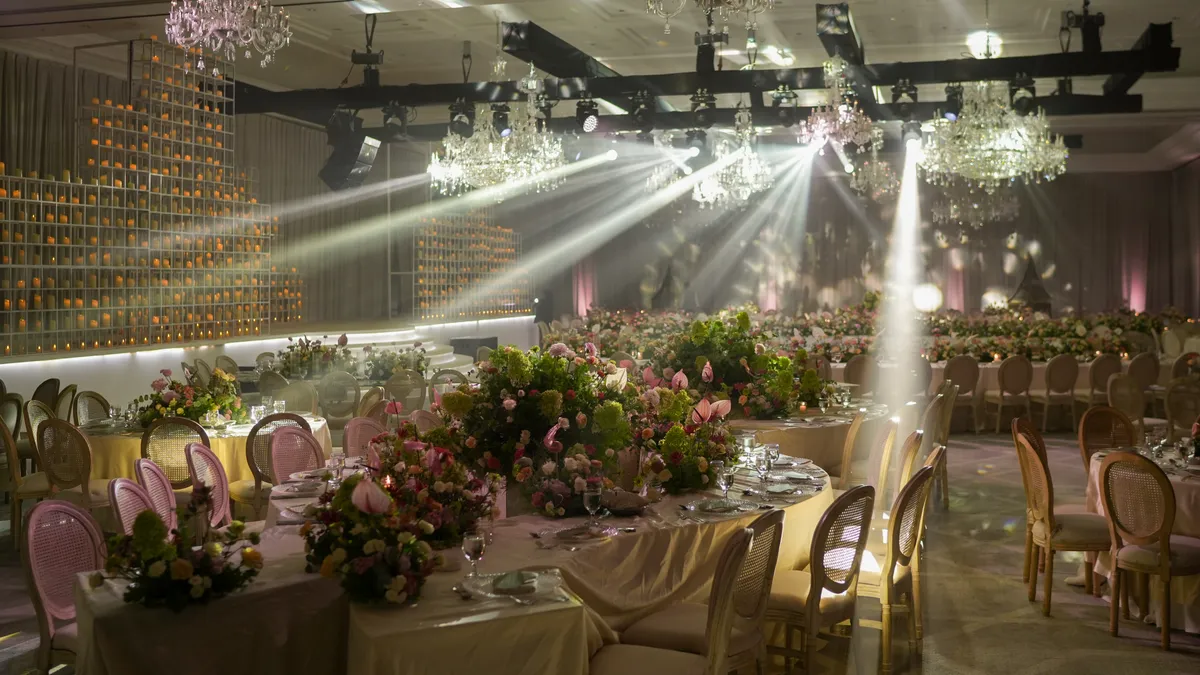
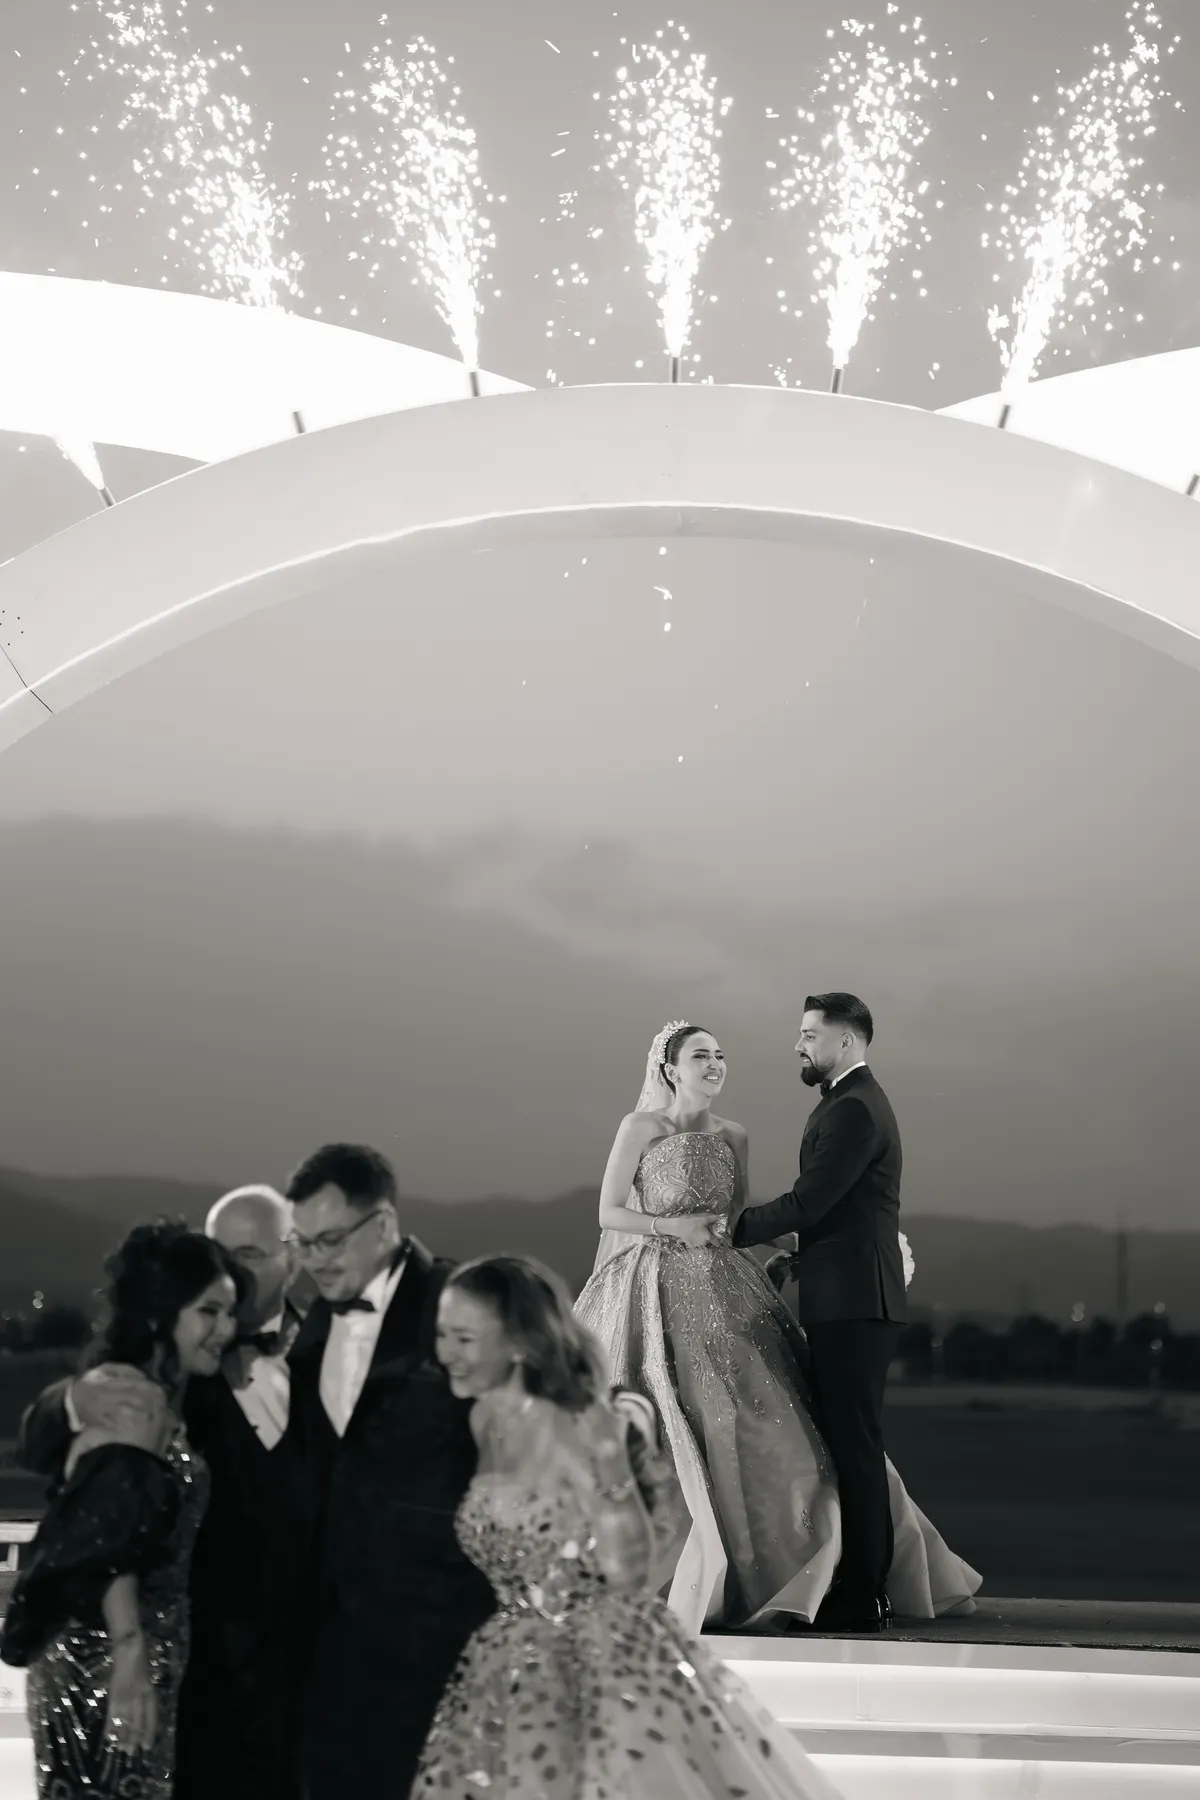
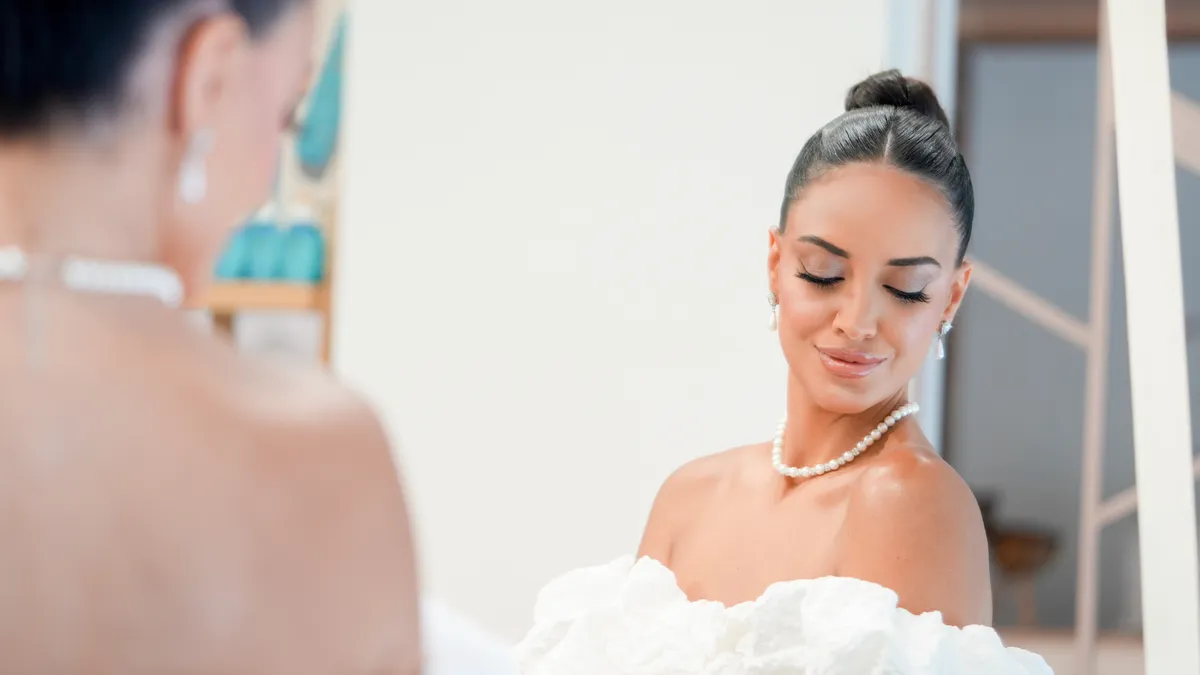
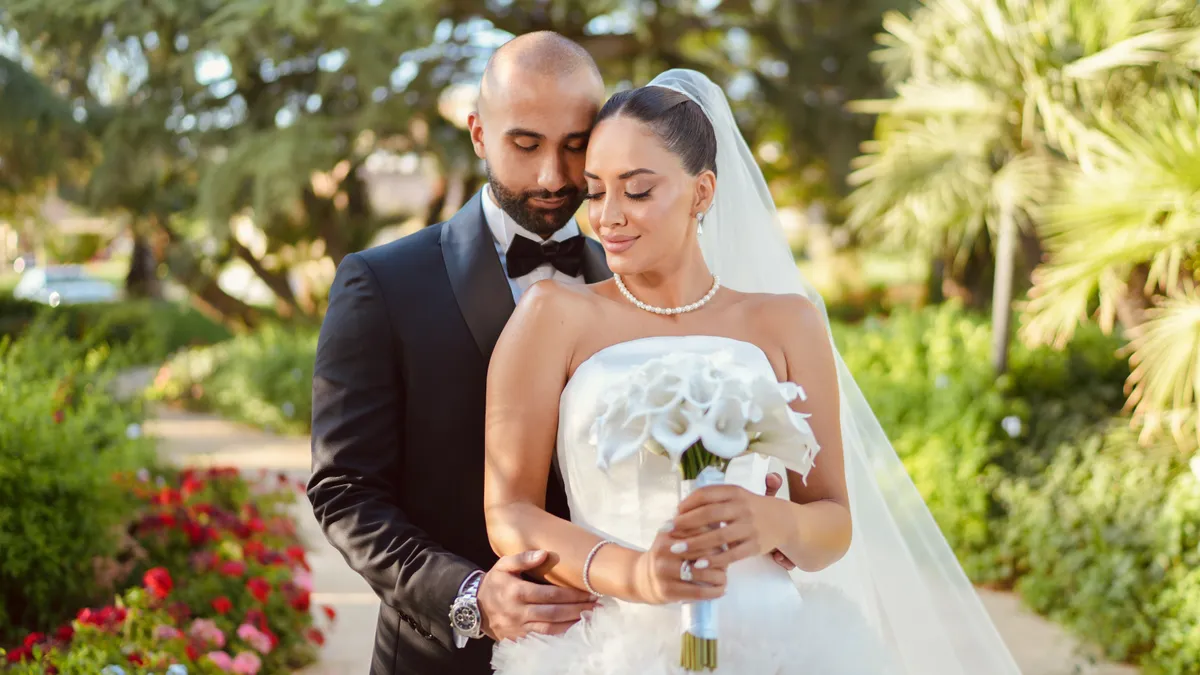
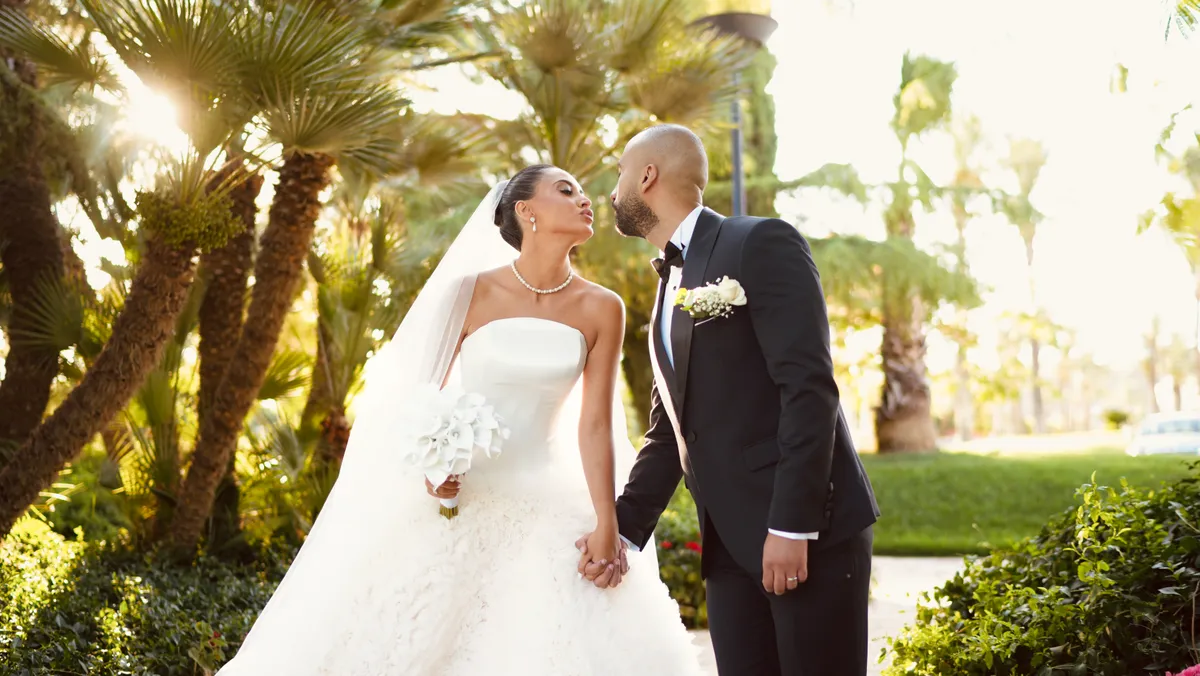
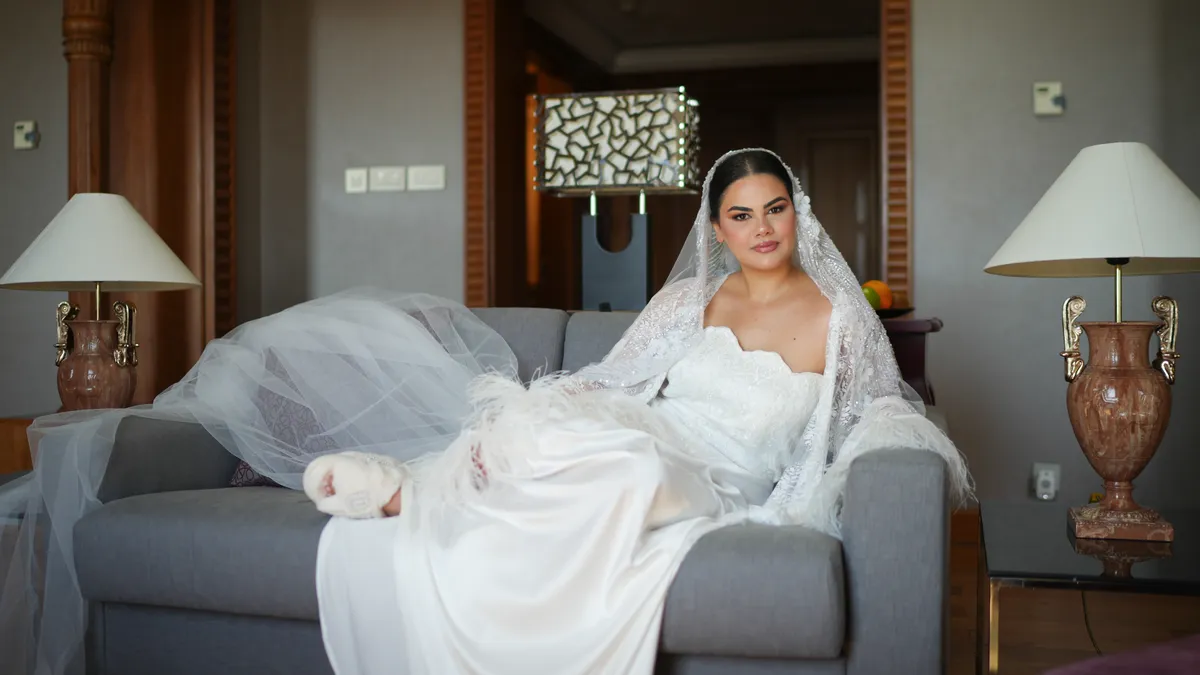
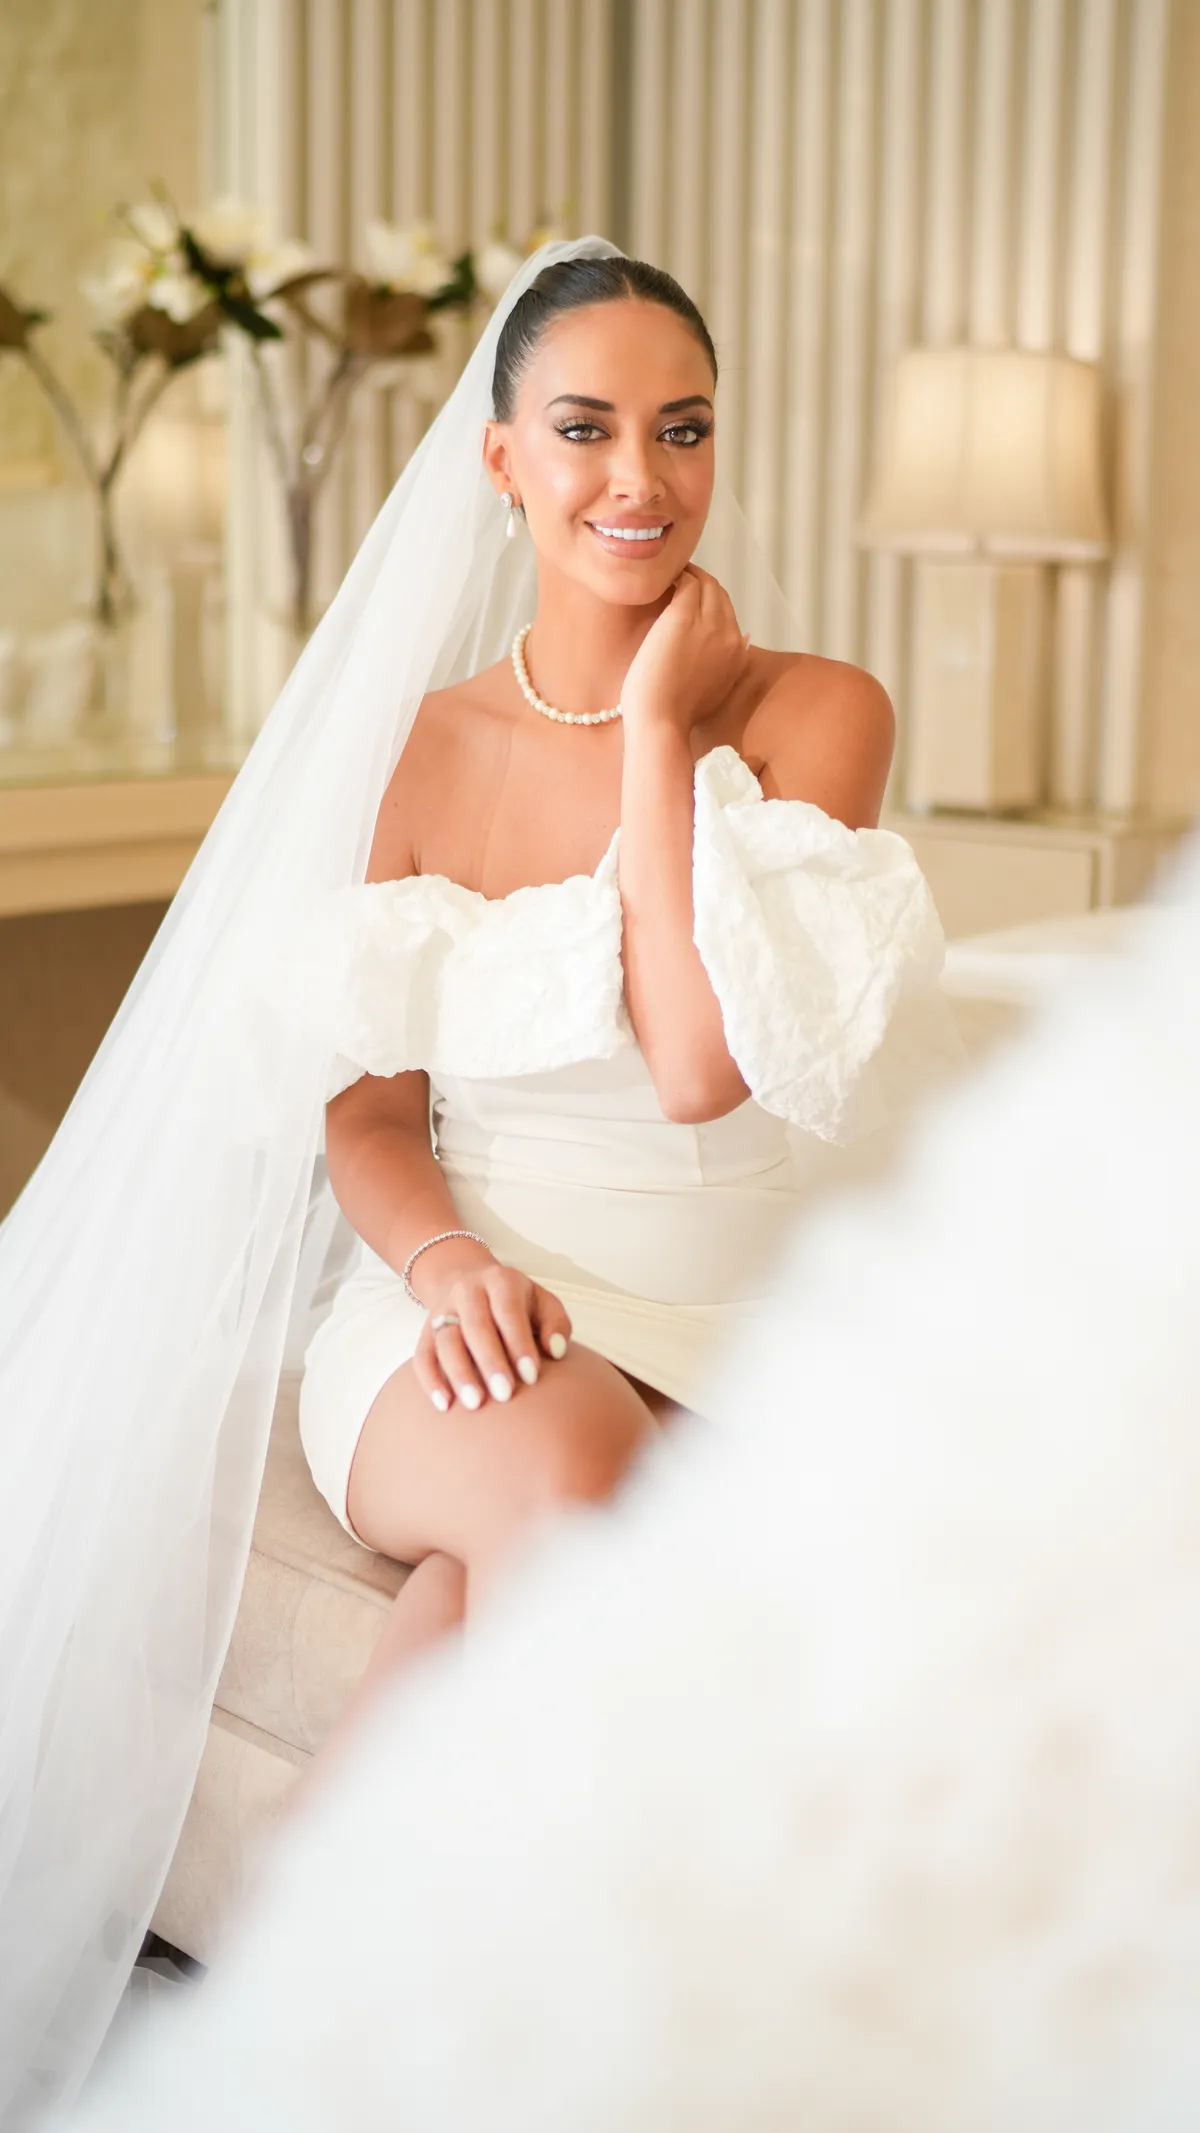
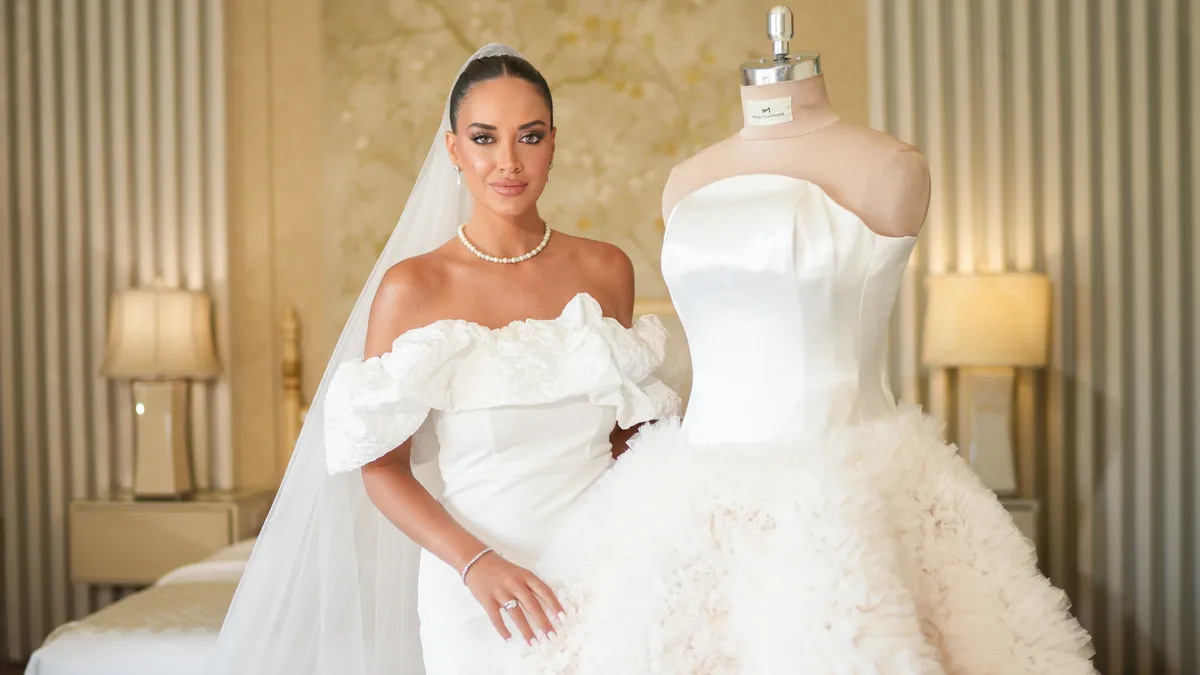
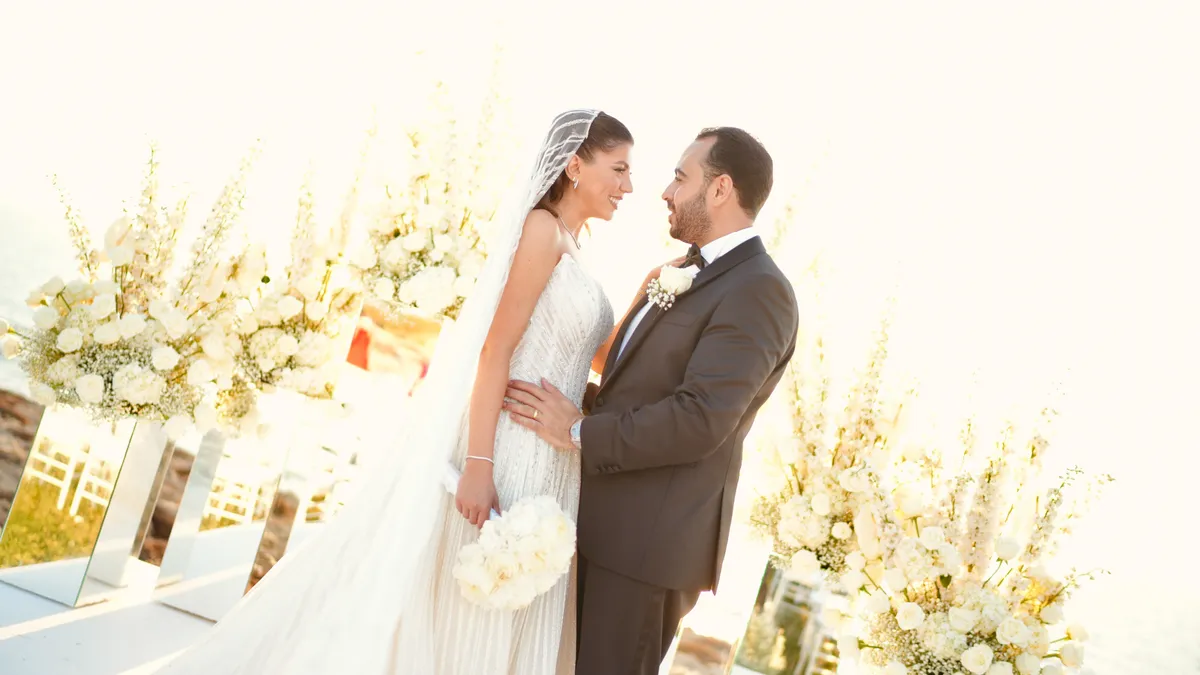
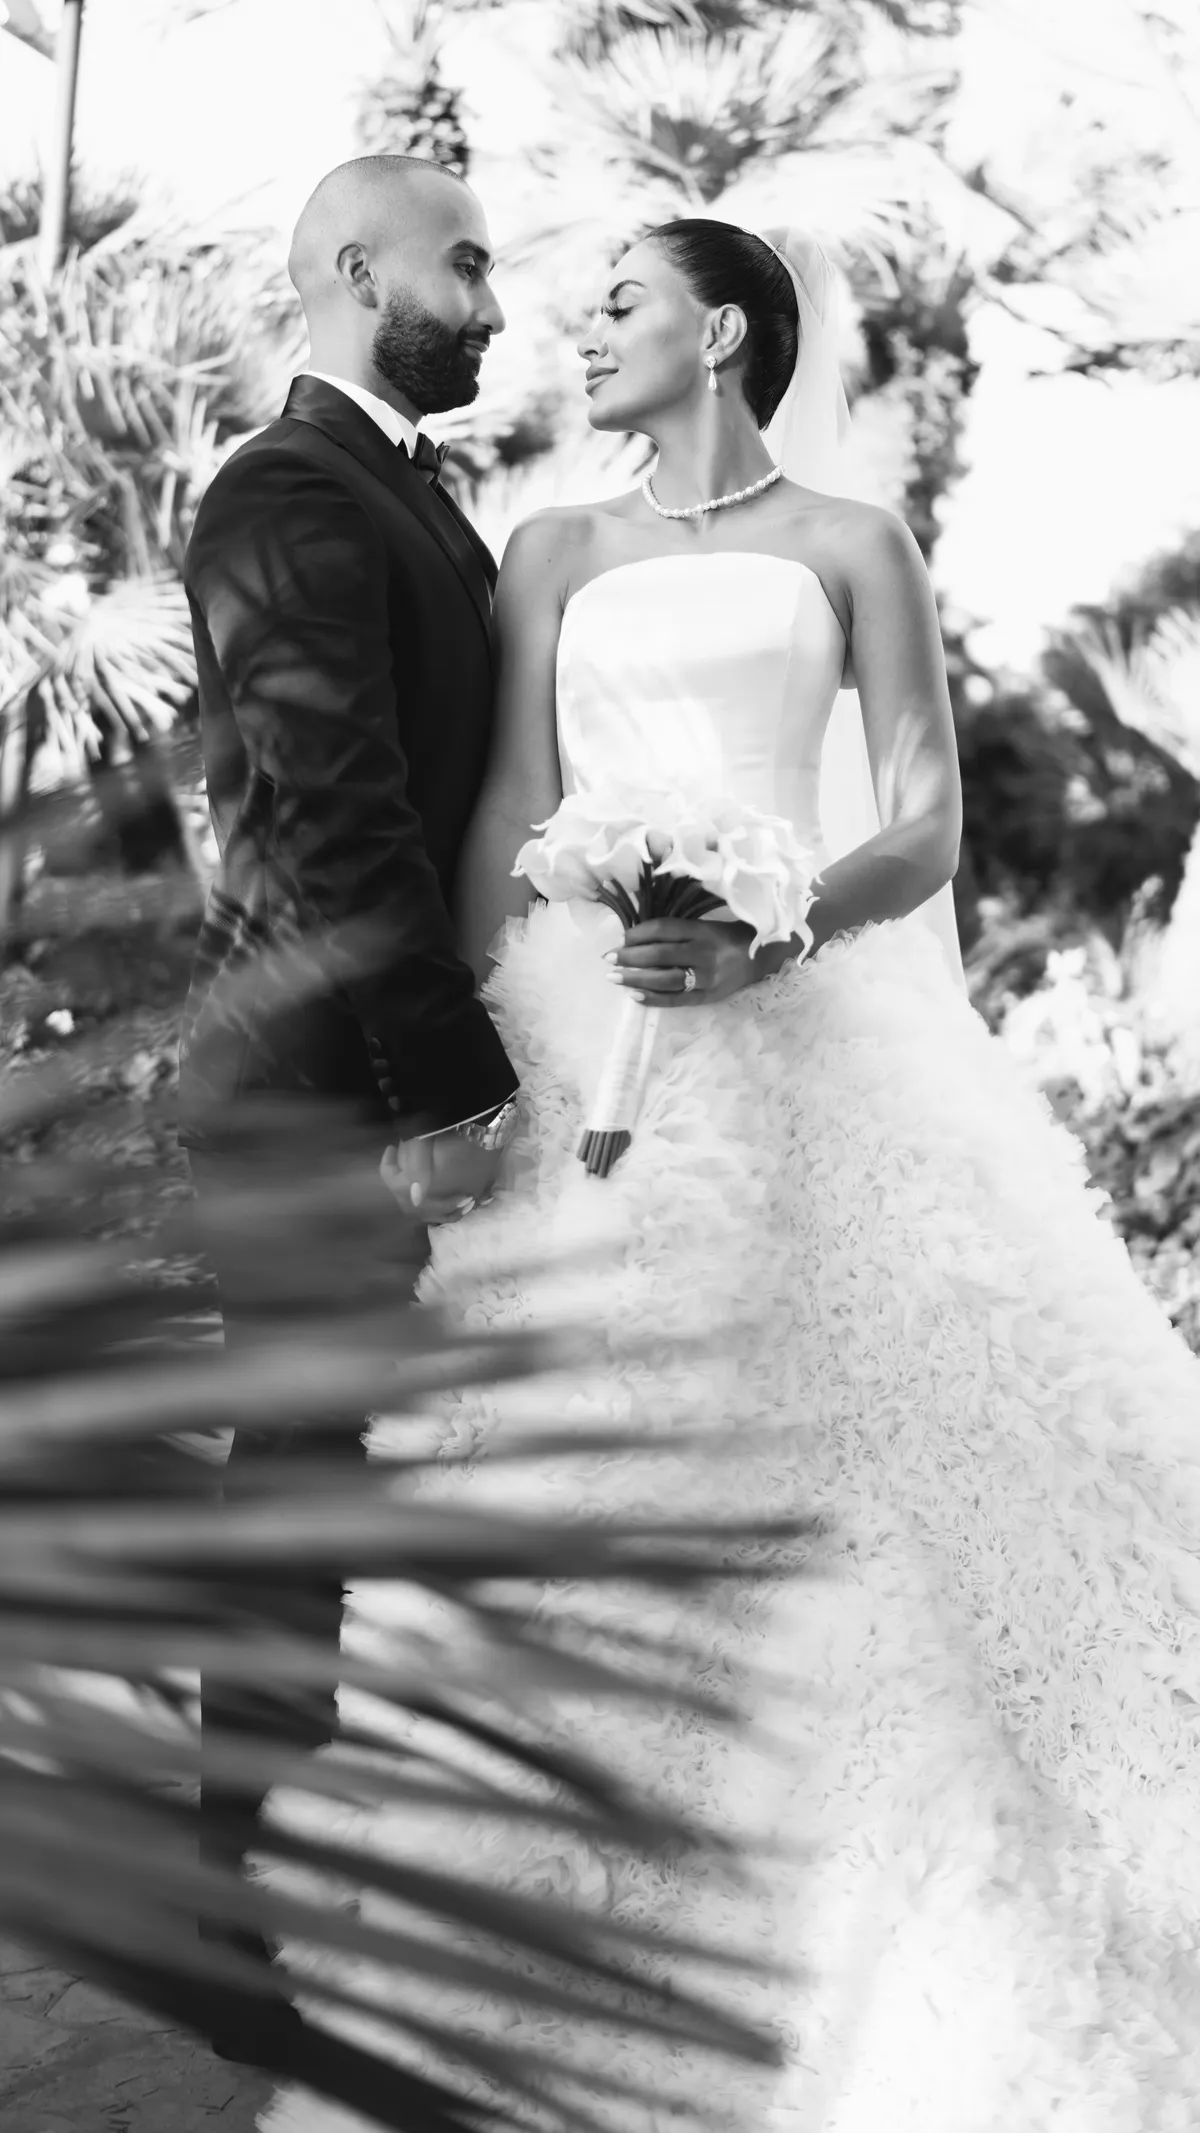
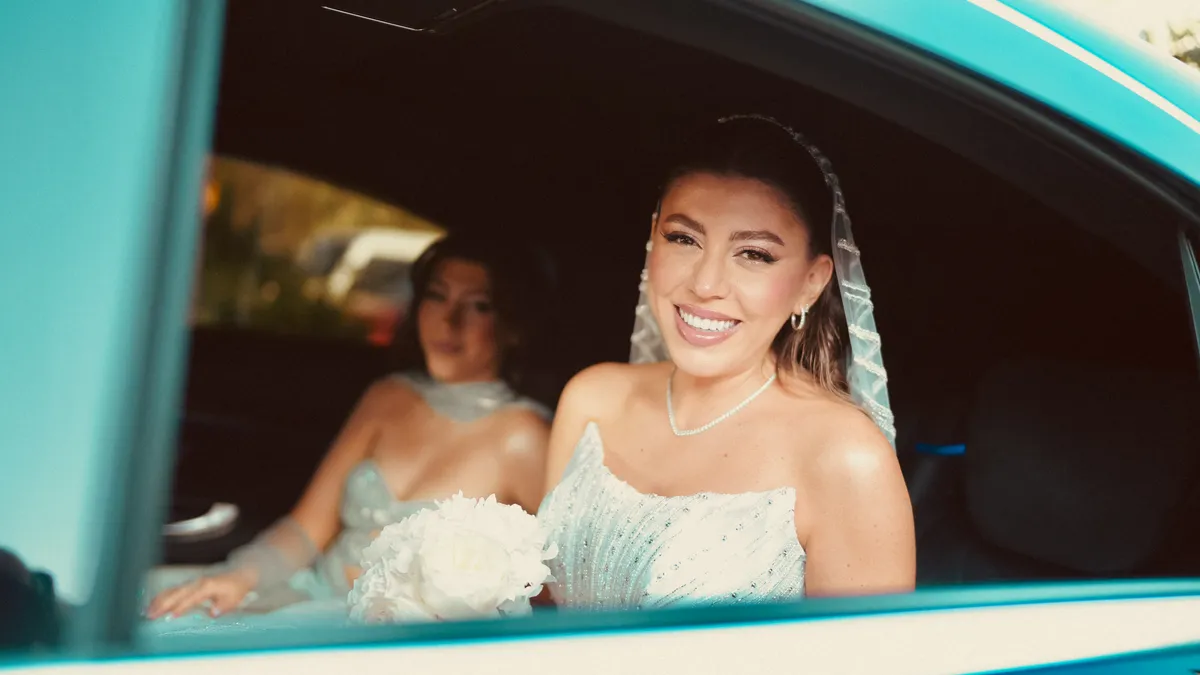
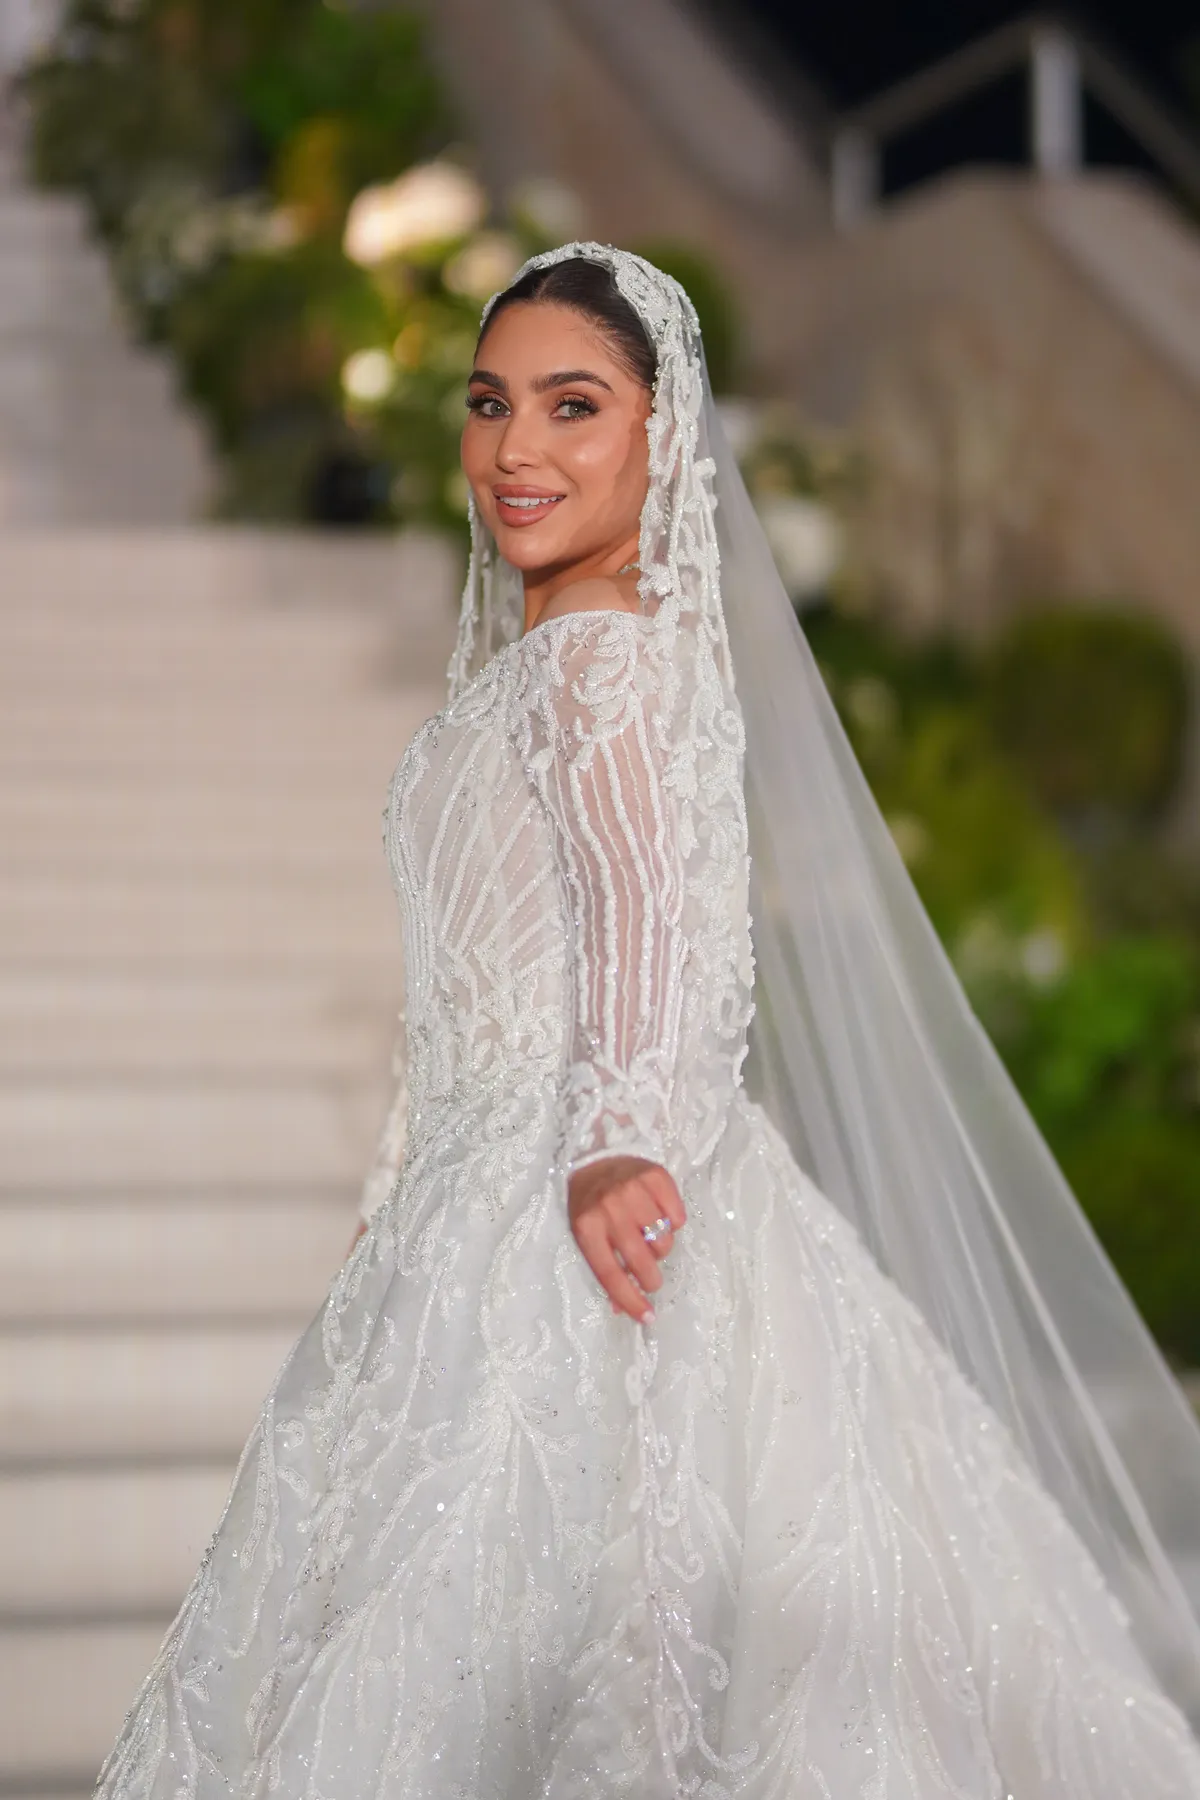
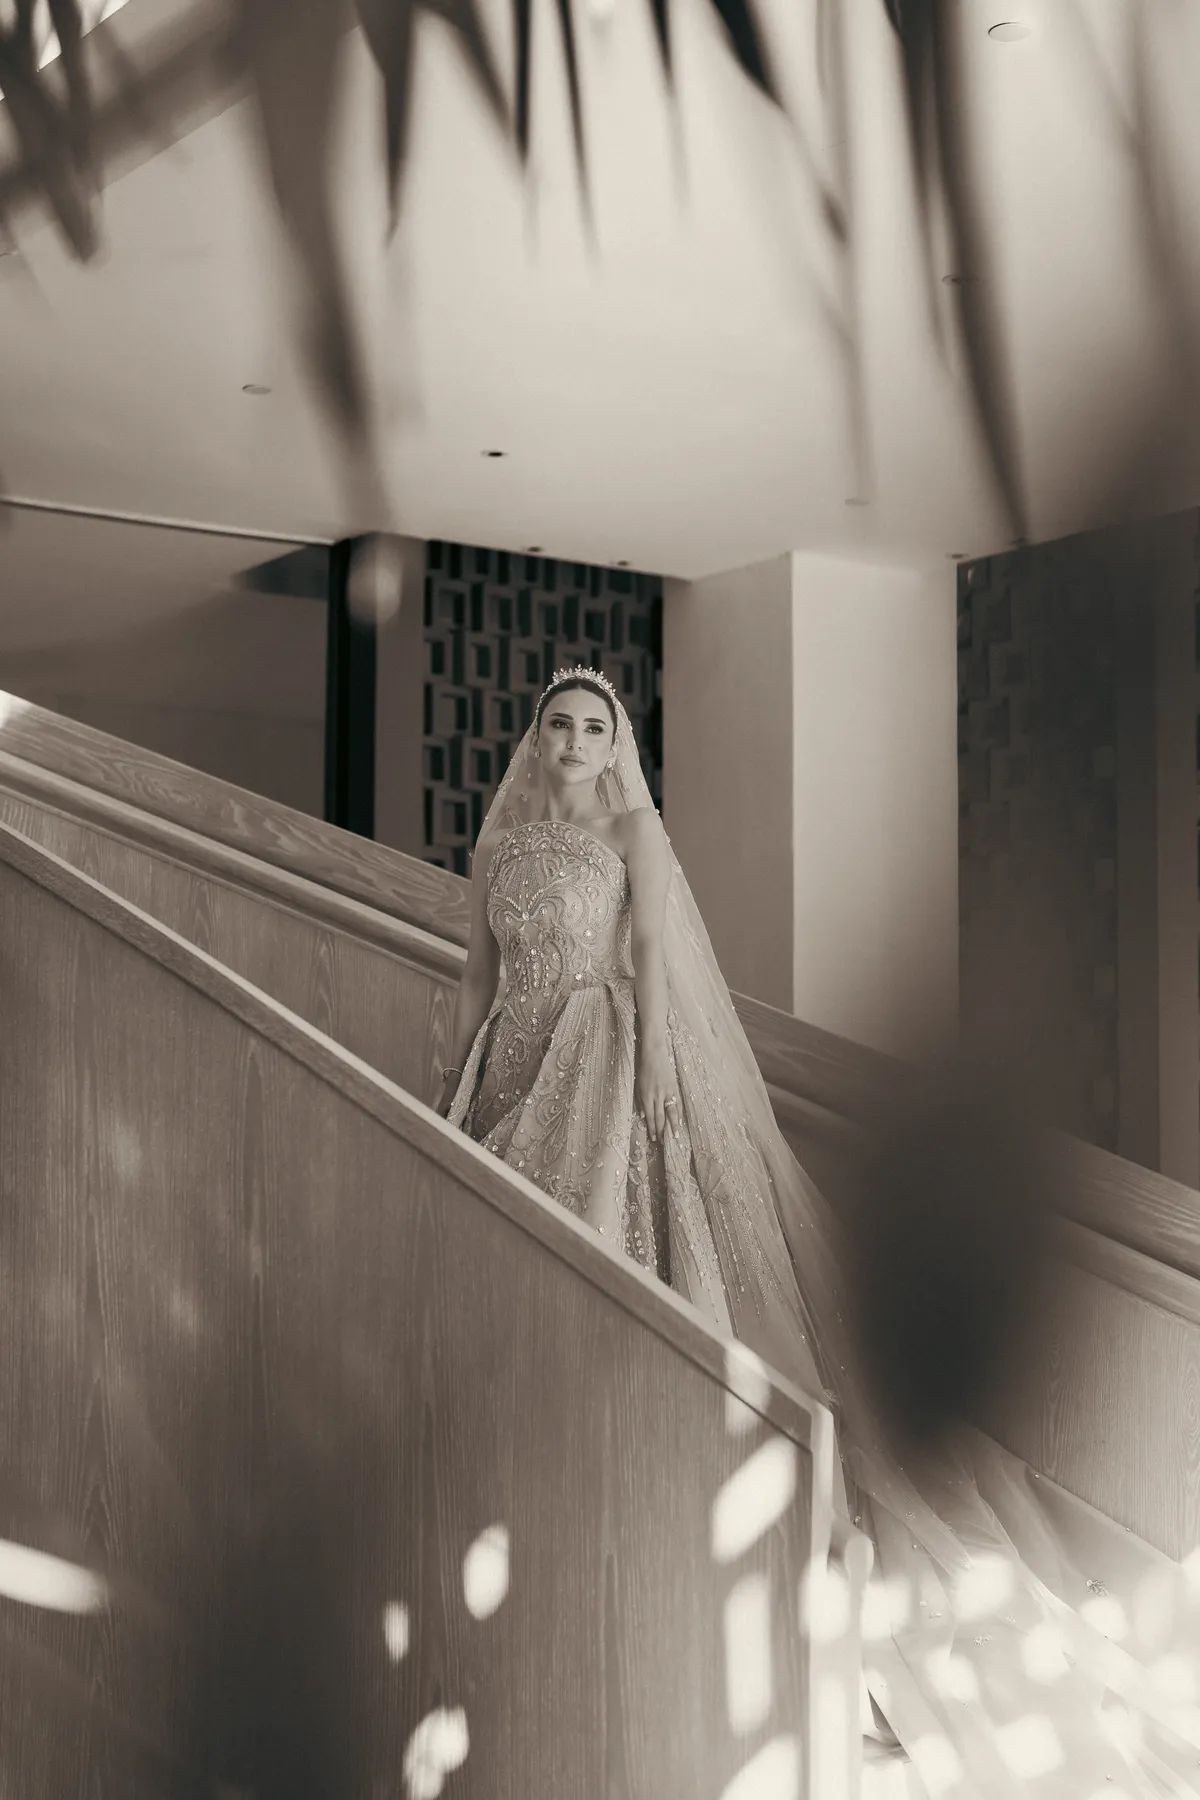
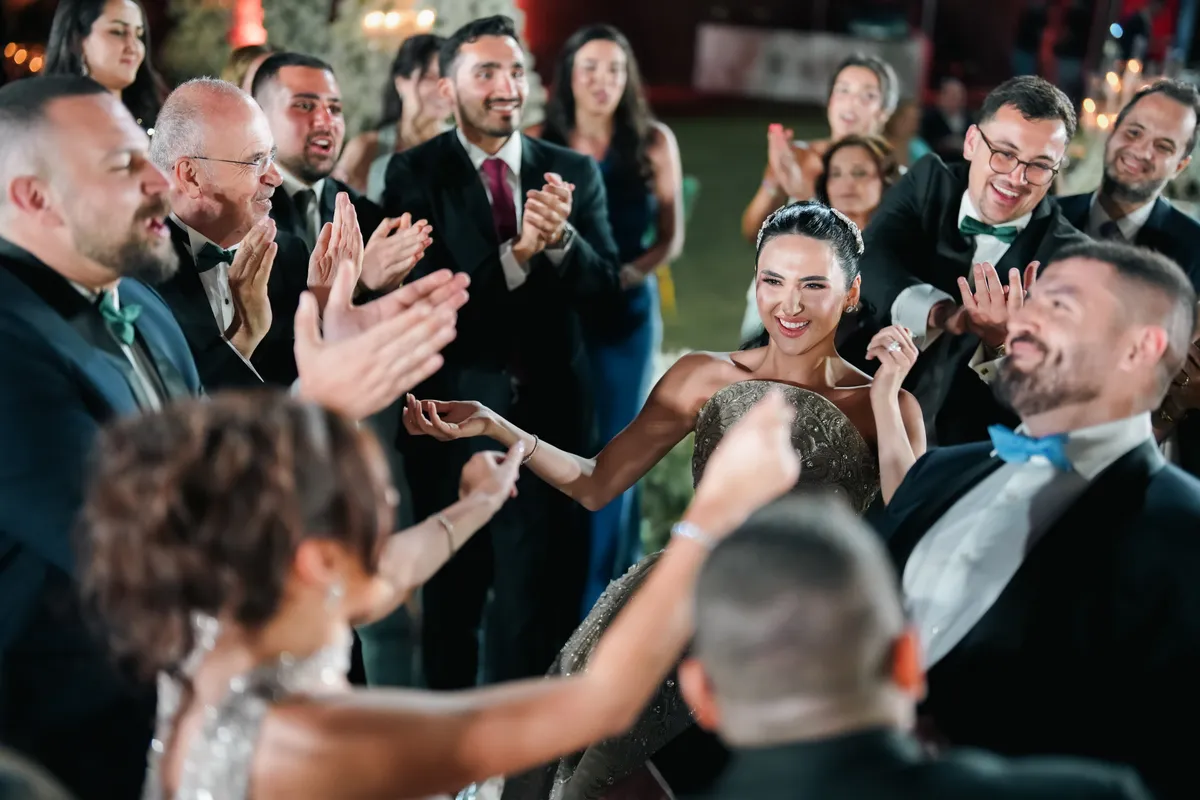
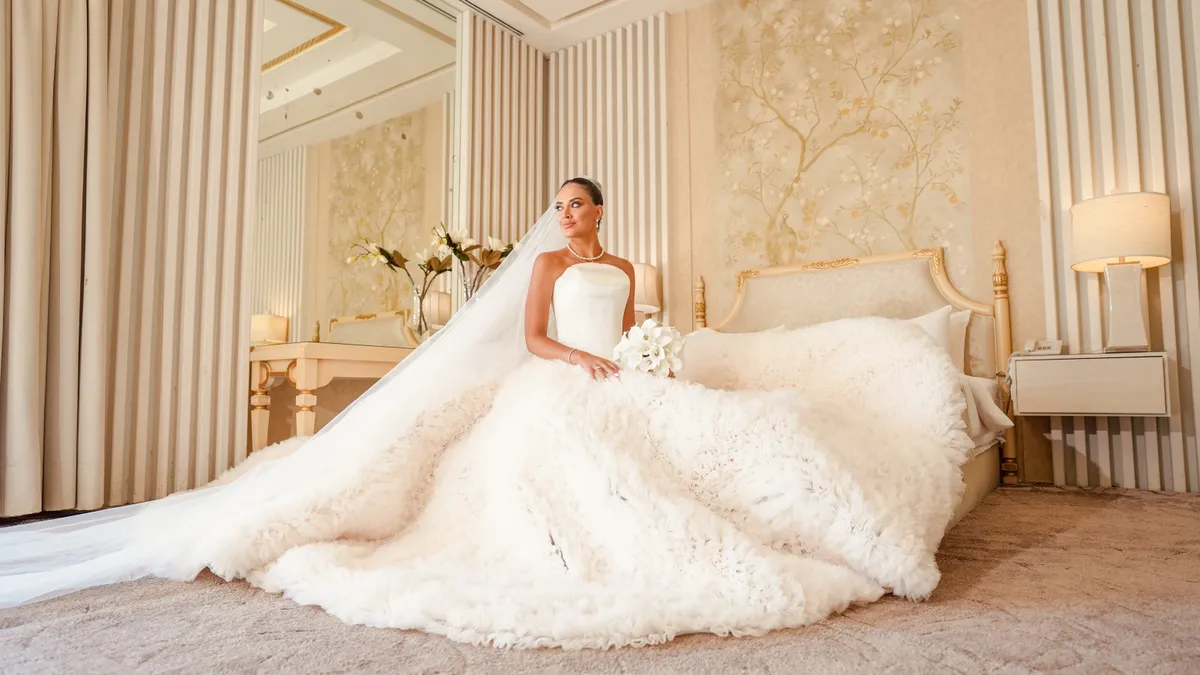
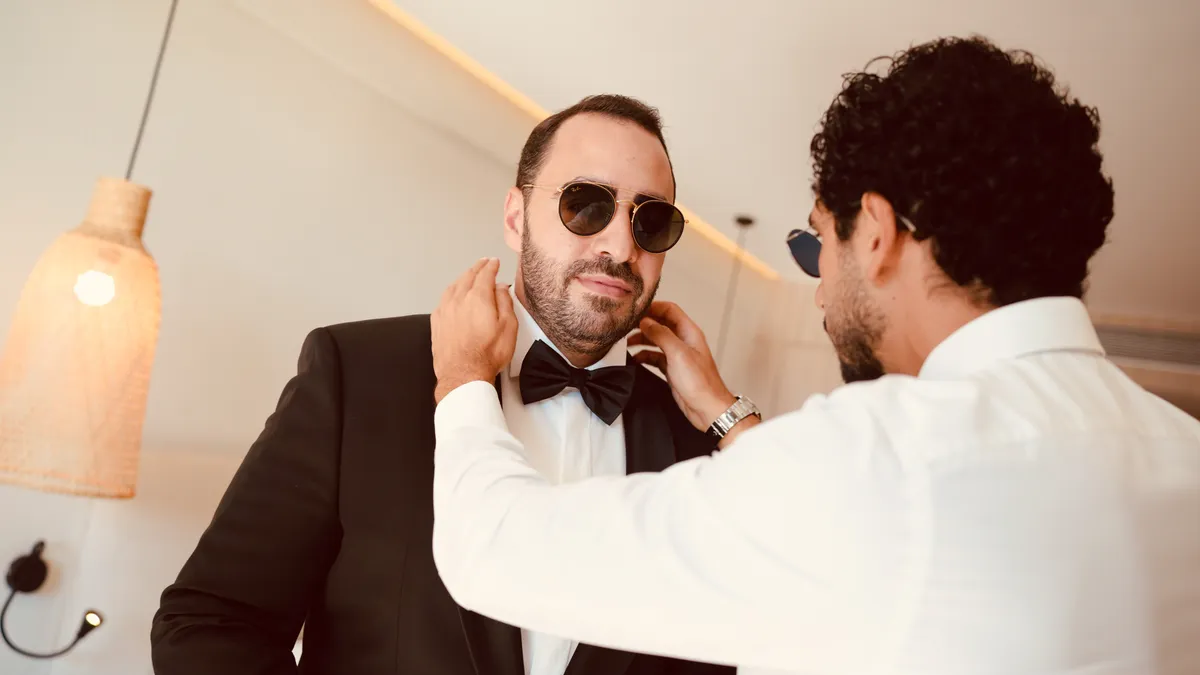
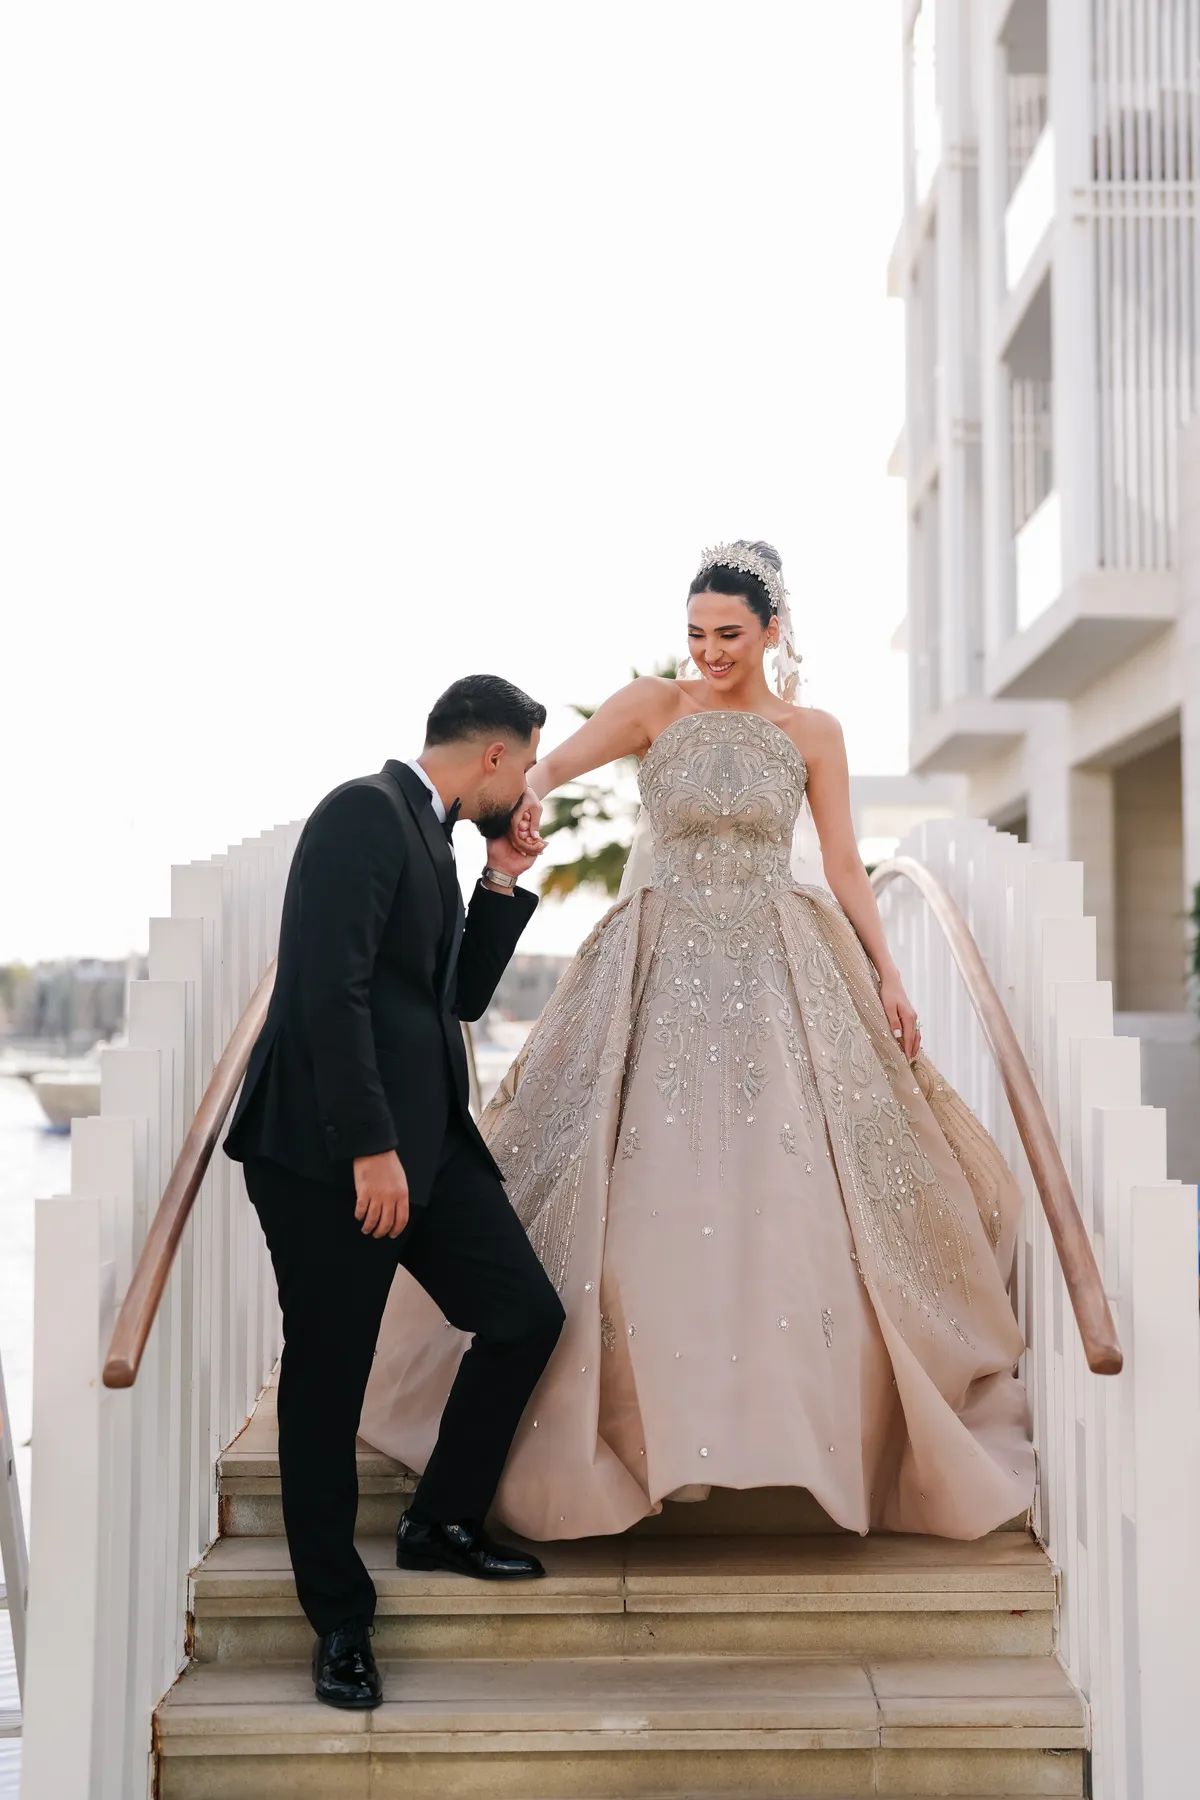
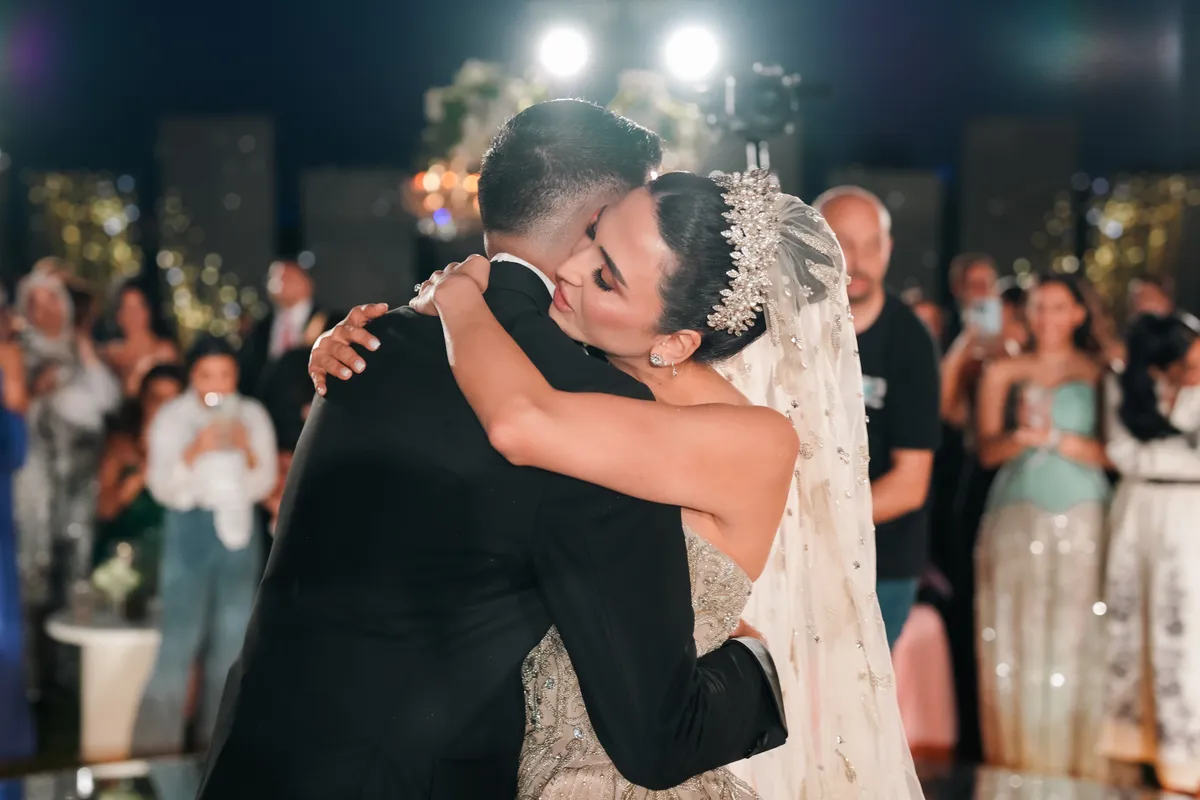
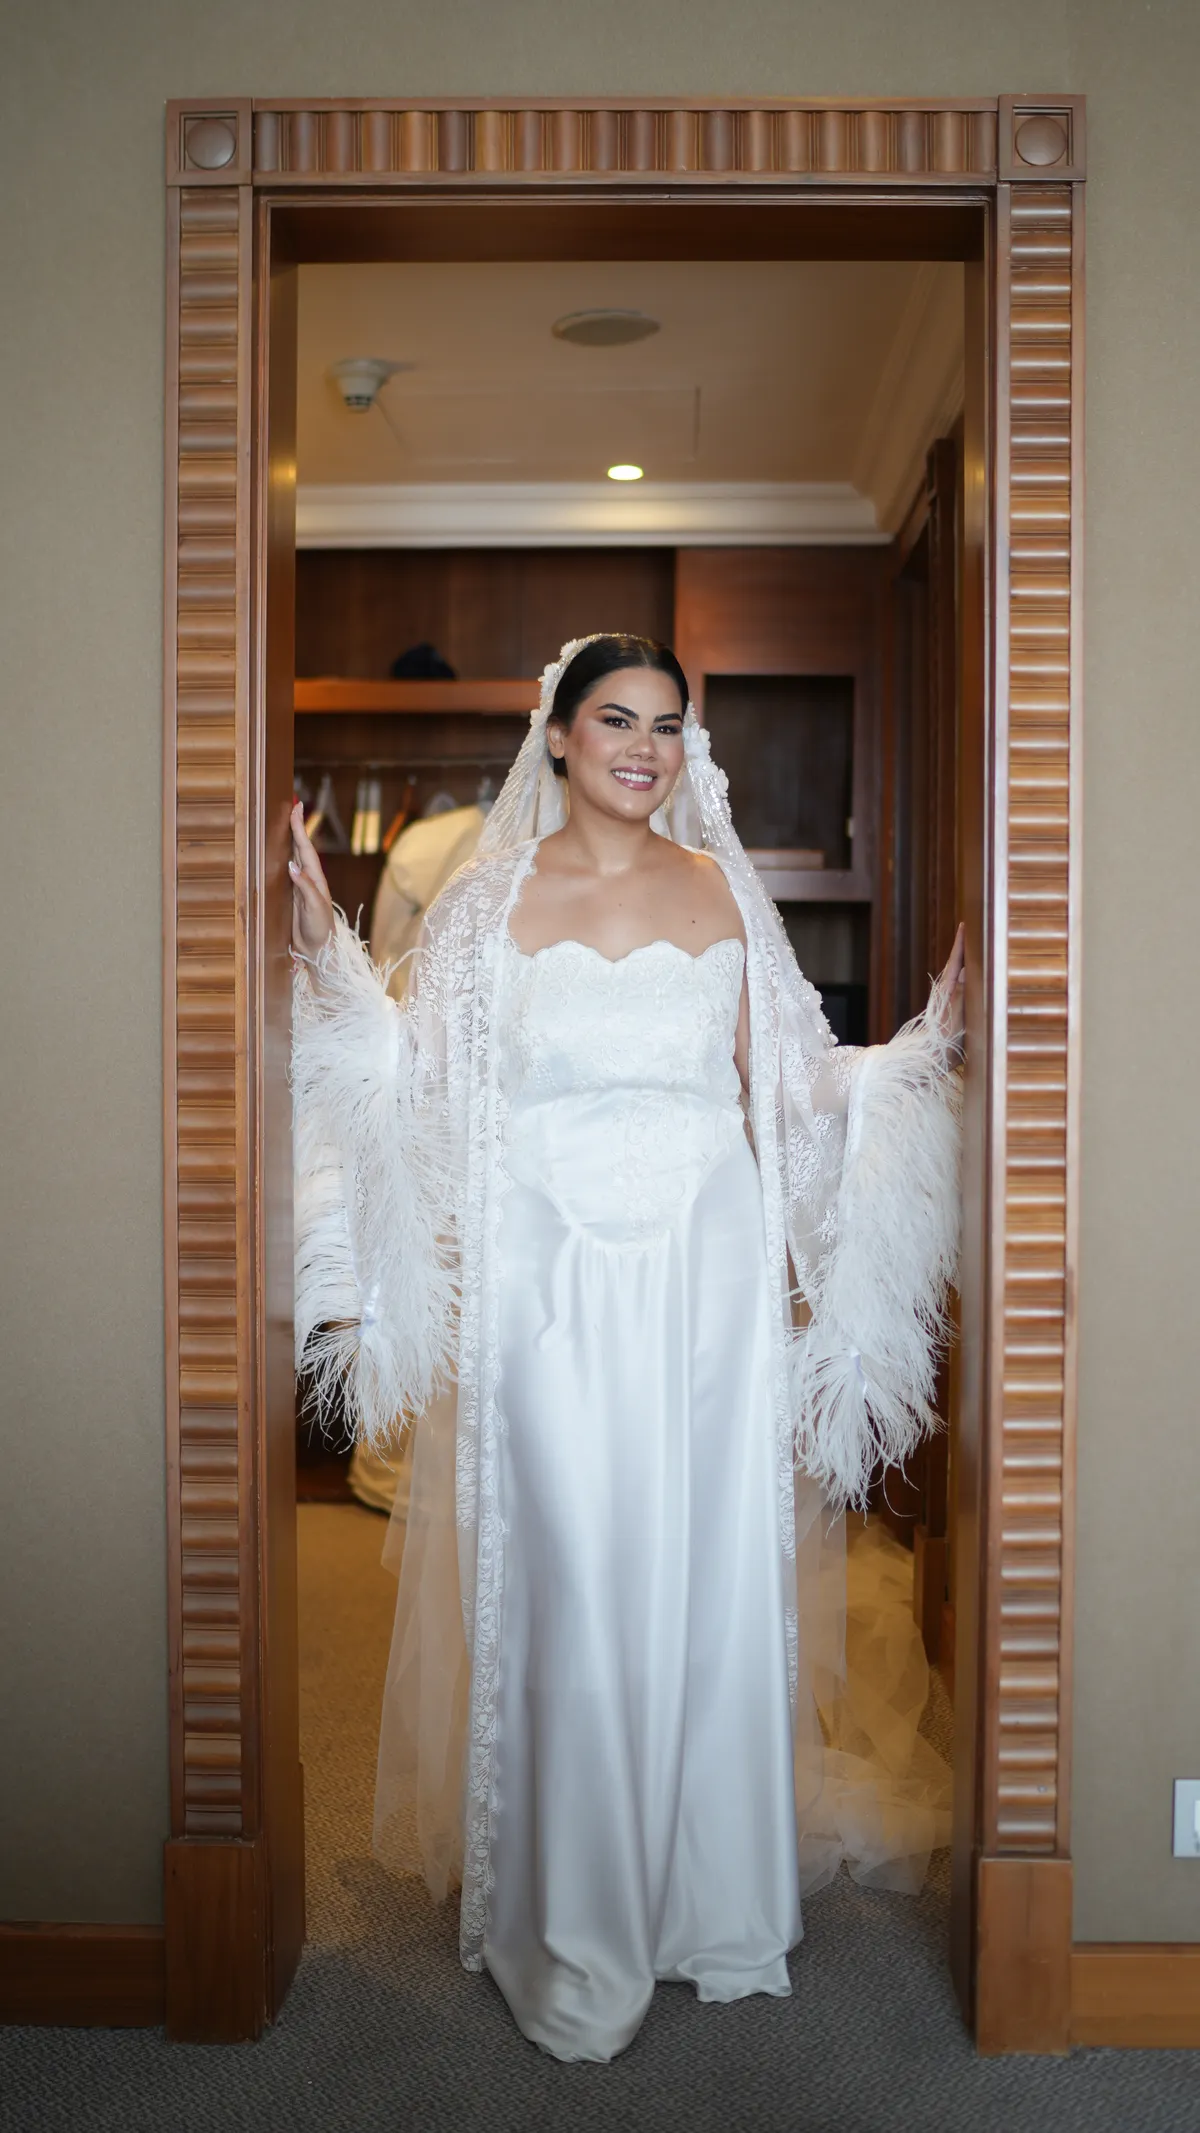
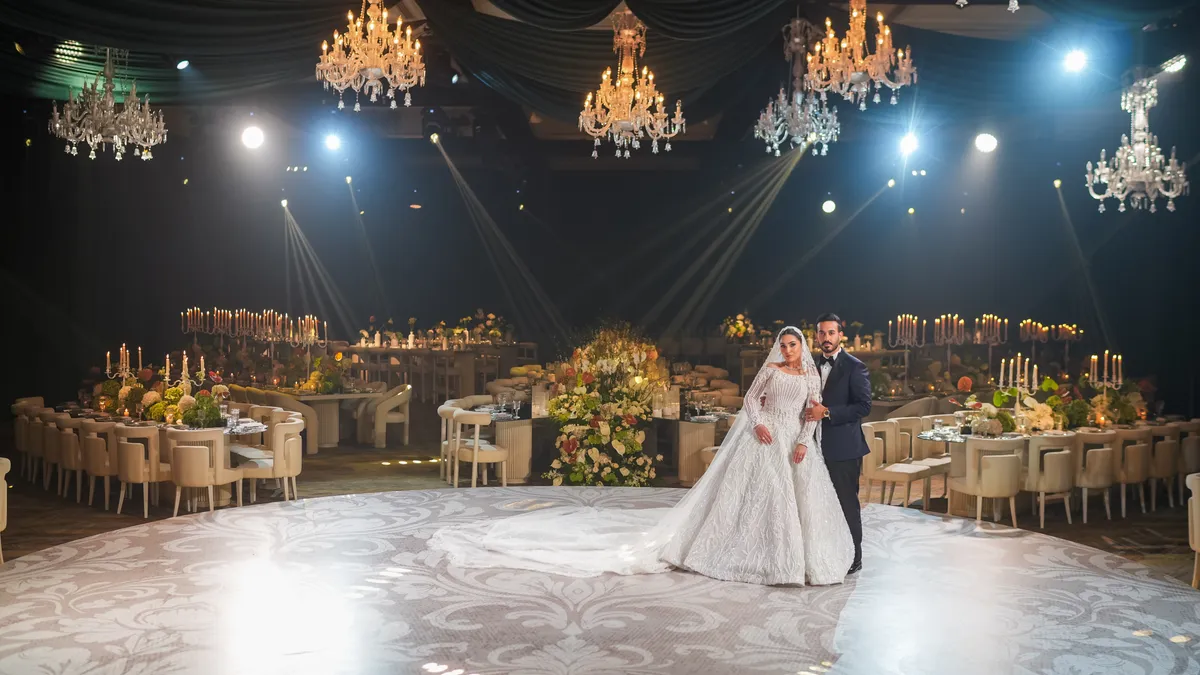
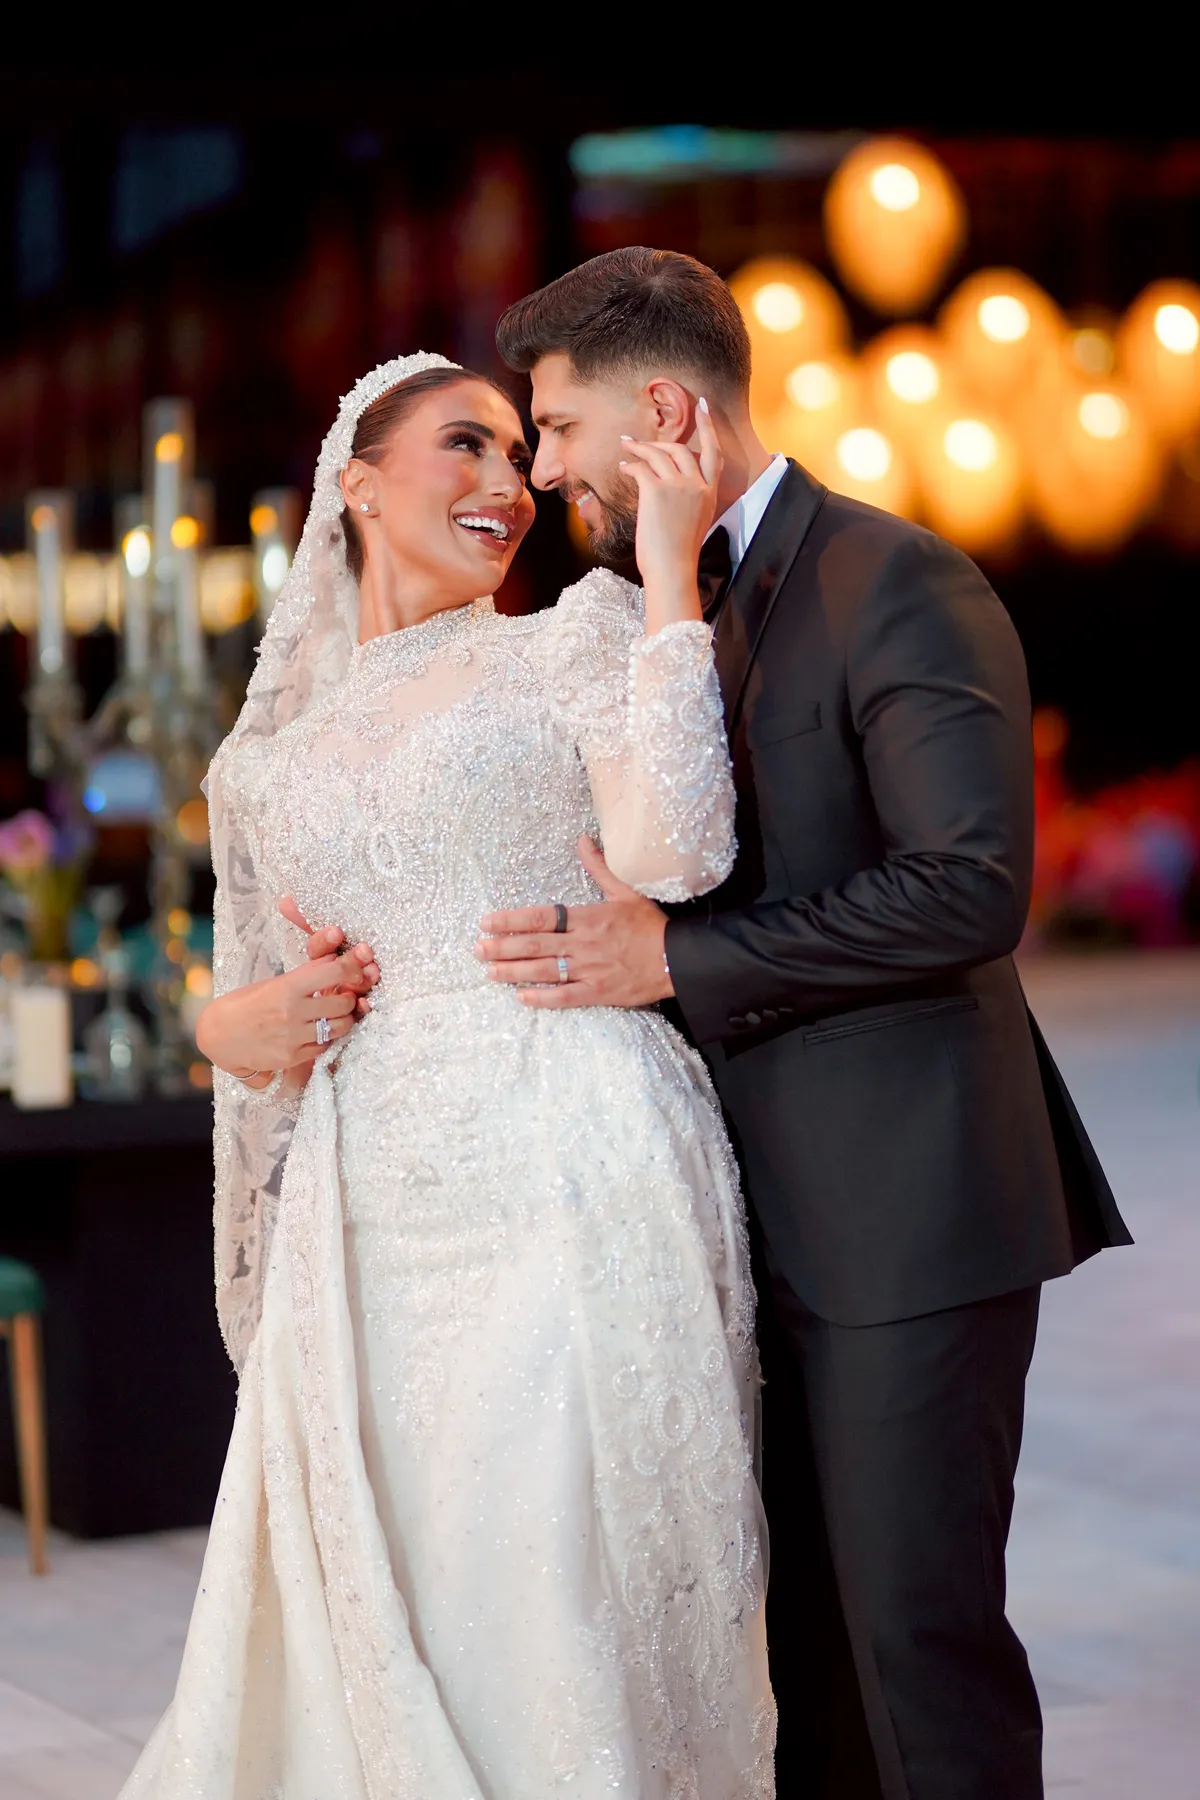
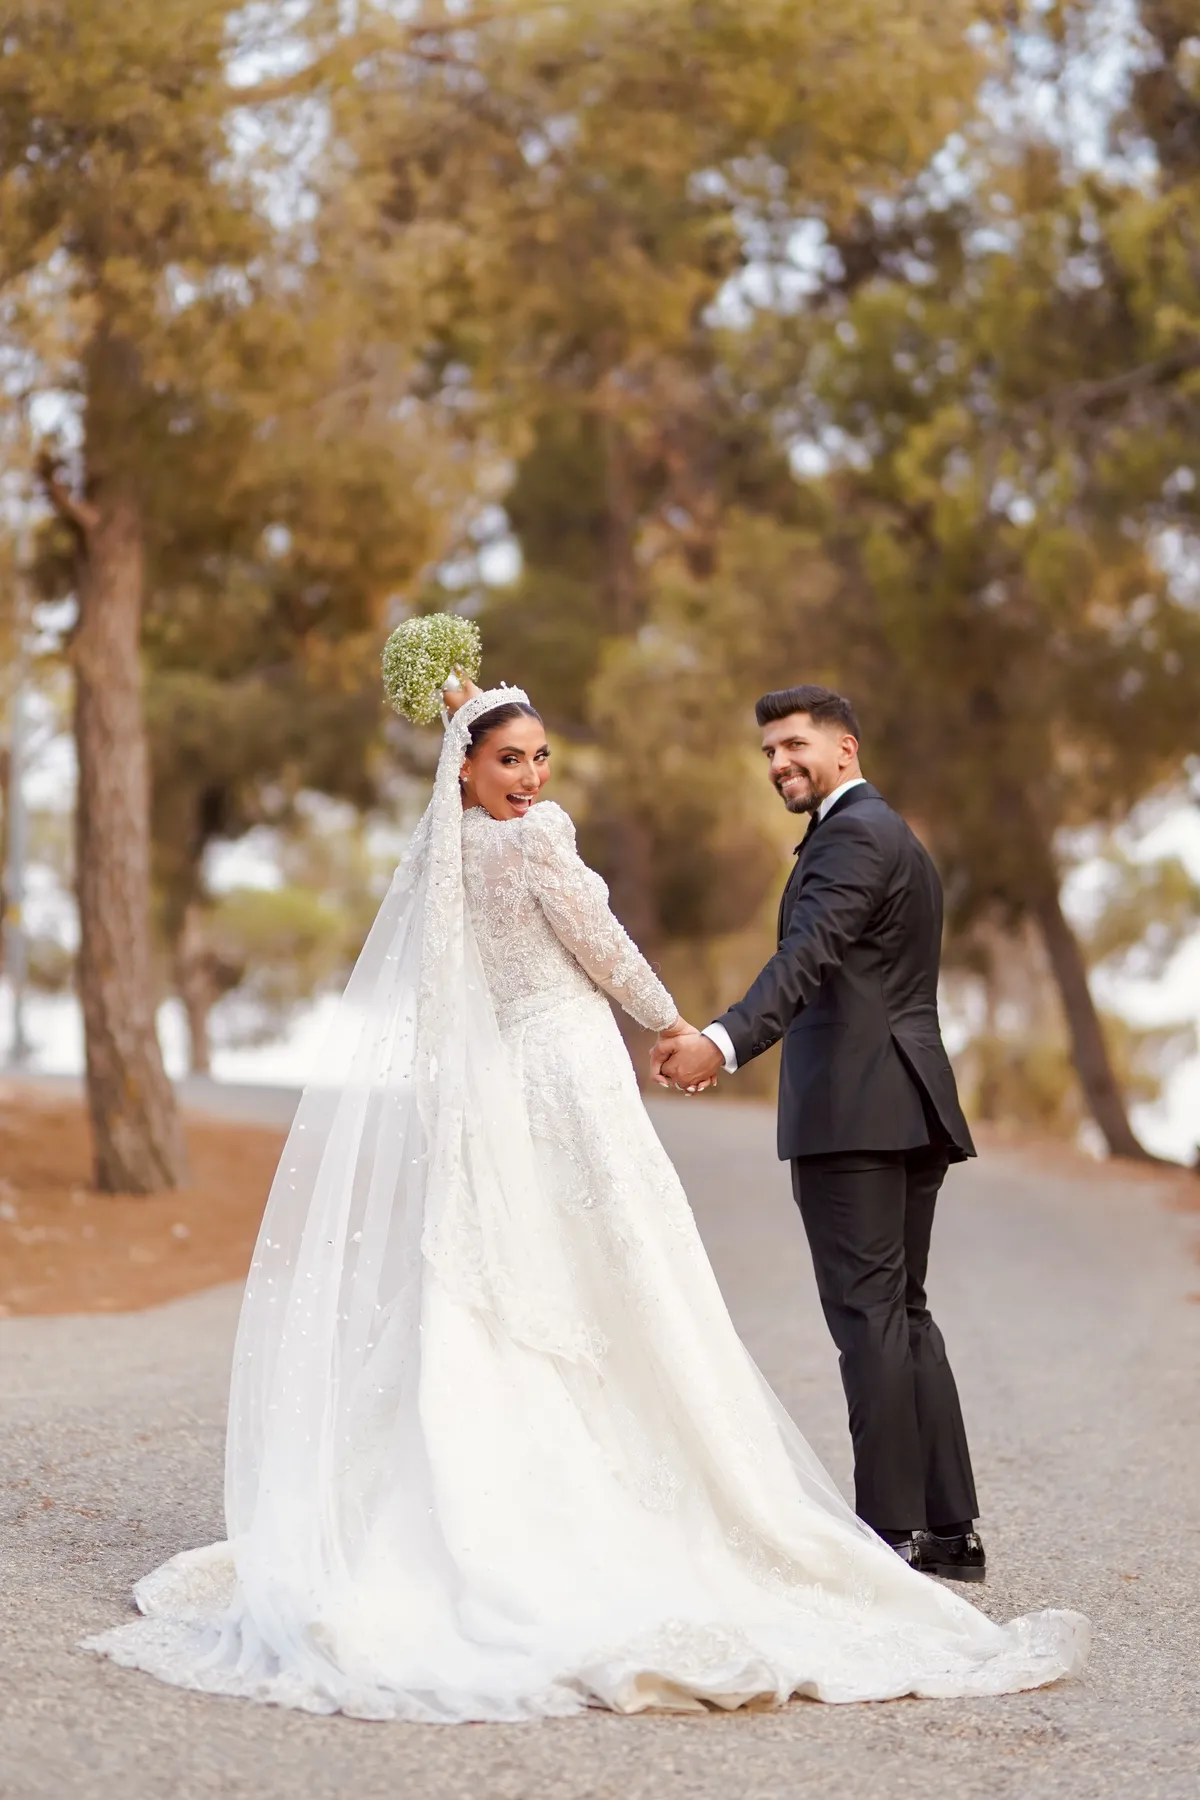
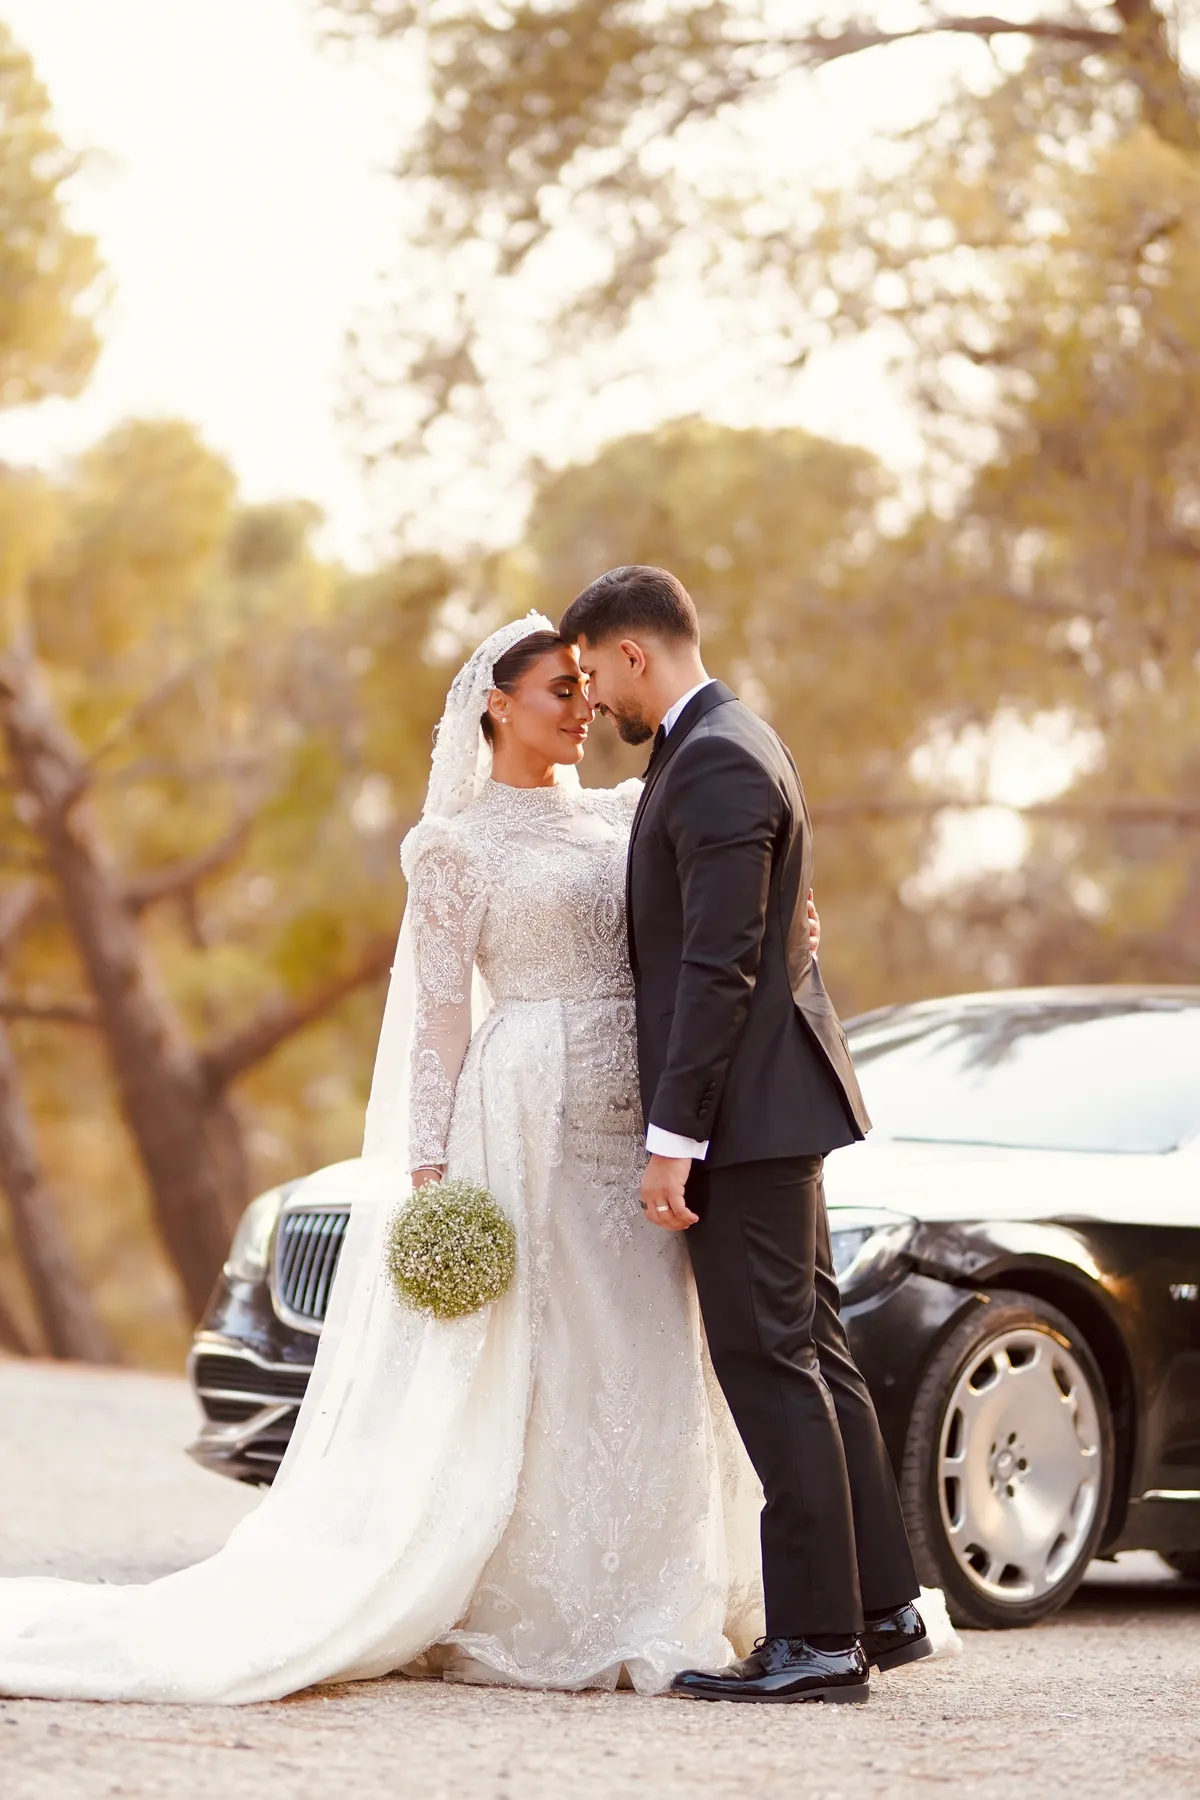
  • Wedding photograph by DawwasEye Studios
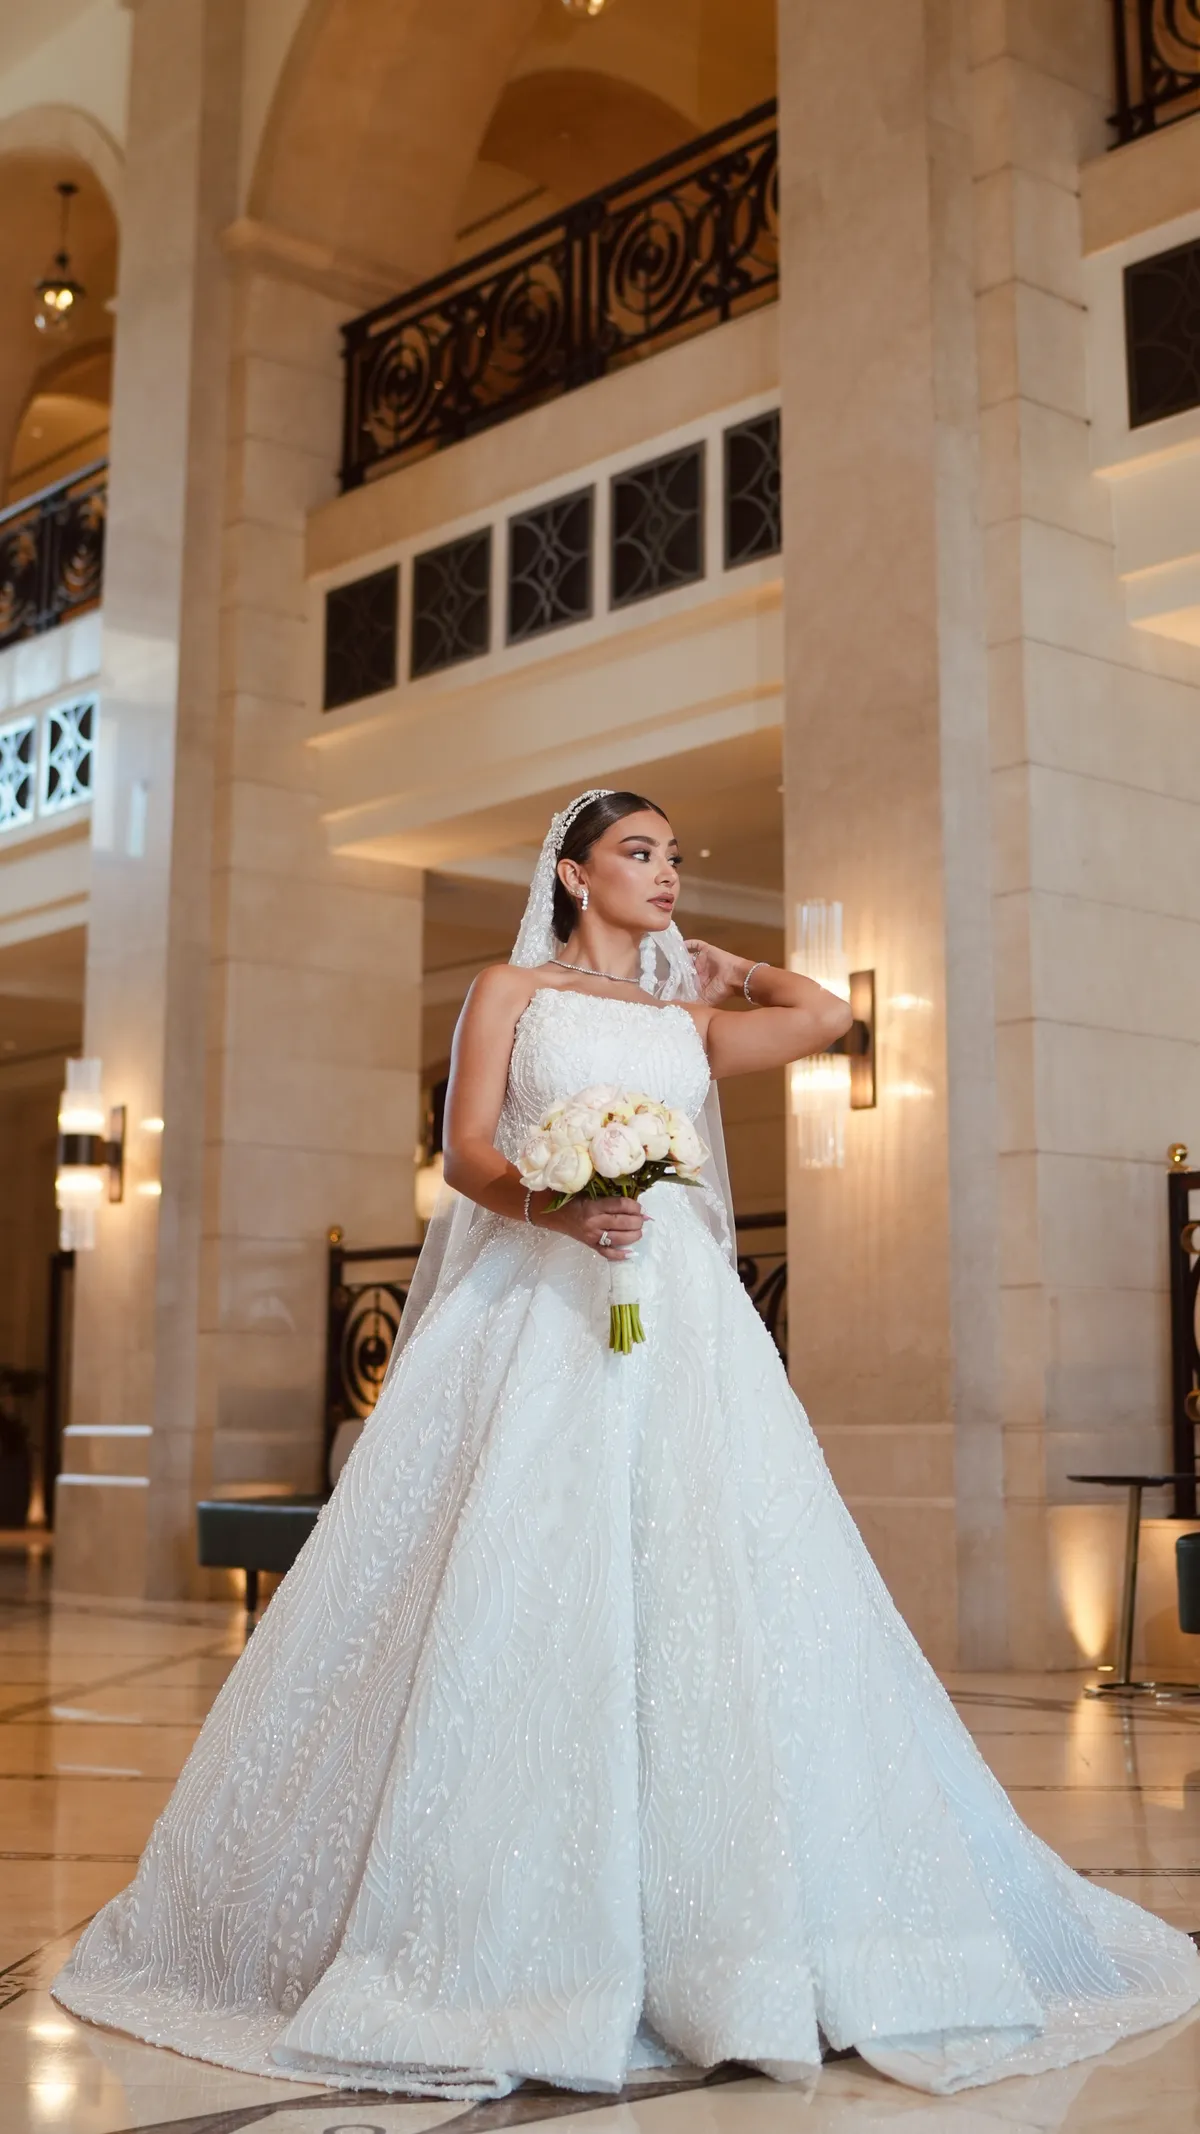
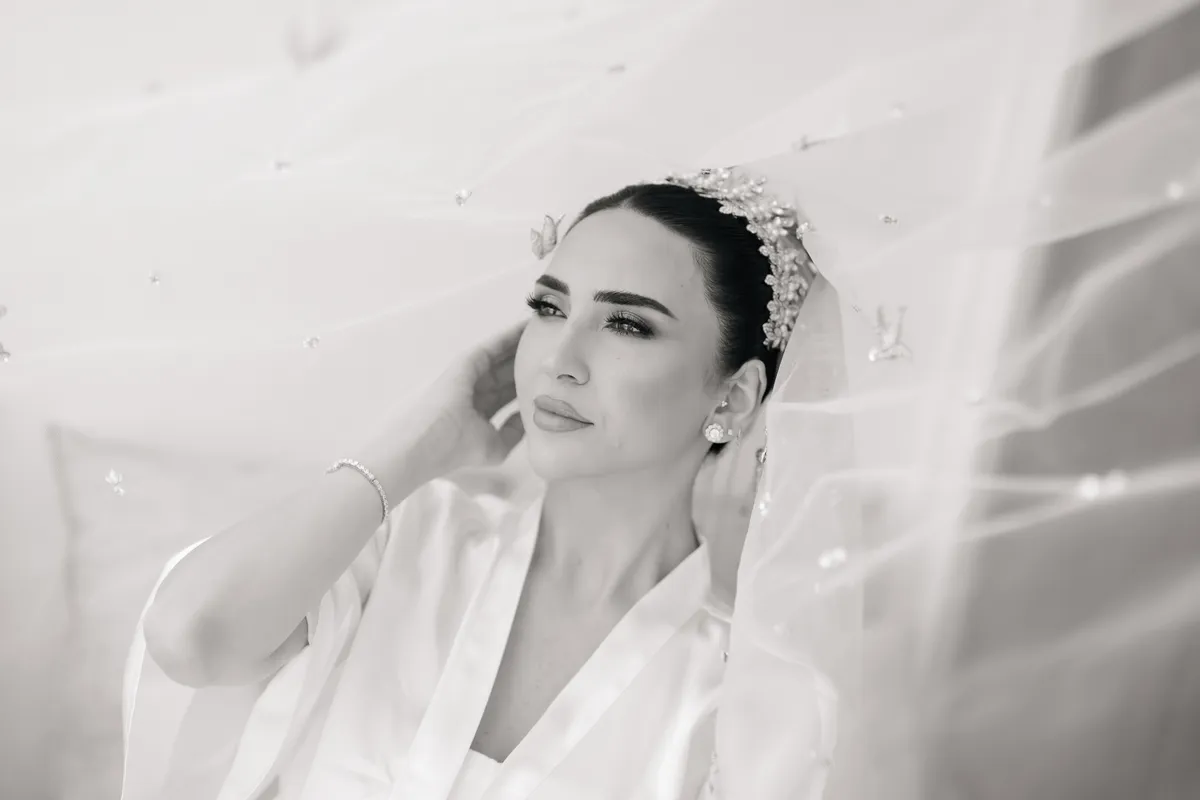
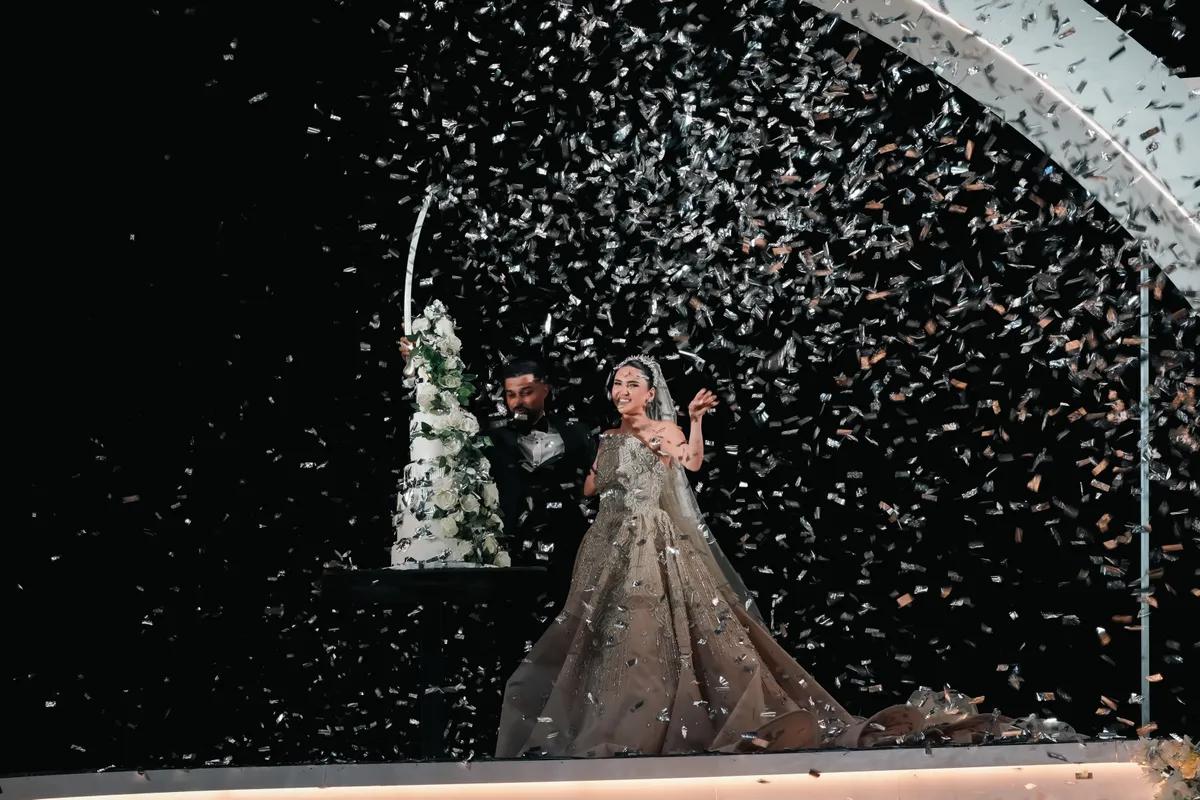
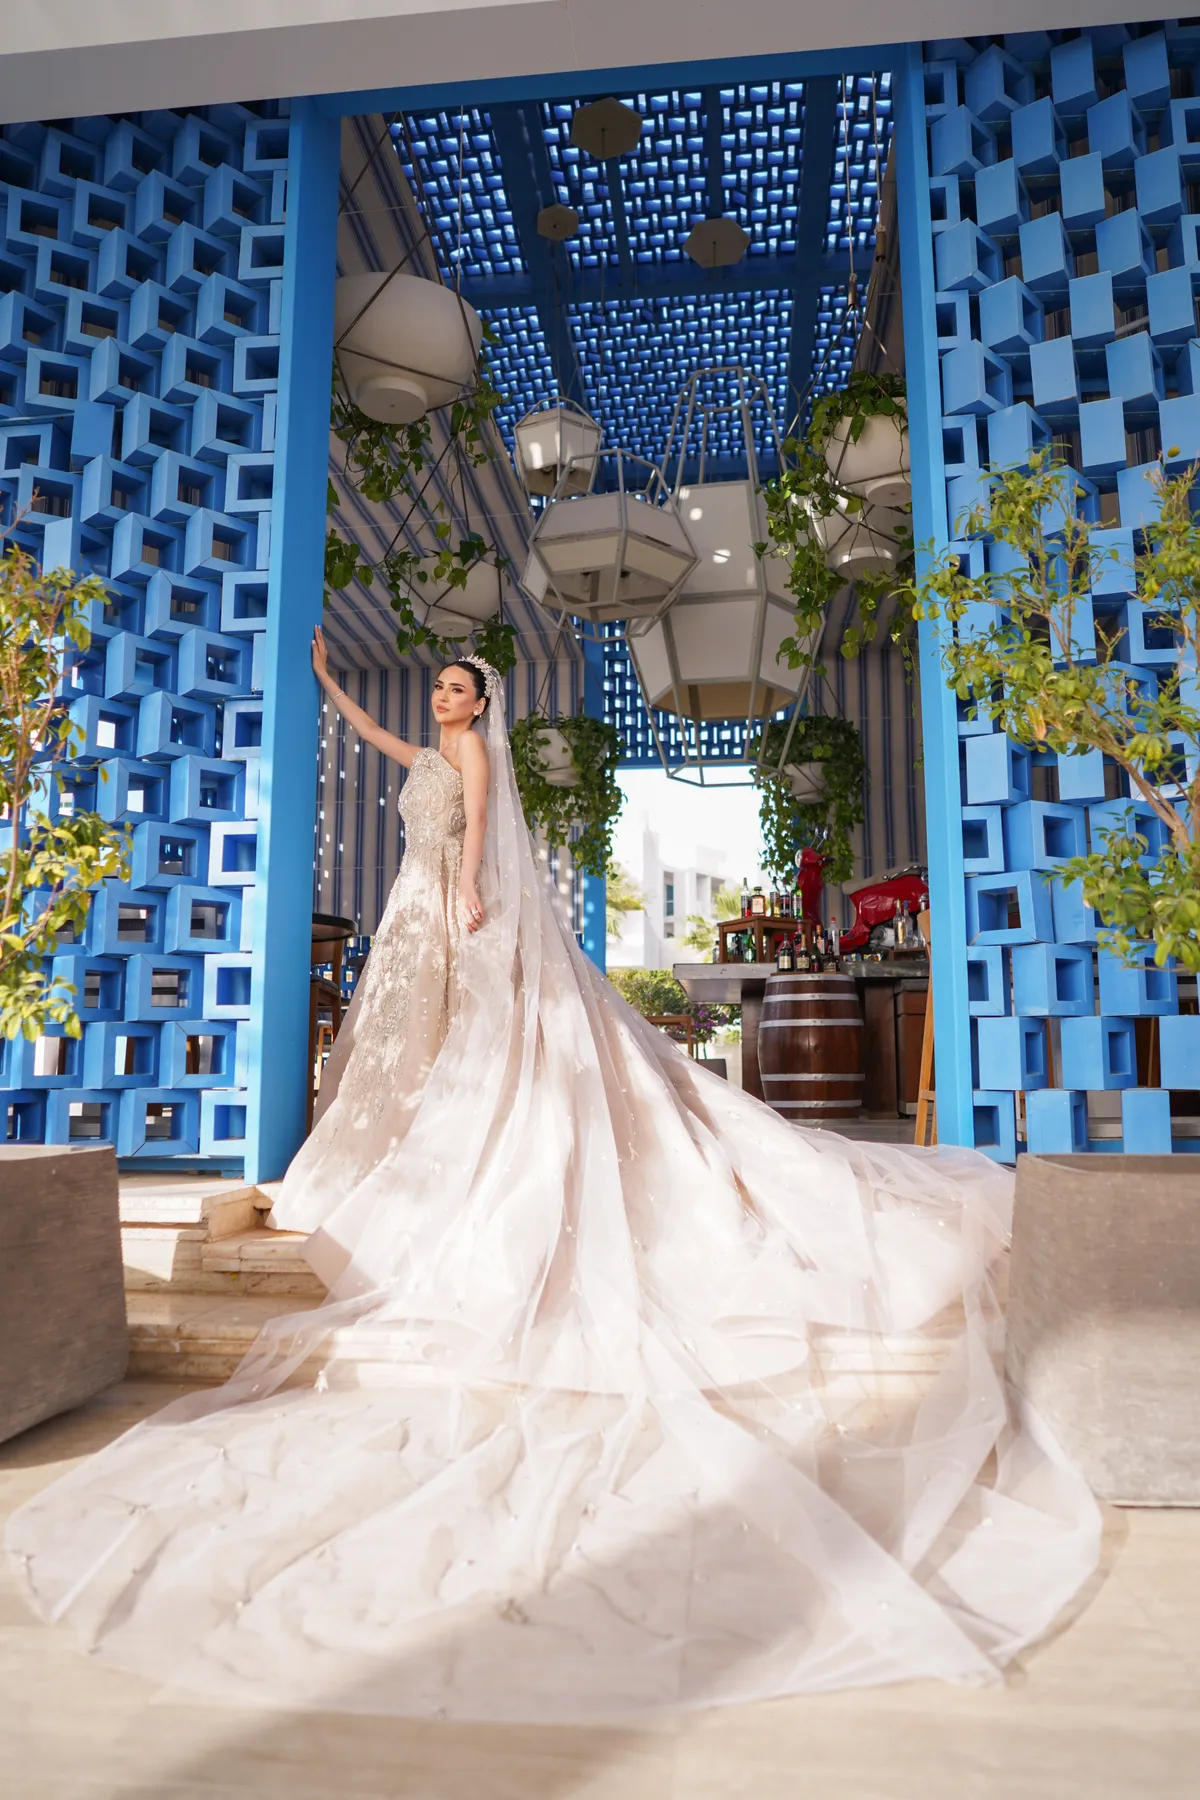
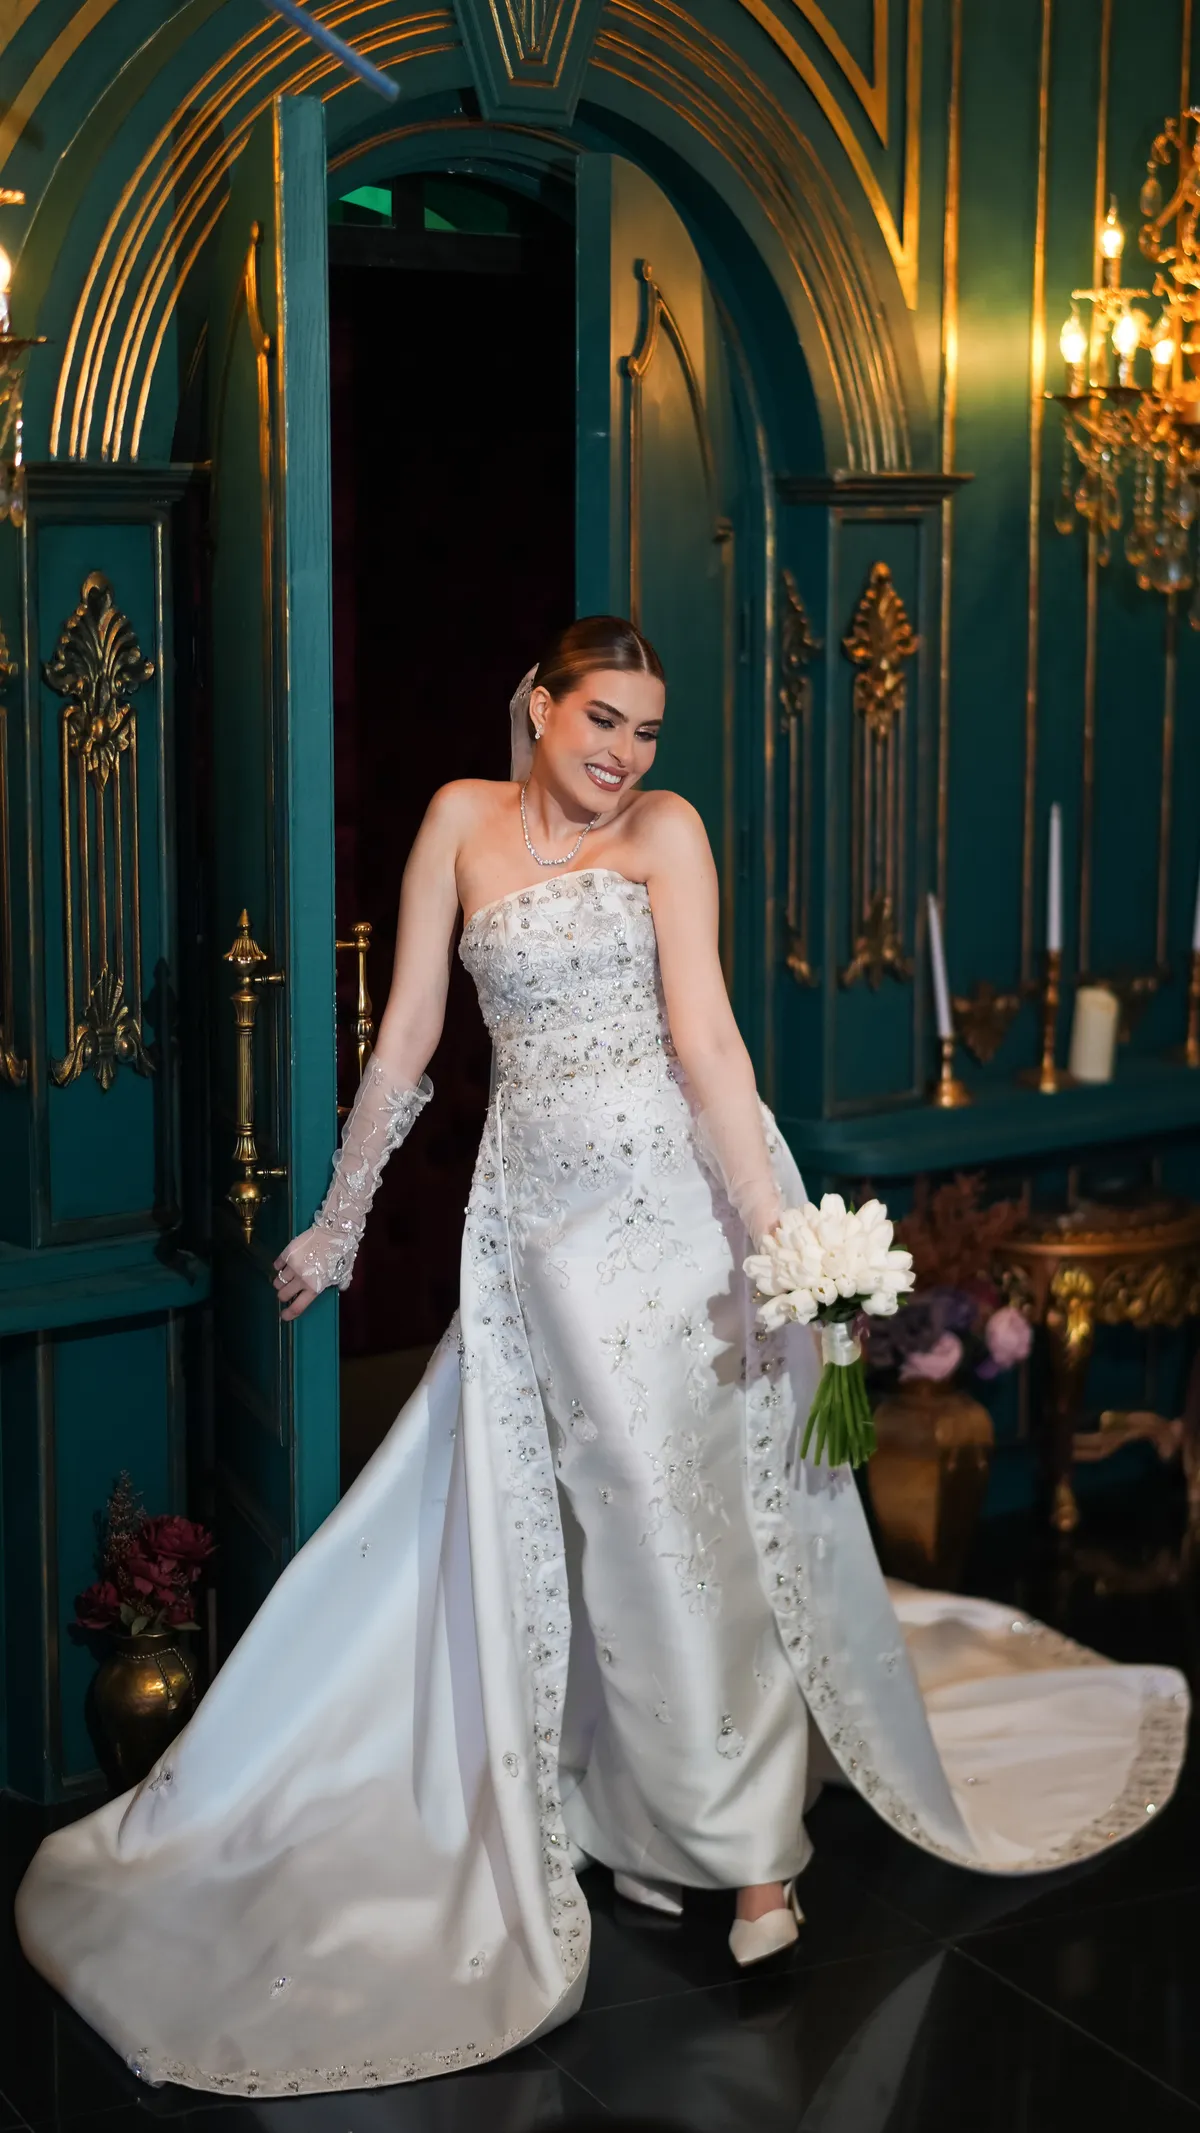
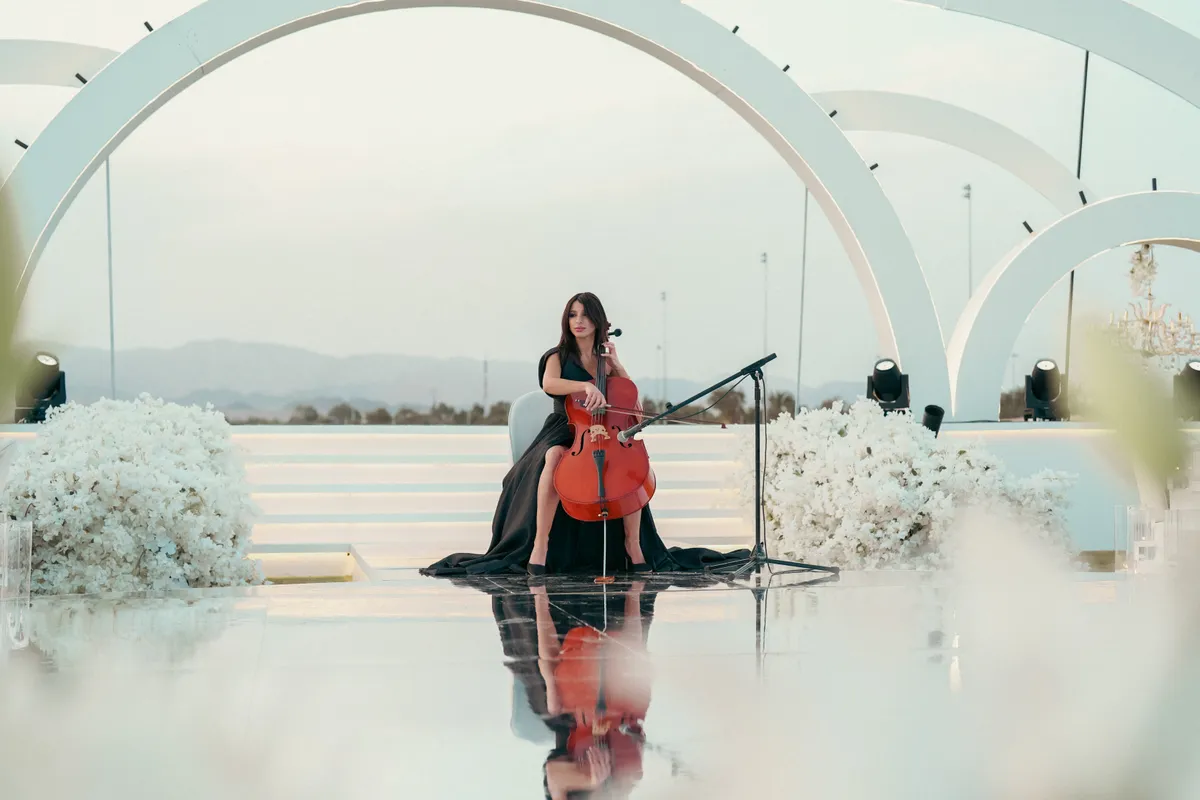
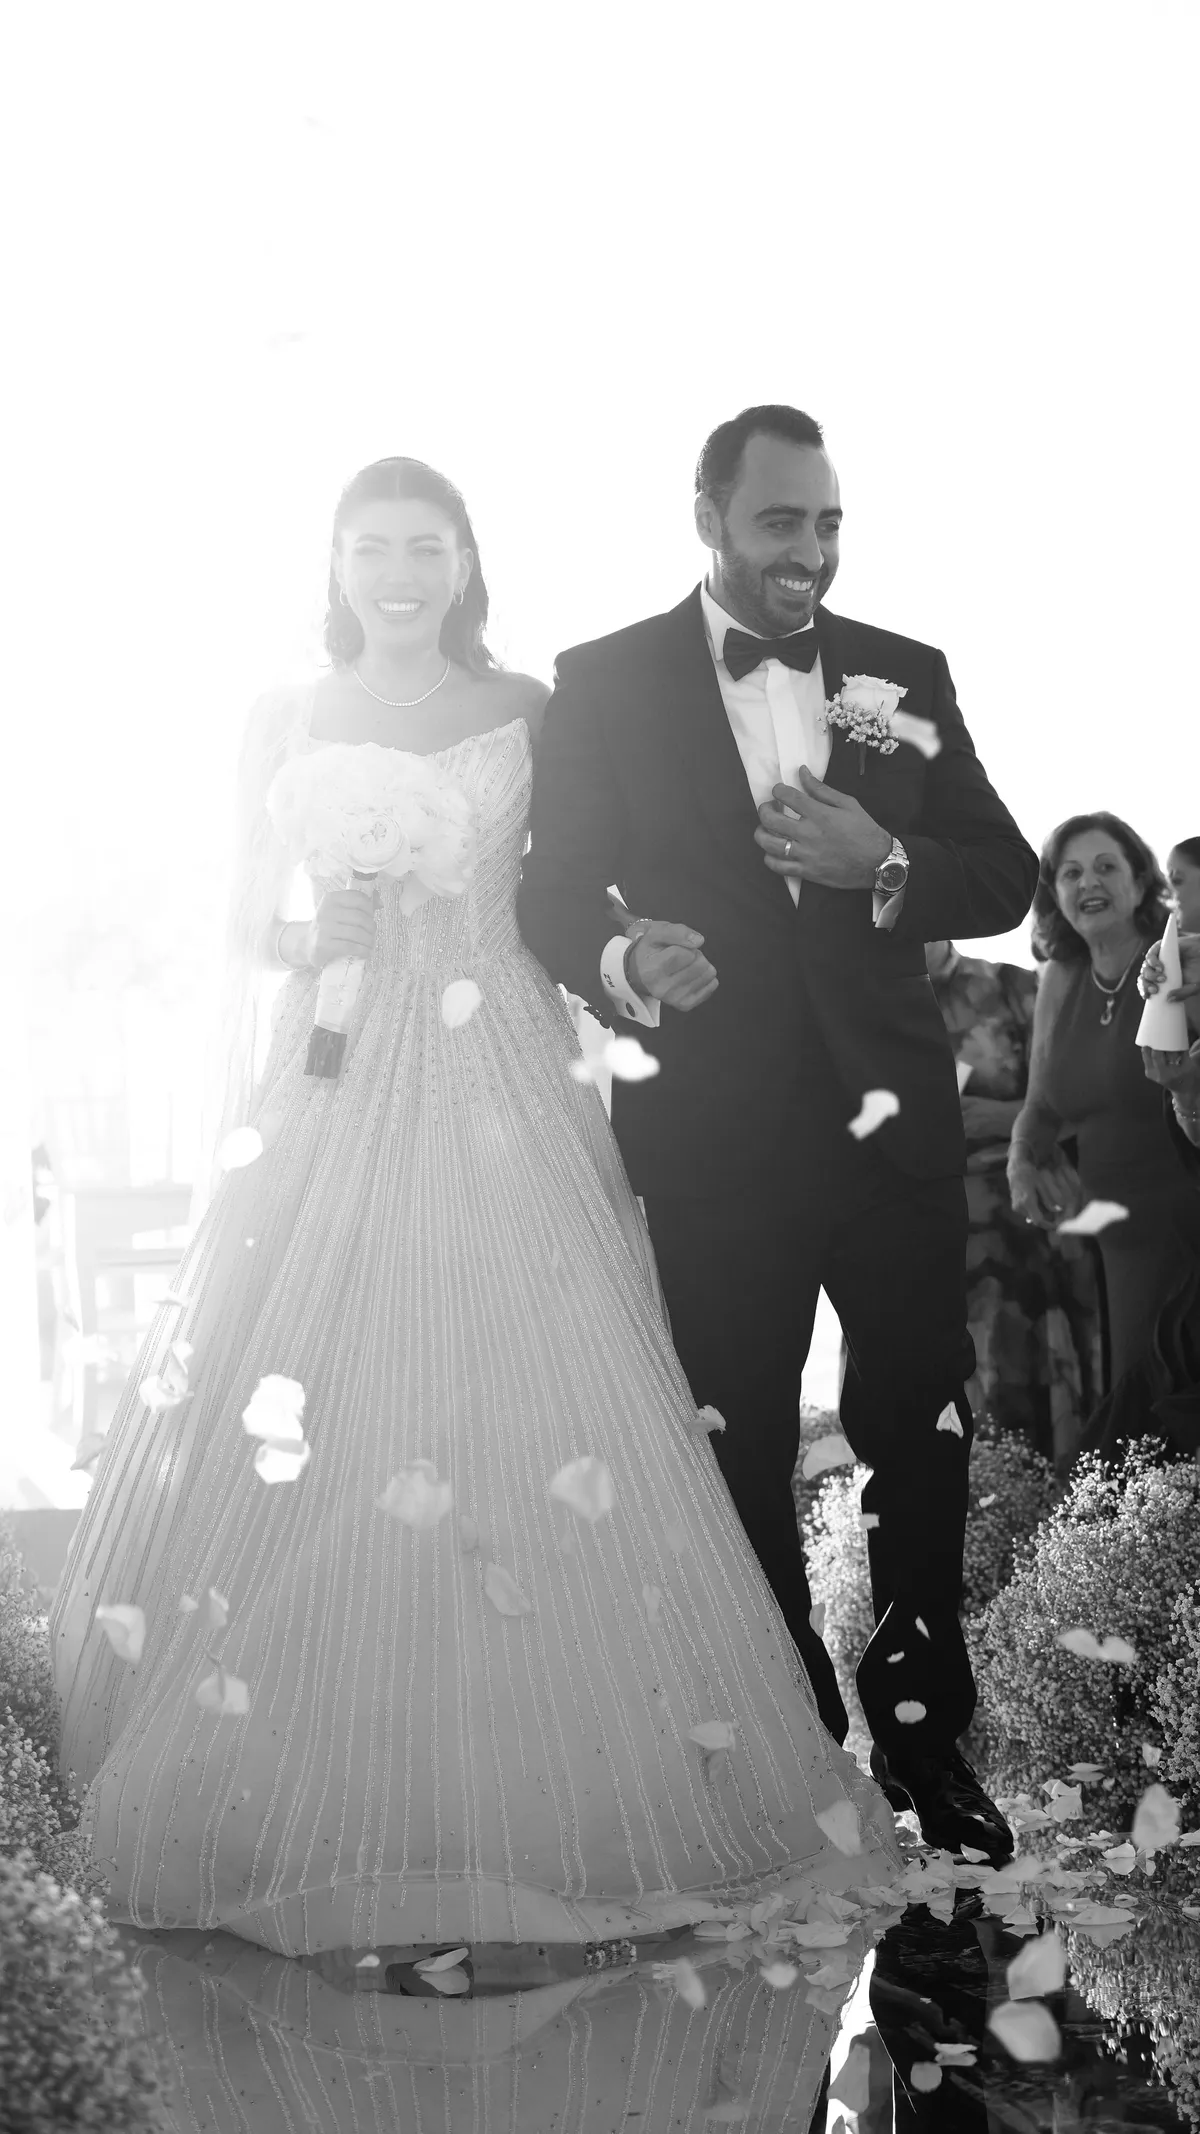
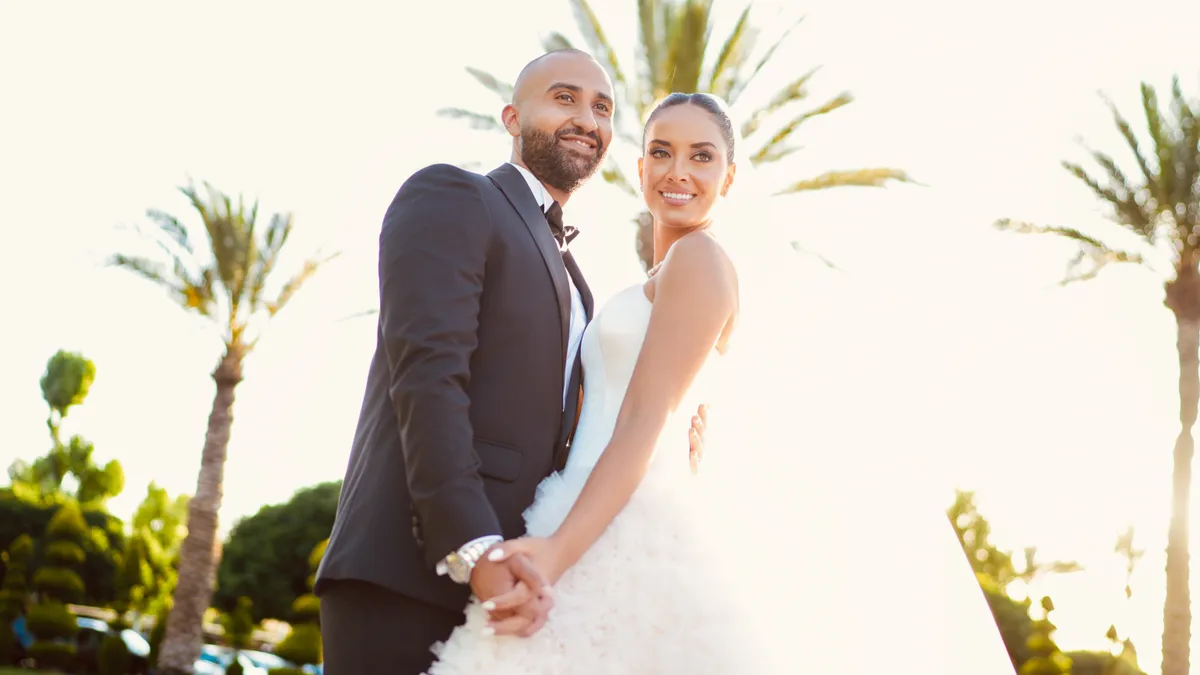
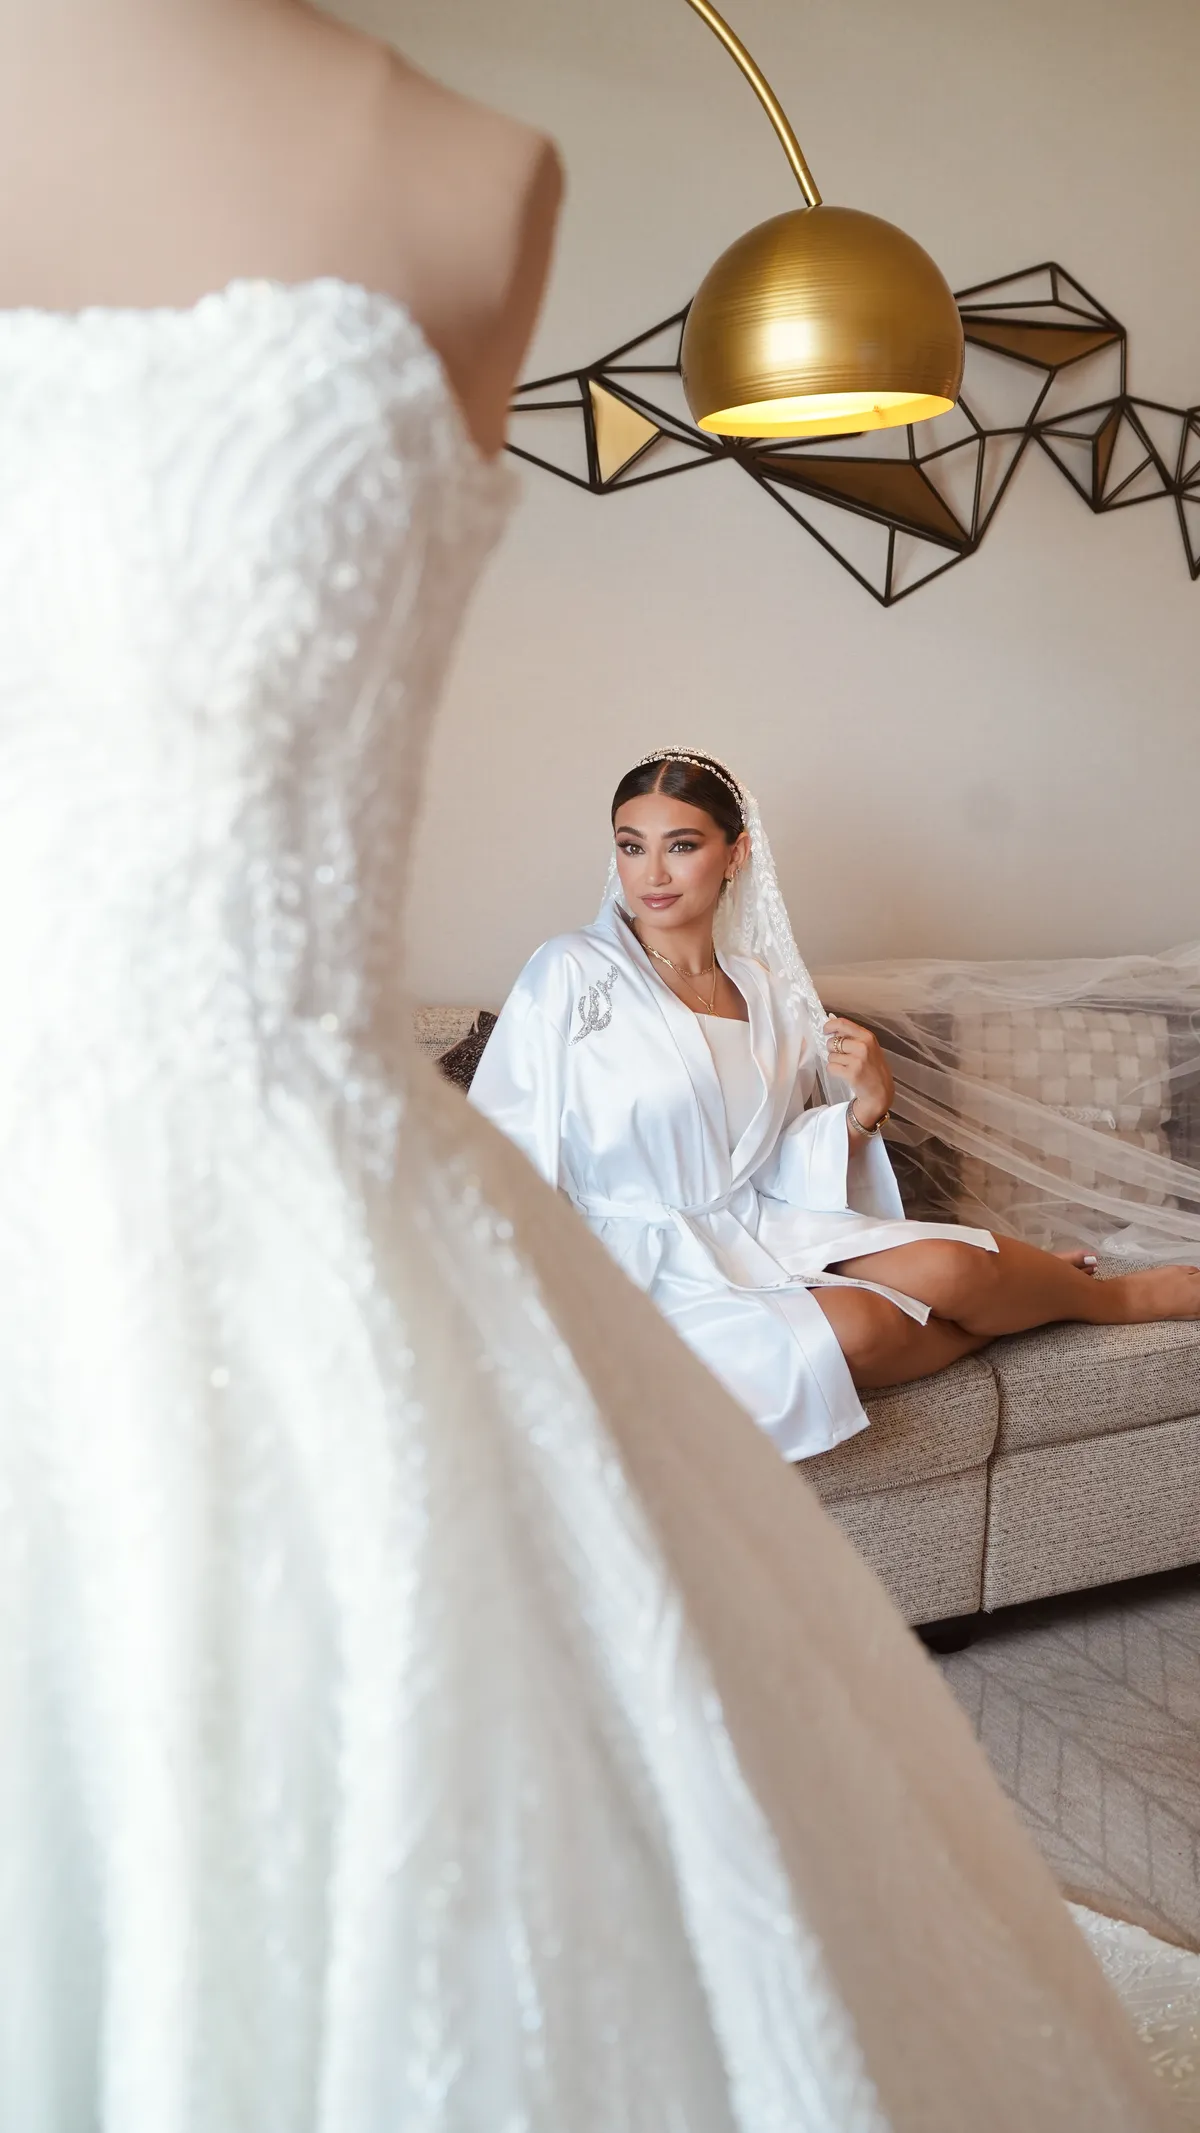
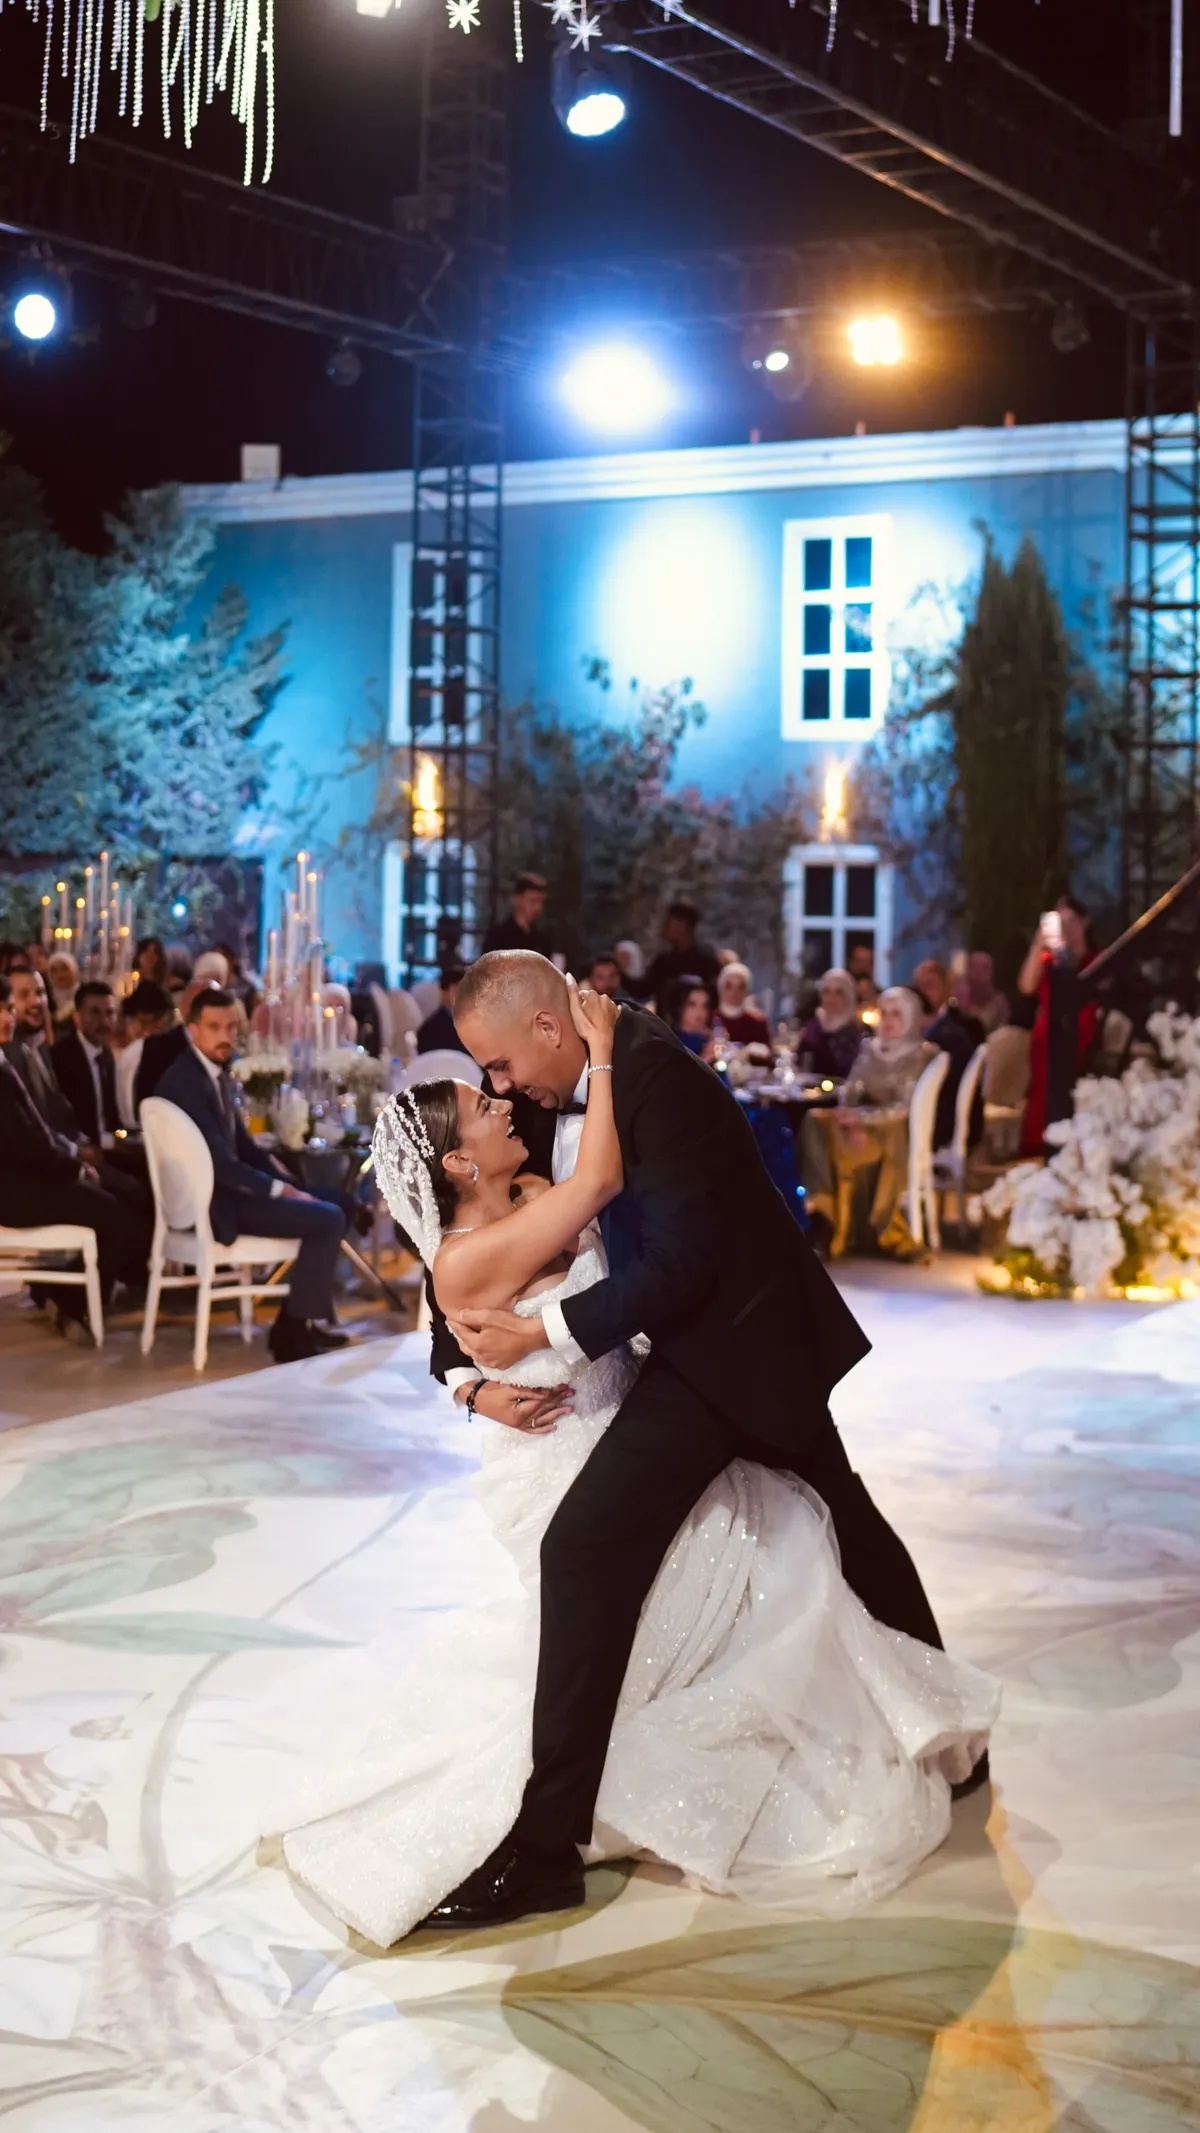
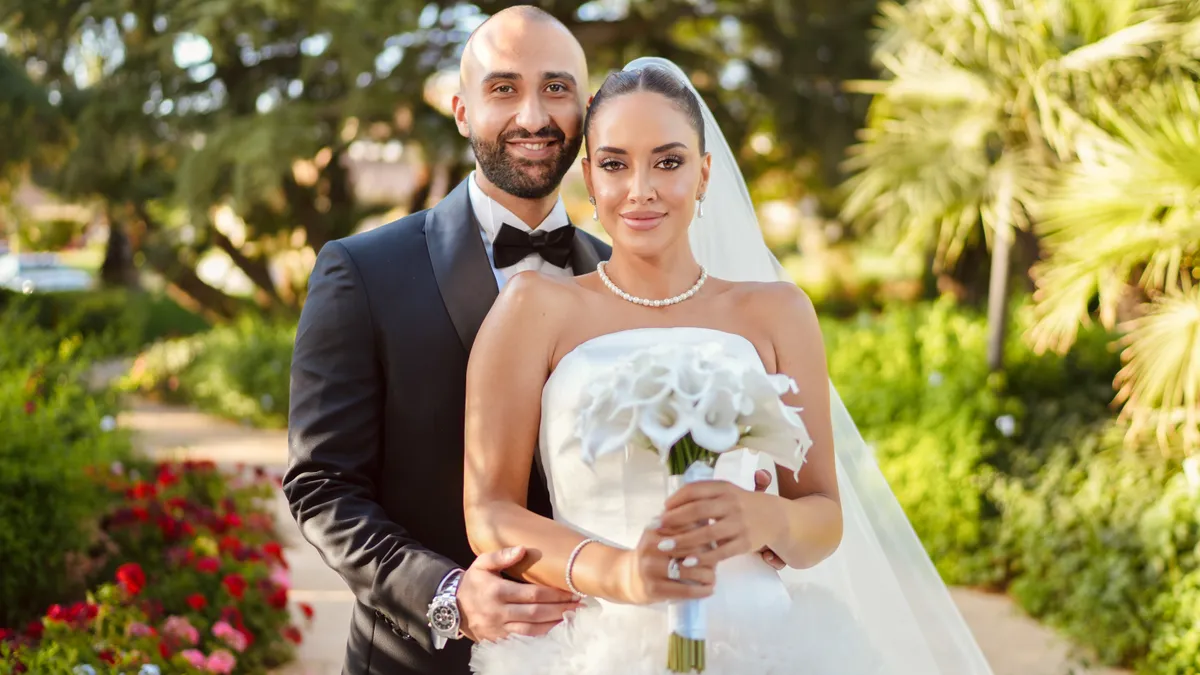
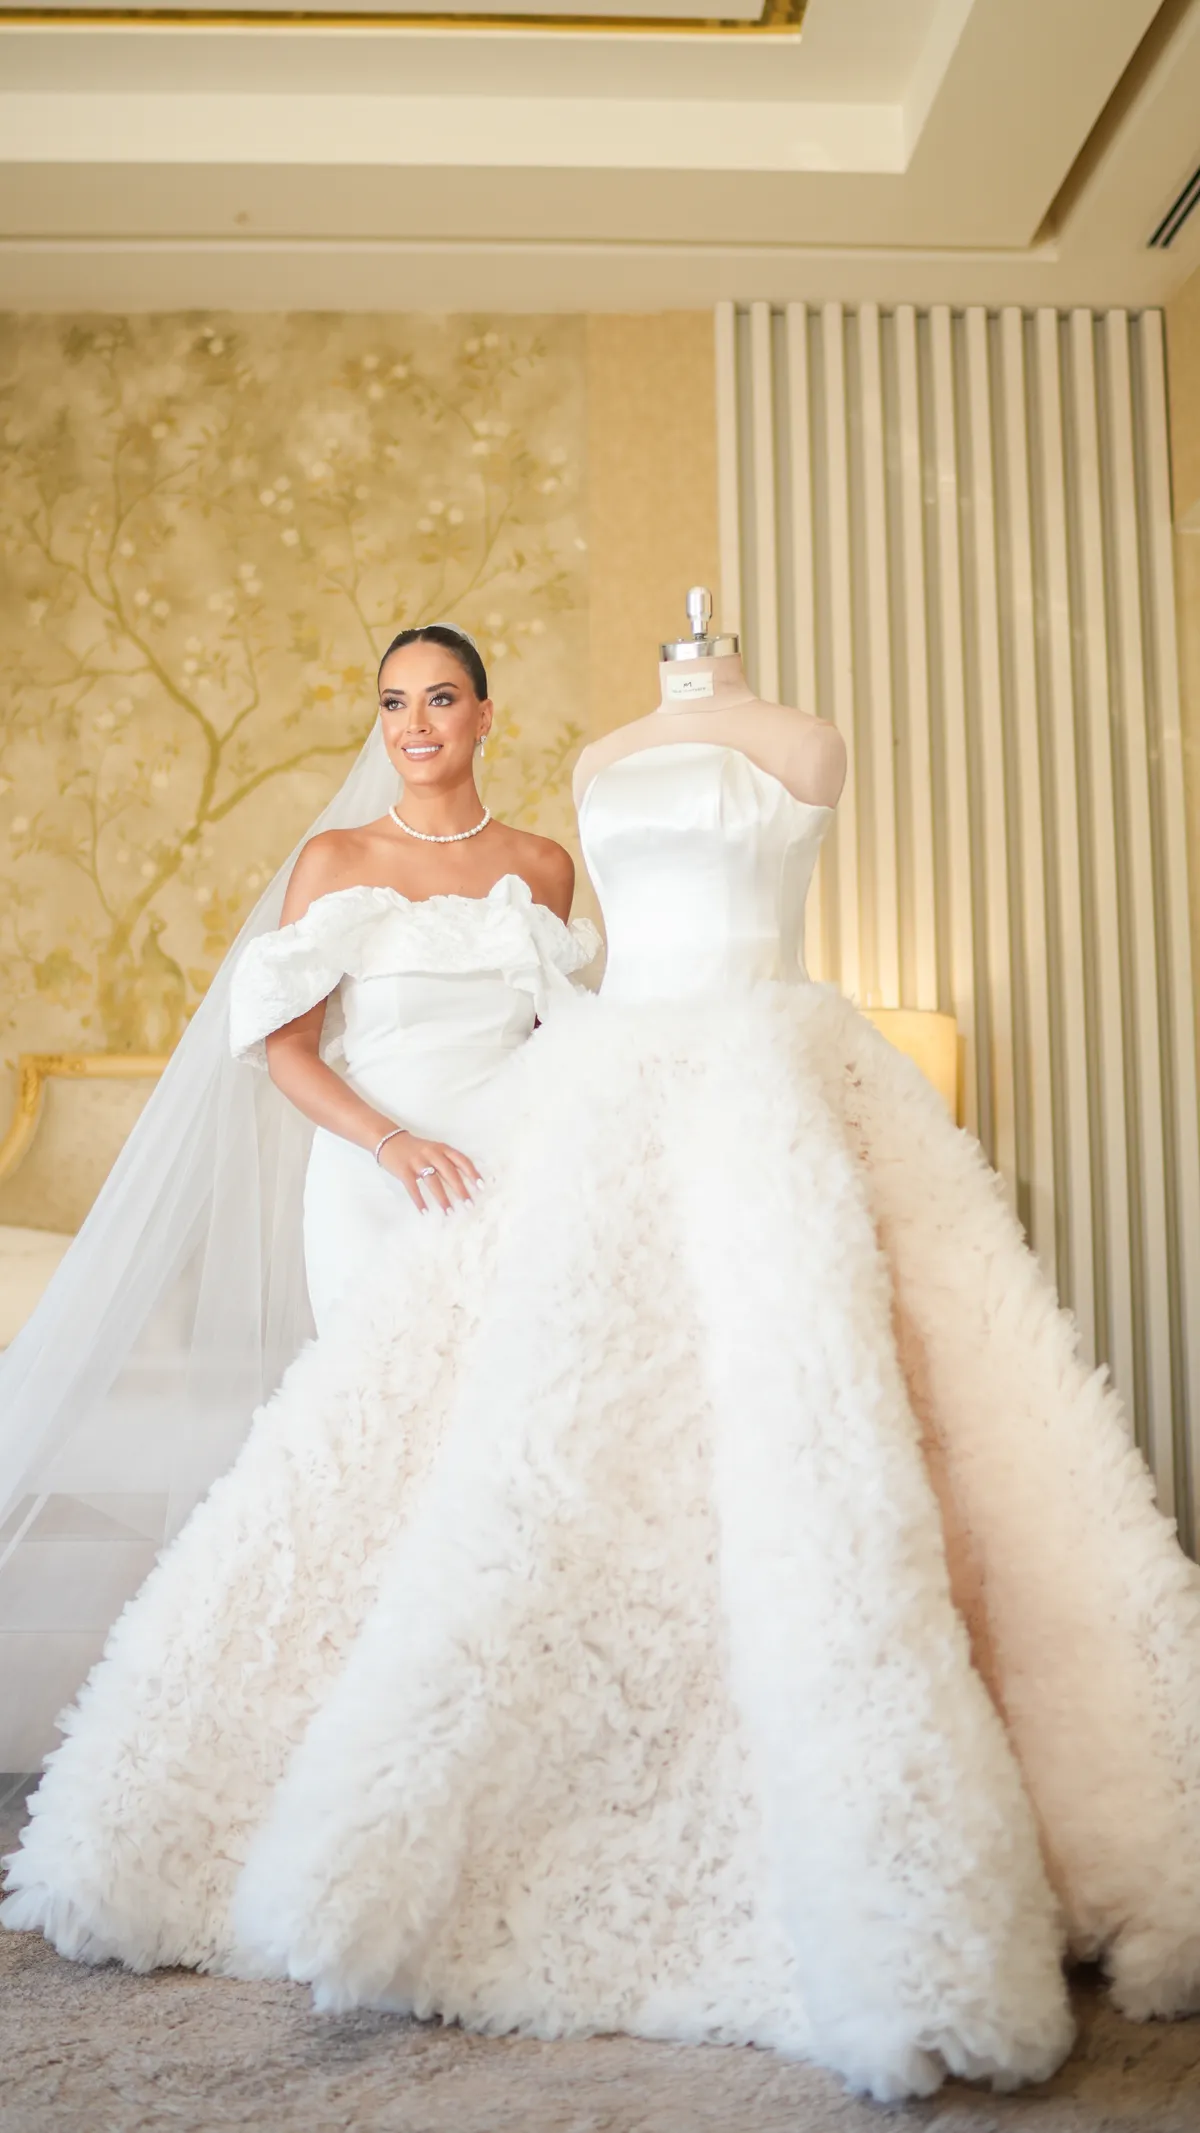
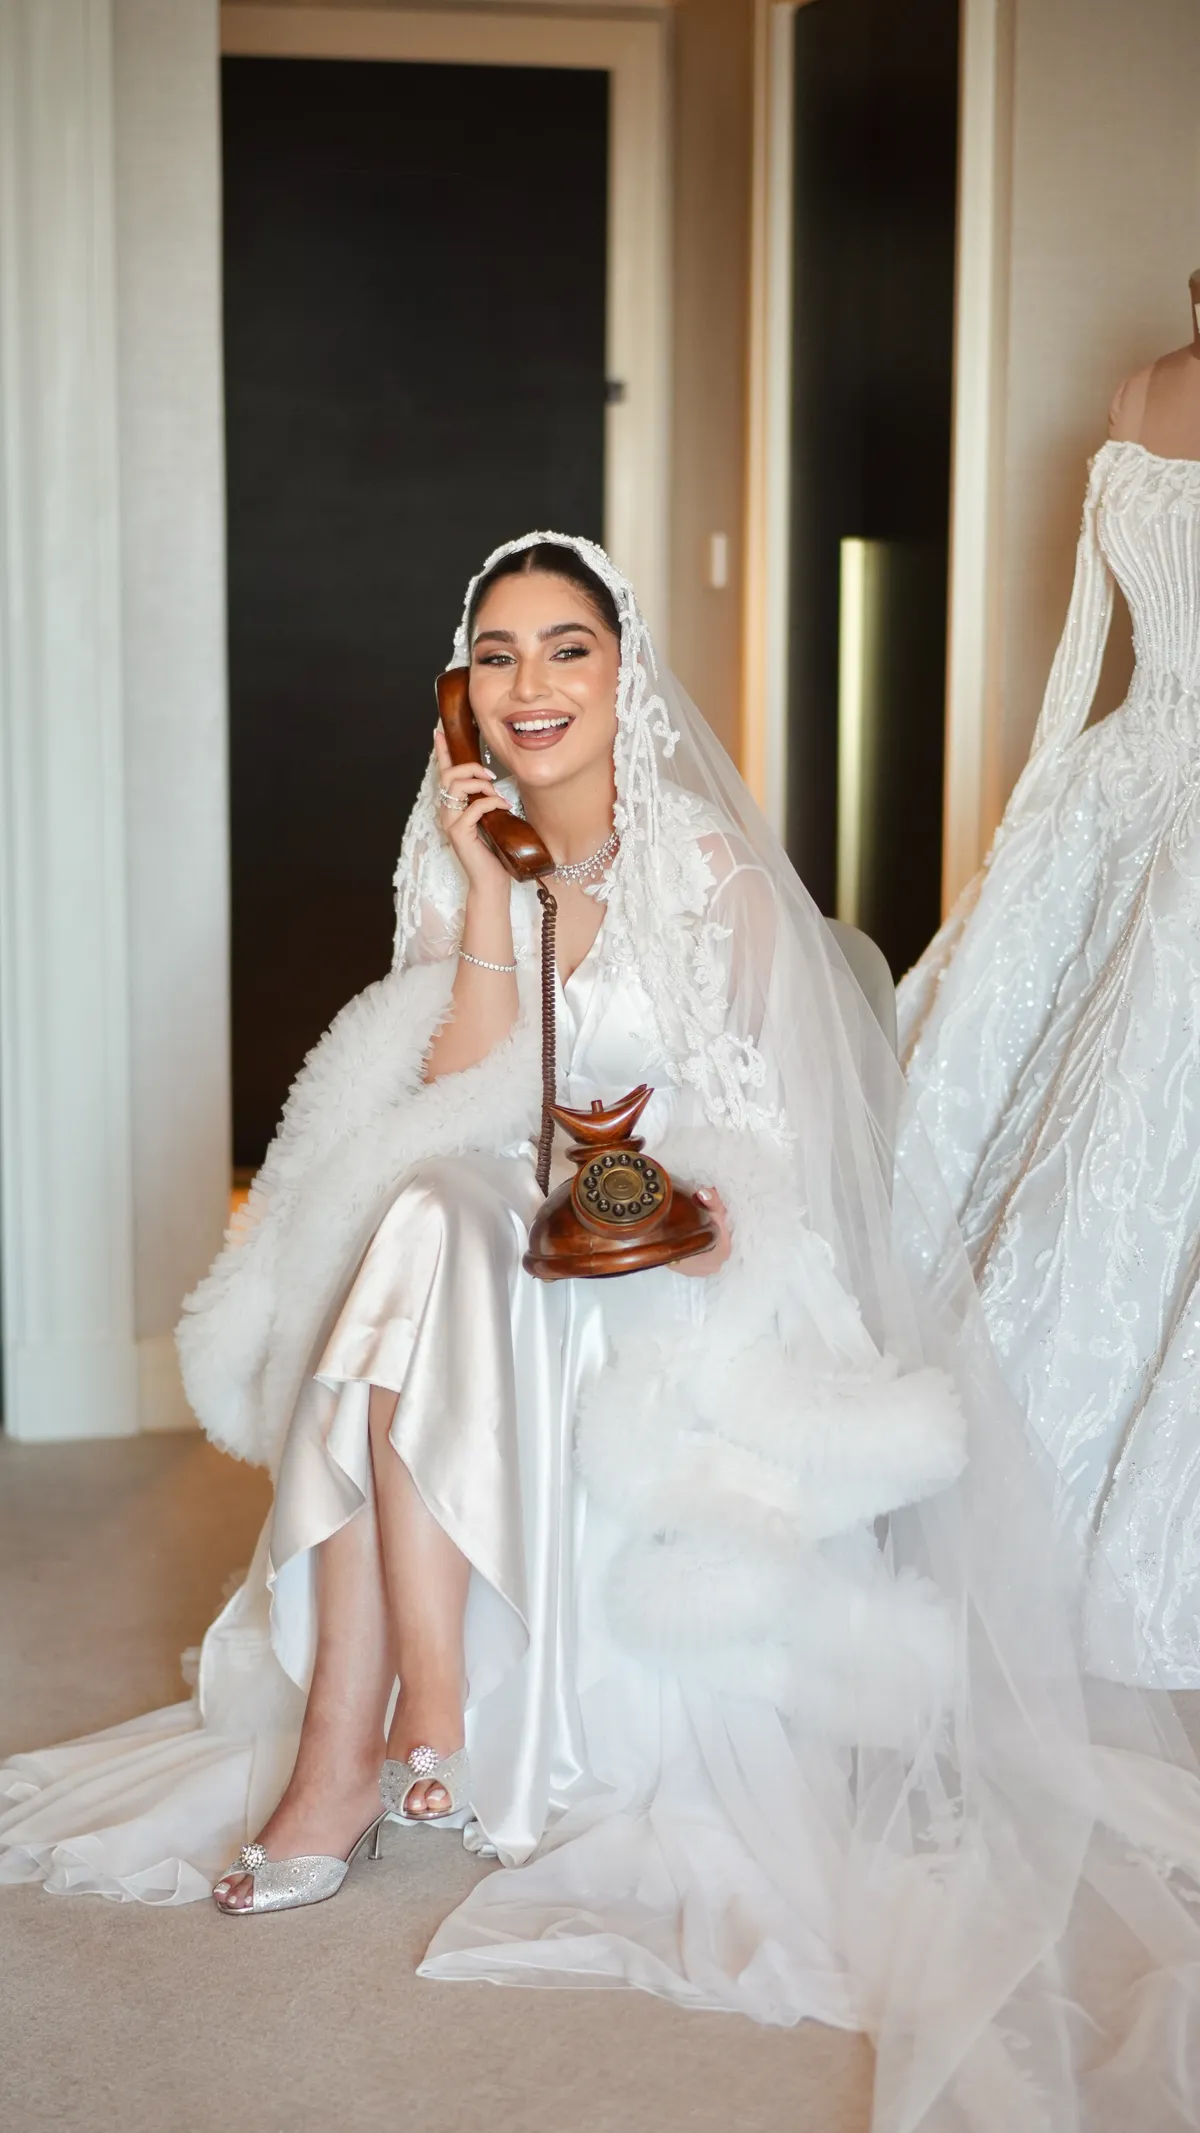
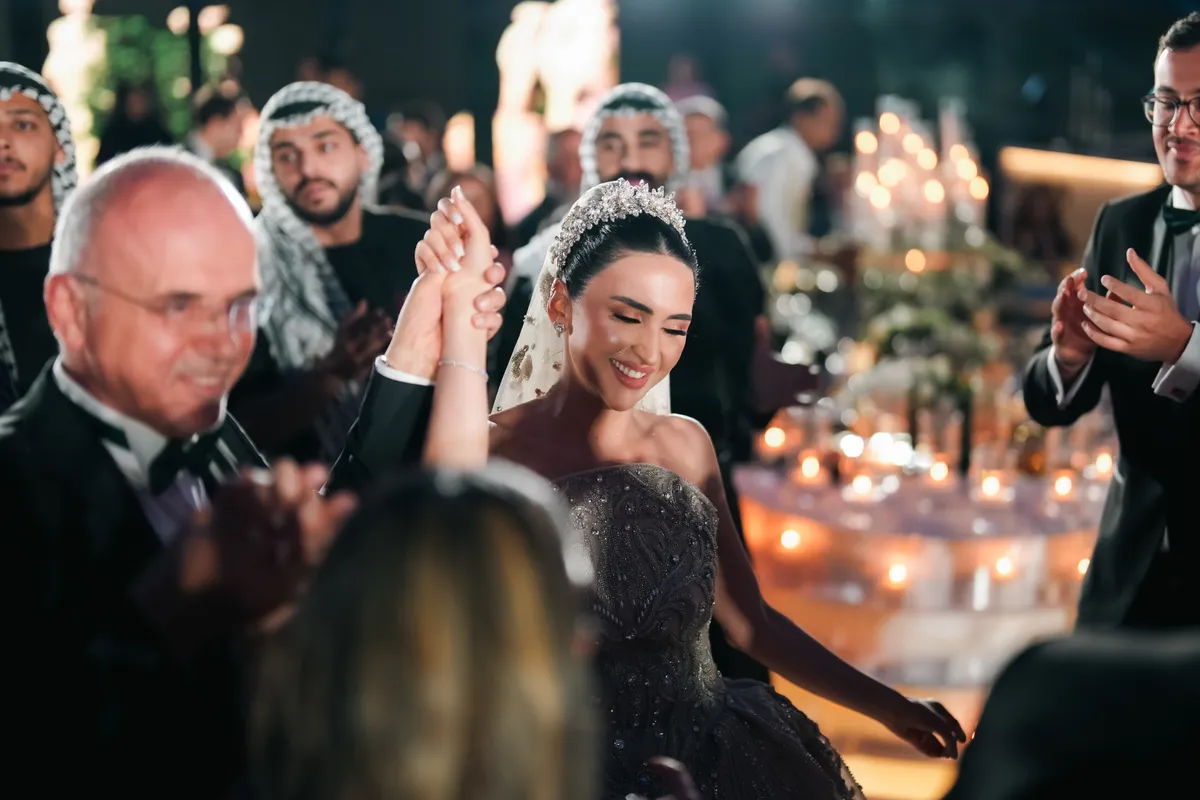
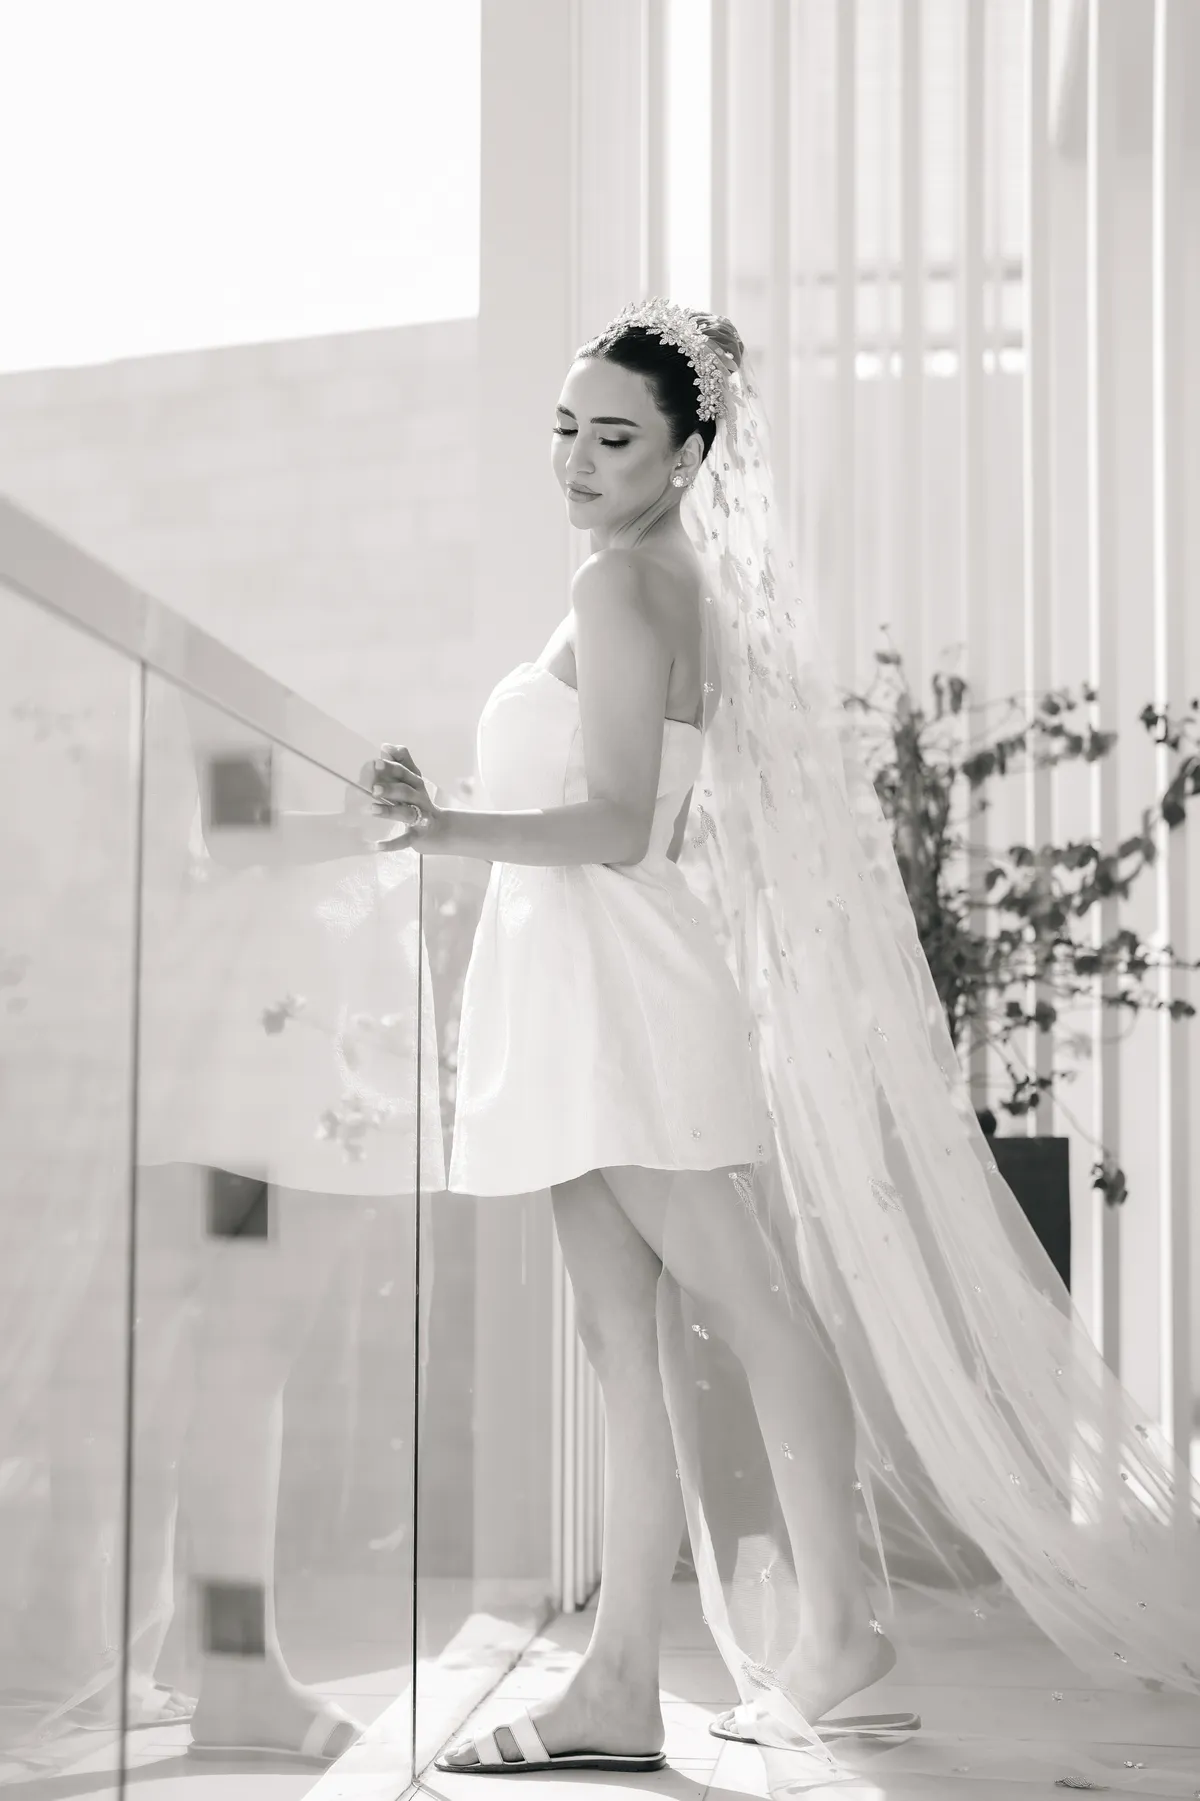
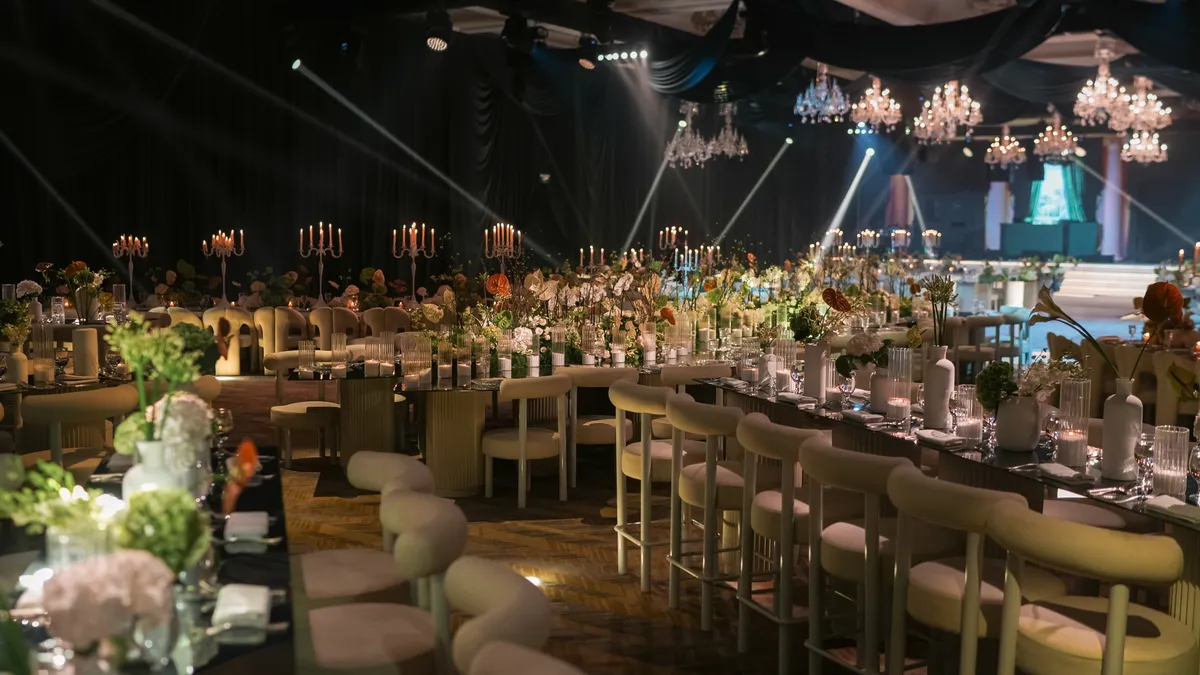
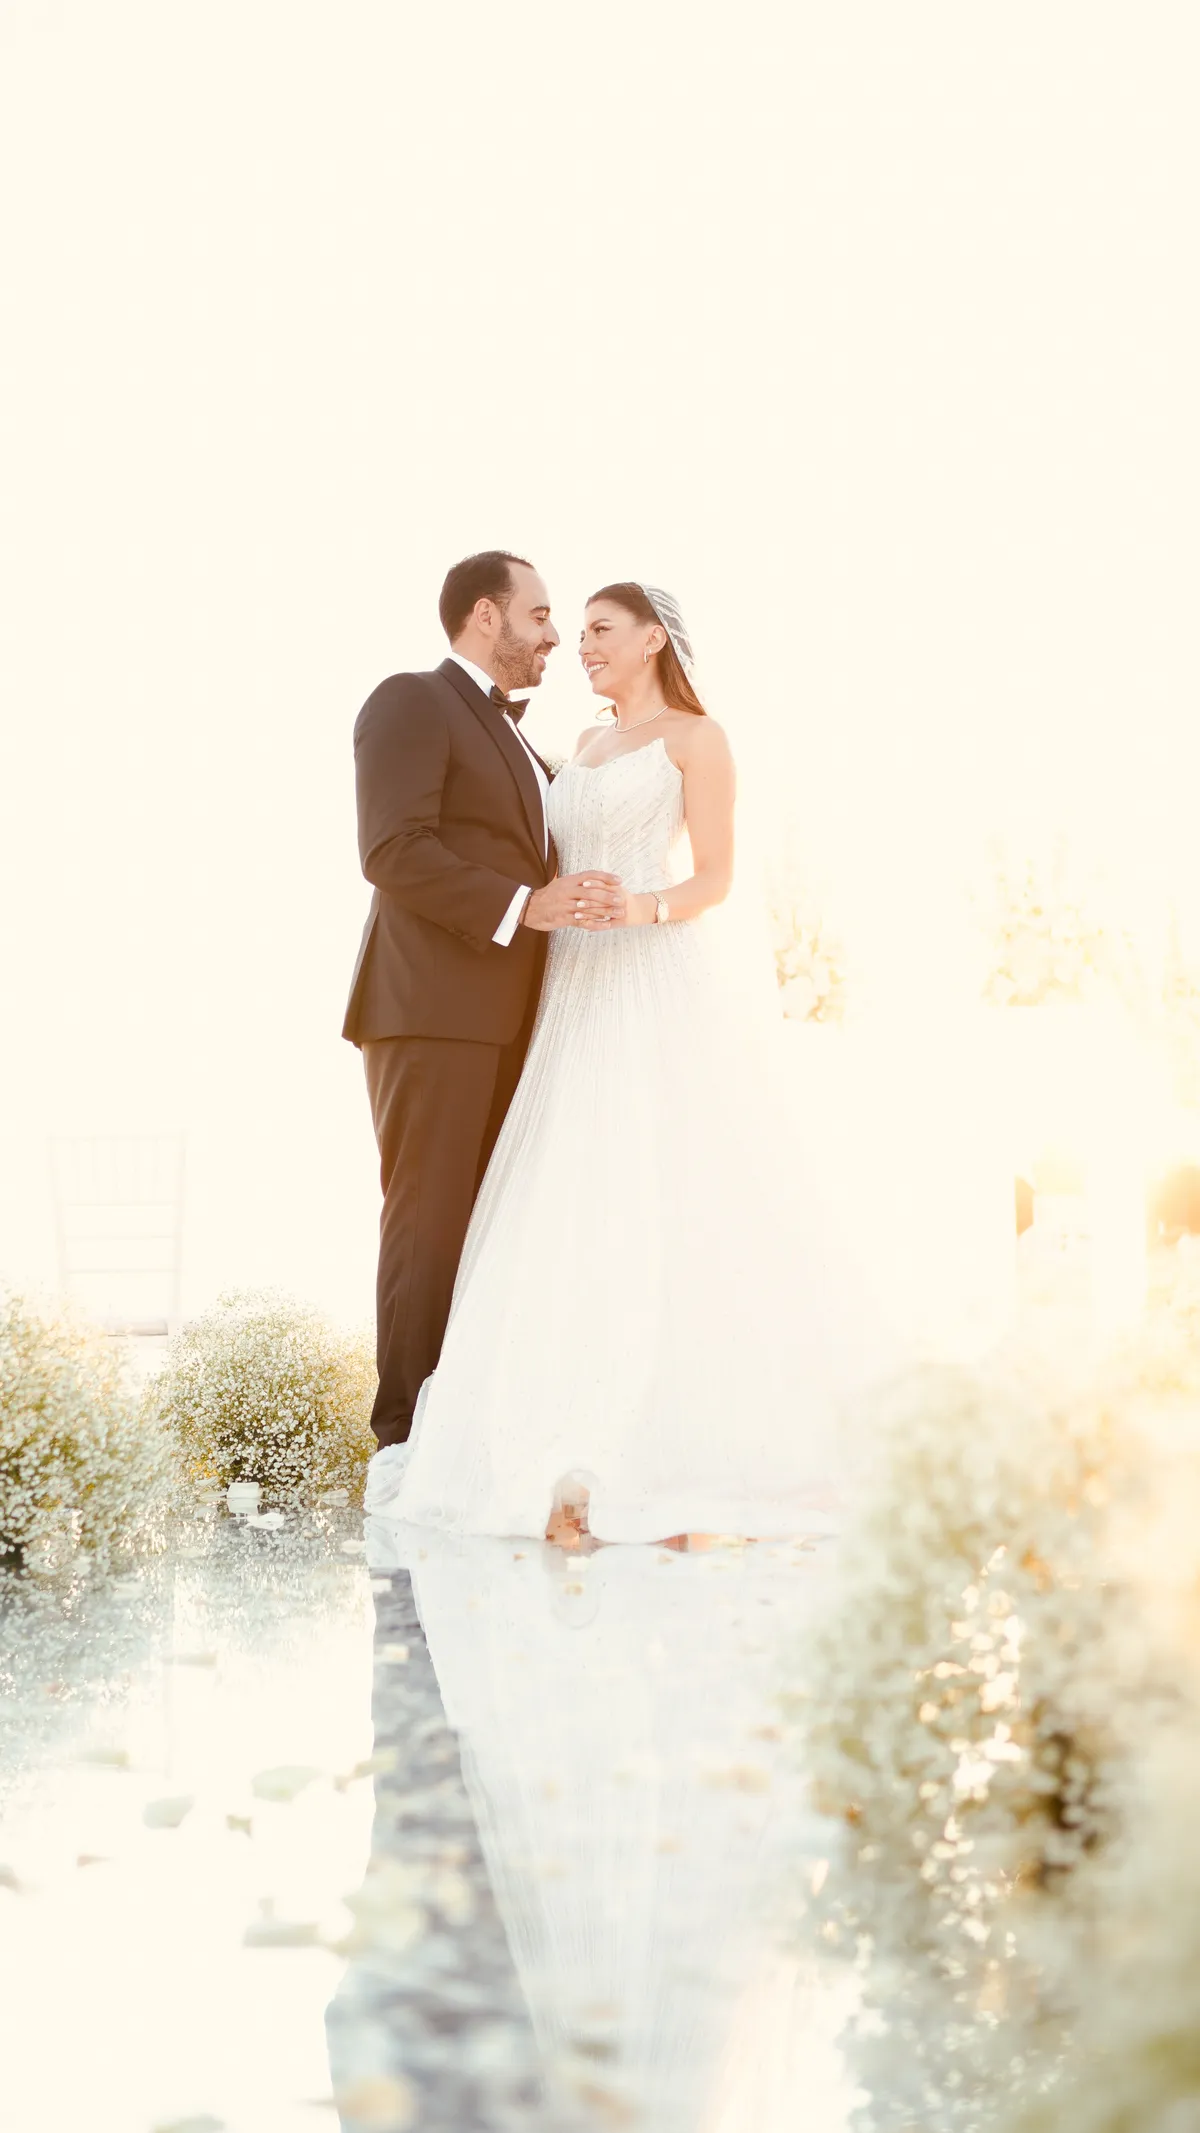
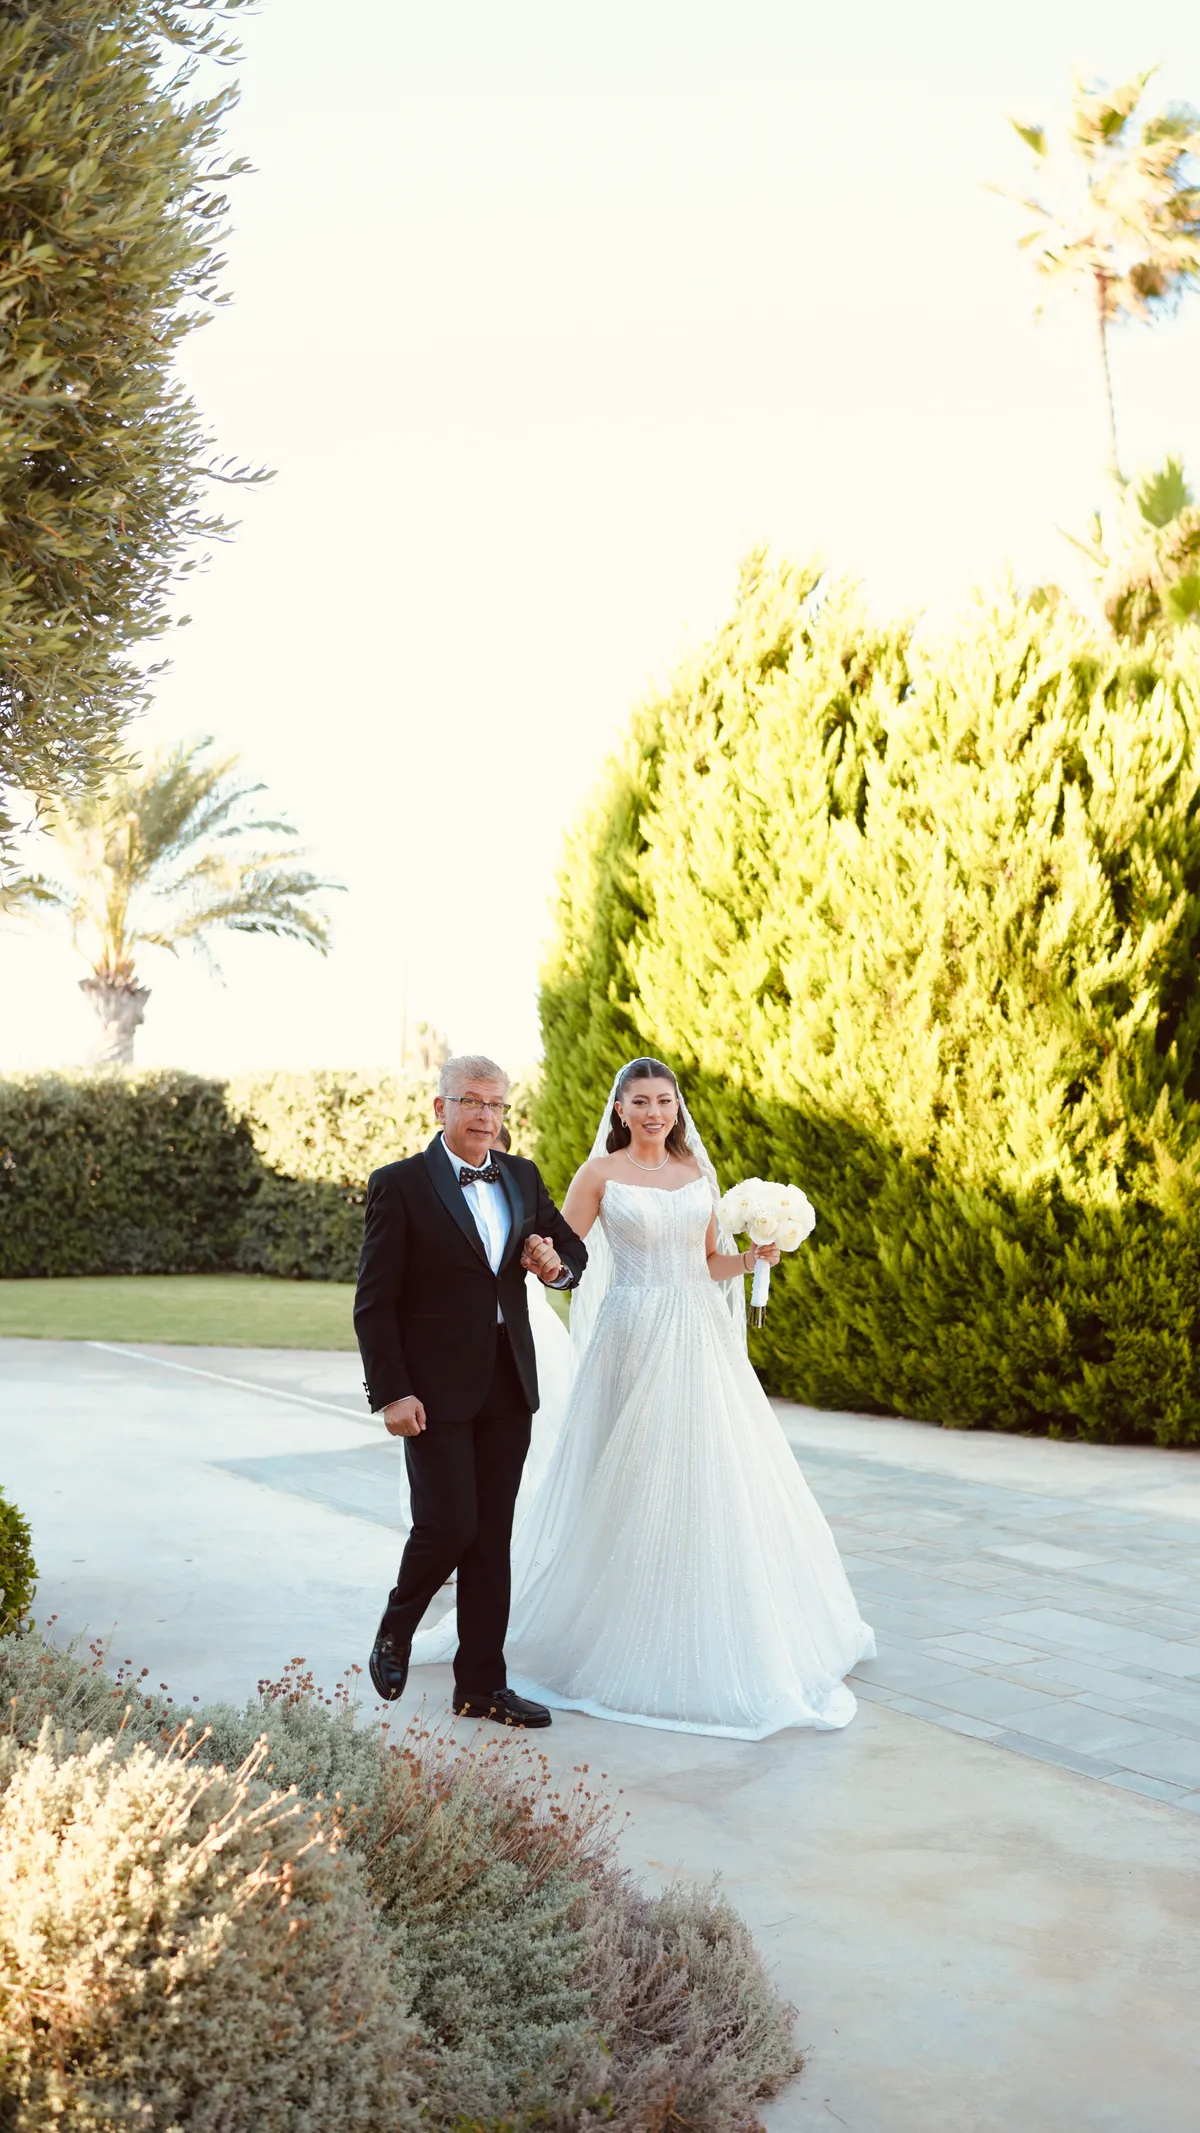
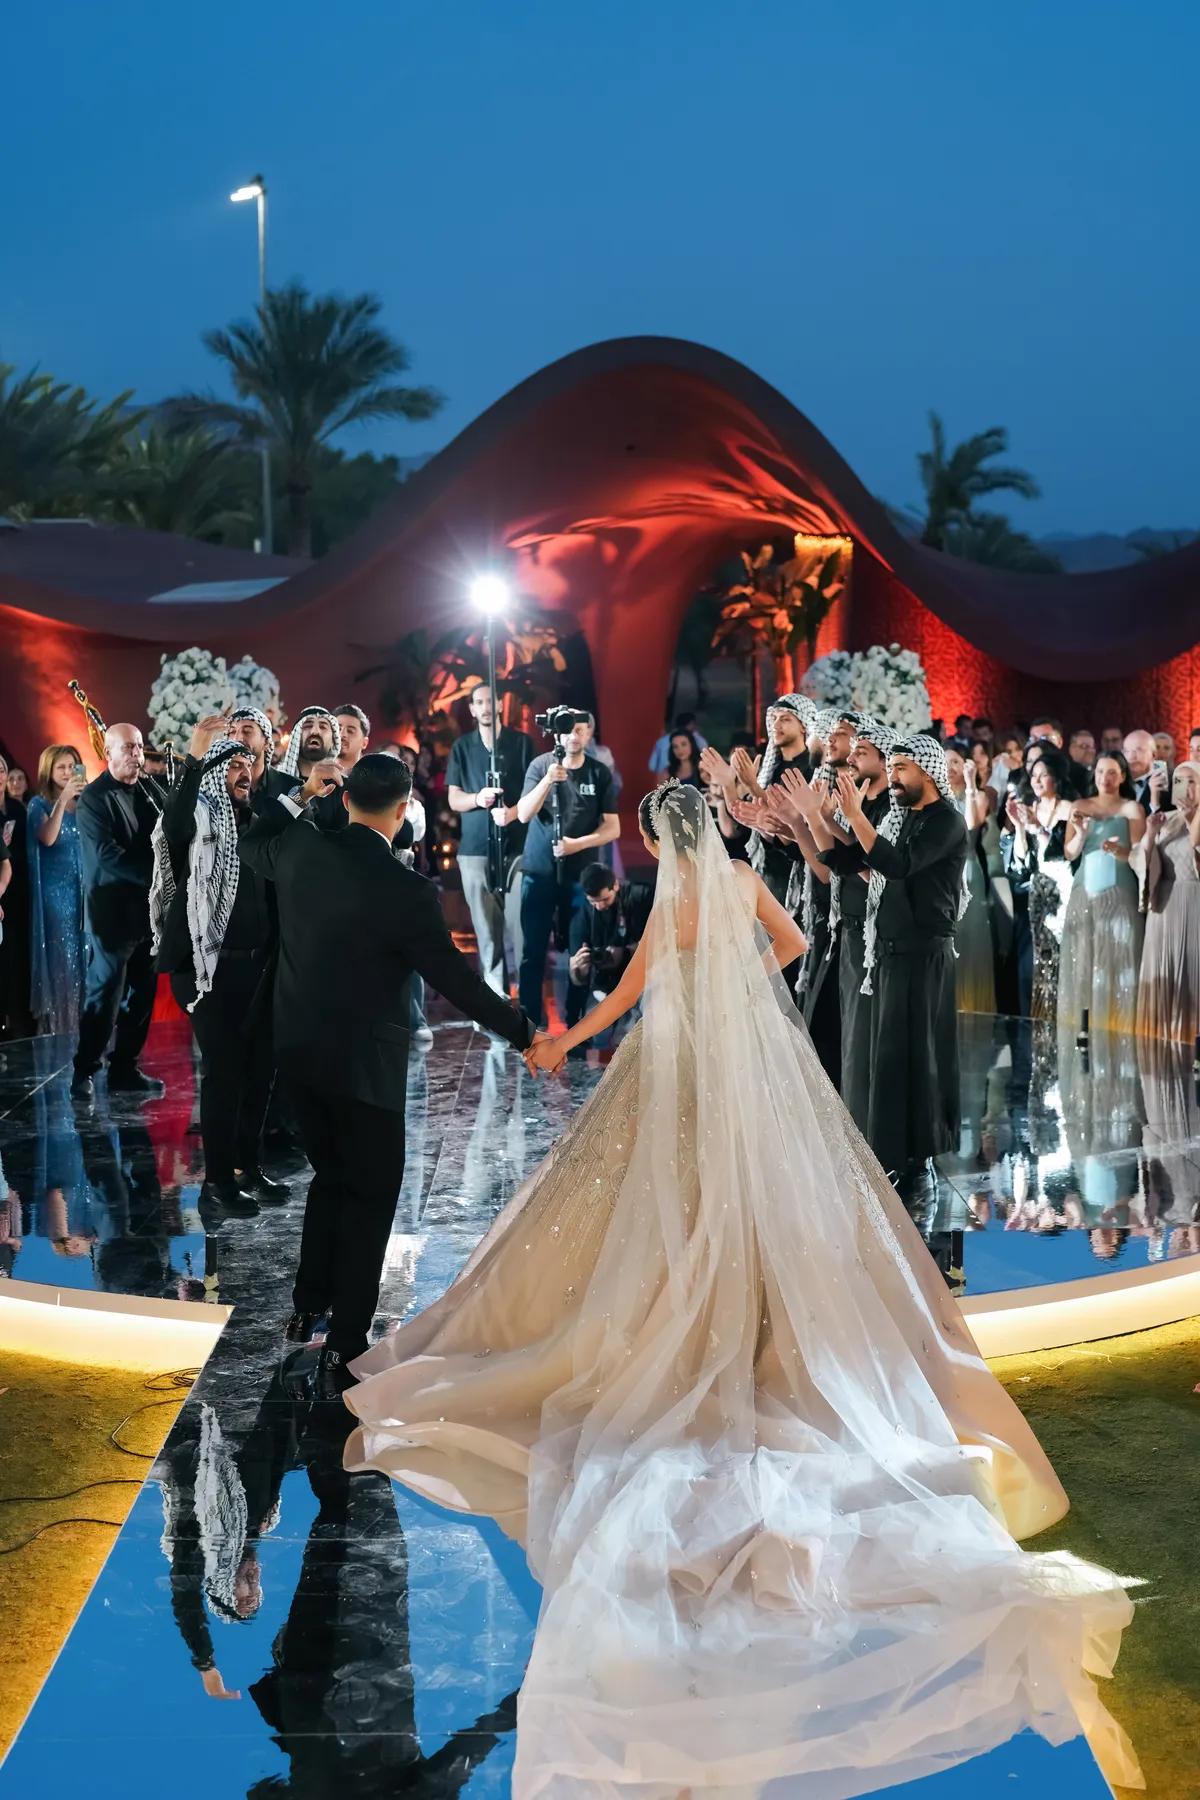
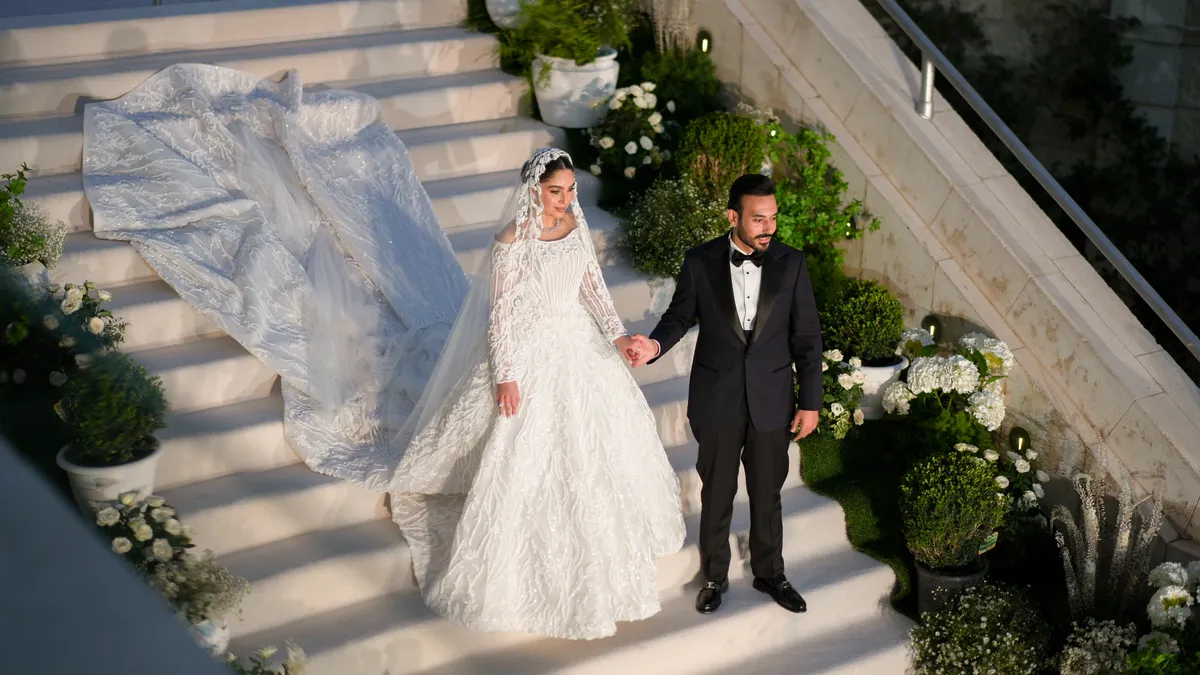
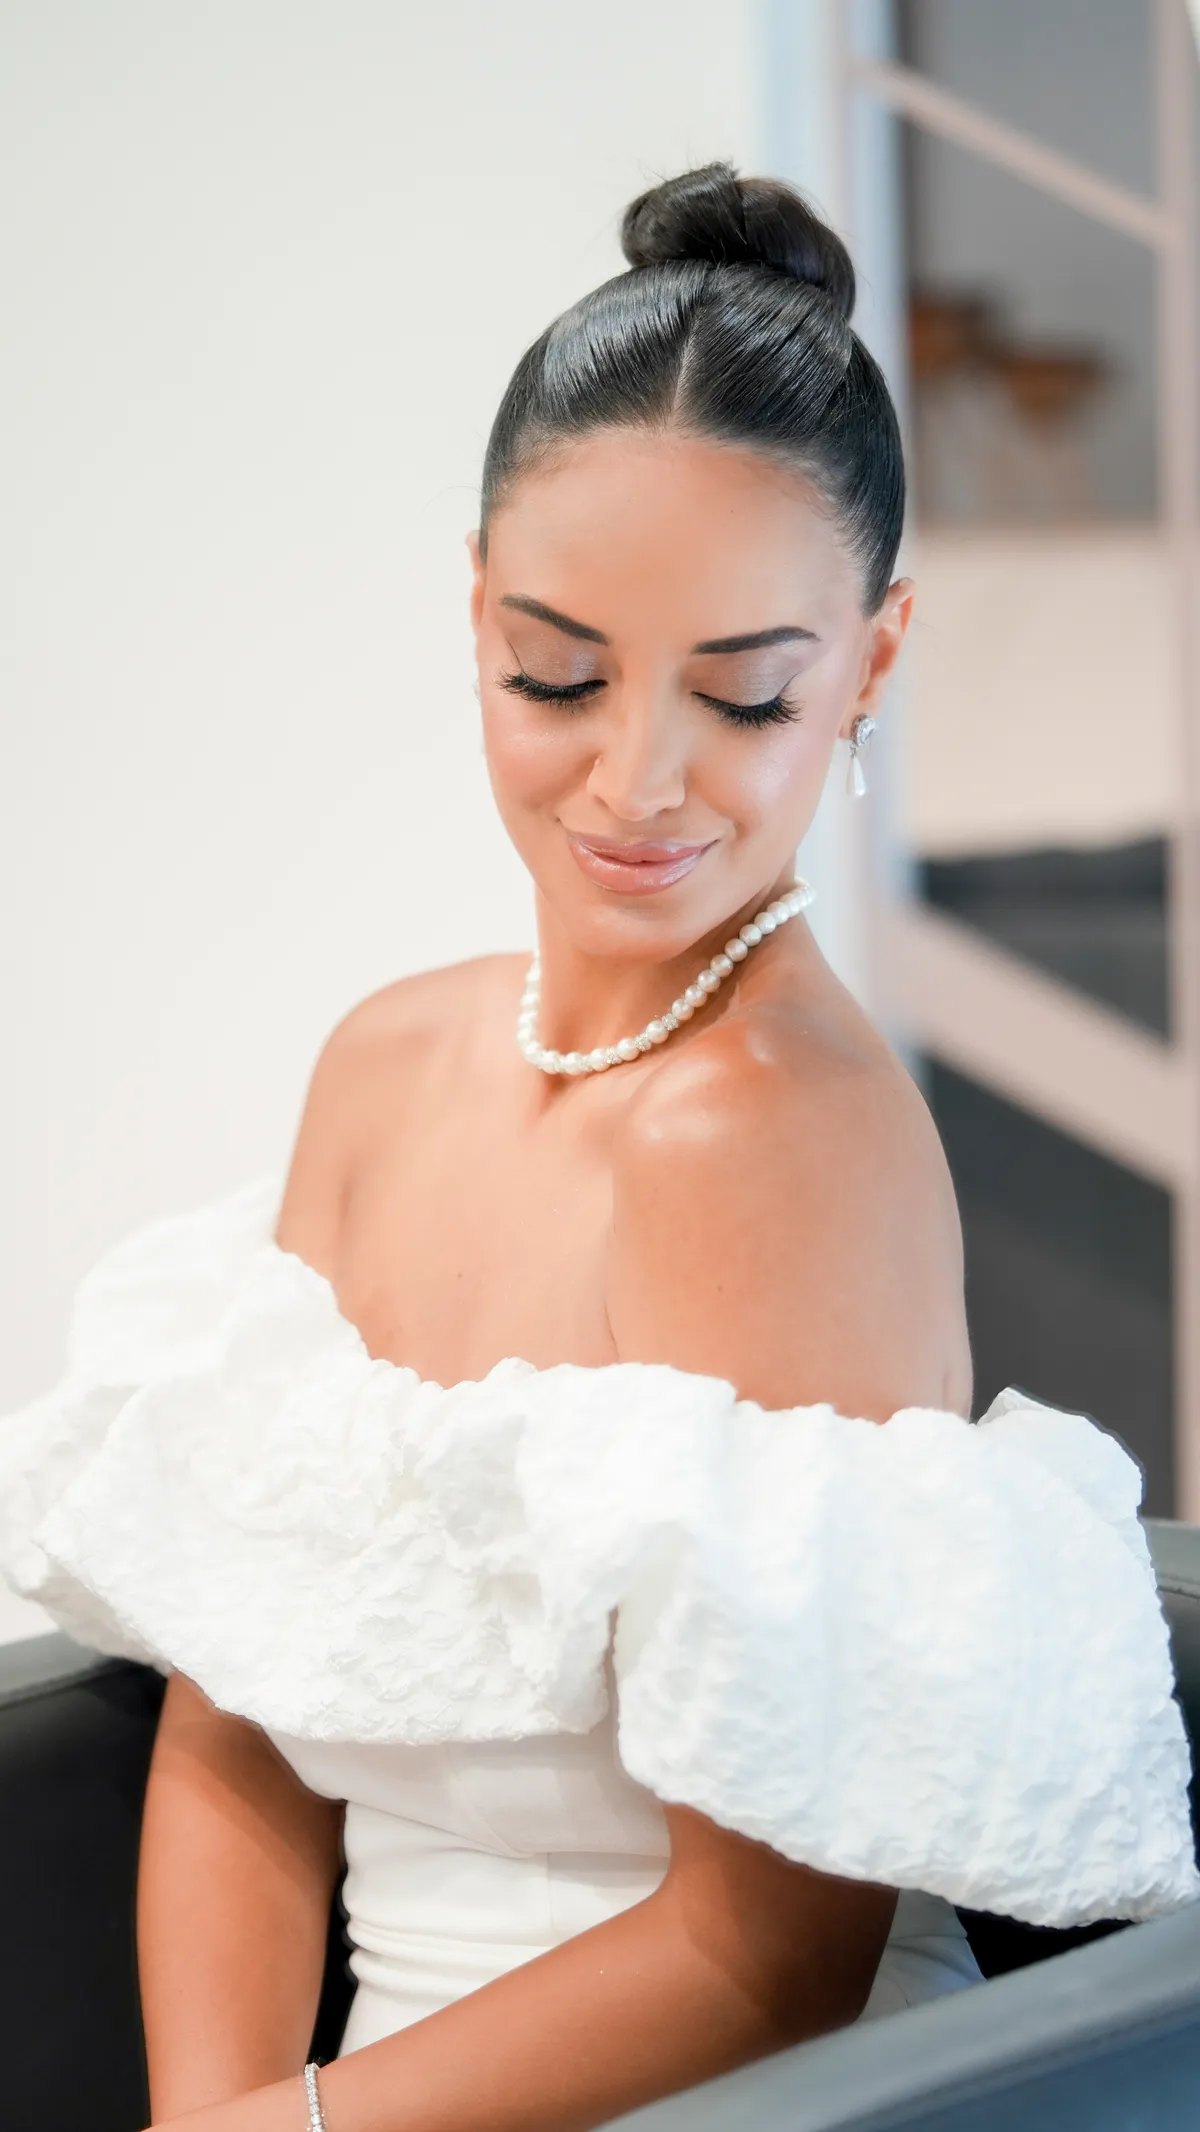
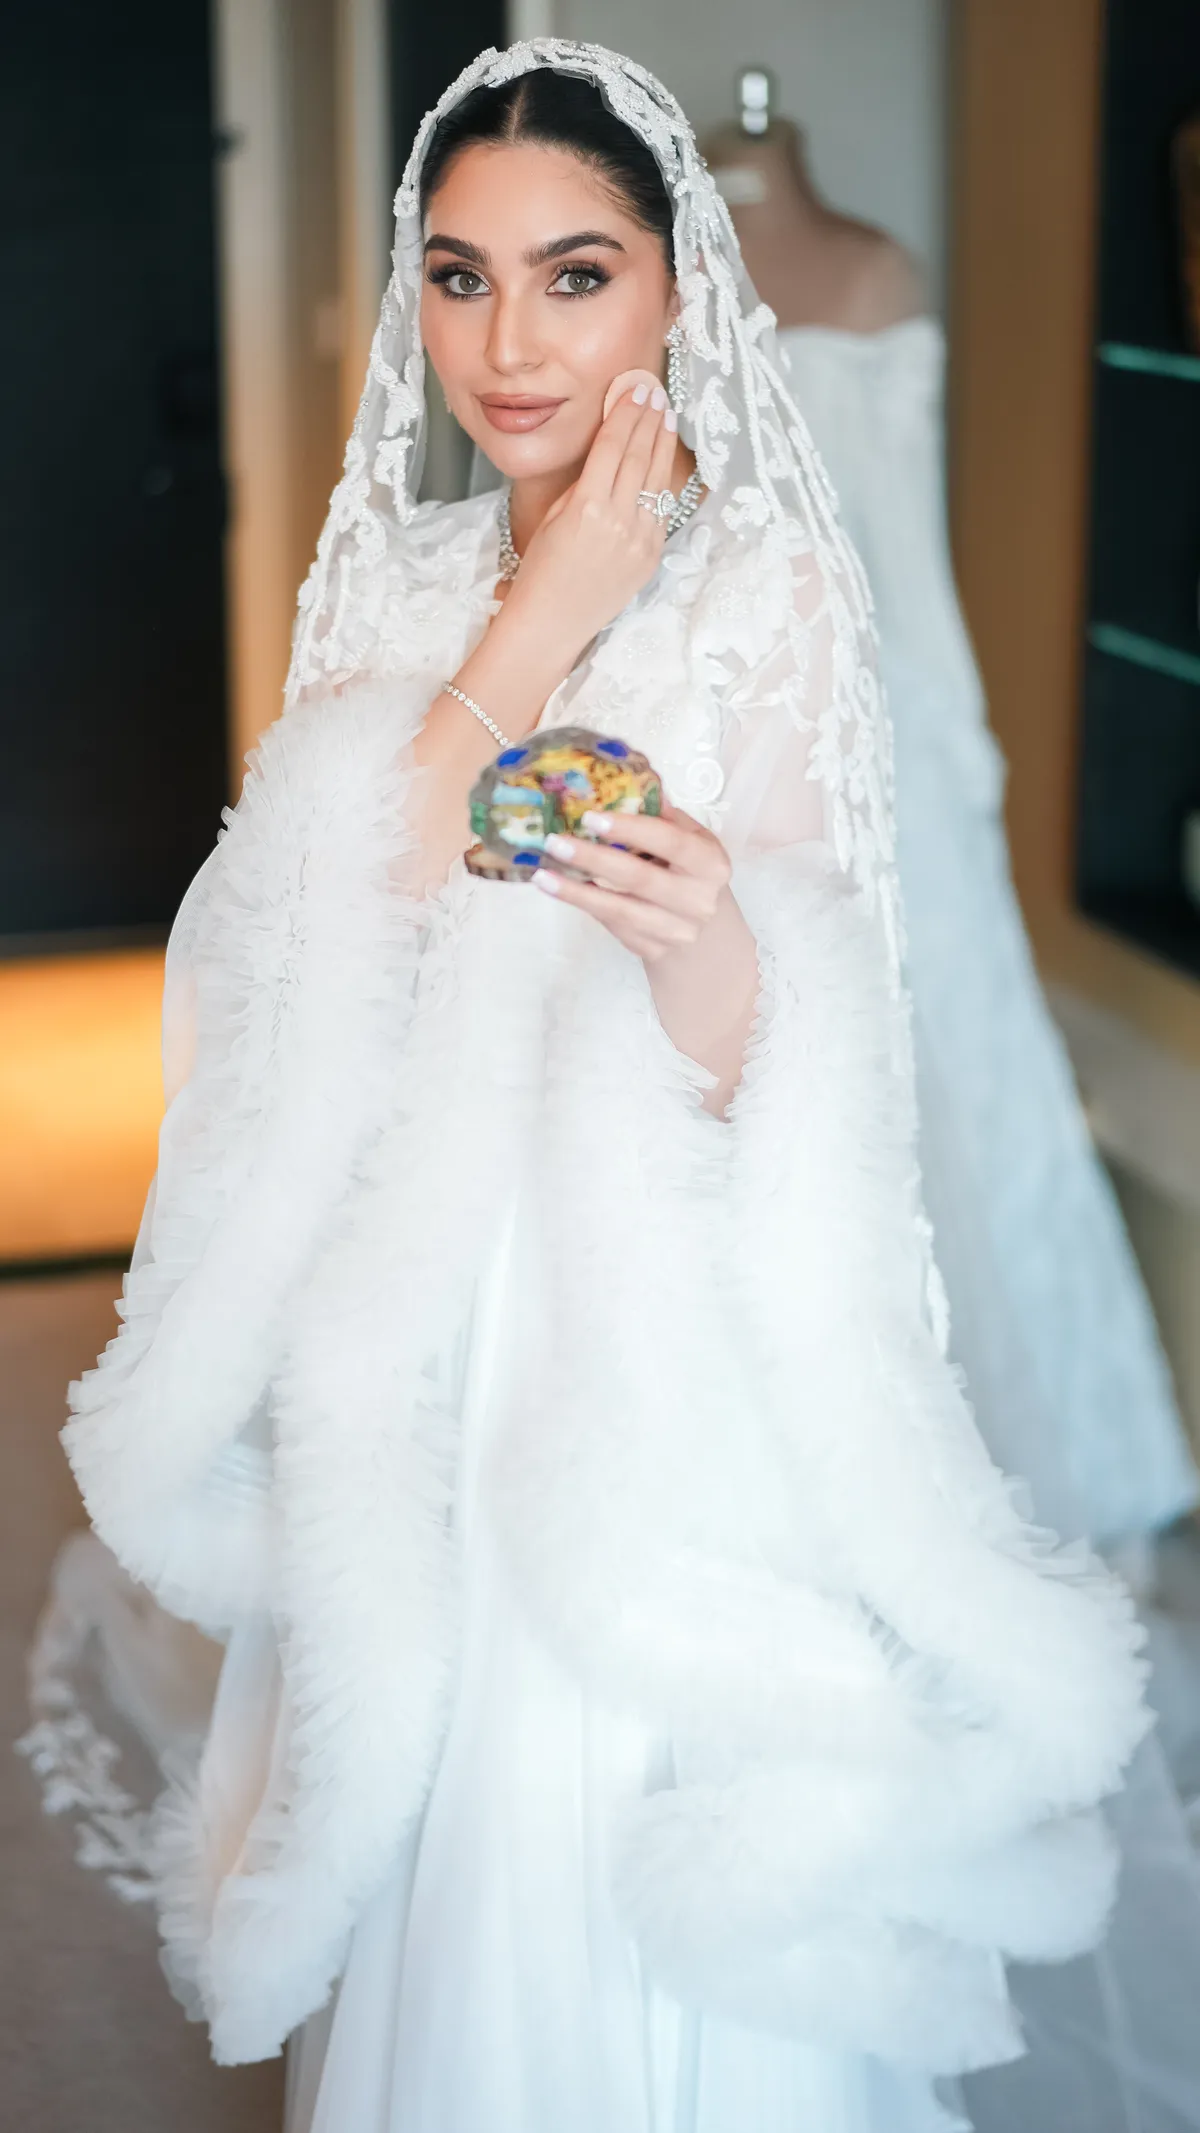
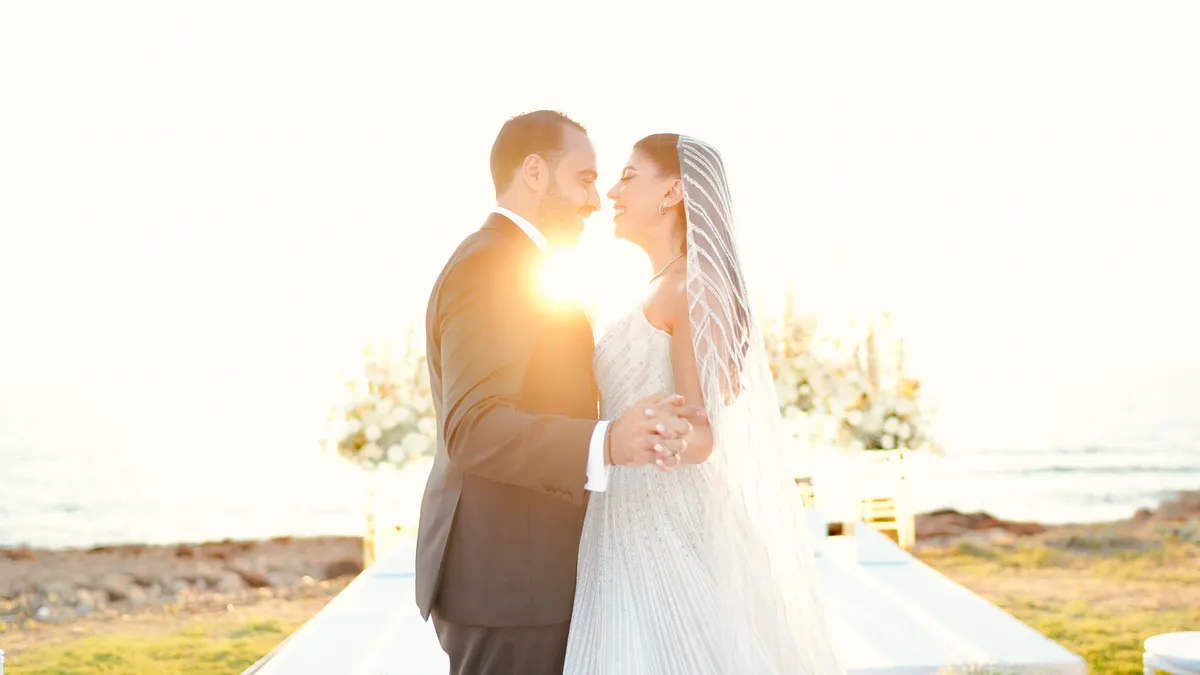
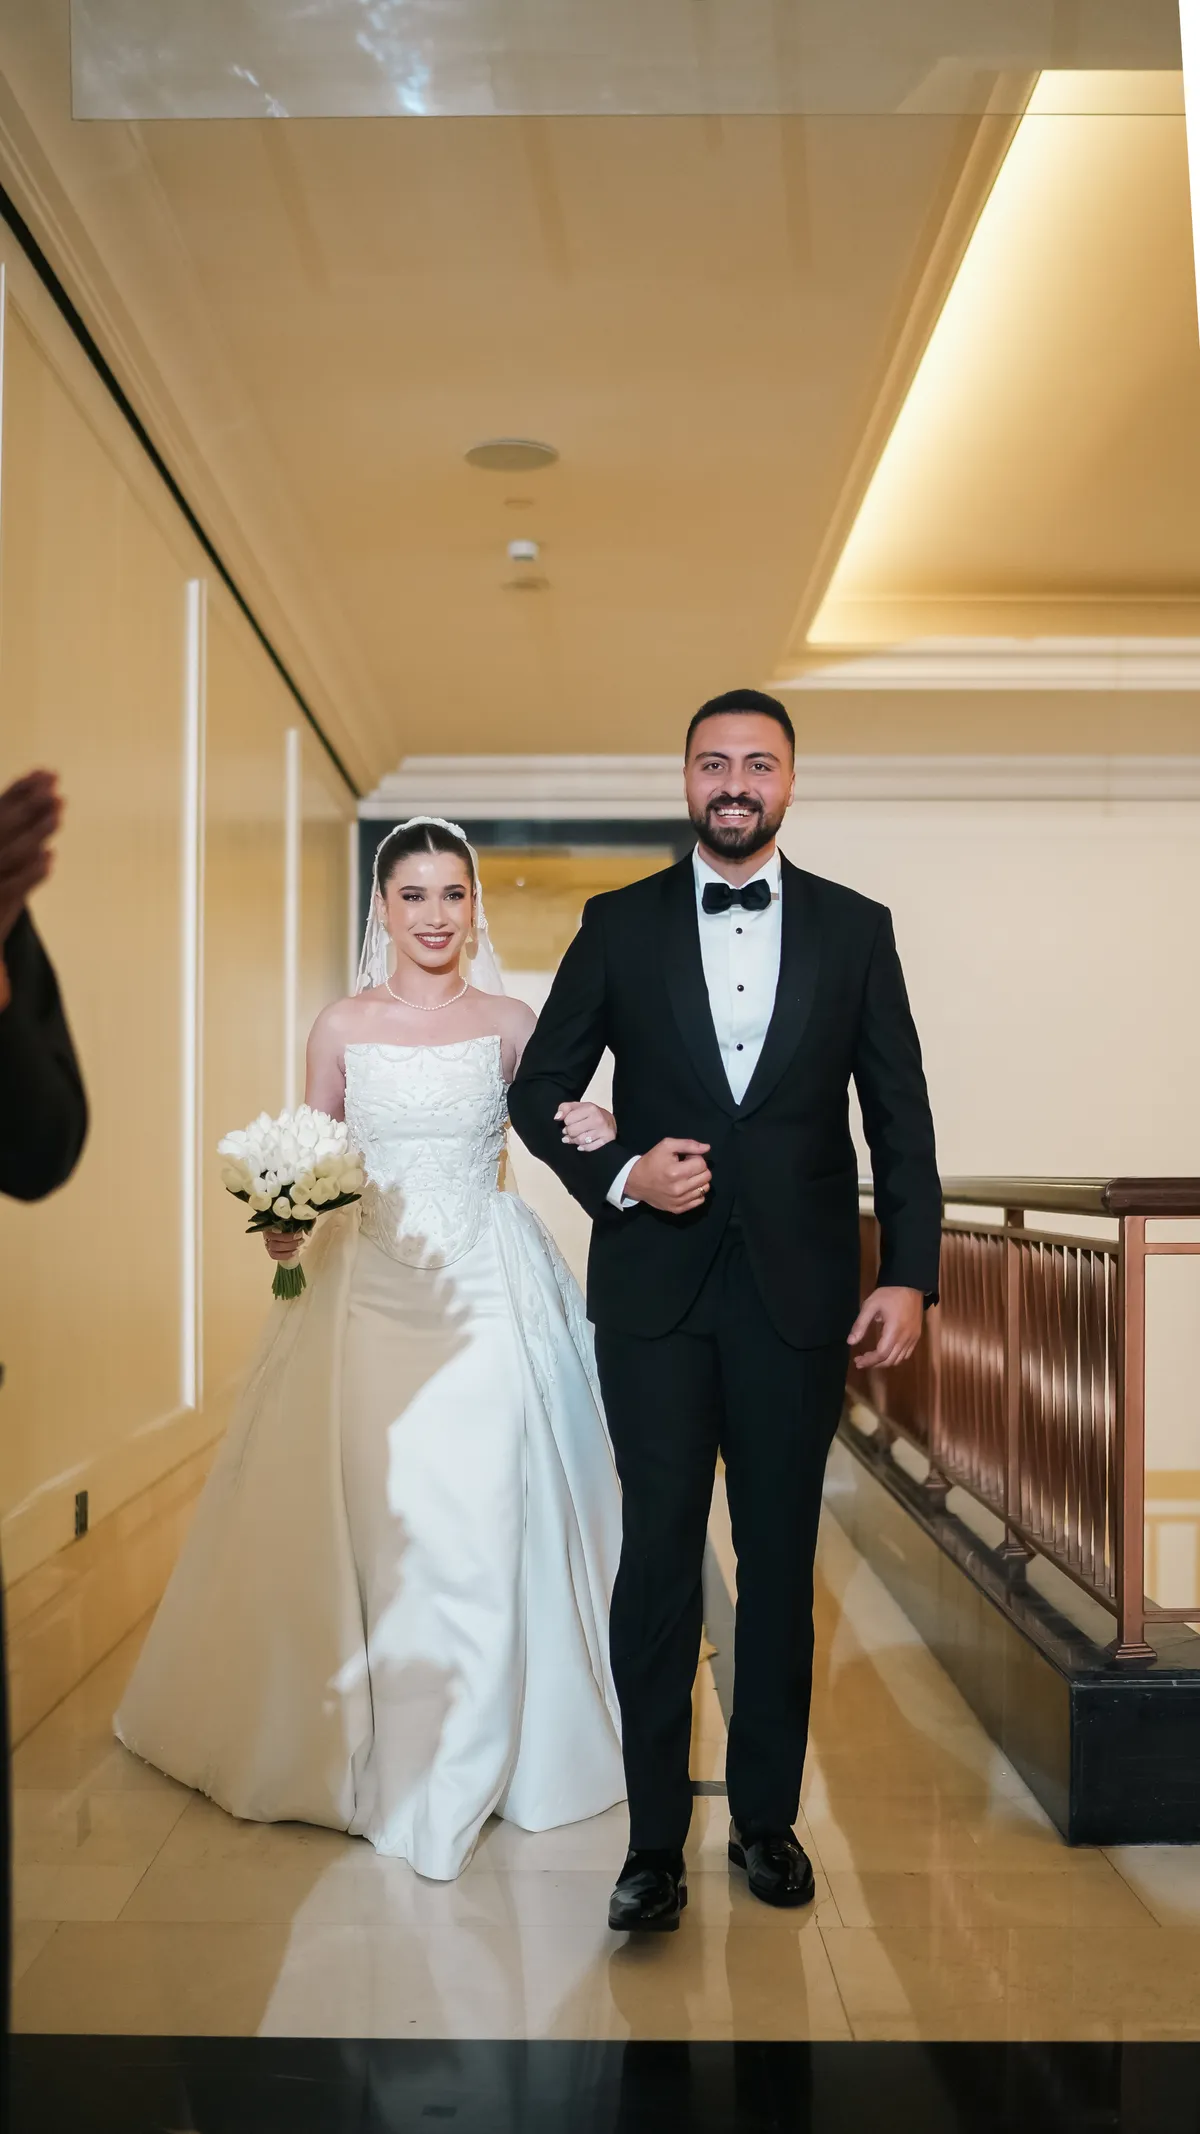
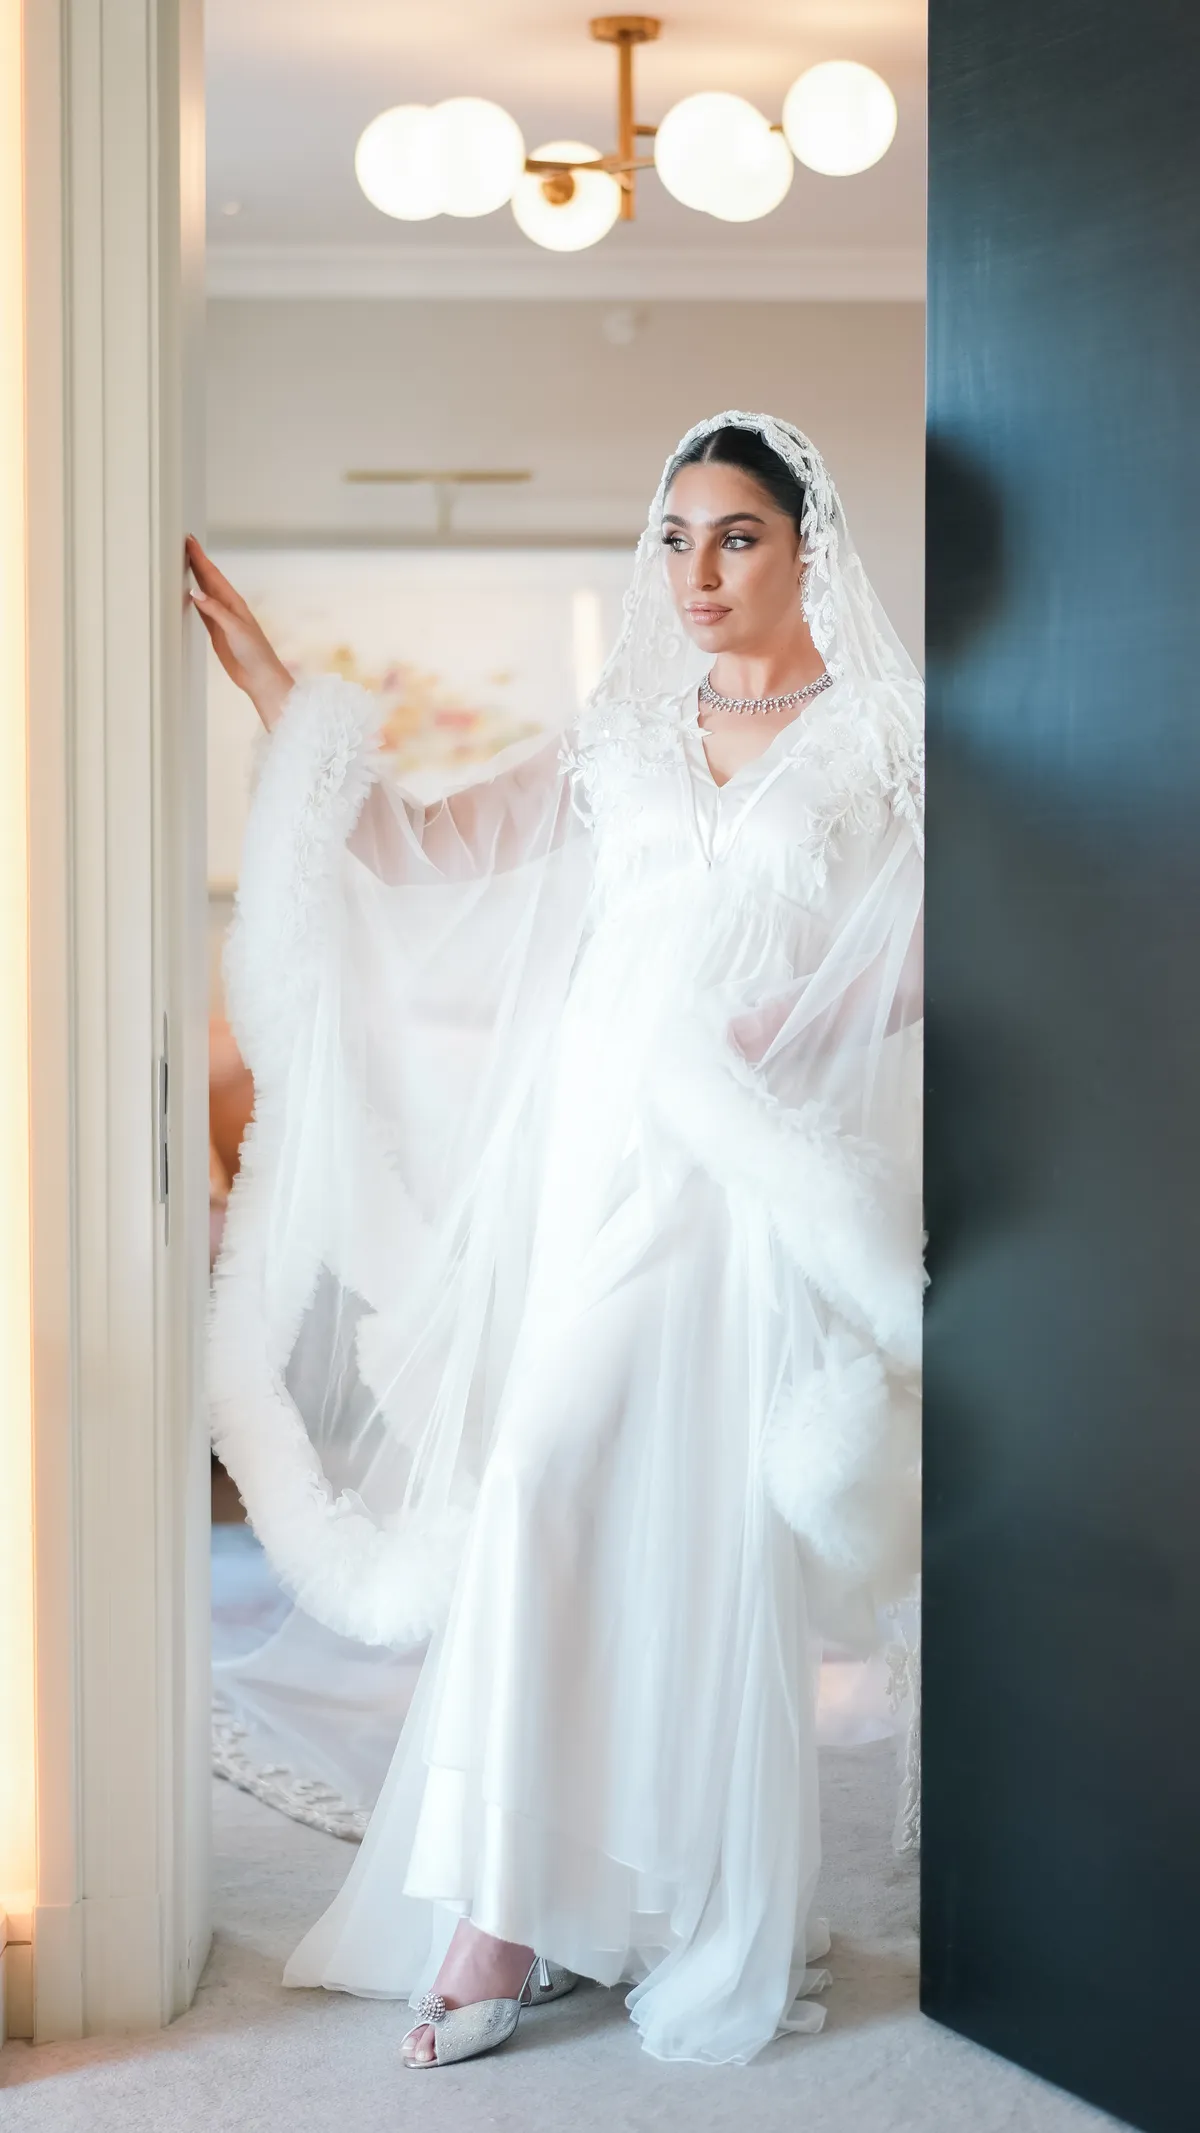
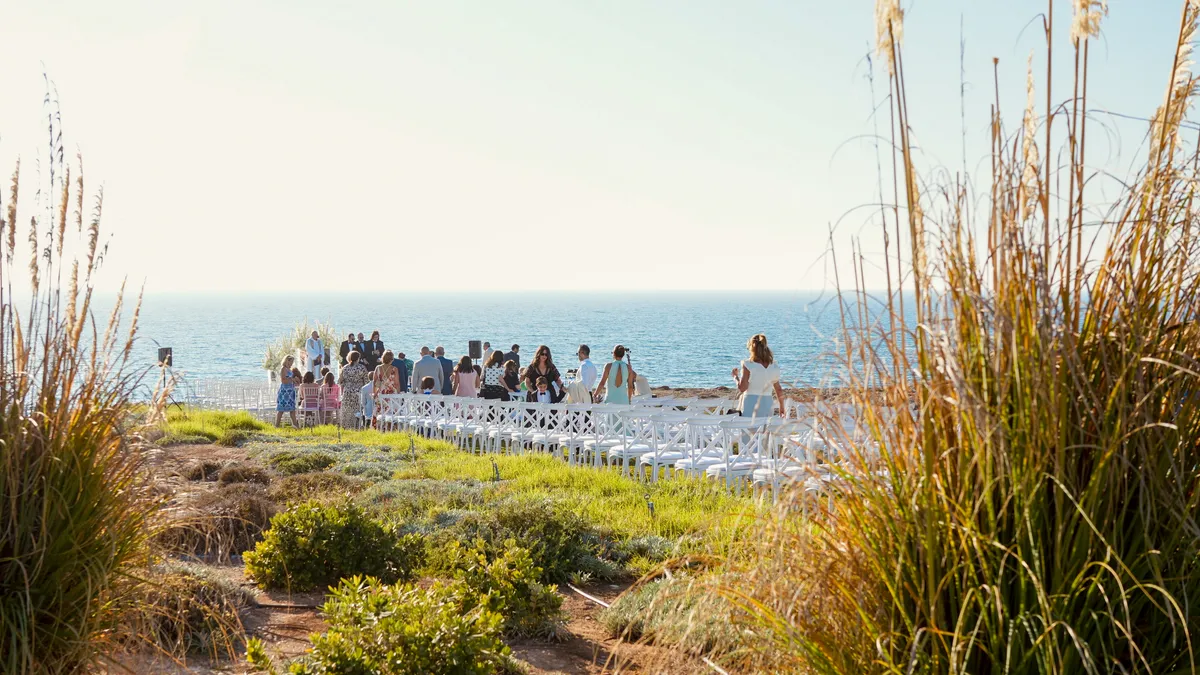
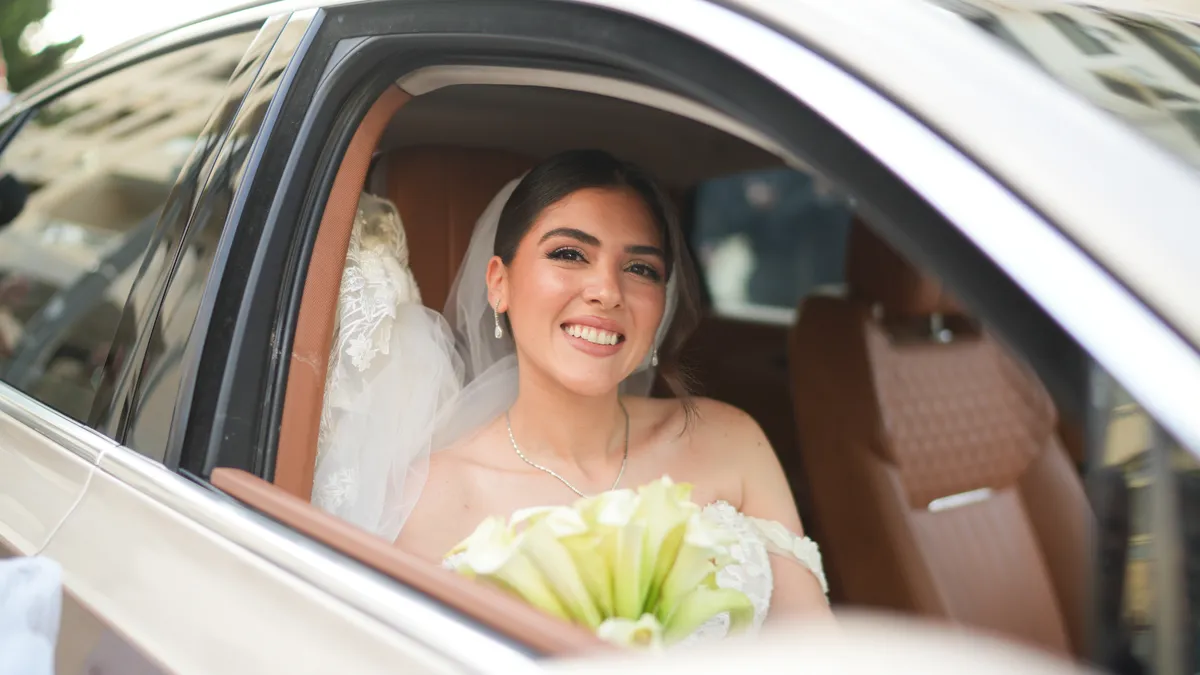
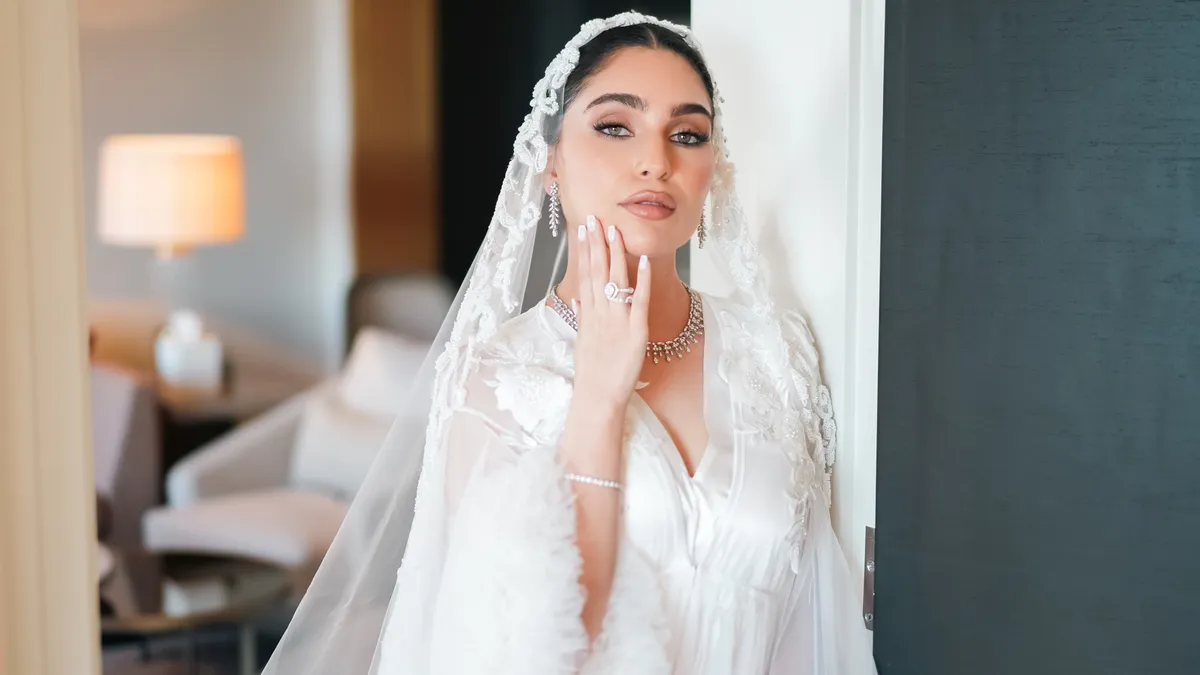
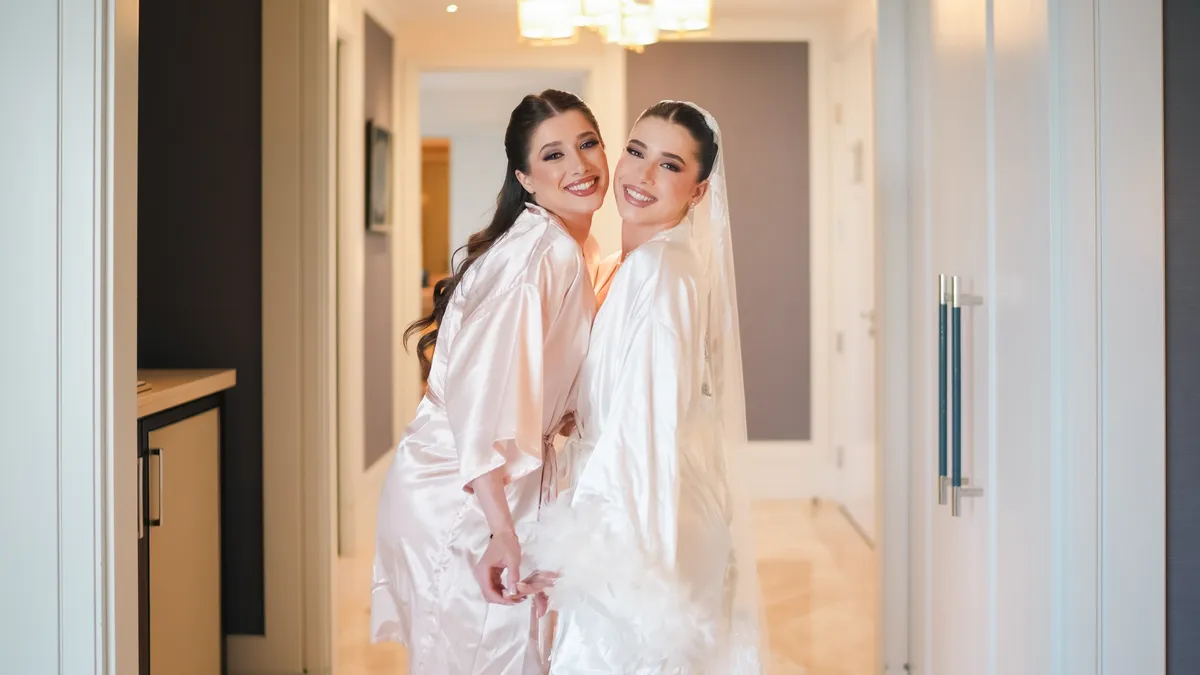
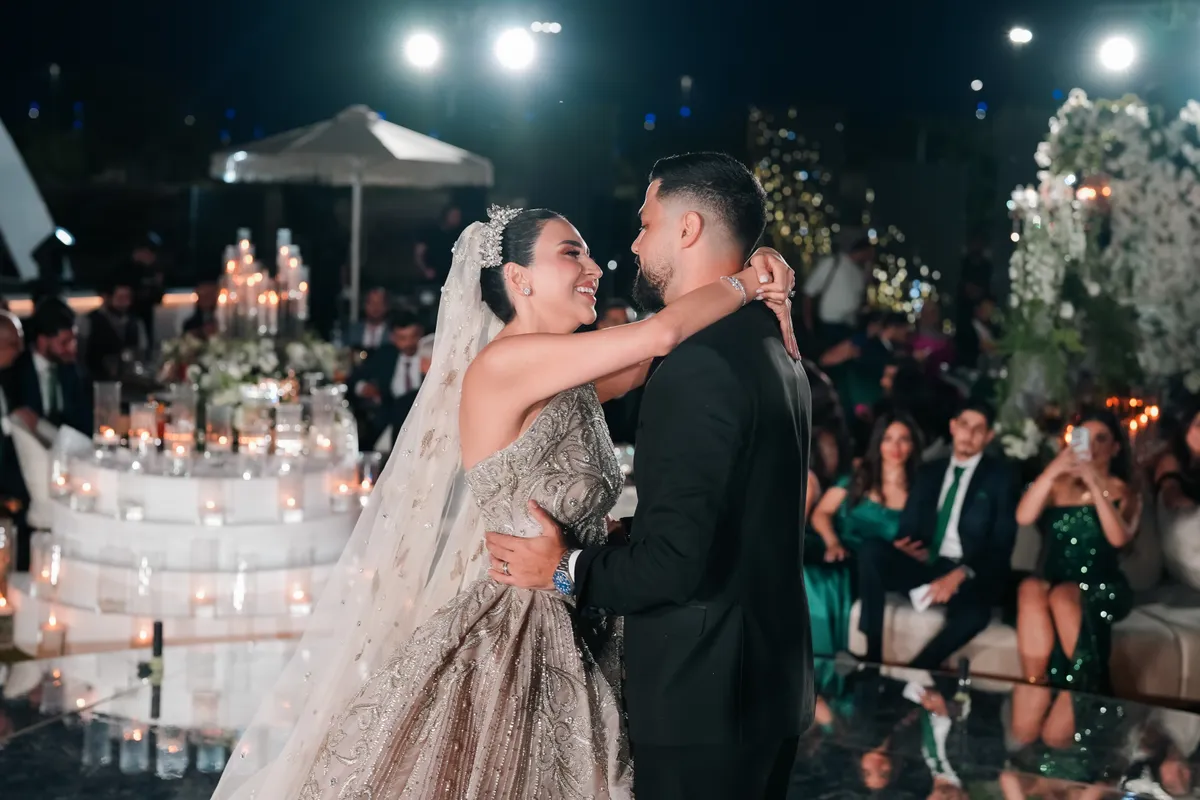
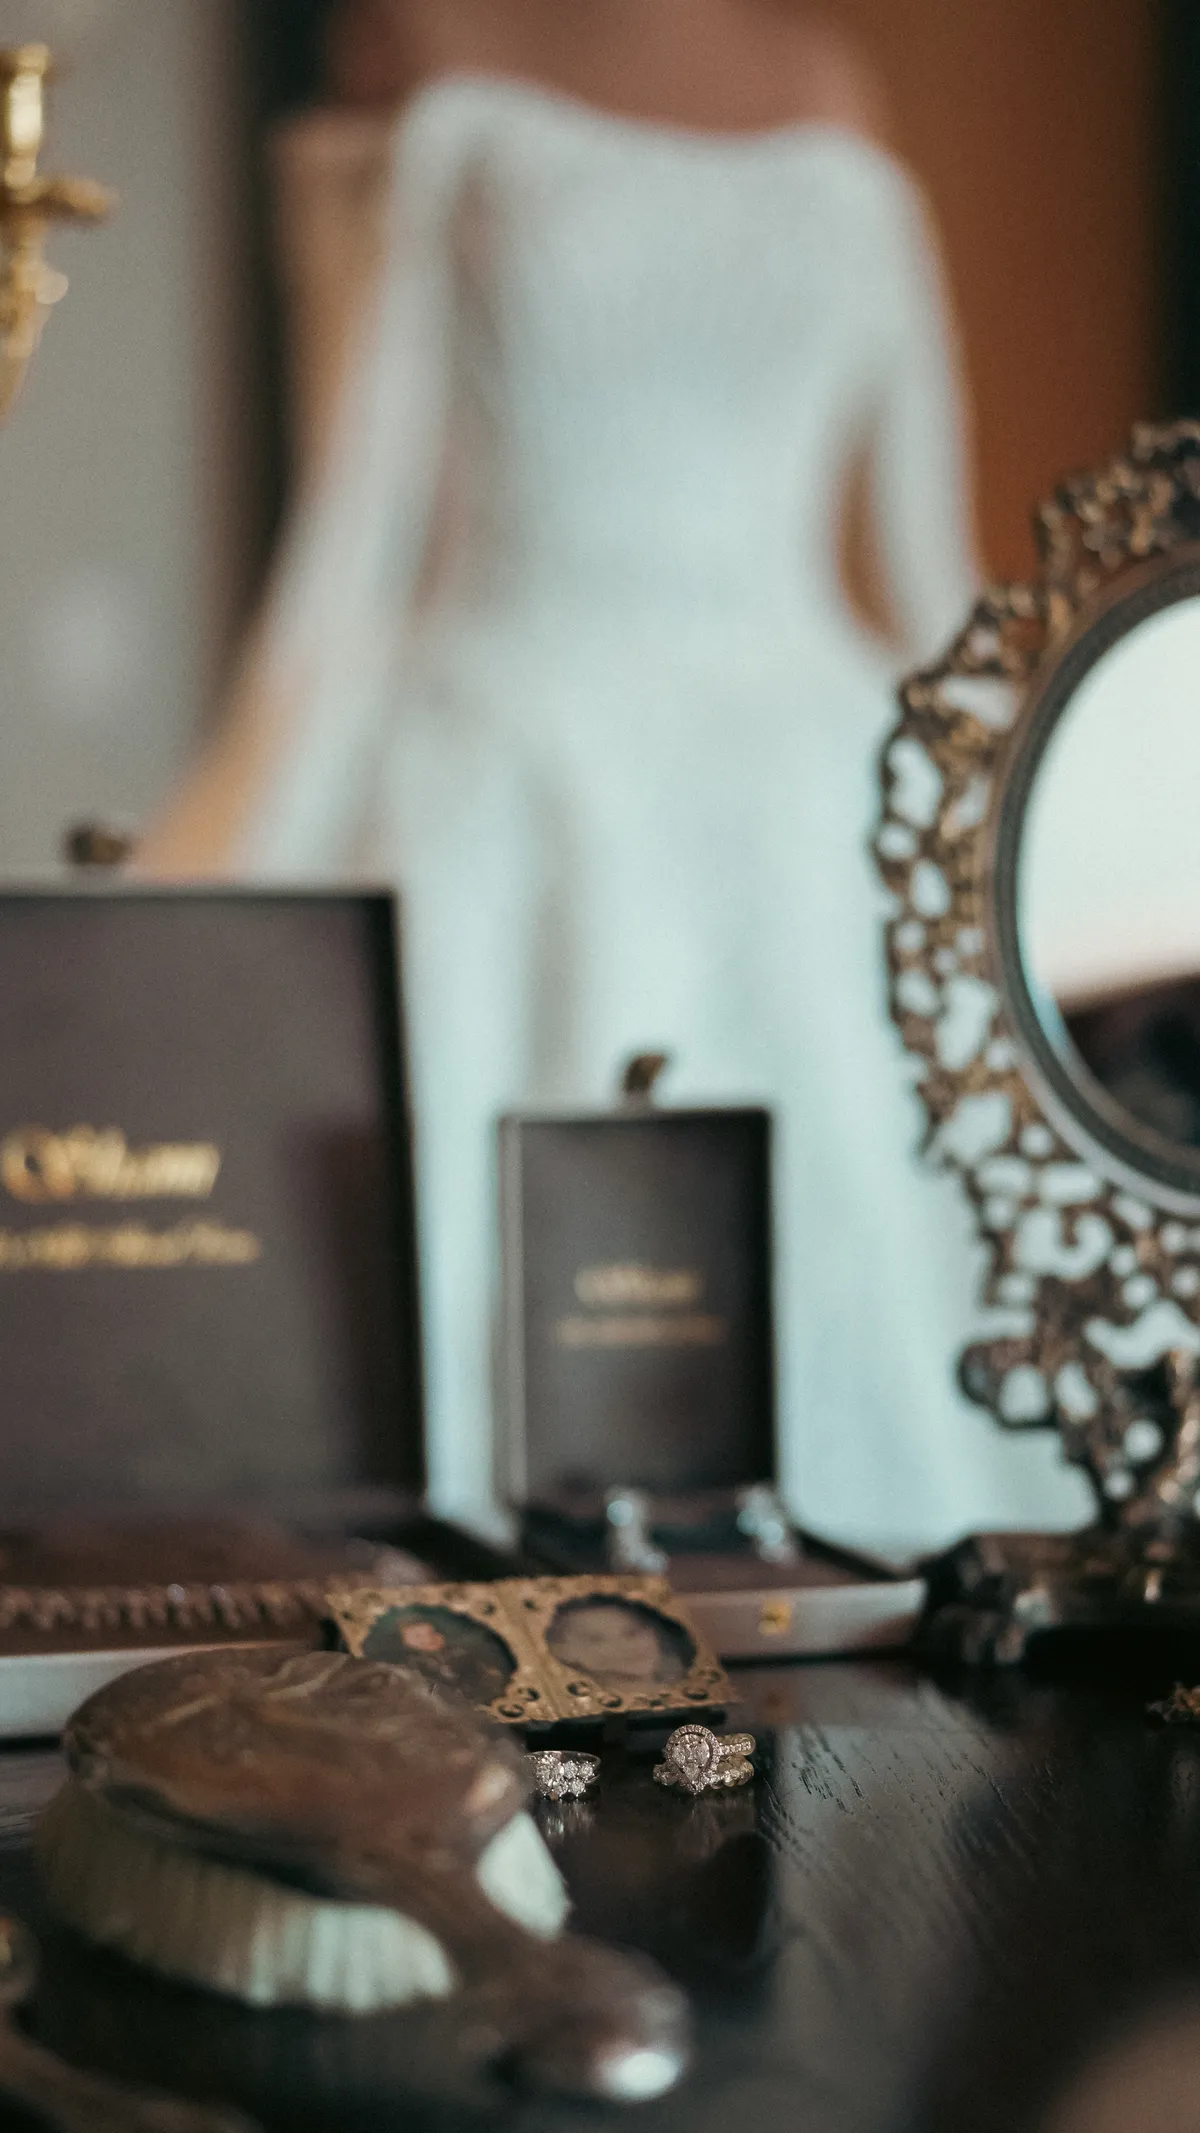
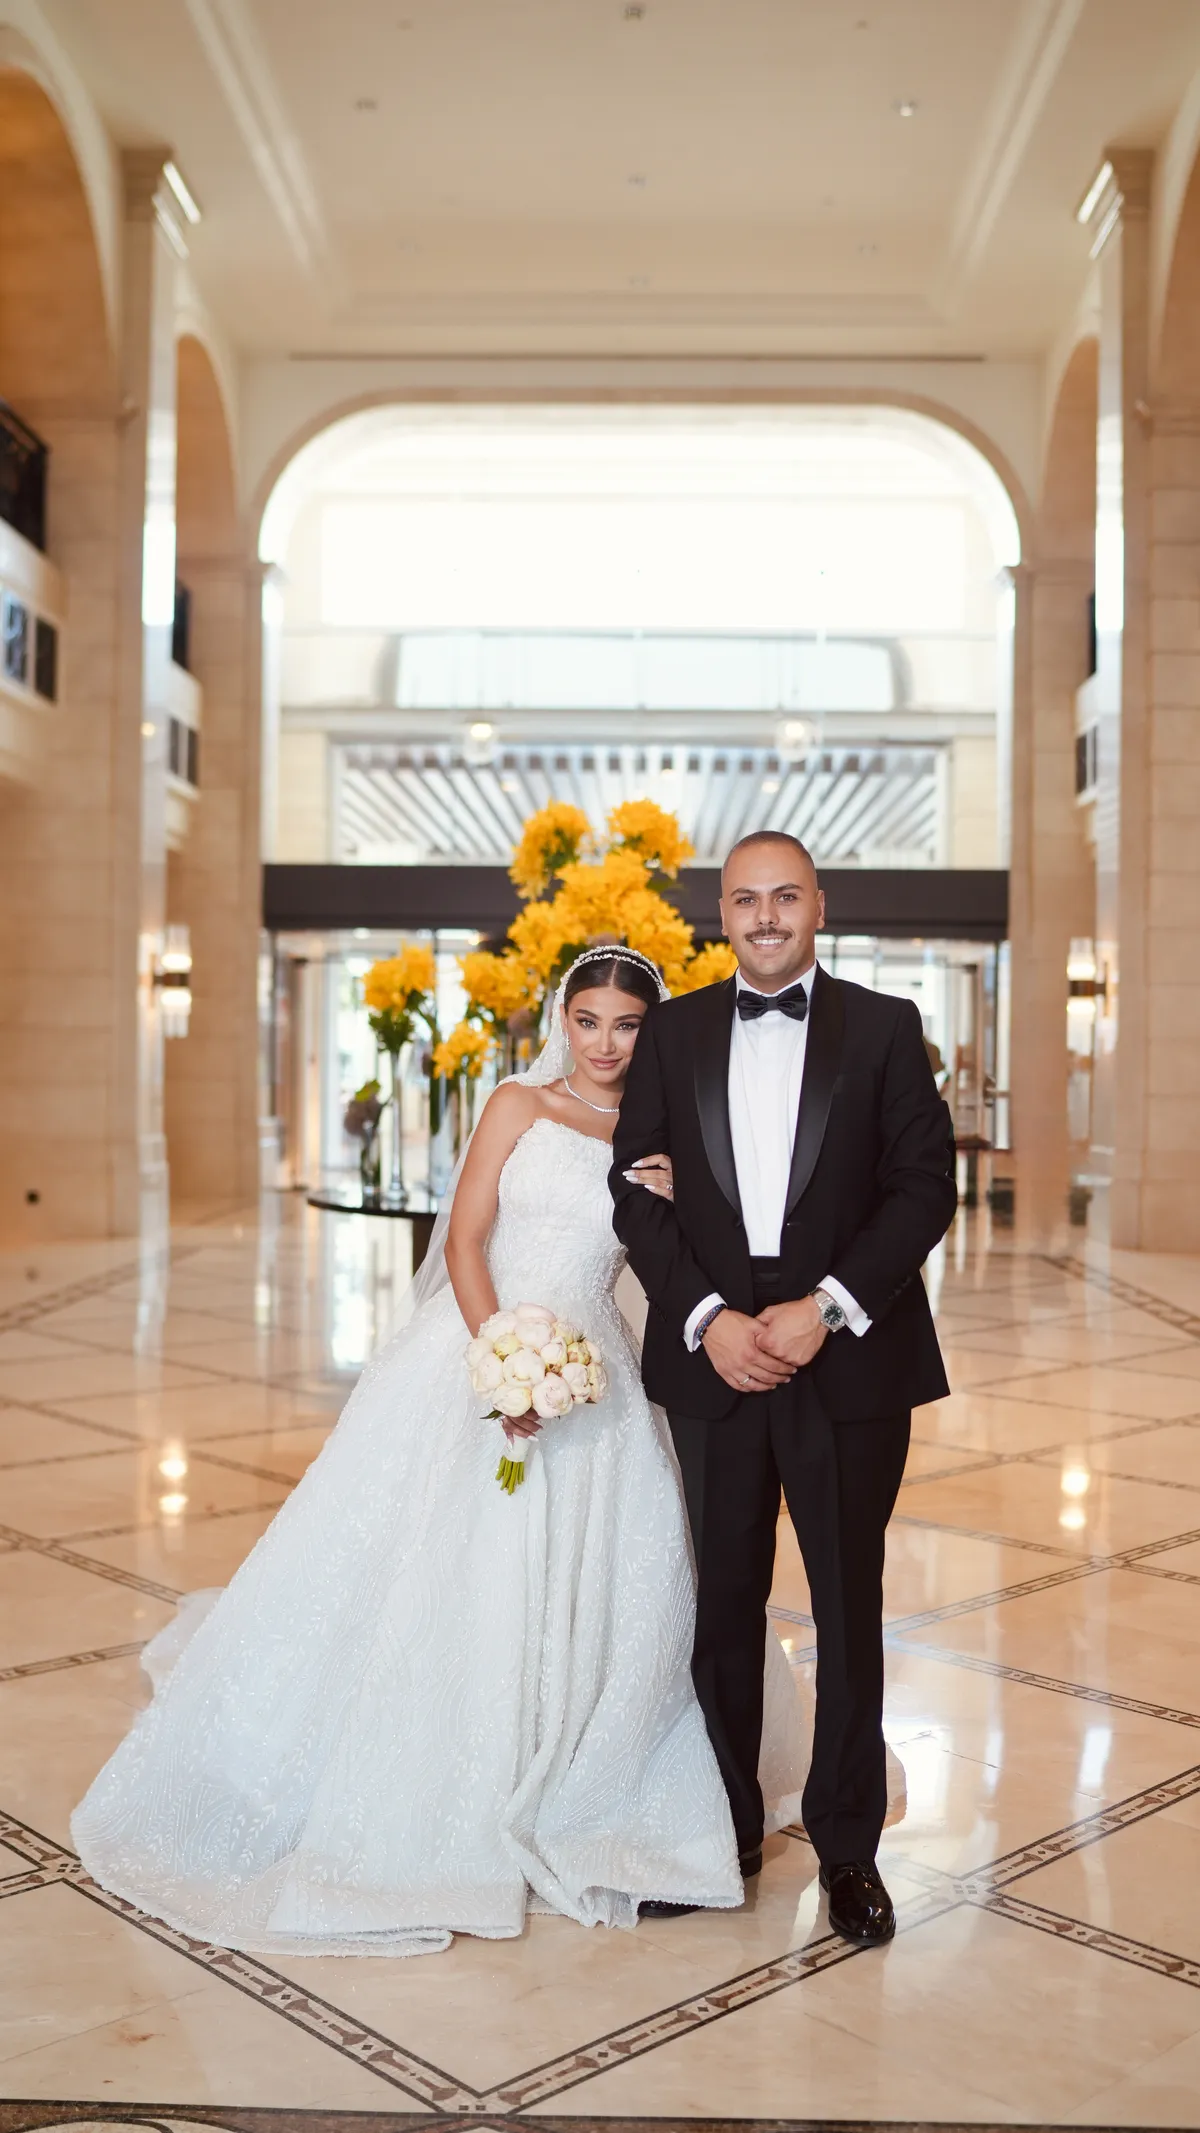
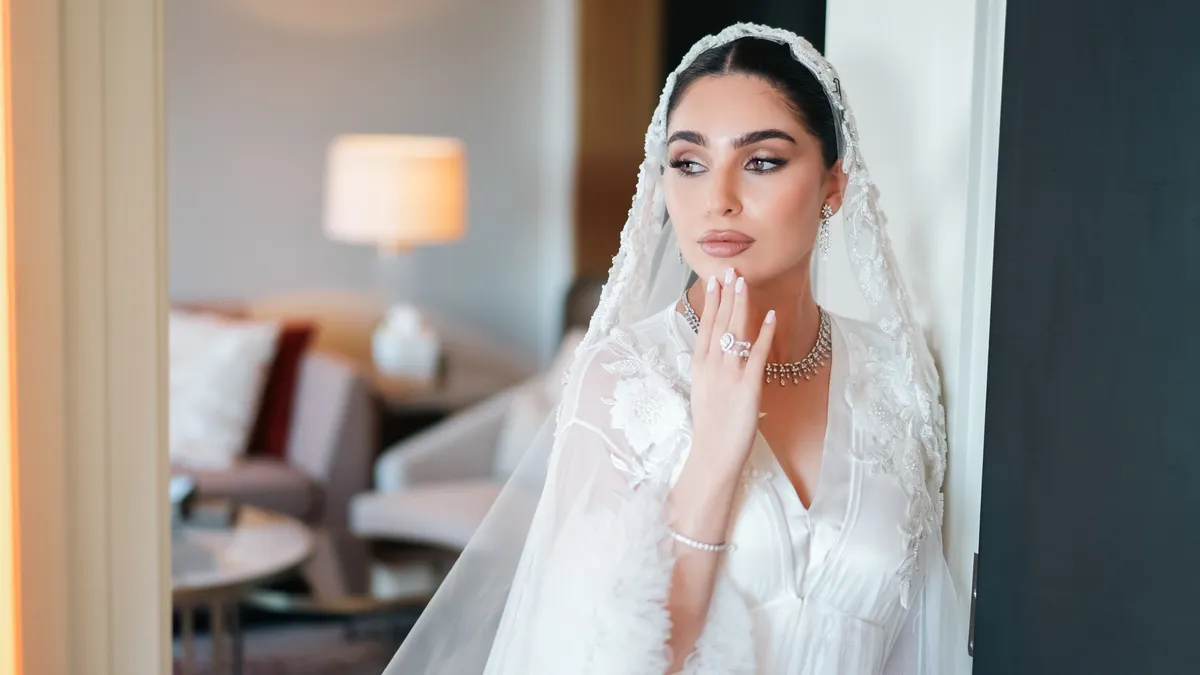
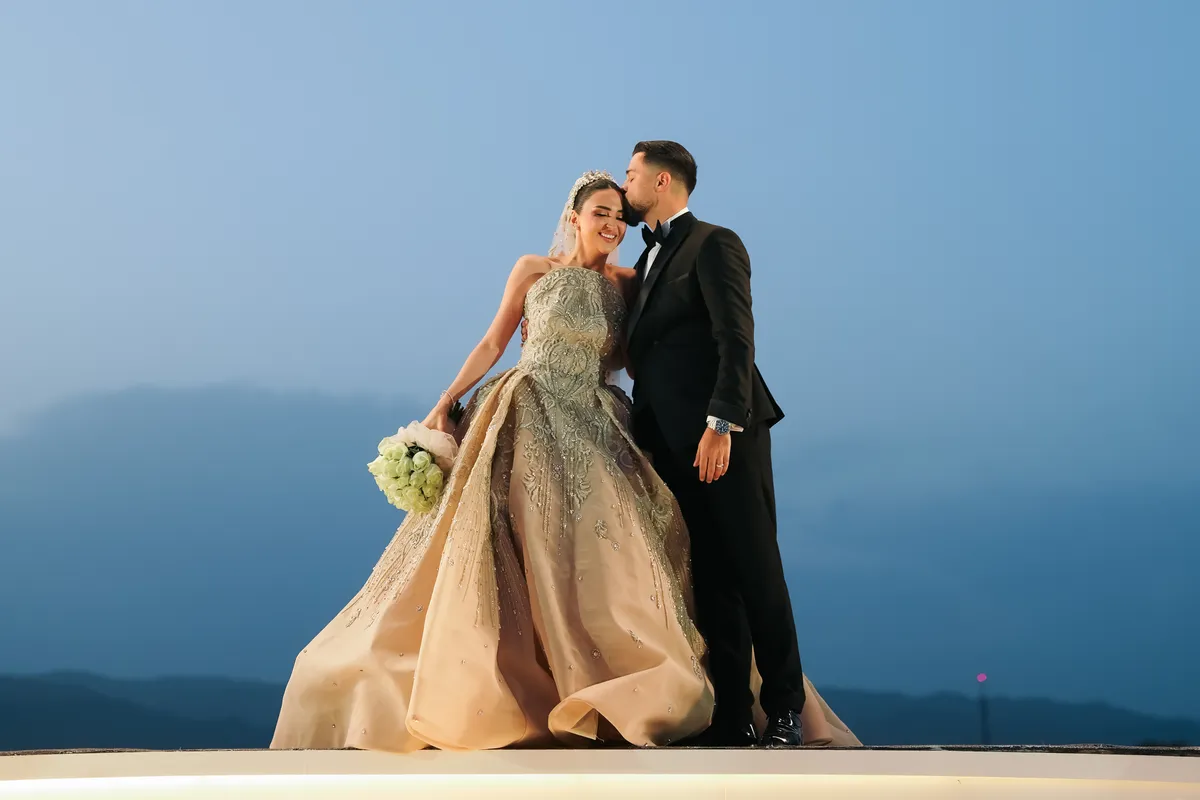
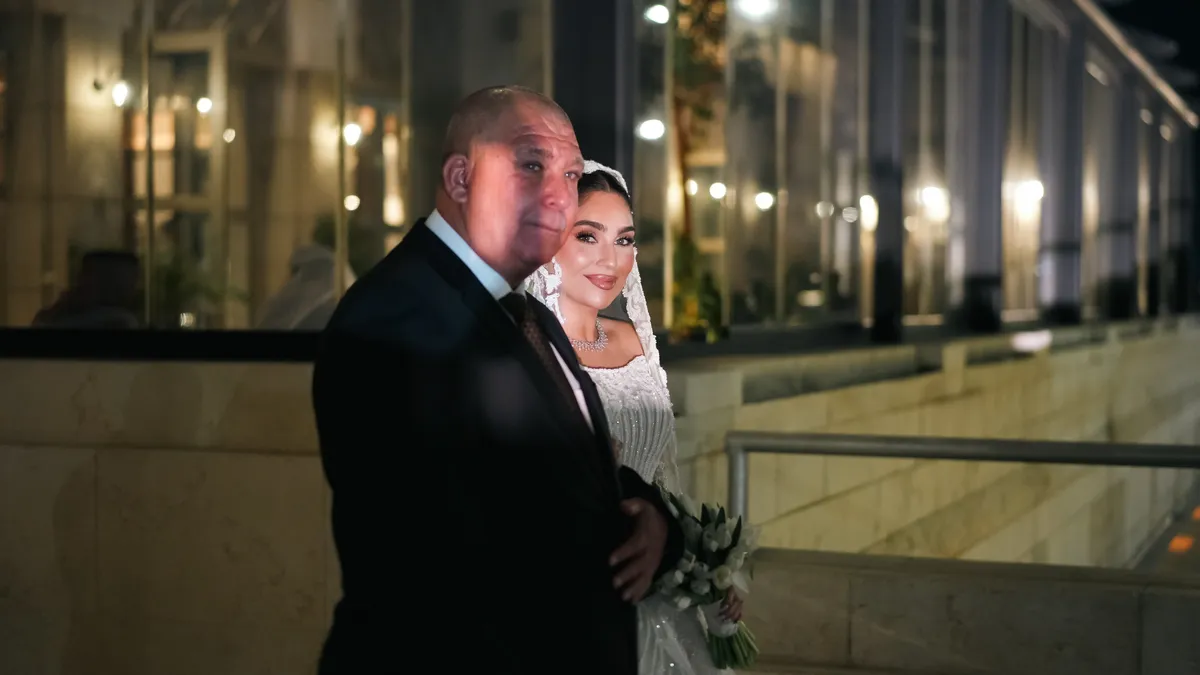
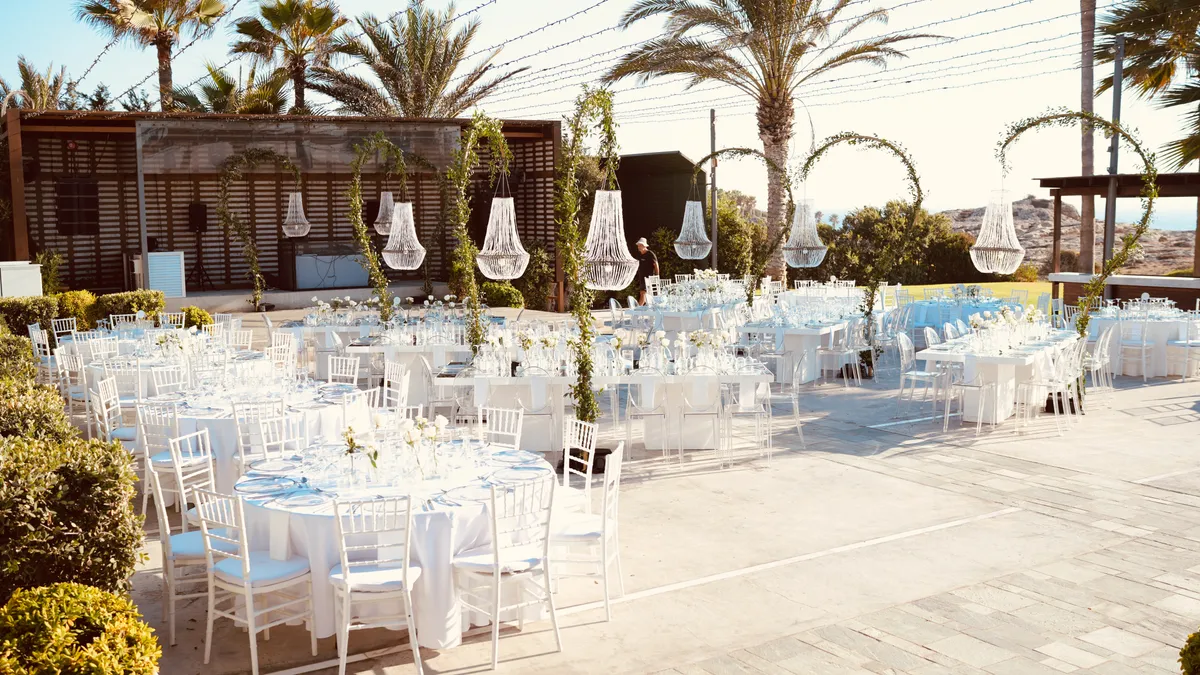
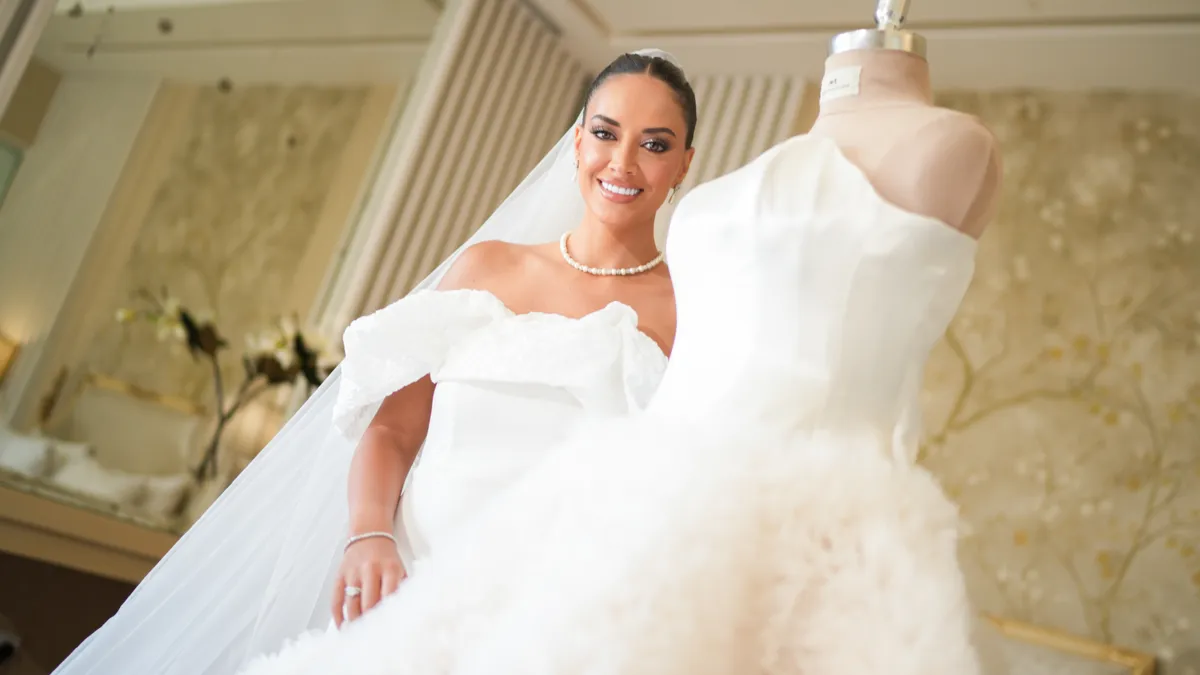
  • Wedding photograph by DawwasEye Studios
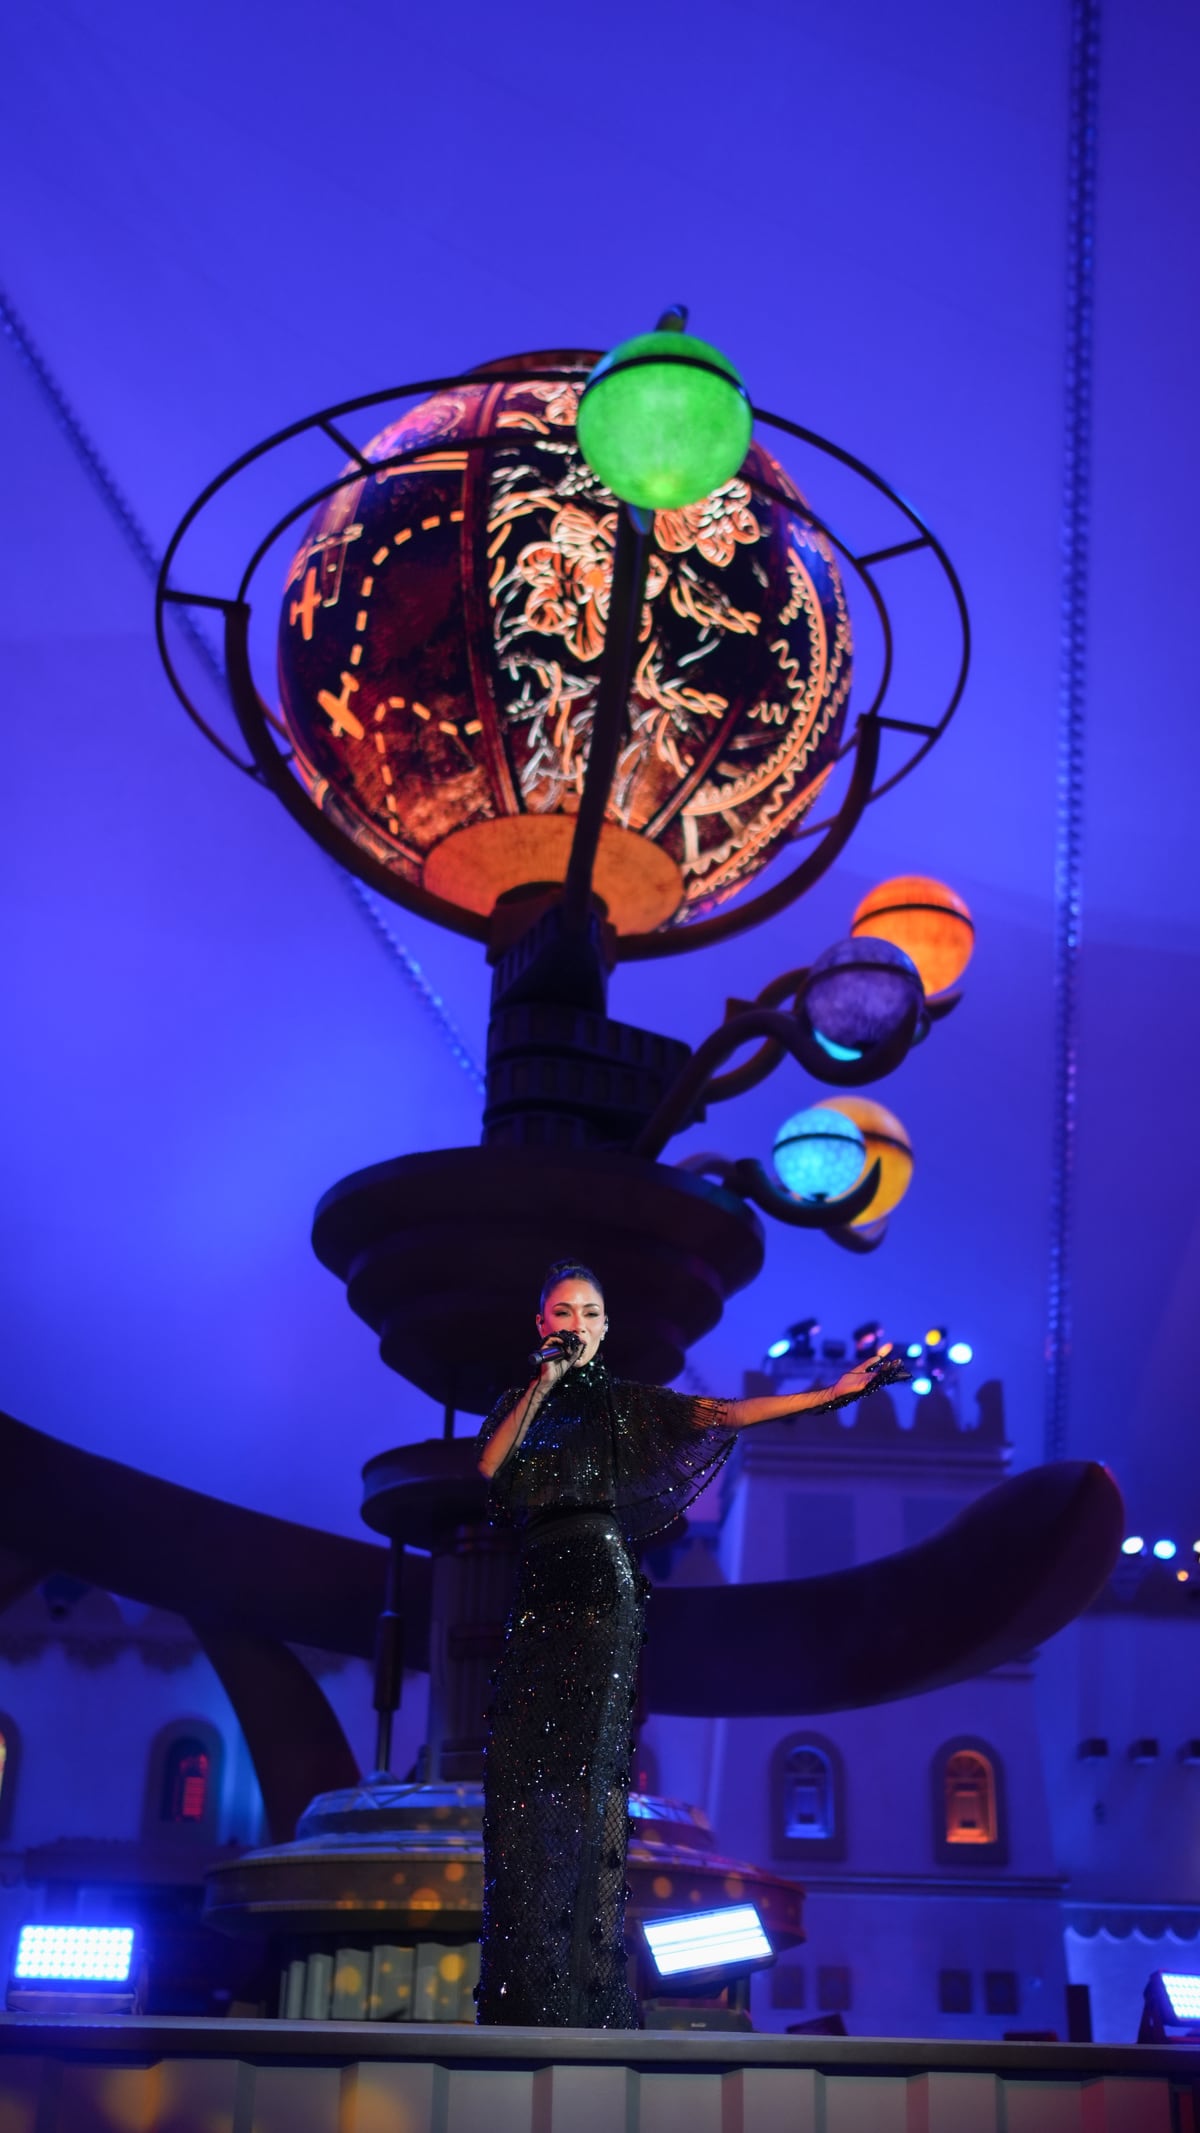
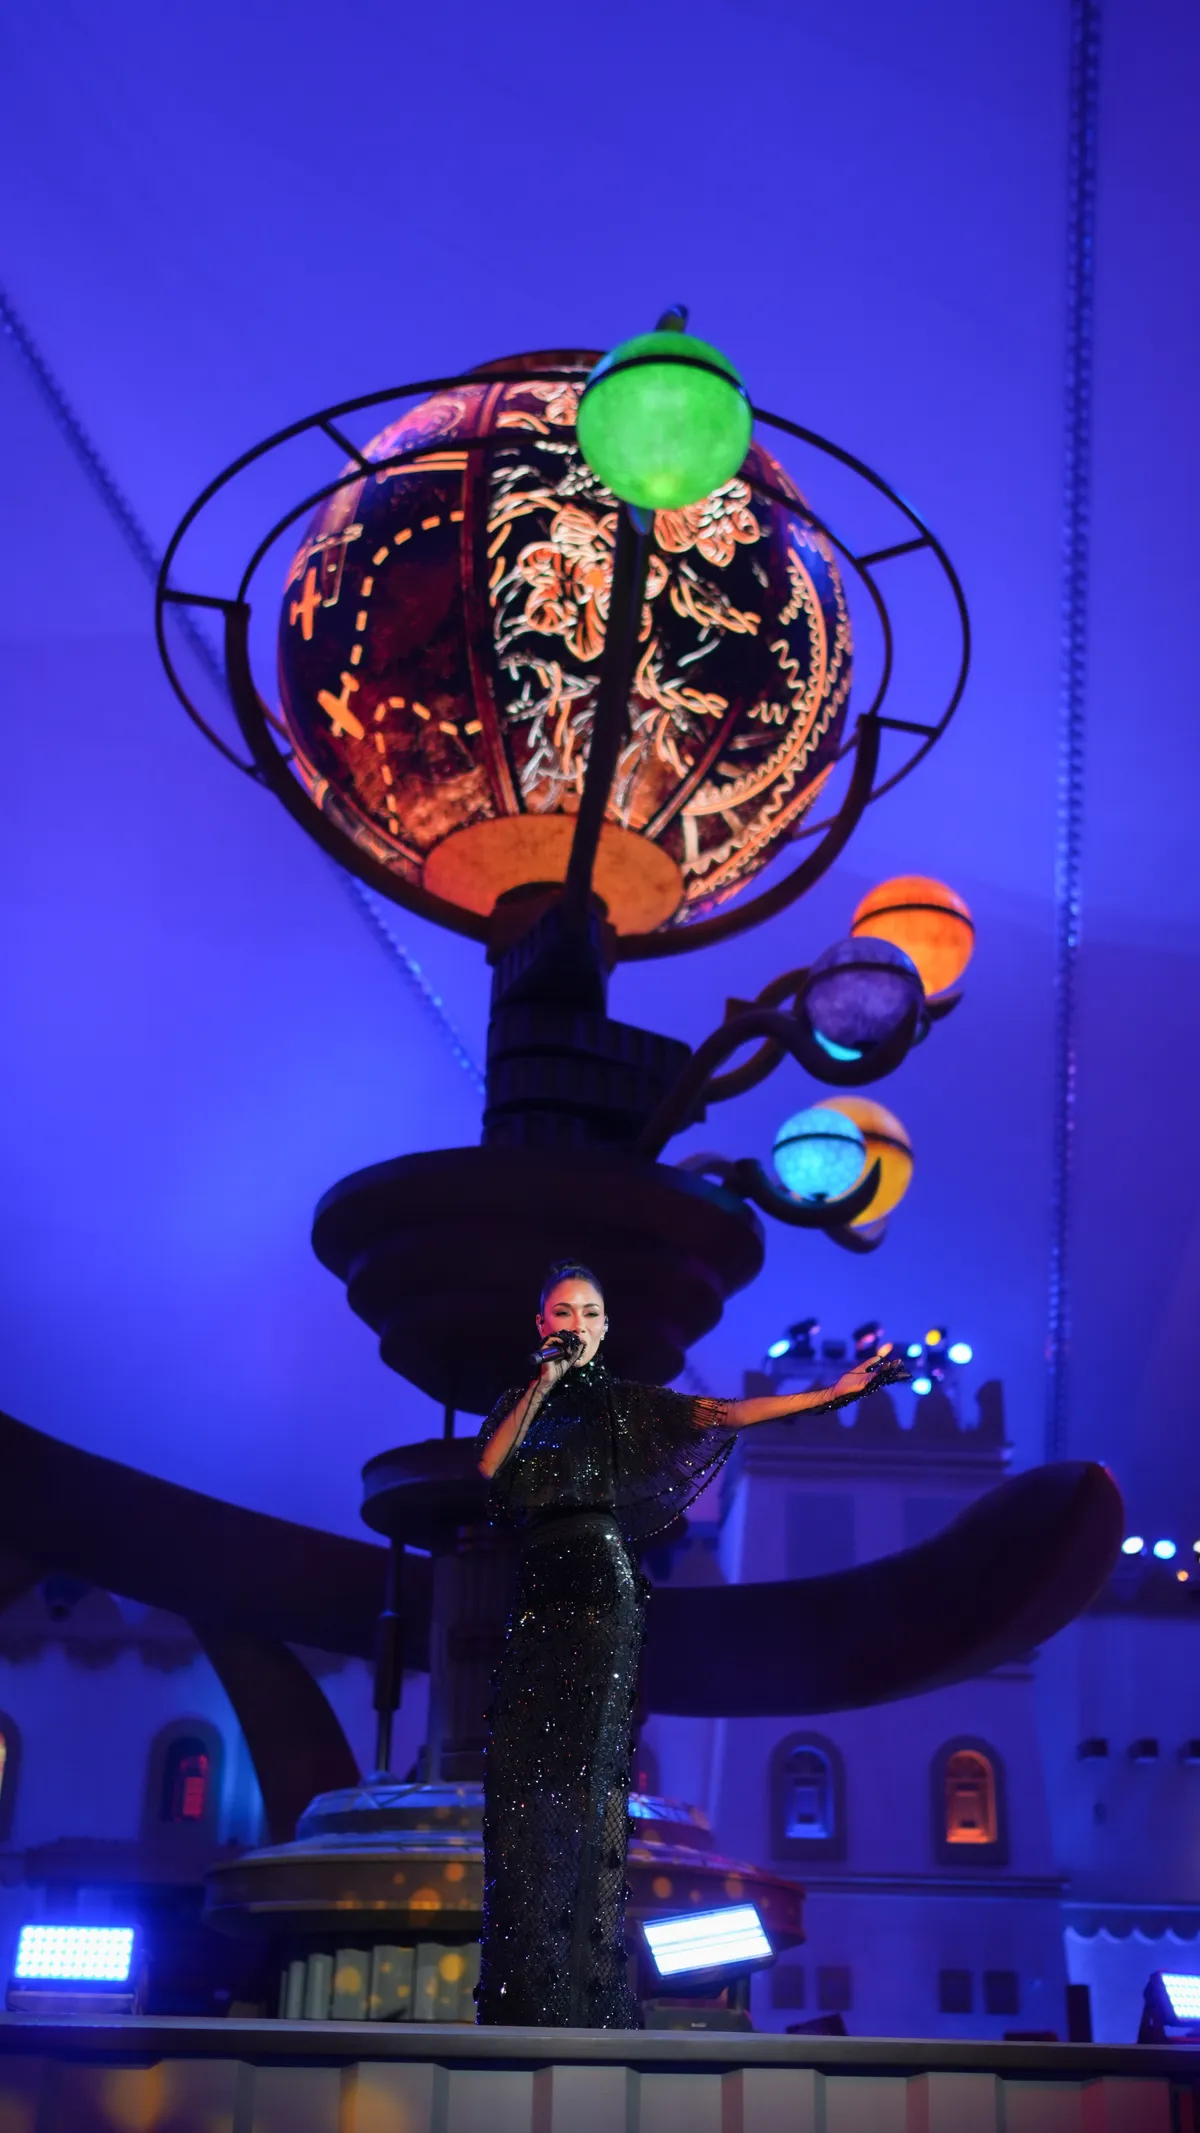
  • Qiddiya, photographed by DawwasEye Studios
  • Wedding photograph by DawwasEye Studios
  • Wedding photograph by DawwasEye Studios
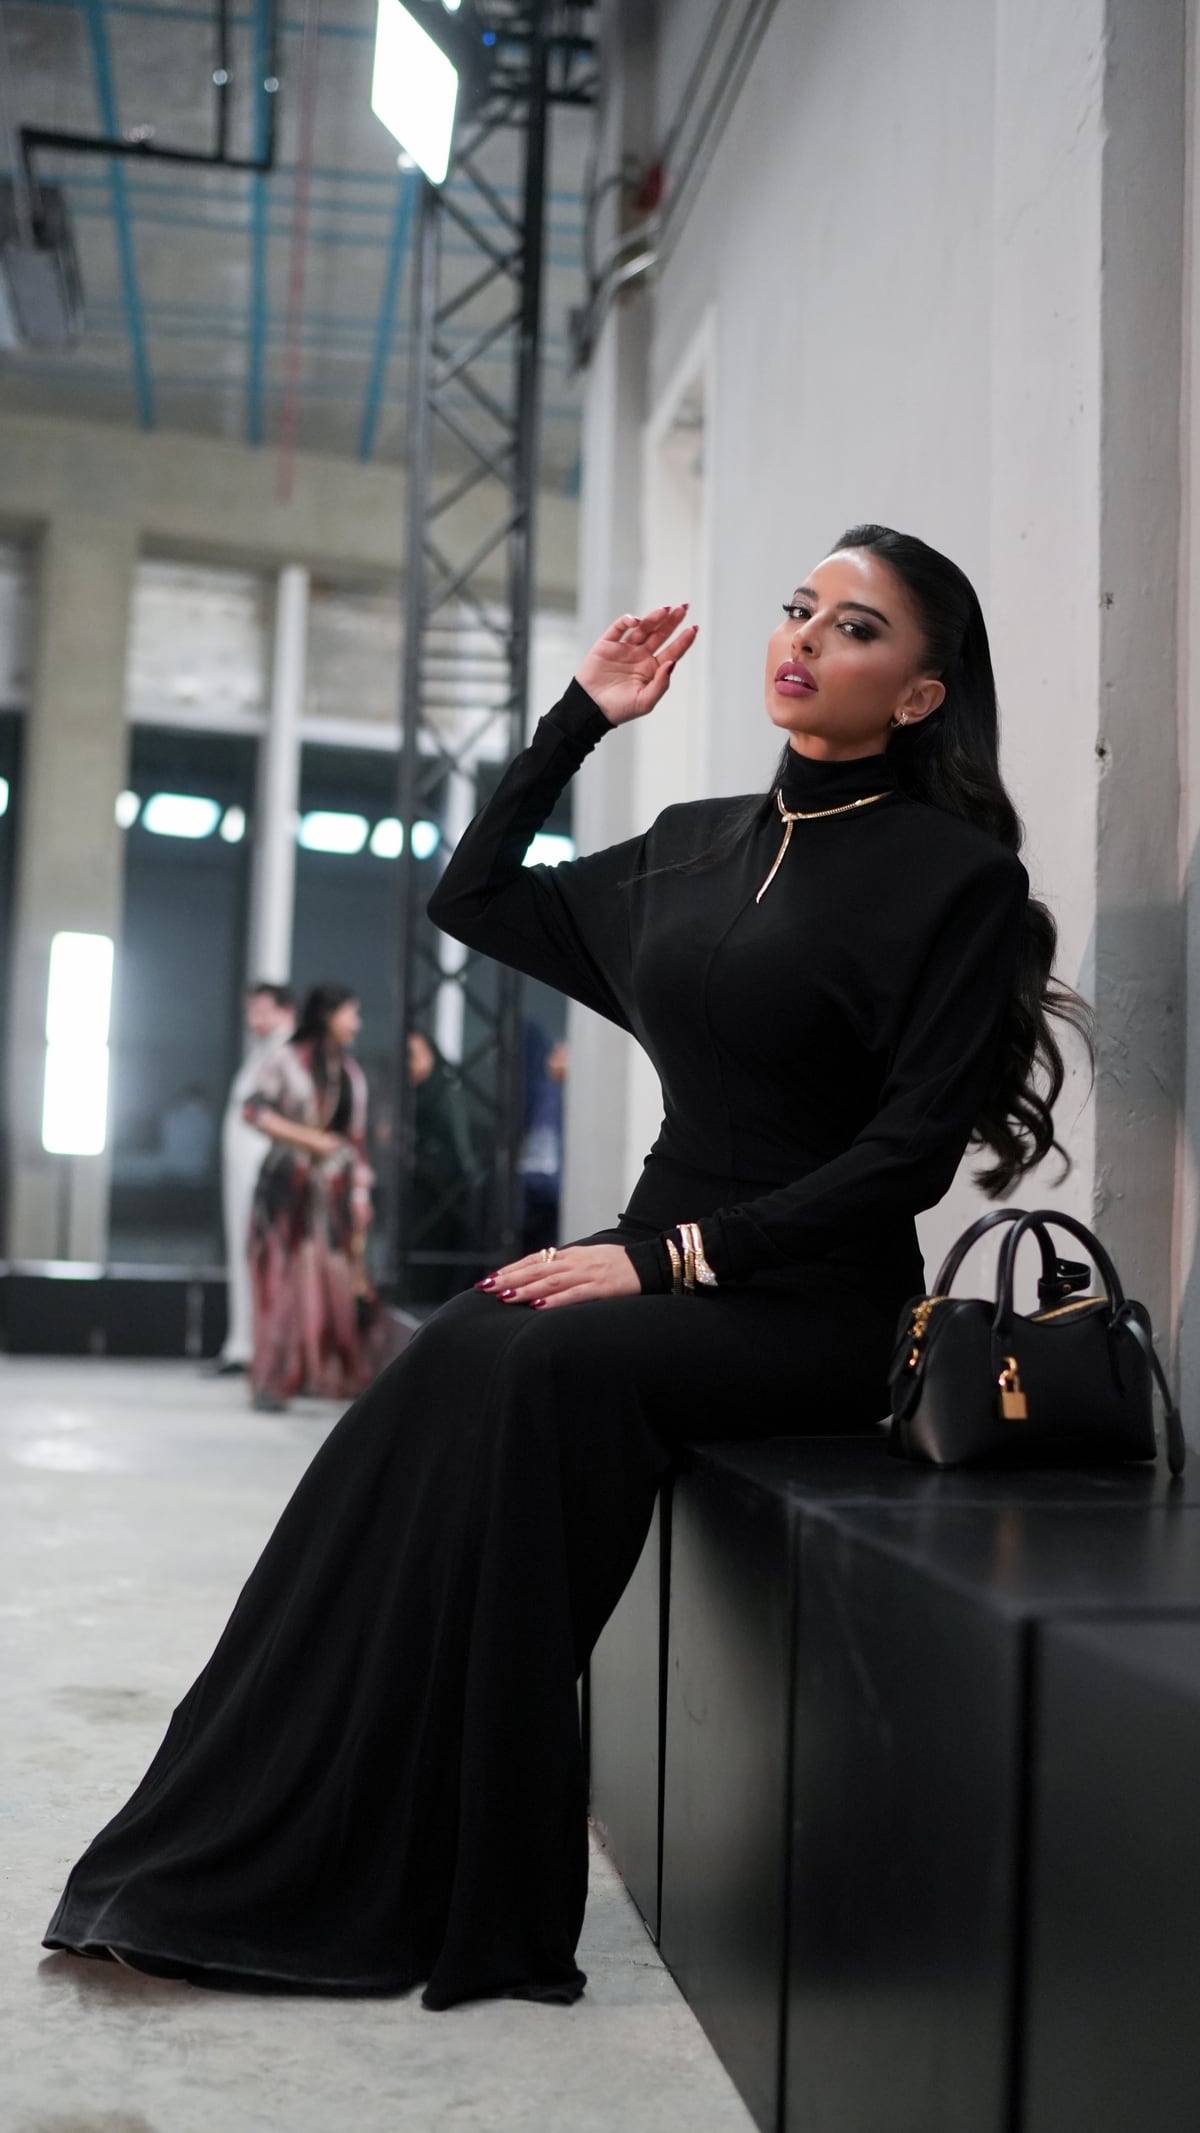
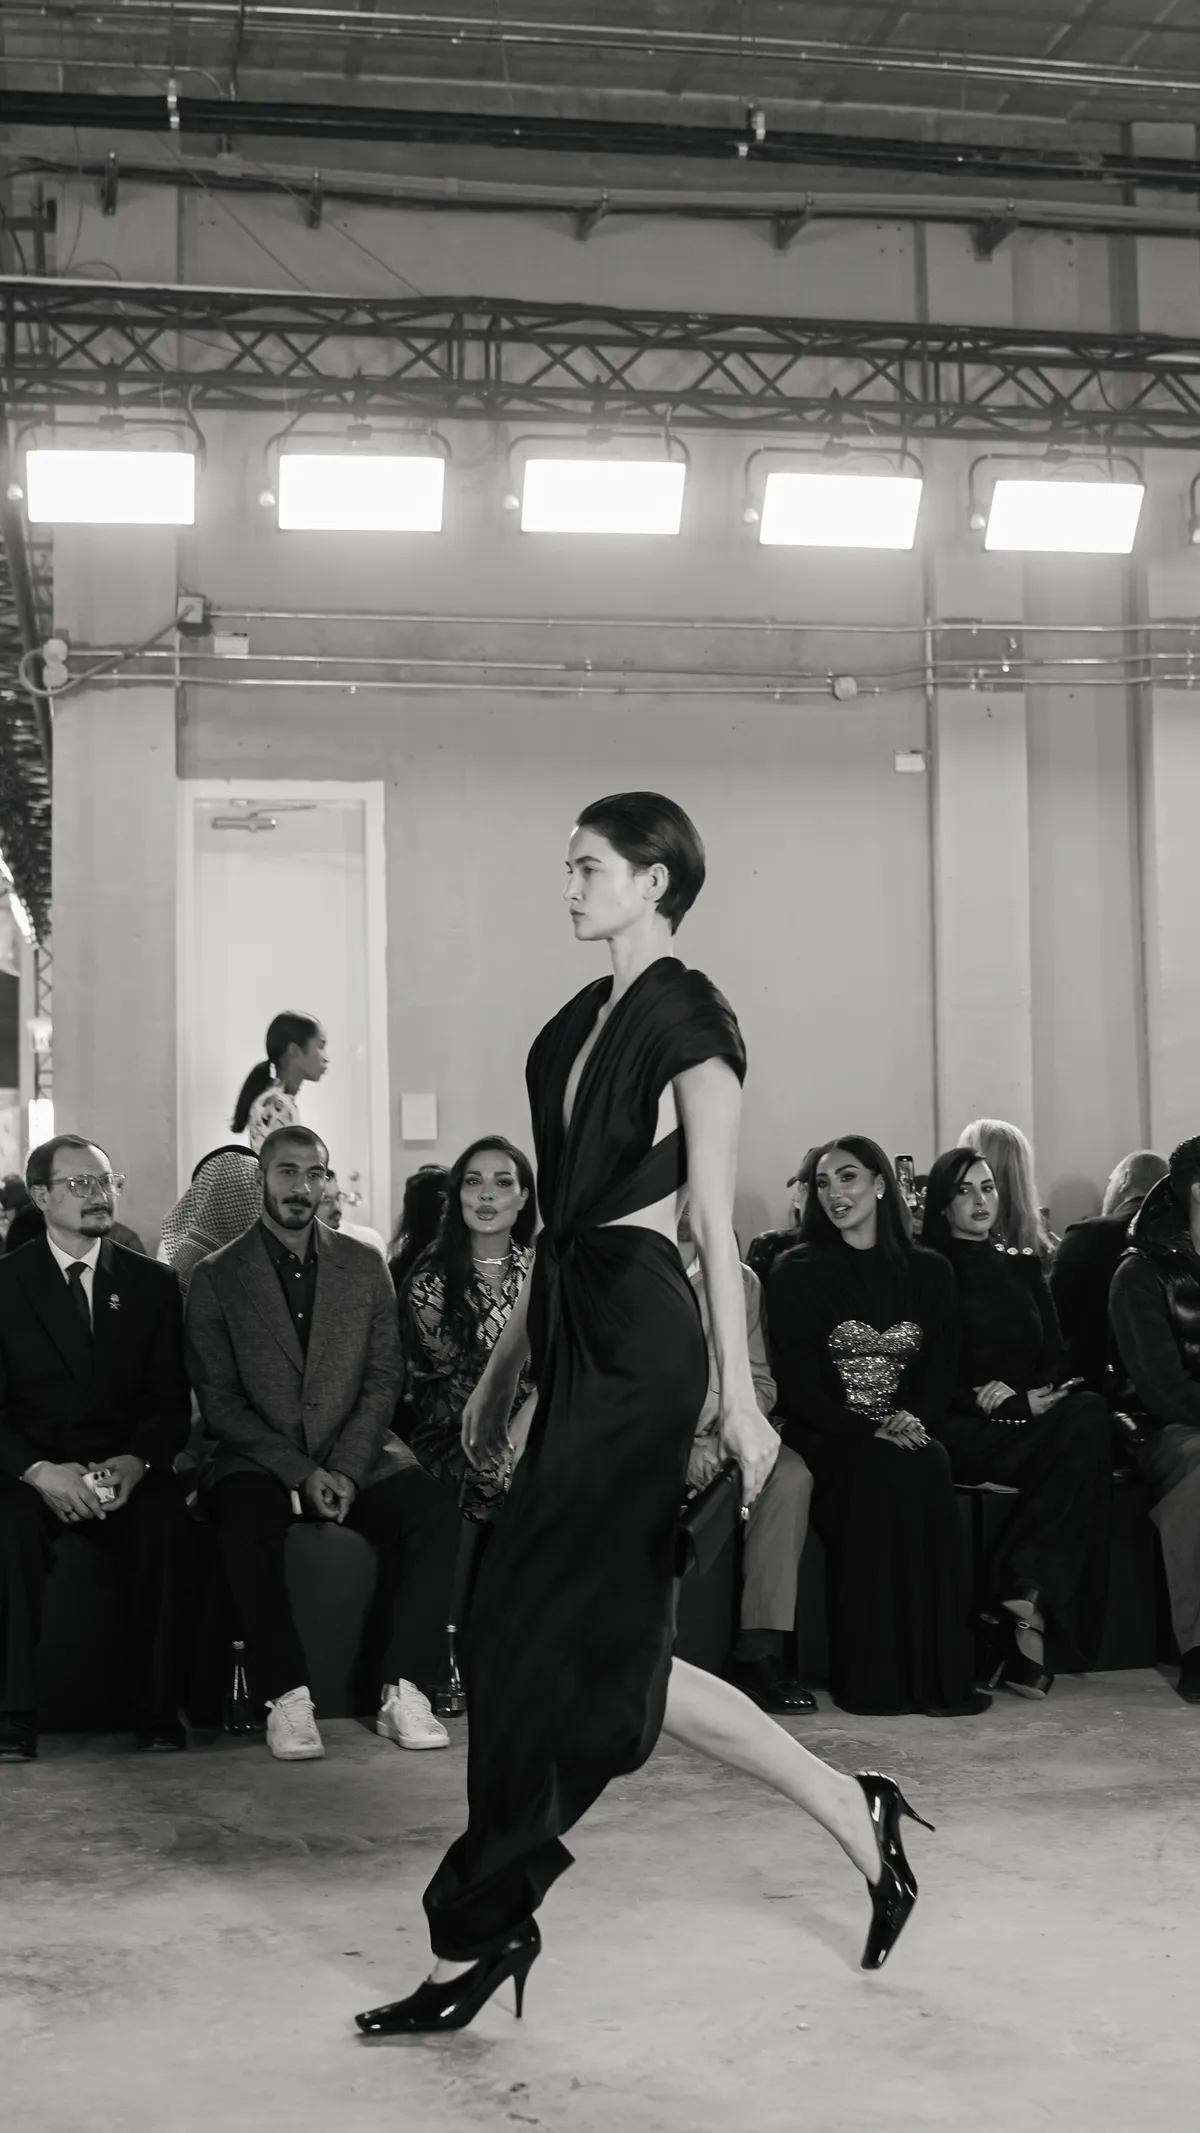
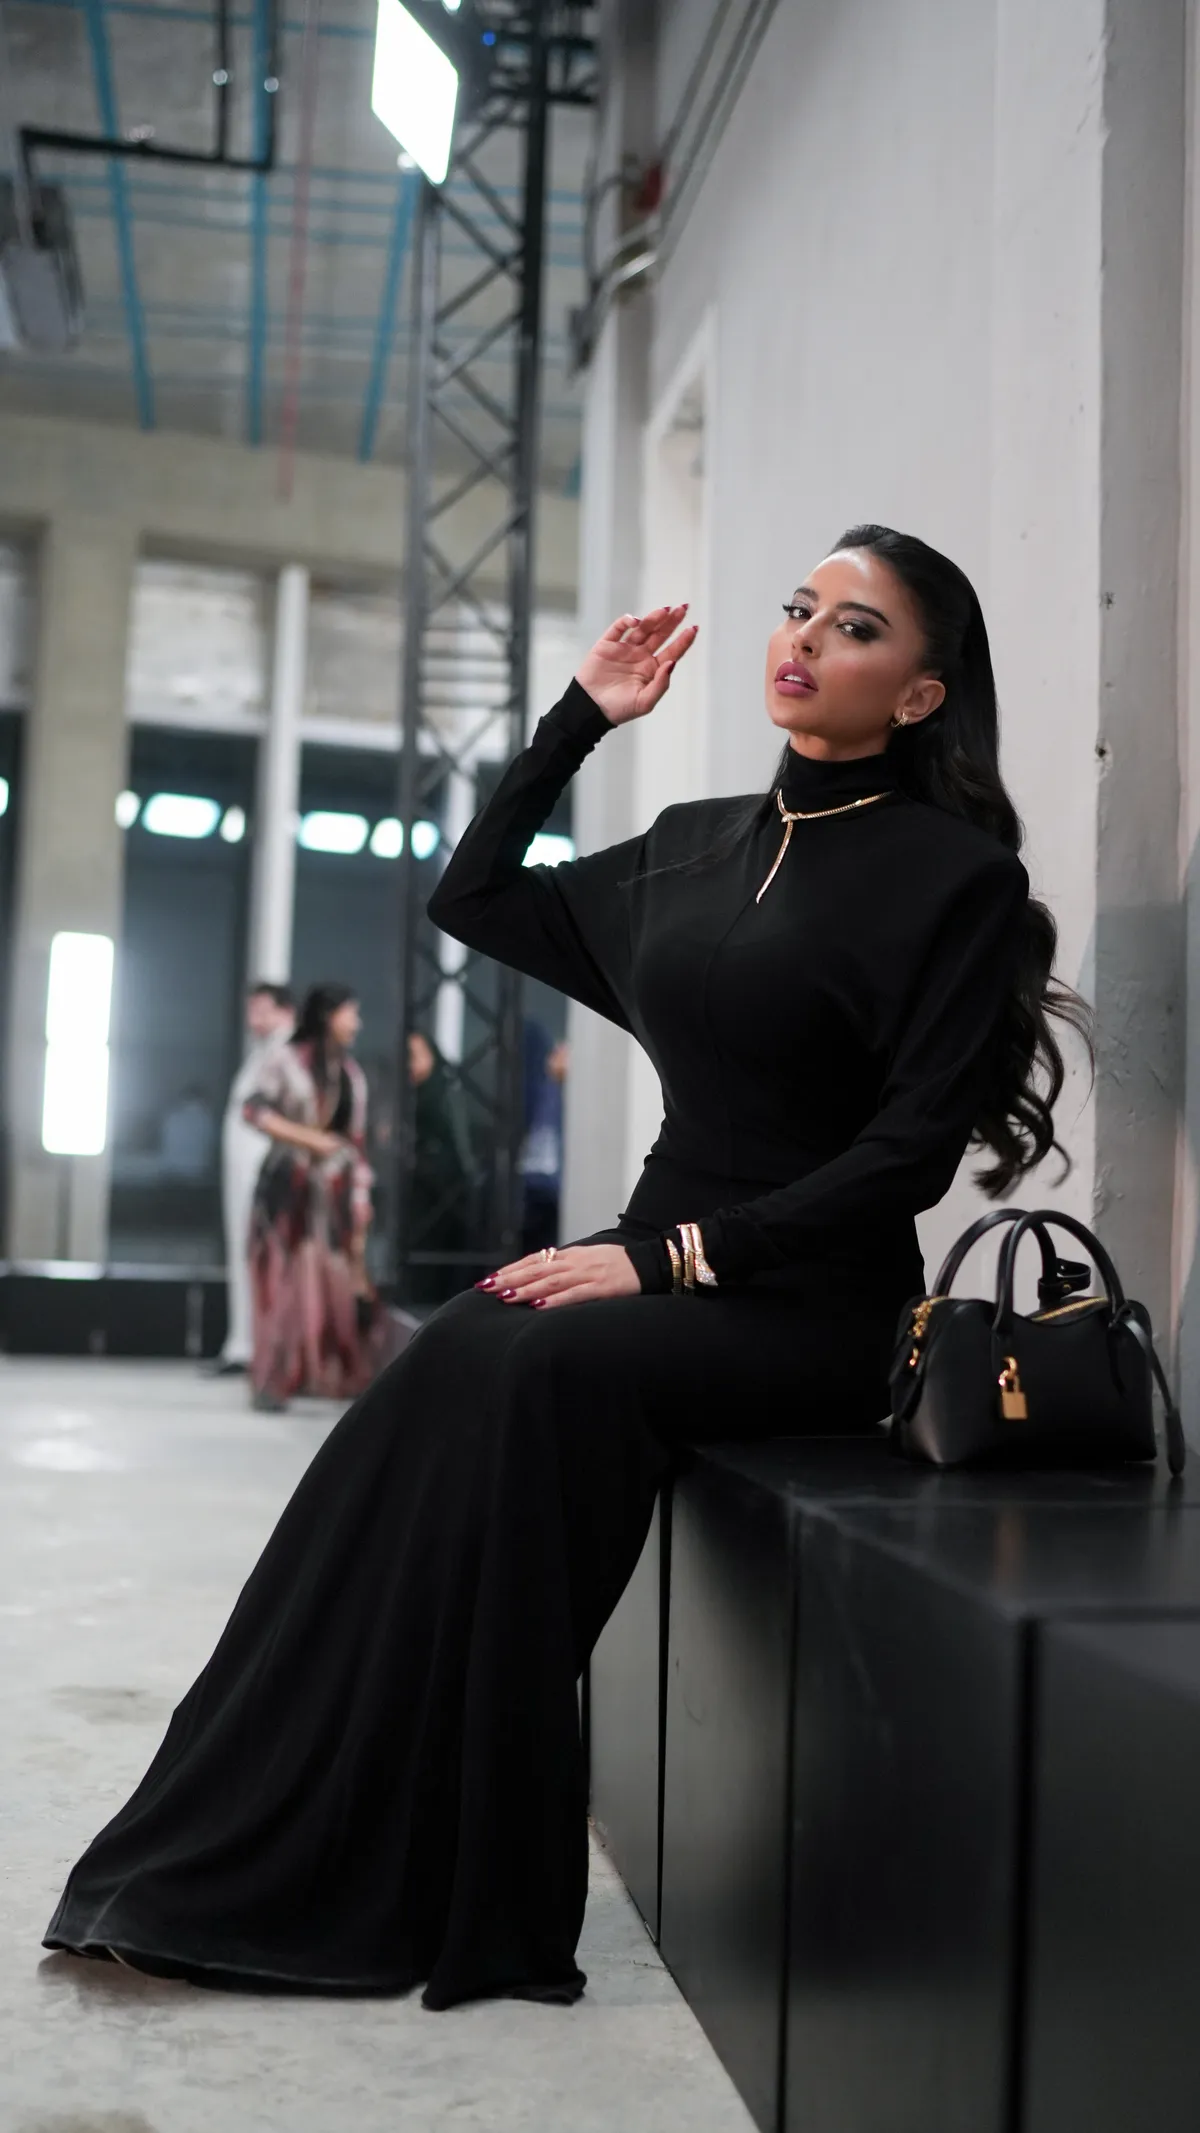
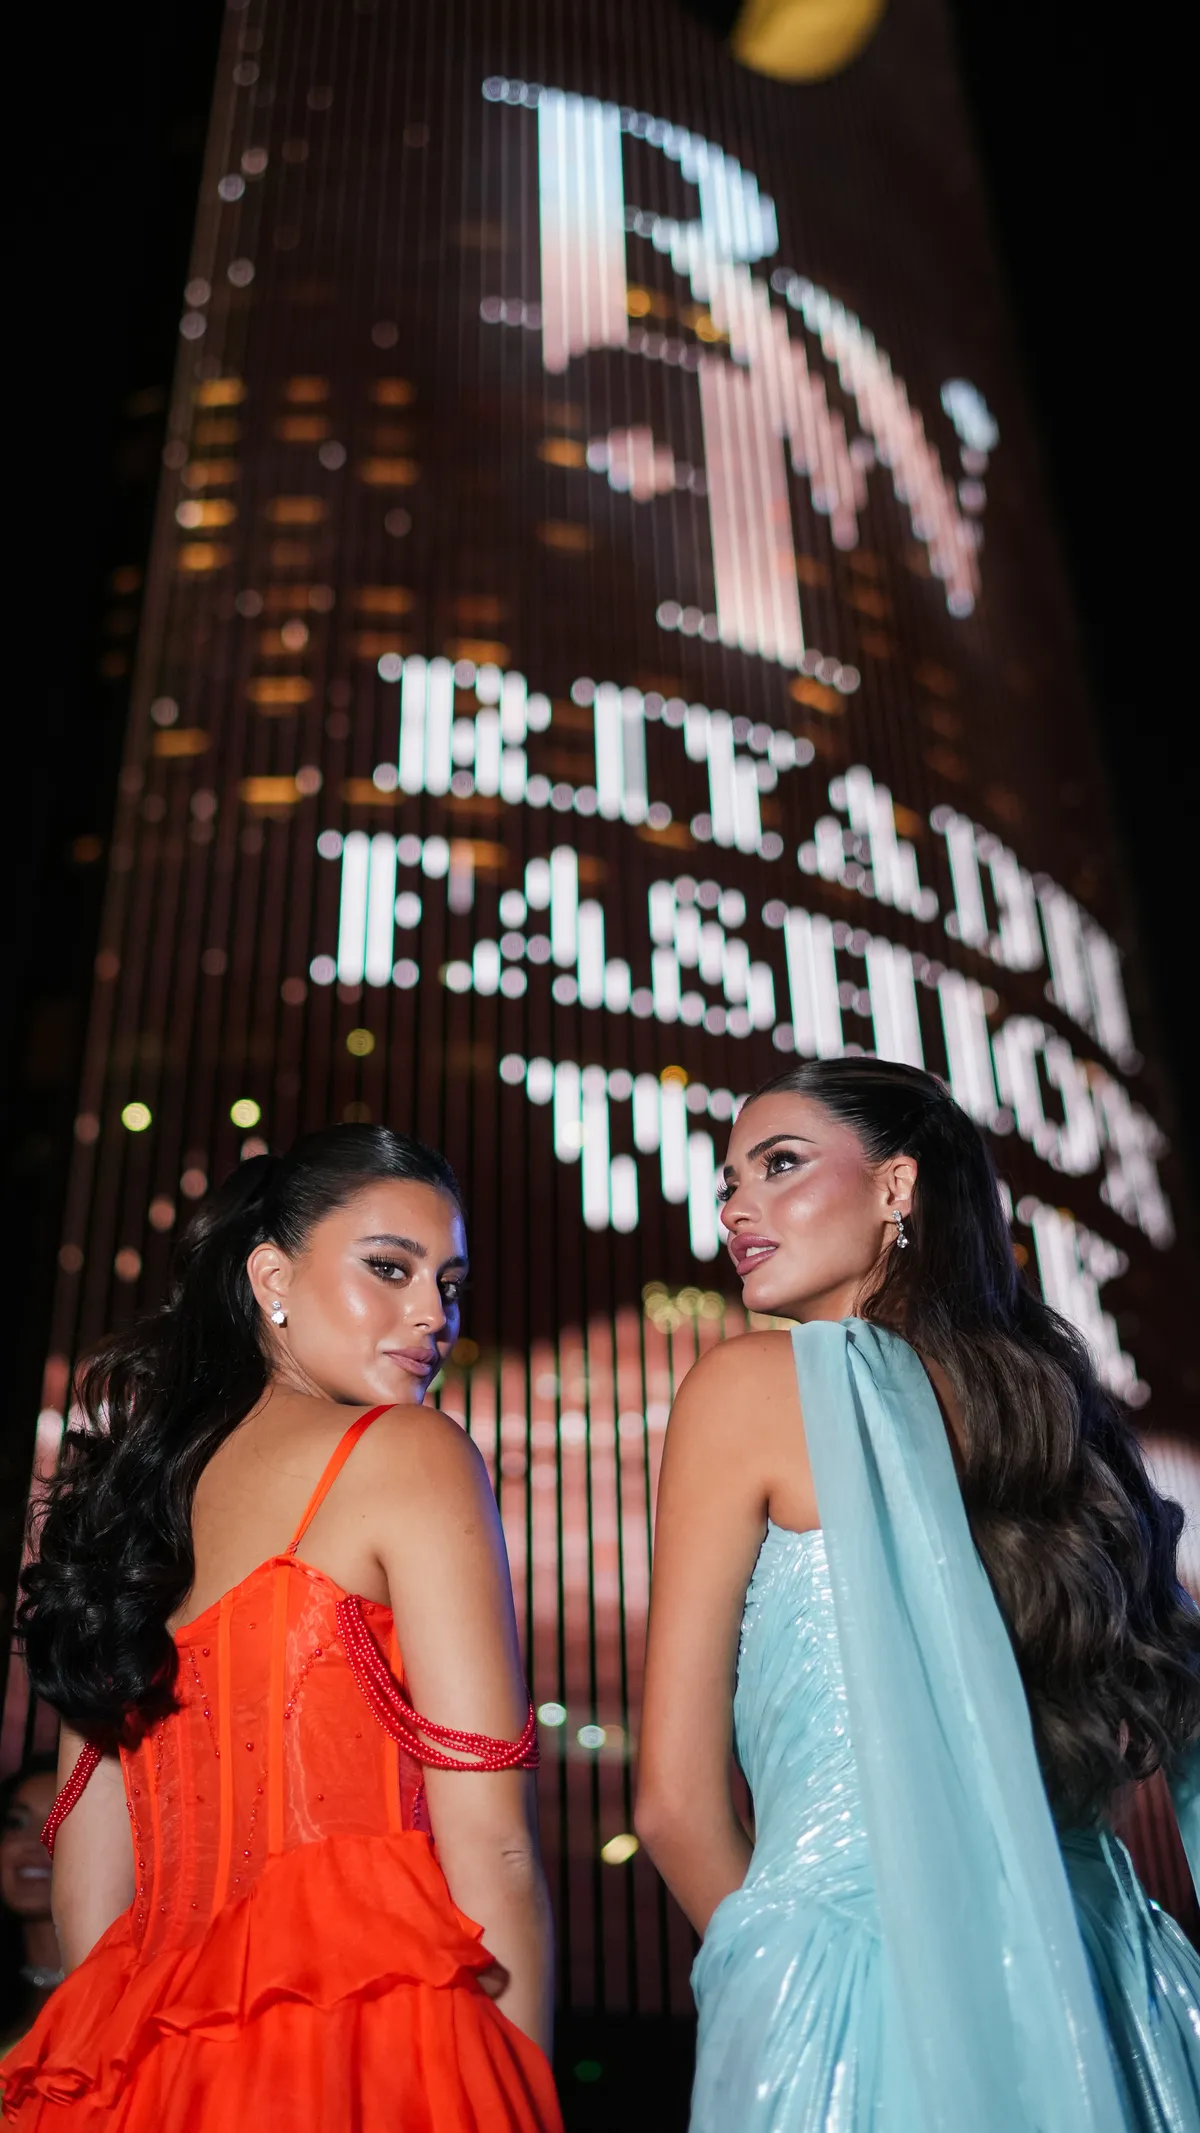
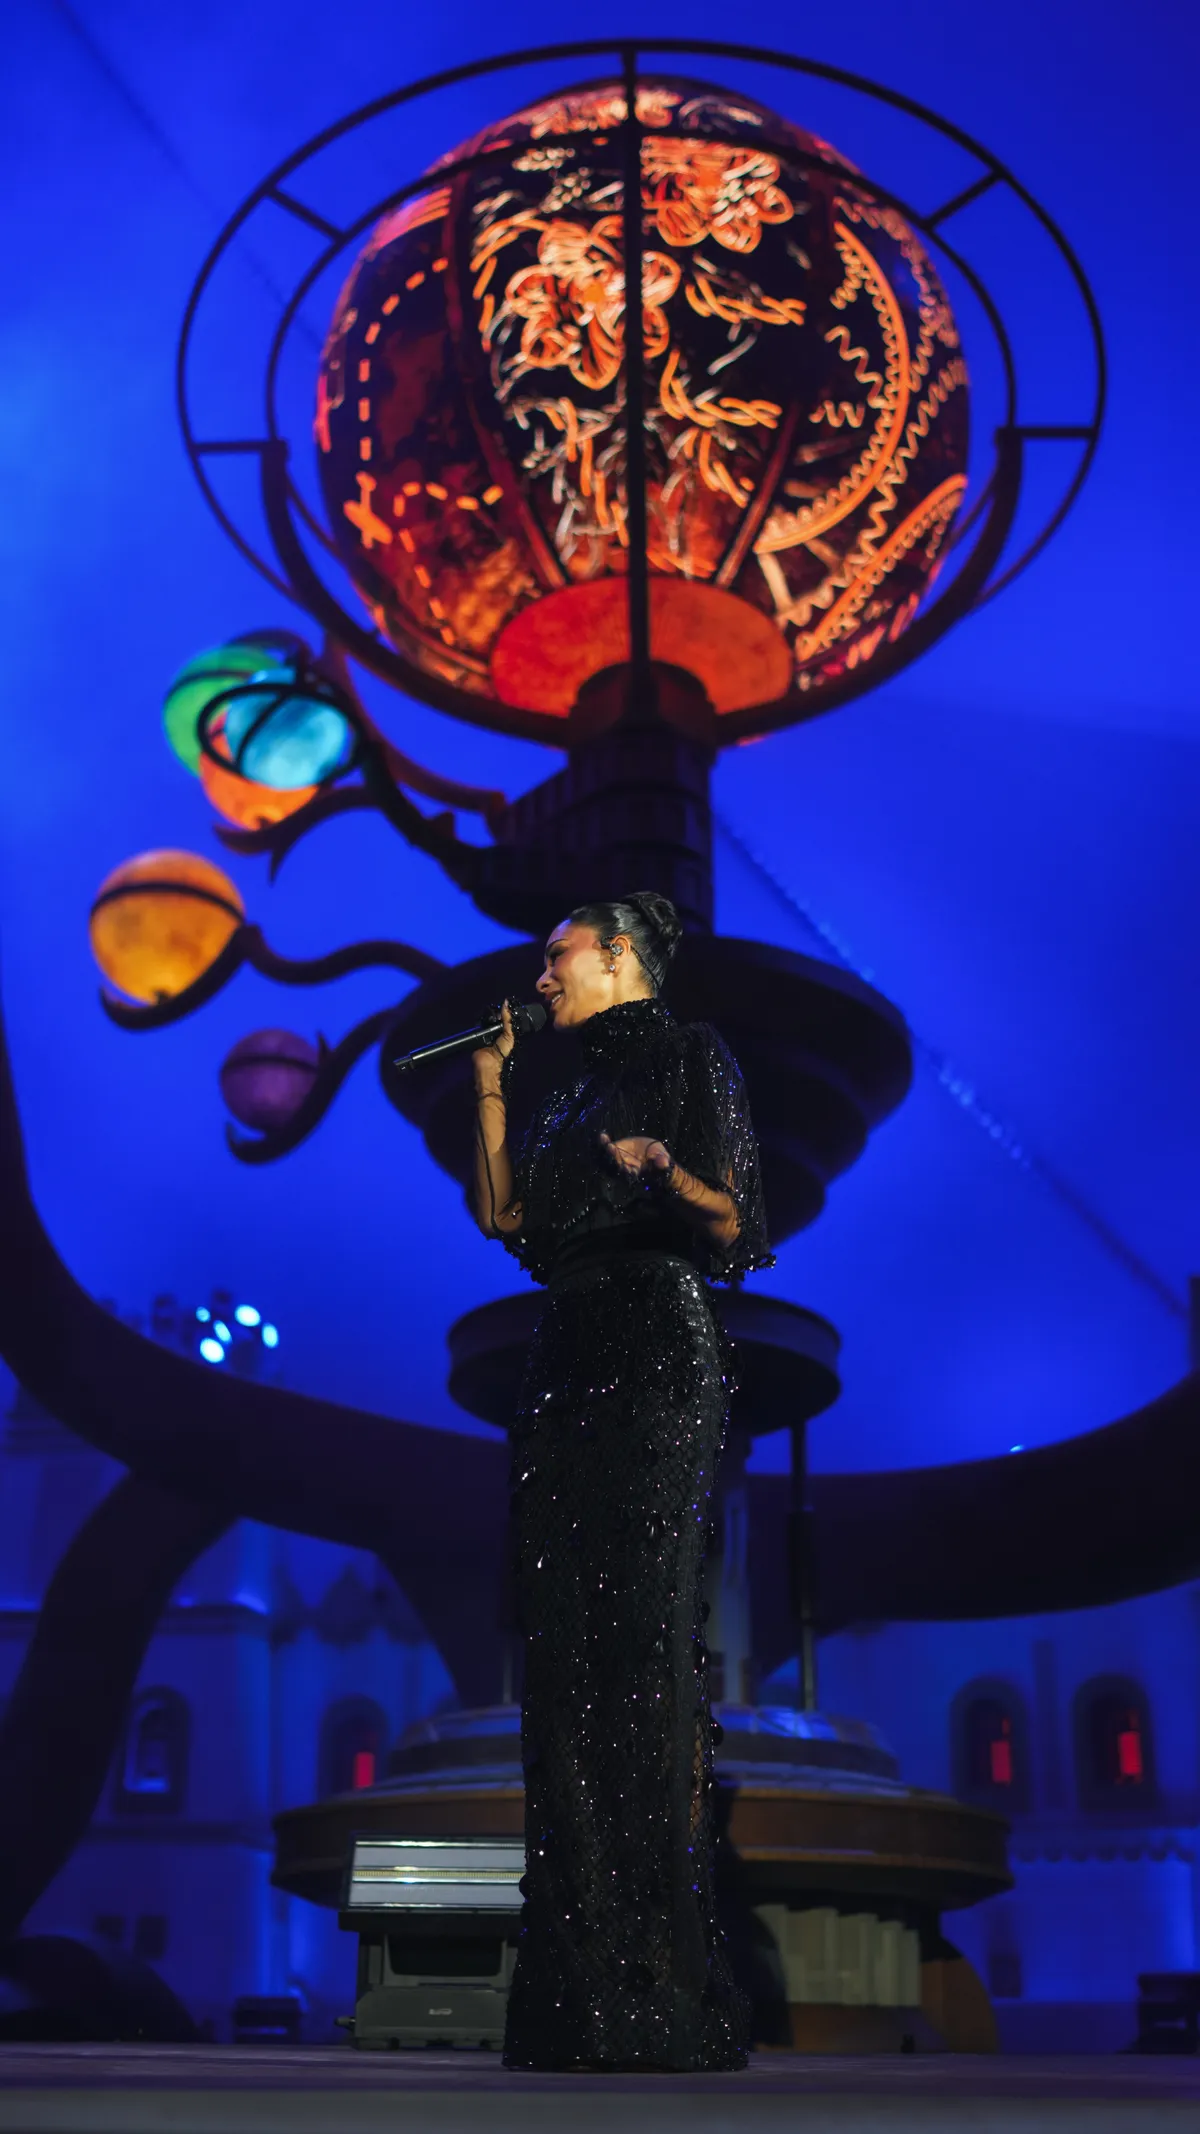
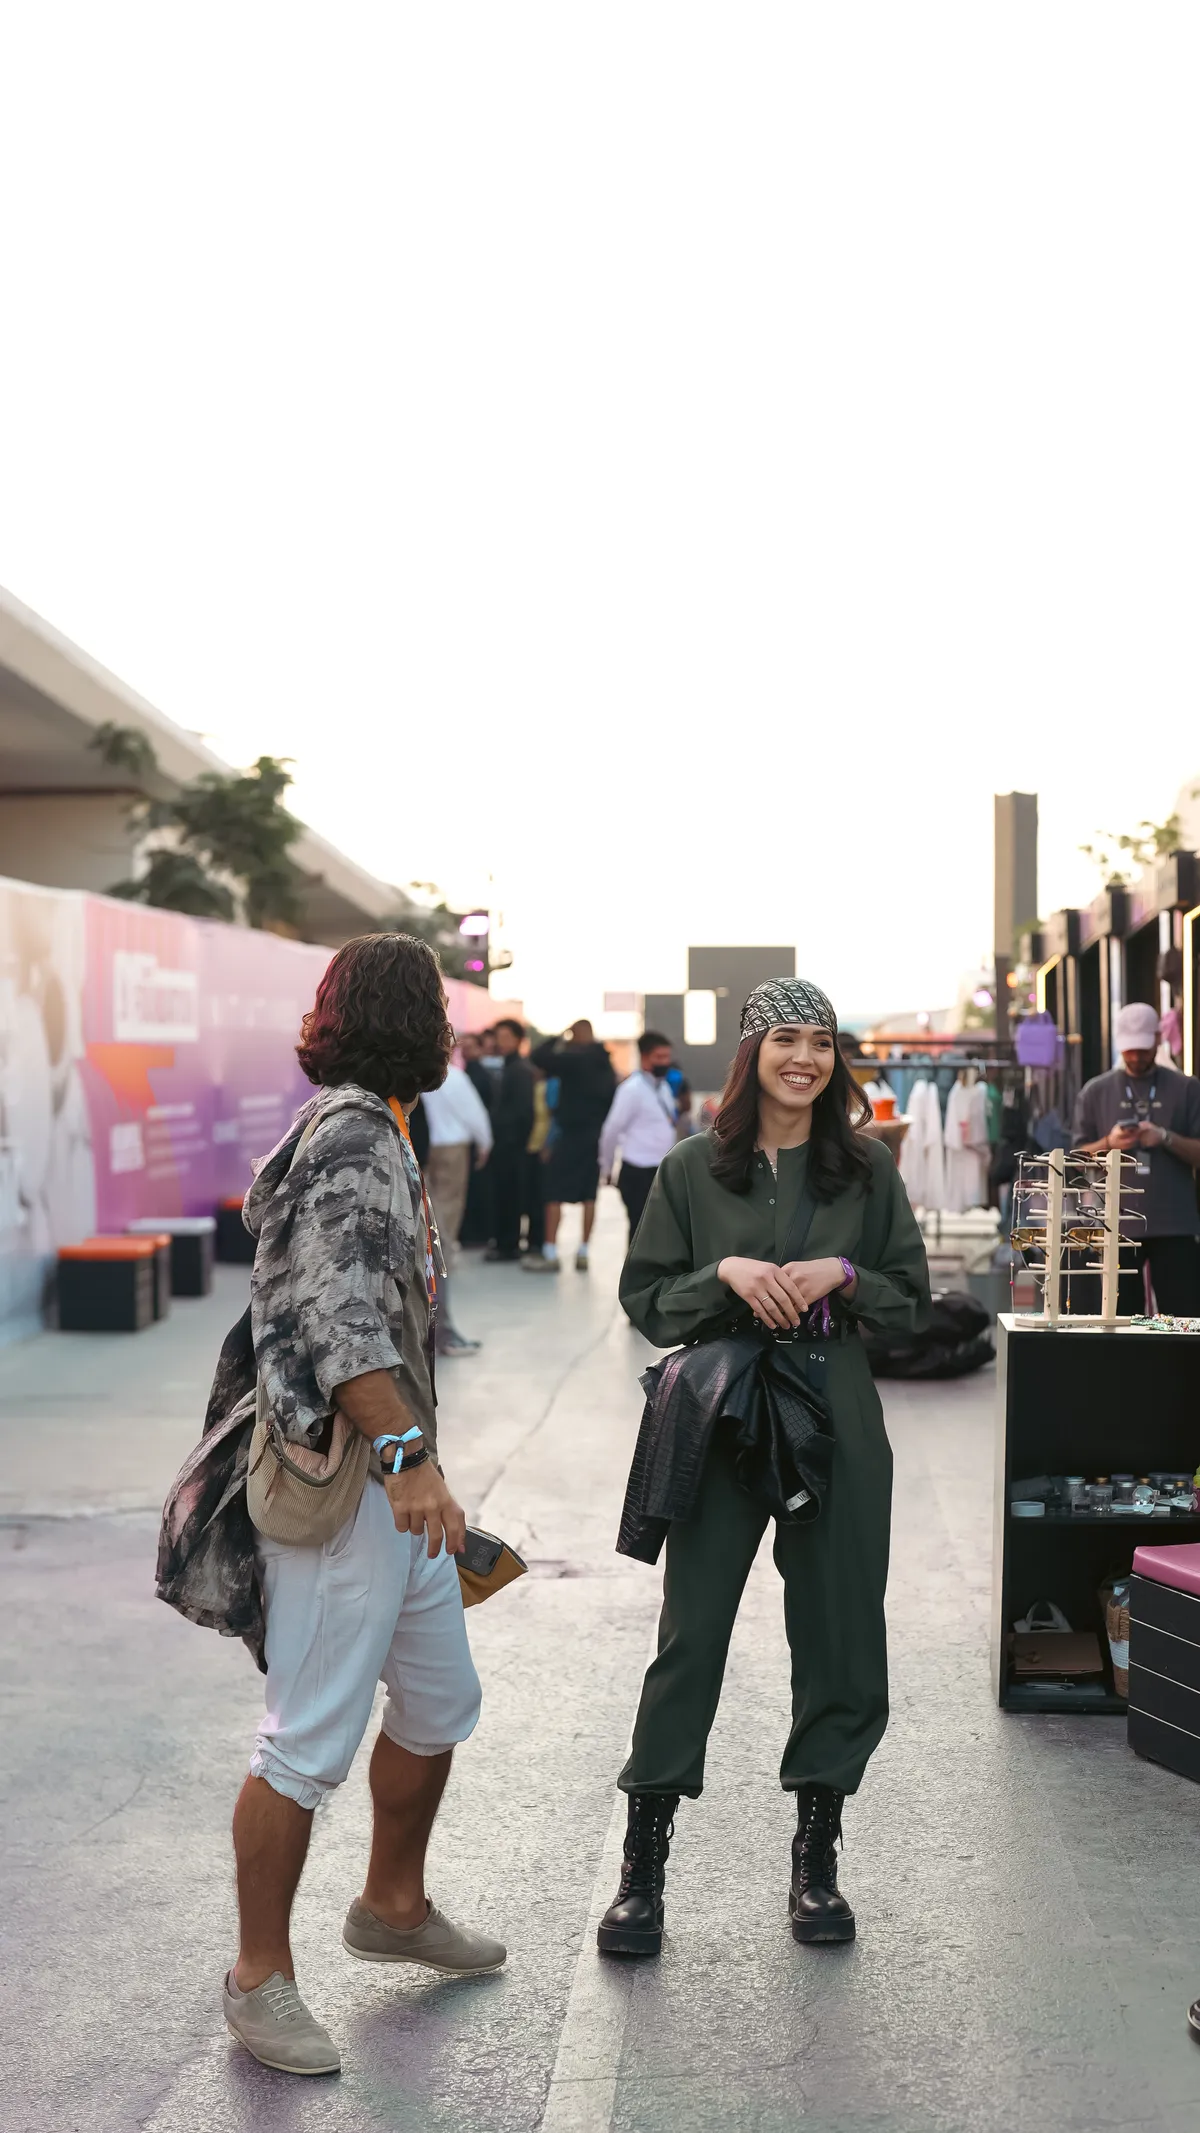
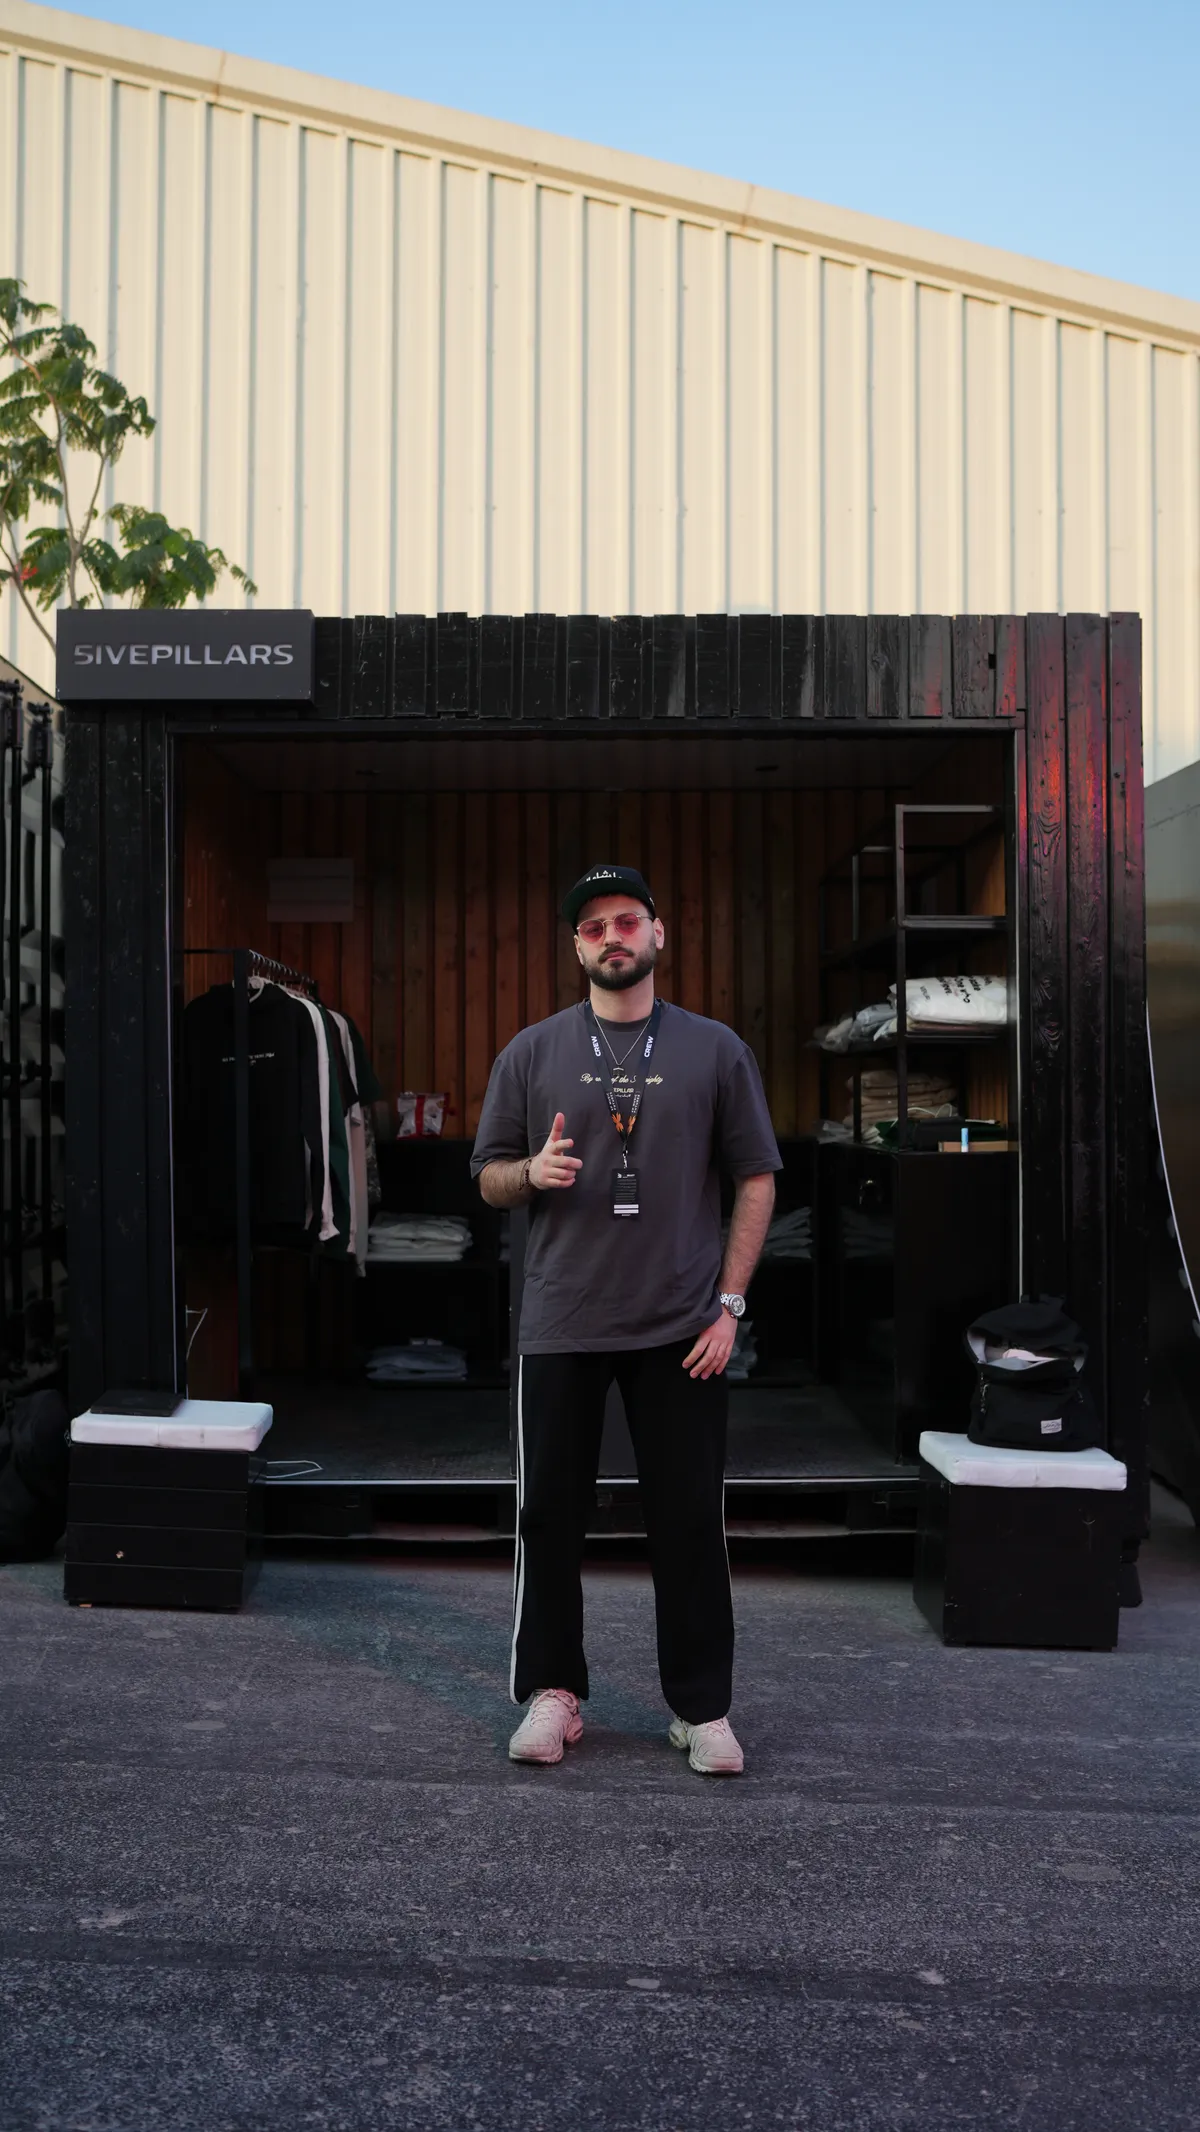
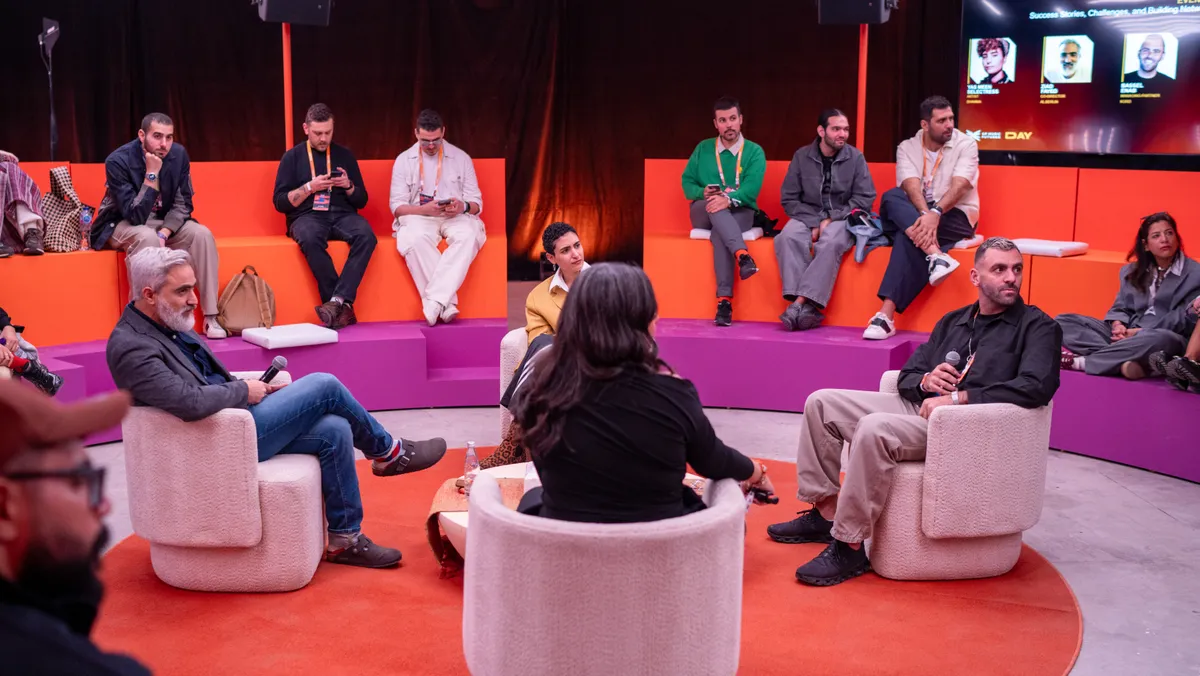
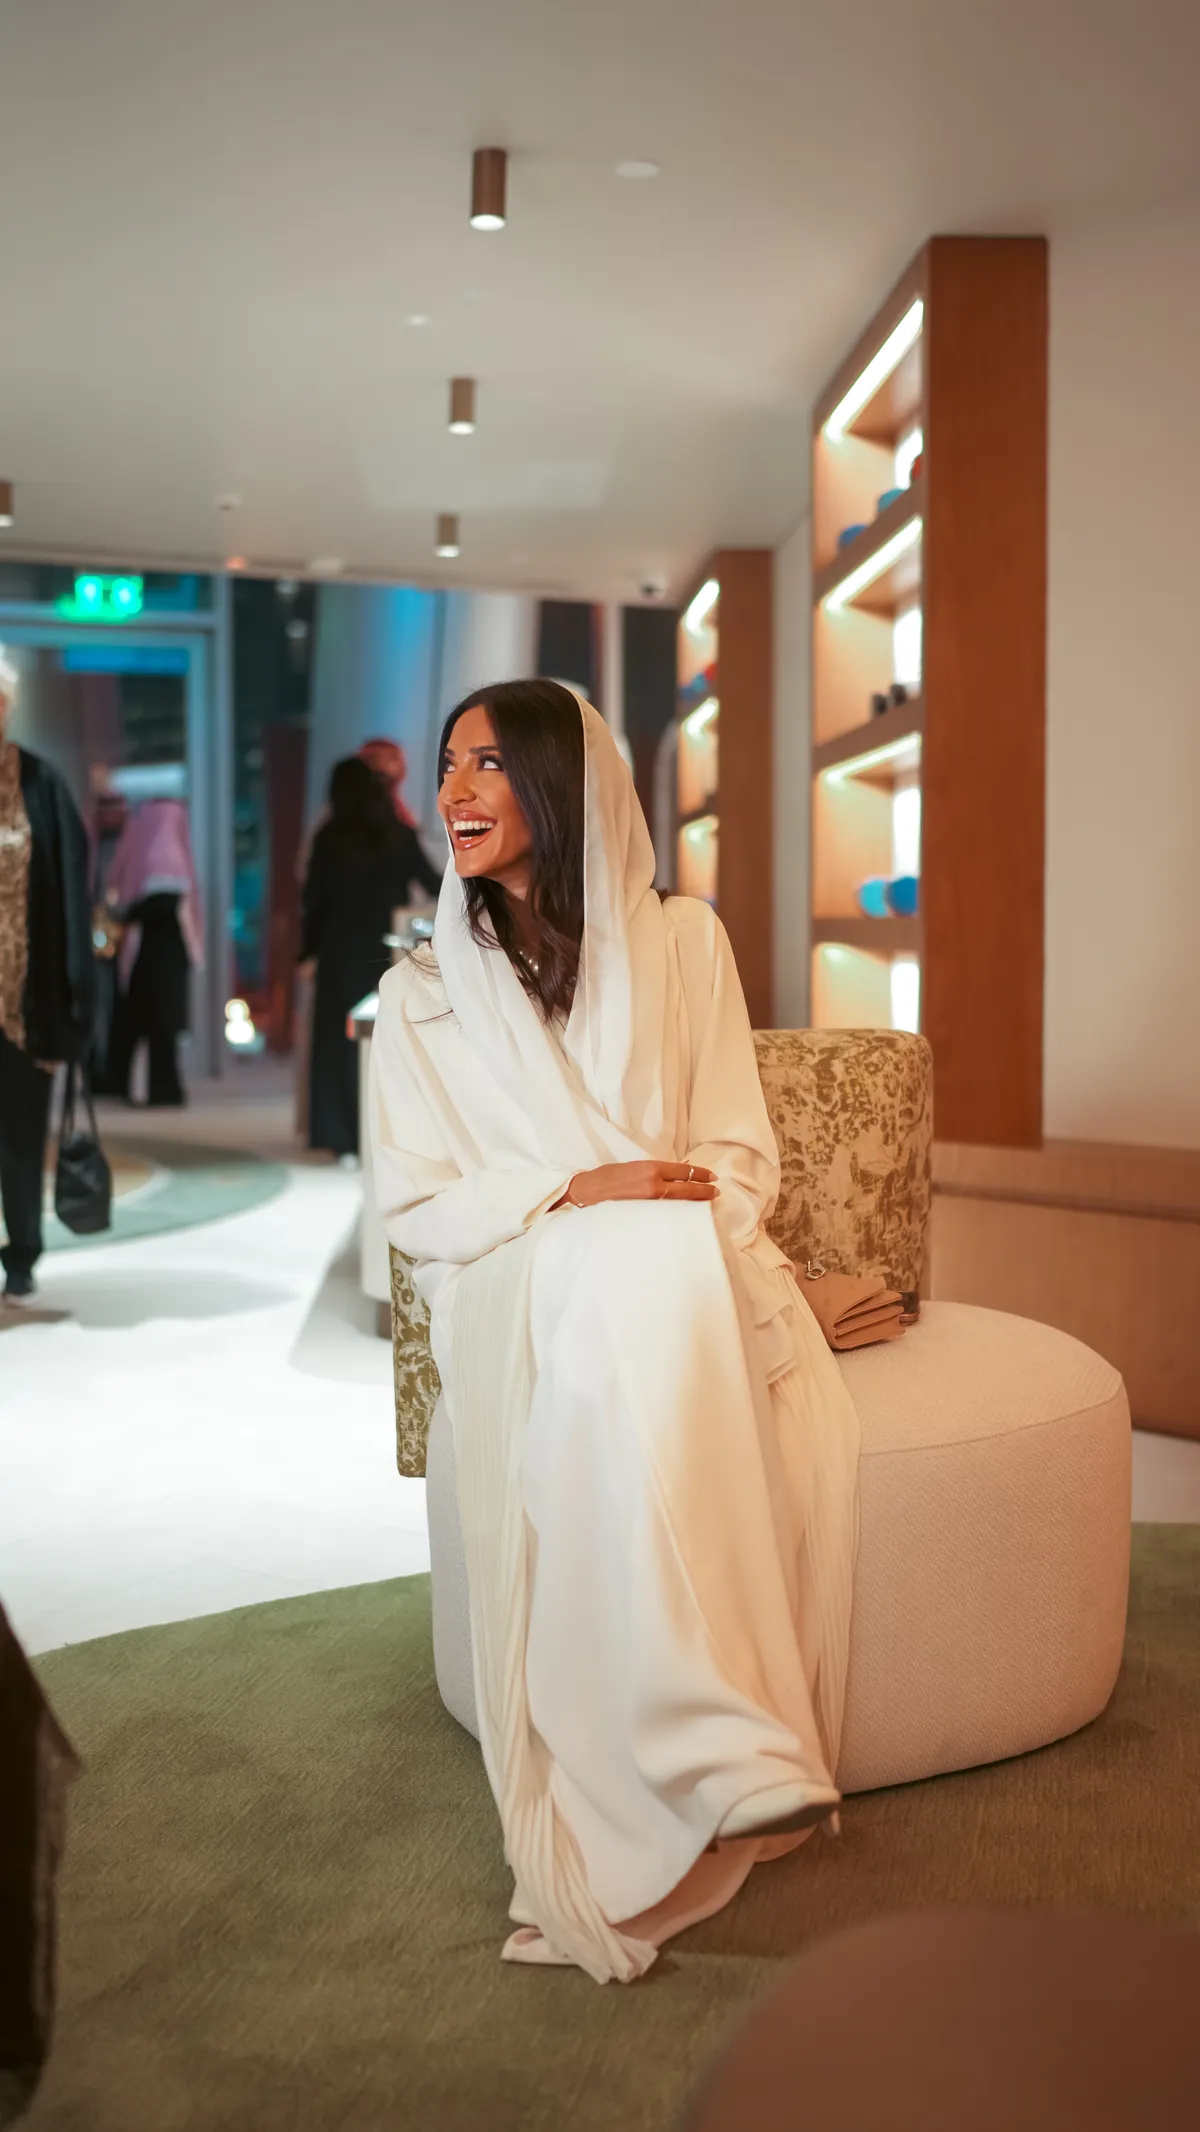
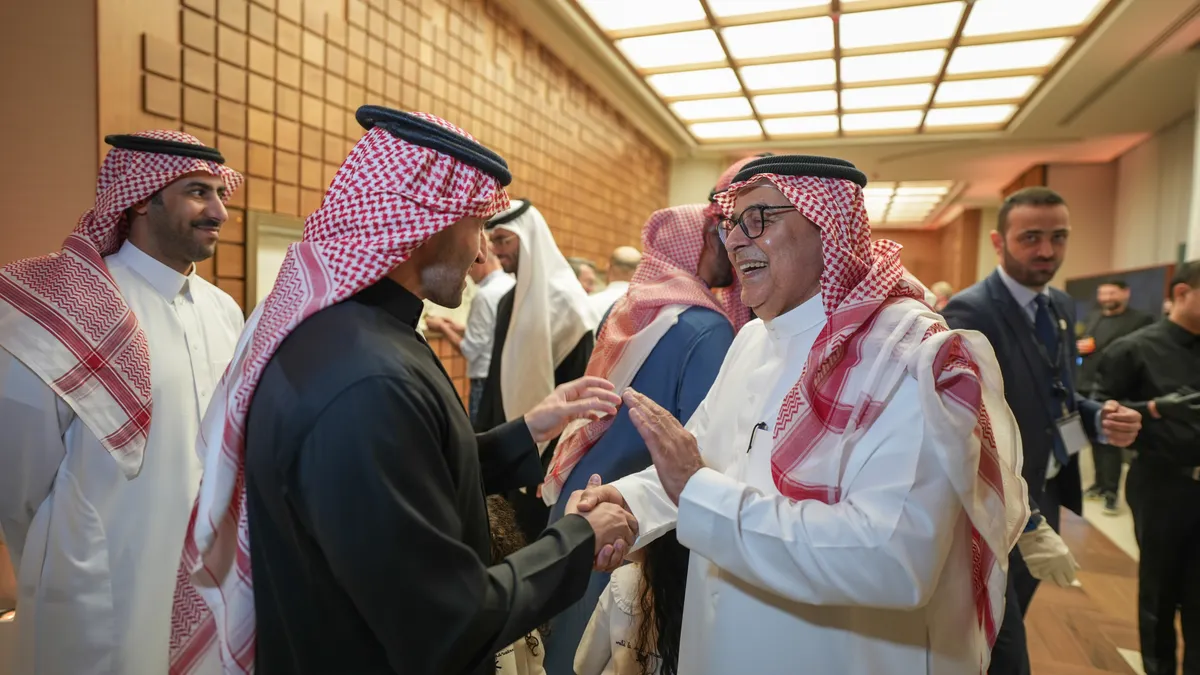
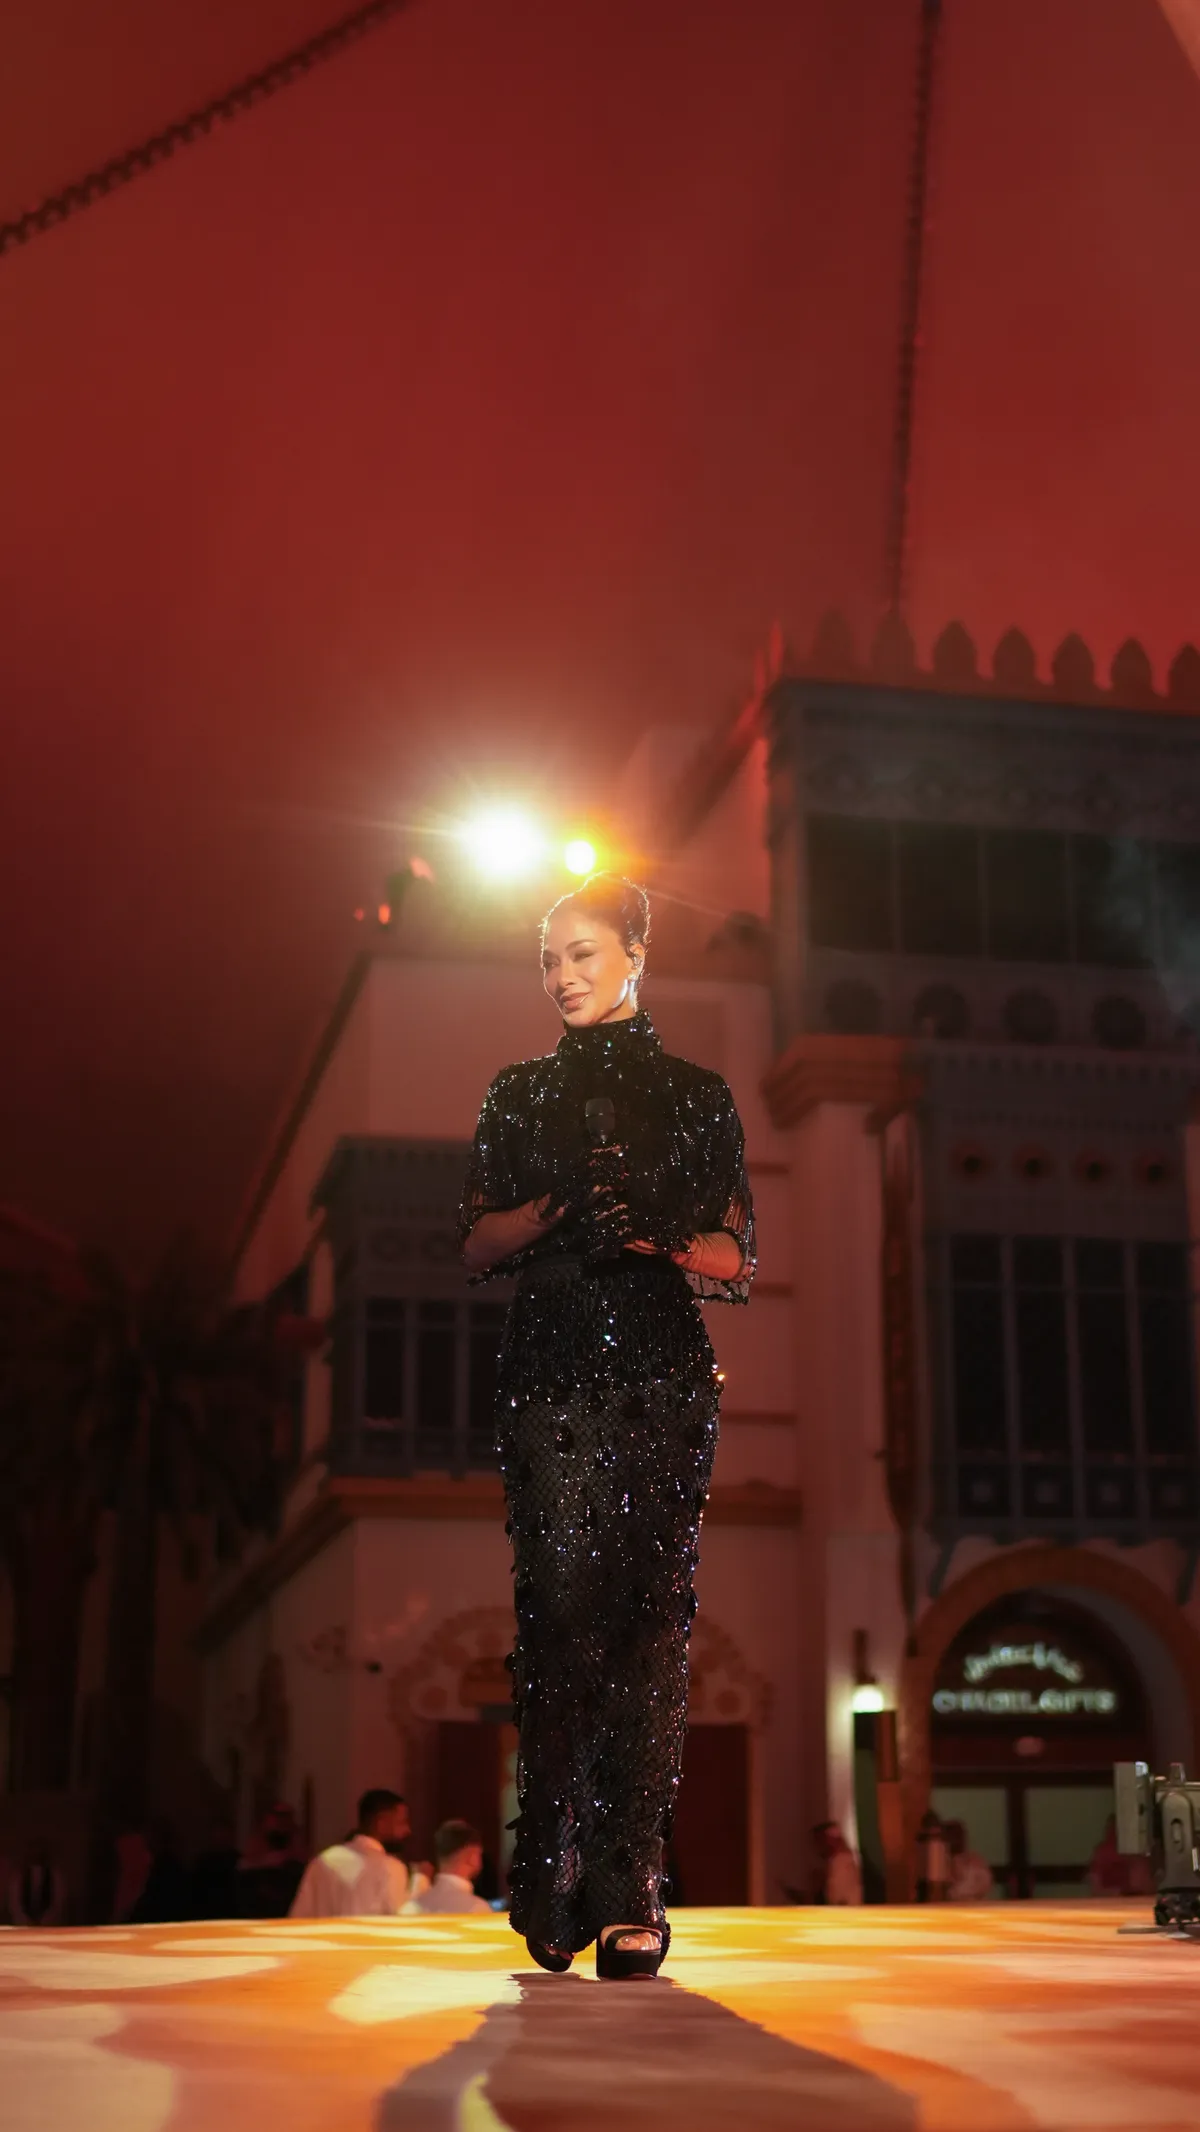
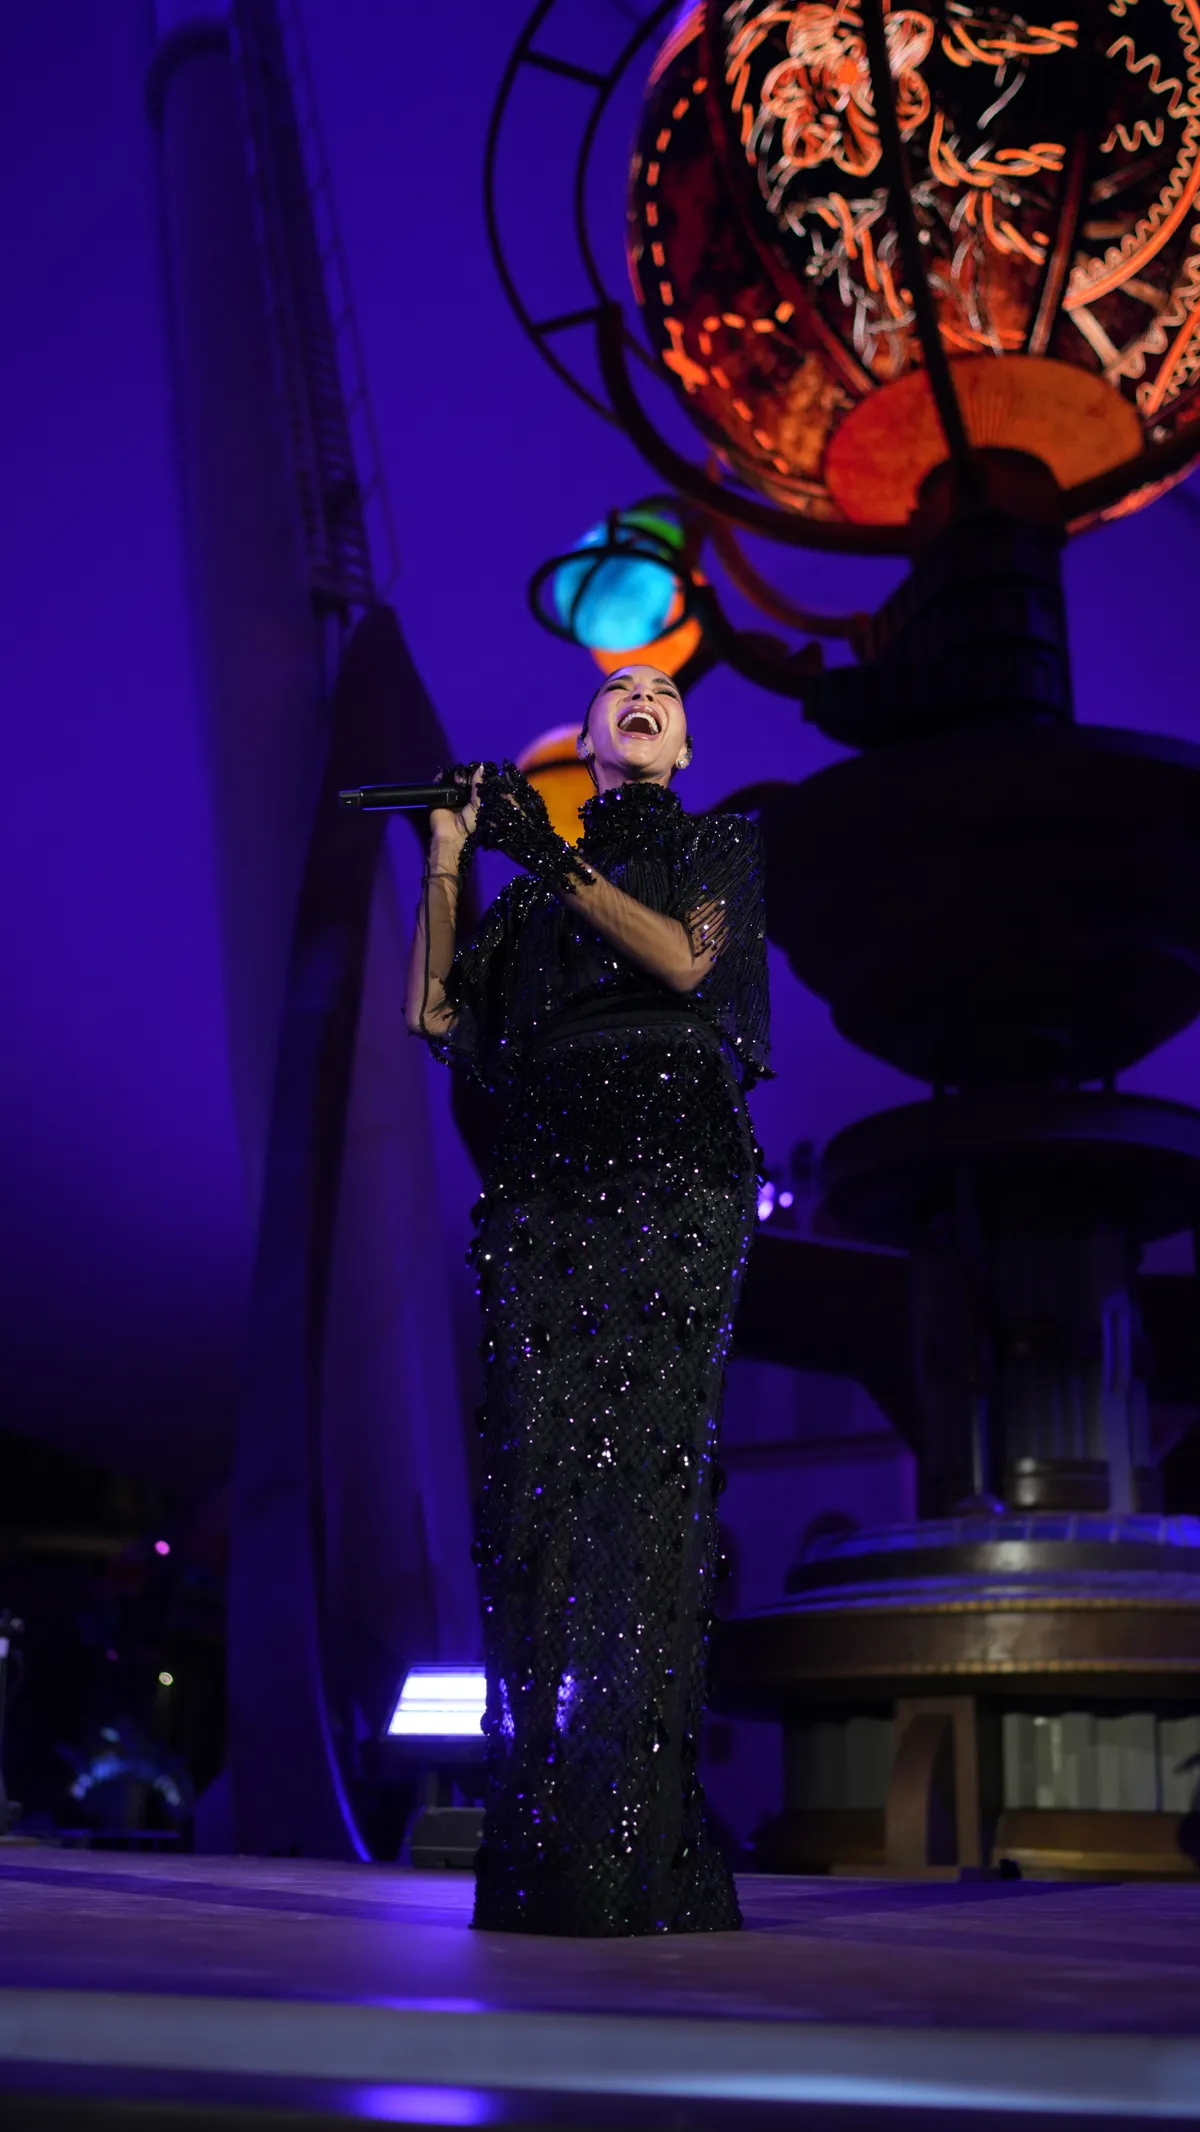
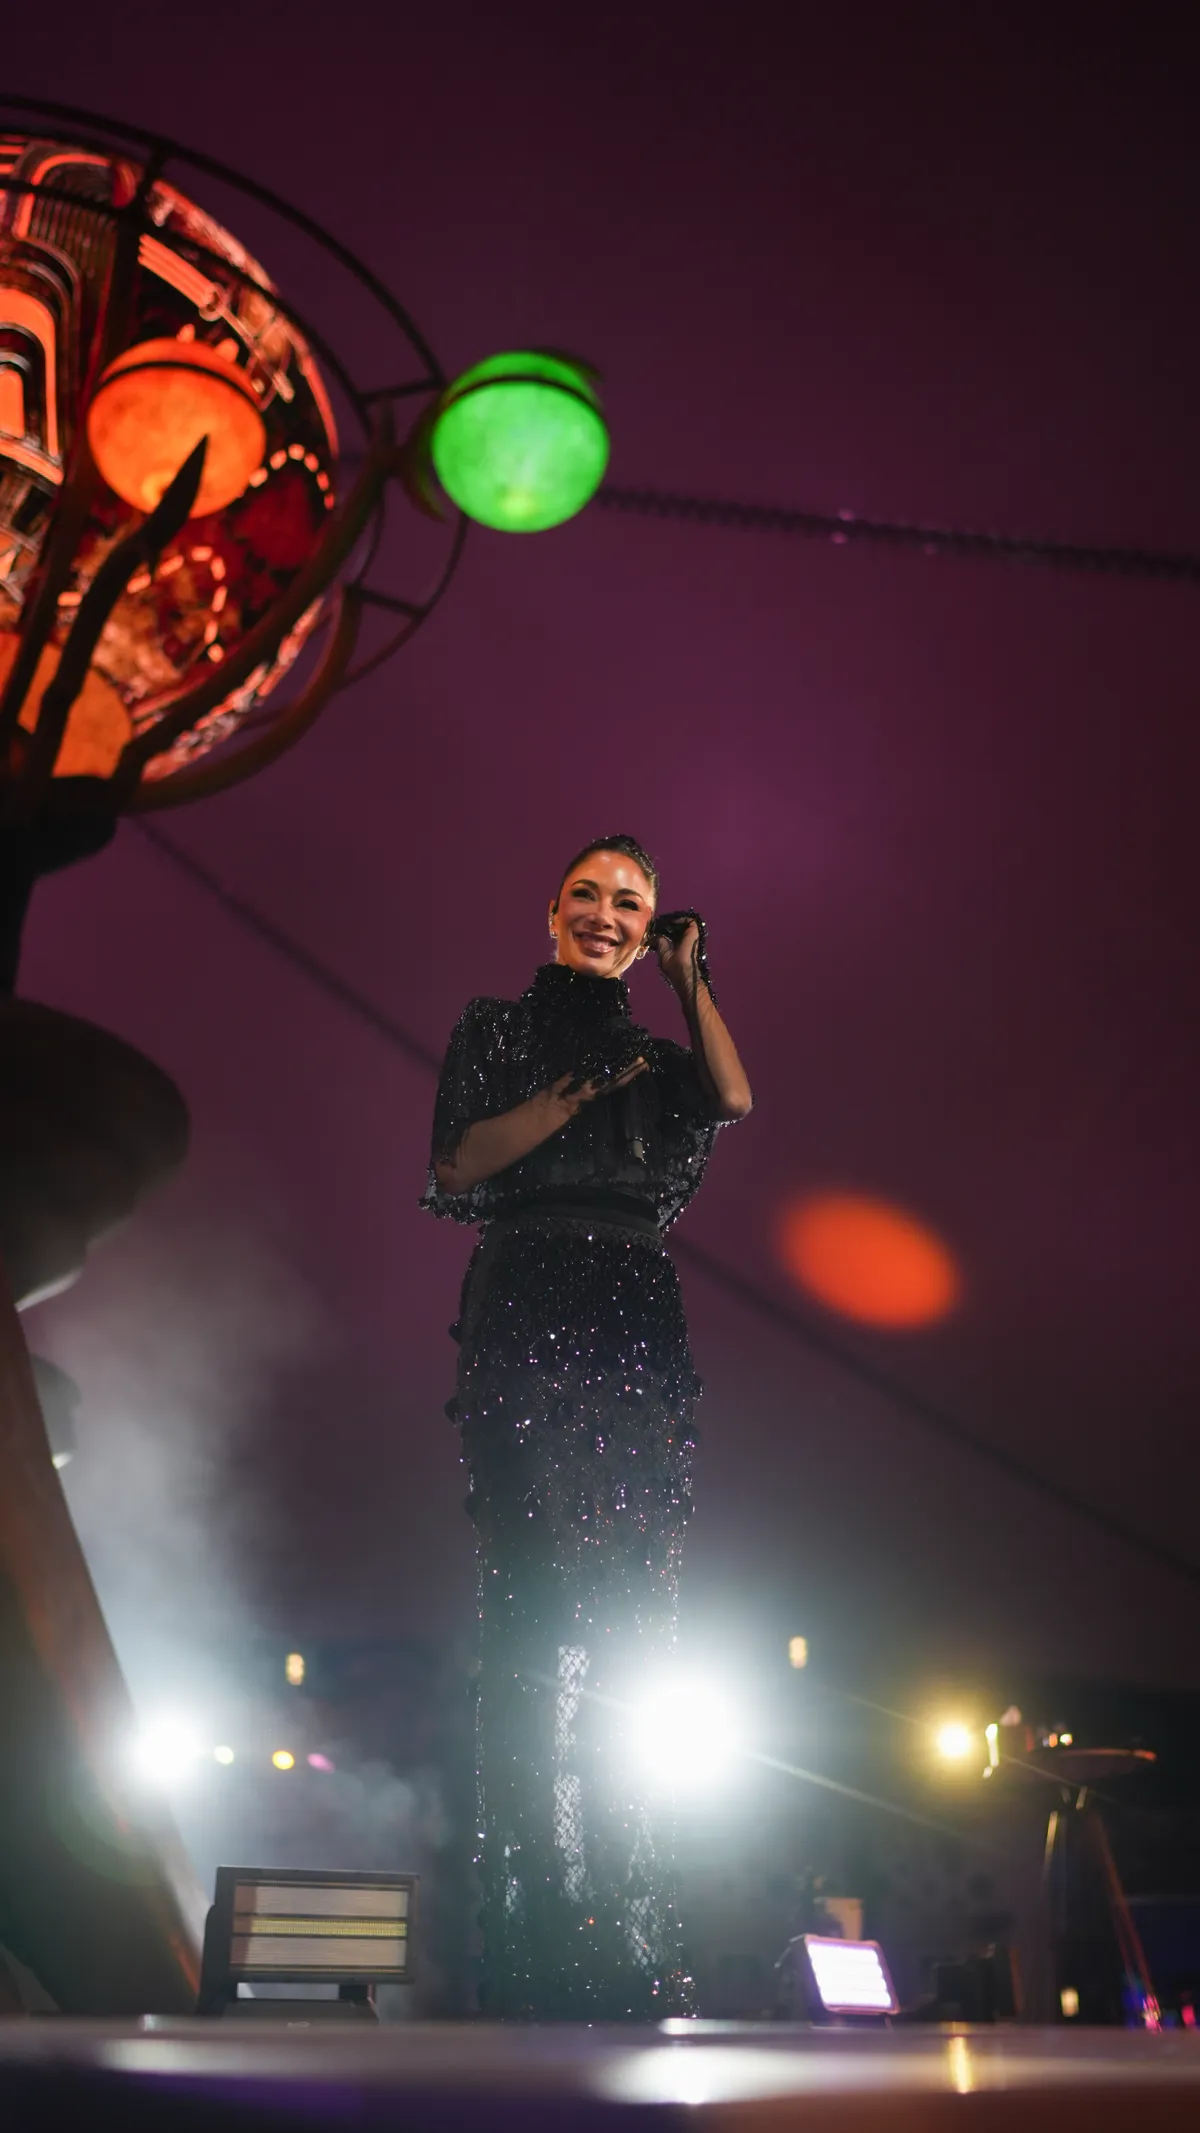
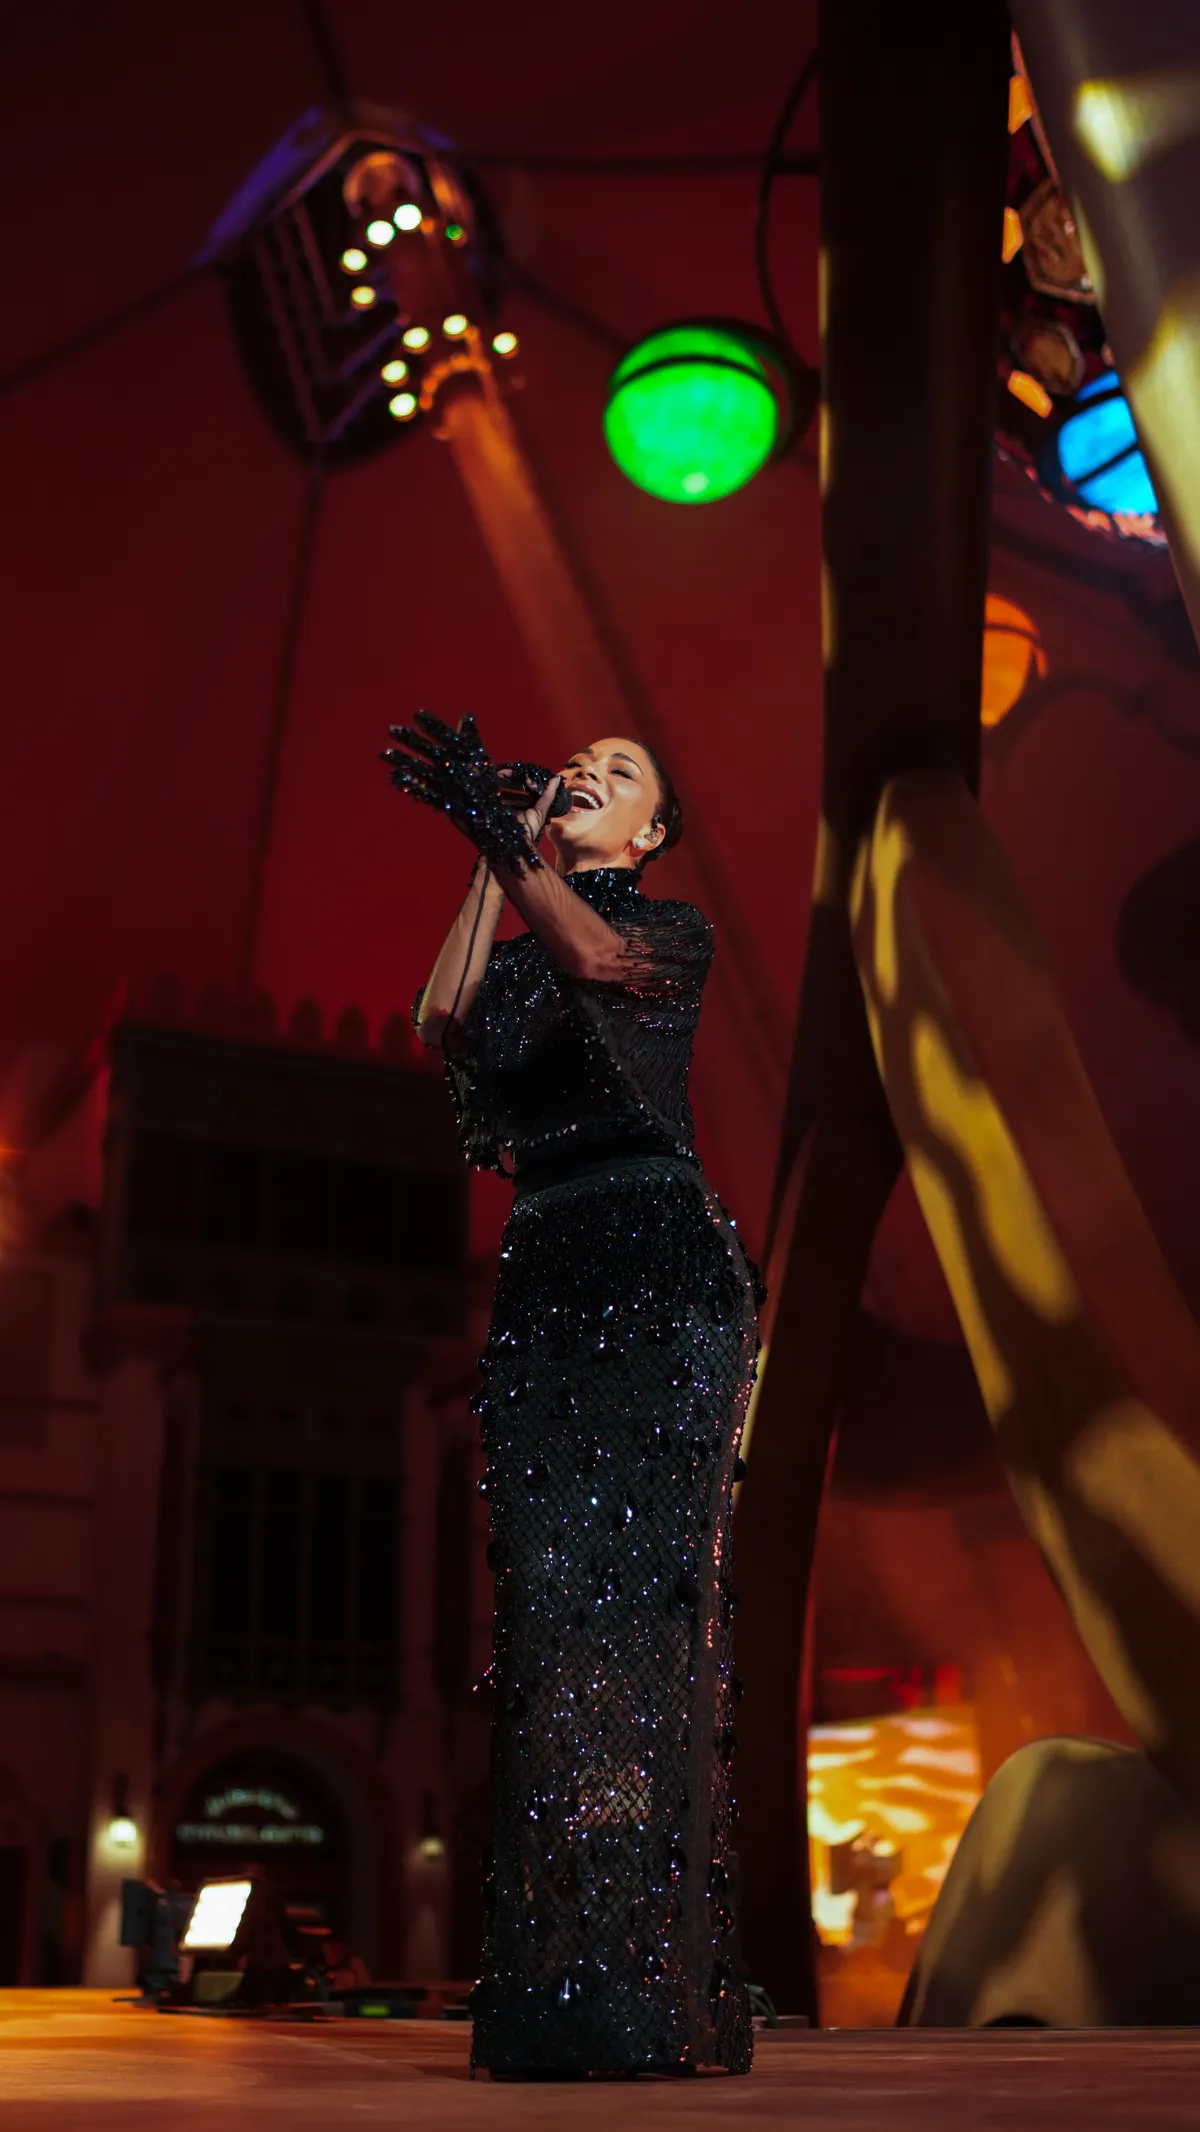
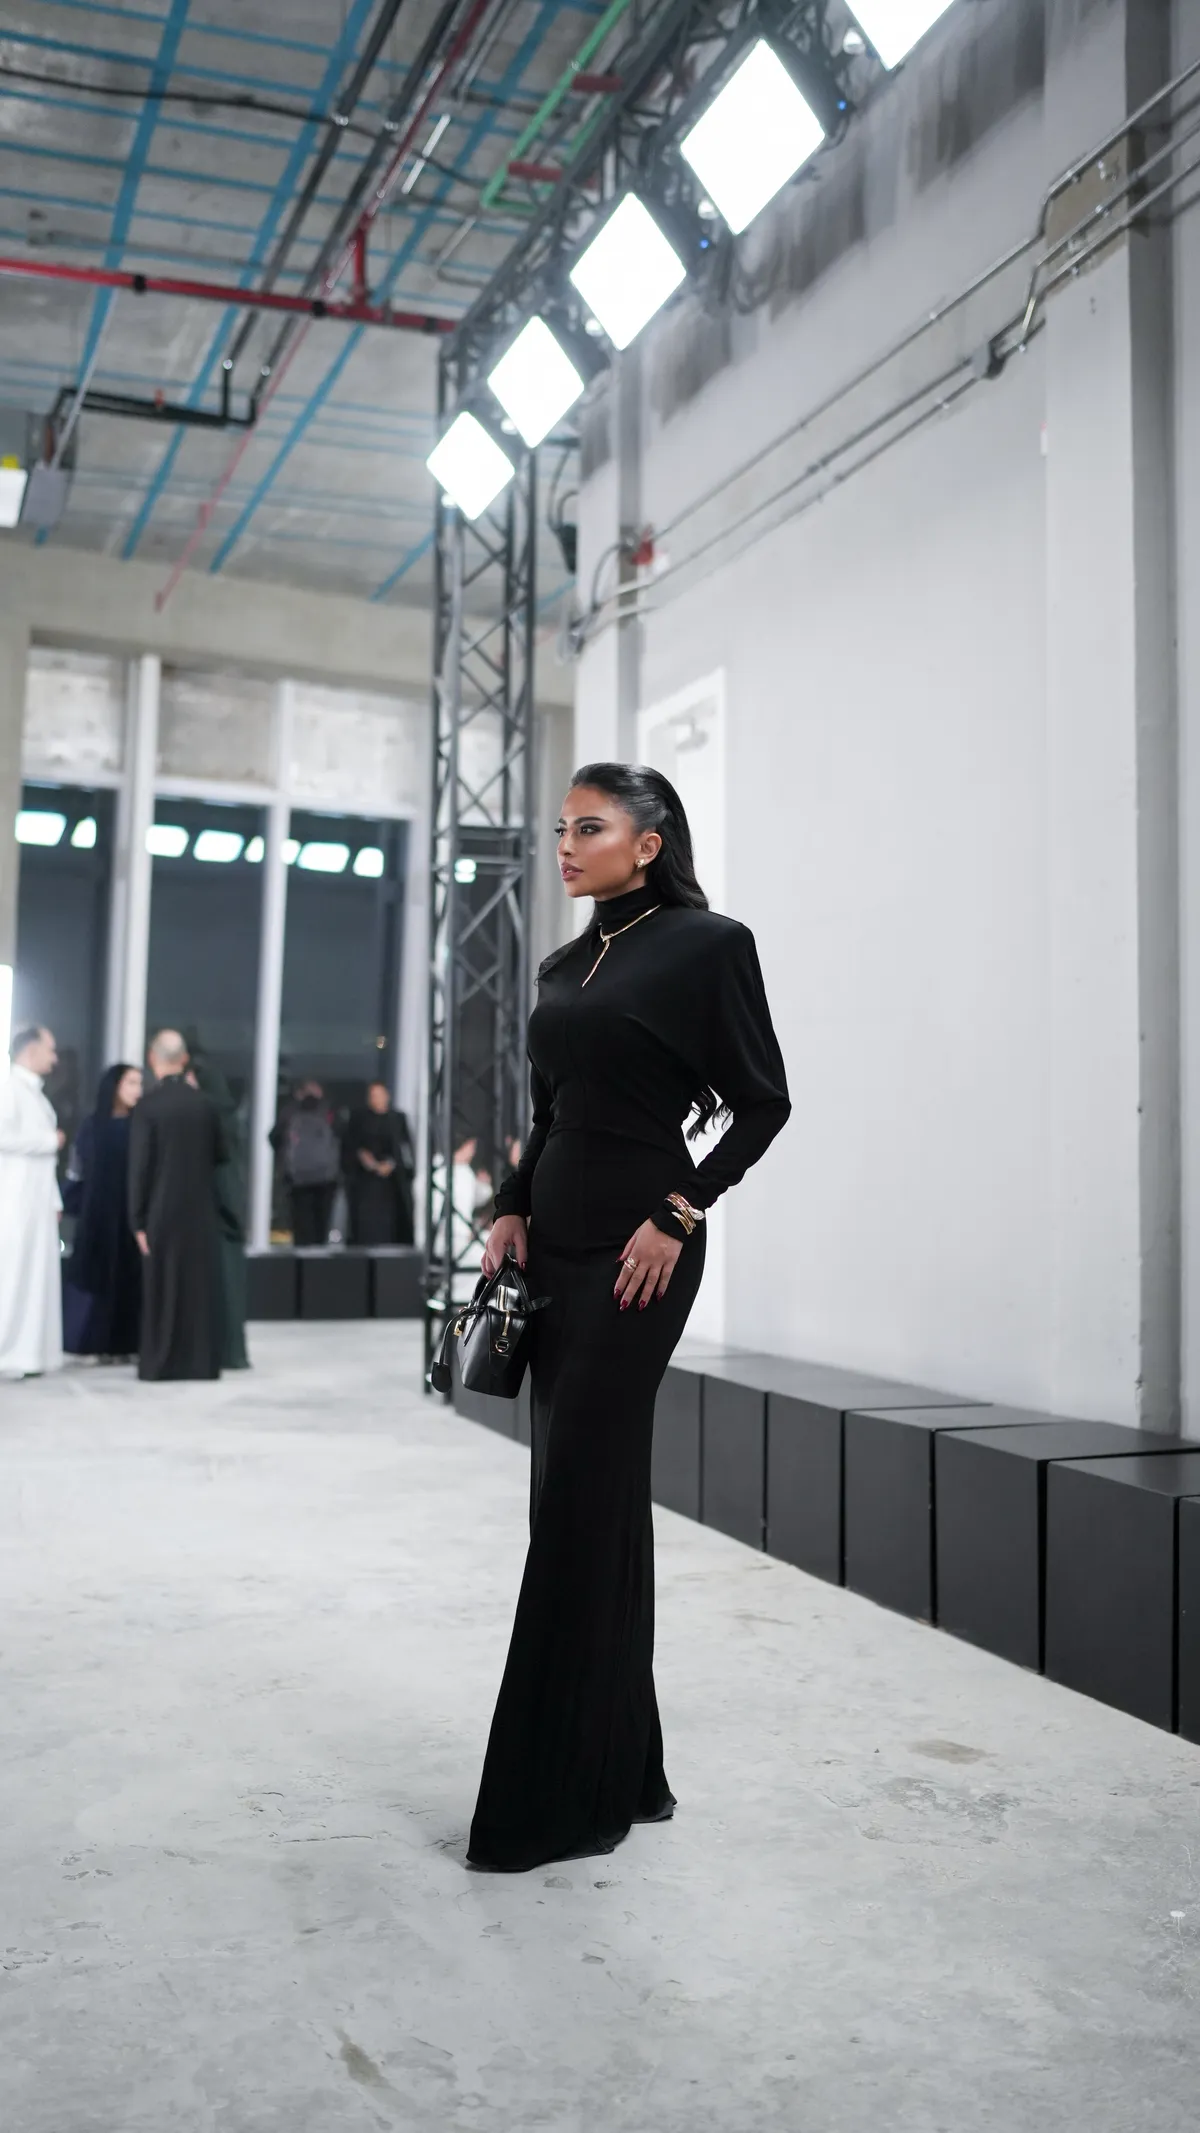
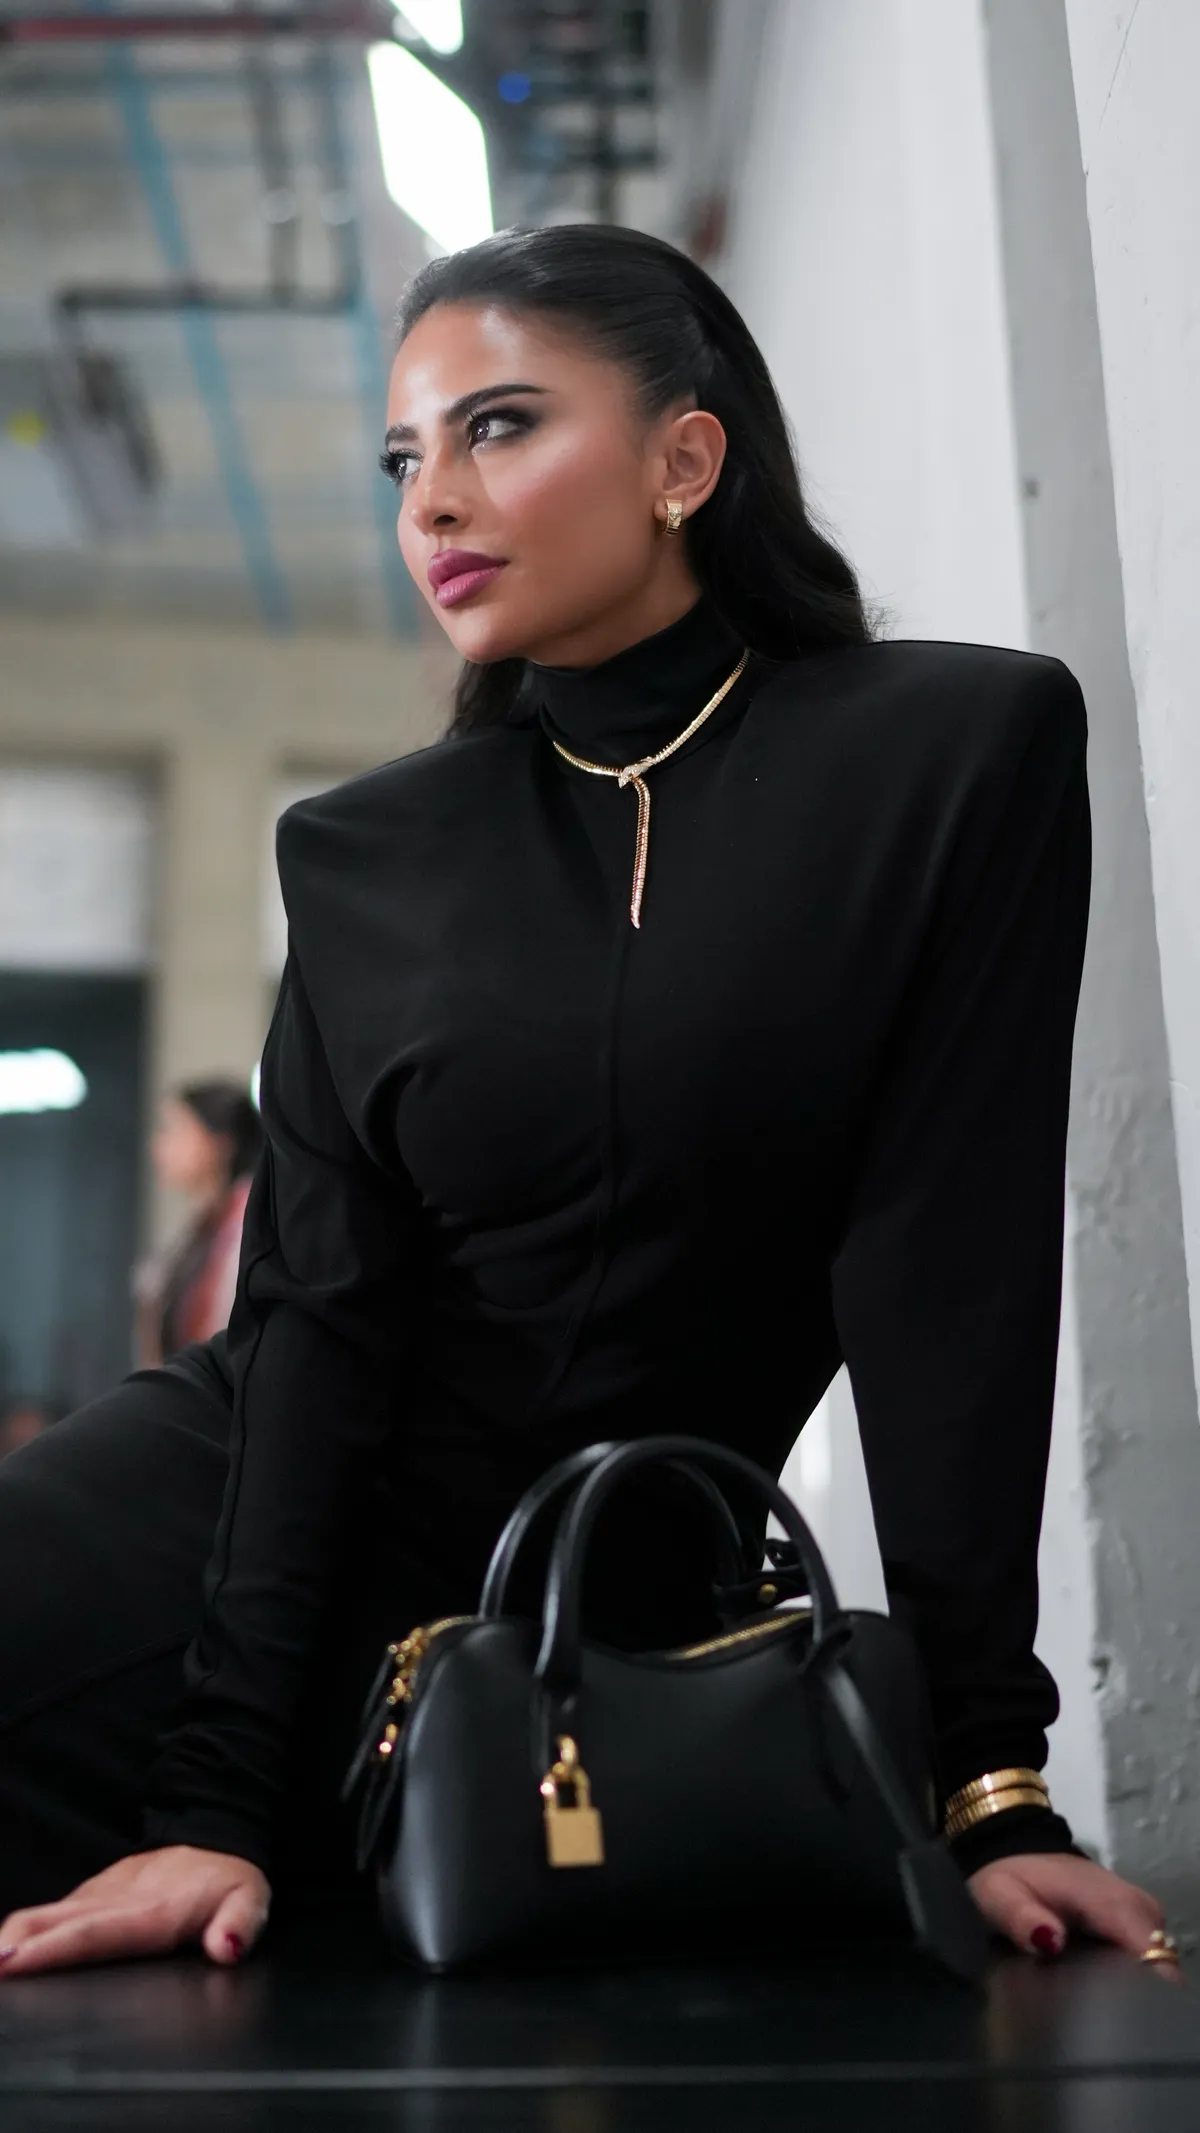
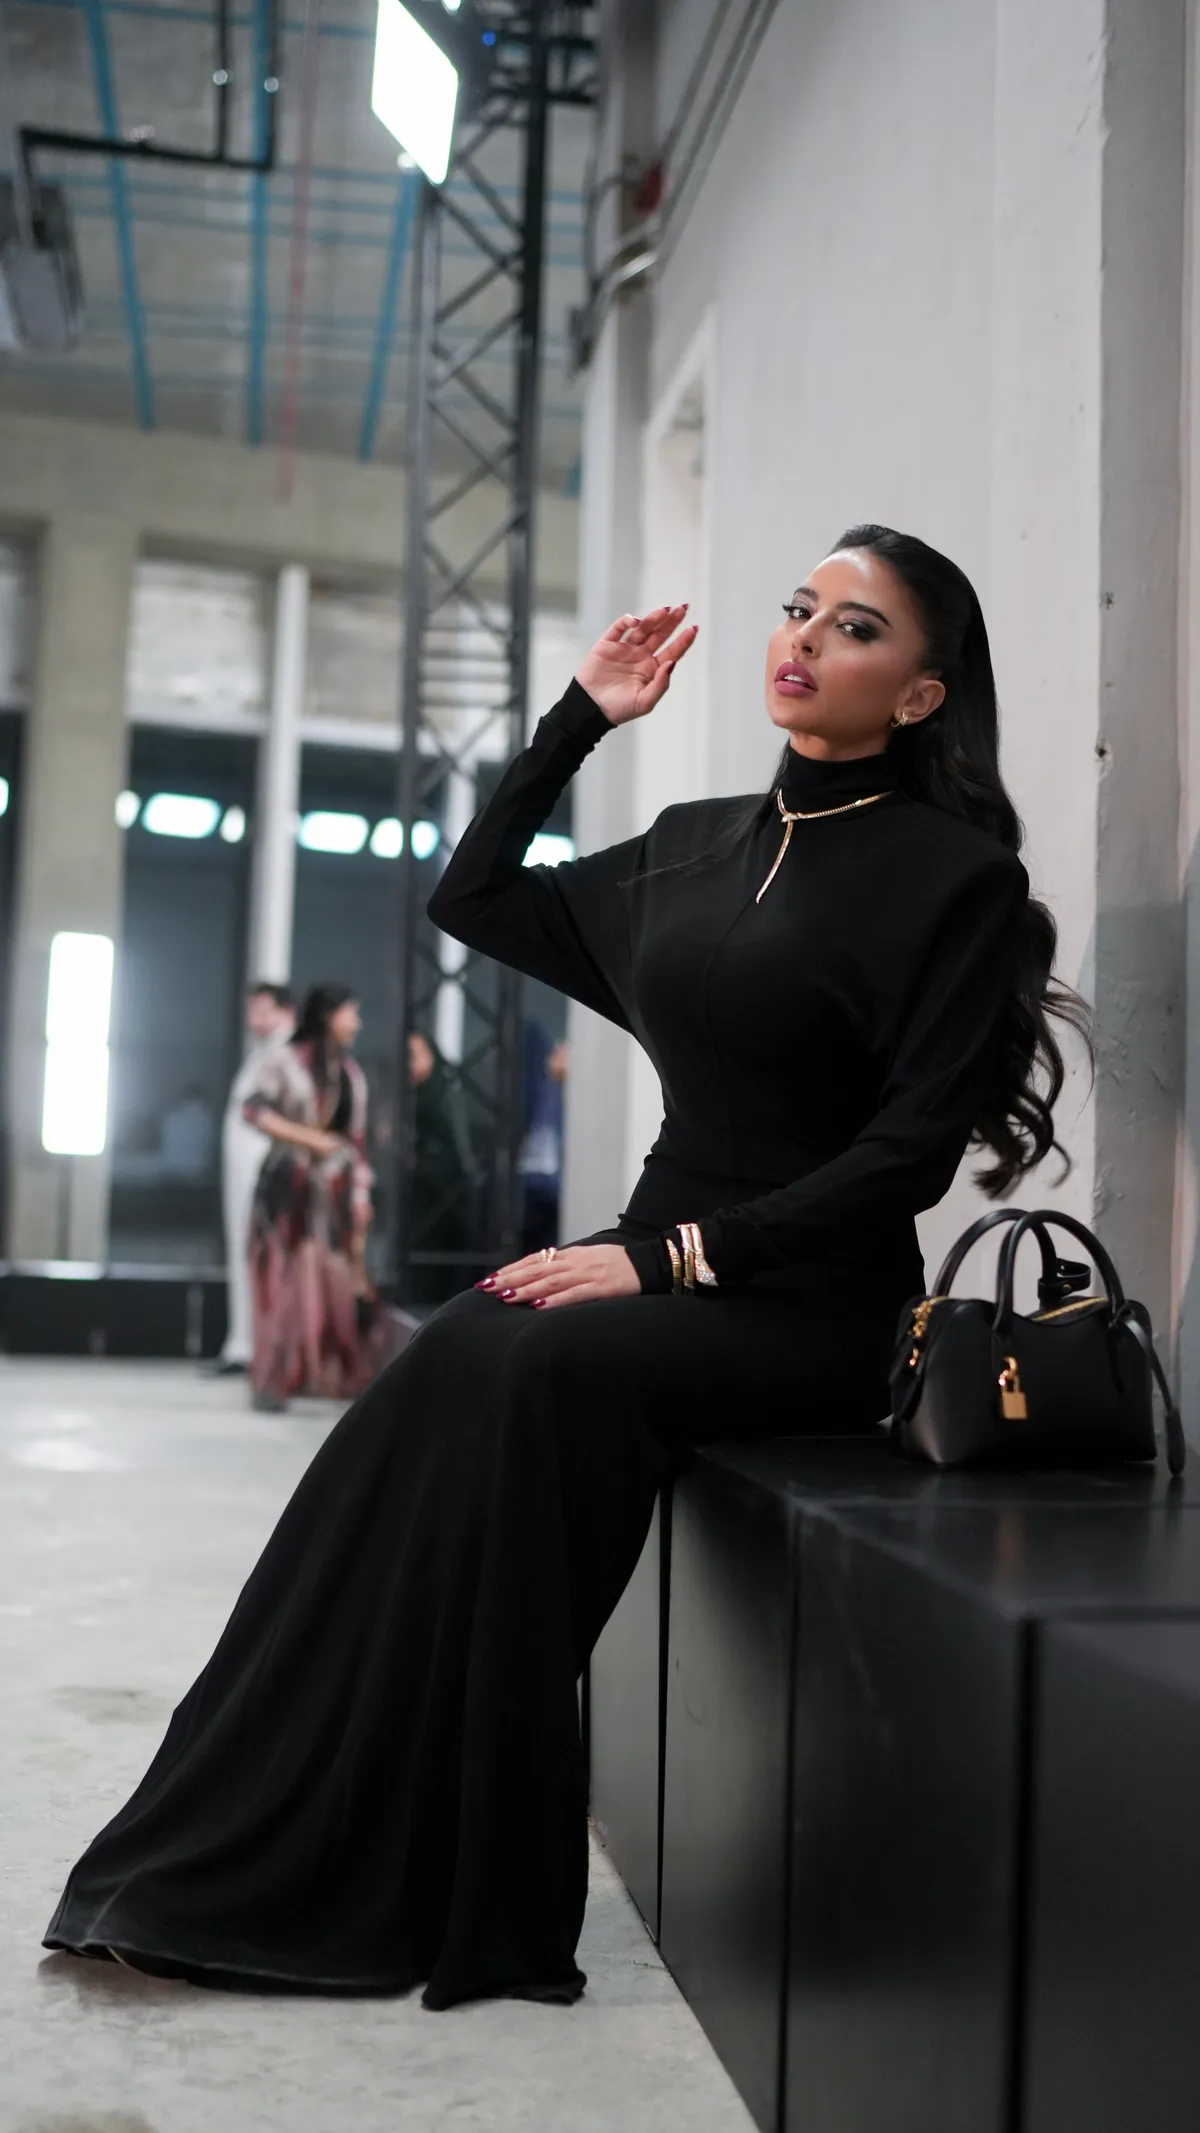
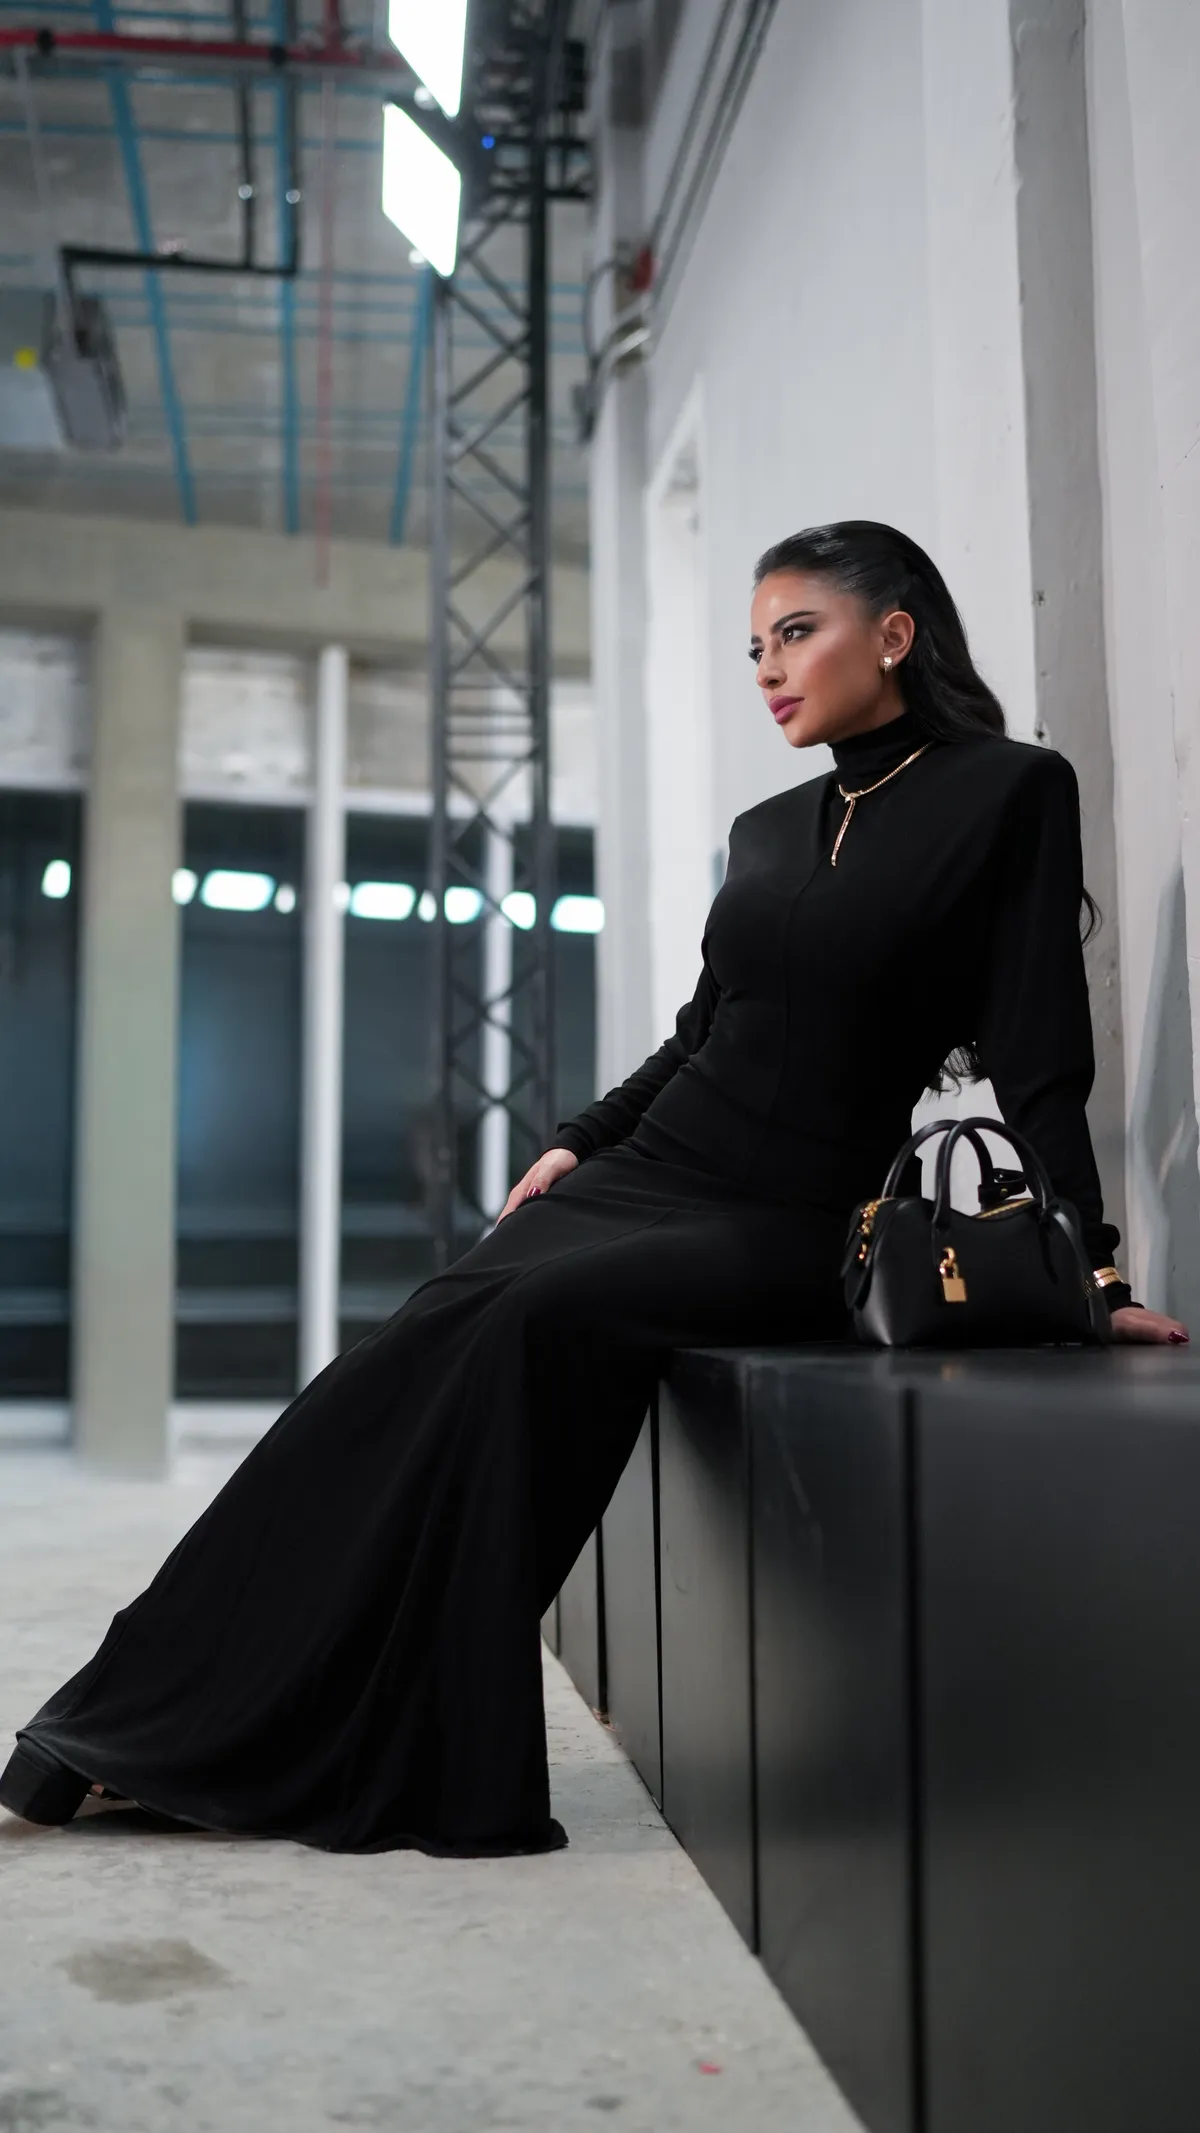
  • Riyadh Fashion Week, photographed by DawwasEye Studios
  • Wedding photograph by DawwasEye Studios
  • Wedding photograph by DawwasEye Studios
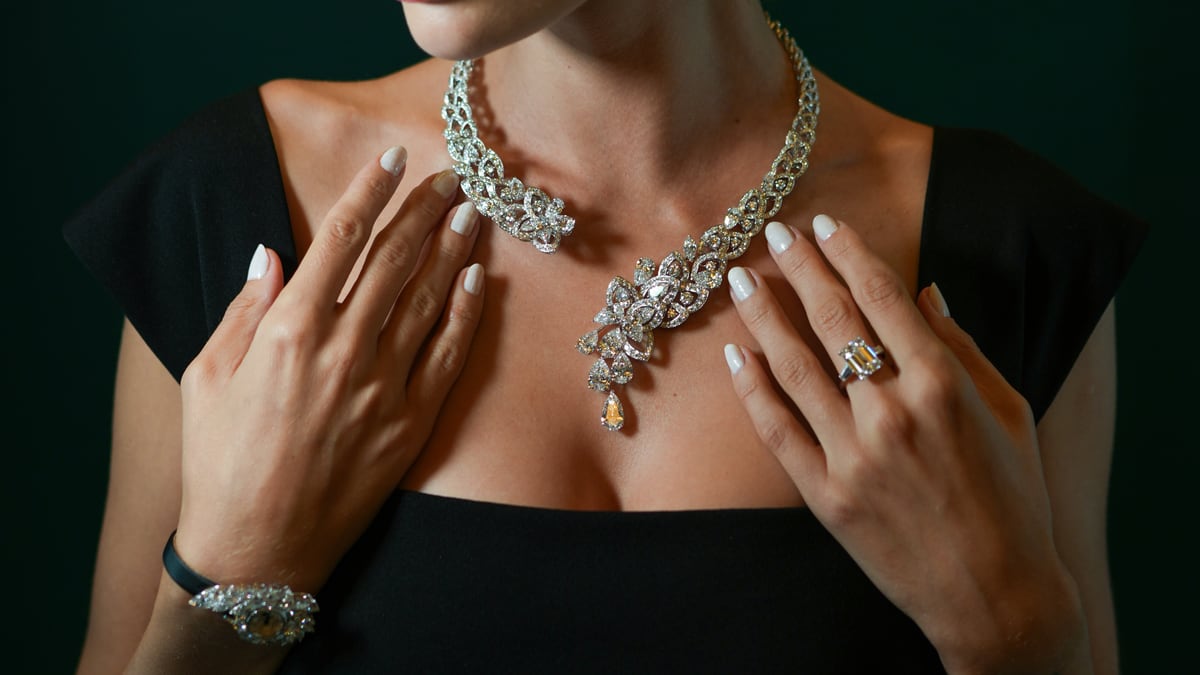
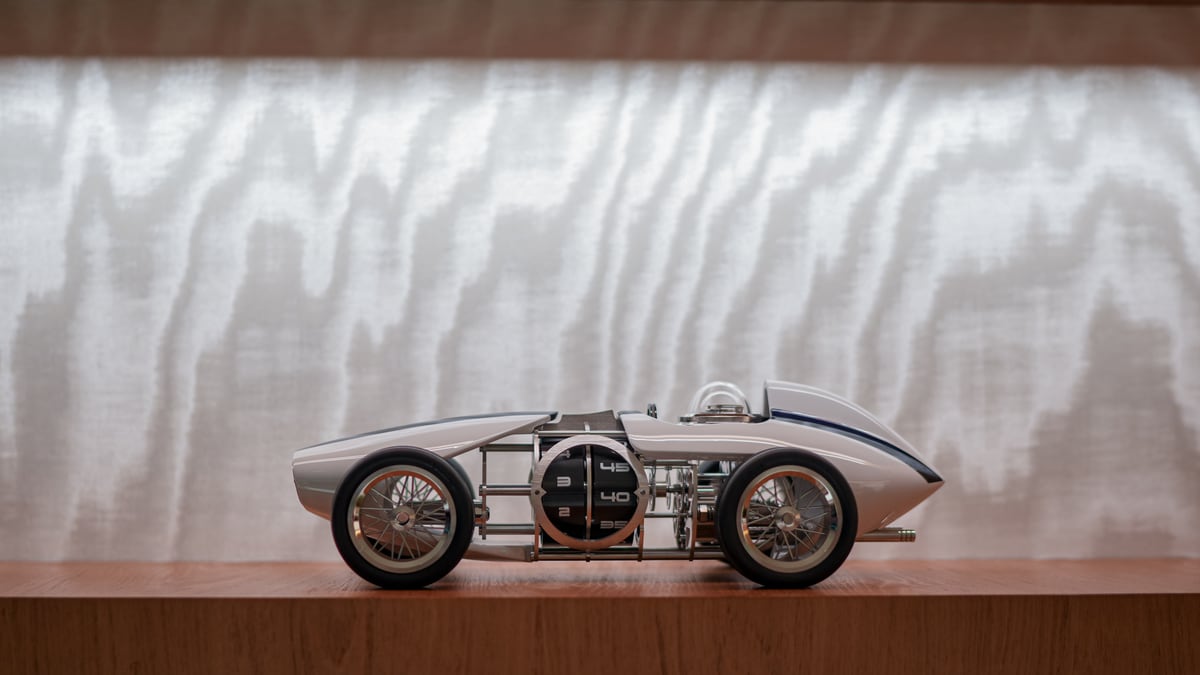
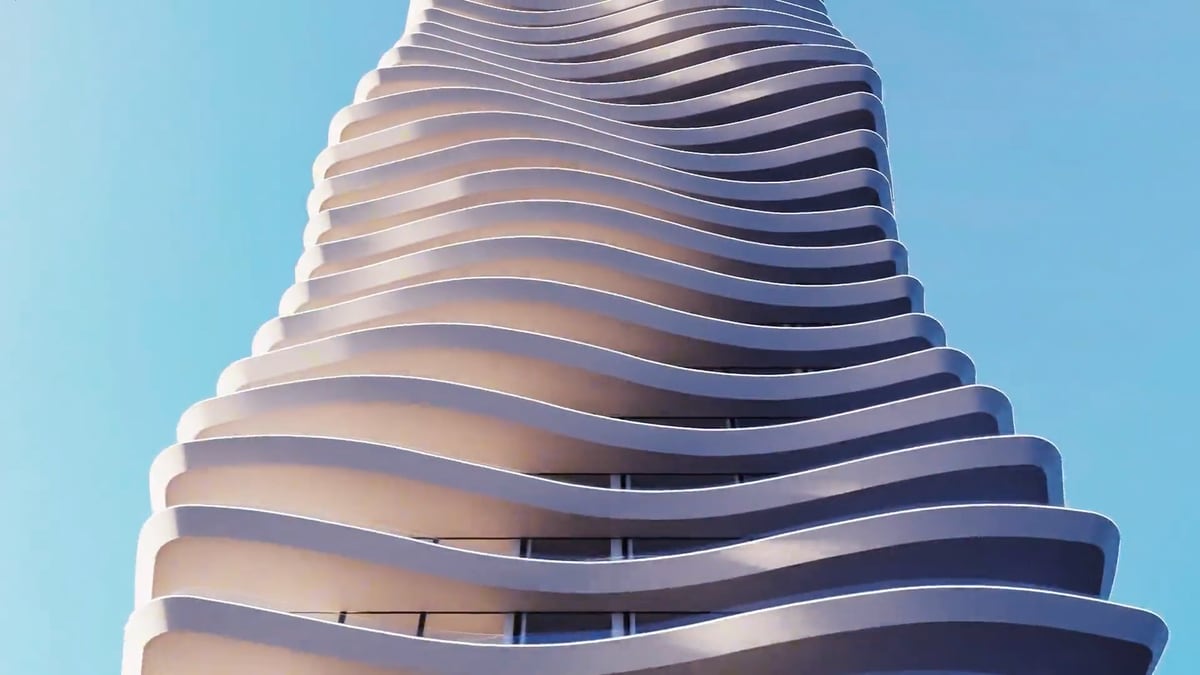
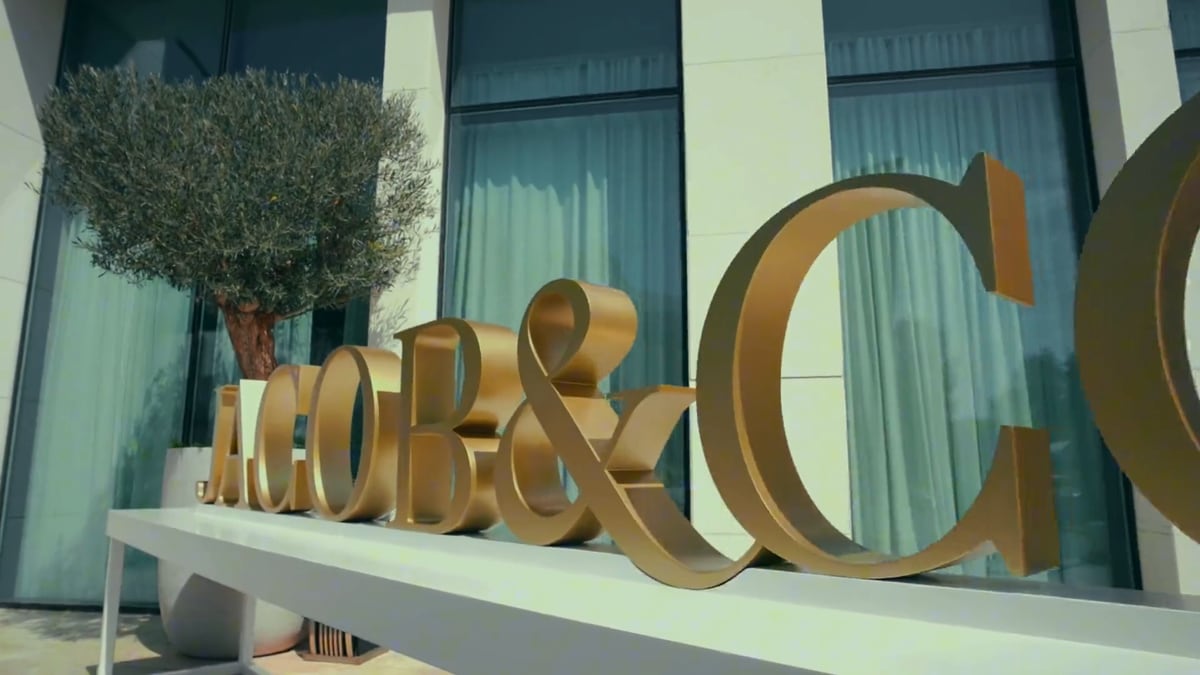
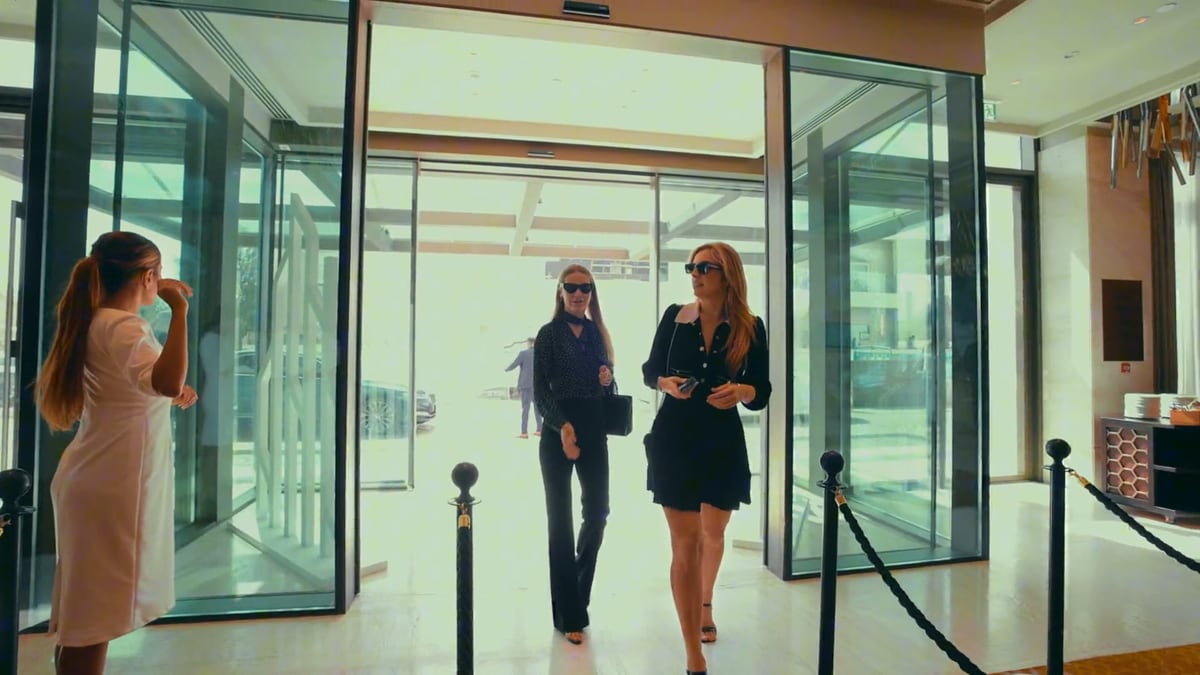
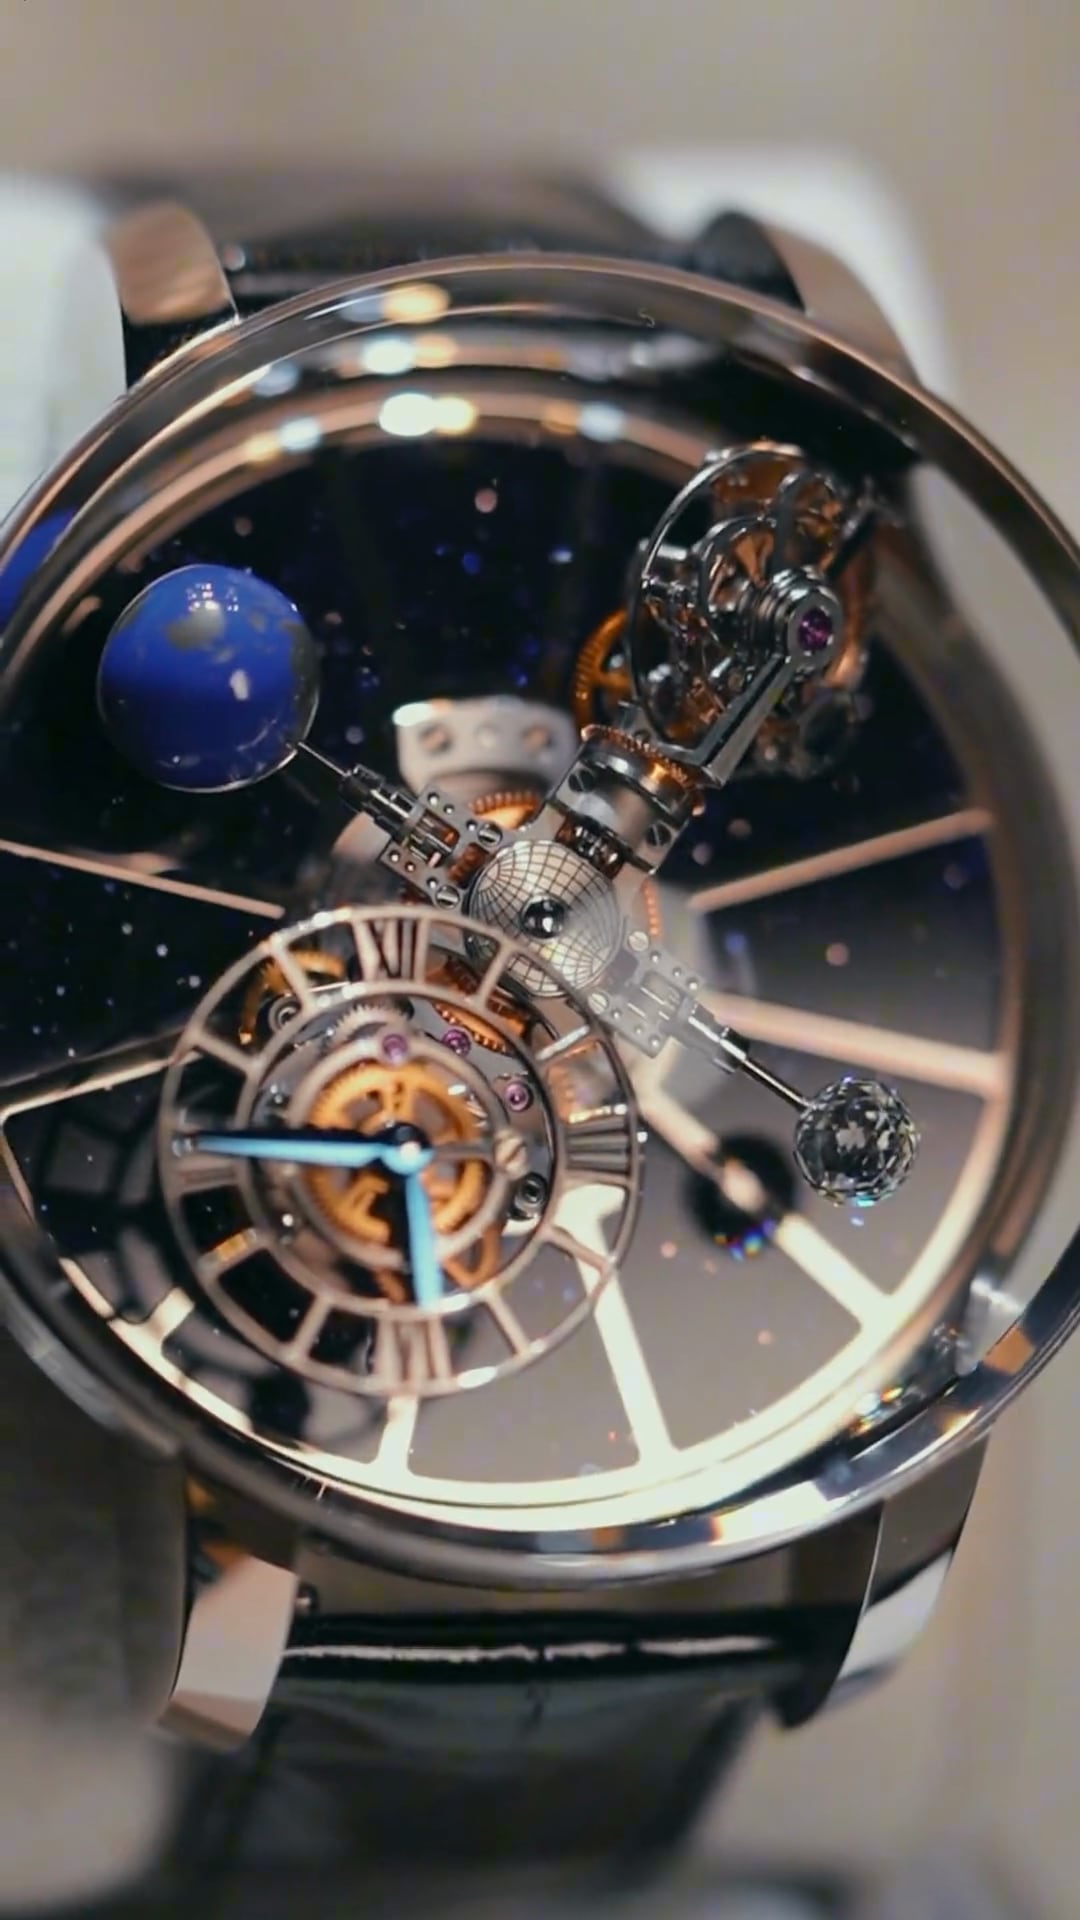
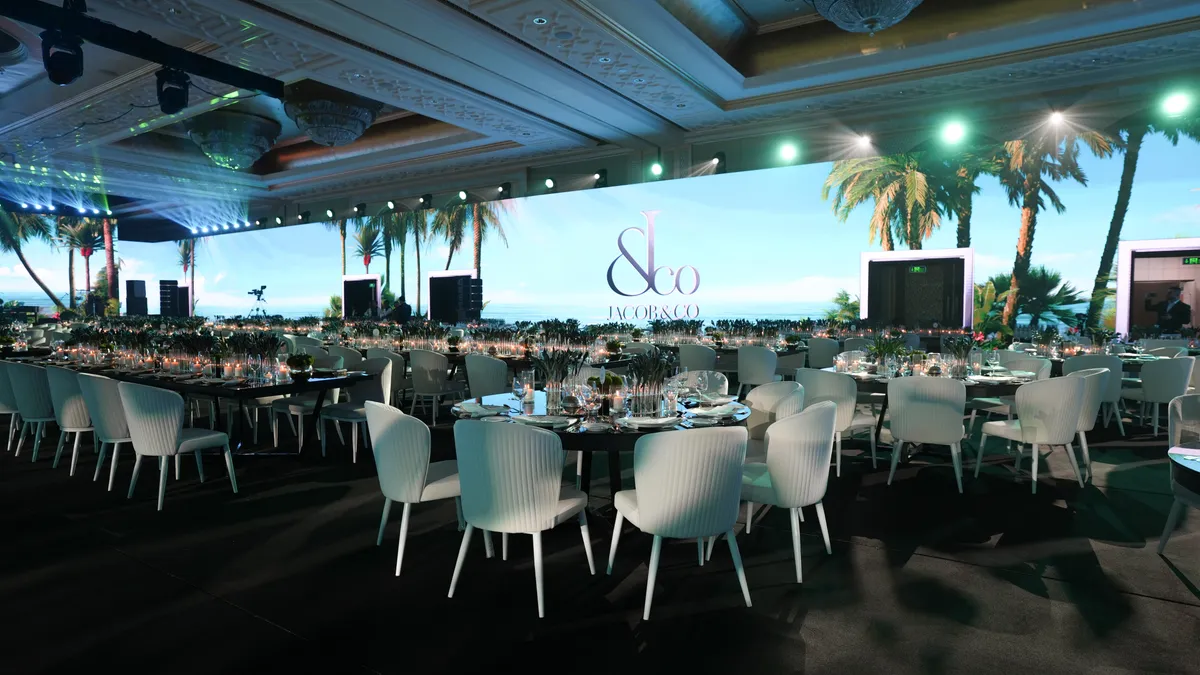
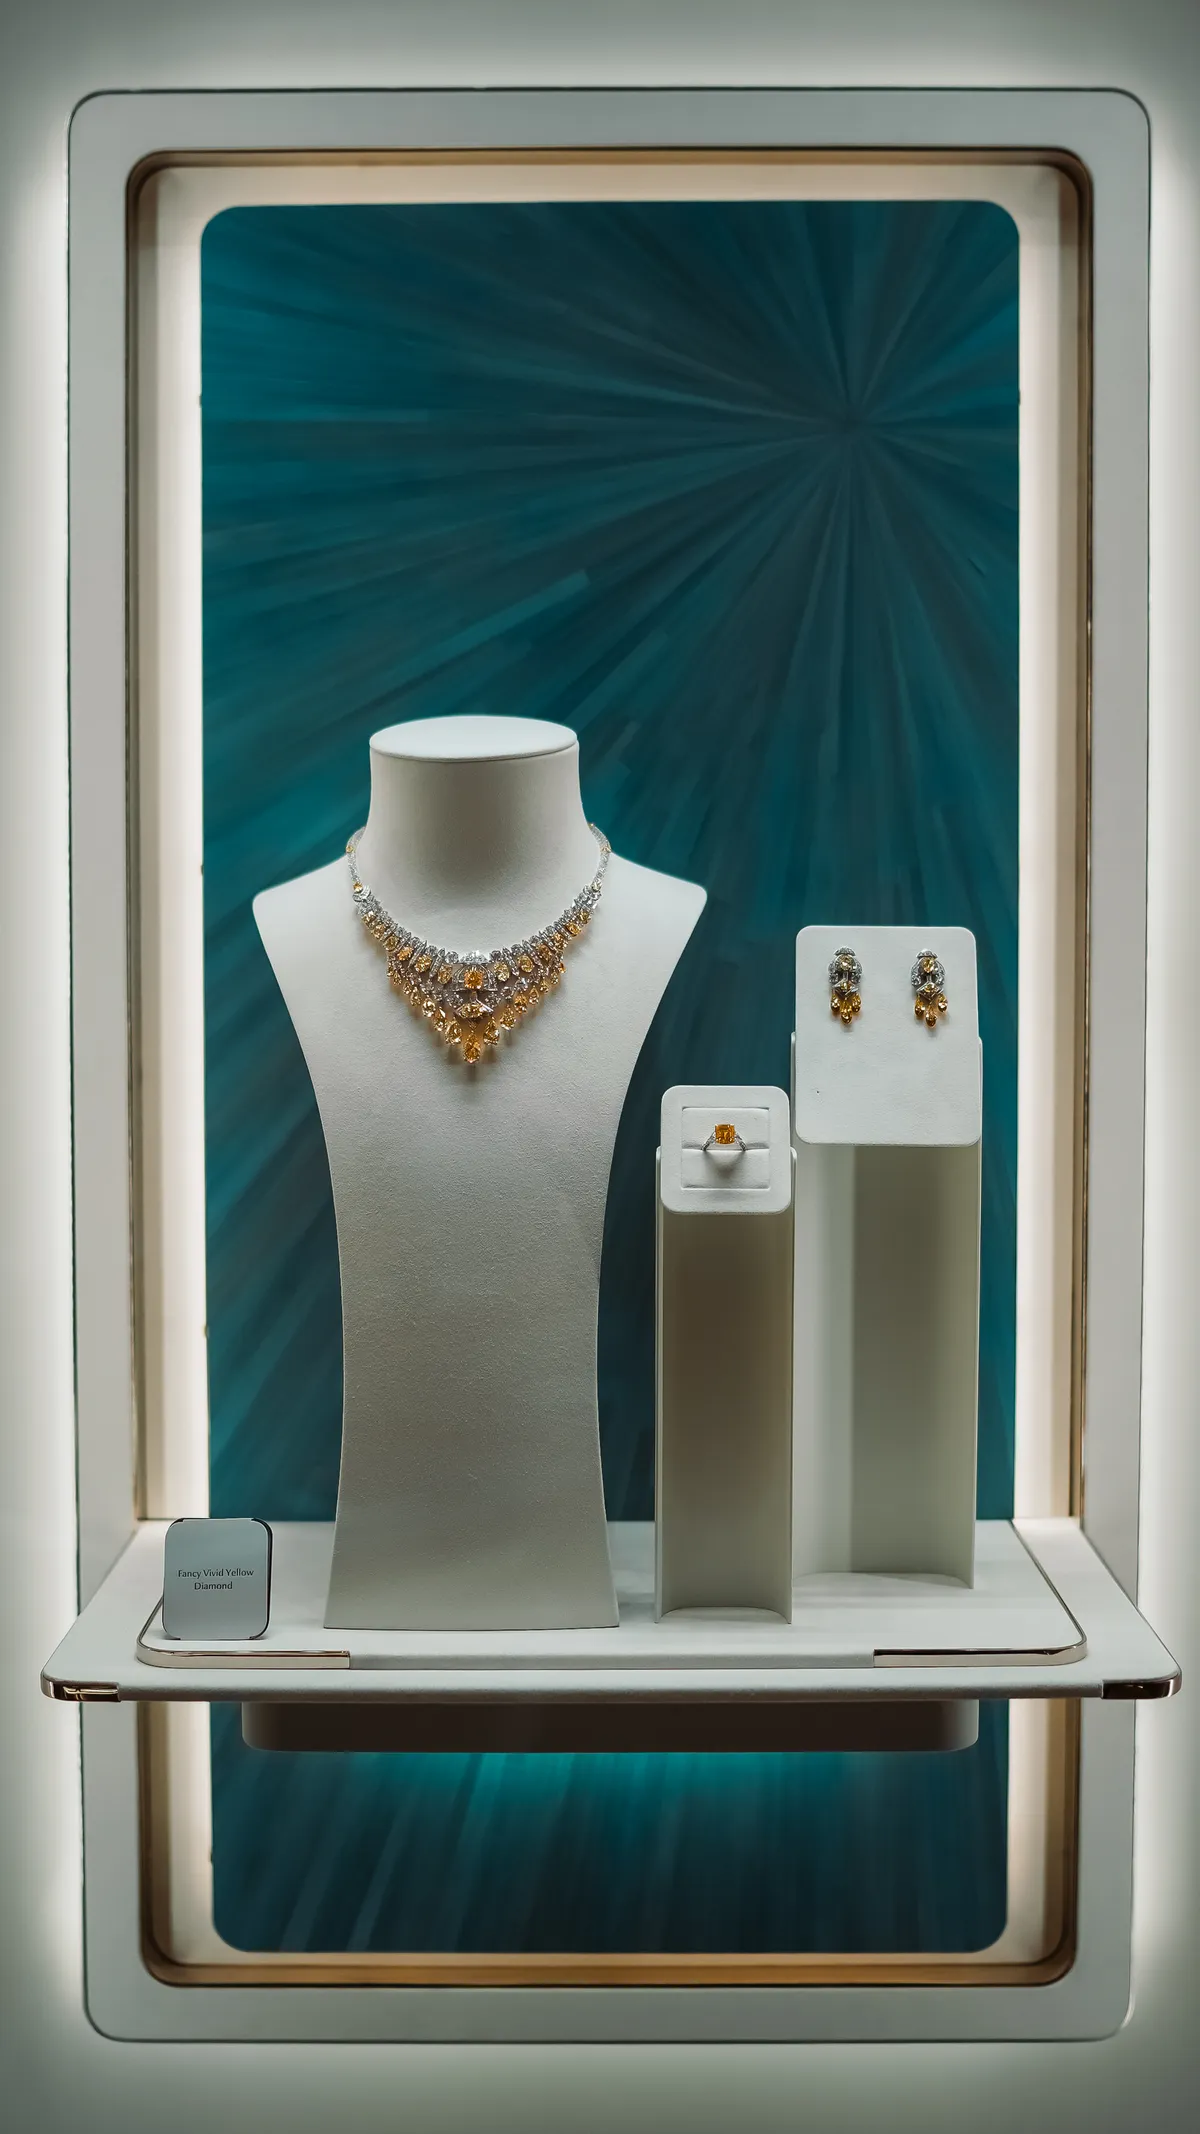
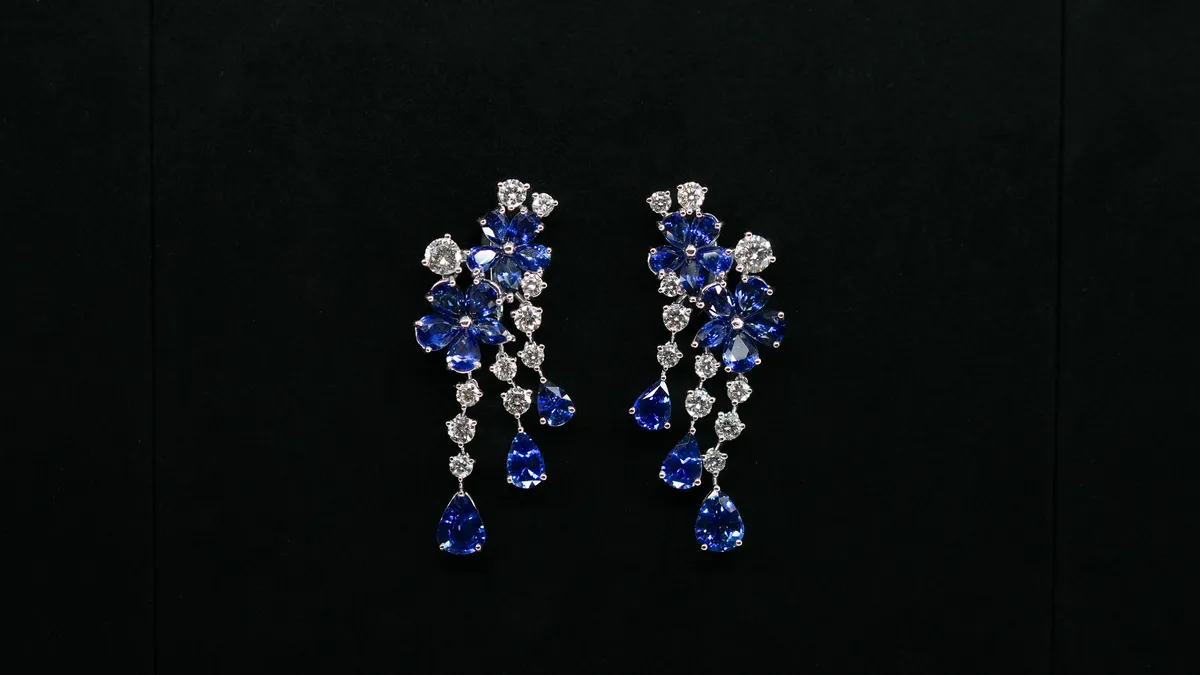
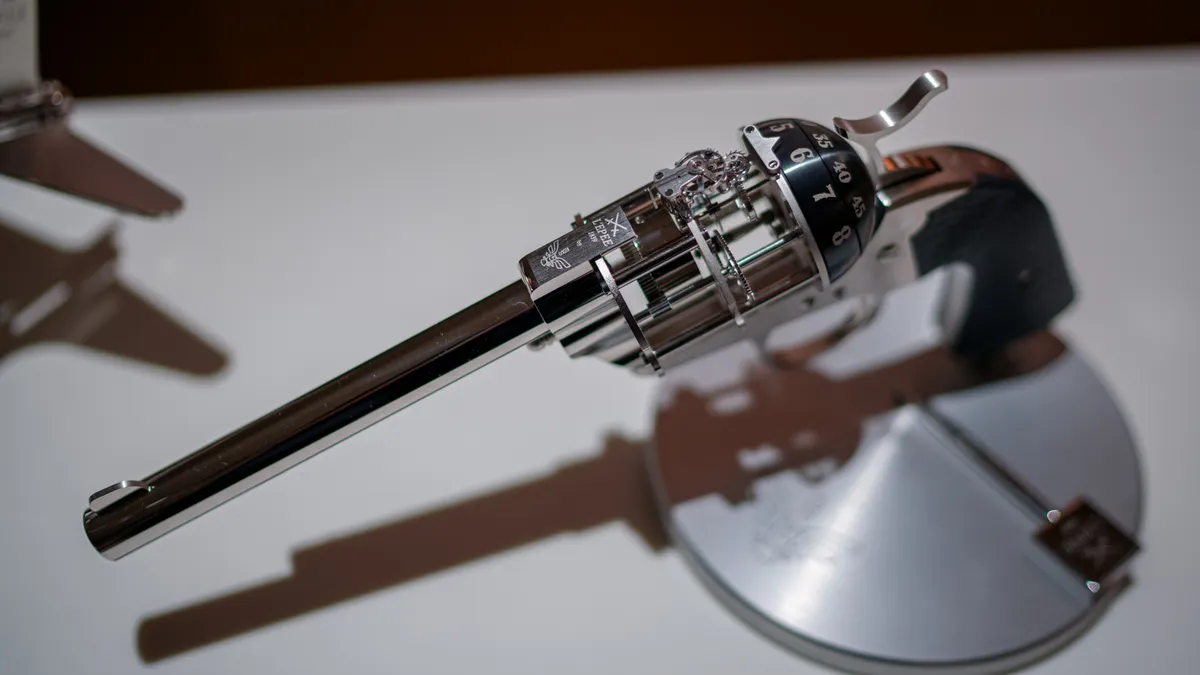
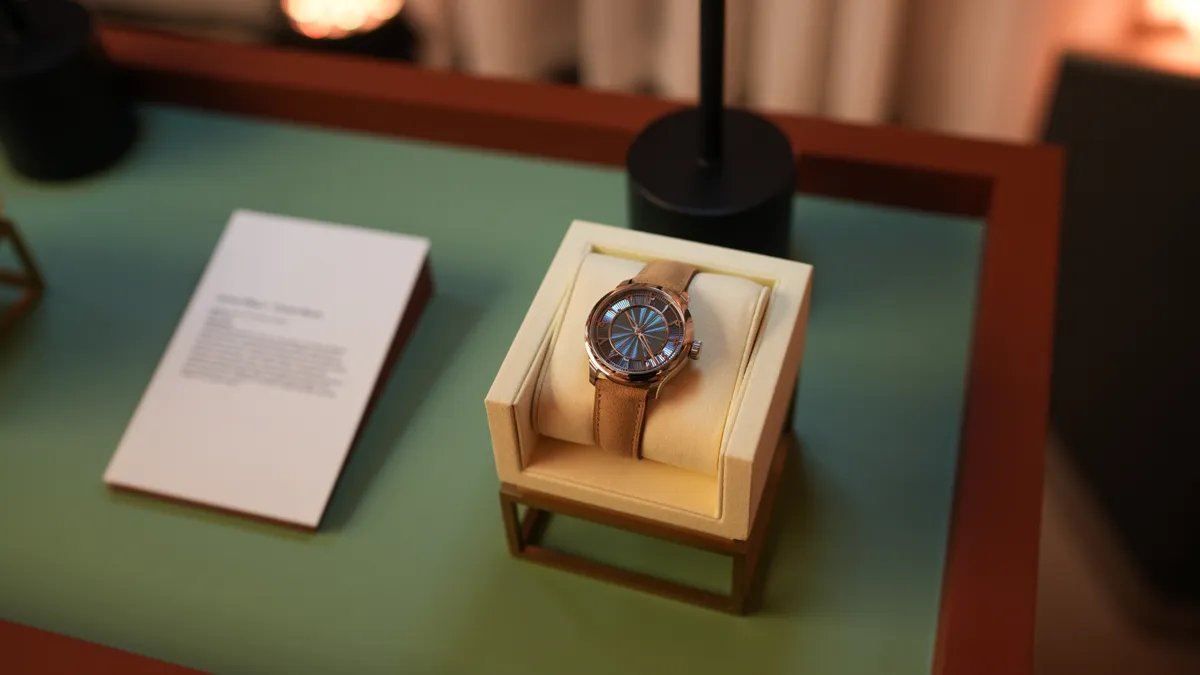
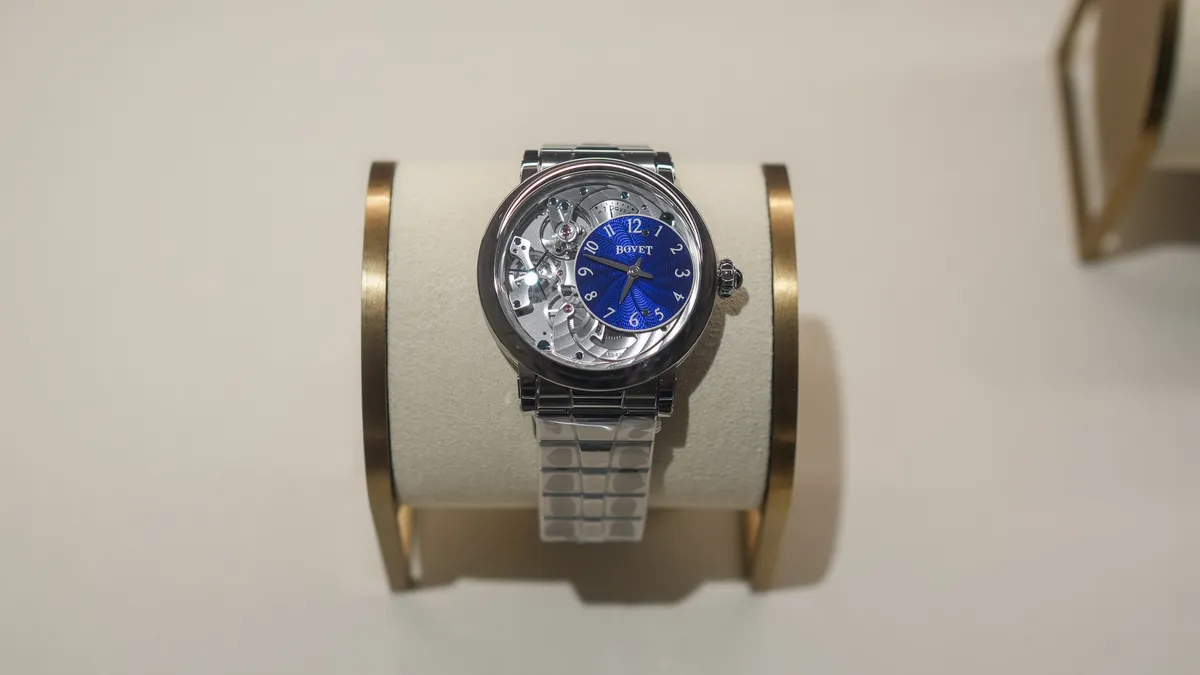
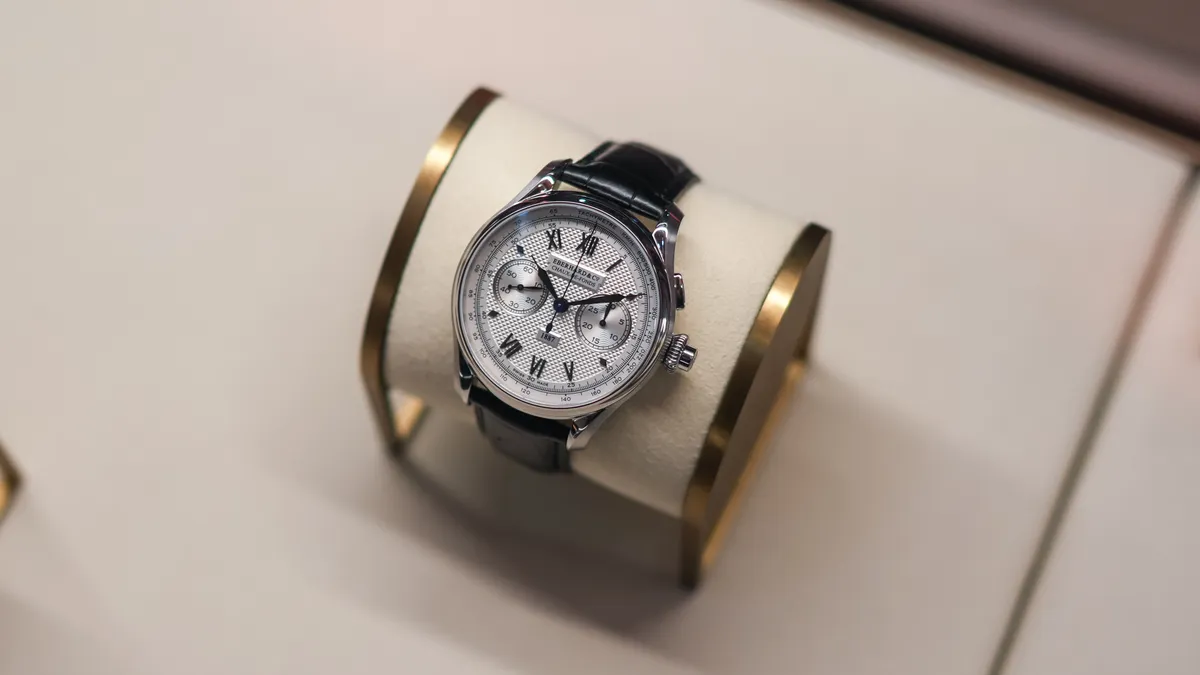
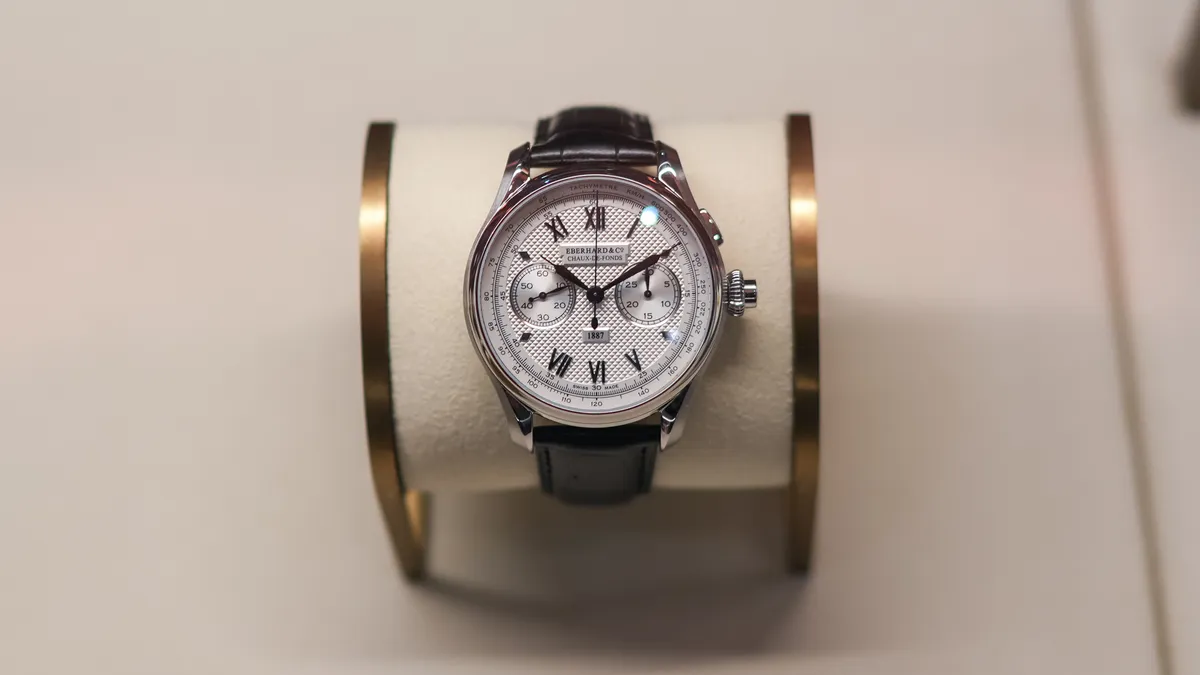
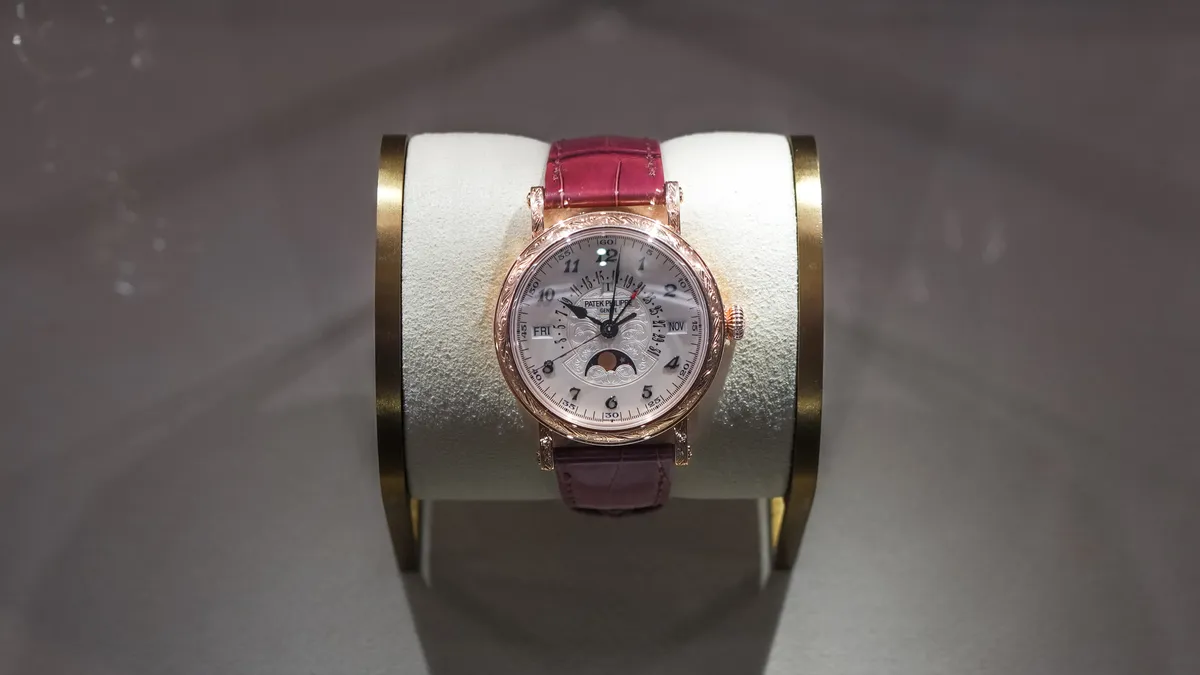
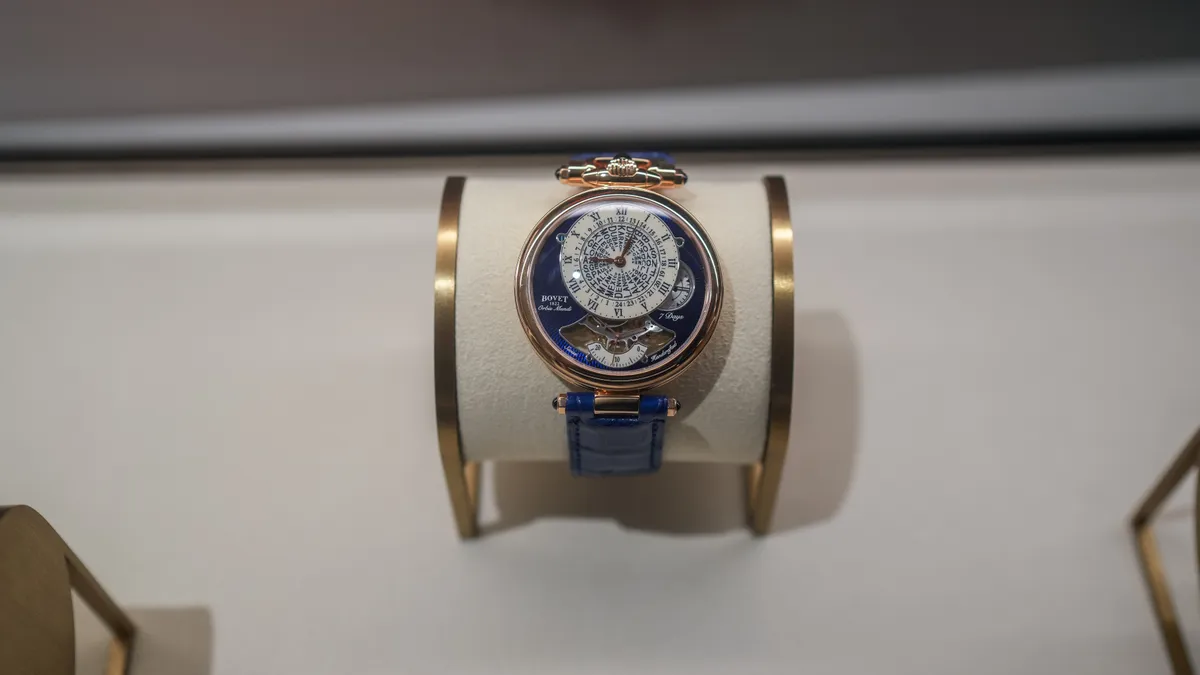
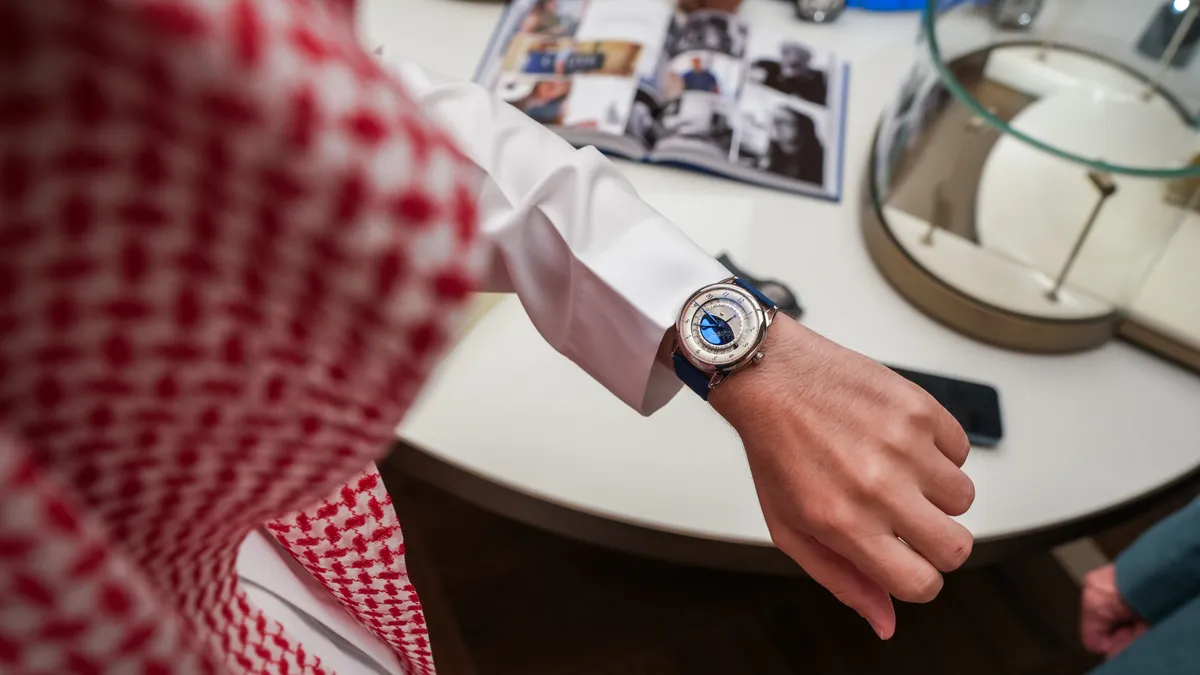
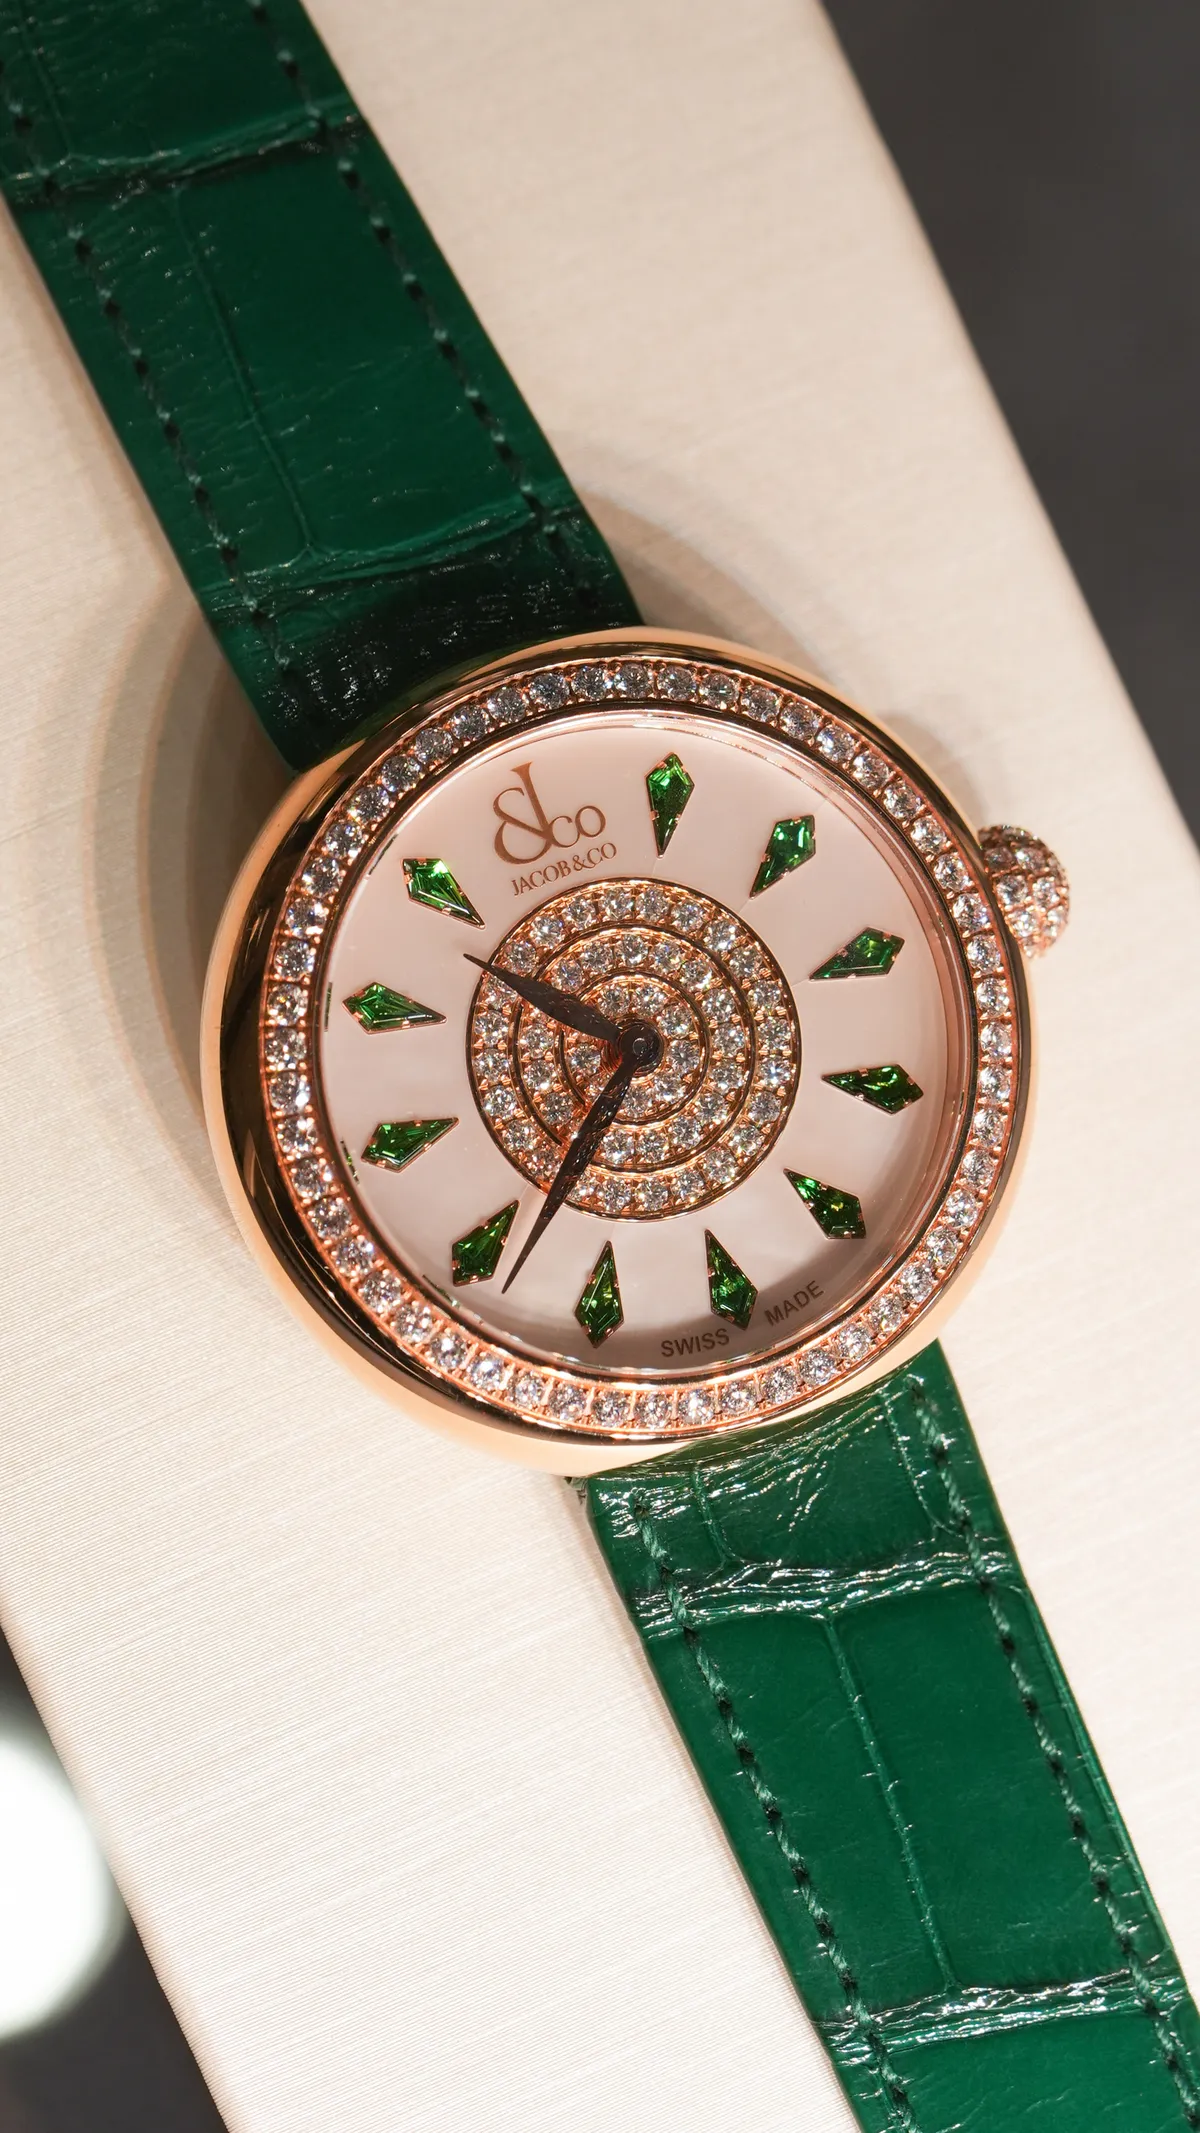
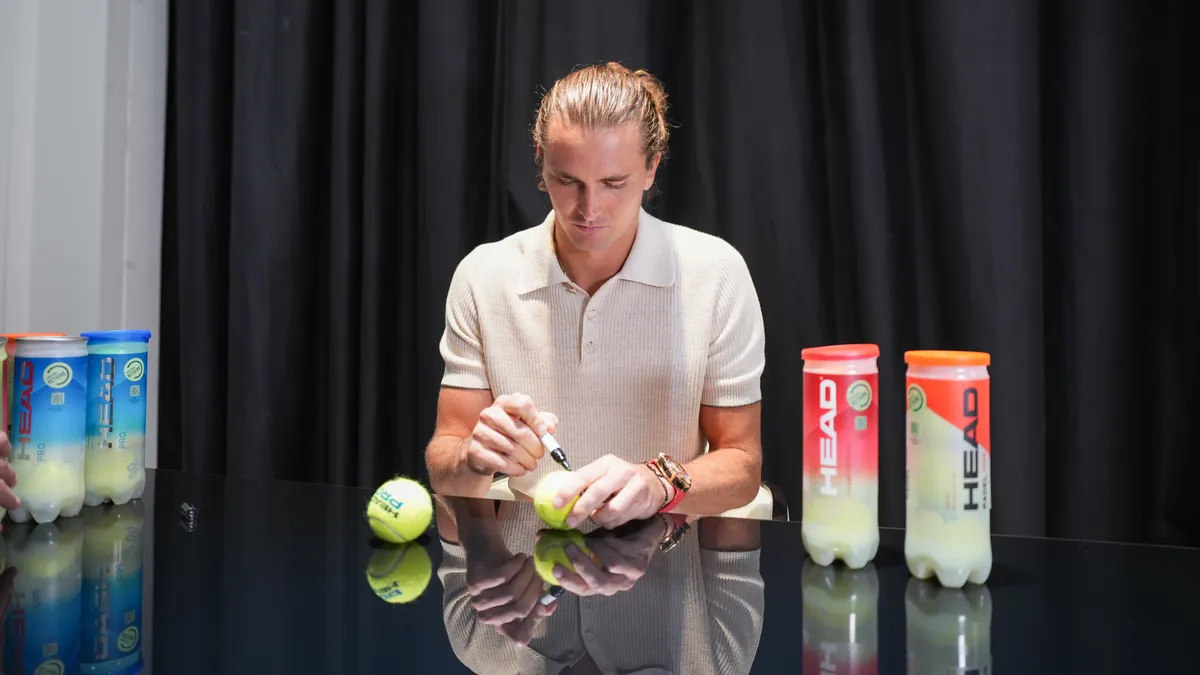
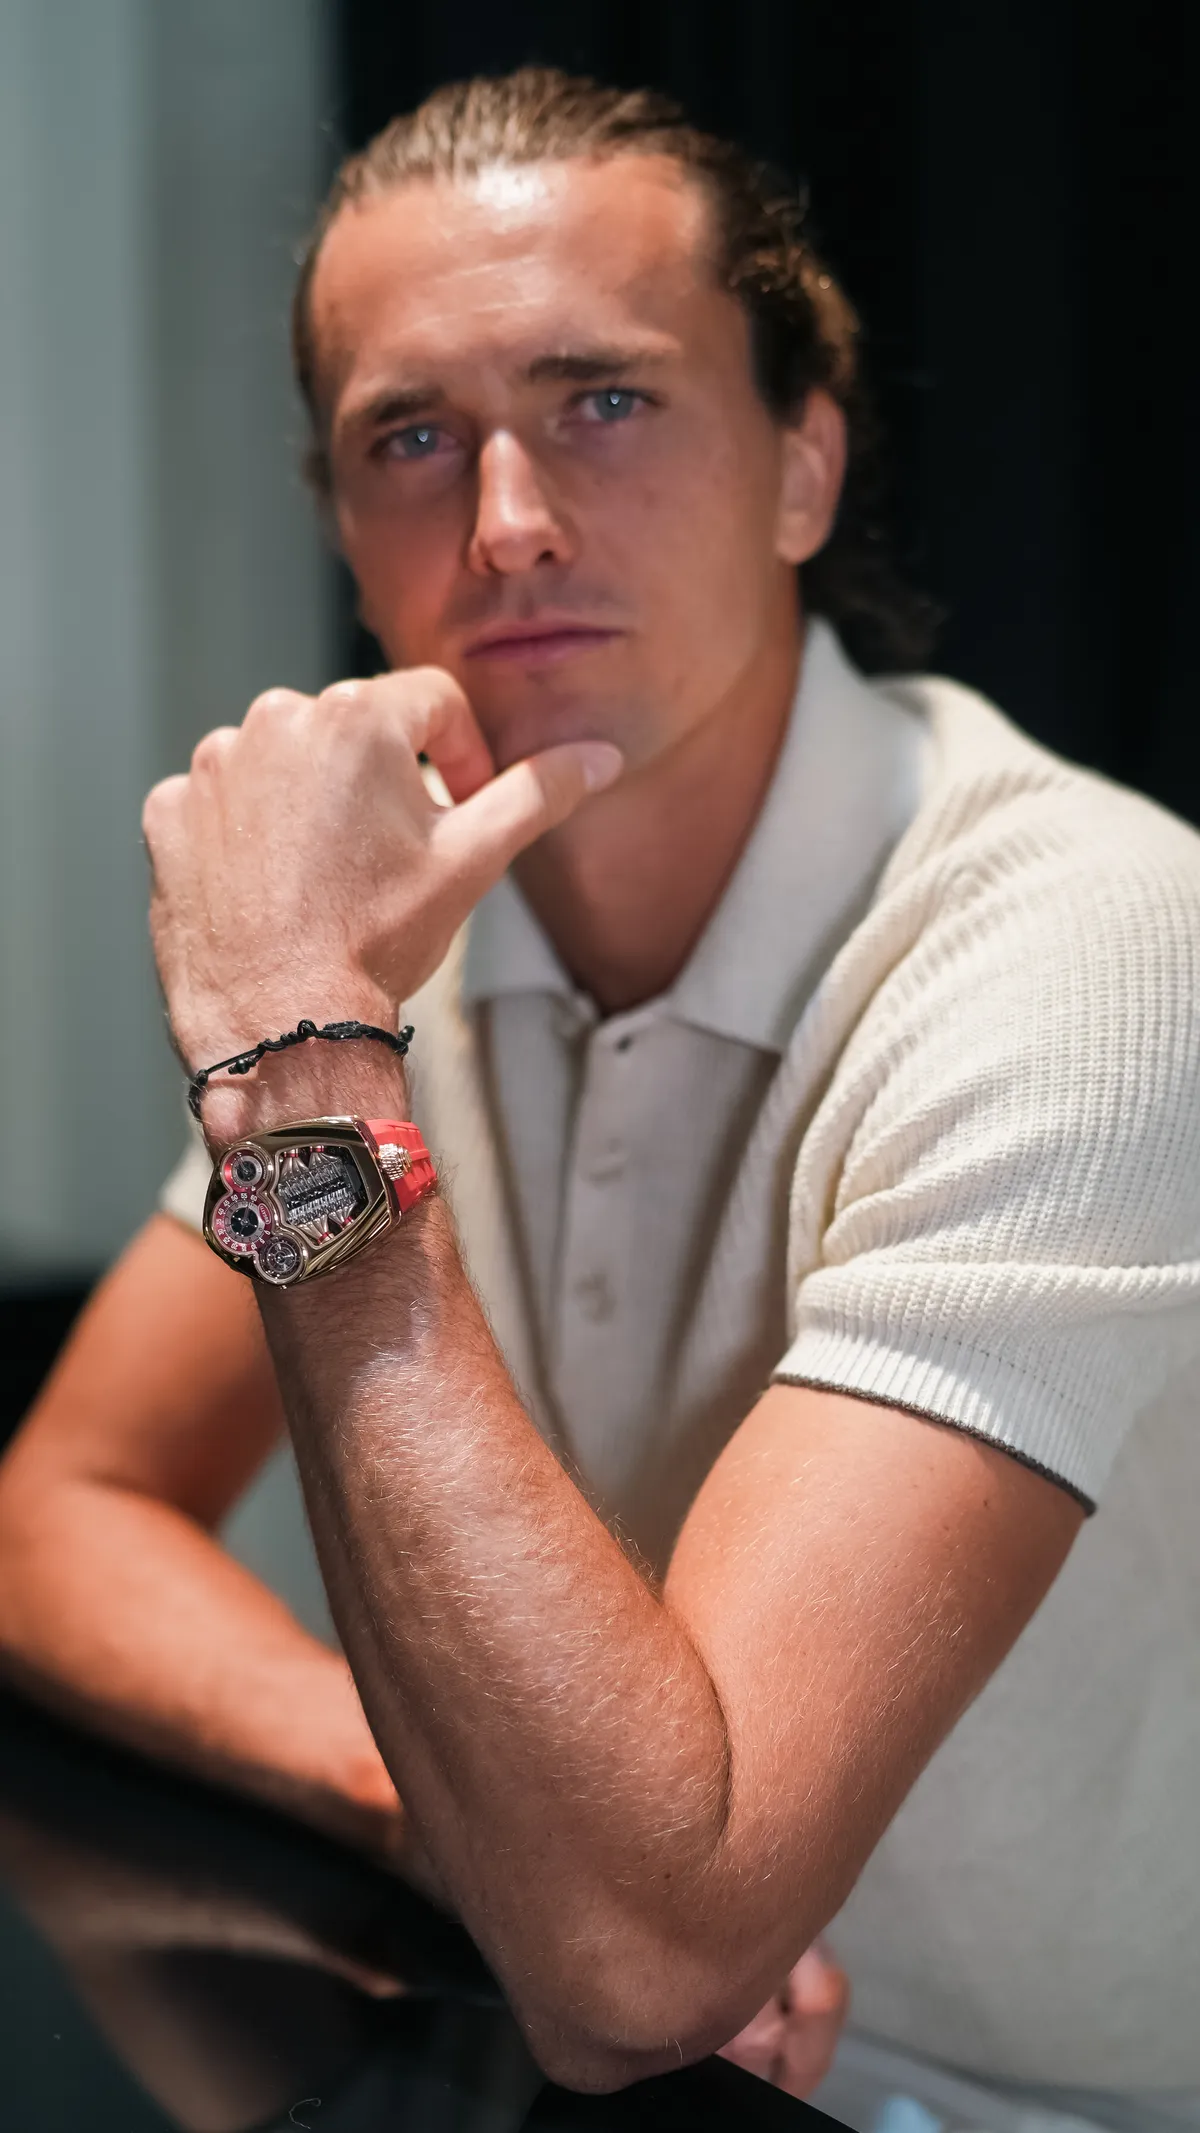
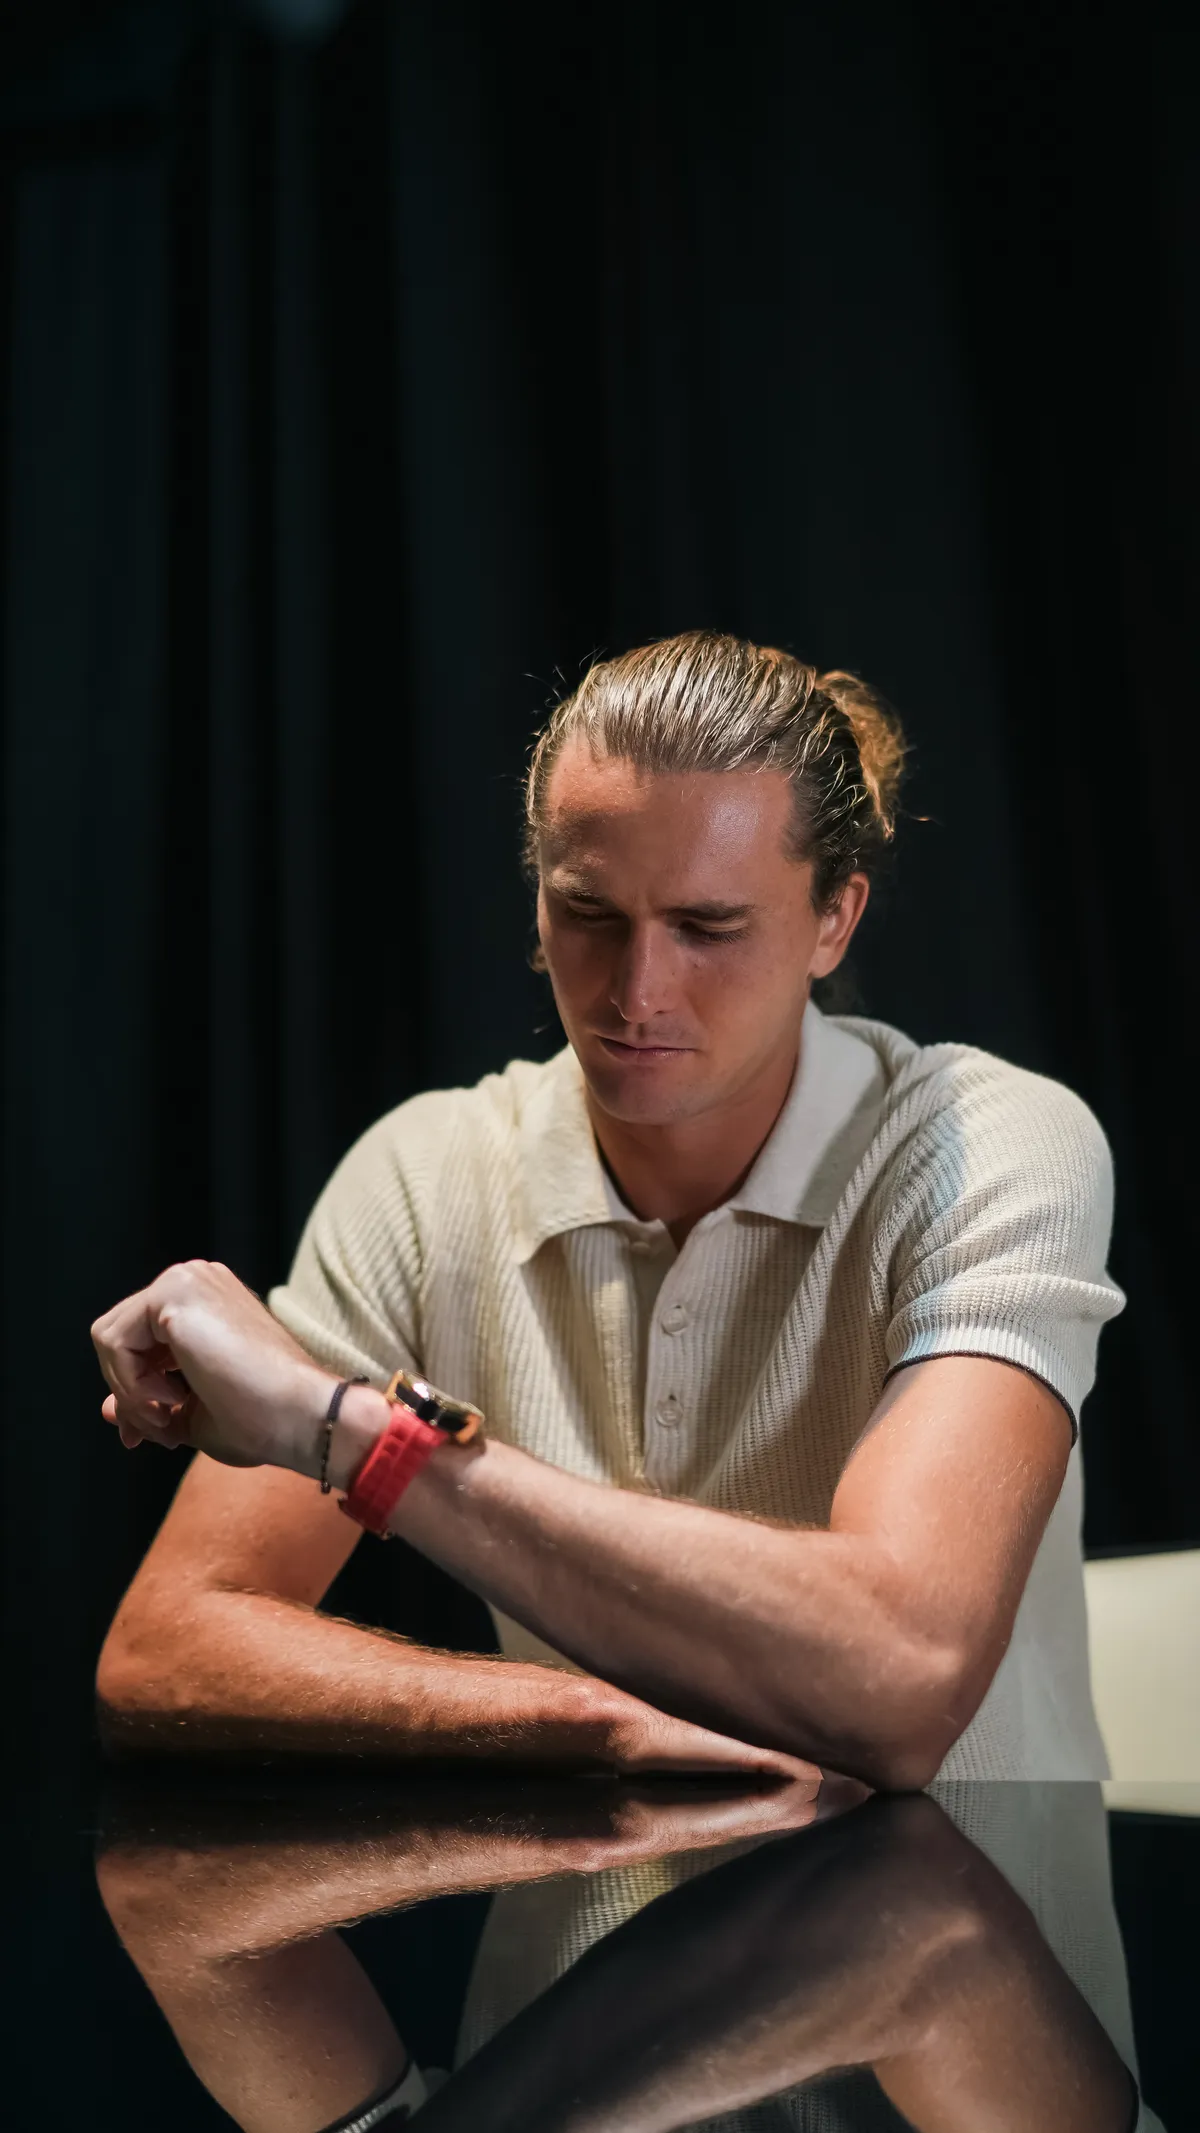
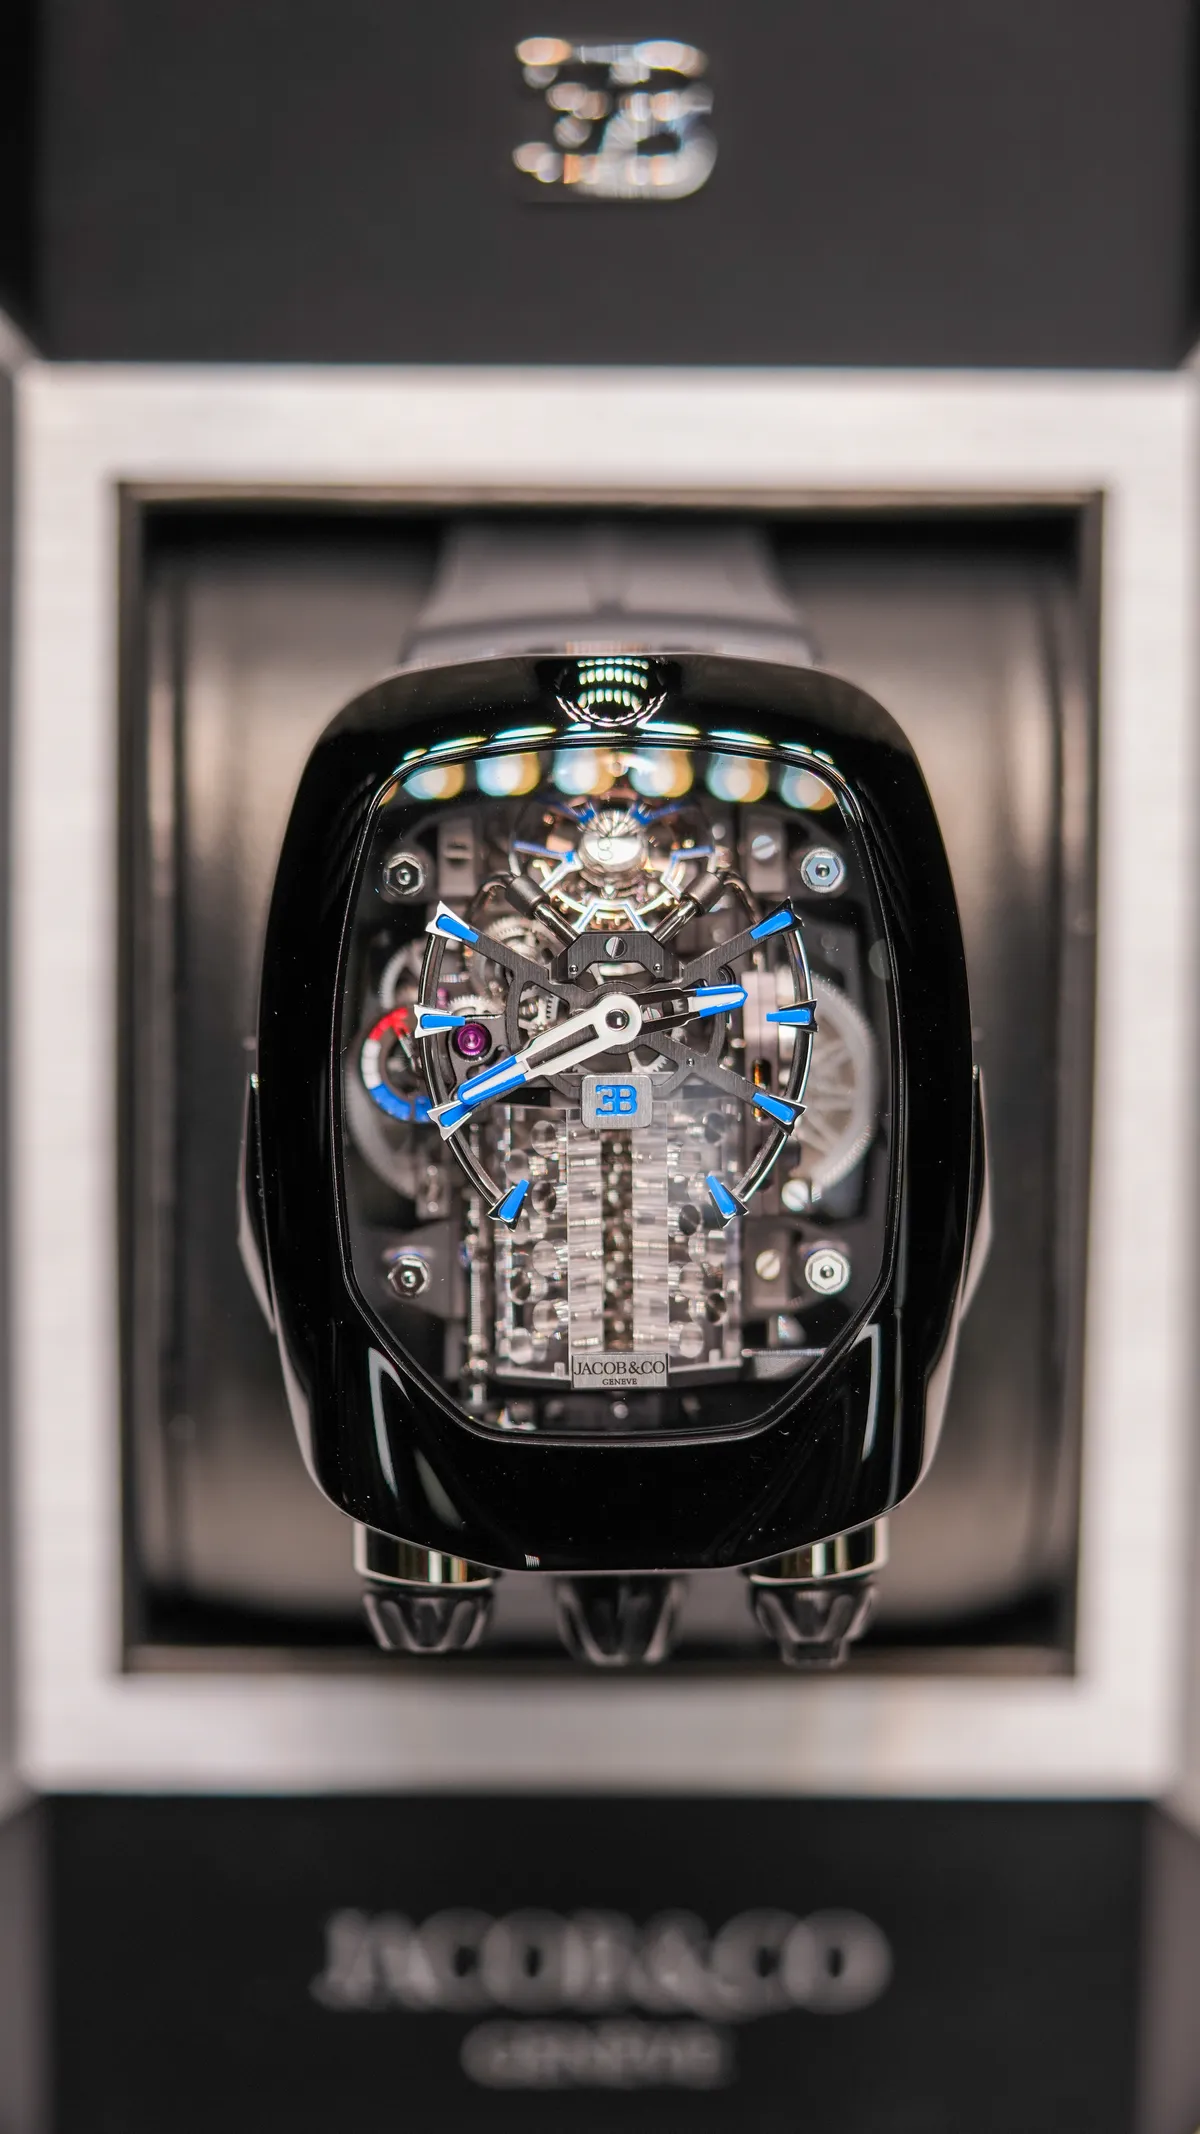
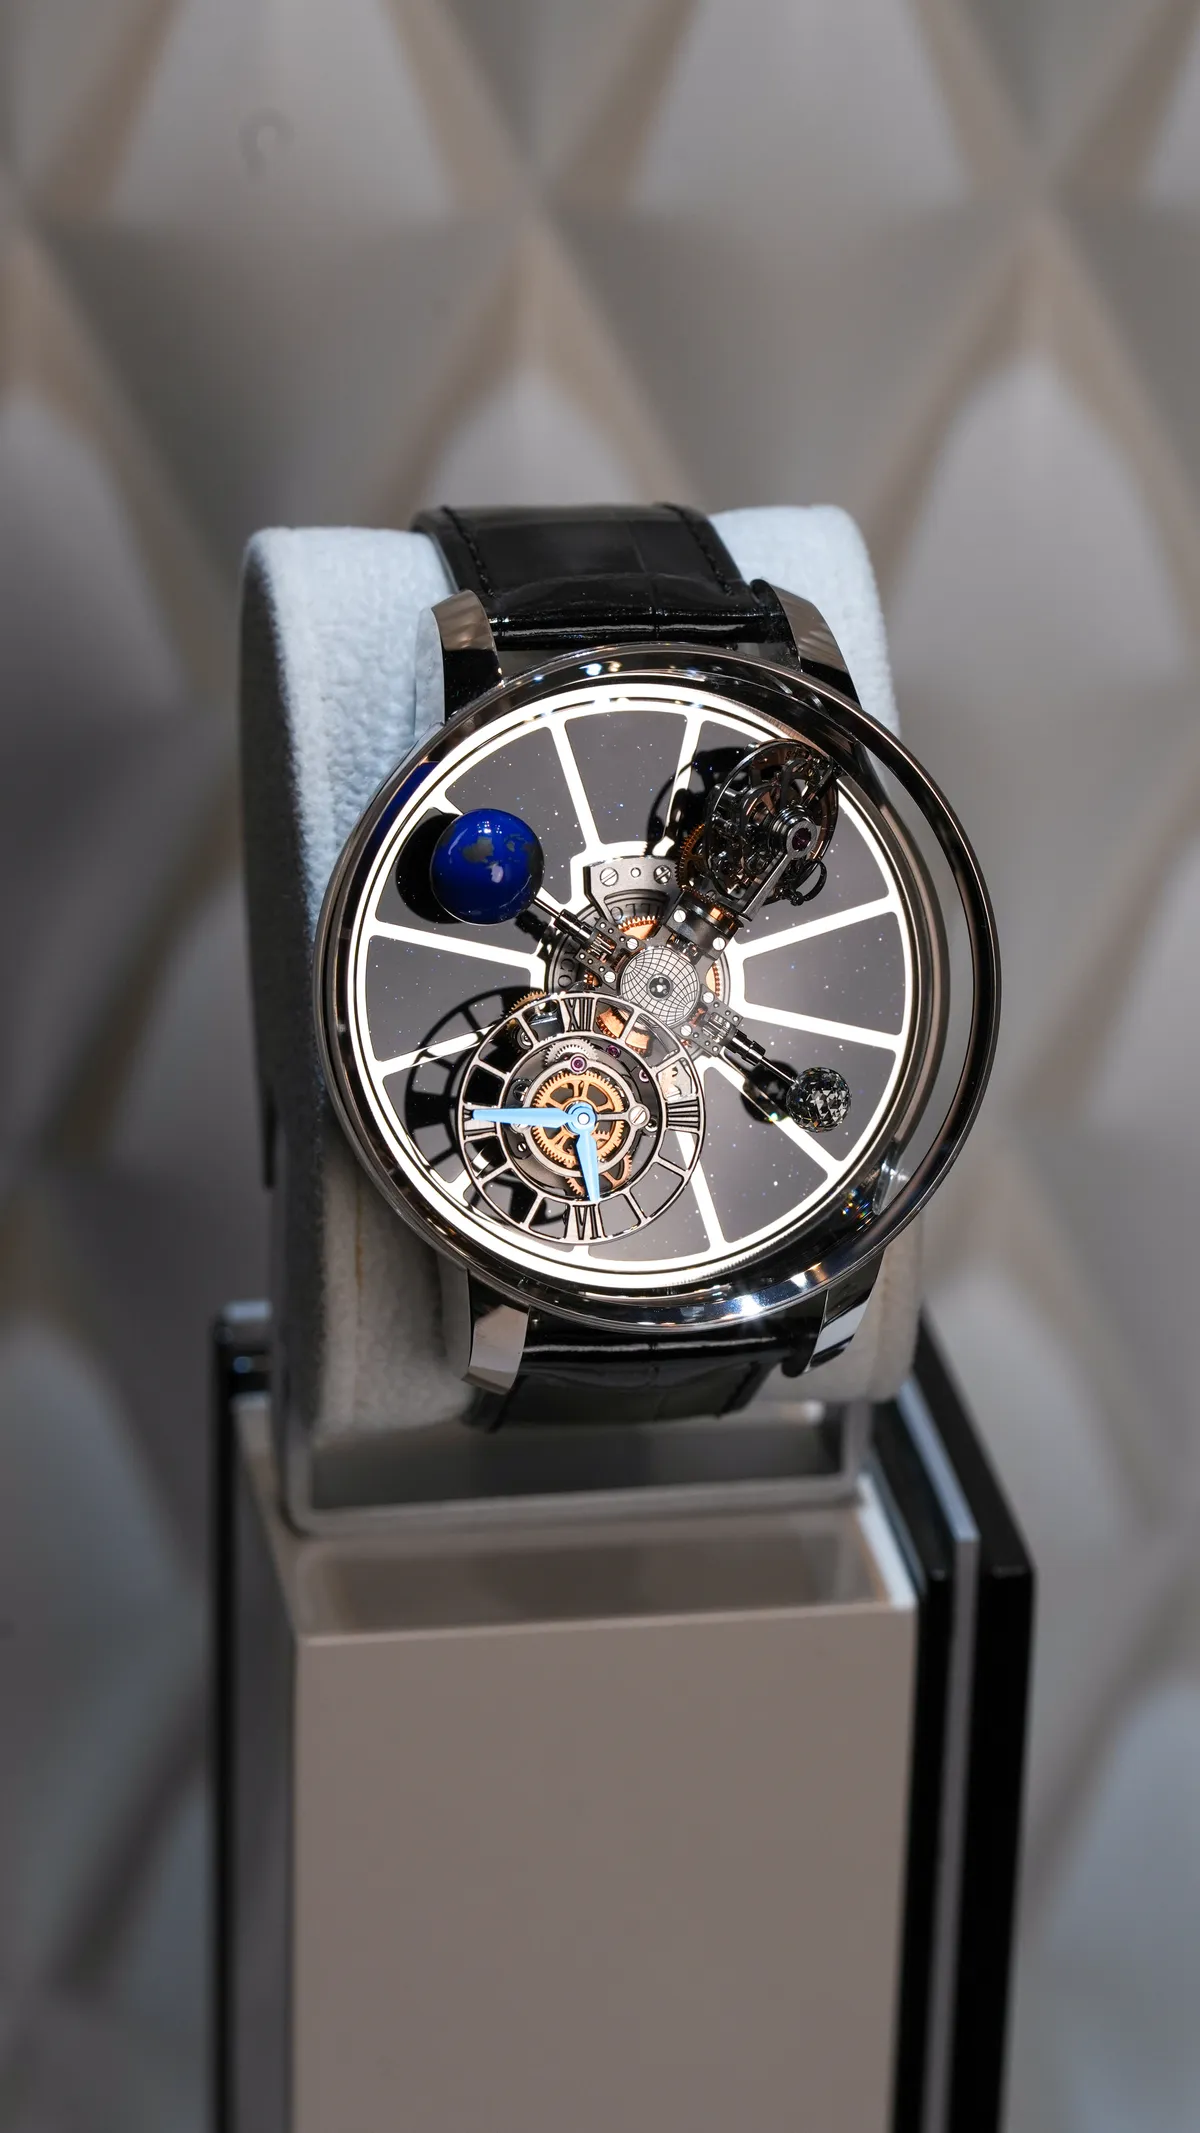
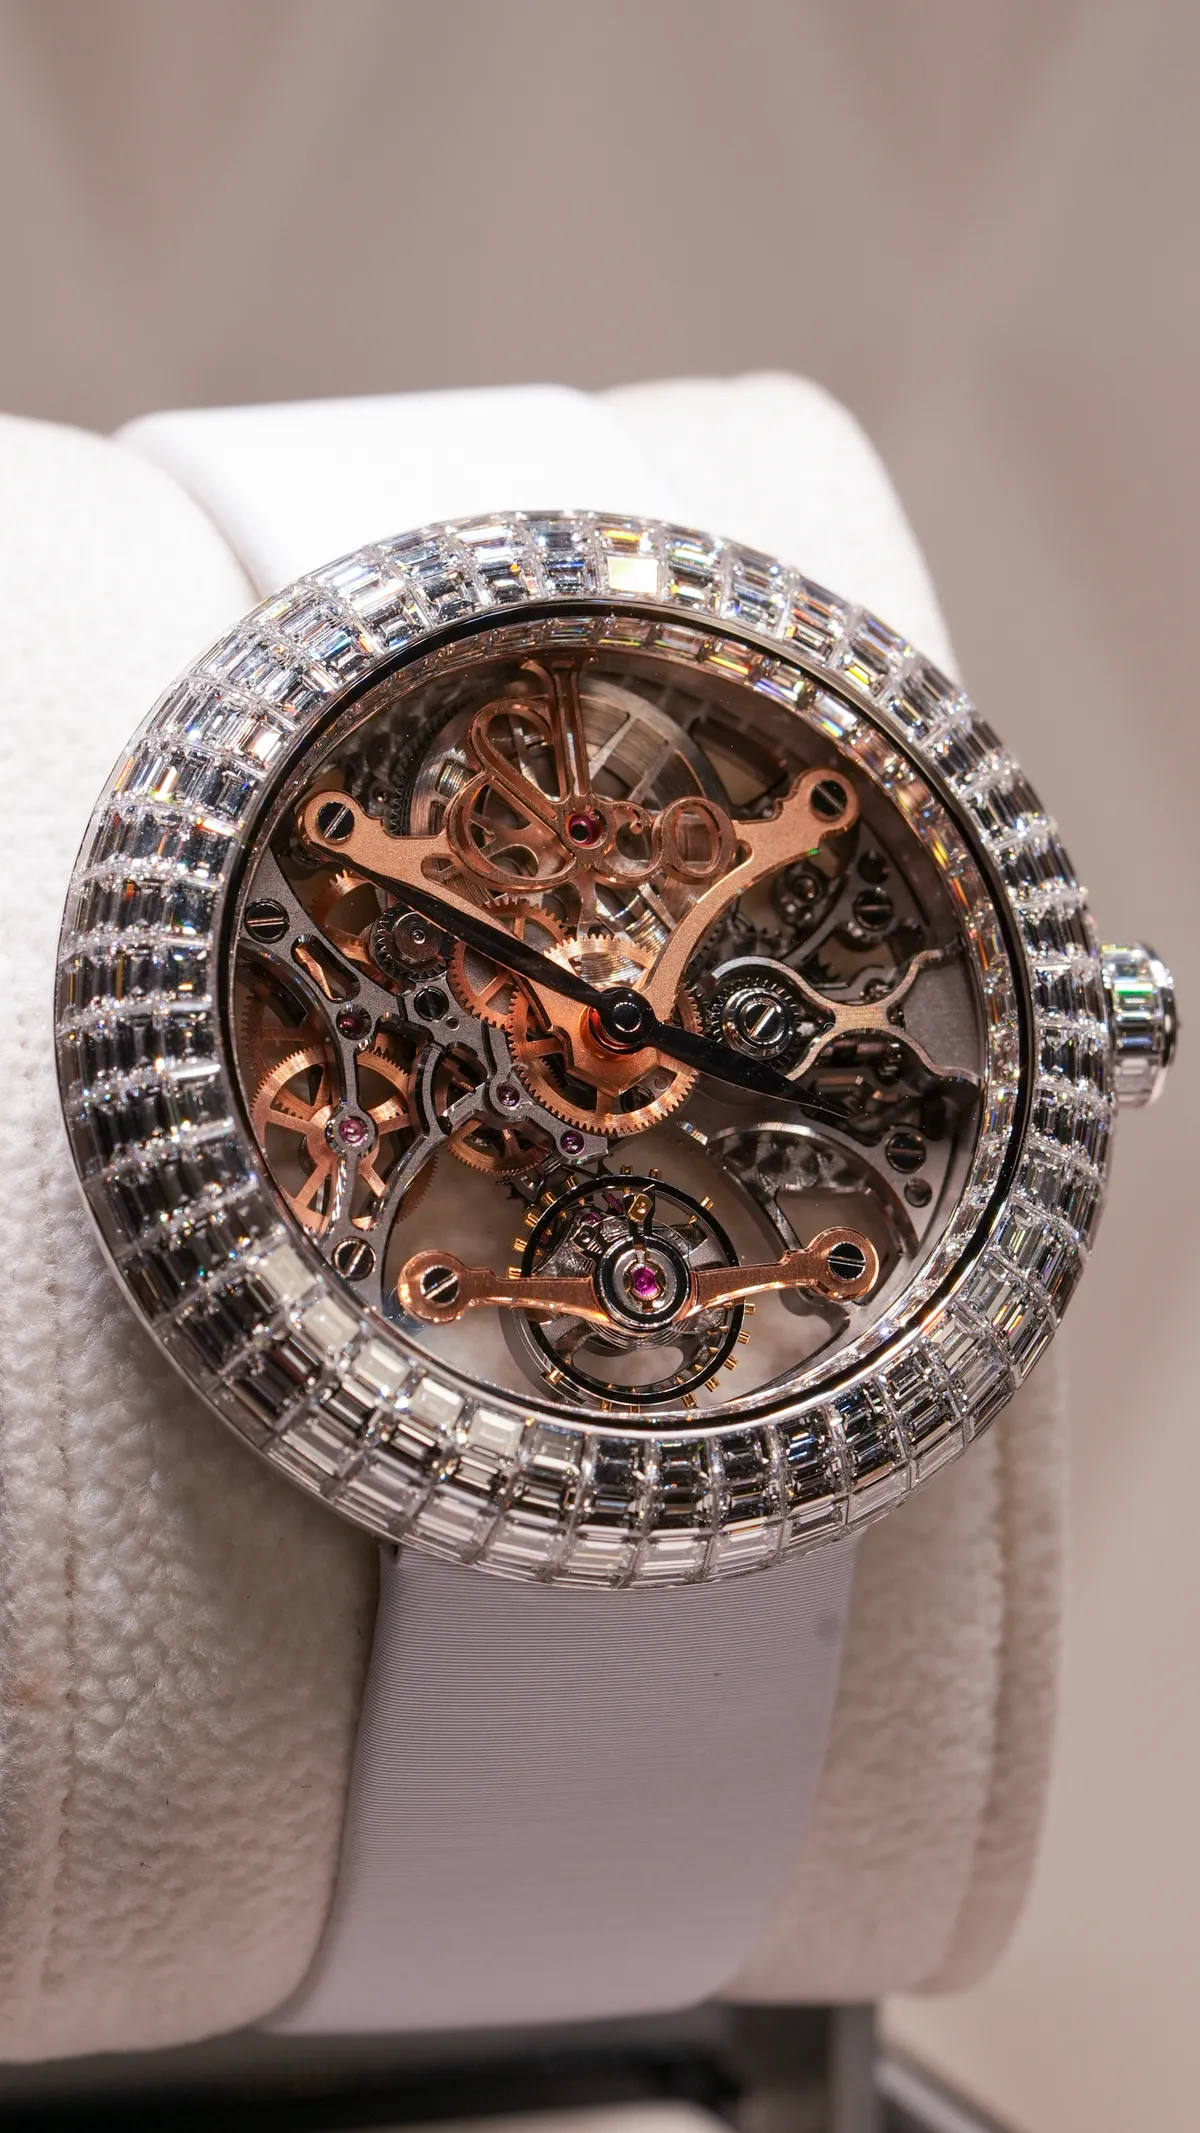
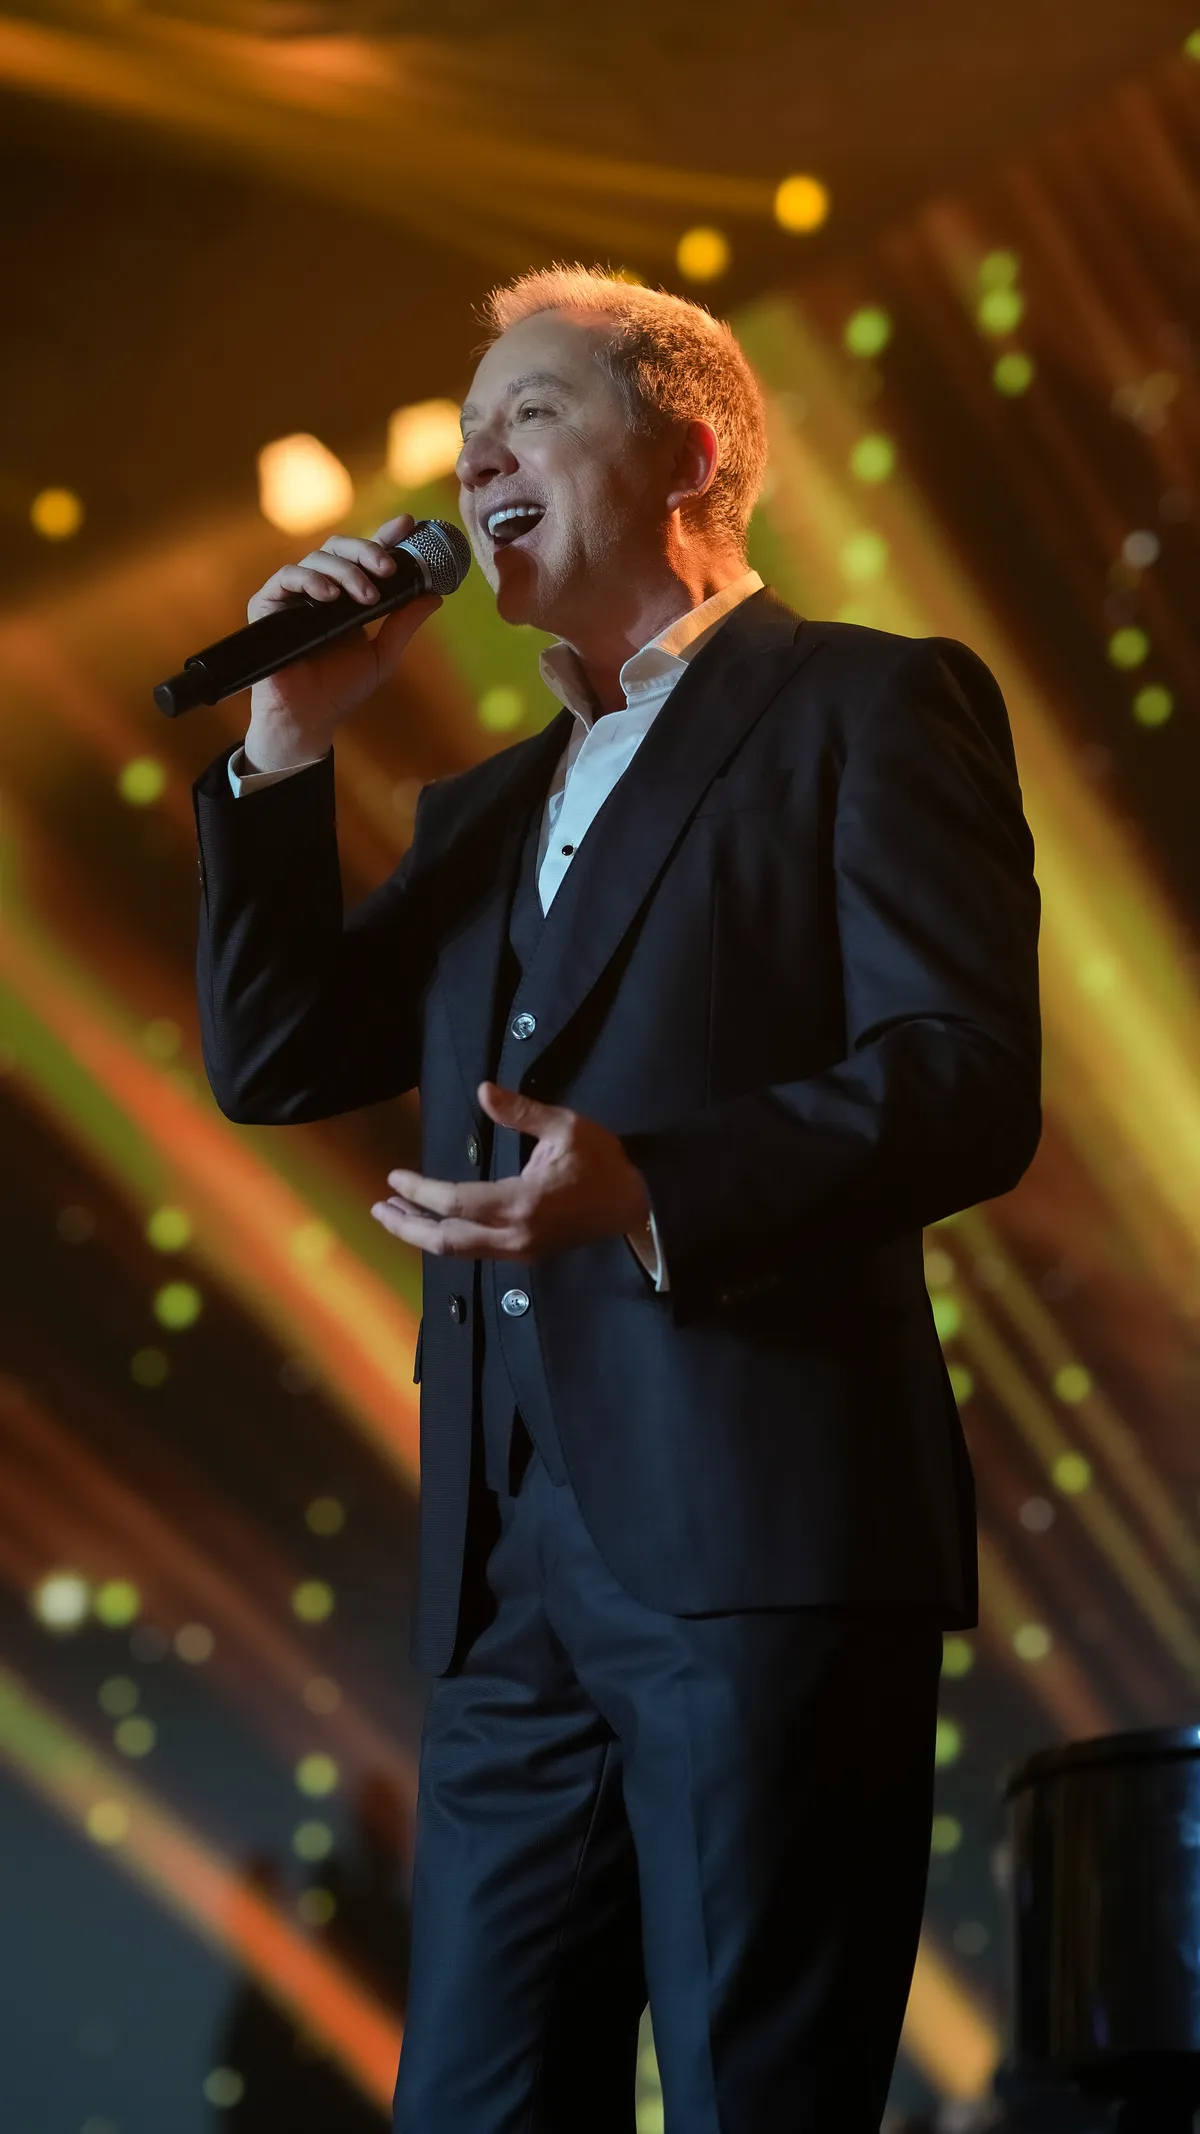
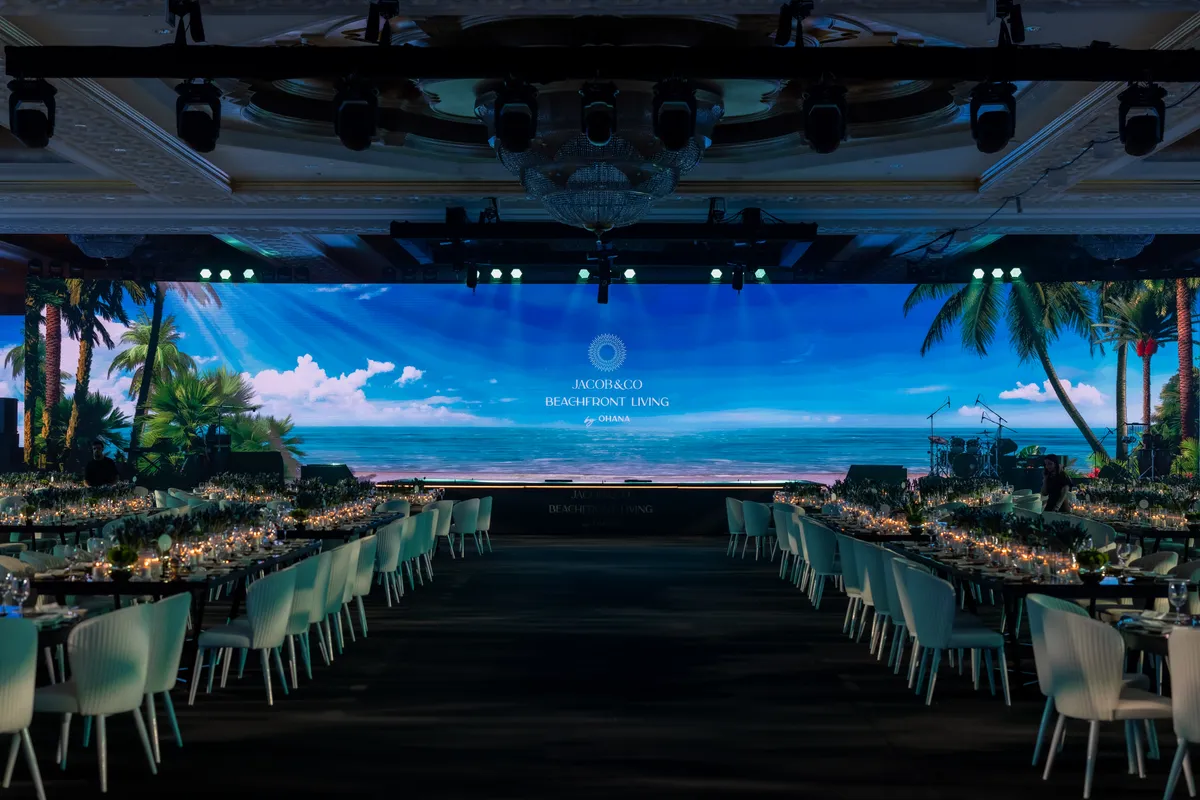
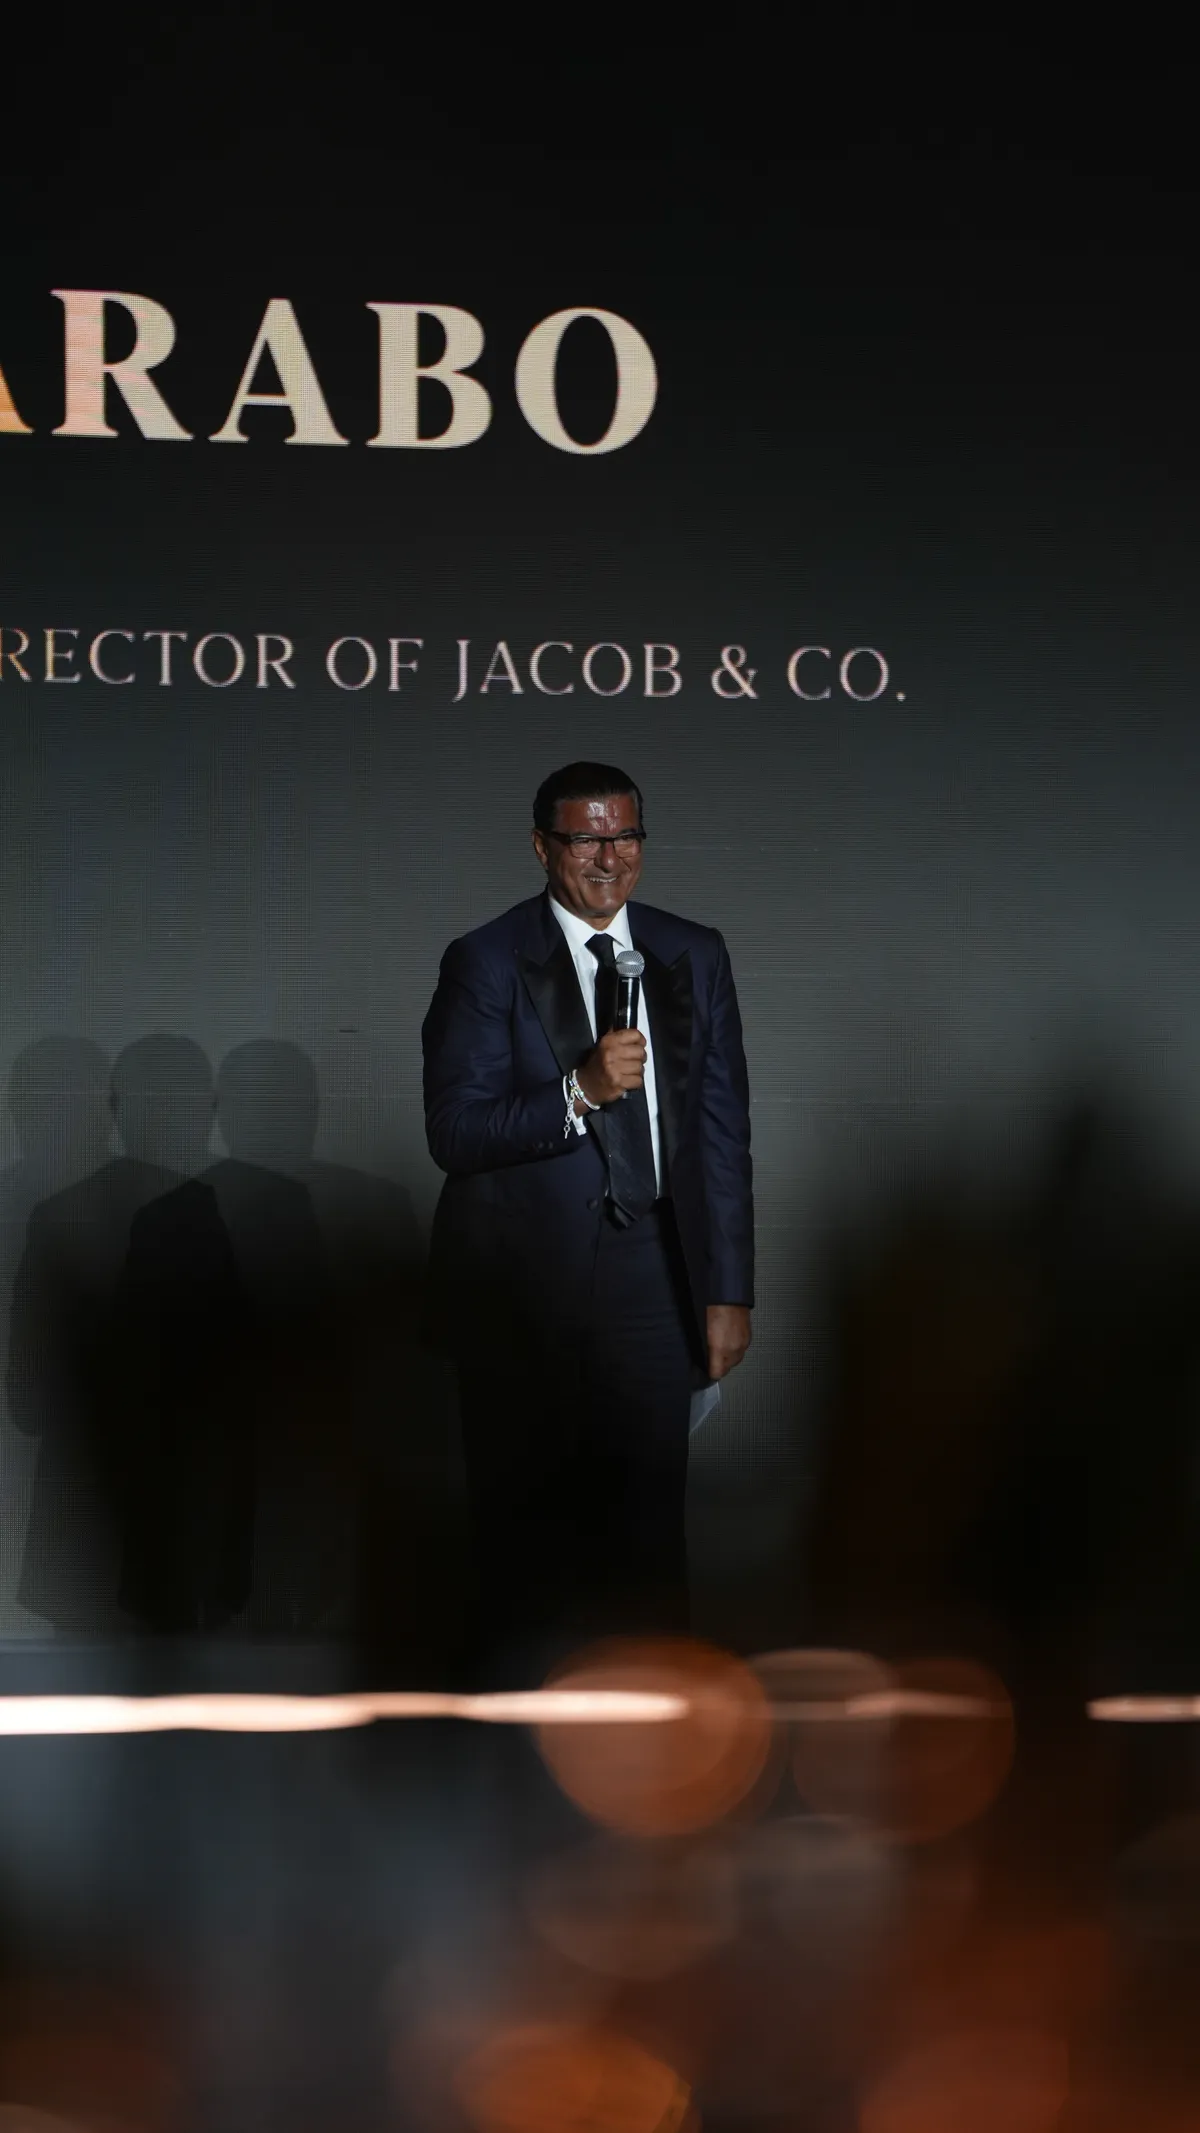
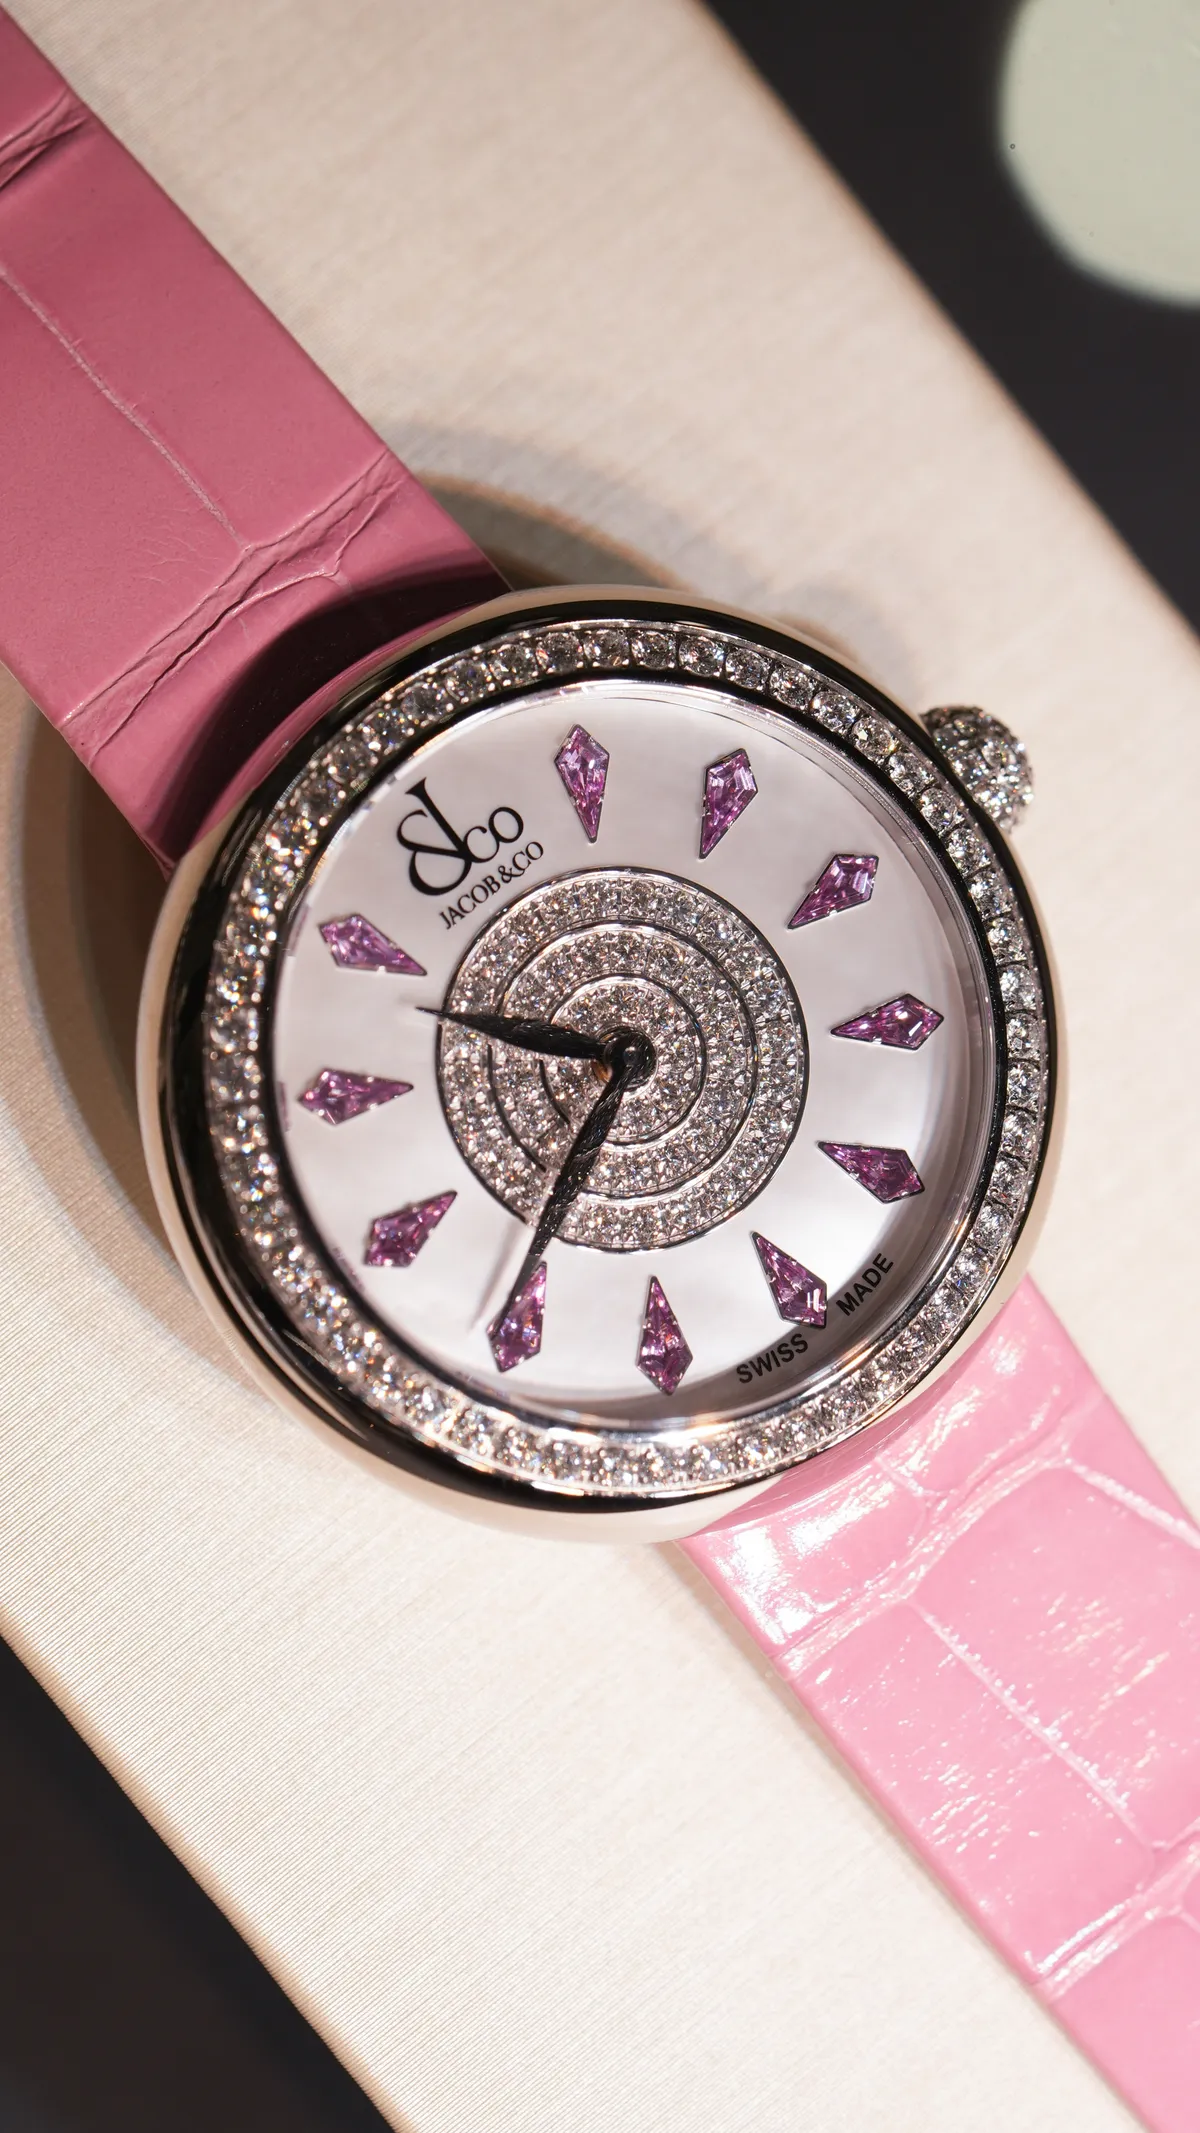
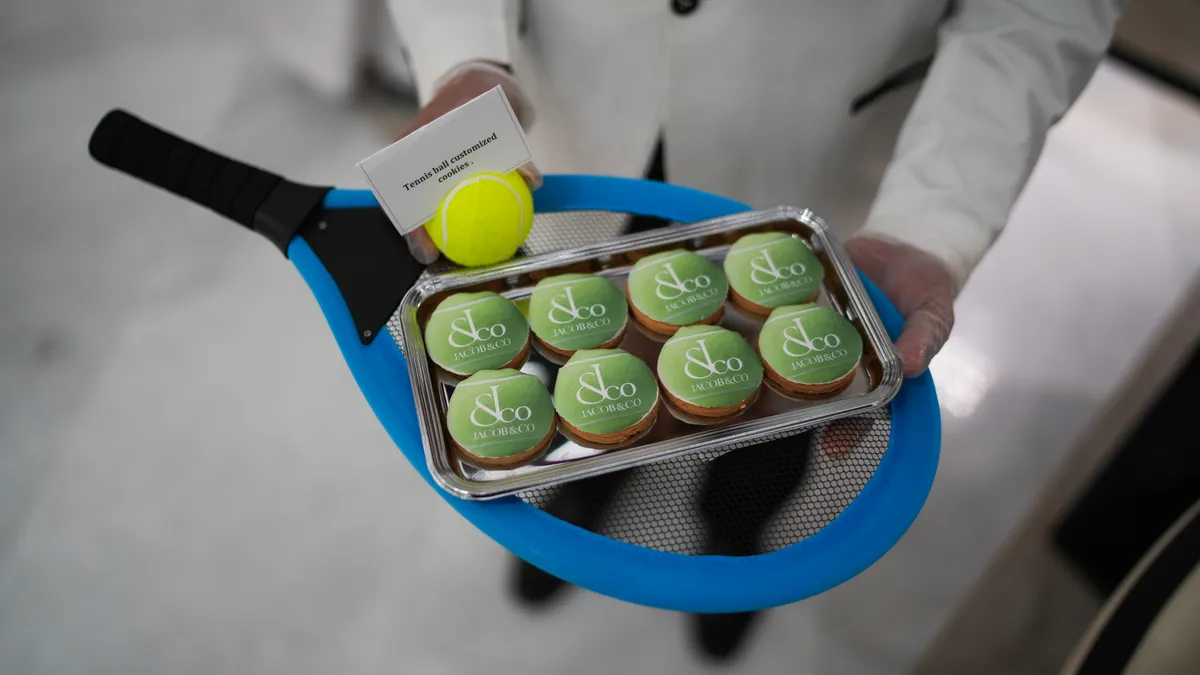
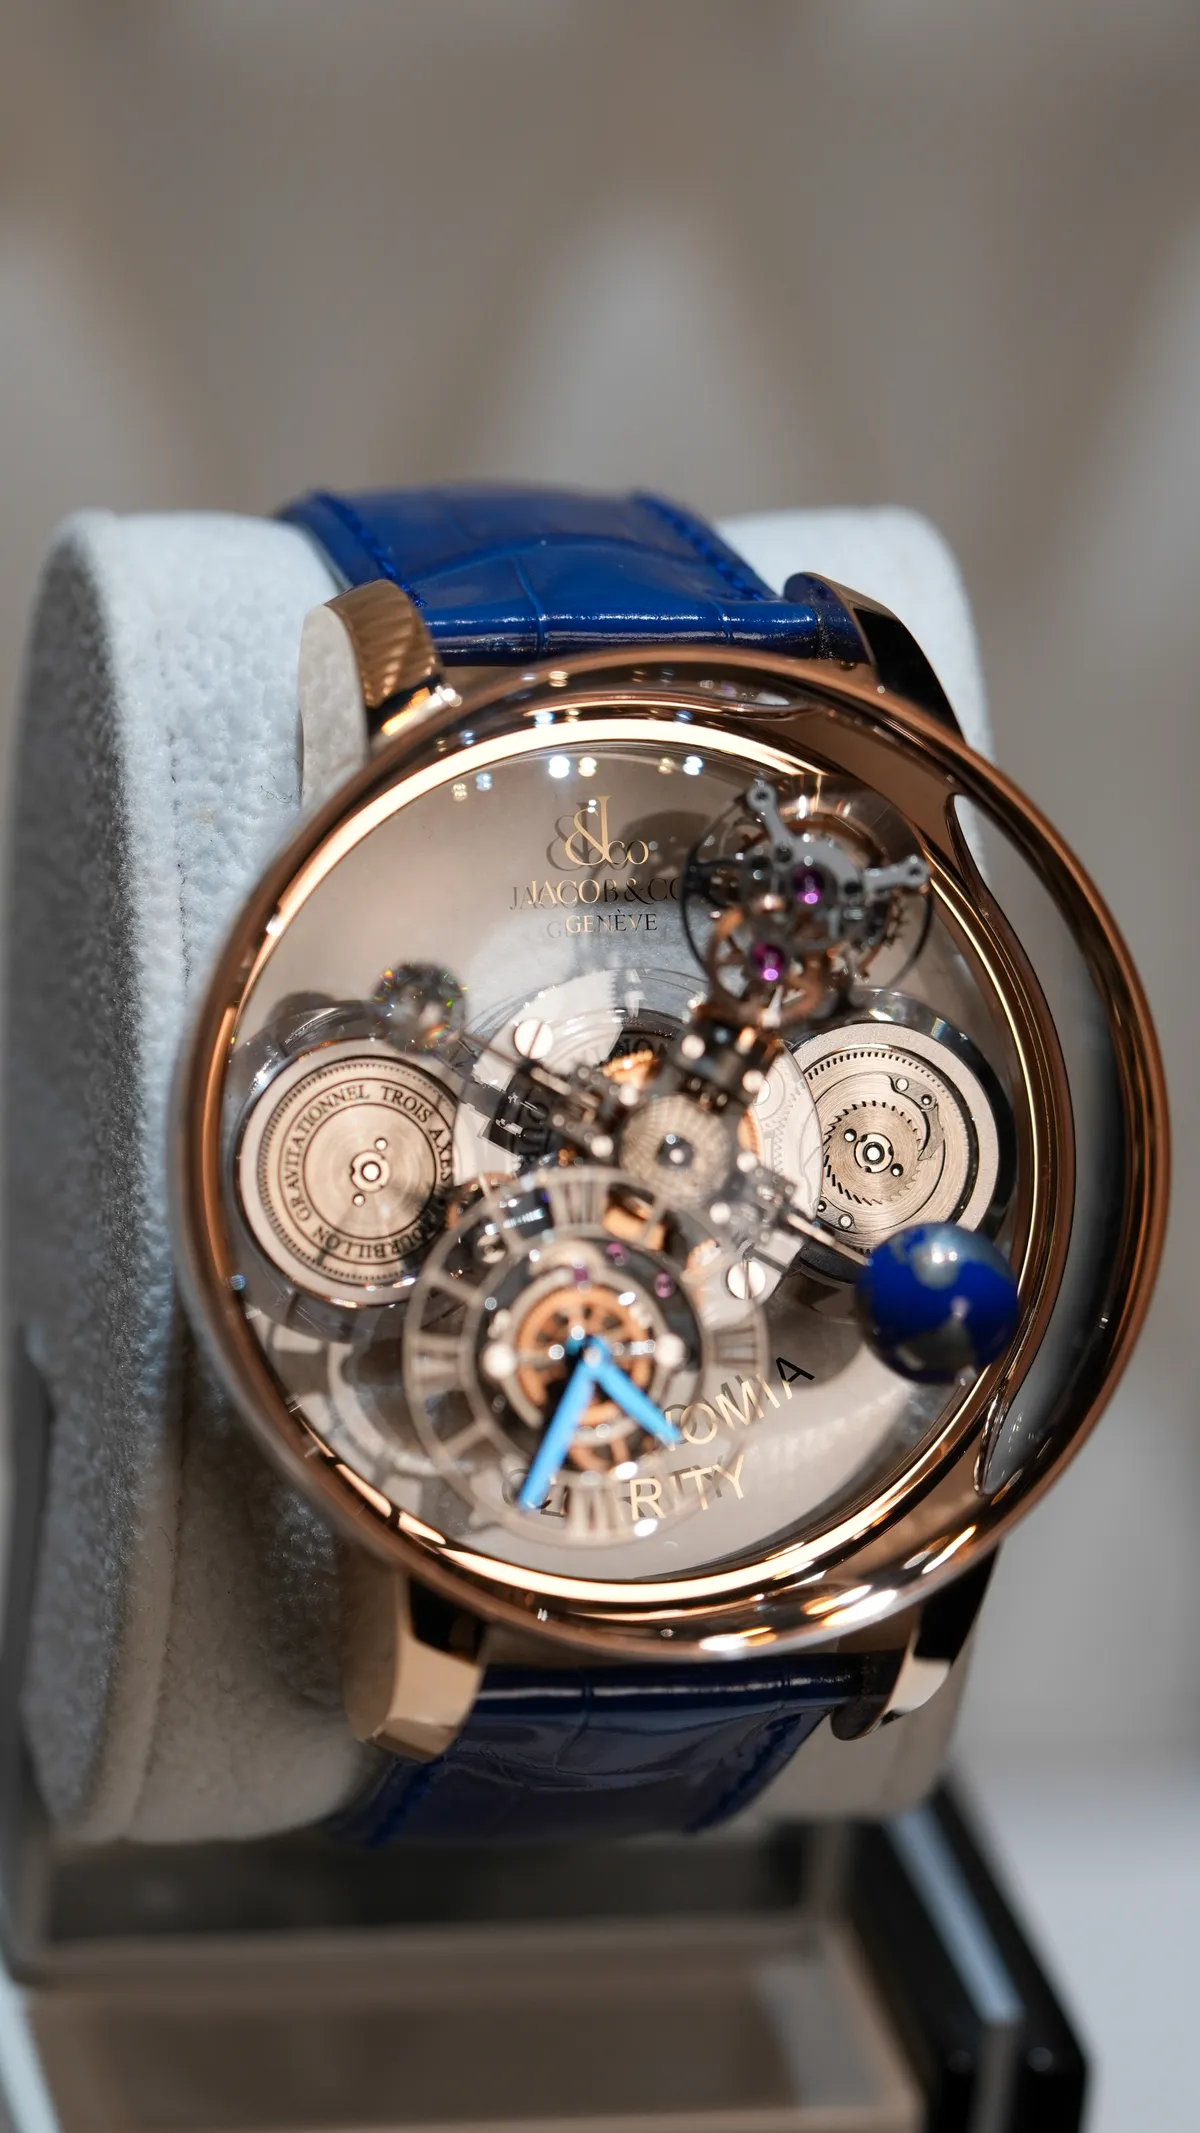
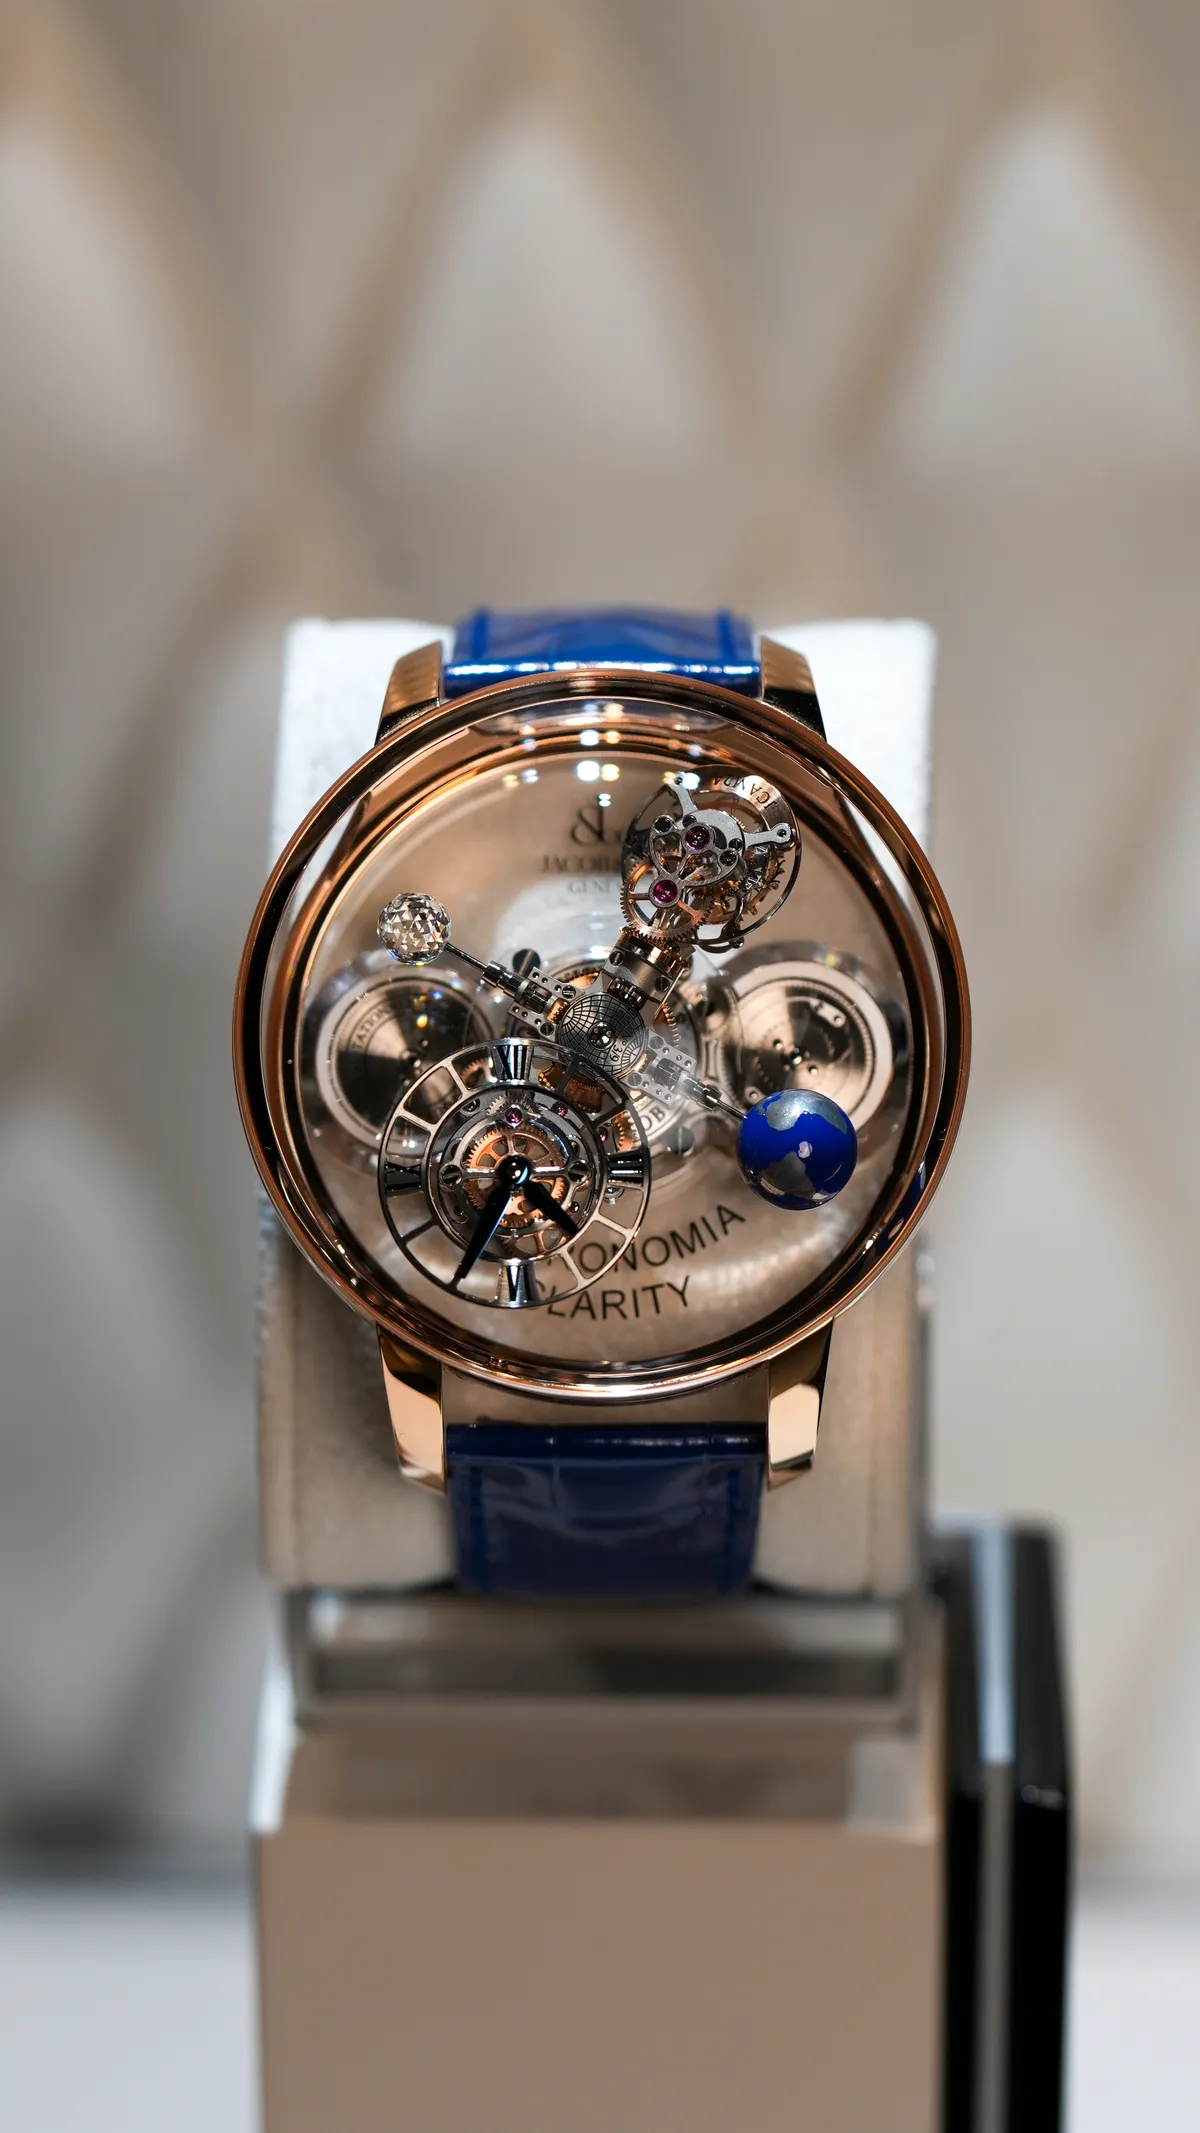
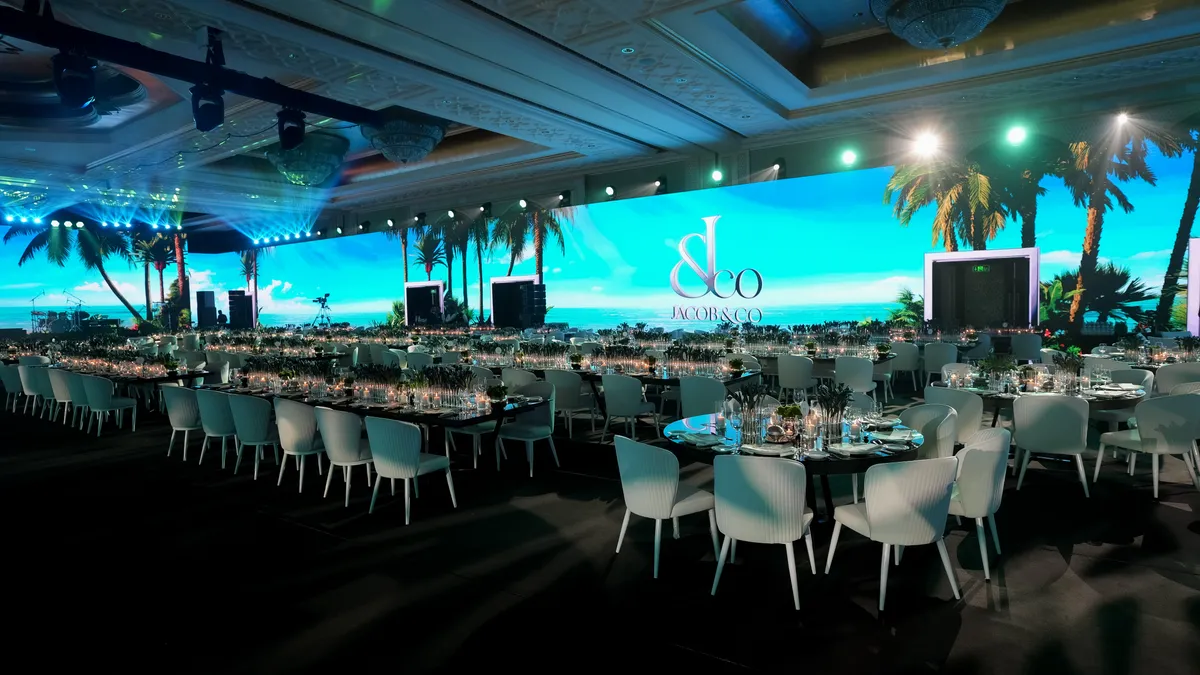
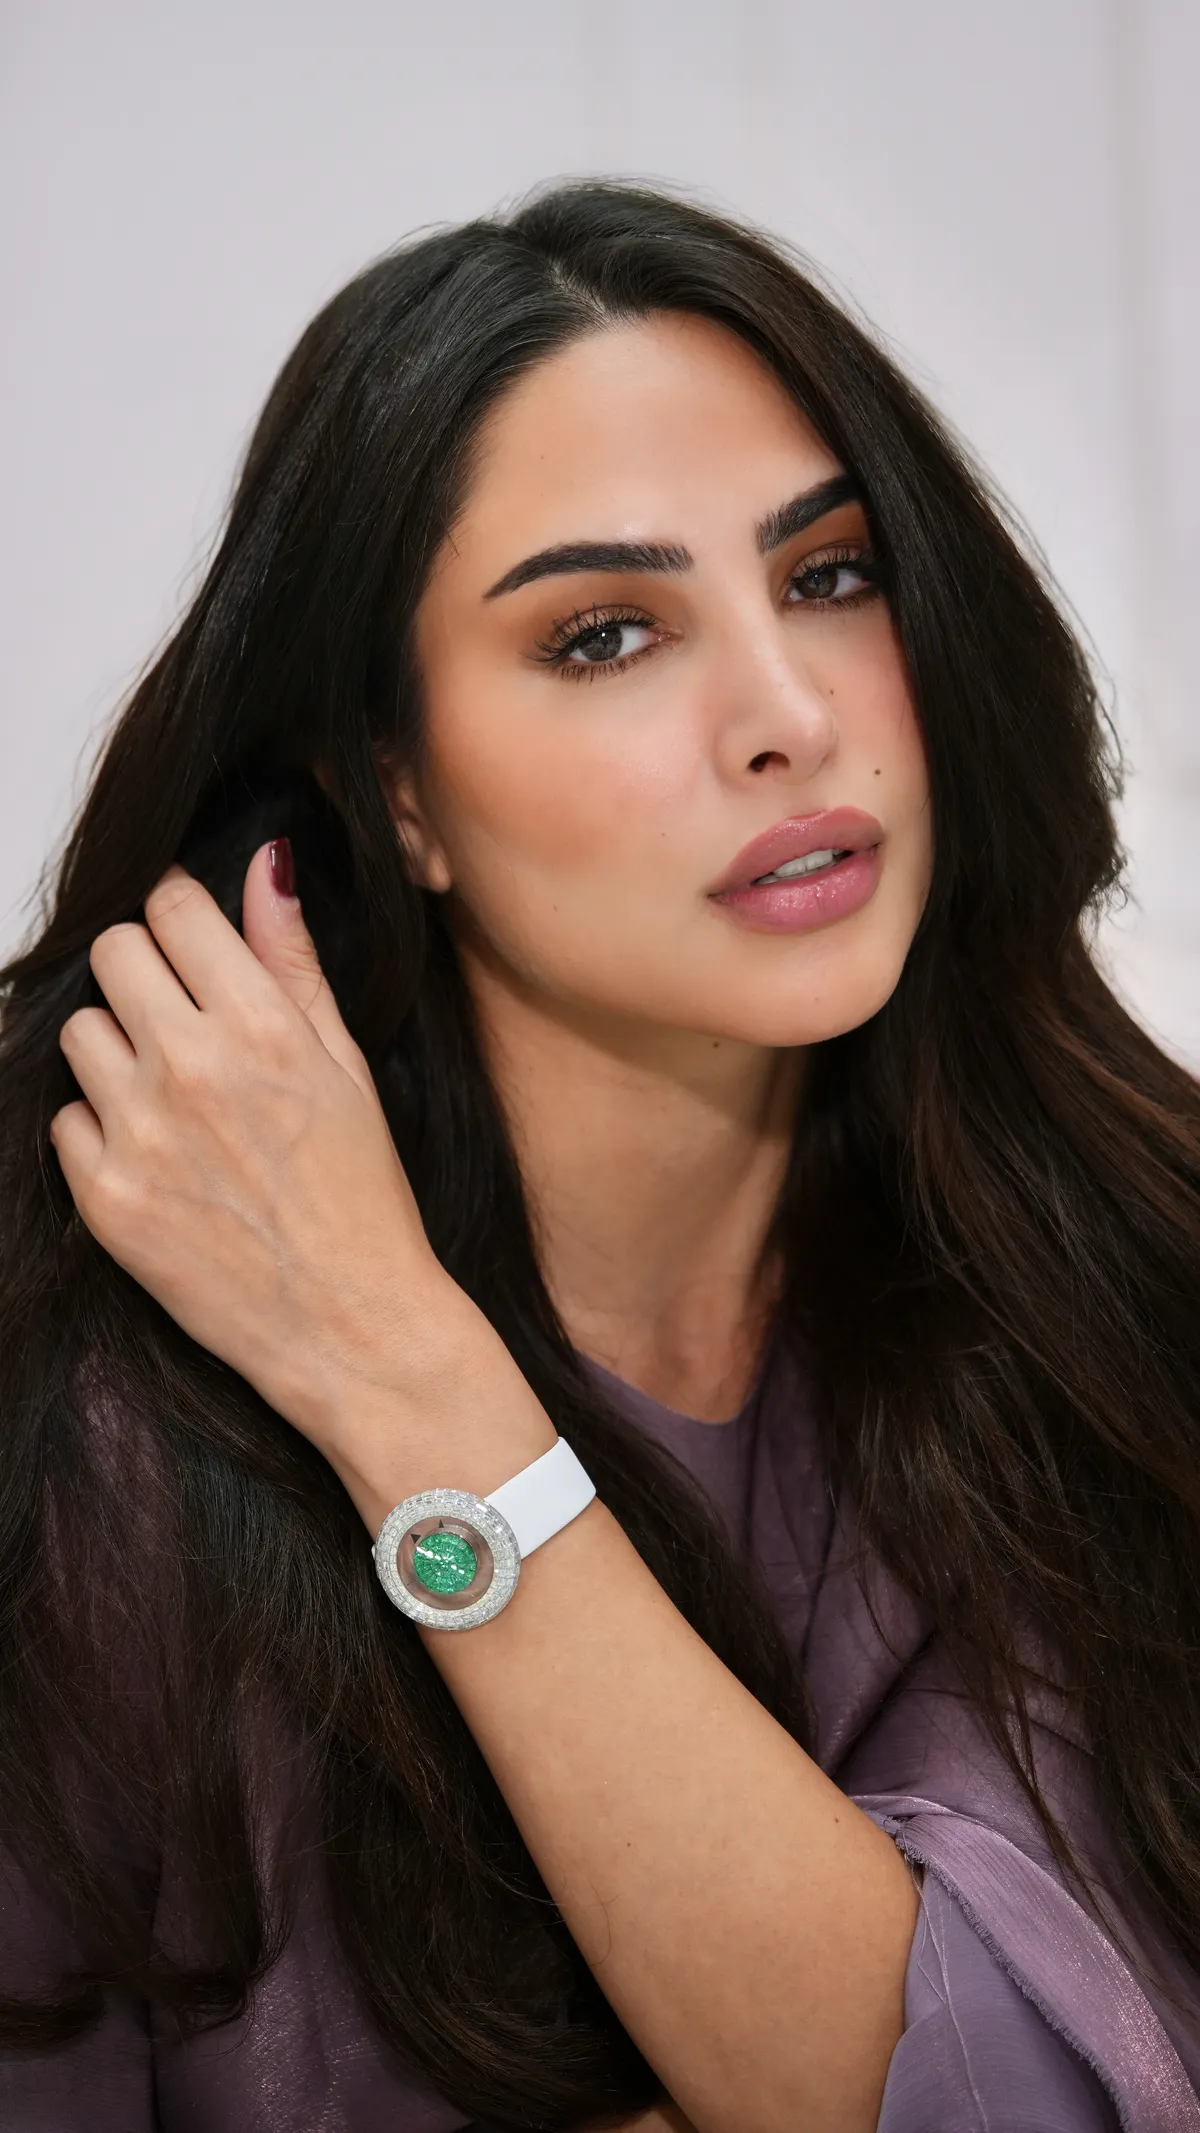
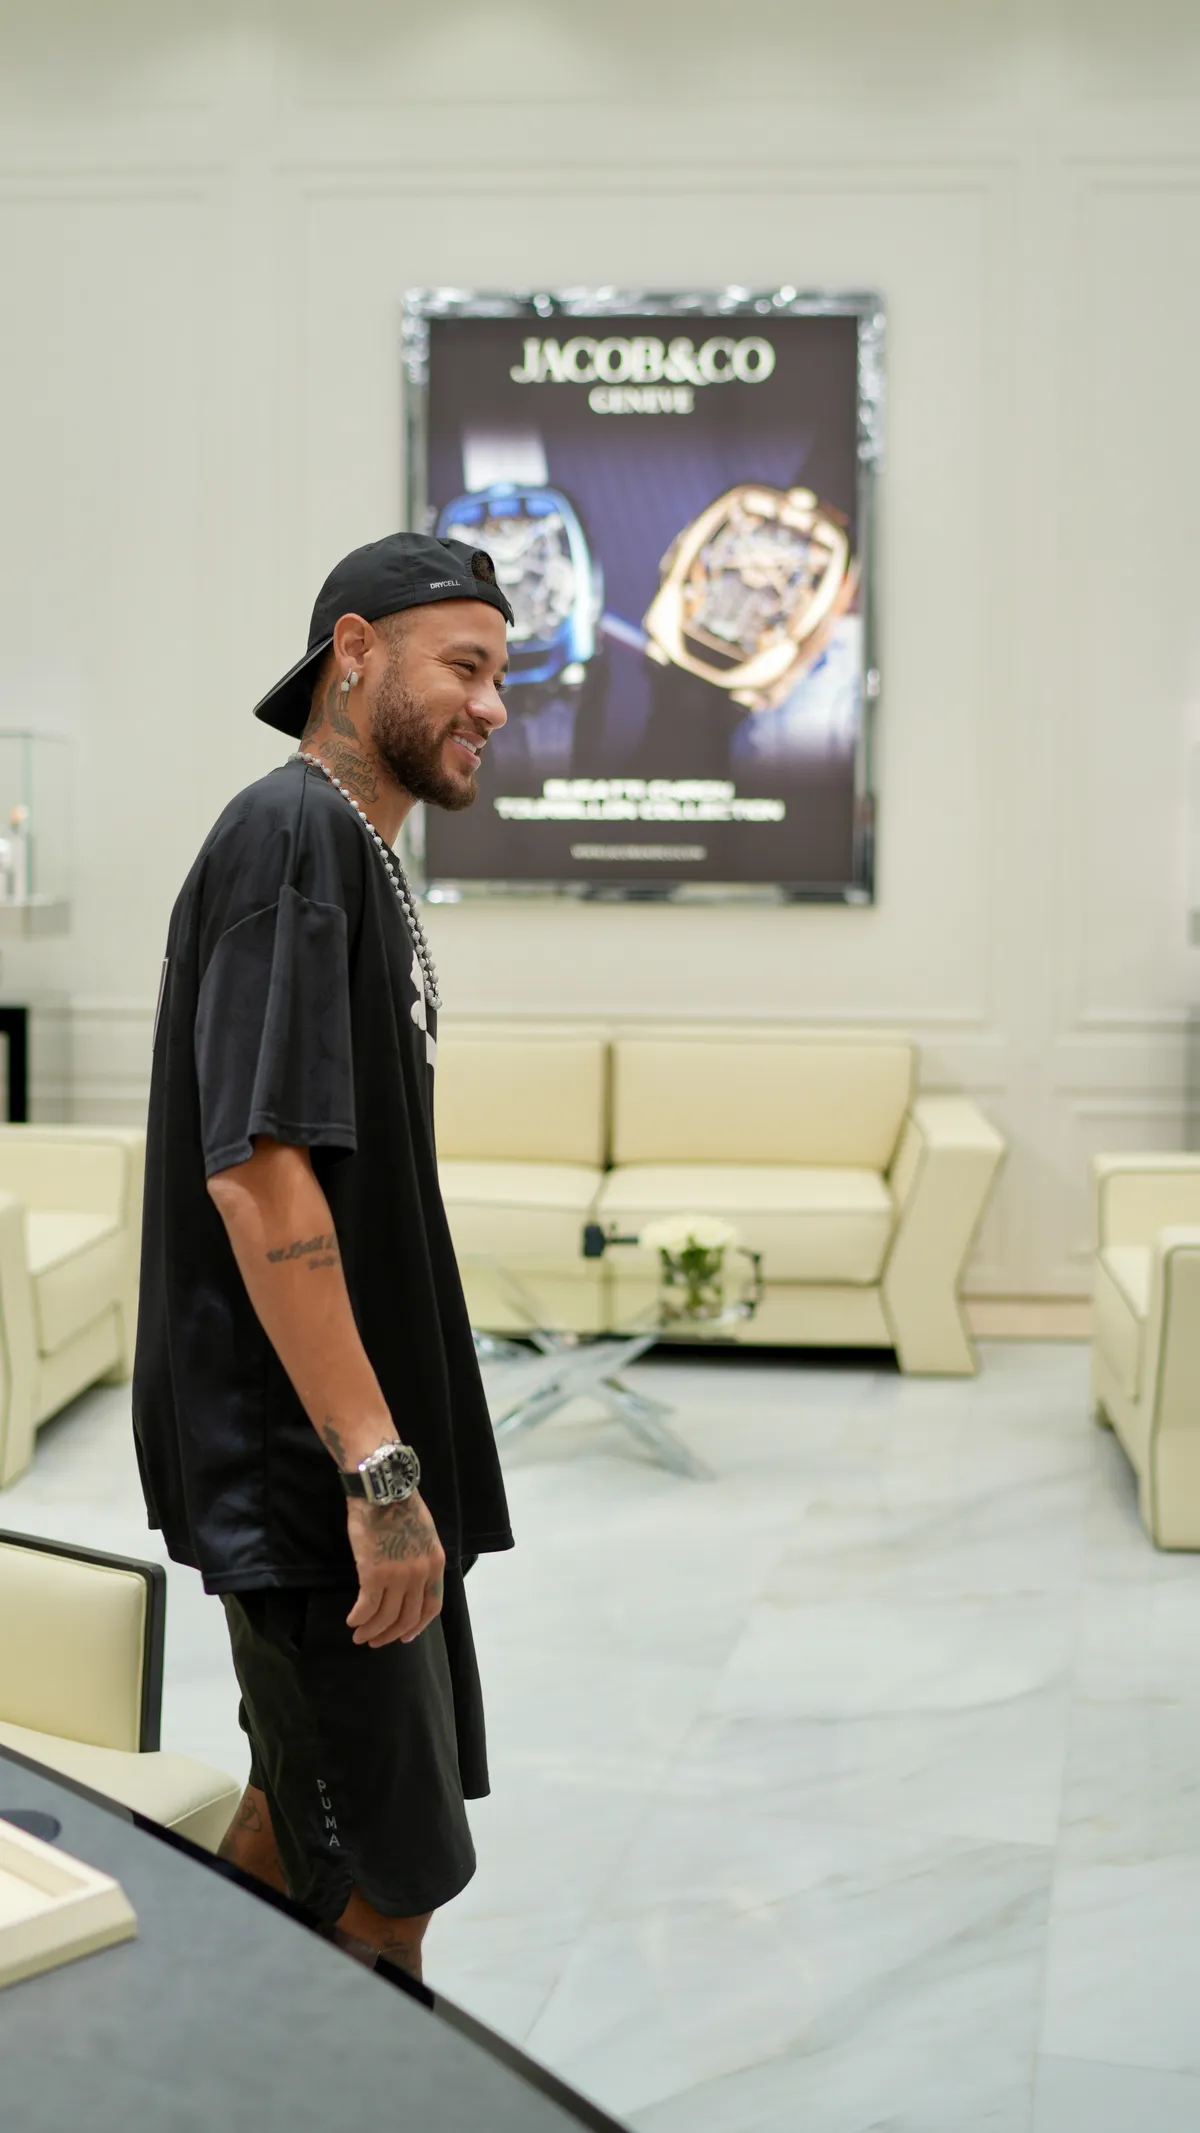
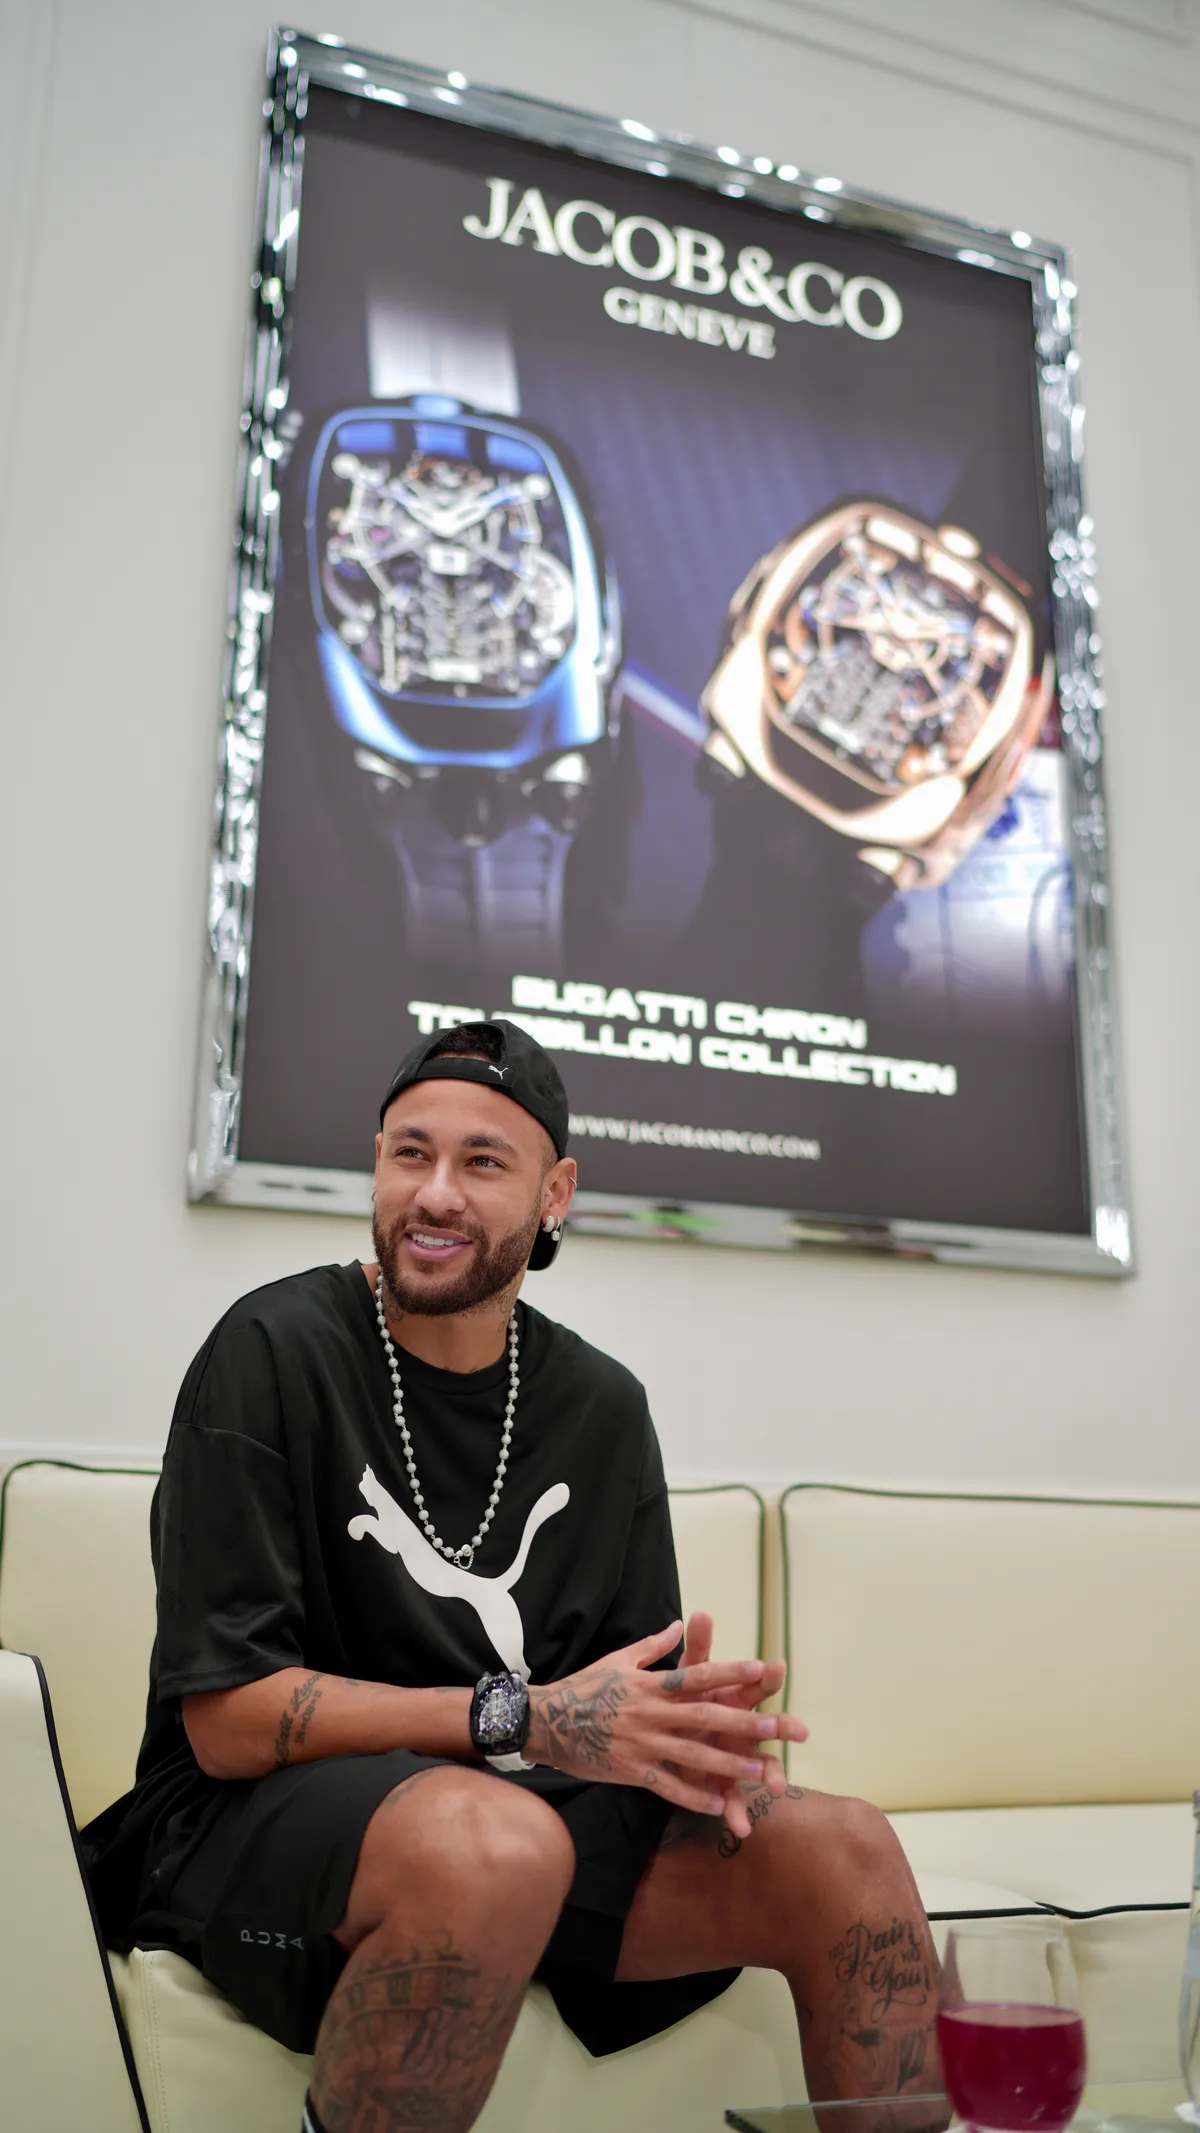
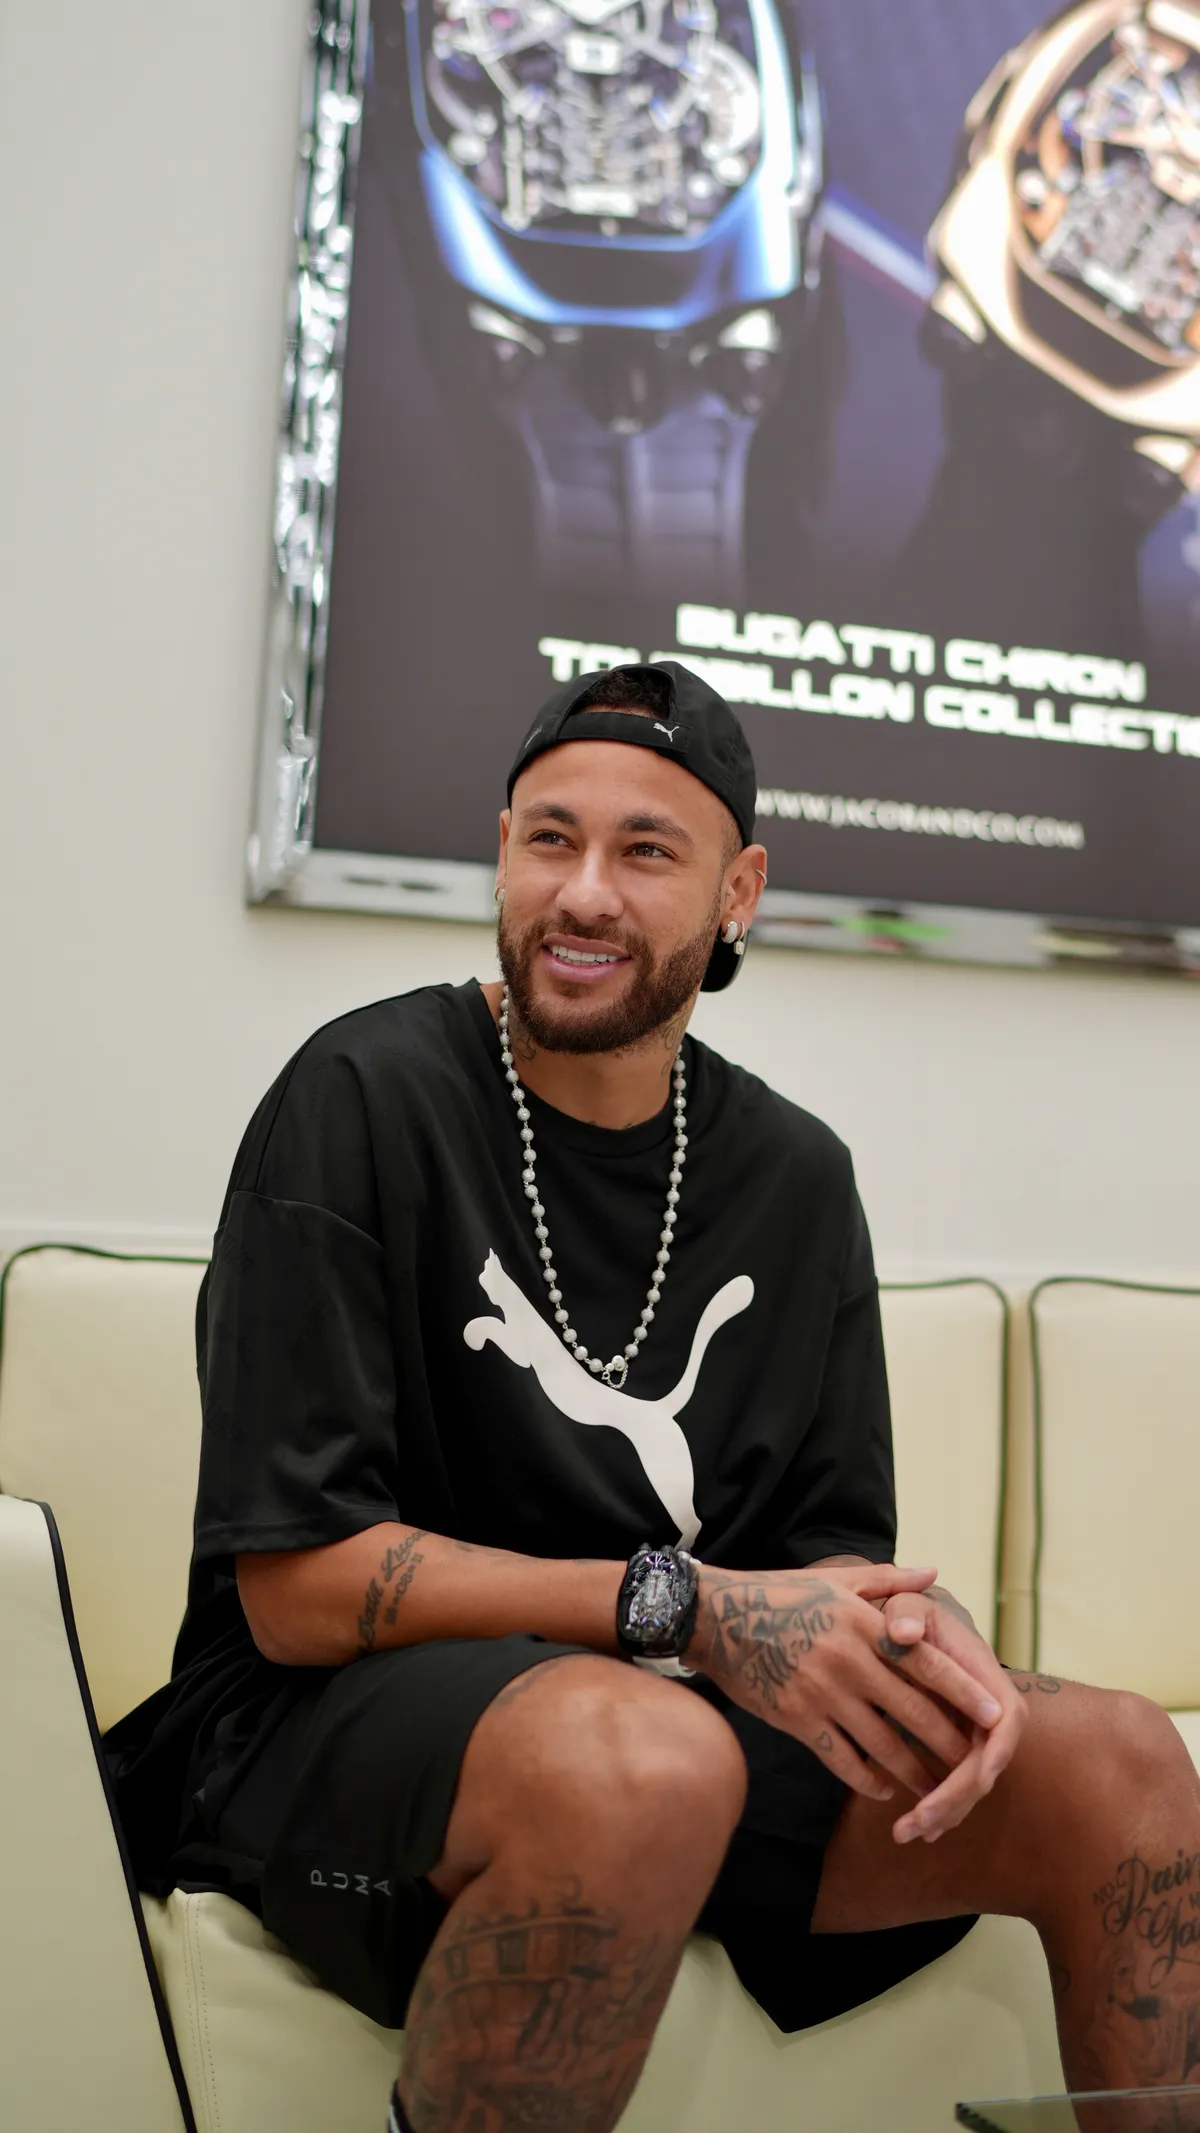
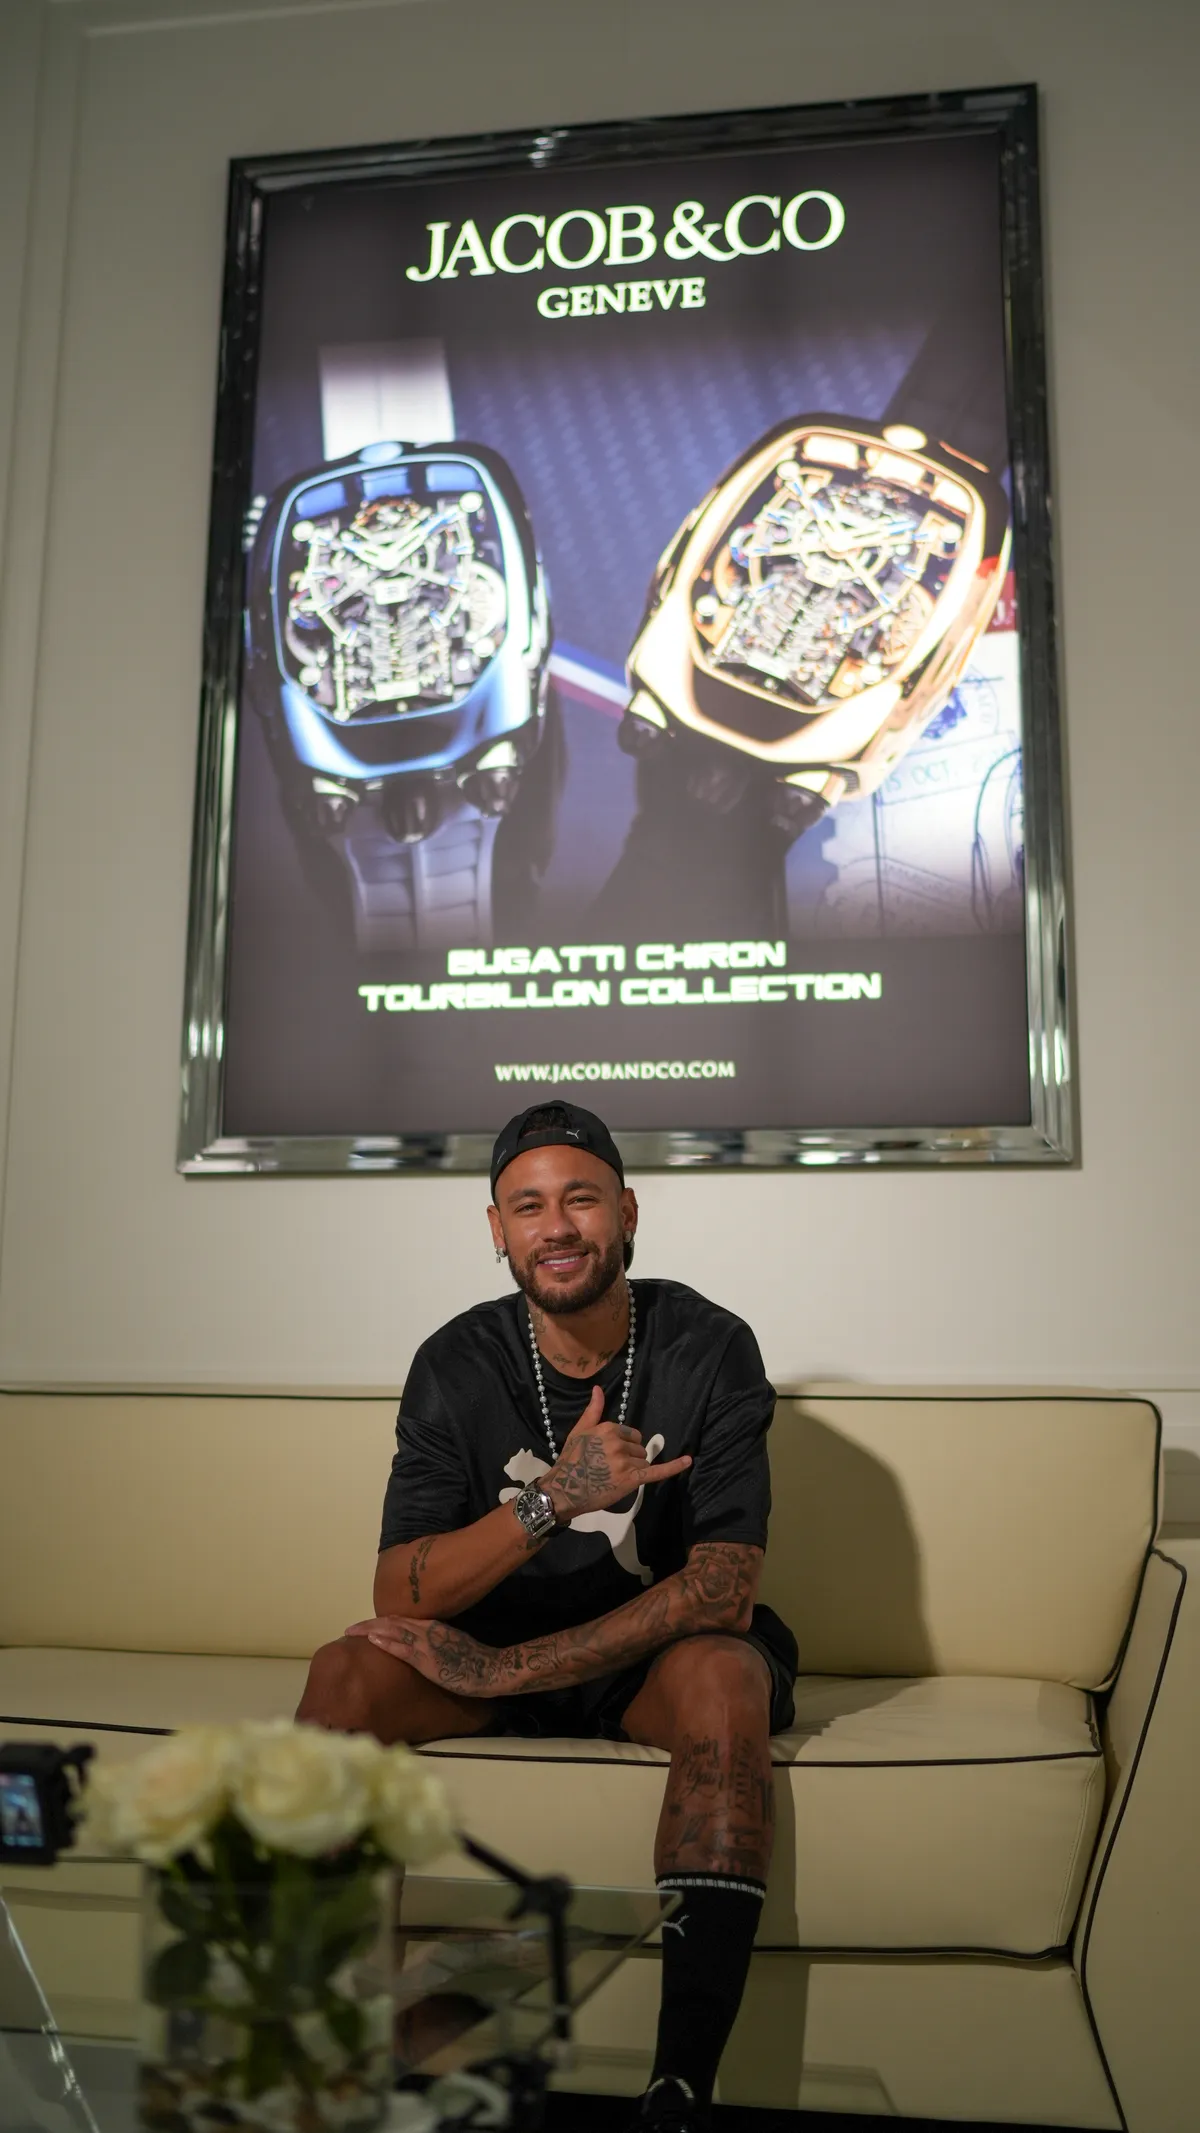
  • Jacob & Co, photographed by DawwasEye Studios
  • Wedding photograph by DawwasEye Studios
  • Wedding photograph by DawwasEye Studios
  • Jacob & Co, photographed by DawwasEye Studios
  • Wedding photograph by DawwasEye Studios
  • Wedding photograph by DawwasEye Studios
  • Wedding photograph by DawwasEye Studios
  • Wedding photograph by DawwasEye Studios
  • Wedding photograph by DawwasEye Studios
  • Wedding photograph by DawwasEye Studios
  • Wedding photograph by DawwasEye Studios
  • Wedding photograph by DawwasEye Studios
  • Wedding photograph by DawwasEye Studios
  • Wedding photograph by DawwasEye Studios
  • Wedding photograph by DawwasEye Studios
  • Wedding photograph by DawwasEye Studios
  • Wedding photograph by DawwasEye Studios
  • Wedding photograph by DawwasEye Studios
  • Wedding photograph by DawwasEye Studios
  • Wedding photograph by DawwasEye Studios
  • Wedding photograph by DawwasEye Studios
  • Wedding photograph by DawwasEye Studios
  • Wedding photograph by DawwasEye Studios
  • Wedding photograph by DawwasEye Studios
  • Wedding photograph by DawwasEye Studios
  • Wedding photograph by DawwasEye Studios
  • Wedding photograph by DawwasEye Studios
  • Wedding photograph by DawwasEye Studios
  • Wedding photograph by DawwasEye Studios
  • Wedding photograph by DawwasEye Studios
  • Wedding photograph by DawwasEye Studios
  • Wedding photograph by DawwasEye Studios
  • Wedding photograph by DawwasEye Studios
  • Wedding photograph by DawwasEye Studios
  • Wedding photograph by DawwasEye Studios
  • Wedding photograph by DawwasEye Studios
  • Wedding photograph by DawwasEye Studios
  • Wedding photograph by DawwasEye Studios
  • Wedding photograph by DawwasEye Studios
  • Wedding photograph by DawwasEye Studios
  • Qiddiya, photographed by DawwasEye Studios
  • Wedding photograph by DawwasEye Studios
  • Wedding photograph by DawwasEye Studios
  • Wedding photograph by DawwasEye Studios
  • Wedding photograph by DawwasEye Studios
  • Wedding photograph by DawwasEye Studios
  • Wedding photograph by DawwasEye Studios
  • Wedding photograph by DawwasEye Studios
  • Wedding photograph by DawwasEye Studios
  • Wedding photograph by DawwasEye Studios
  • Wedding photograph by DawwasEye Studios
  • Wedding photograph by DawwasEye Studios
  • Wedding photograph by DawwasEye Studios
  • Wedding photograph by DawwasEye Studios
  • Wedding photograph by DawwasEye Studios
  • Wedding photograph by DawwasEye Studios
  • Wedding photograph by DawwasEye Studios
  • Wedding photograph by DawwasEye Studios
  • Wedding photograph by DawwasEye Studios
  • Wedding photograph by DawwasEye Studios
  • Wedding photograph by DawwasEye Studios
  • Wedding photograph by DawwasEye Studios
  • Wedding photograph by DawwasEye Studios
  • Wedding photograph by DawwasEye Studios
  • Wedding photograph by DawwasEye Studios
  • Wedding photograph by DawwasEye Studios
  • Wedding photograph by DawwasEye Studios
  • Wedding photograph by DawwasEye Studios
  • Wedding photograph by DawwasEye Studios
  • Wedding photograph by DawwasEye Studios
  • Wedding photograph by DawwasEye Studios
  • Wedding photograph by DawwasEye Studios
  • Wedding photograph by DawwasEye Studios
  • Wedding photograph by DawwasEye Studios
  • Wedding photograph by DawwasEye Studios
  • Wedding photograph by DawwasEye Studios
  • Wedding photograph by DawwasEye Studios
  • Wedding photograph by DawwasEye Studios
  • Wedding photograph by DawwasEye Studios
  • Wedding photograph by DawwasEye Studios
  • Wedding photograph by DawwasEye Studios
  • Wedding photograph by DawwasEye Studios
  • Wedding photograph by DawwasEye Studios
  • Wedding photograph by DawwasEye Studios
  • Wedding photograph by DawwasEye Studios
  • Wedding photograph by DawwasEye Studios
  • Wedding photograph by DawwasEye Studios
  • Wedding photograph by DawwasEye Studios
  • Wedding photograph by DawwasEye Studios
  • Wedding photograph by DawwasEye Studios
  • Wedding photograph by DawwasEye Studios
  • Wedding photograph by DawwasEye Studios
  • Riyadh Fashion Week, photographed by DawwasEye Studios
  • Wedding photograph by DawwasEye Studios
  • Wedding photograph by DawwasEye Studios
  • Wedding photograph by DawwasEye Studios
  • Wedding photograph by DawwasEye Studios
  • Wedding photograph by DawwasEye Studios
  • Wedding photograph by DawwasEye Studios
  • Wedding photograph by DawwasEye Studios
  • Wedding photograph by DawwasEye Studios
  • Wedding photograph by DawwasEye Studios
  • Wedding photograph by DawwasEye Studios
  • Wedding photograph by DawwasEye Studios
  • Wedding photograph by DawwasEye Studios
  • Wedding photograph by DawwasEye Studios
  • Wedding photograph by DawwasEye Studios
  • Wedding photograph by DawwasEye Studios
  • Wedding photograph by DawwasEye Studios
  • Wedding photograph by DawwasEye Studios
  • Wedding photograph by DawwasEye Studios
  • Wedding photograph by DawwasEye Studios
  • Wedding photograph by DawwasEye Studios
  • Wedding photograph by DawwasEye Studios
  • Riyadh Fashion Week, photographed by DawwasEye Studios
  • Wedding photograph by DawwasEye Studios
  • Wedding photograph by DawwasEye Studios
  • Wedding photograph by DawwasEye Studios
  • Wedding photograph by DawwasEye Studios
  • Wedding photograph by DawwasEye Studios
  • Wedding photograph by DawwasEye Studios
  • Wedding photograph by DawwasEye Studios
  • Wedding photograph by DawwasEye Studios
  • Wedding photograph by DawwasEye Studios
  • Wedding photograph by DawwasEye Studios
  • Wedding photograph by DawwasEye Studios
  • Wedding photograph by DawwasEye Studios
  • Wedding photograph by DawwasEye Studios
  • Wedding photograph by DawwasEye Studios
  • Wedding photograph by DawwasEye Studios
  • Wedding photograph by DawwasEye Studios
  • Wedding photograph by DawwasEye Studios
  • Wedding photograph by DawwasEye Studios
  • Wedding photograph by DawwasEye Studios
  • Wedding photograph by DawwasEye Studios
  • Wedding photograph by DawwasEye Studios
  • Wedding photograph by DawwasEye Studios
  • Wedding photograph by DawwasEye Studios
  • Wedding photograph by DawwasEye Studios
  • Wedding photograph by DawwasEye Studios
  • Wedding photograph by DawwasEye Studios
  • Wedding photograph by DawwasEye Studios
  • Wedding photograph by DawwasEye Studios
  • Wedding photograph by DawwasEye Studios
  • Wedding photograph by DawwasEye Studios
  • Qiddiya, photographed by DawwasEye Studios
  • Wedding photograph by DawwasEye Studios
  • Wedding photograph by DawwasEye Studios
  • Wedding photograph by DawwasEye Studios
  • Wedding photograph by DawwasEye Studios
  • Wedding photograph by DawwasEye Studios
  • Qiddiya, photographed by DawwasEye Studios
  • Wedding photograph by DawwasEye Studios
  • Wedding photograph by DawwasEye Studios
  • Wedding photograph by DawwasEye Studios
  • Wedding photograph by DawwasEye Studios
  • Wedding photograph by DawwasEye Studios
  • Wedding photograph by DawwasEye Studios
  • Wedding photograph by DawwasEye Studios
  • Wedding photograph by DawwasEye Studios
  • Wedding photograph by DawwasEye Studios
  • Wedding photograph by DawwasEye Studios
  • Wedding photograph by DawwasEye Studios
  • Wedding photograph by DawwasEye Studios
  • Wedding photograph by DawwasEye Studios
  • Wedding photograph by DawwasEye Studios
  • Wedding photograph by DawwasEye Studios
  • Wedding photograph by DawwasEye Studios
  • Wedding photograph by DawwasEye Studios
  • Wedding photograph by DawwasEye Studios
  • Wedding photograph by DawwasEye Studios
  • Wedding photograph by DawwasEye Studios
  • Wedding photograph by DawwasEye Studios
  • Wedding photograph by DawwasEye Studios
  • Wedding photograph by DawwasEye Studios
  • Wedding photograph by DawwasEye Studios
  • Wedding photograph by DawwasEye Studios
  • Wedding photograph by DawwasEye Studios
  • Wedding photograph by DawwasEye Studios
  • Wedding photograph by DawwasEye Studios
  • Wedding photograph by DawwasEye Studios
  • Wedding photograph by DawwasEye Studios
  • Wedding photograph by DawwasEye Studios
  • Wedding photograph by DawwasEye Studios
  • Wedding photograph by DawwasEye Studios
  • Wedding photograph by DawwasEye Studios
  • Wedding photograph by DawwasEye Studios
  • Wedding photograph by DawwasEye Studios
  • Wedding photograph by DawwasEye Studios
  • Wedding photograph by DawwasEye Studios
  • Wedding photograph by DawwasEye Studios
  • Wedding photograph by DawwasEye Studios
  • Wedding photograph by DawwasEye Studios
  • Wedding photograph by DawwasEye Studios
  • Wedding photograph by DawwasEye Studios
  • Wedding photograph by DawwasEye Studios
  • Wedding photograph by DawwasEye Studios
  • Wedding photograph by DawwasEye Studios
  • Wedding photograph by DawwasEye Studios
  • Wedding photograph by DawwasEye Studios
  • Wedding photograph by DawwasEye Studios
  • Wedding photograph by DawwasEye Studios
  • Wedding photograph by DawwasEye Studios
  • Wedding photograph by DawwasEye Studios
  • Wedding photograph by DawwasEye Studios
  • Wedding photograph by DawwasEye Studios
  • Wedding photograph by DawwasEye Studios
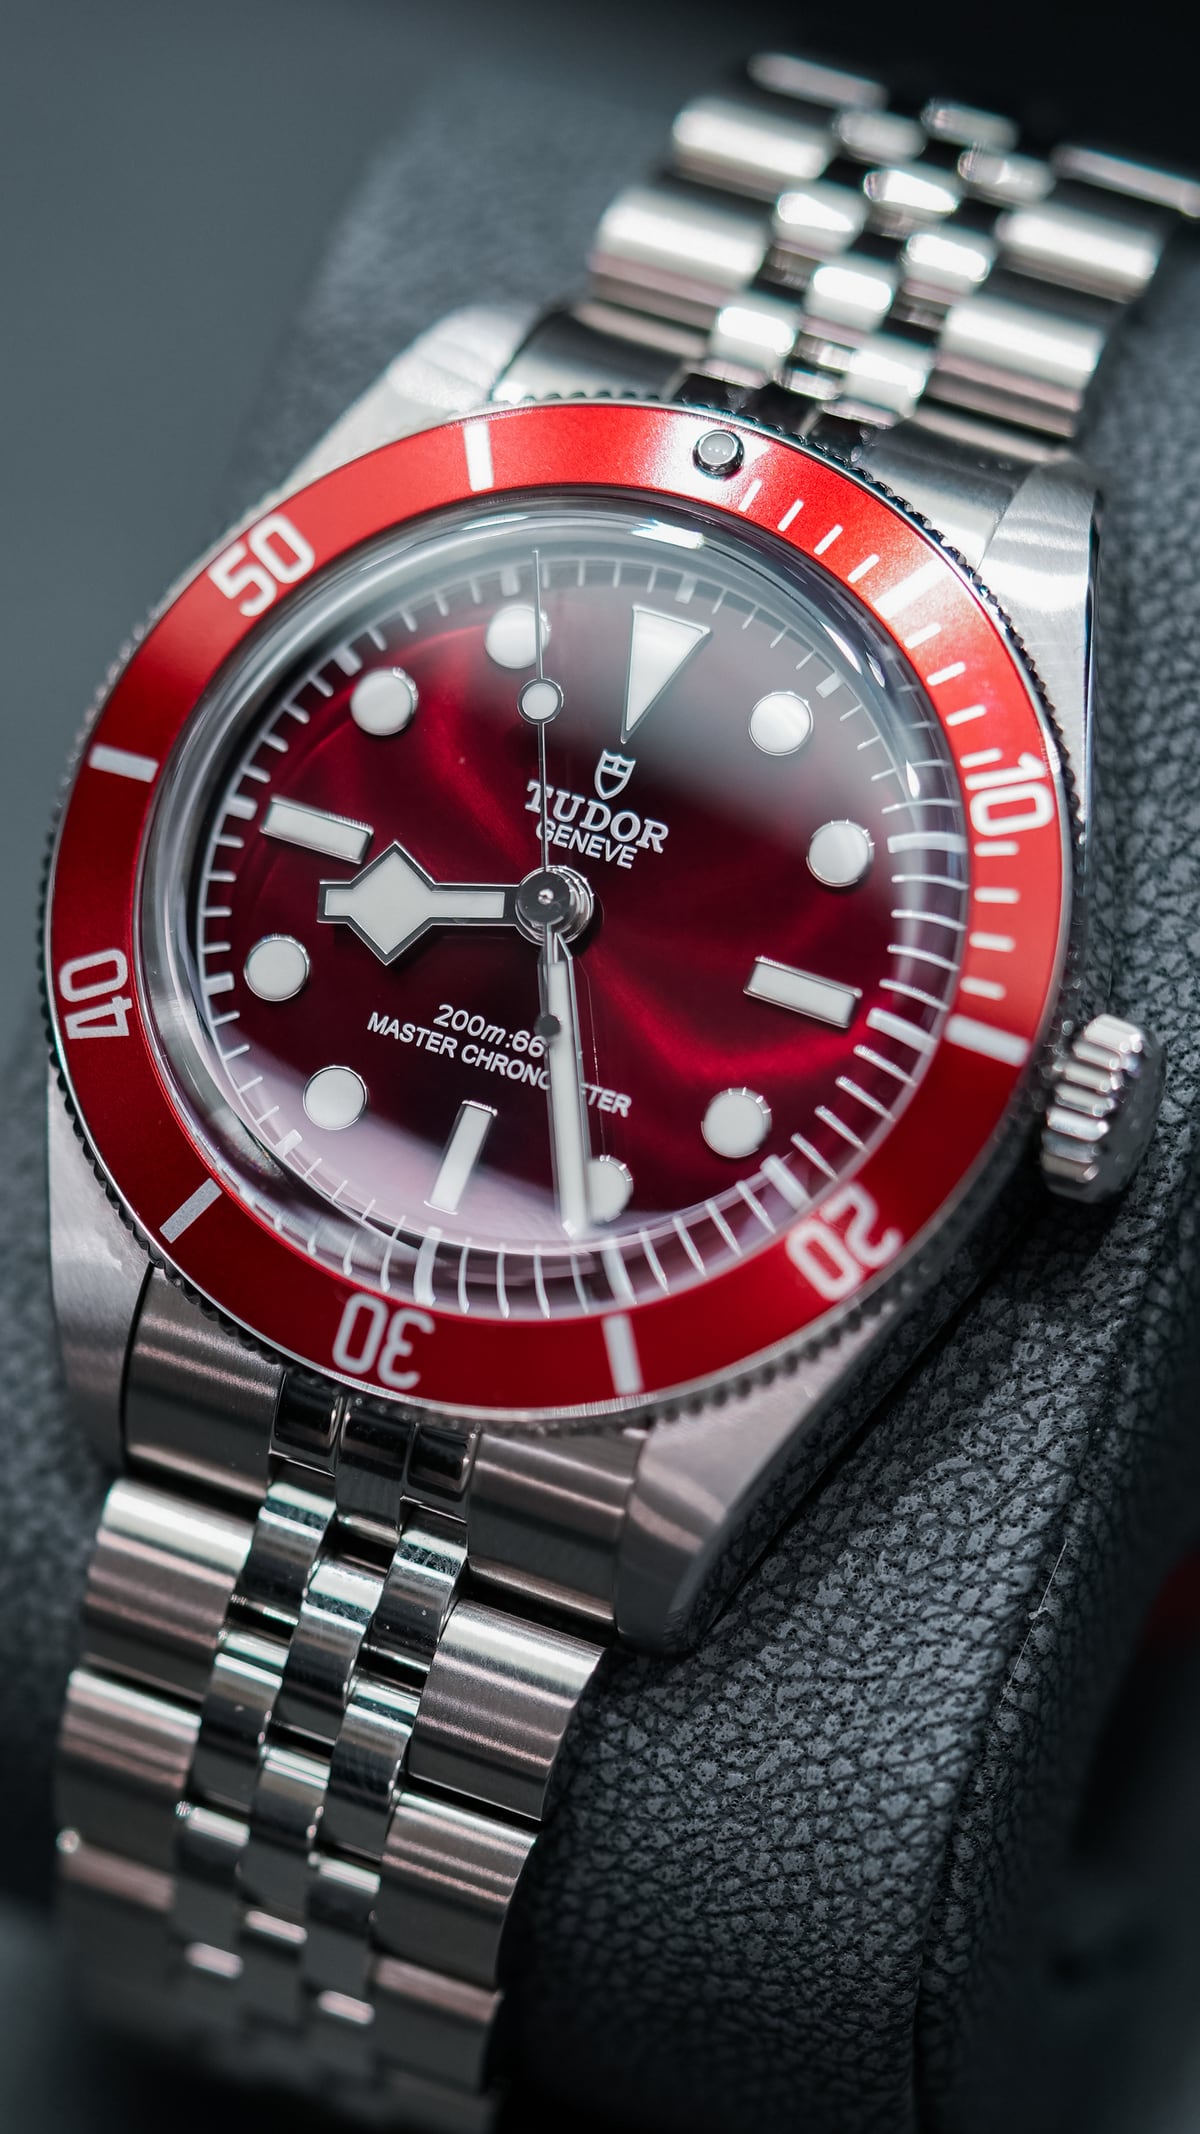
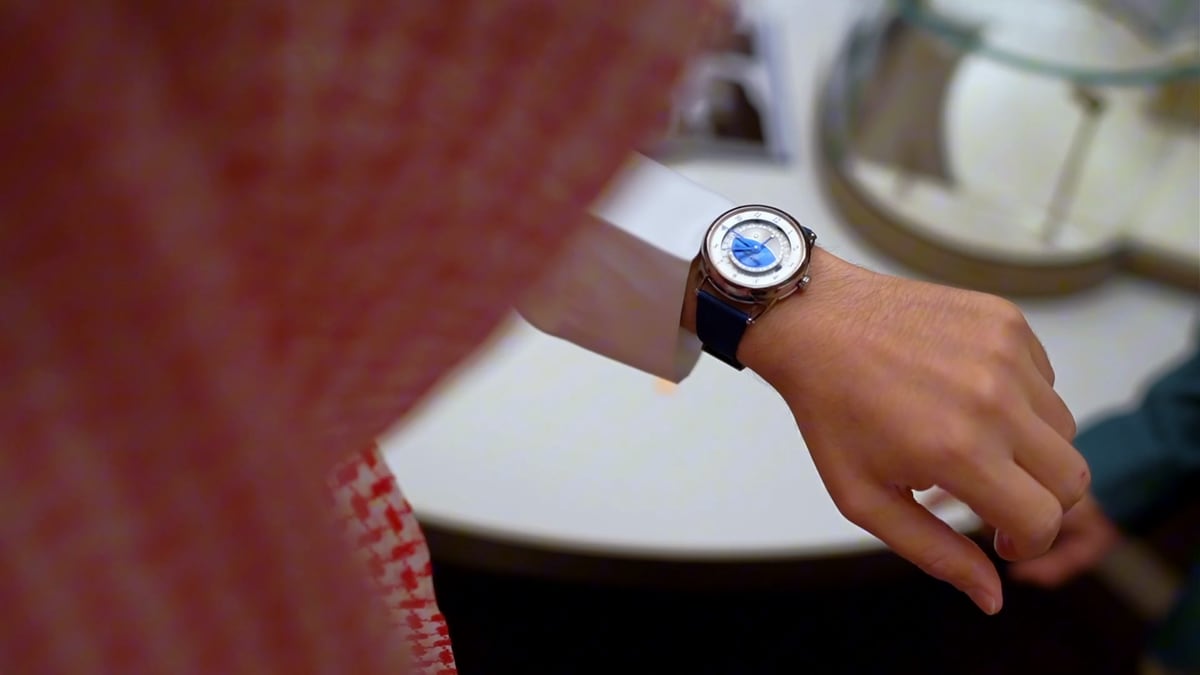
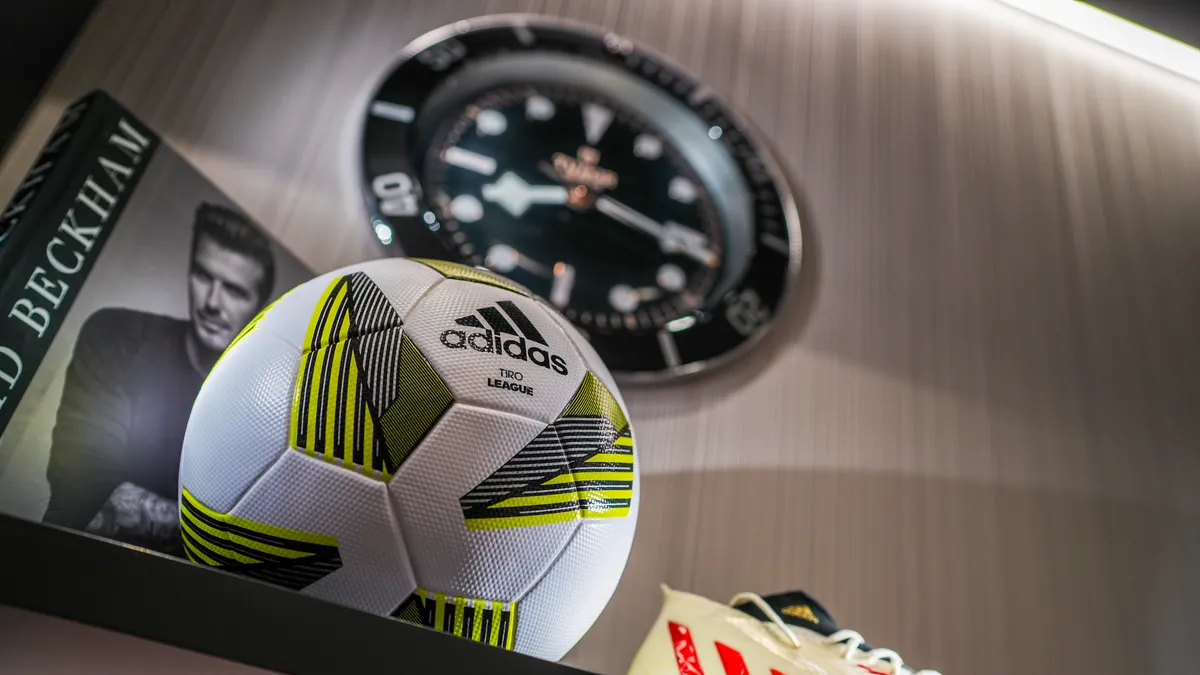
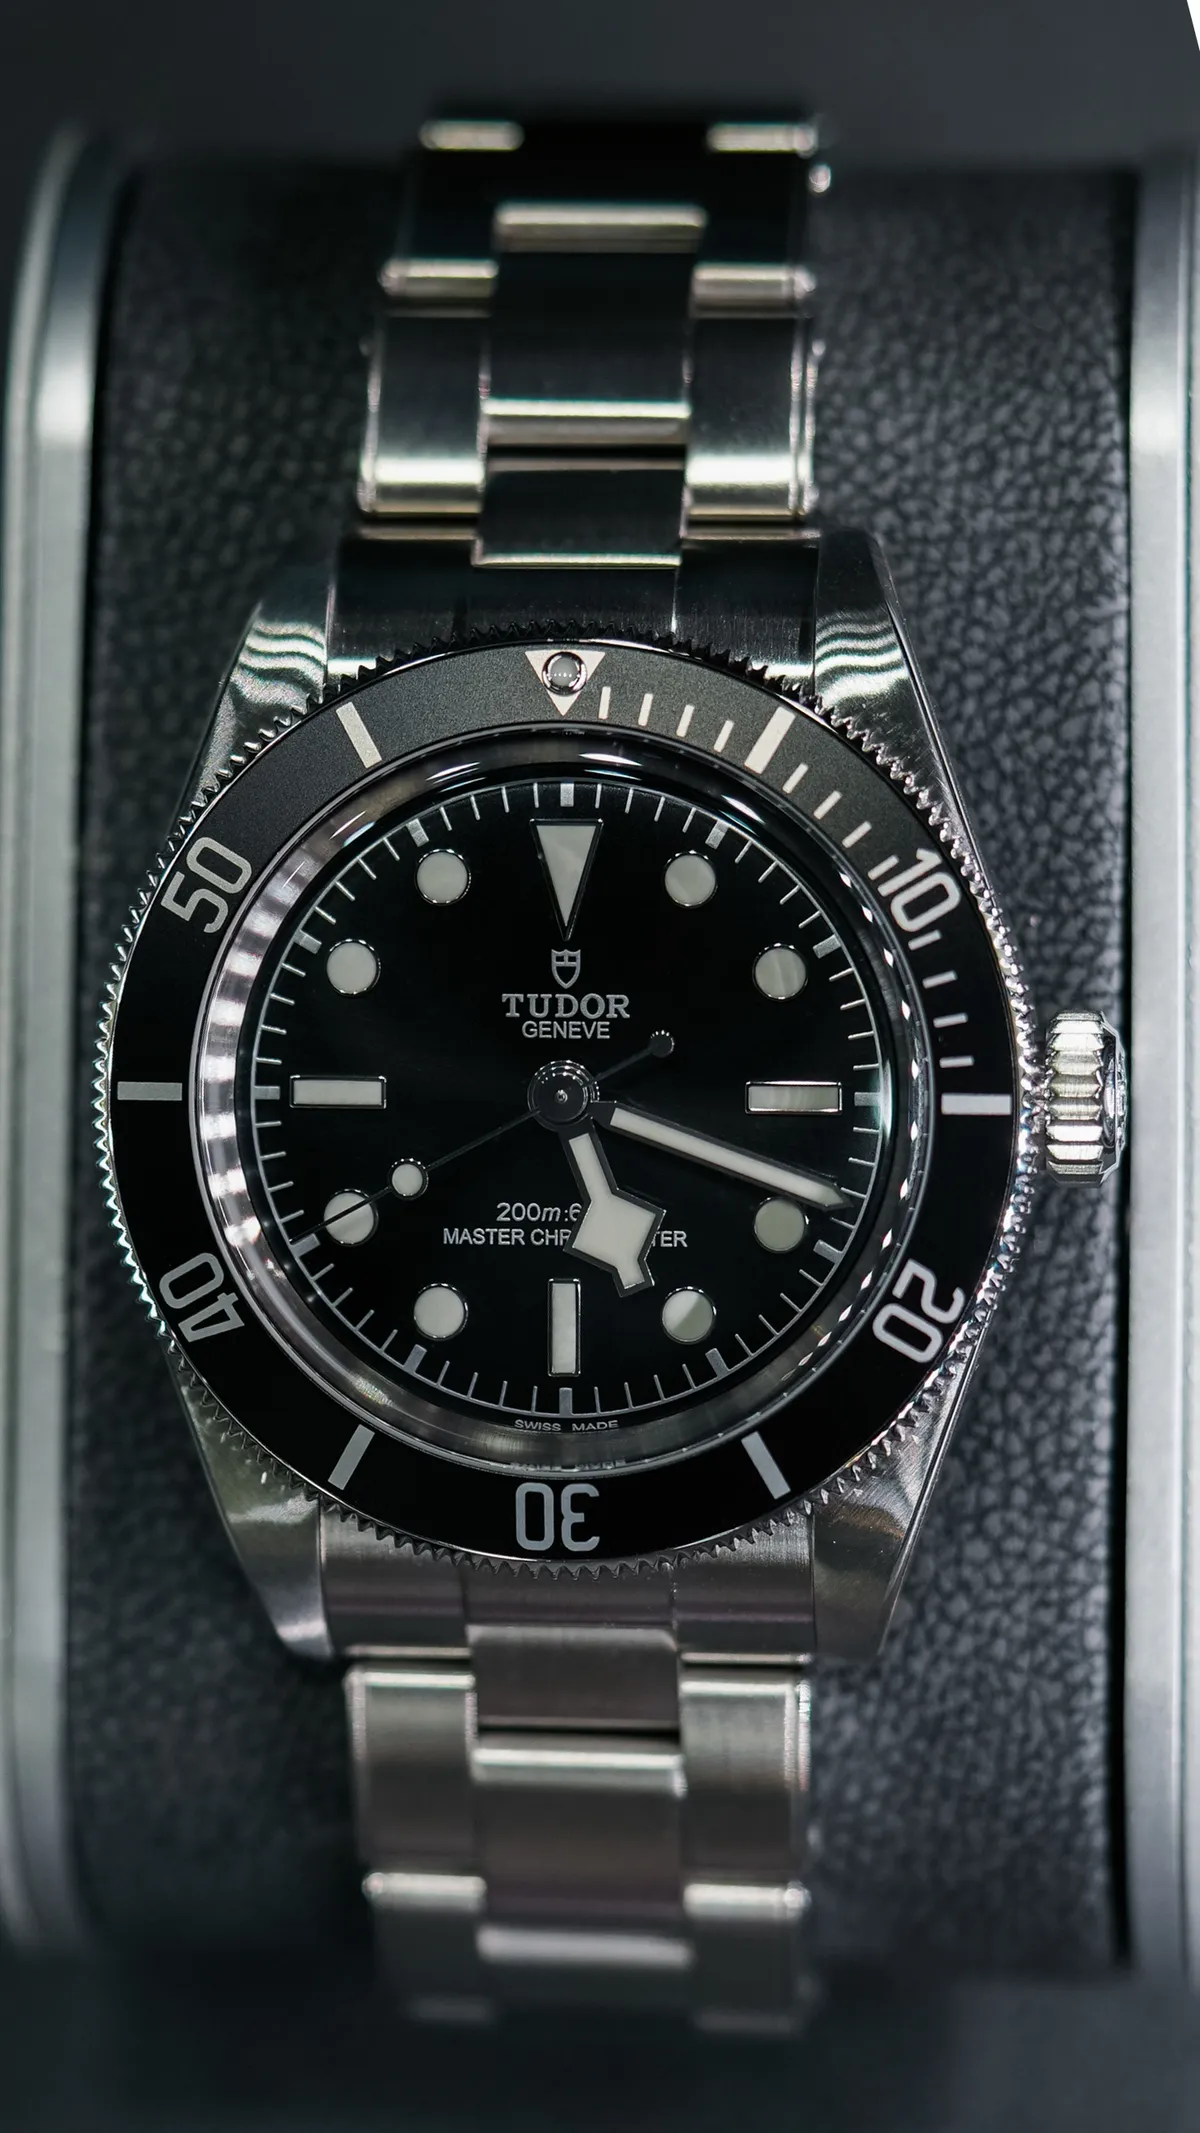
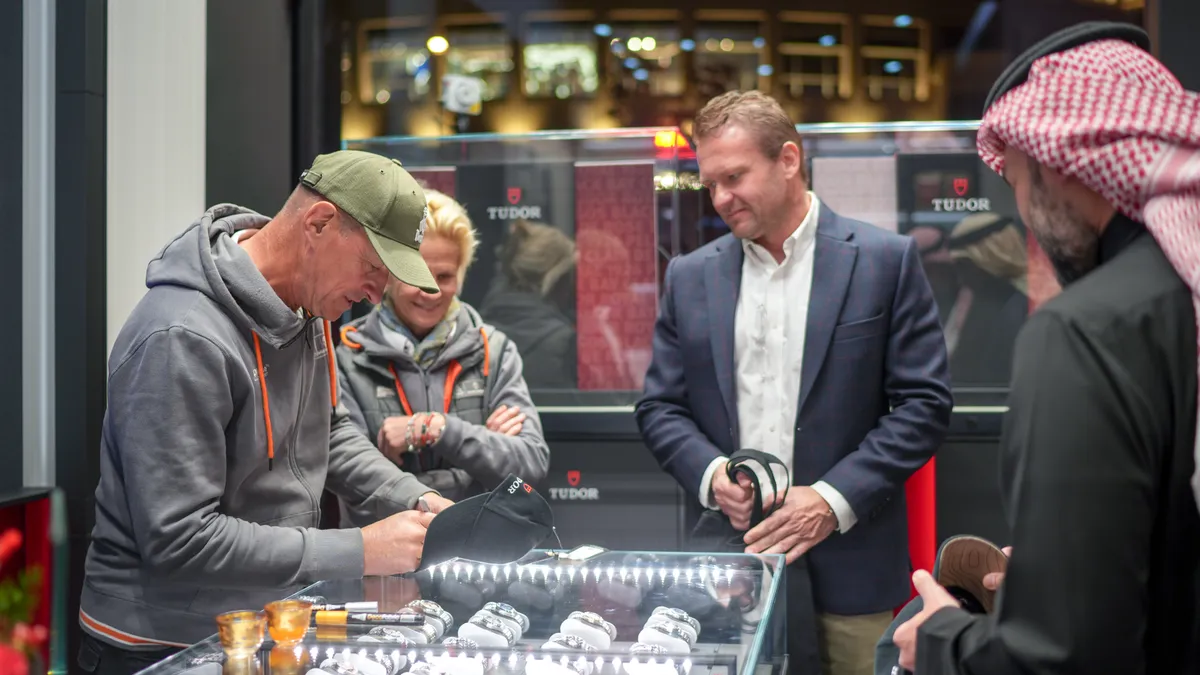
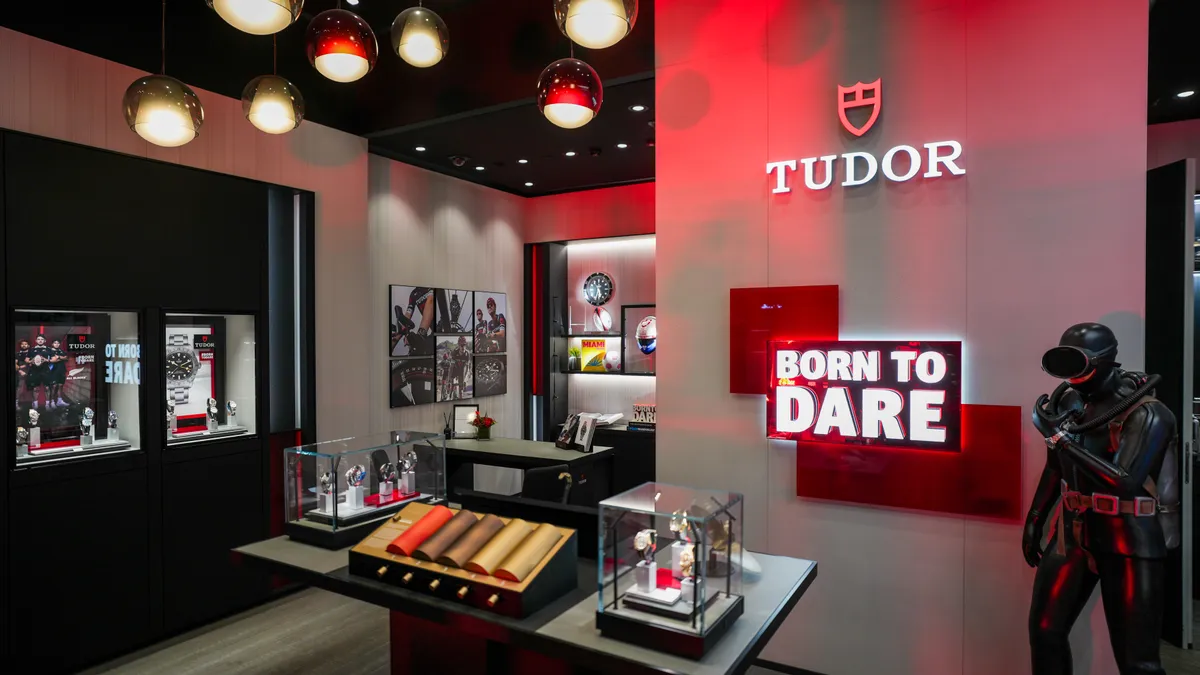
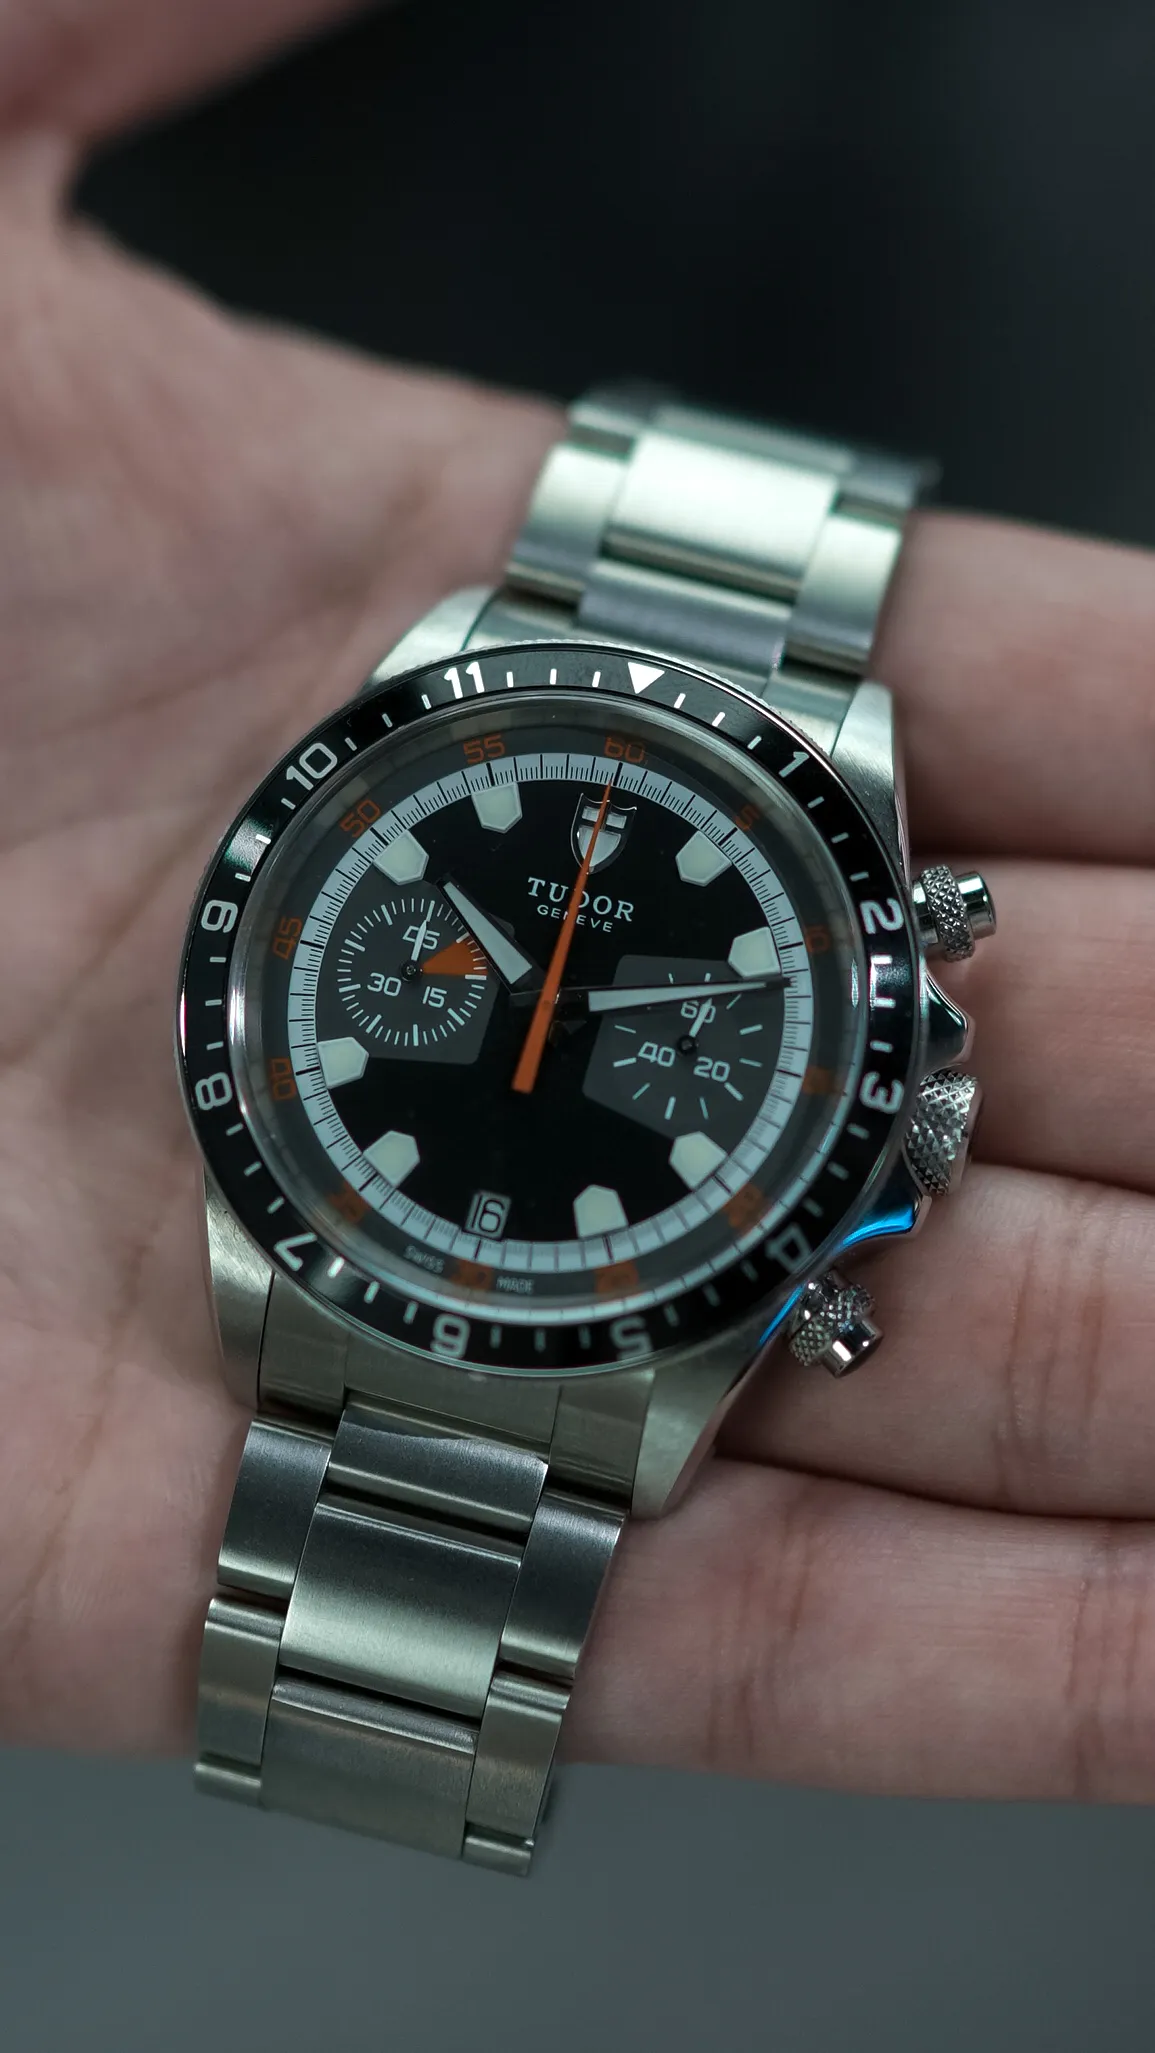
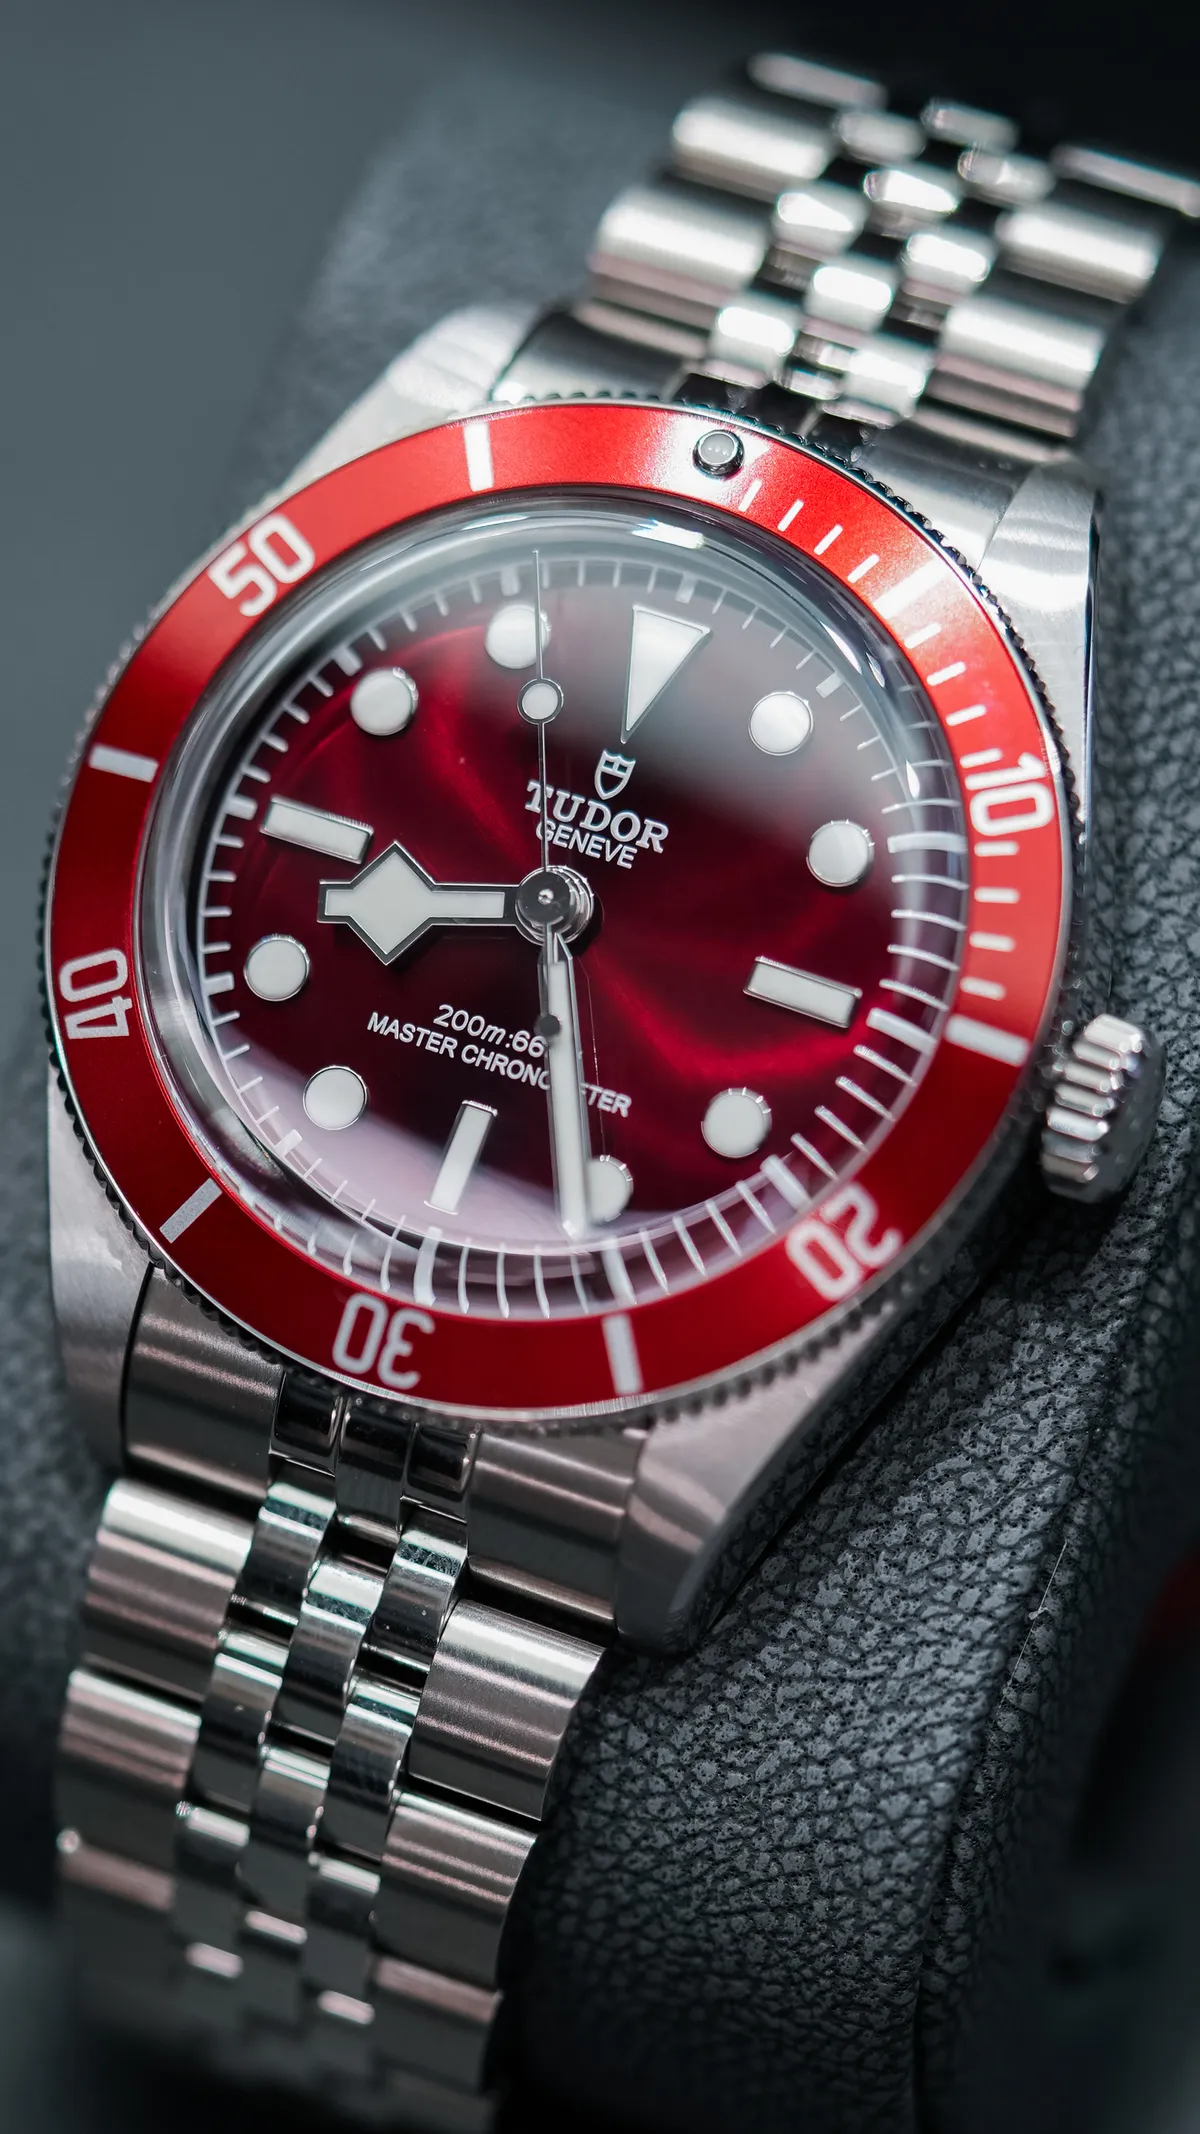
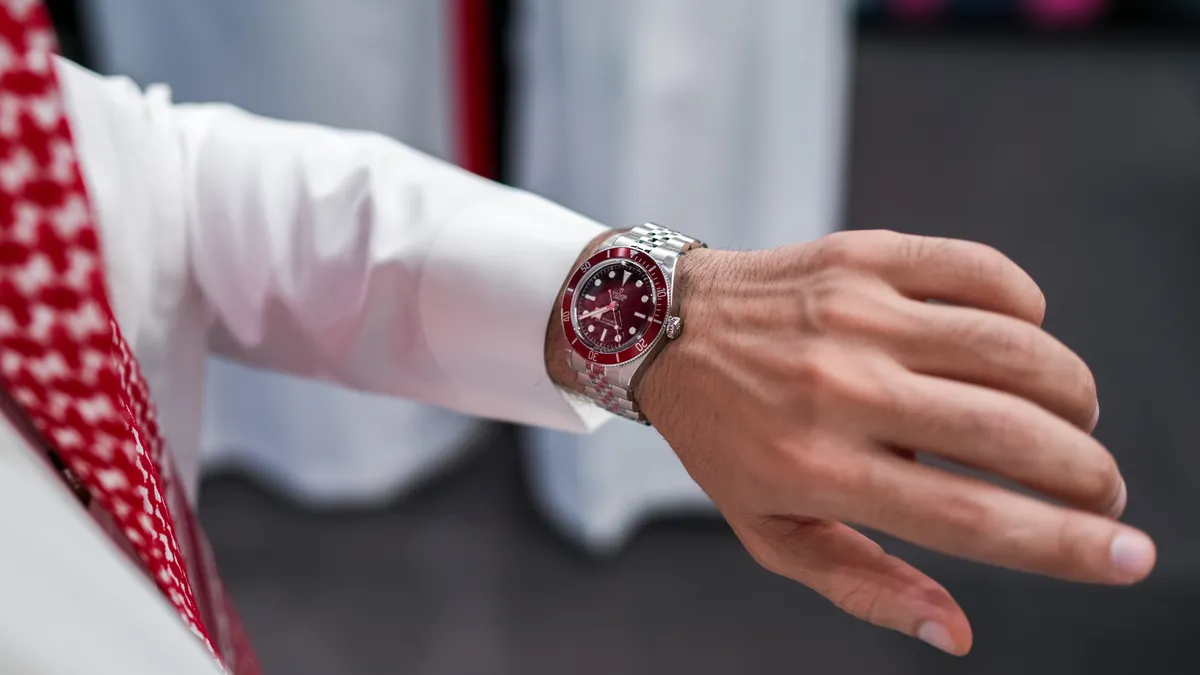
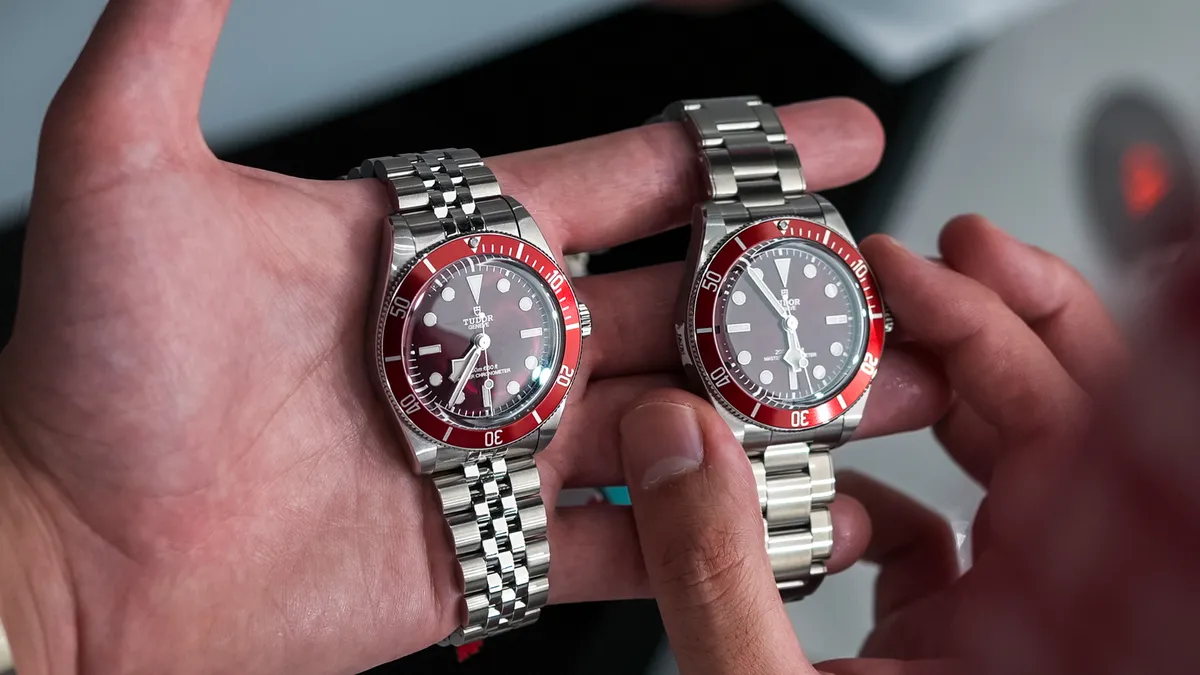
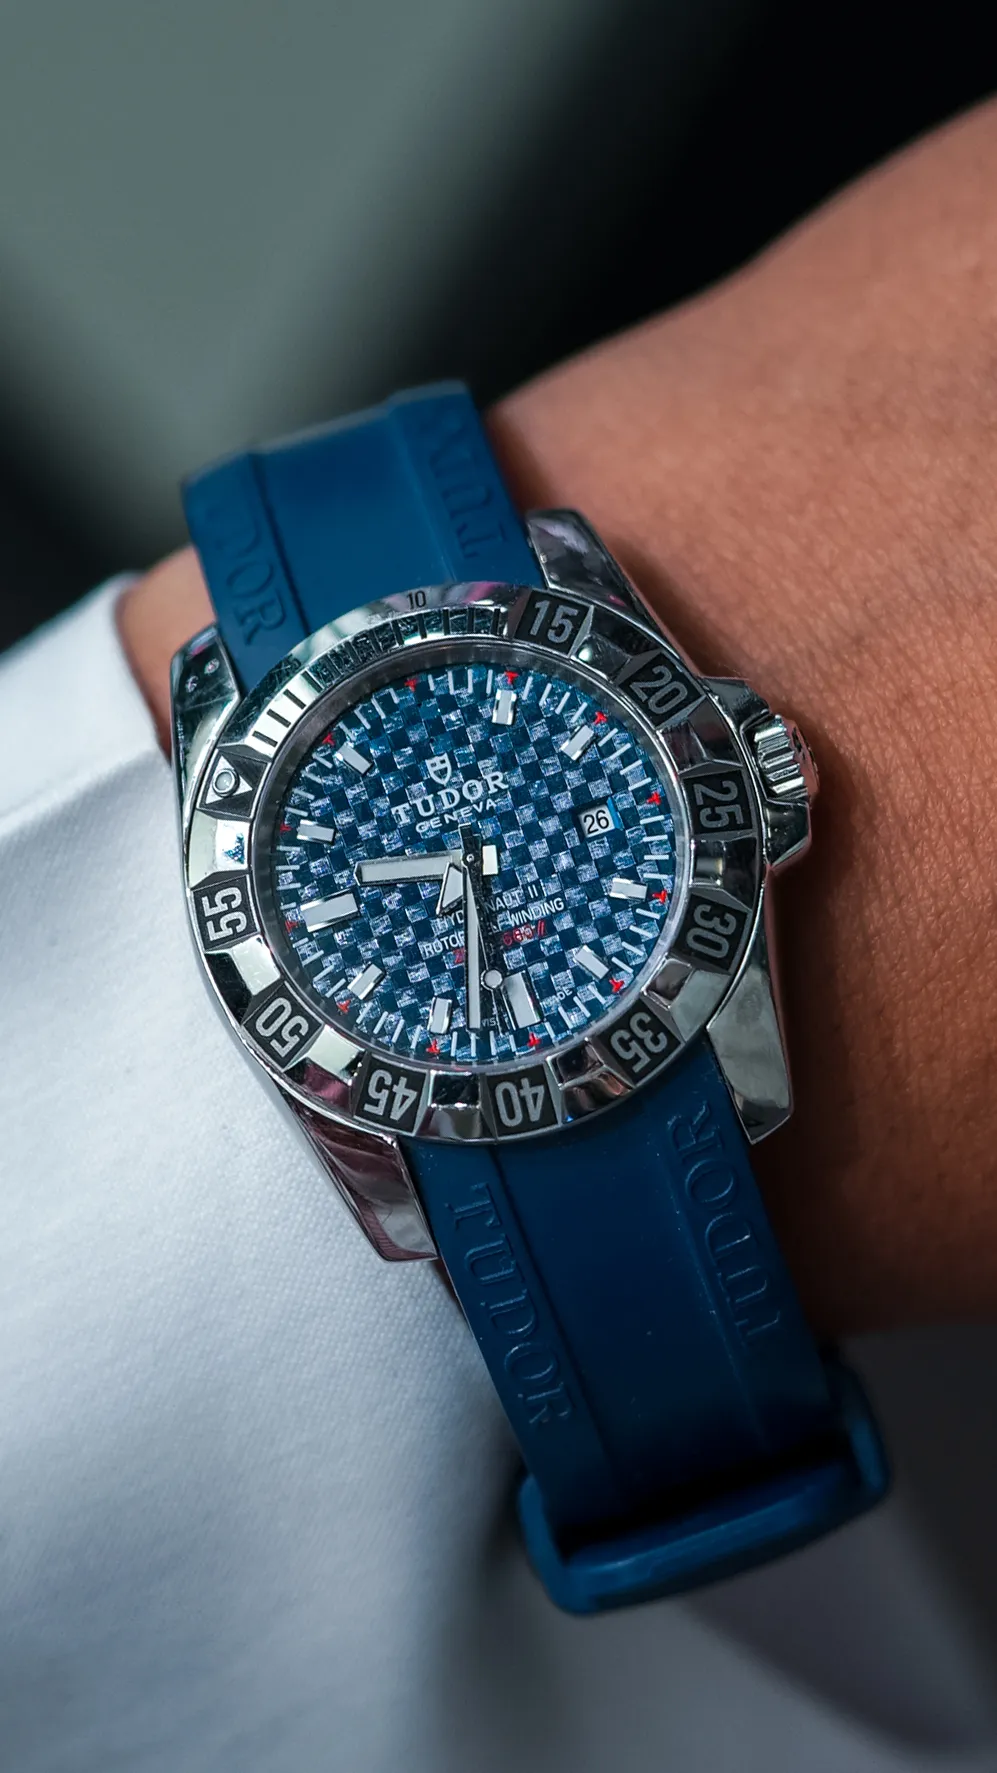
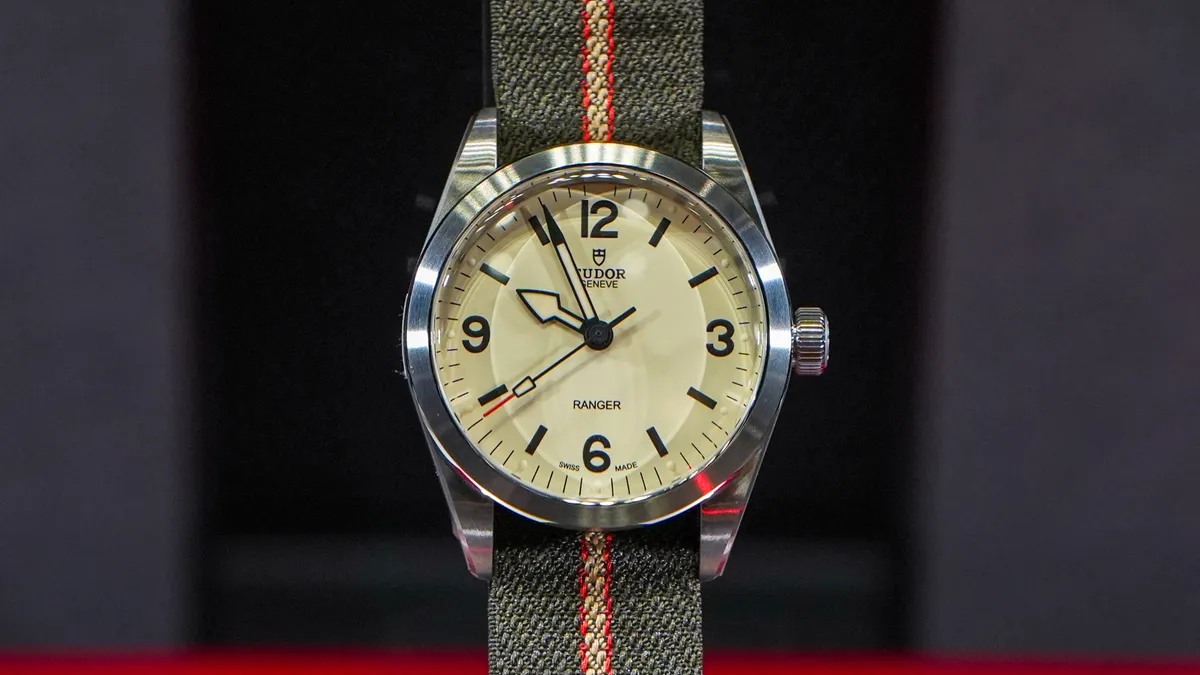
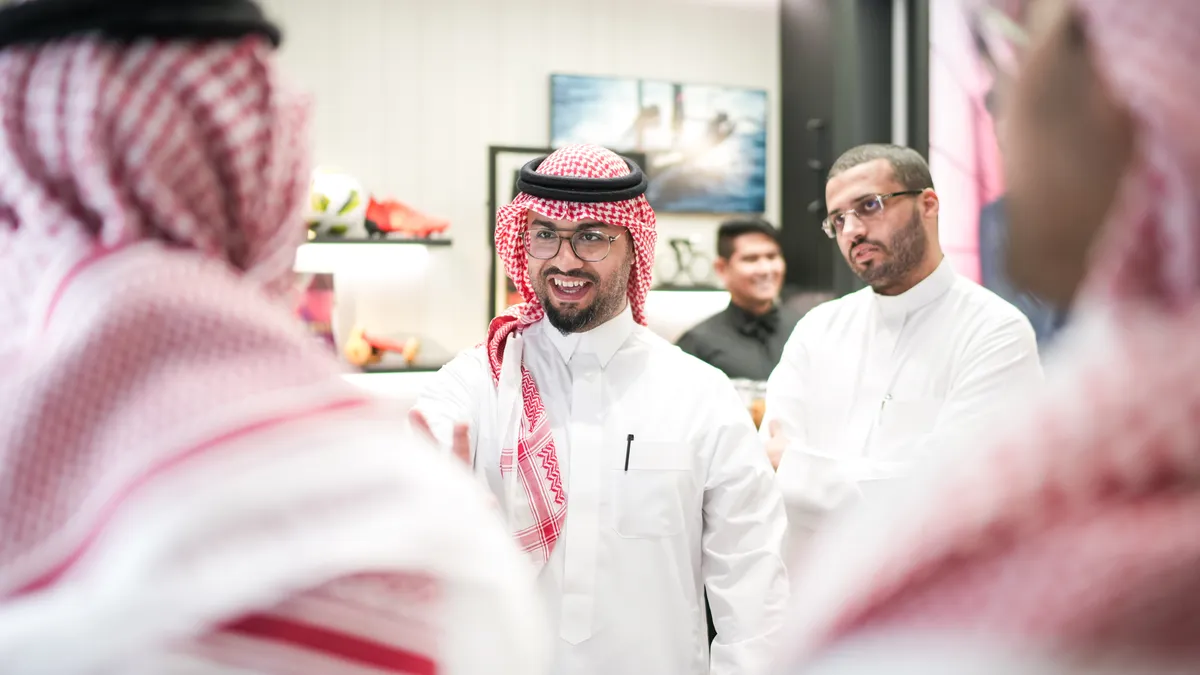
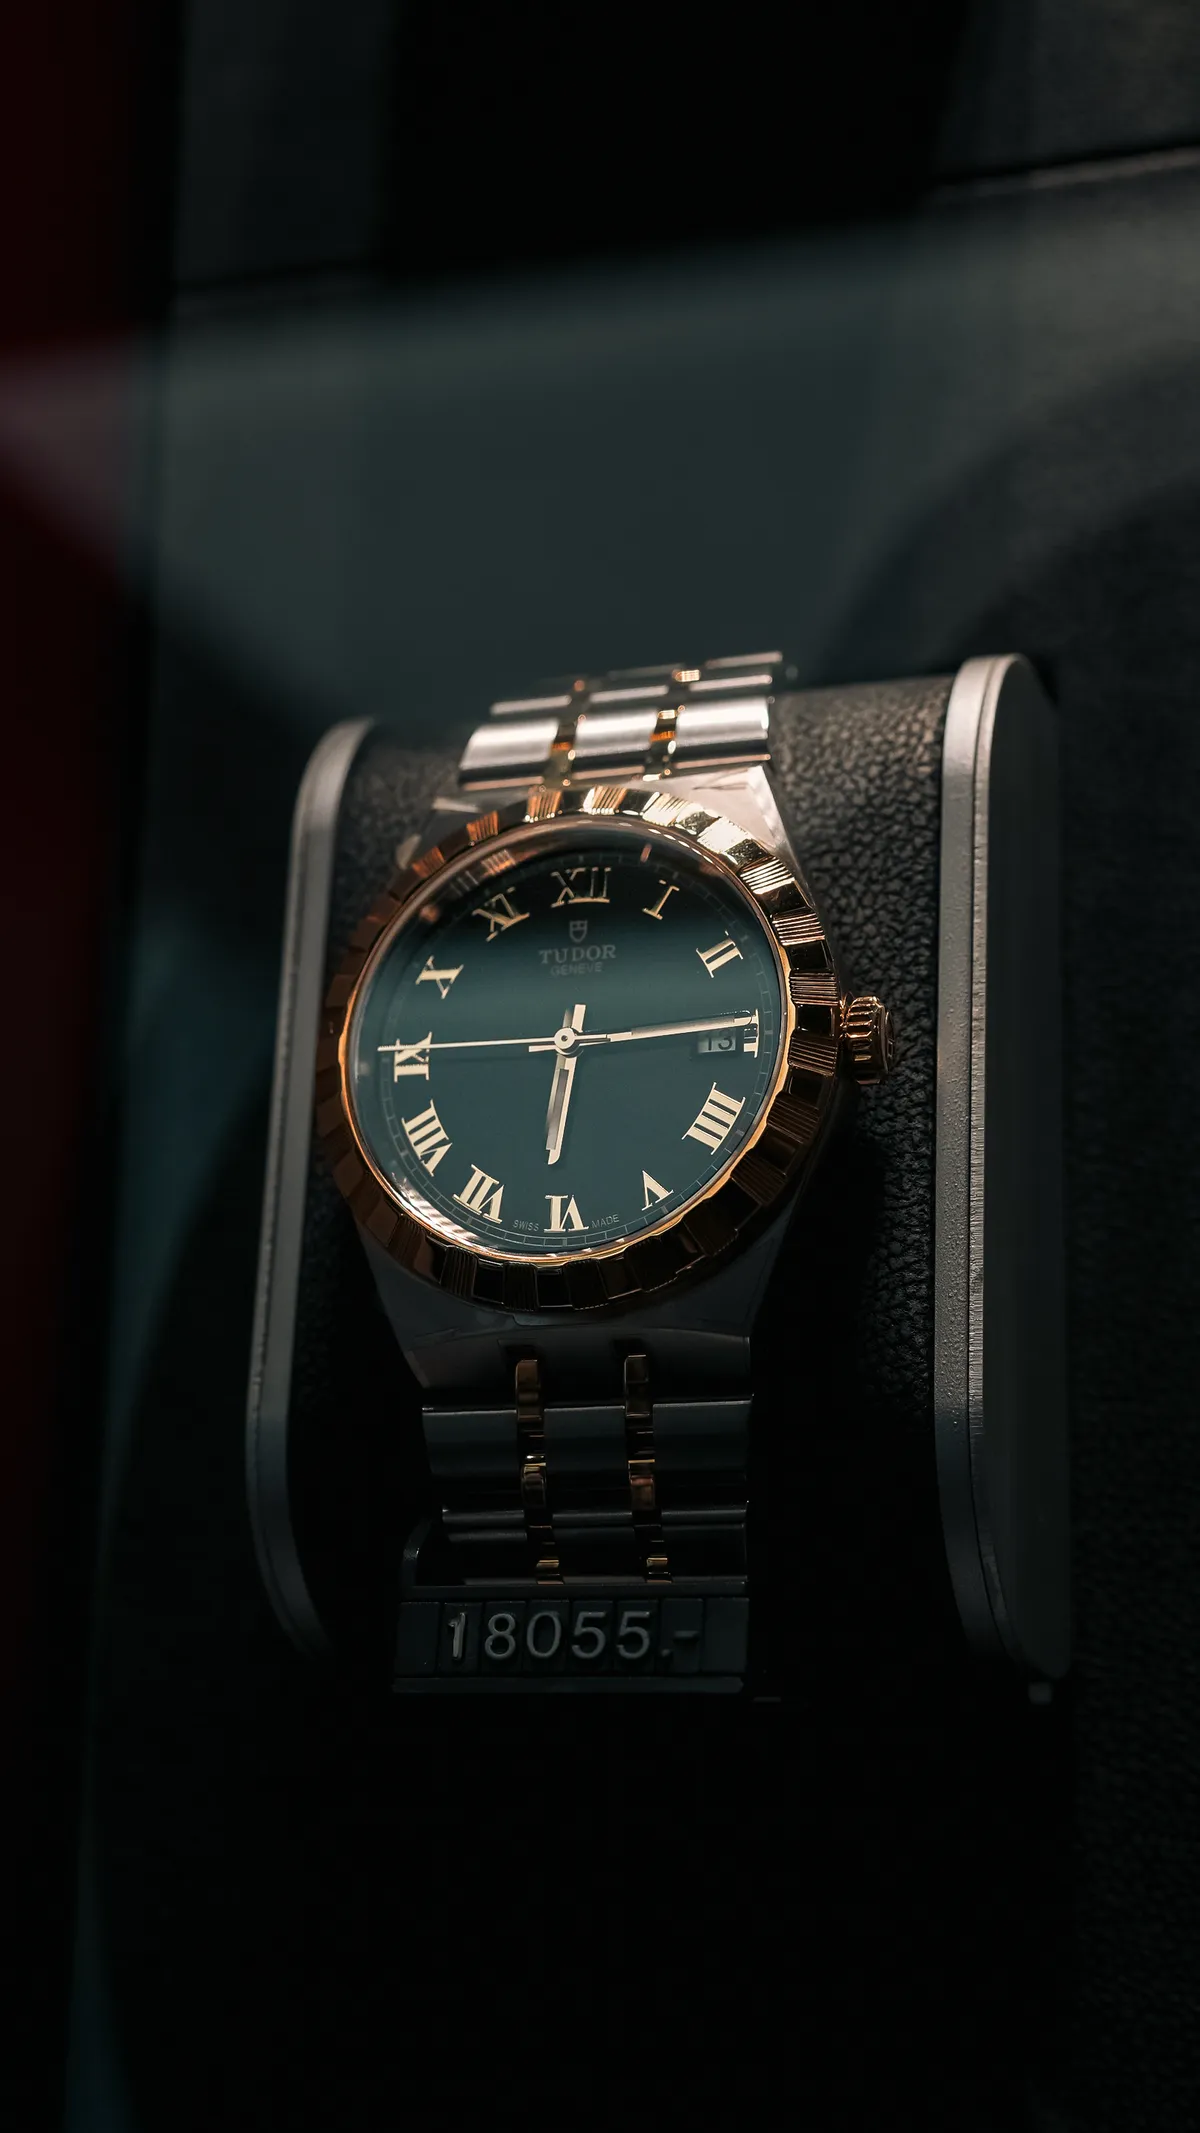
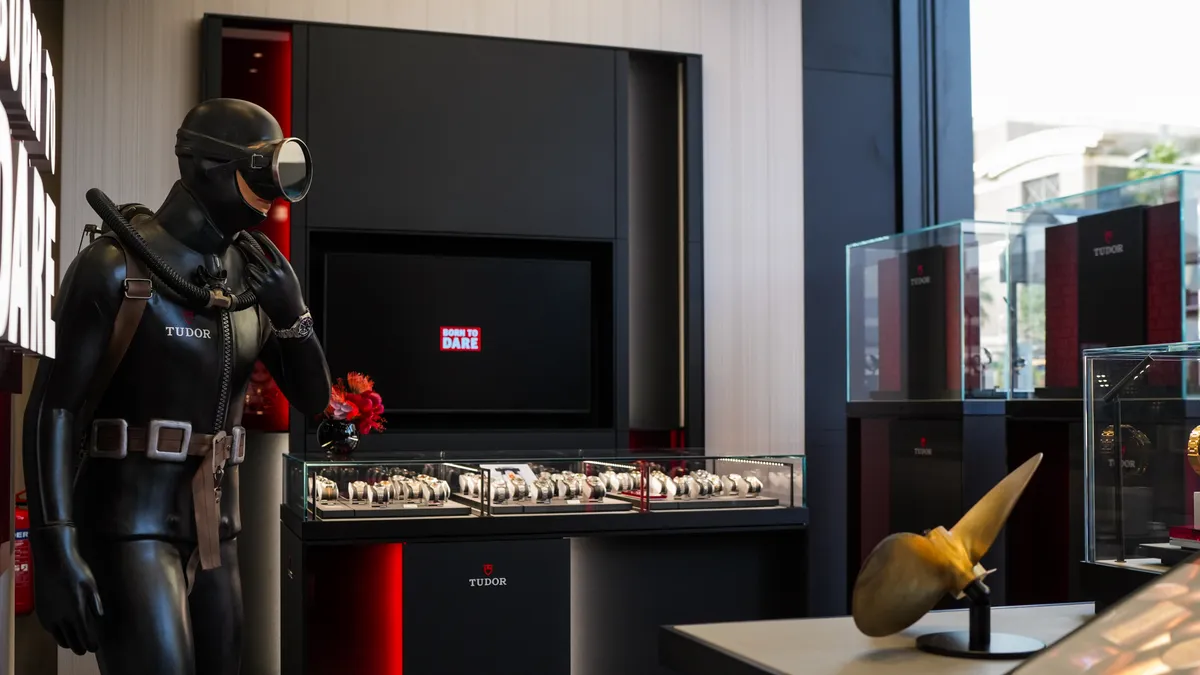
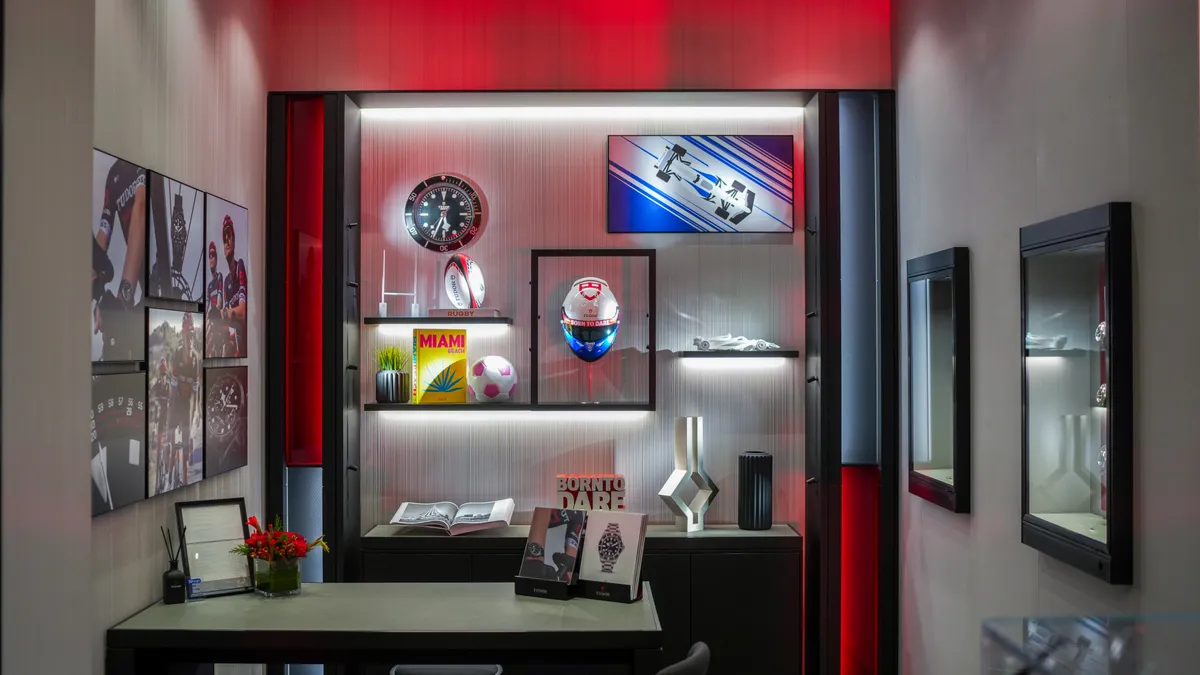
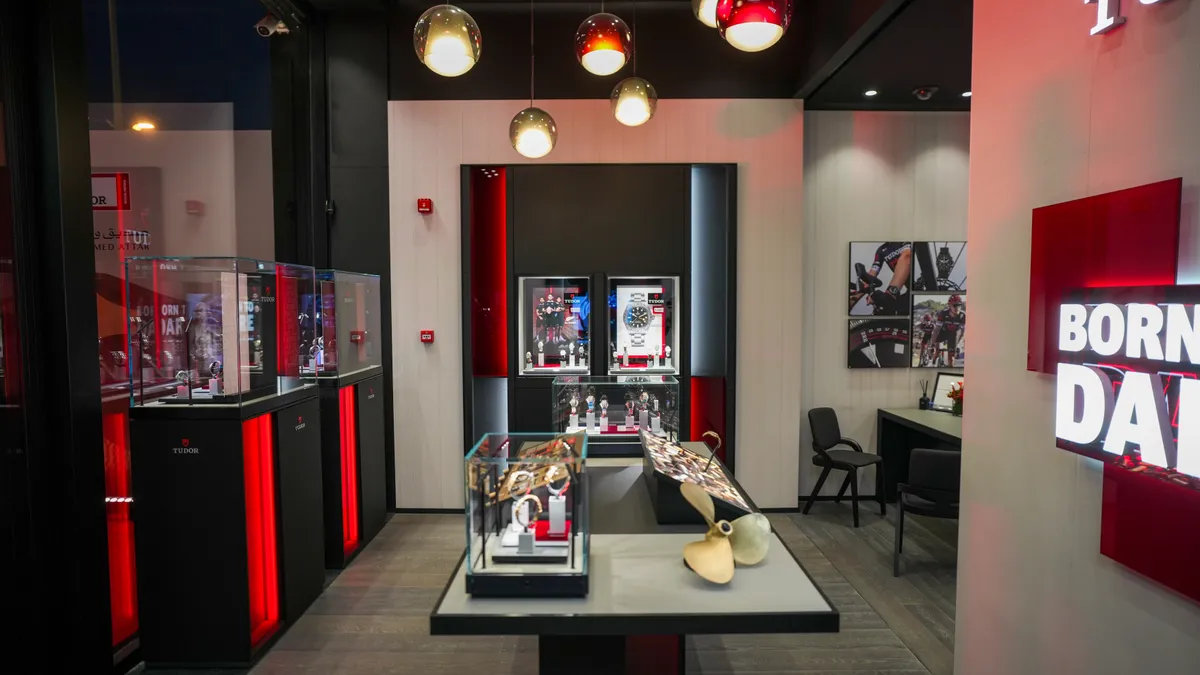
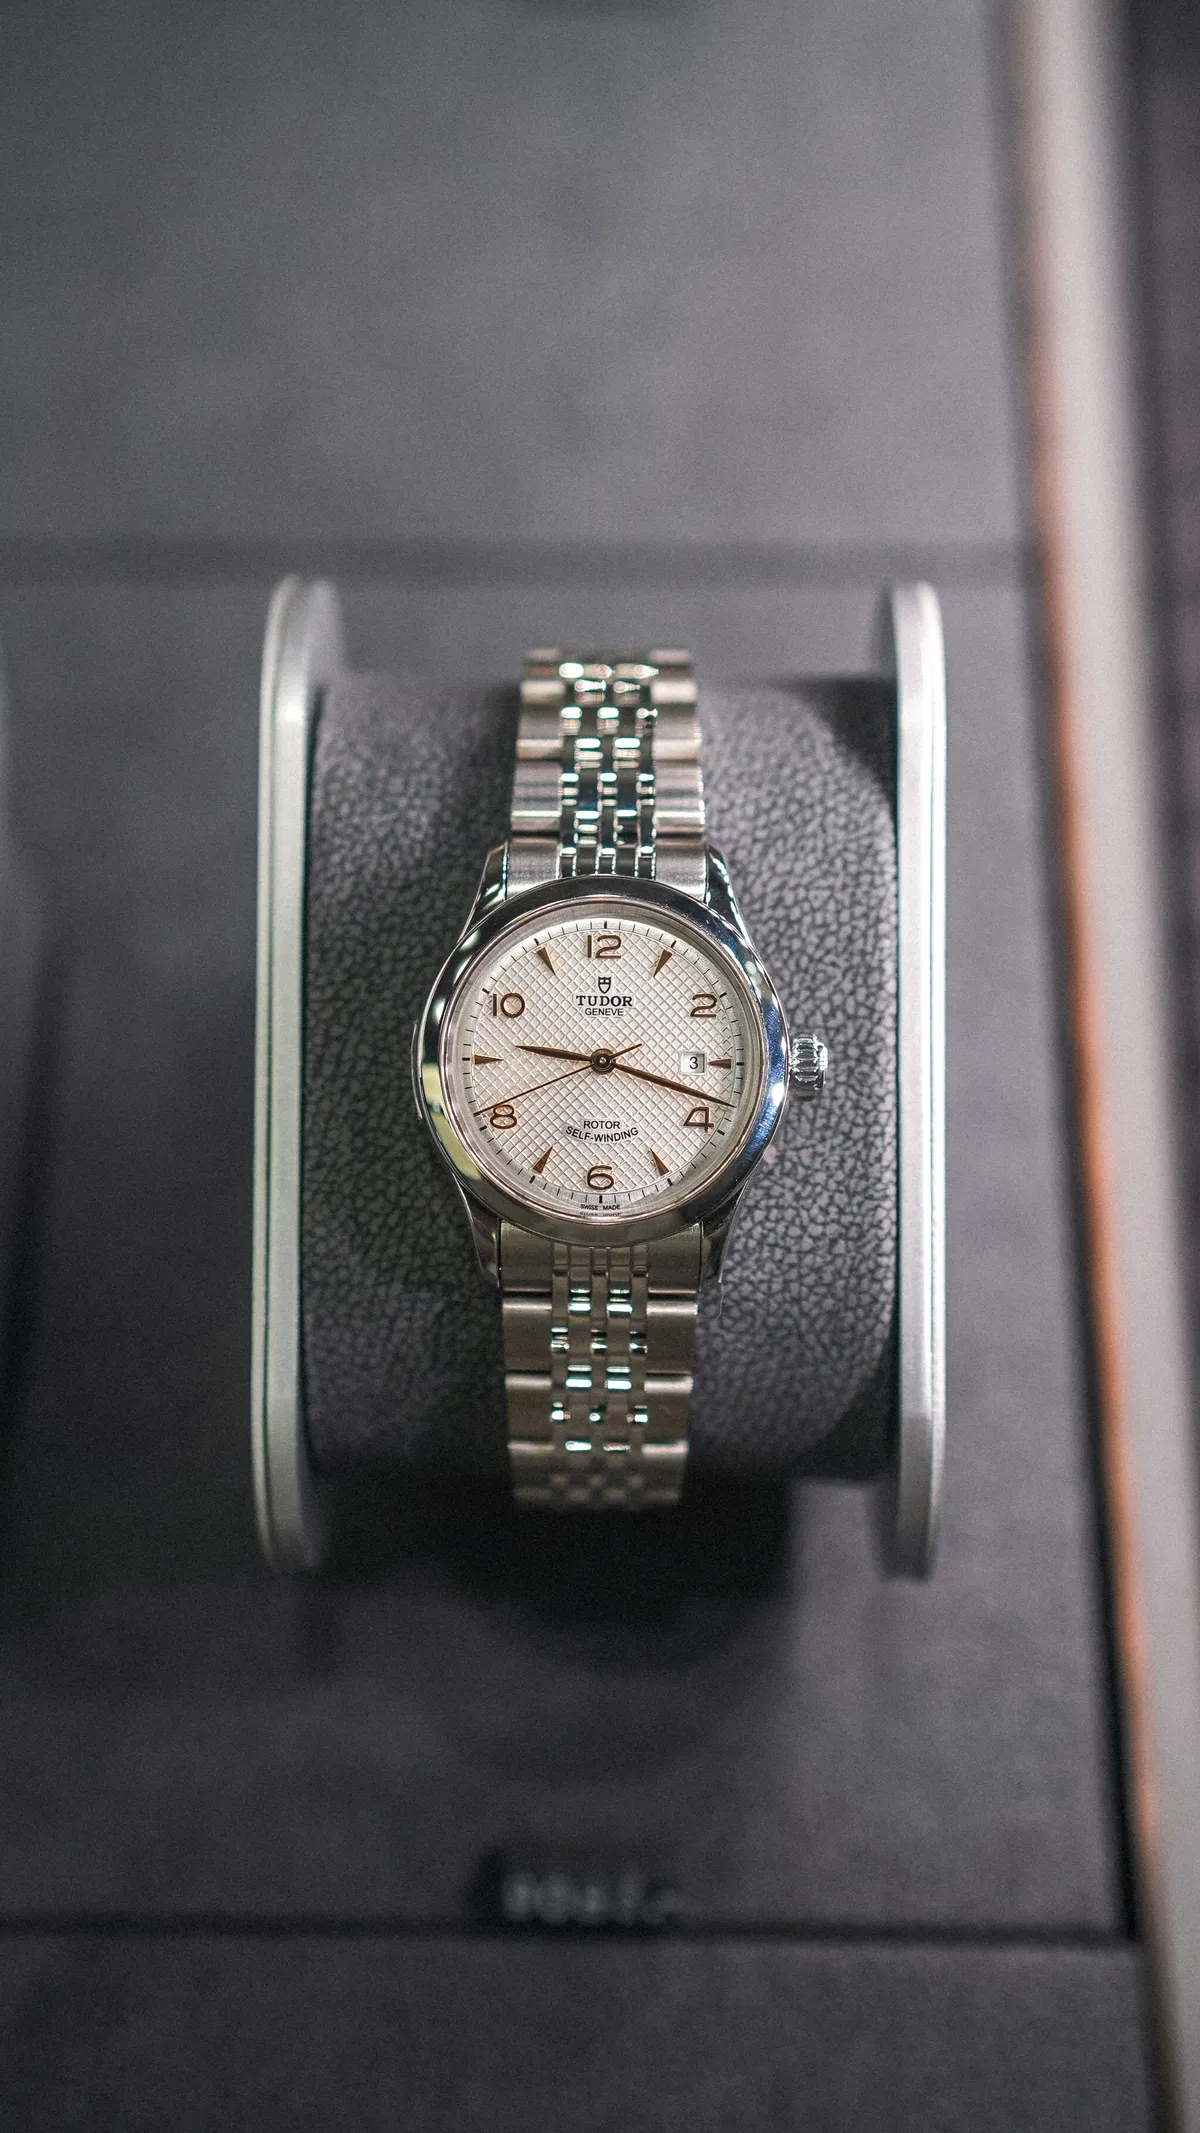
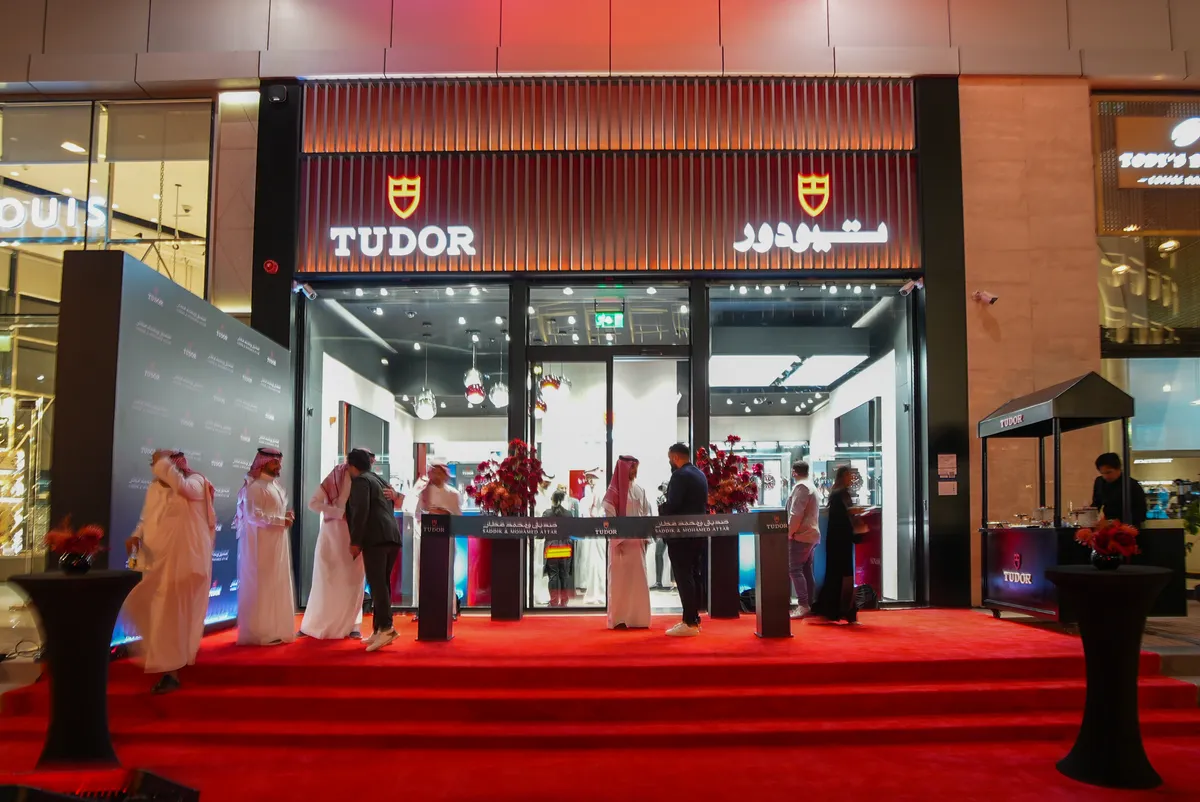
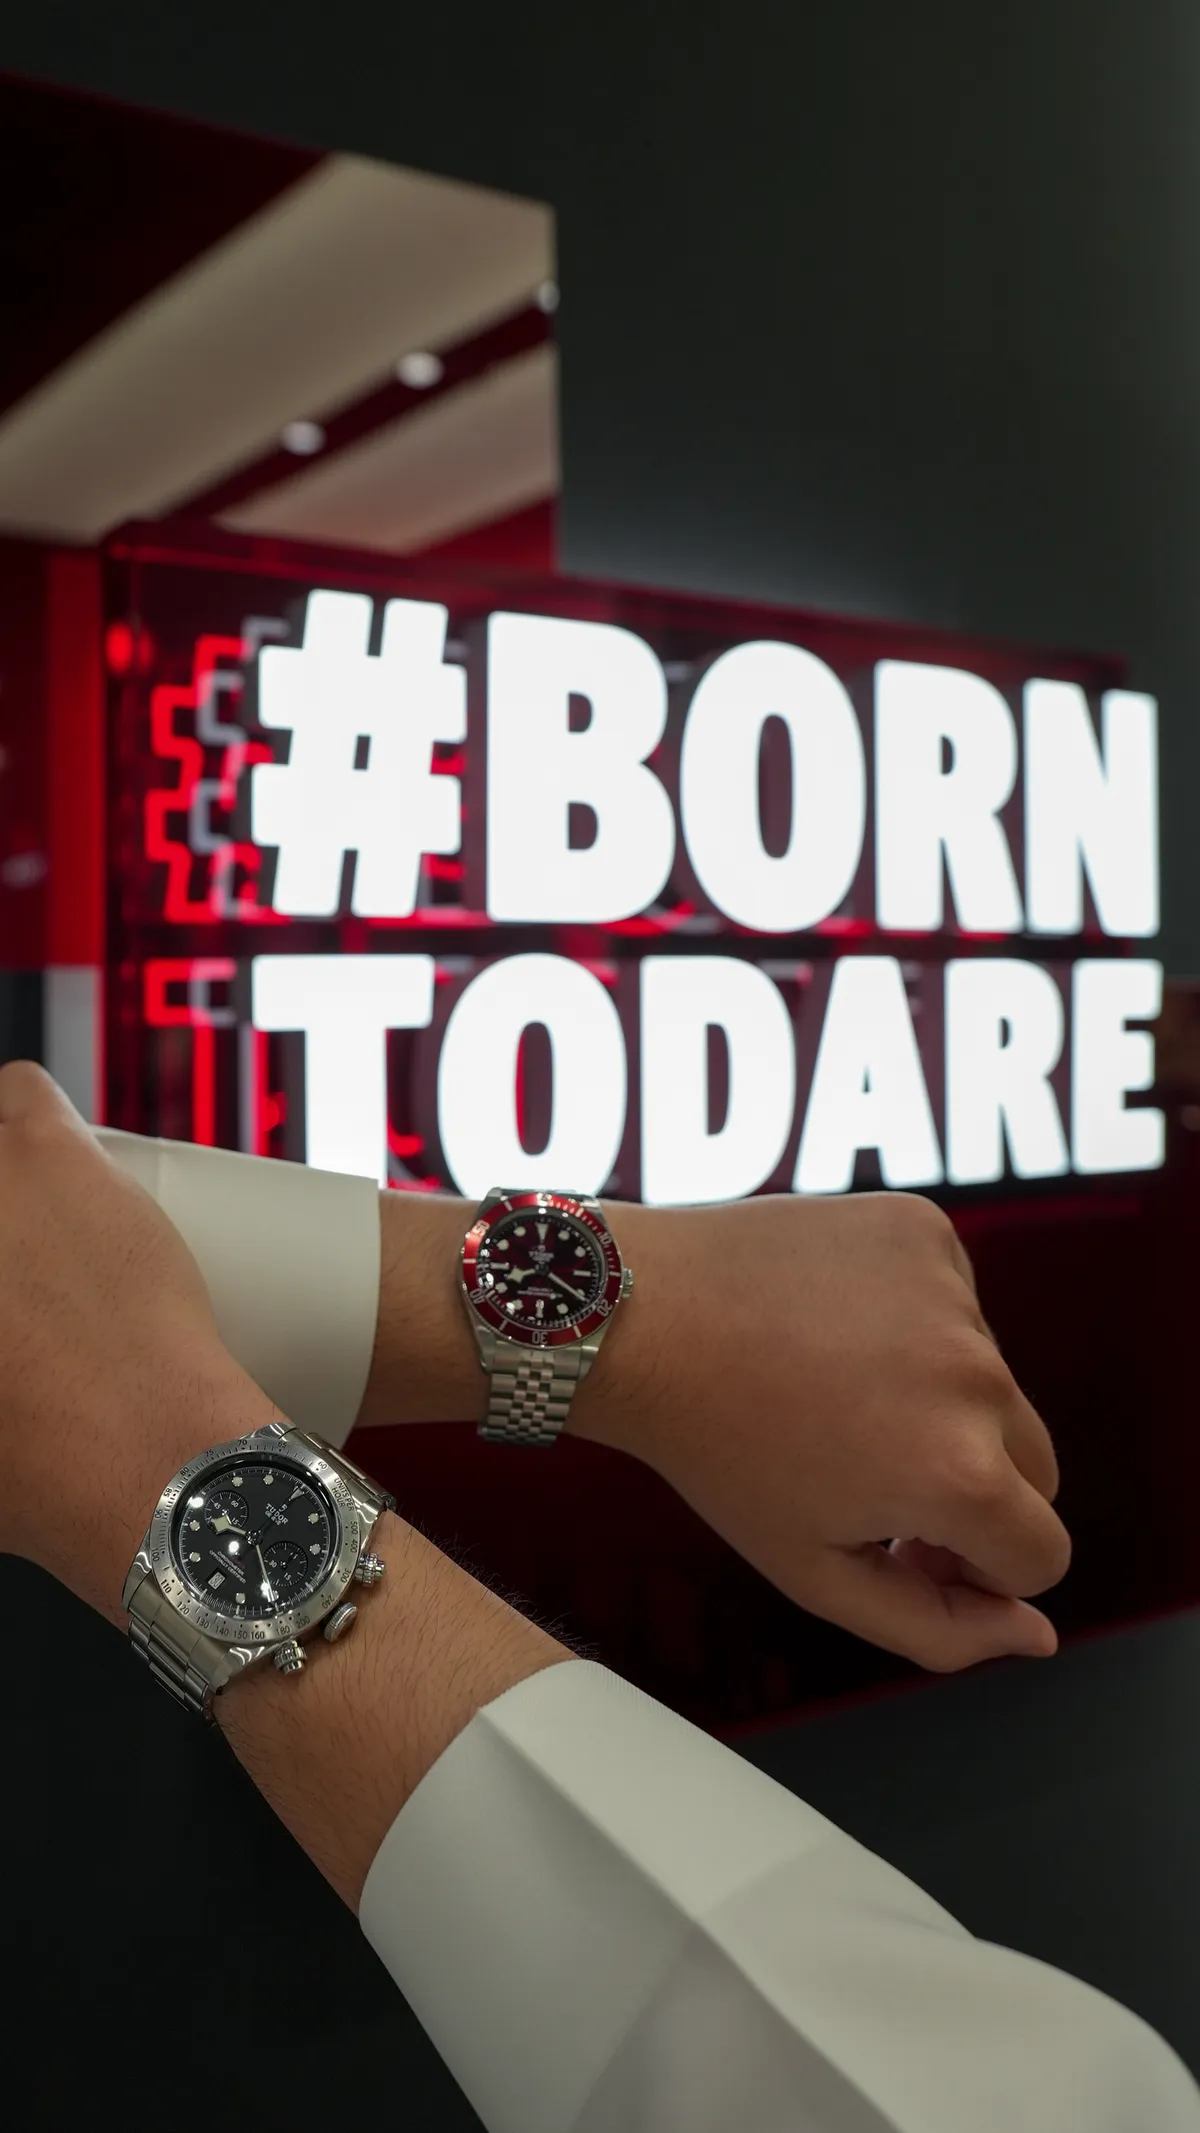
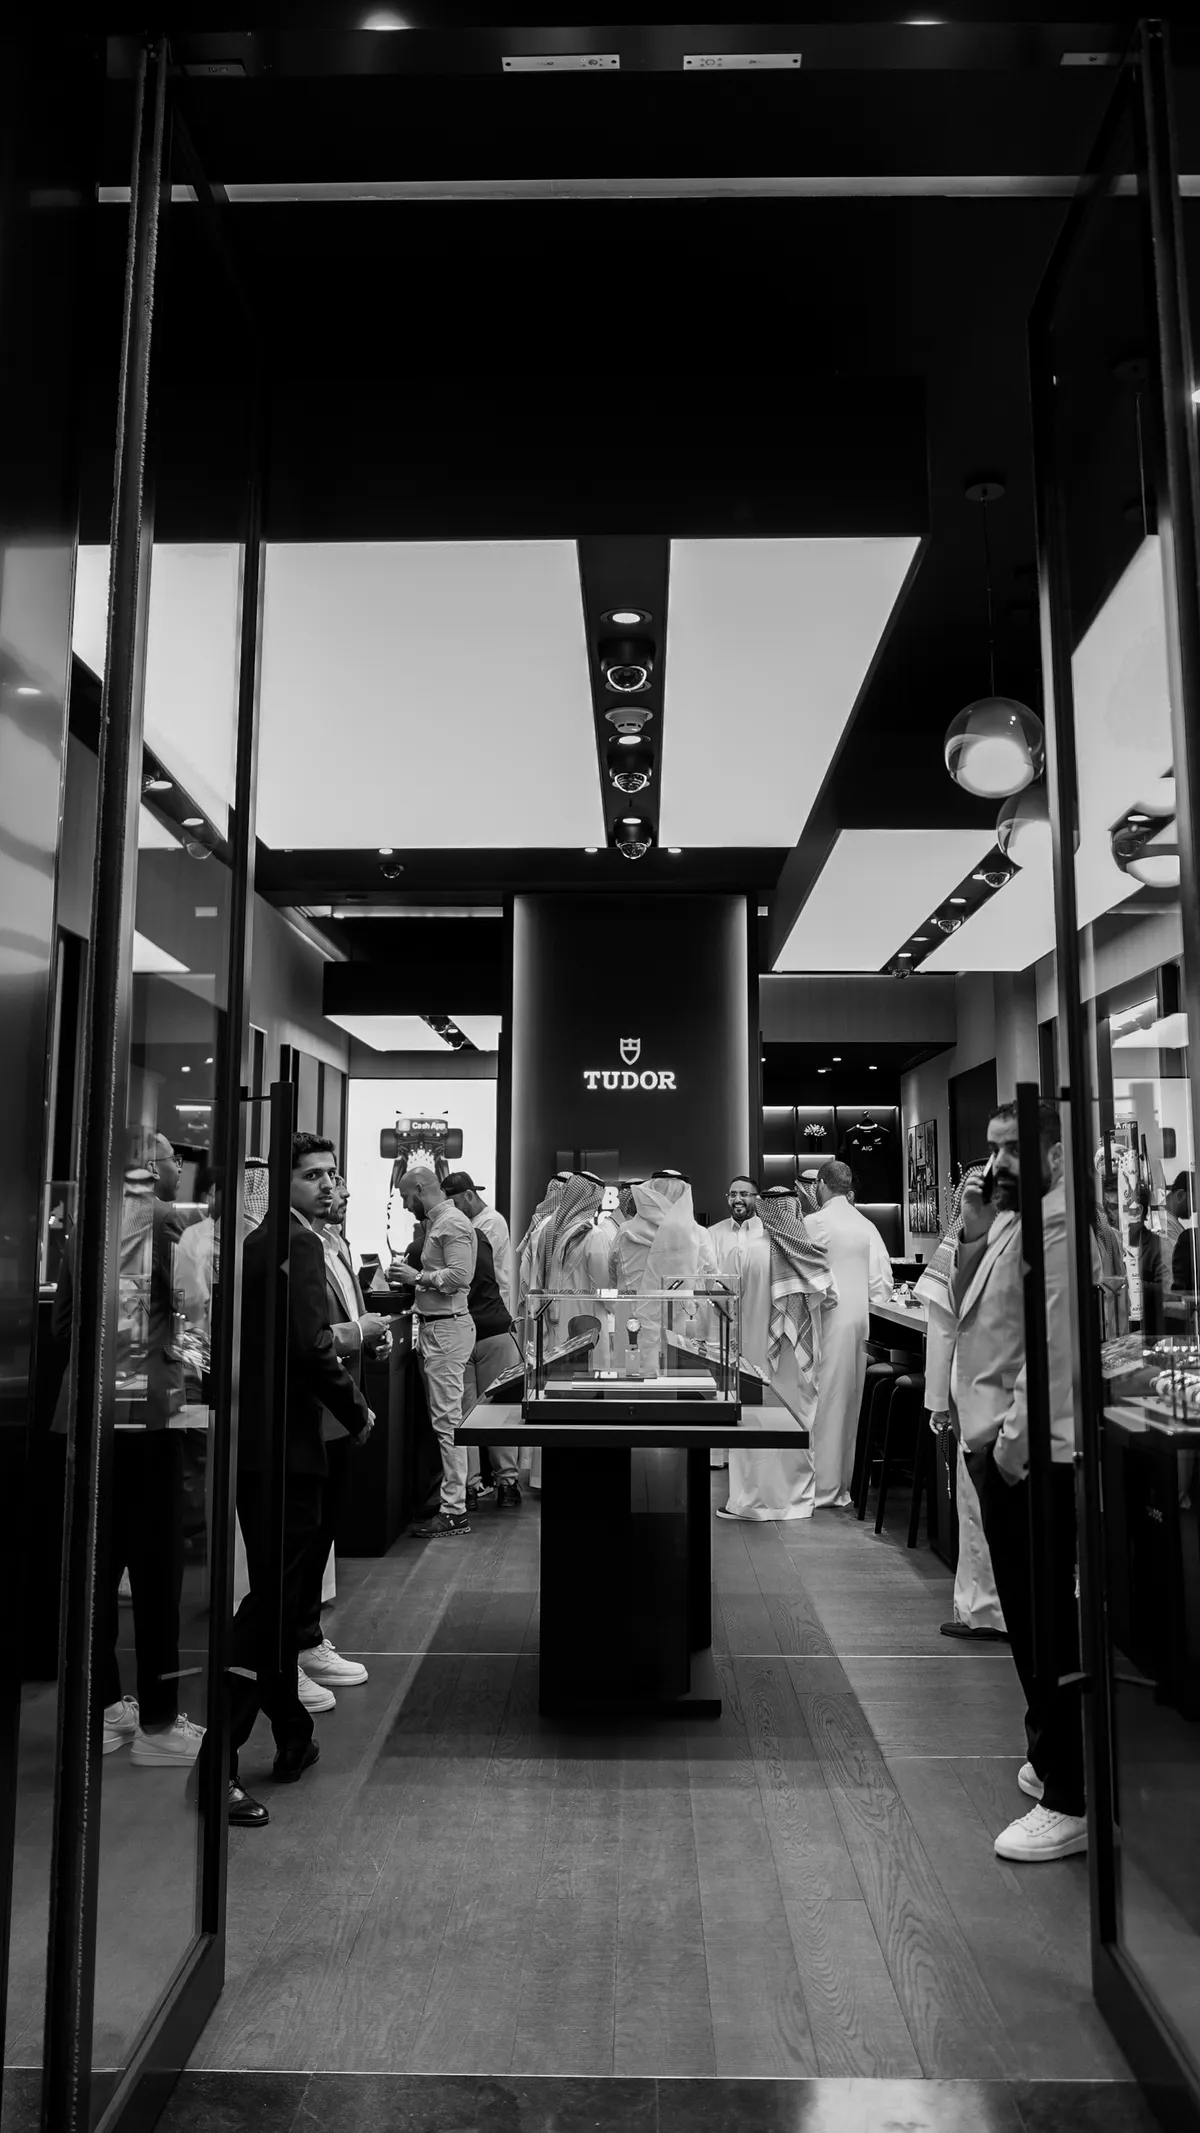
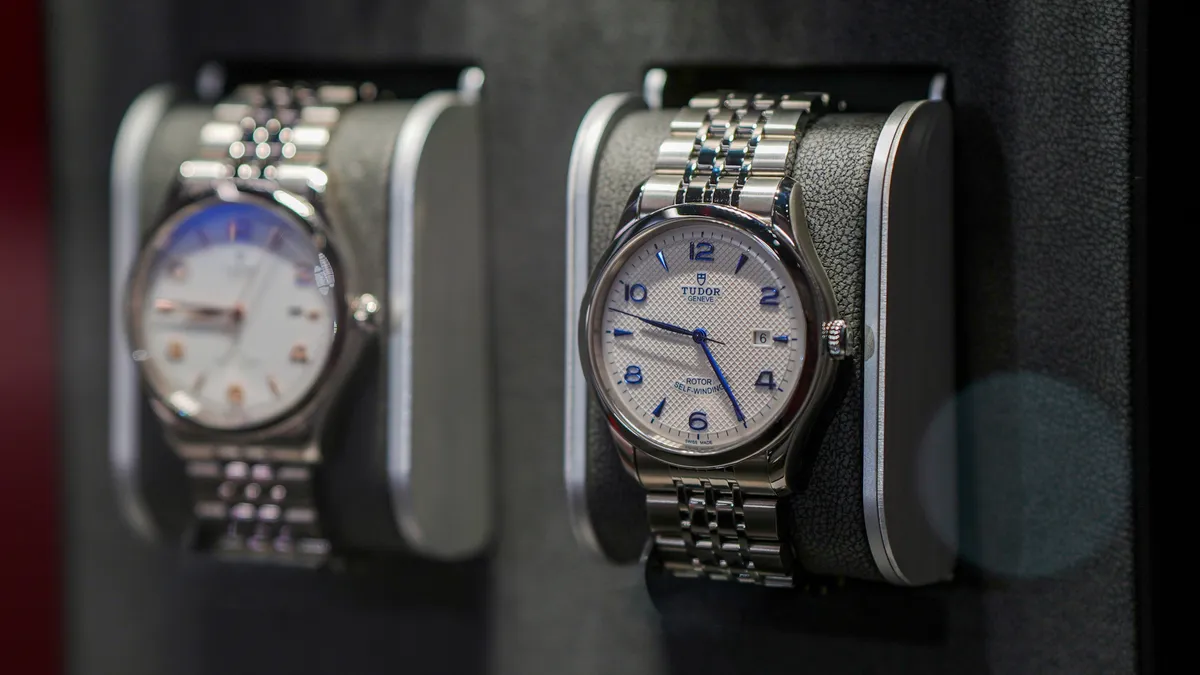
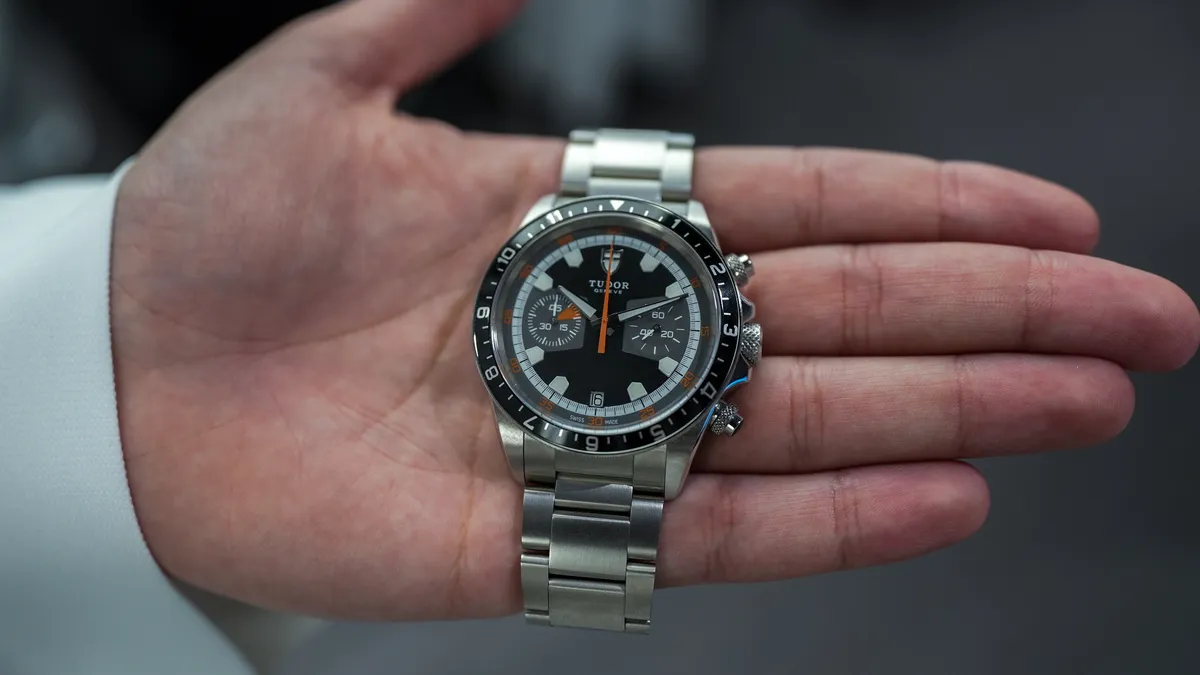
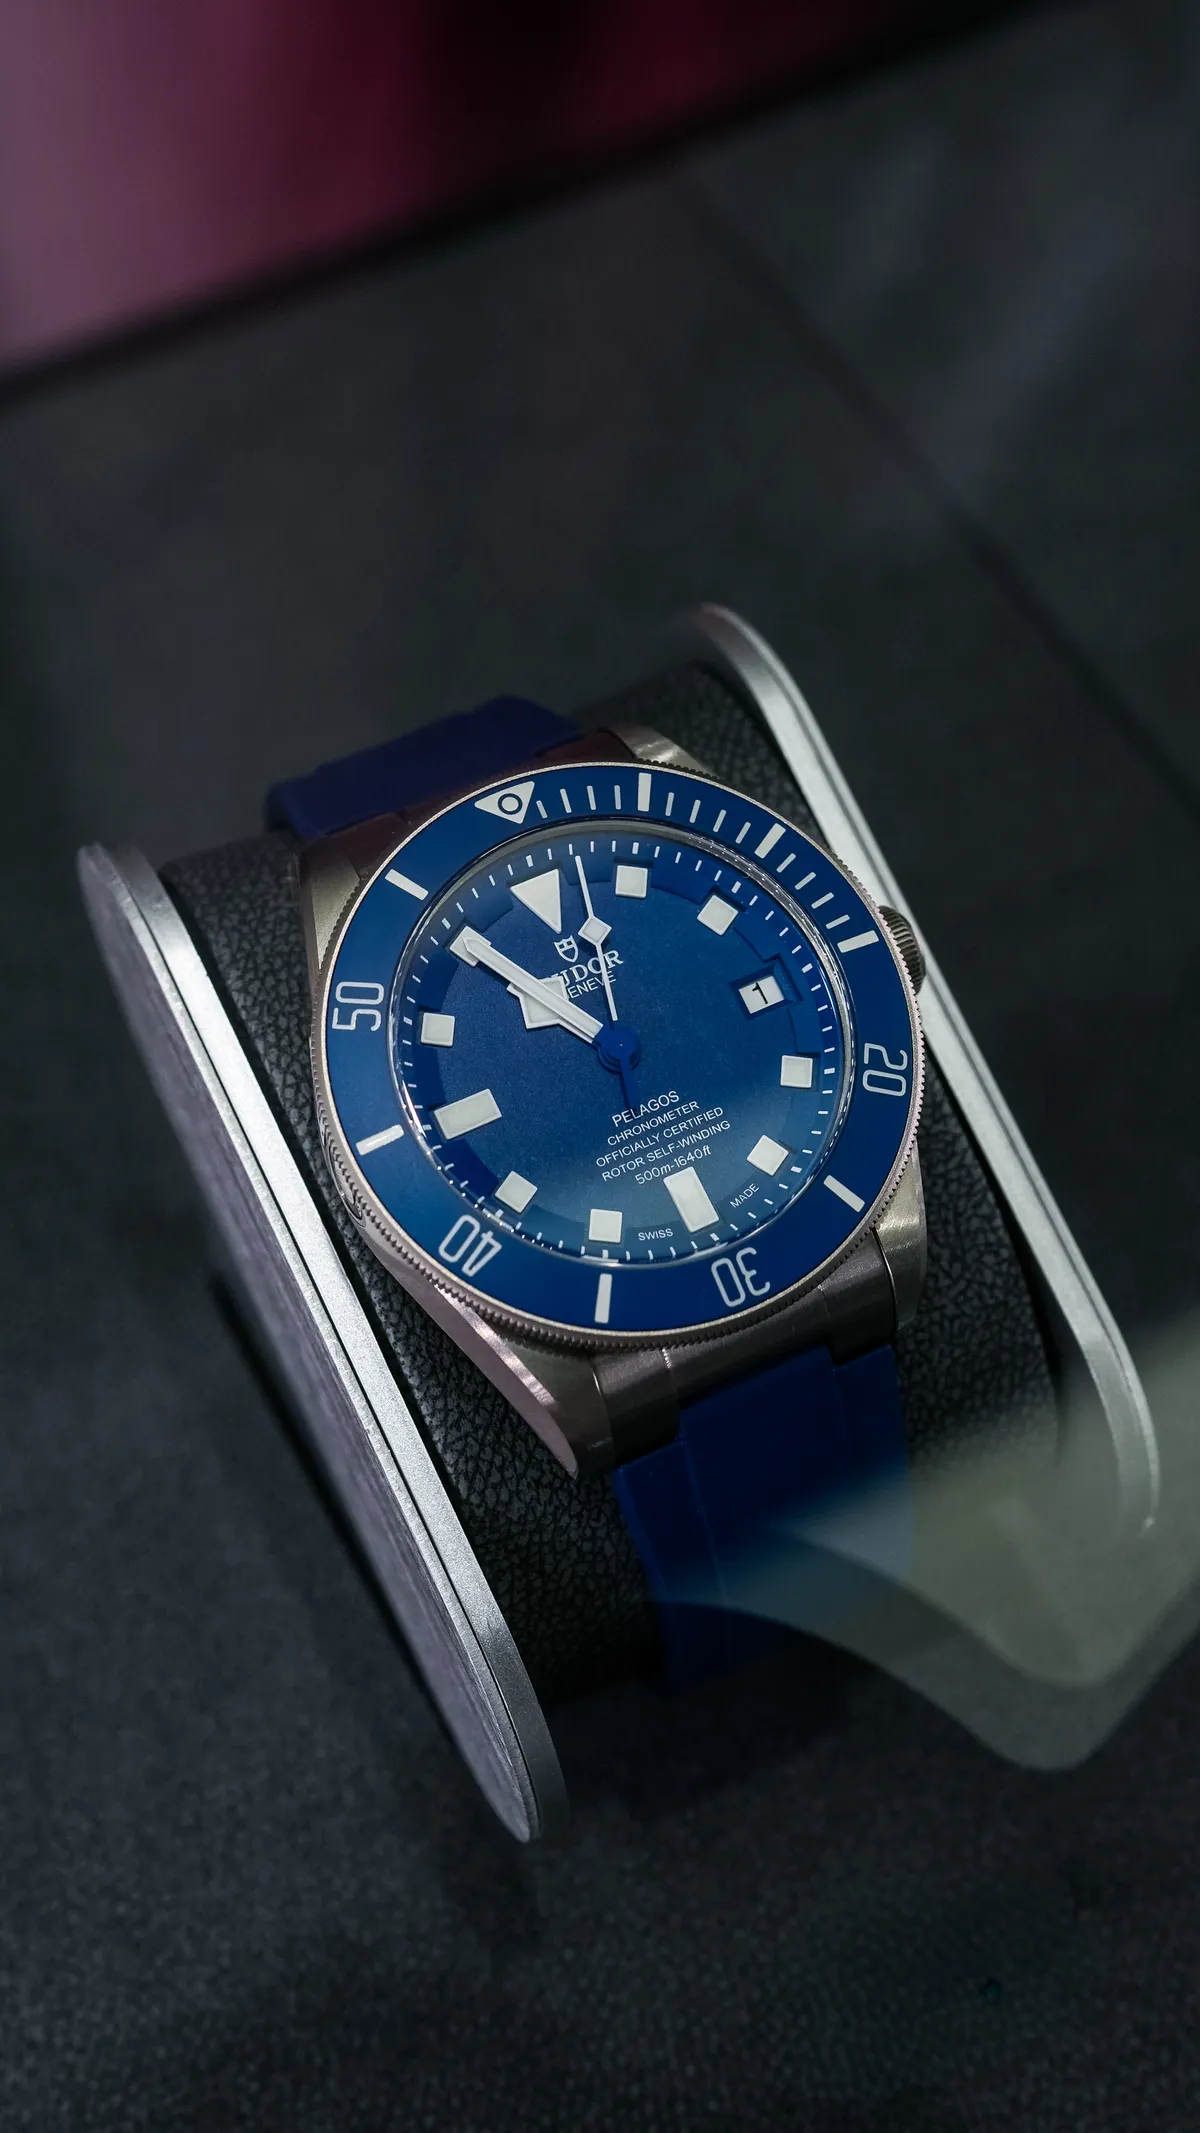
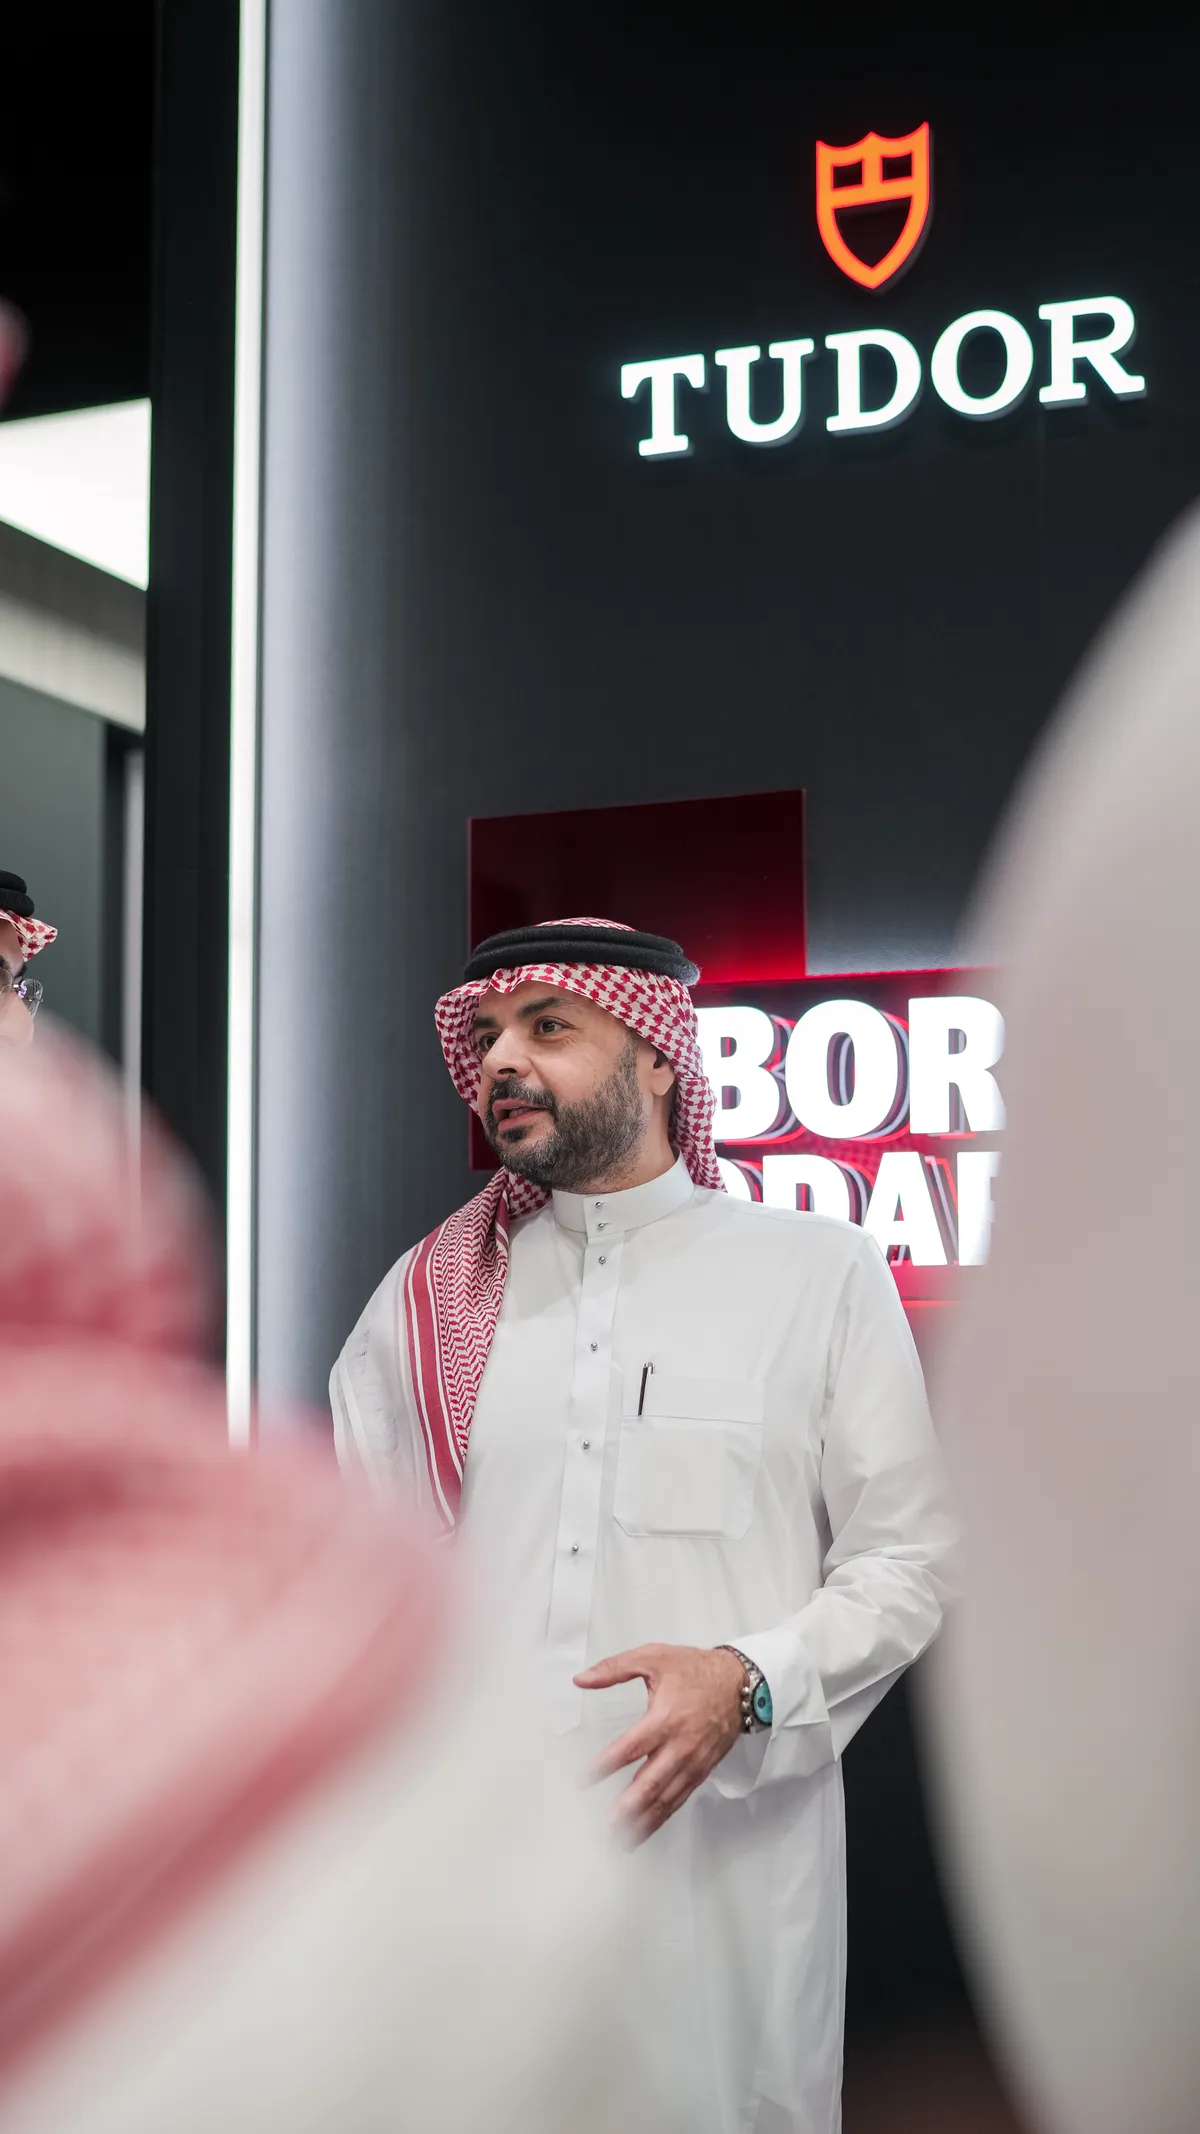
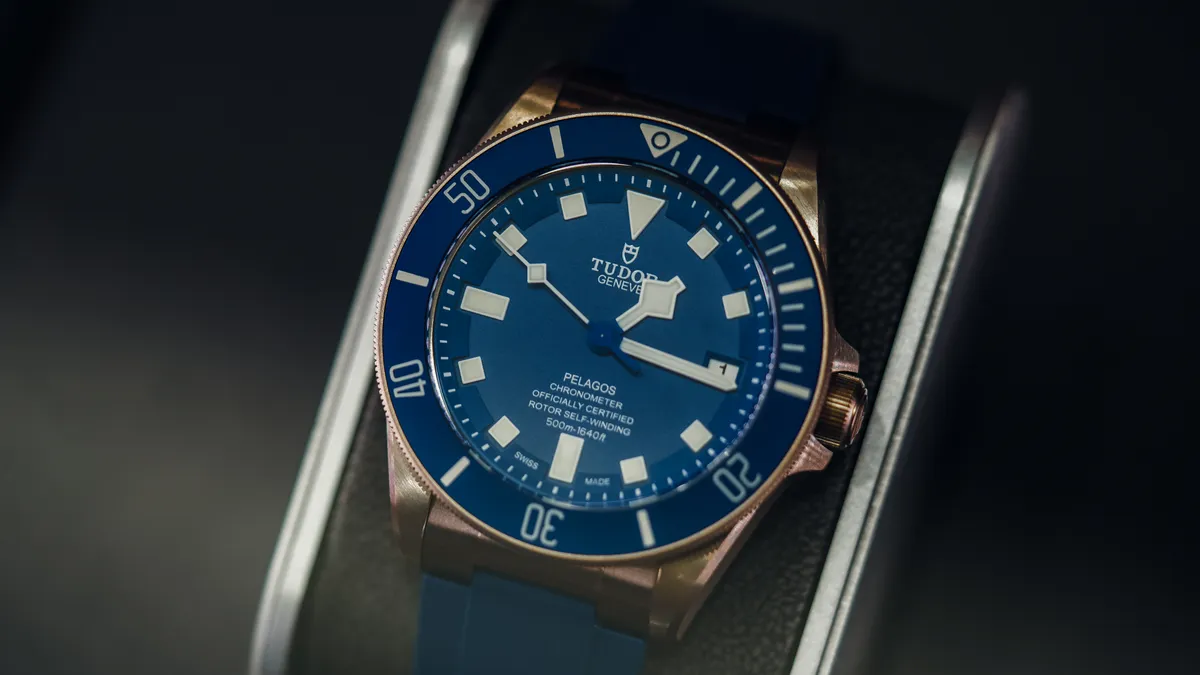
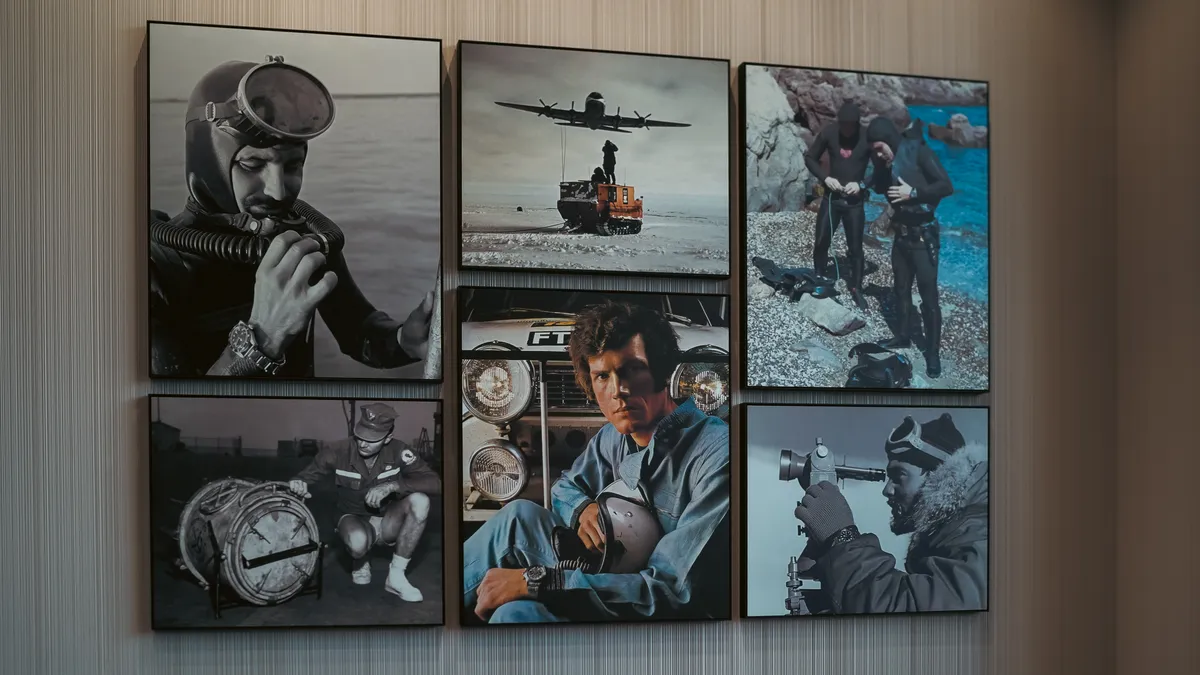
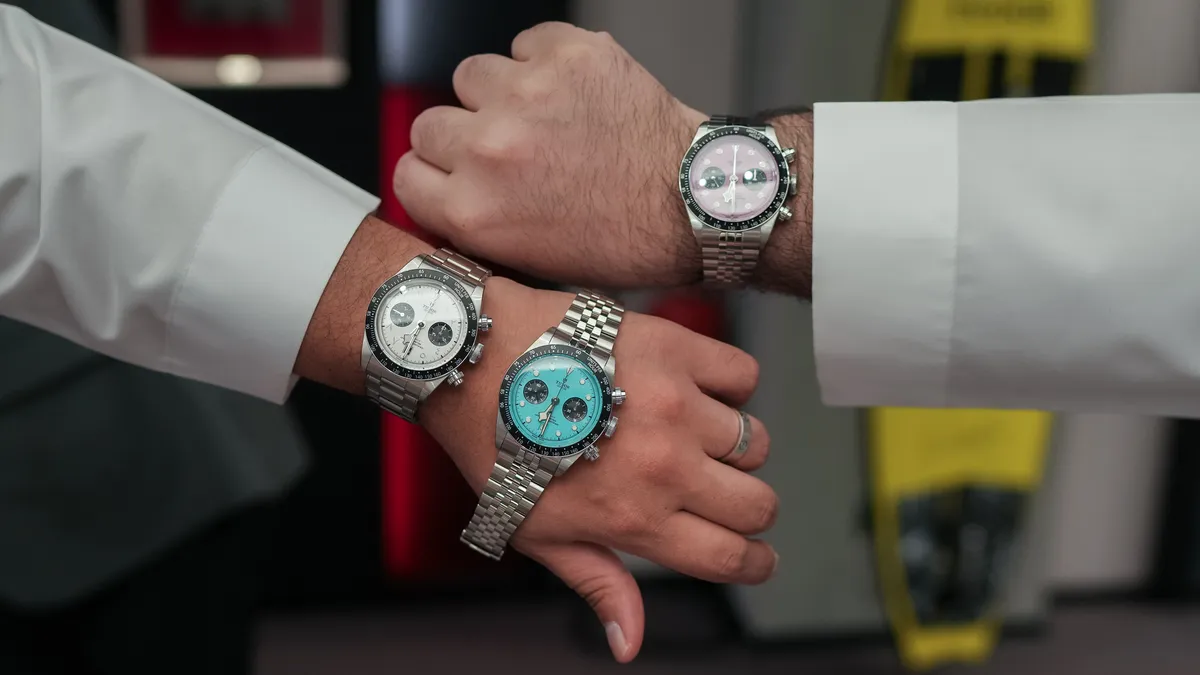
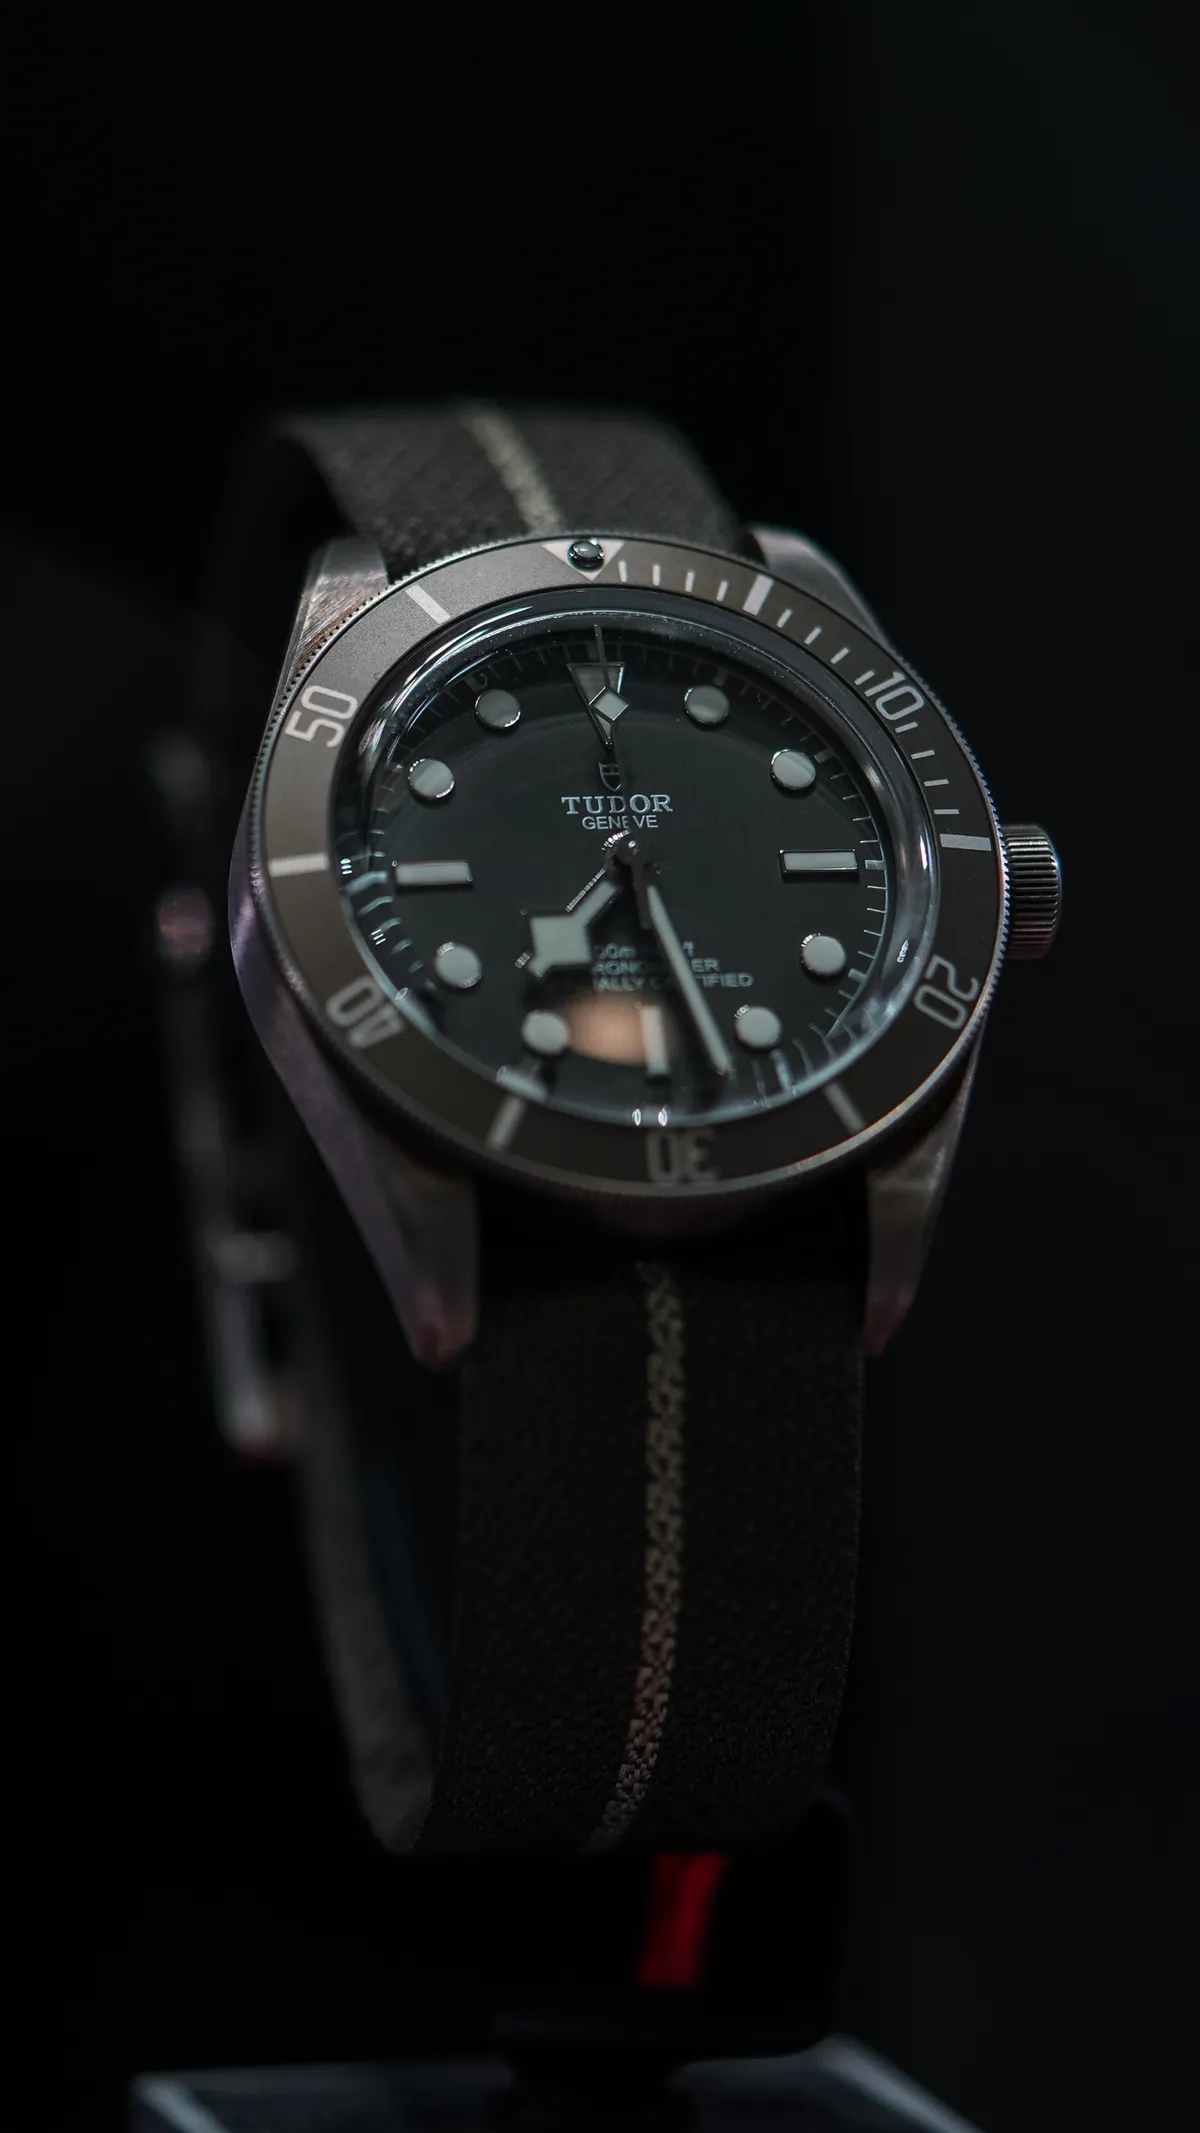
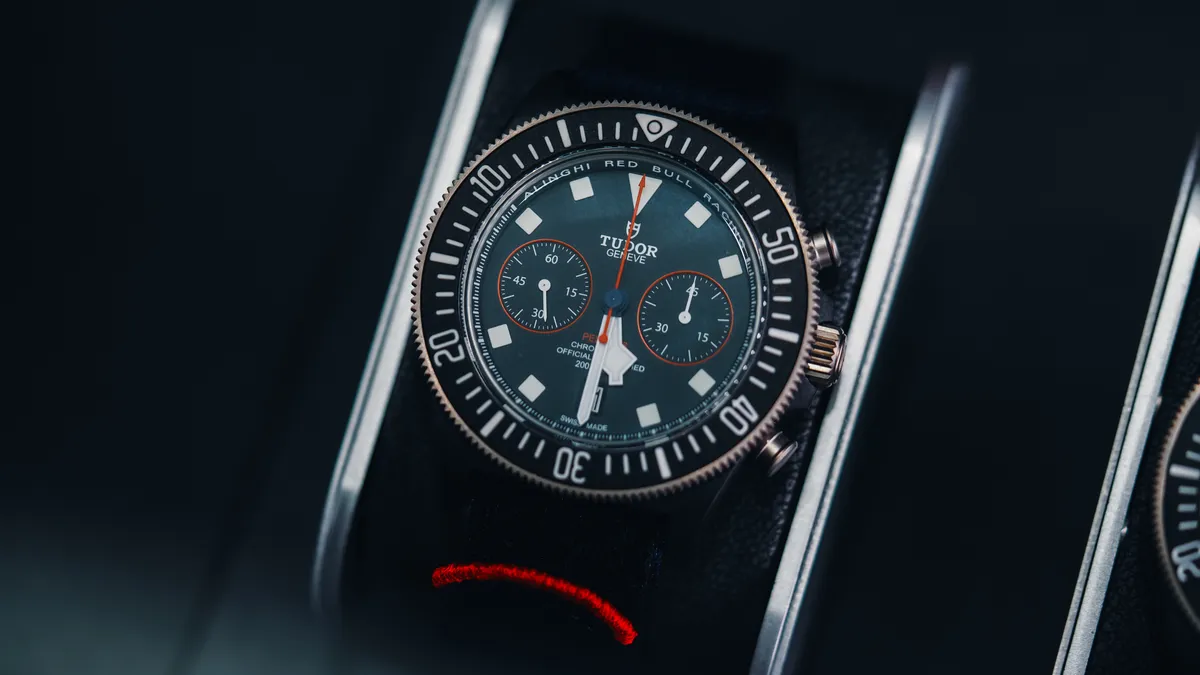
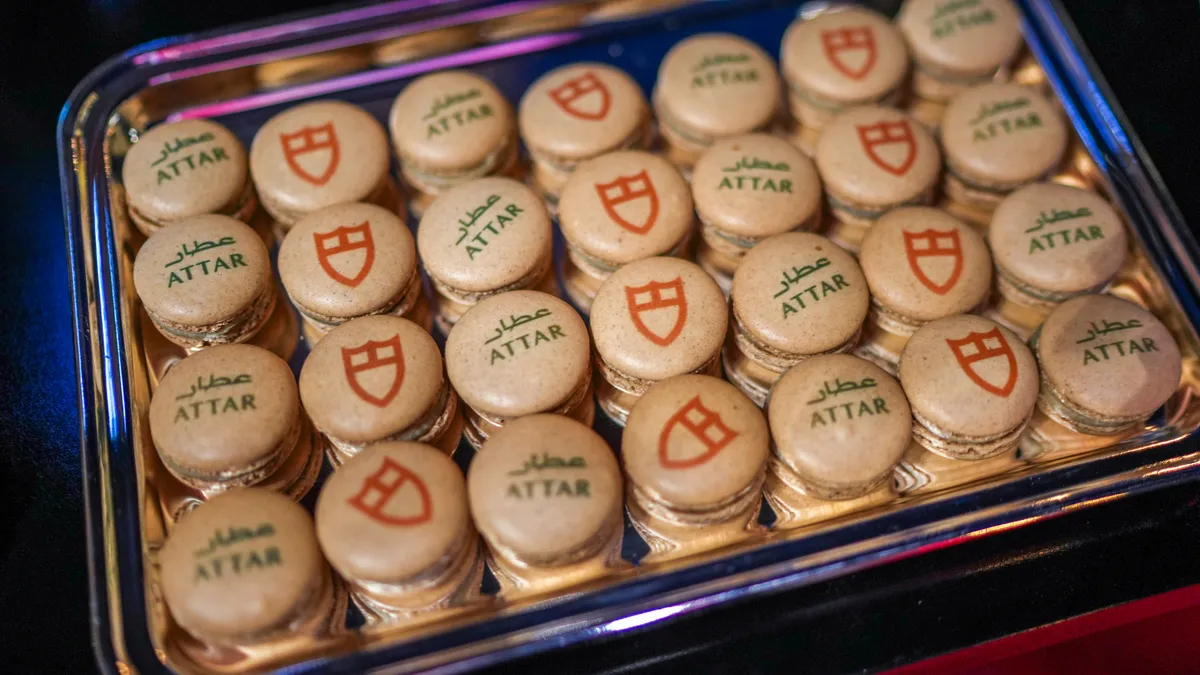
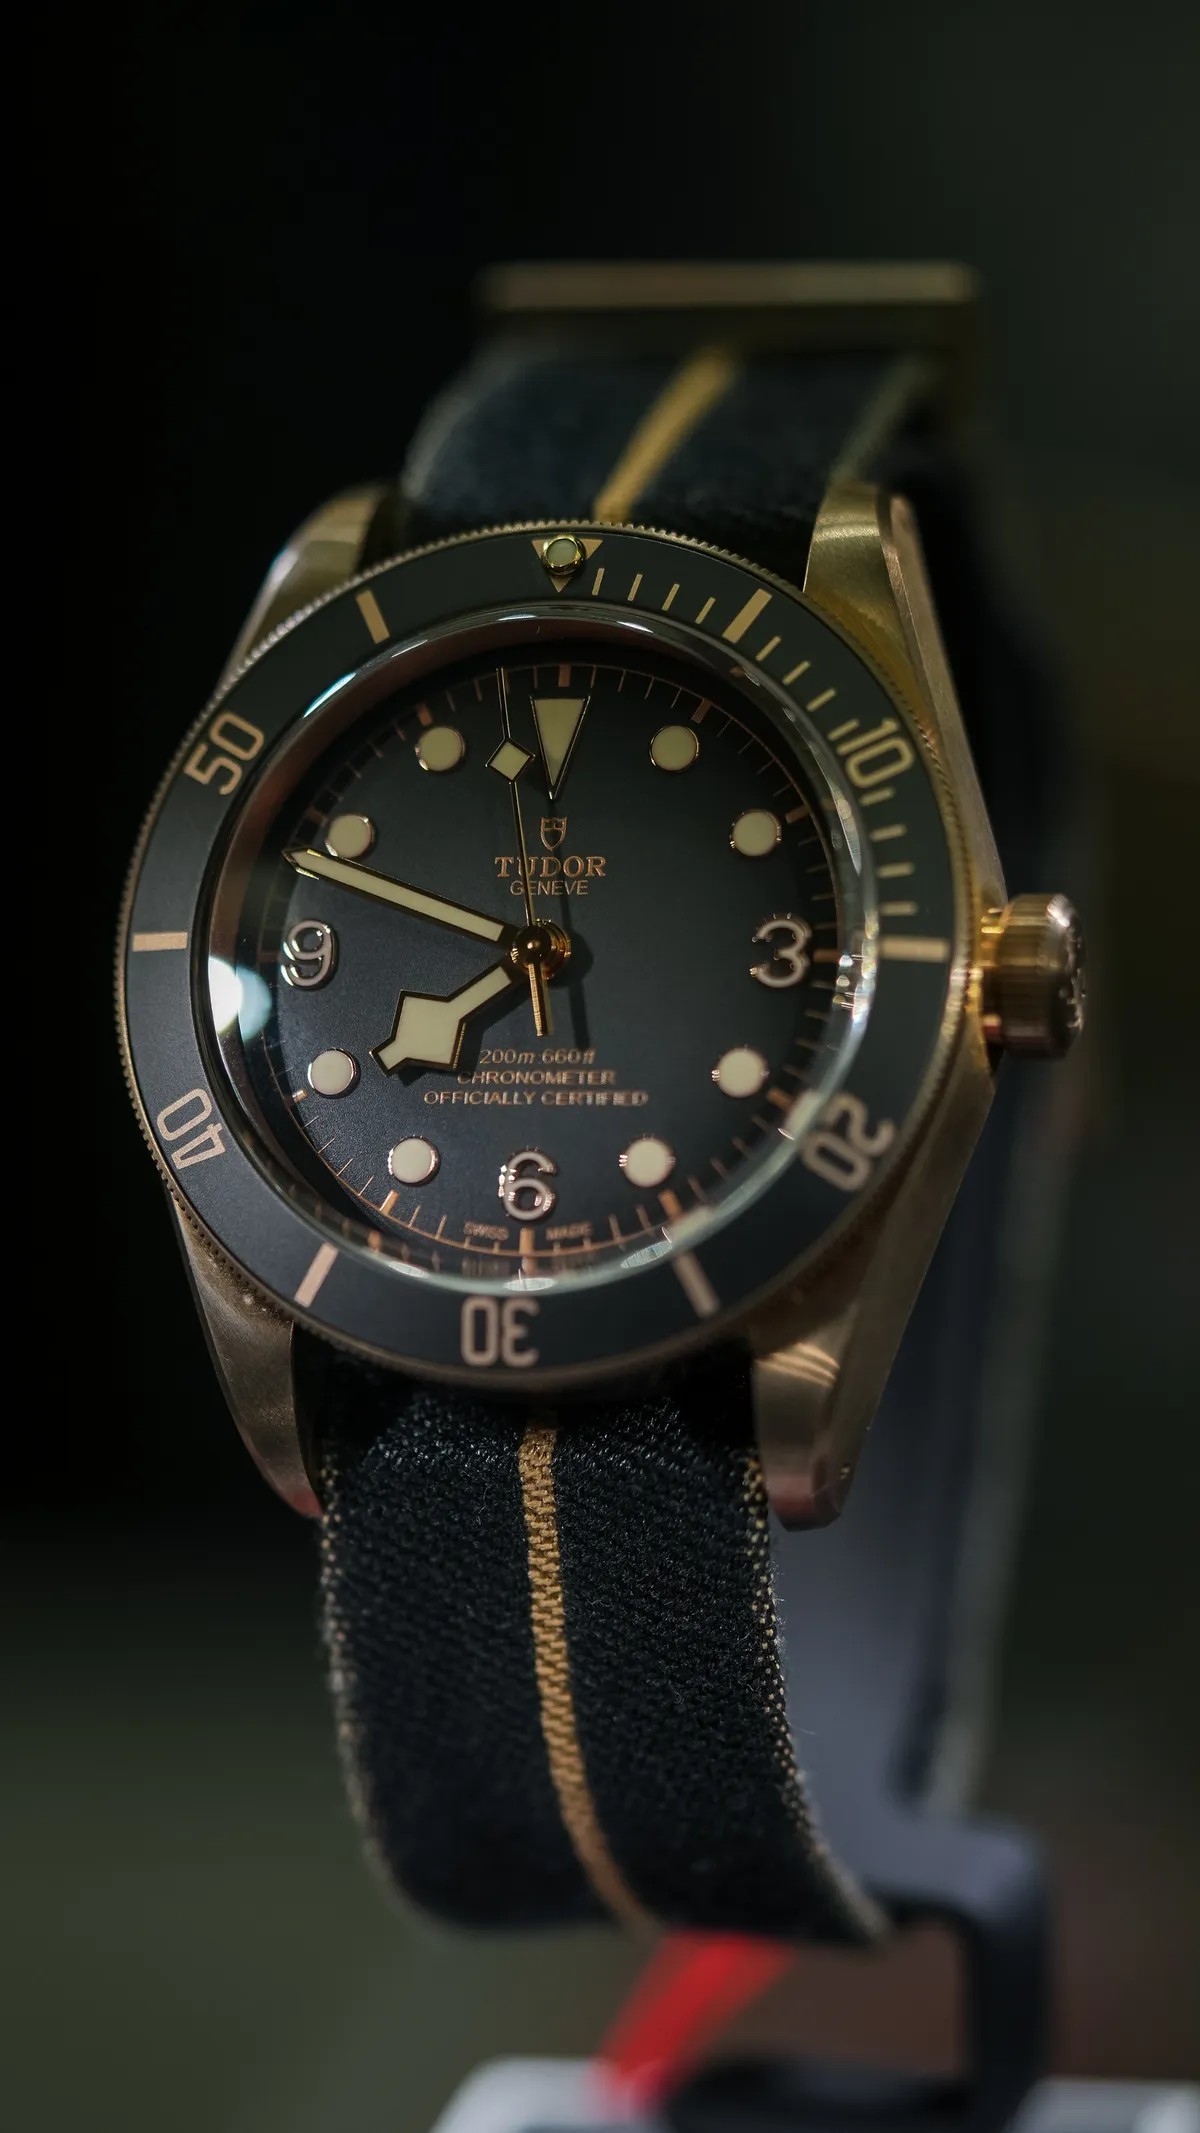
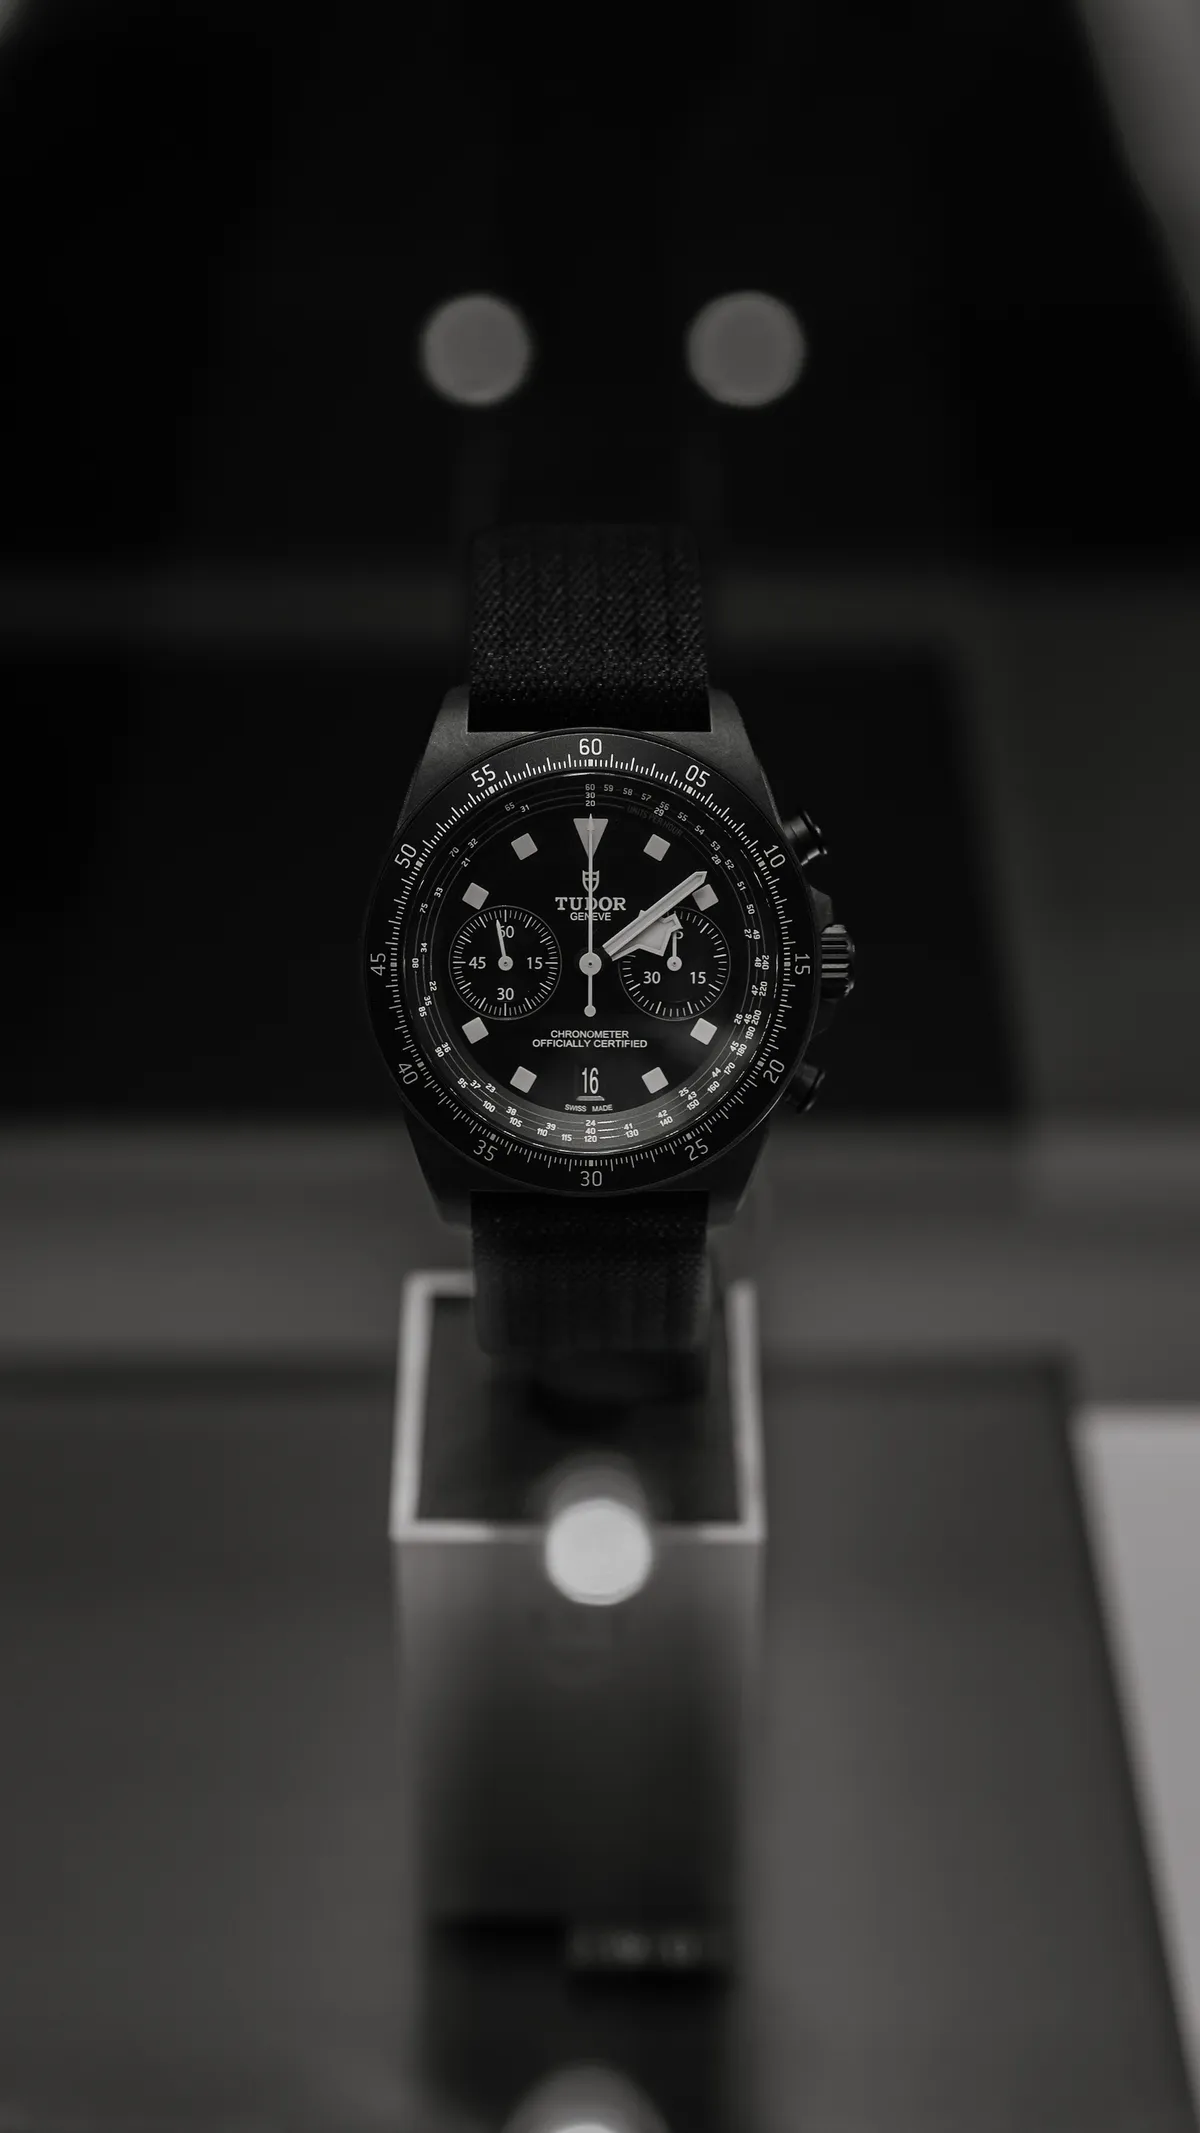
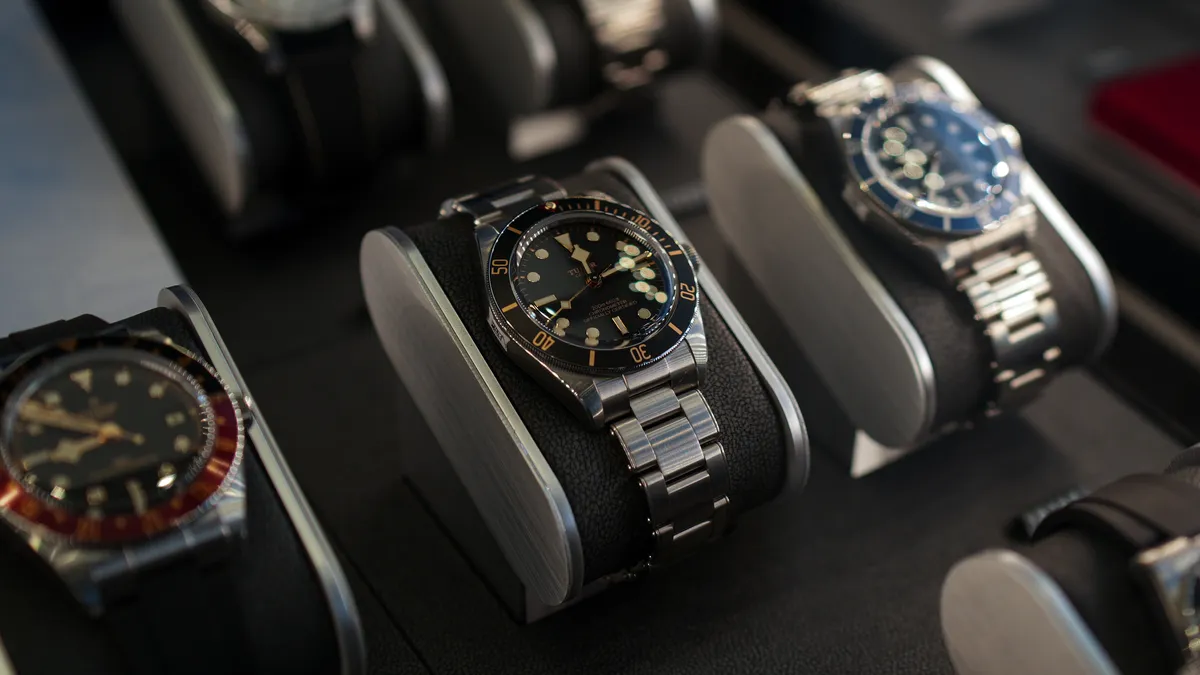
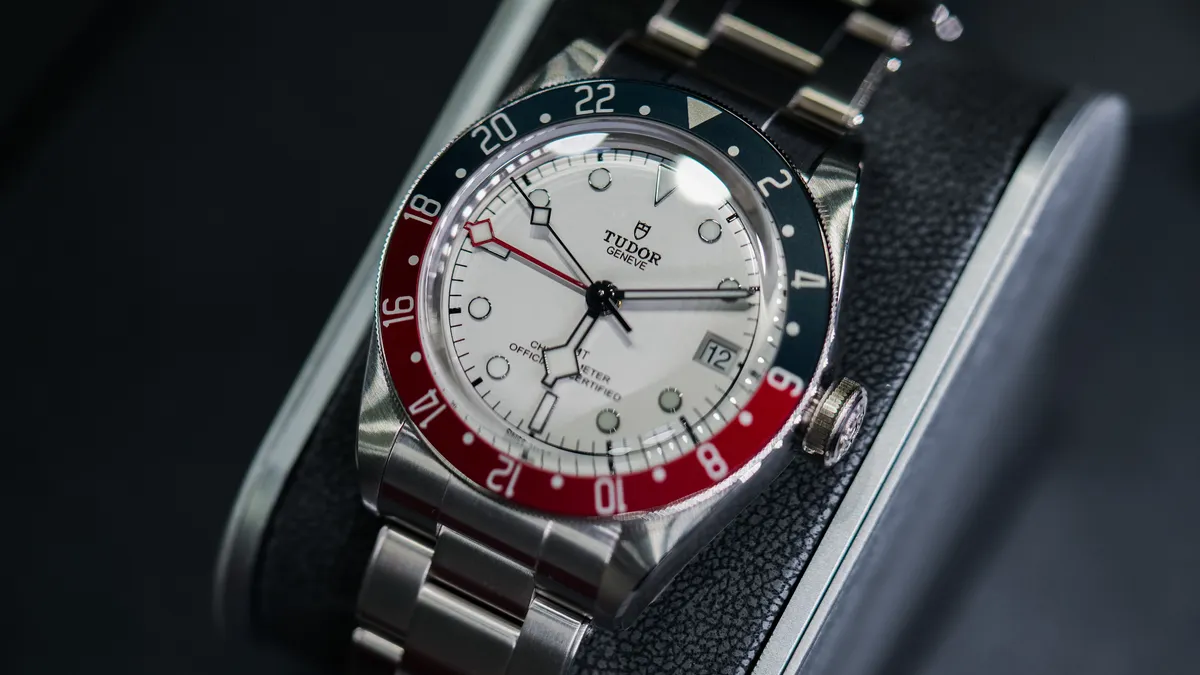
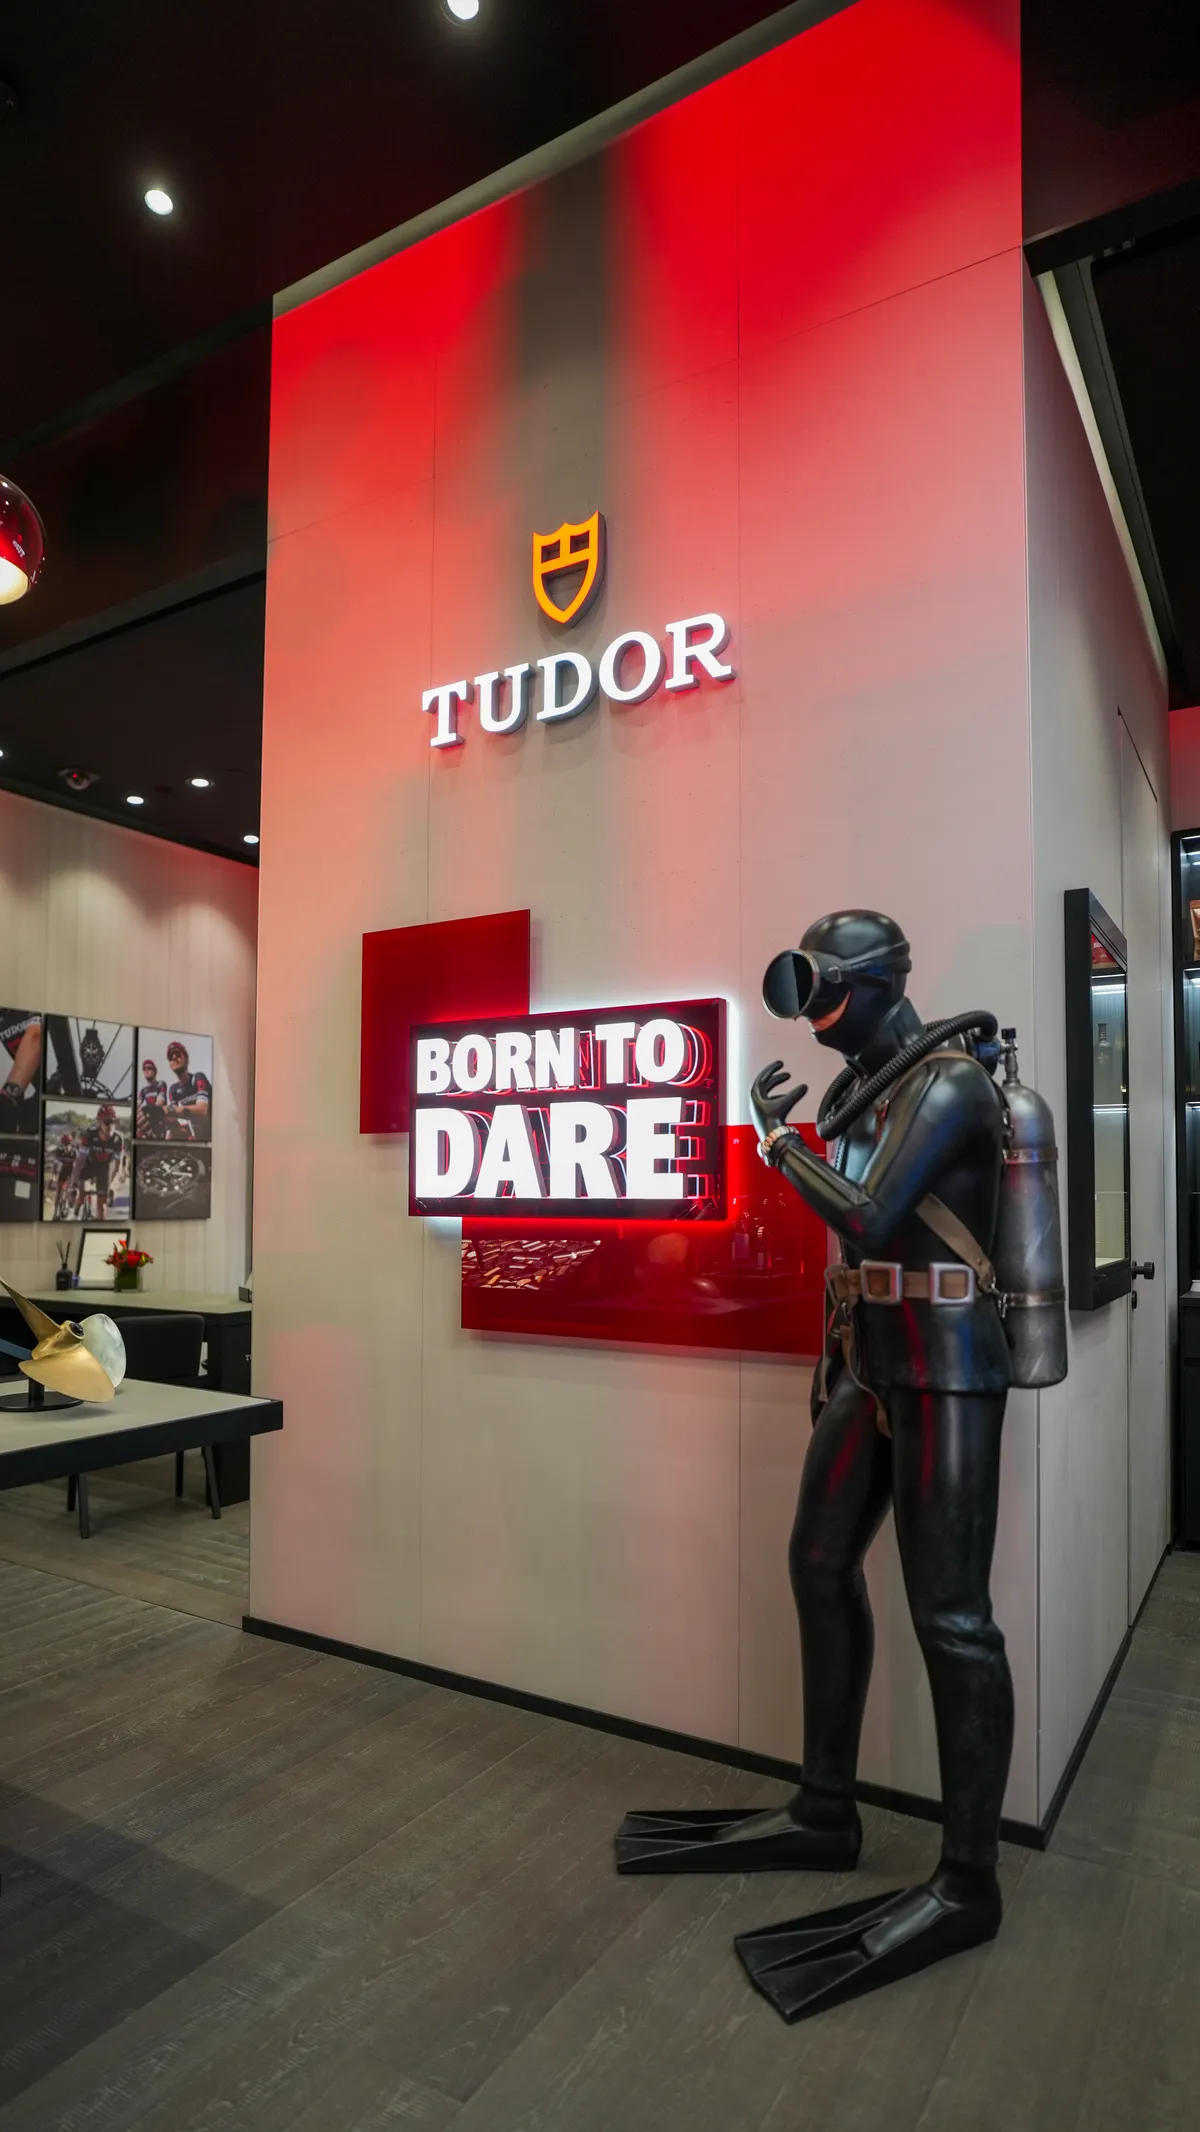
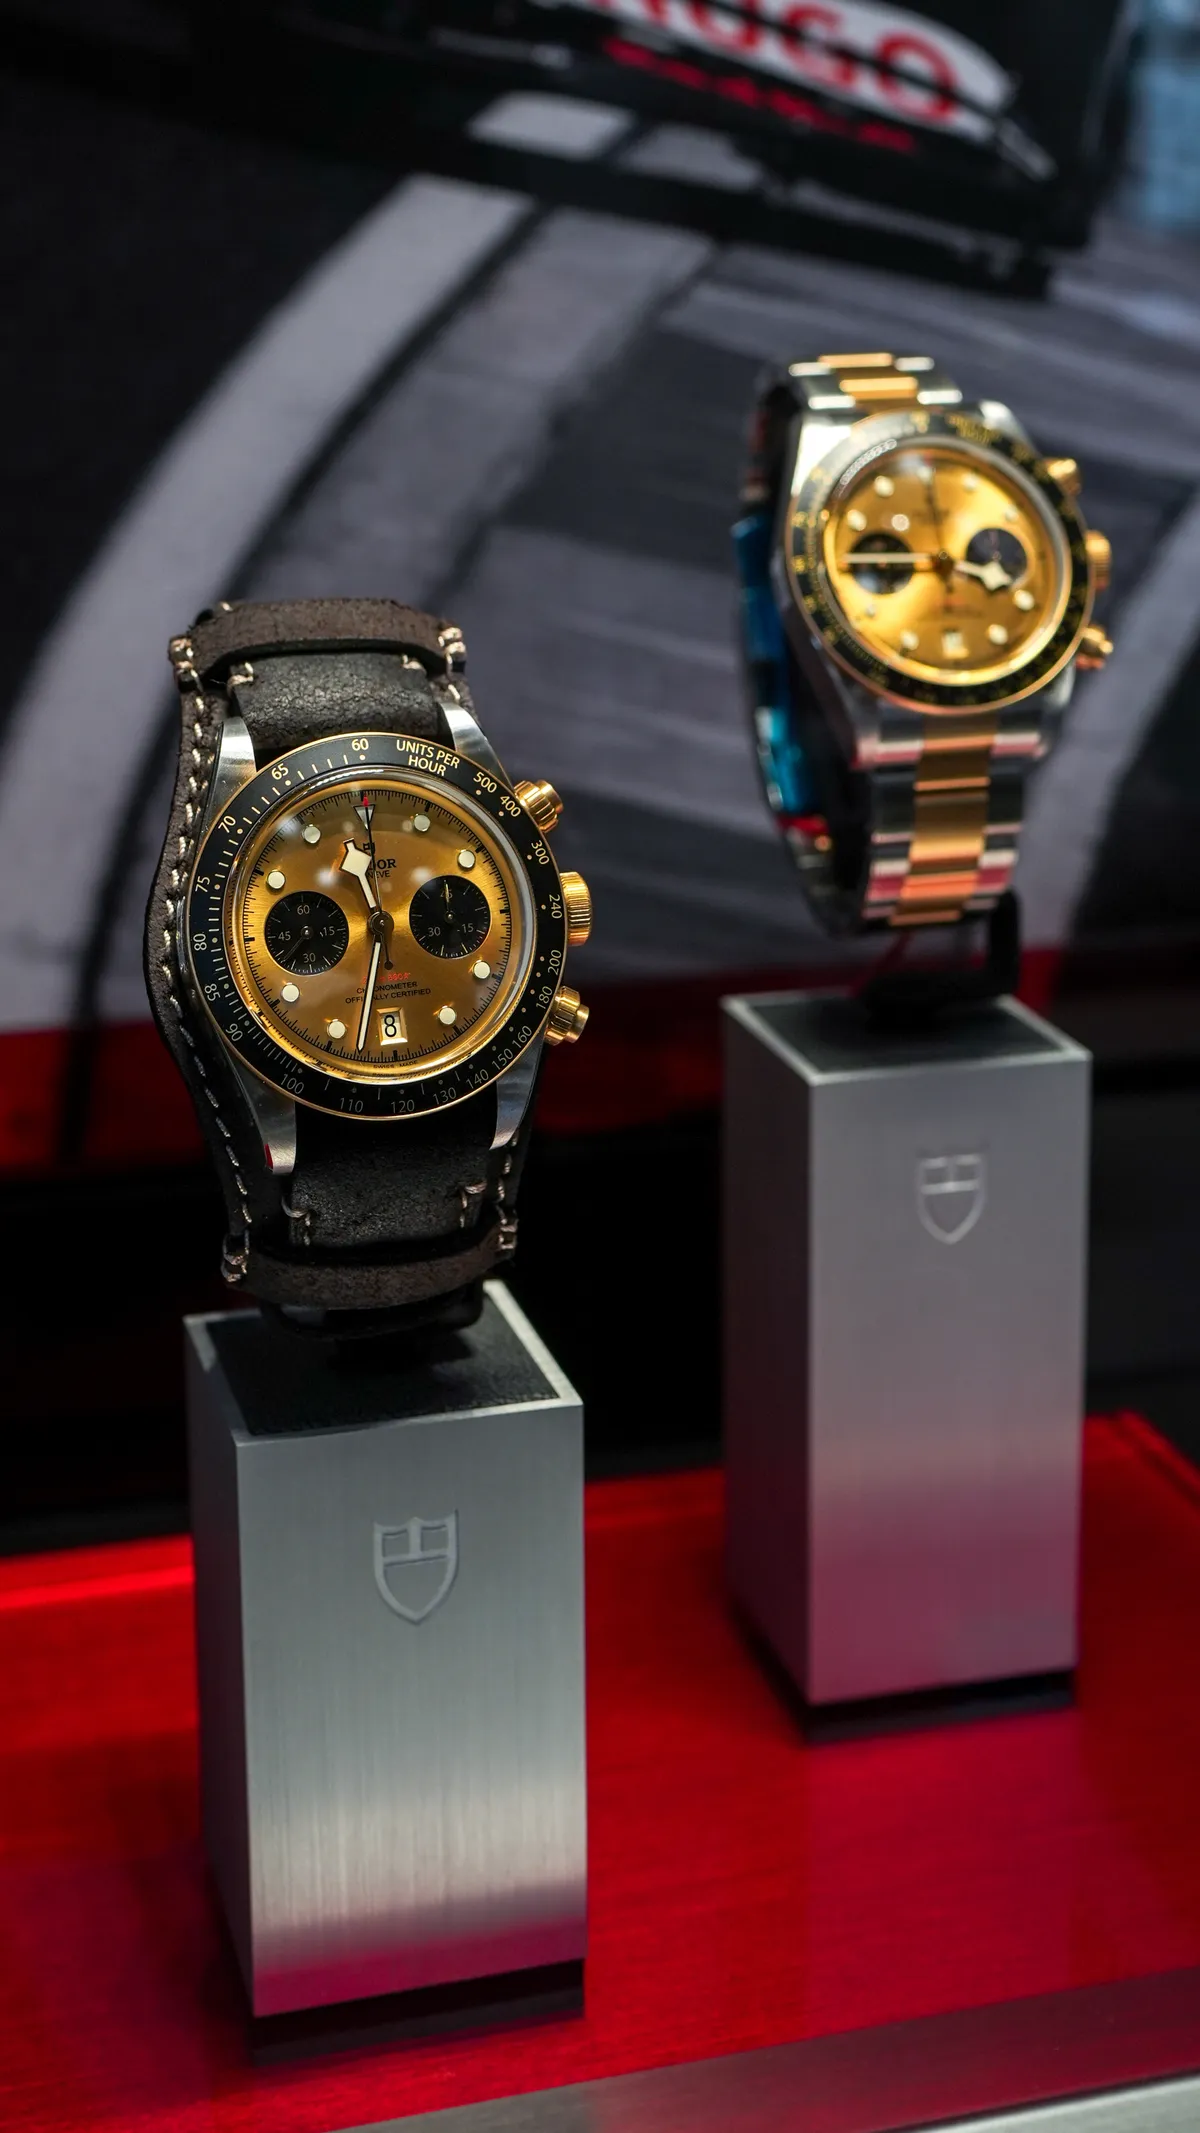
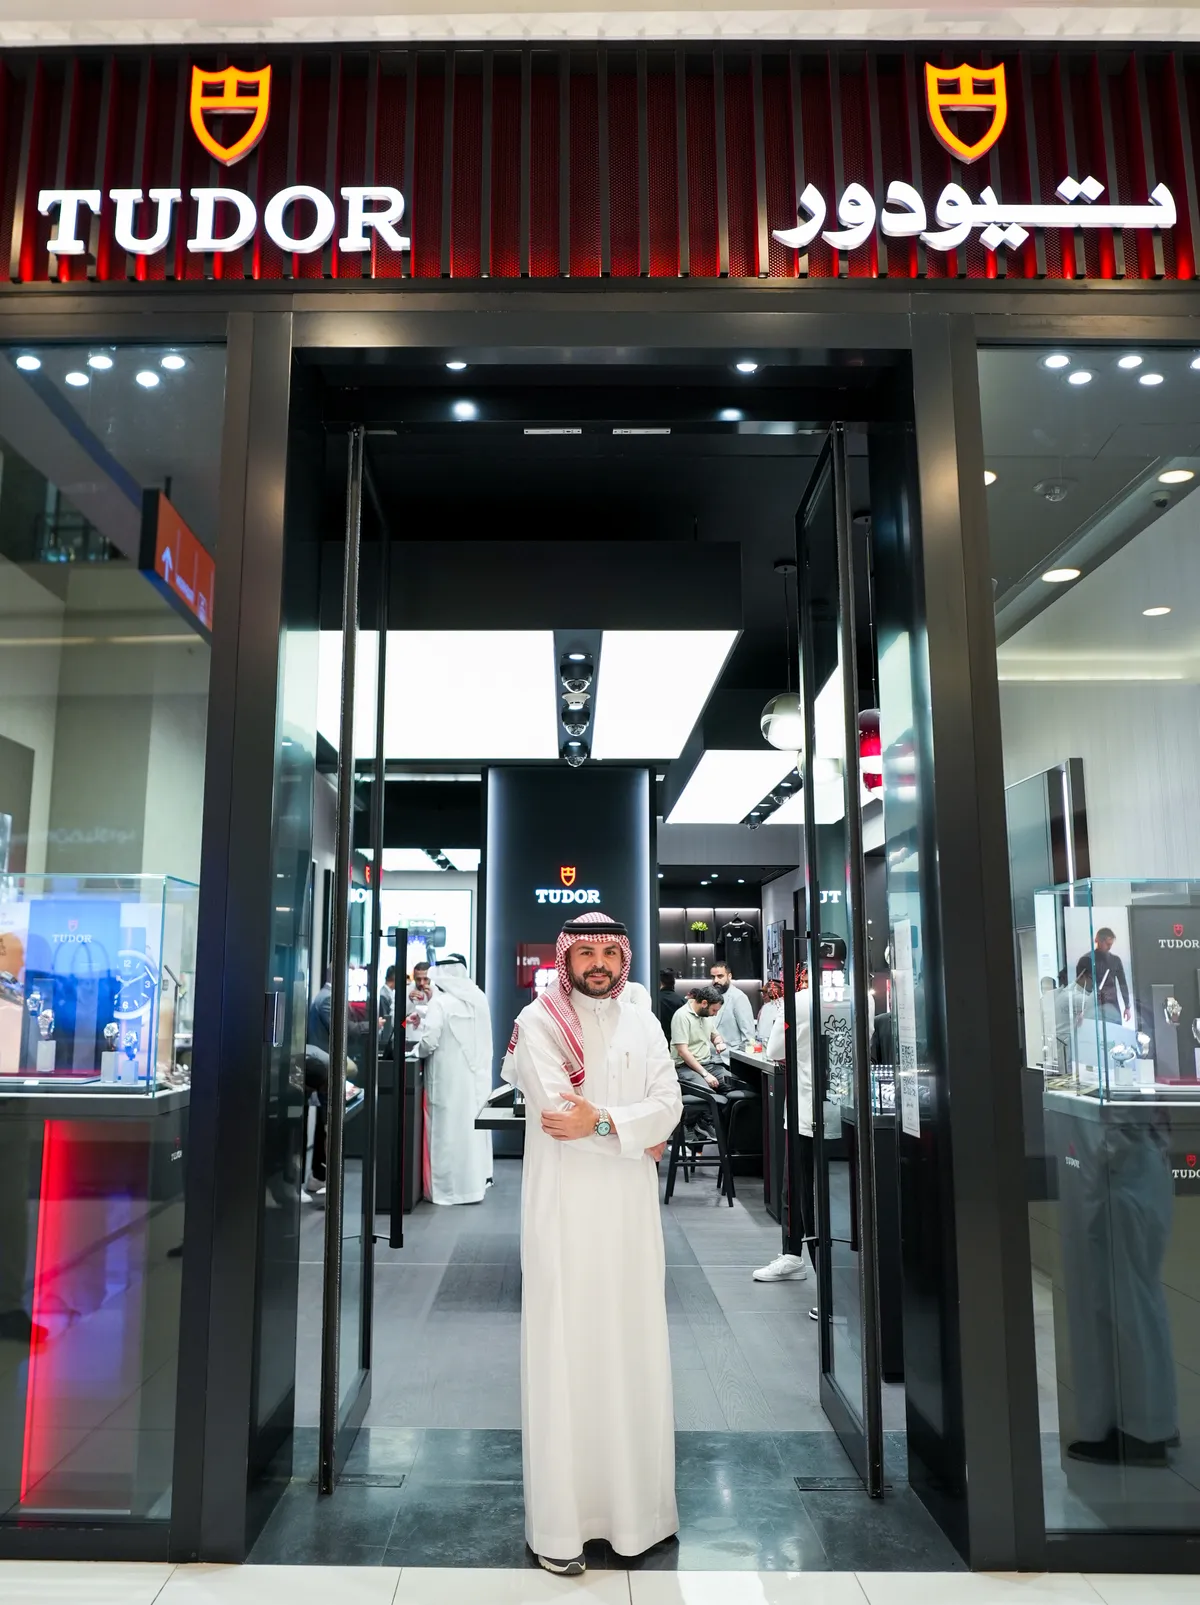
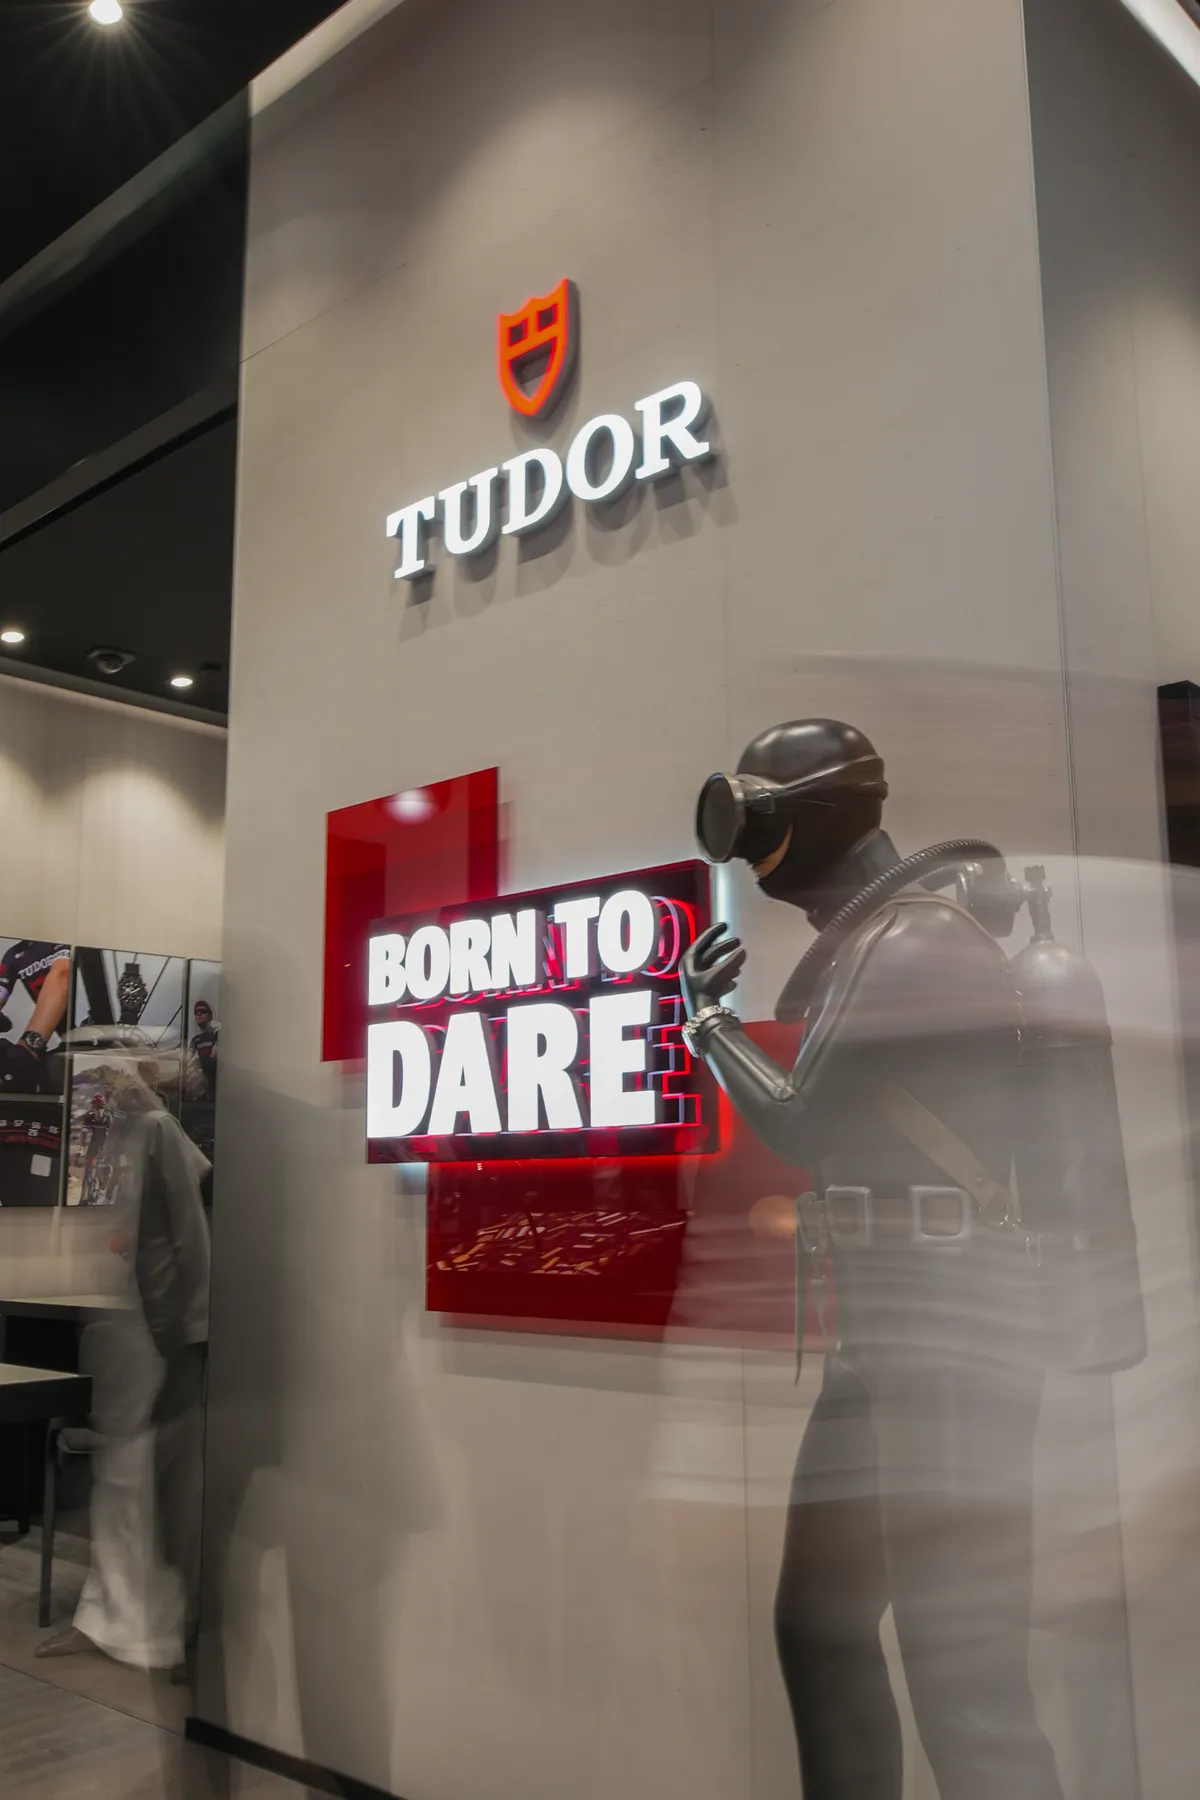
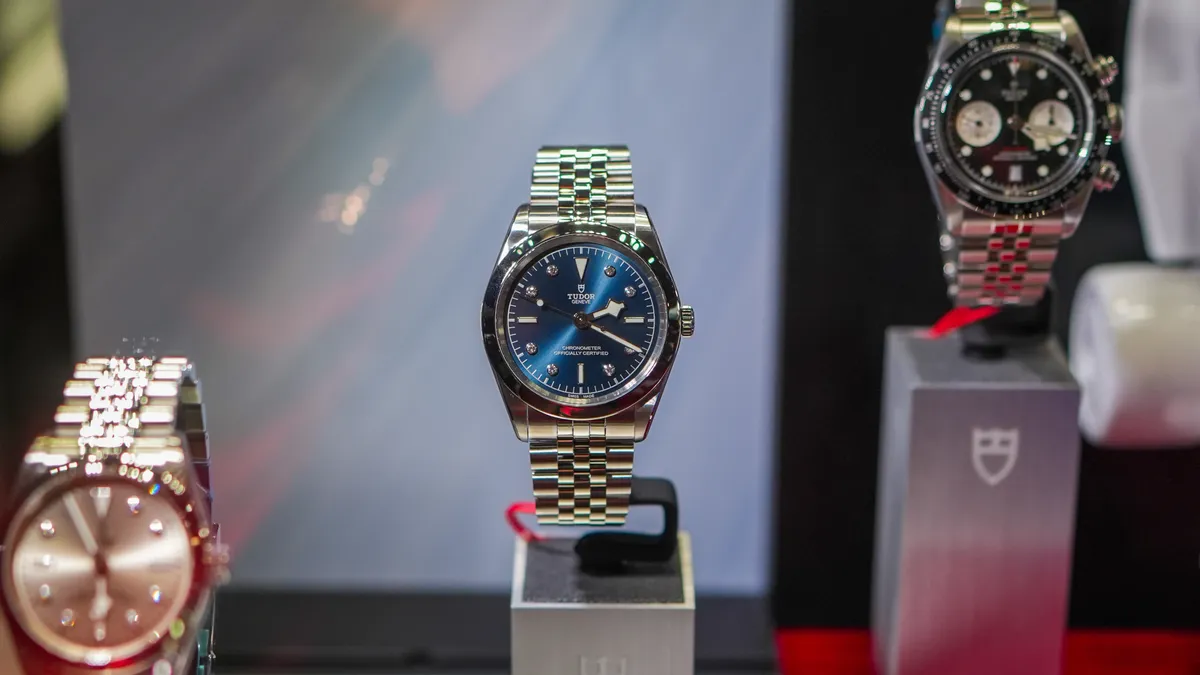
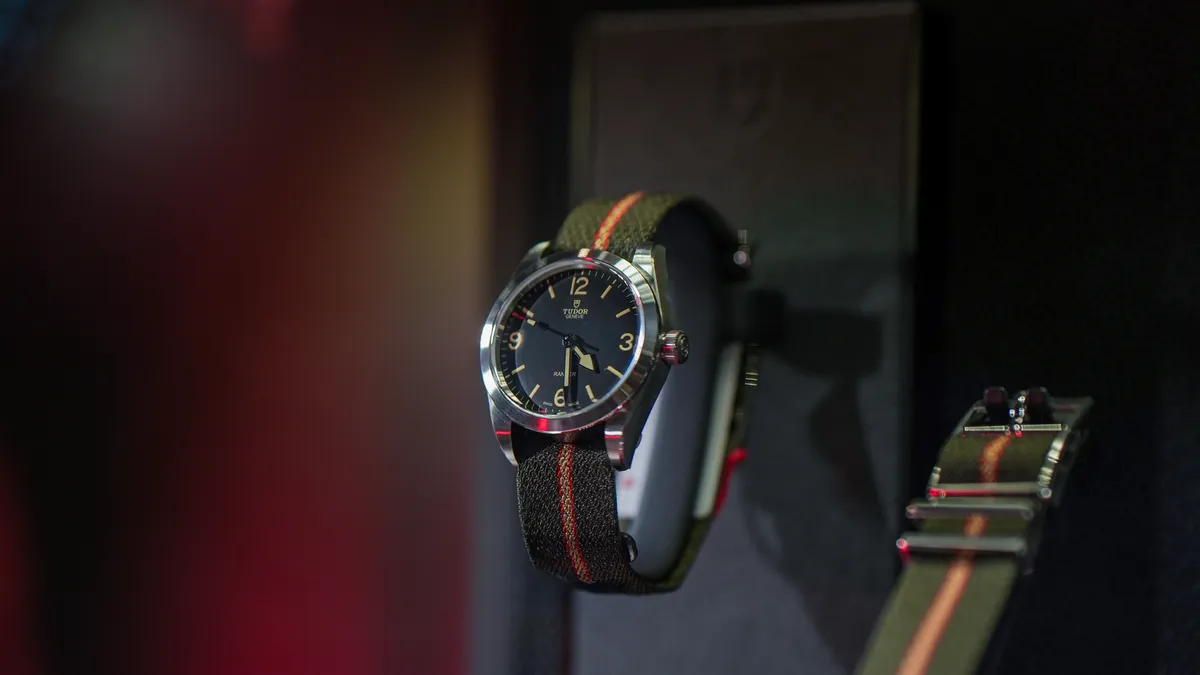
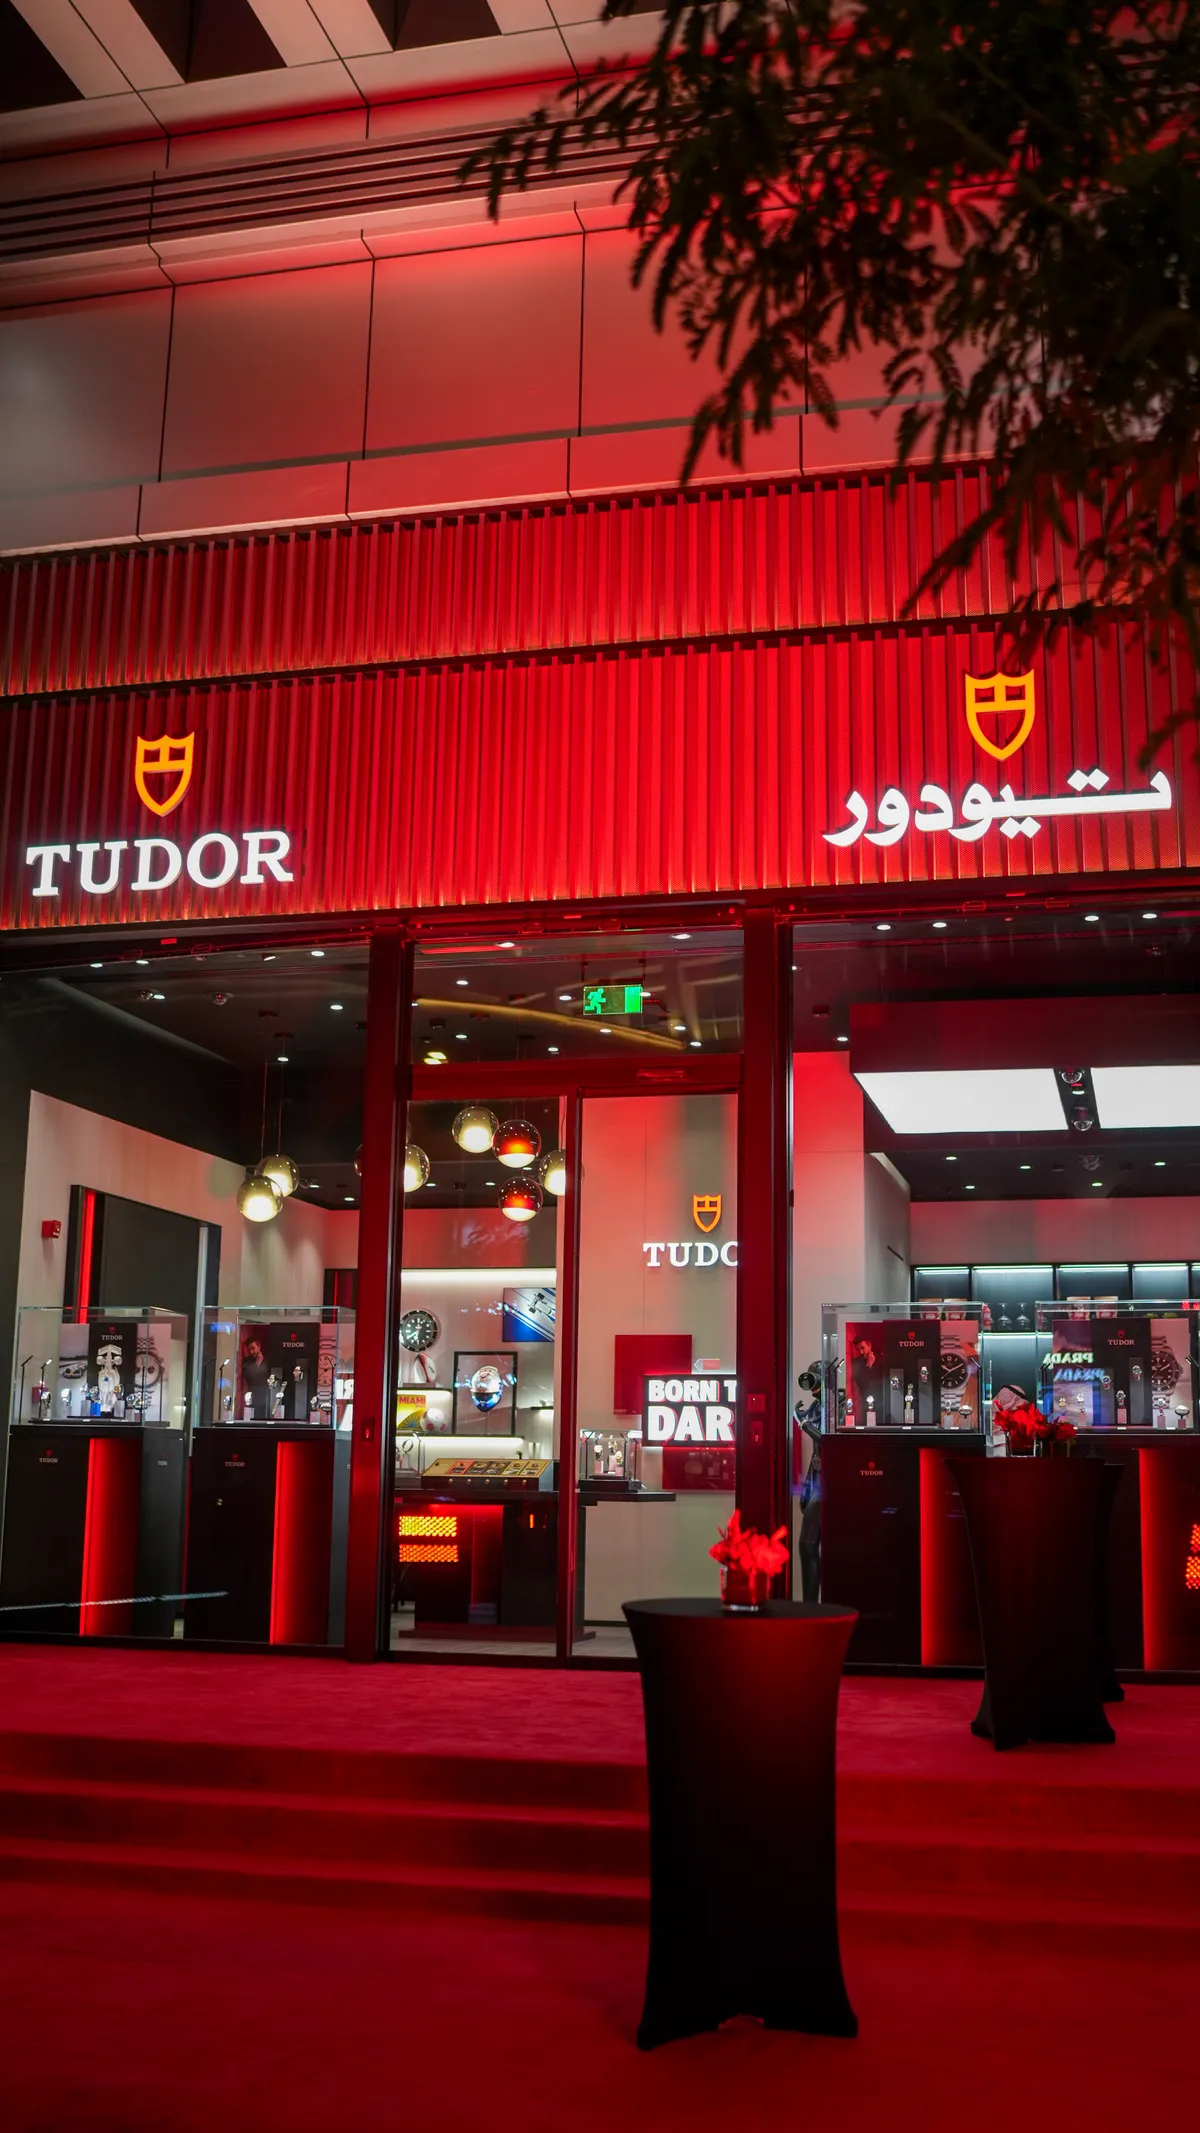
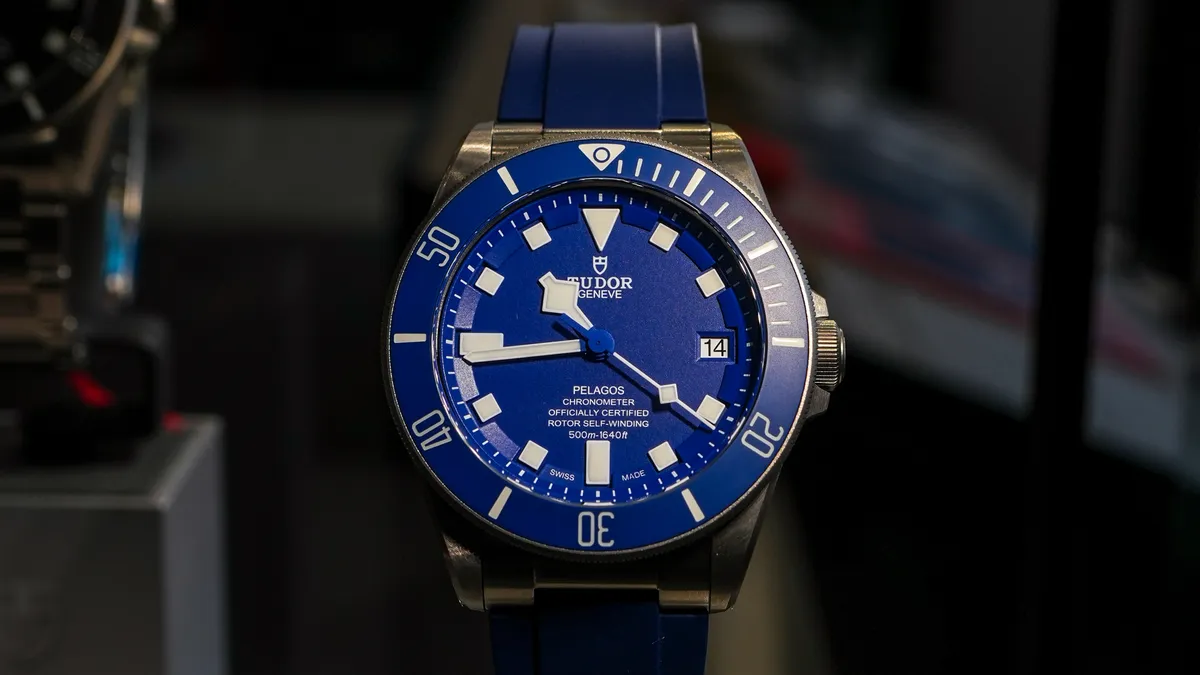
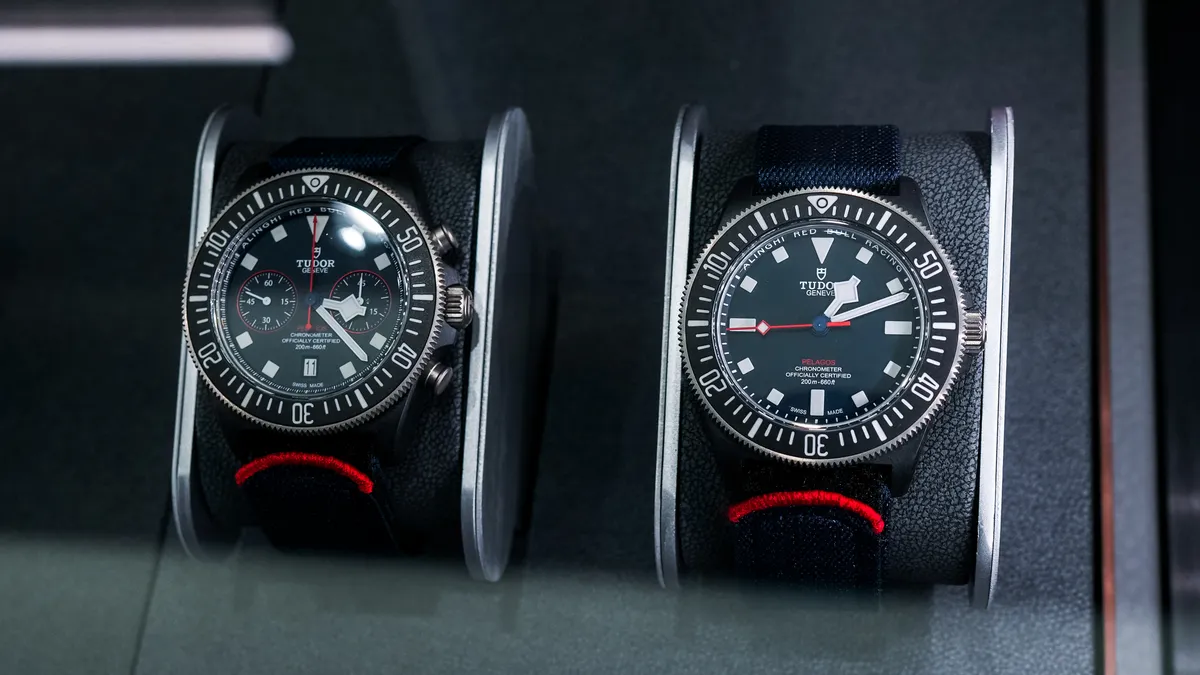
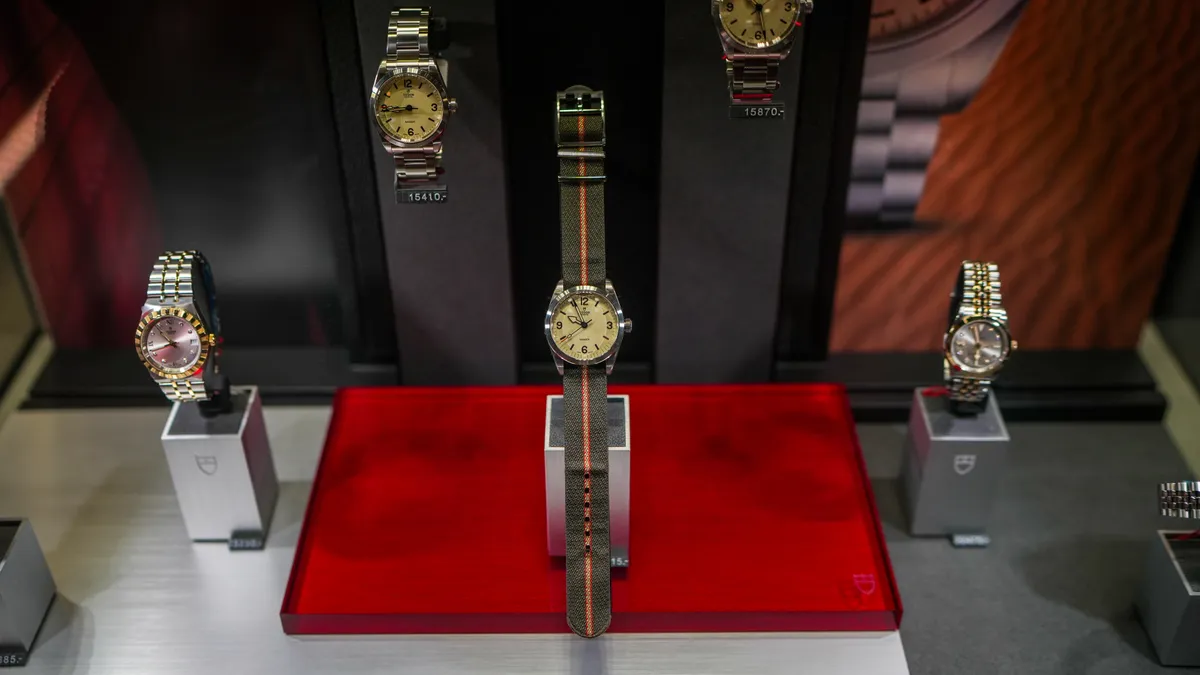
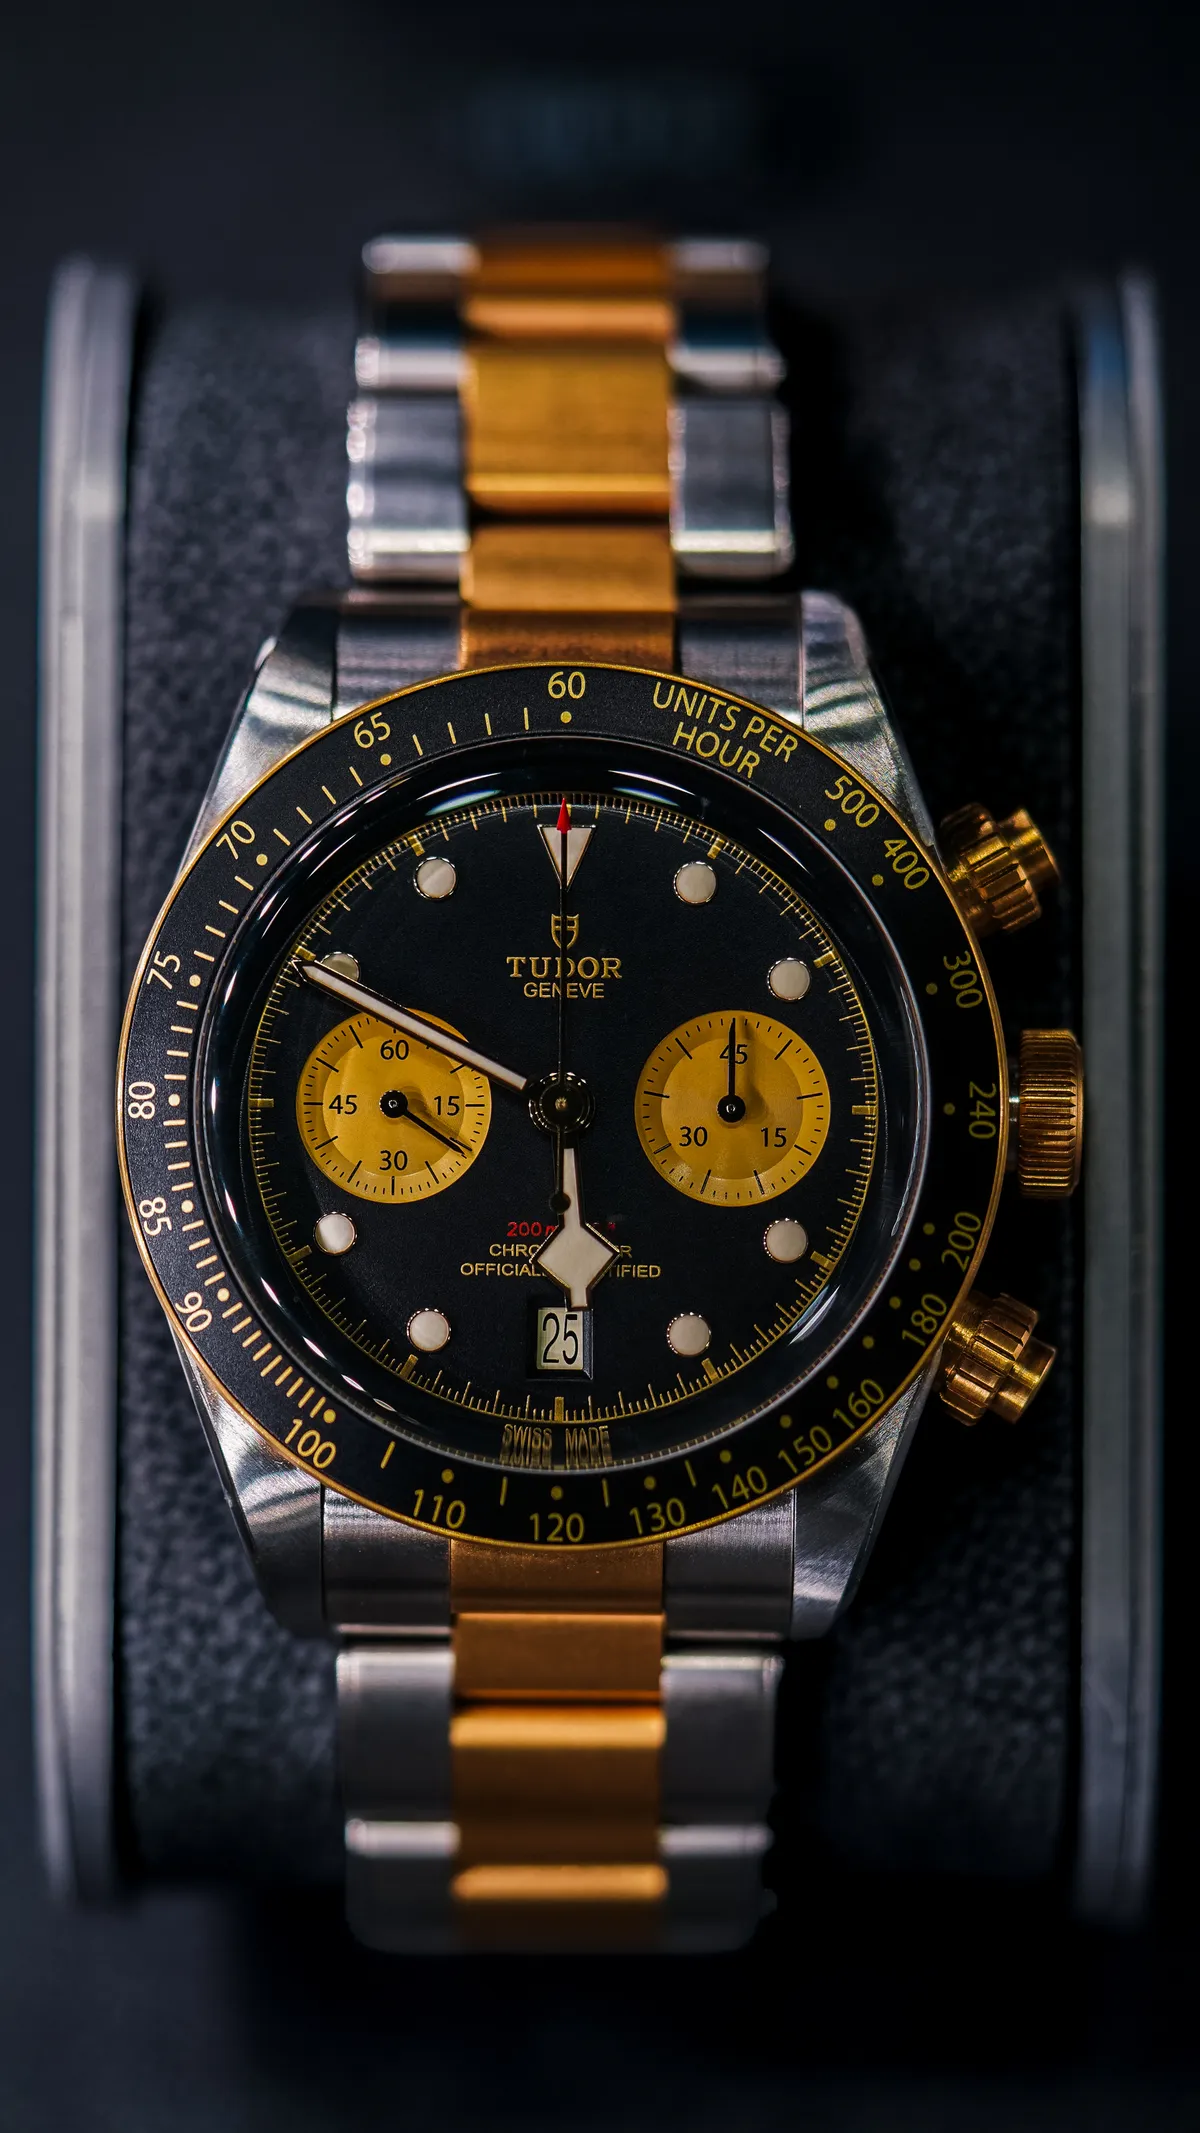
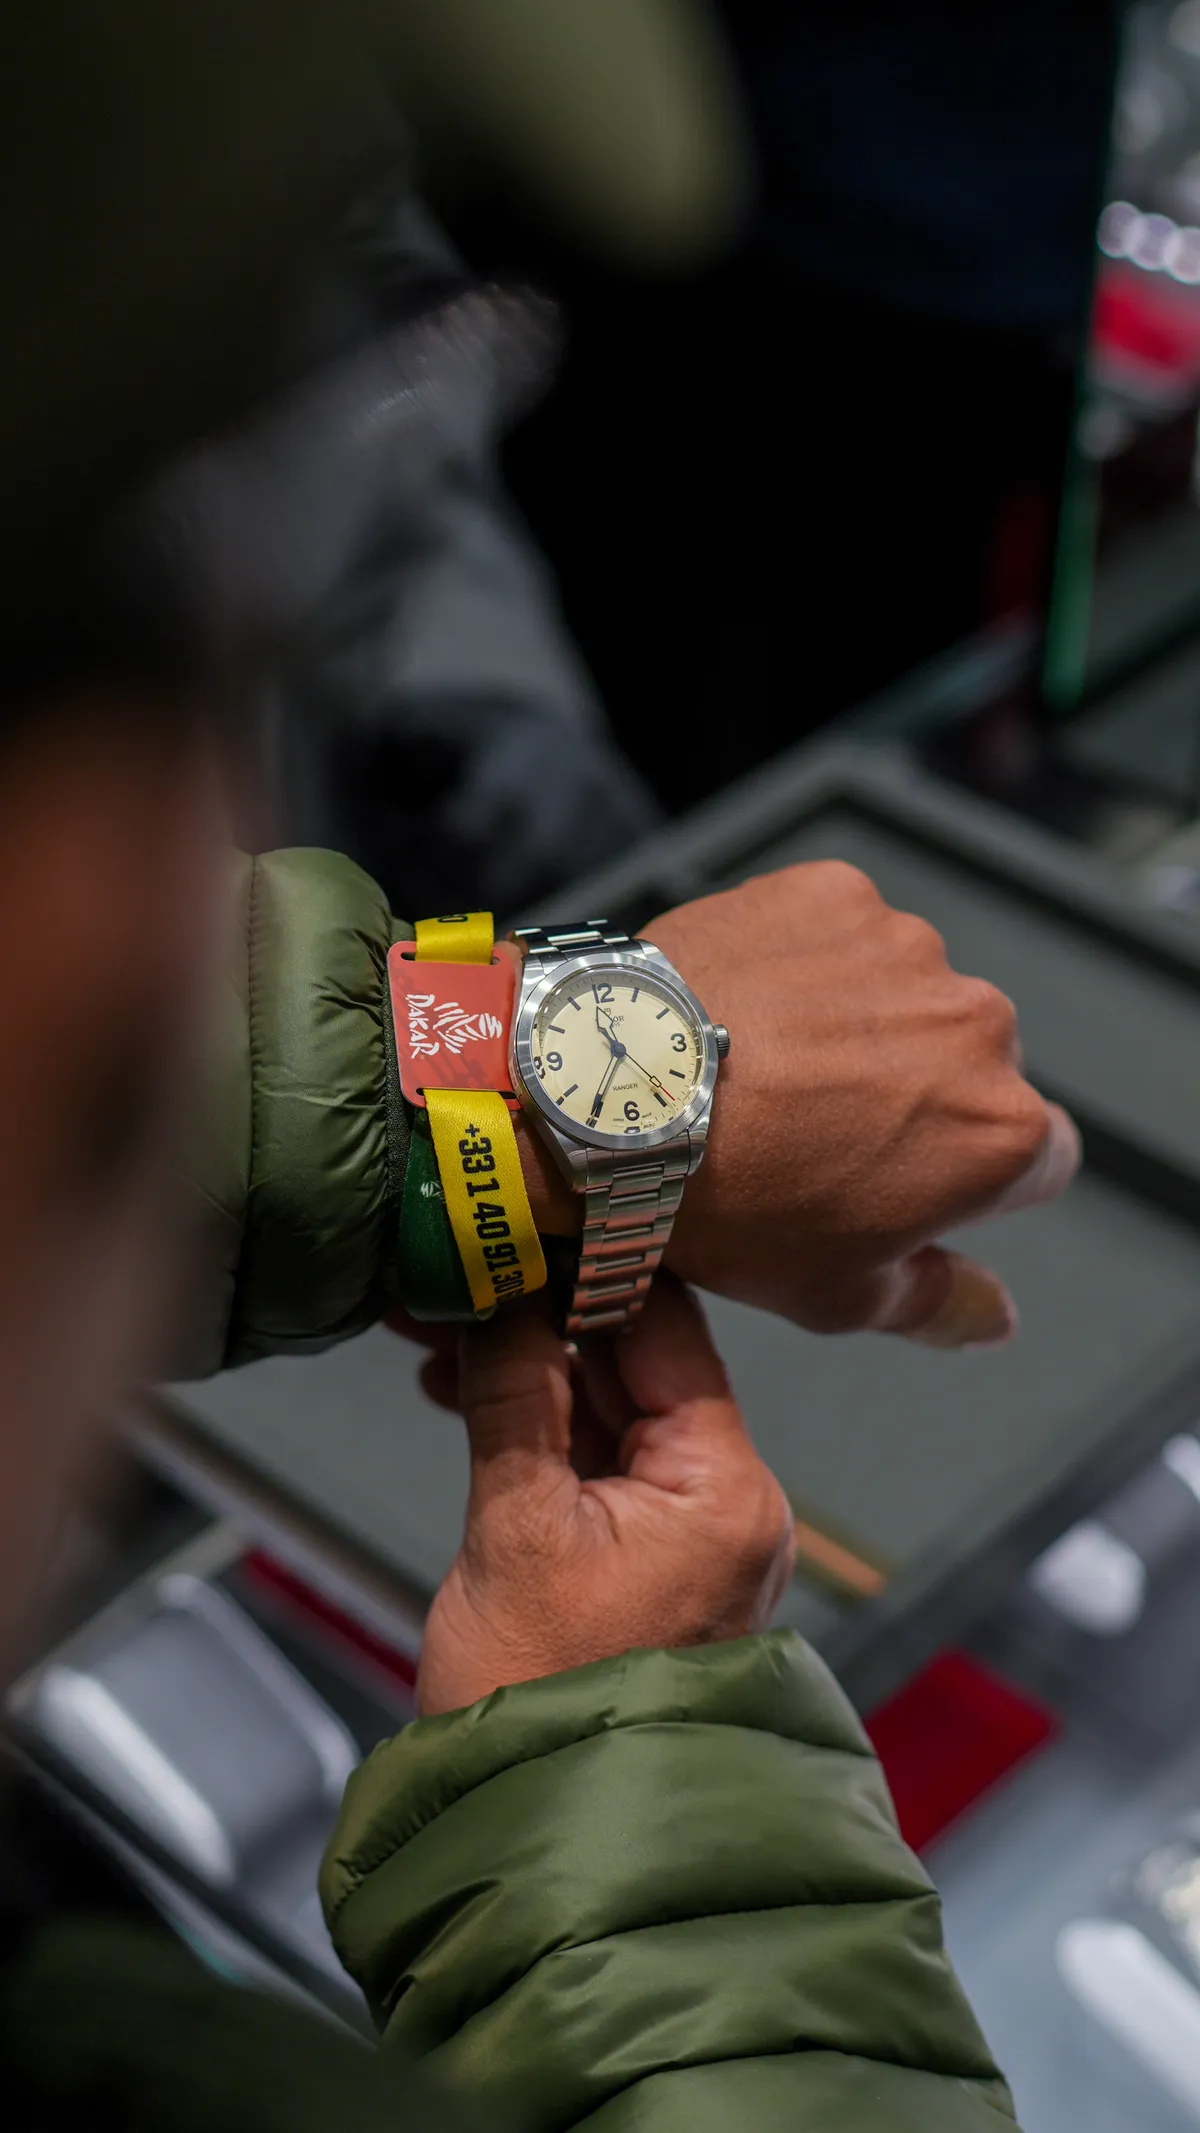
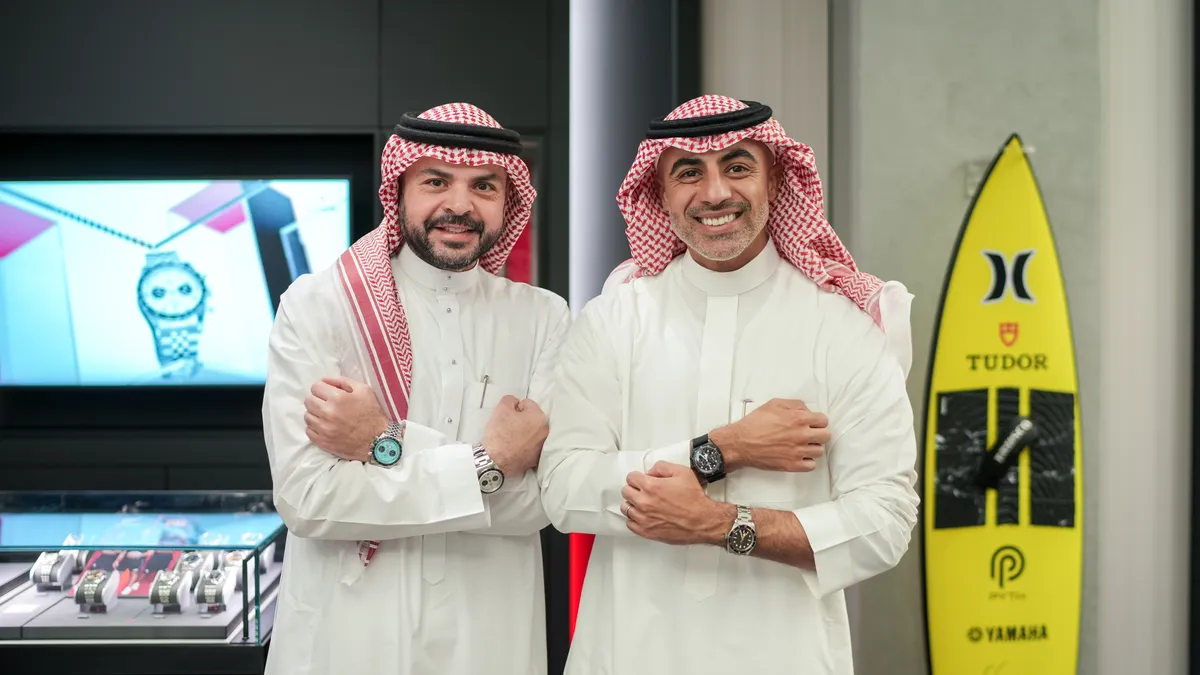
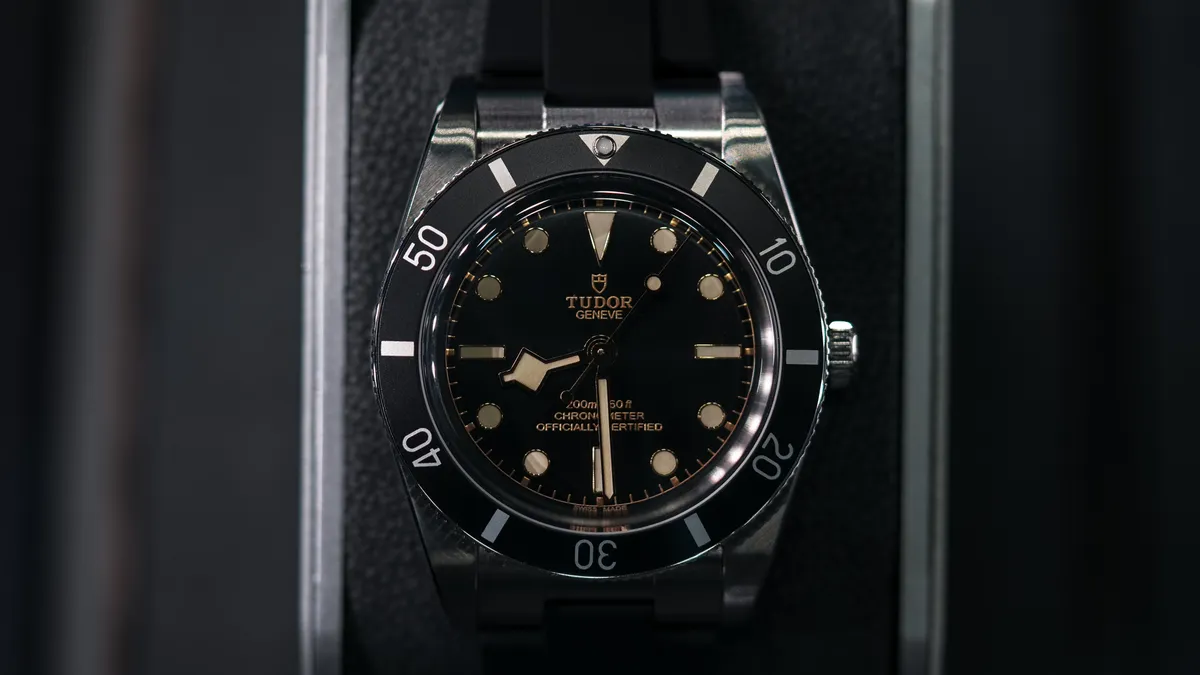
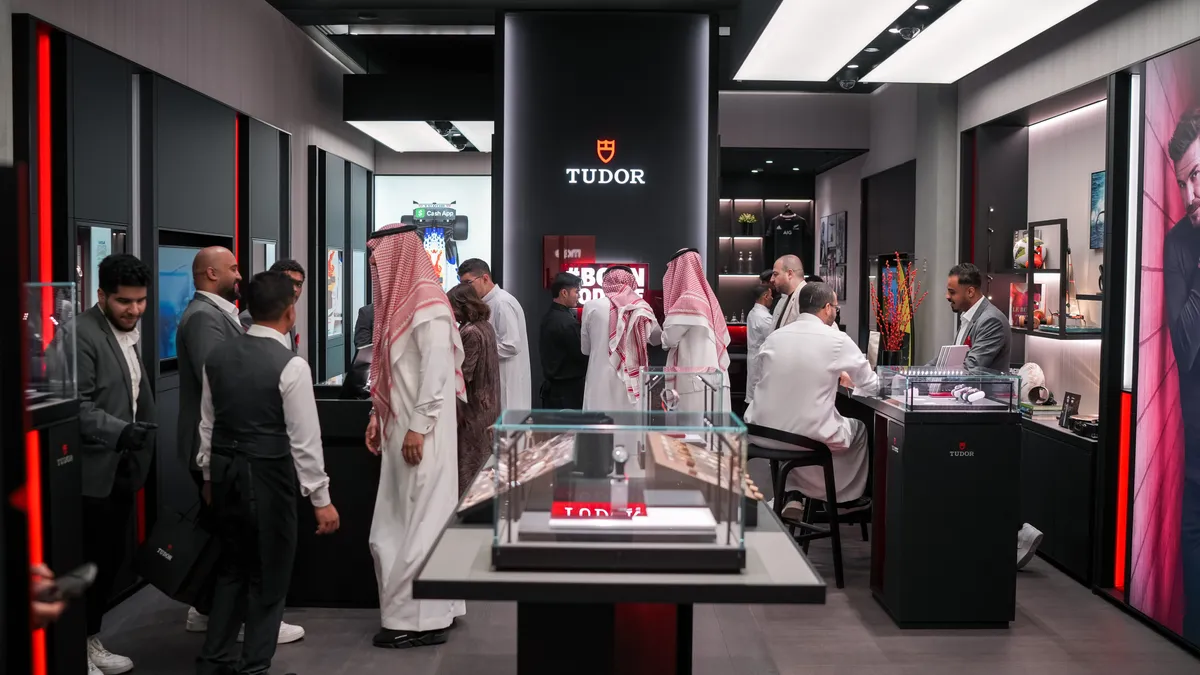
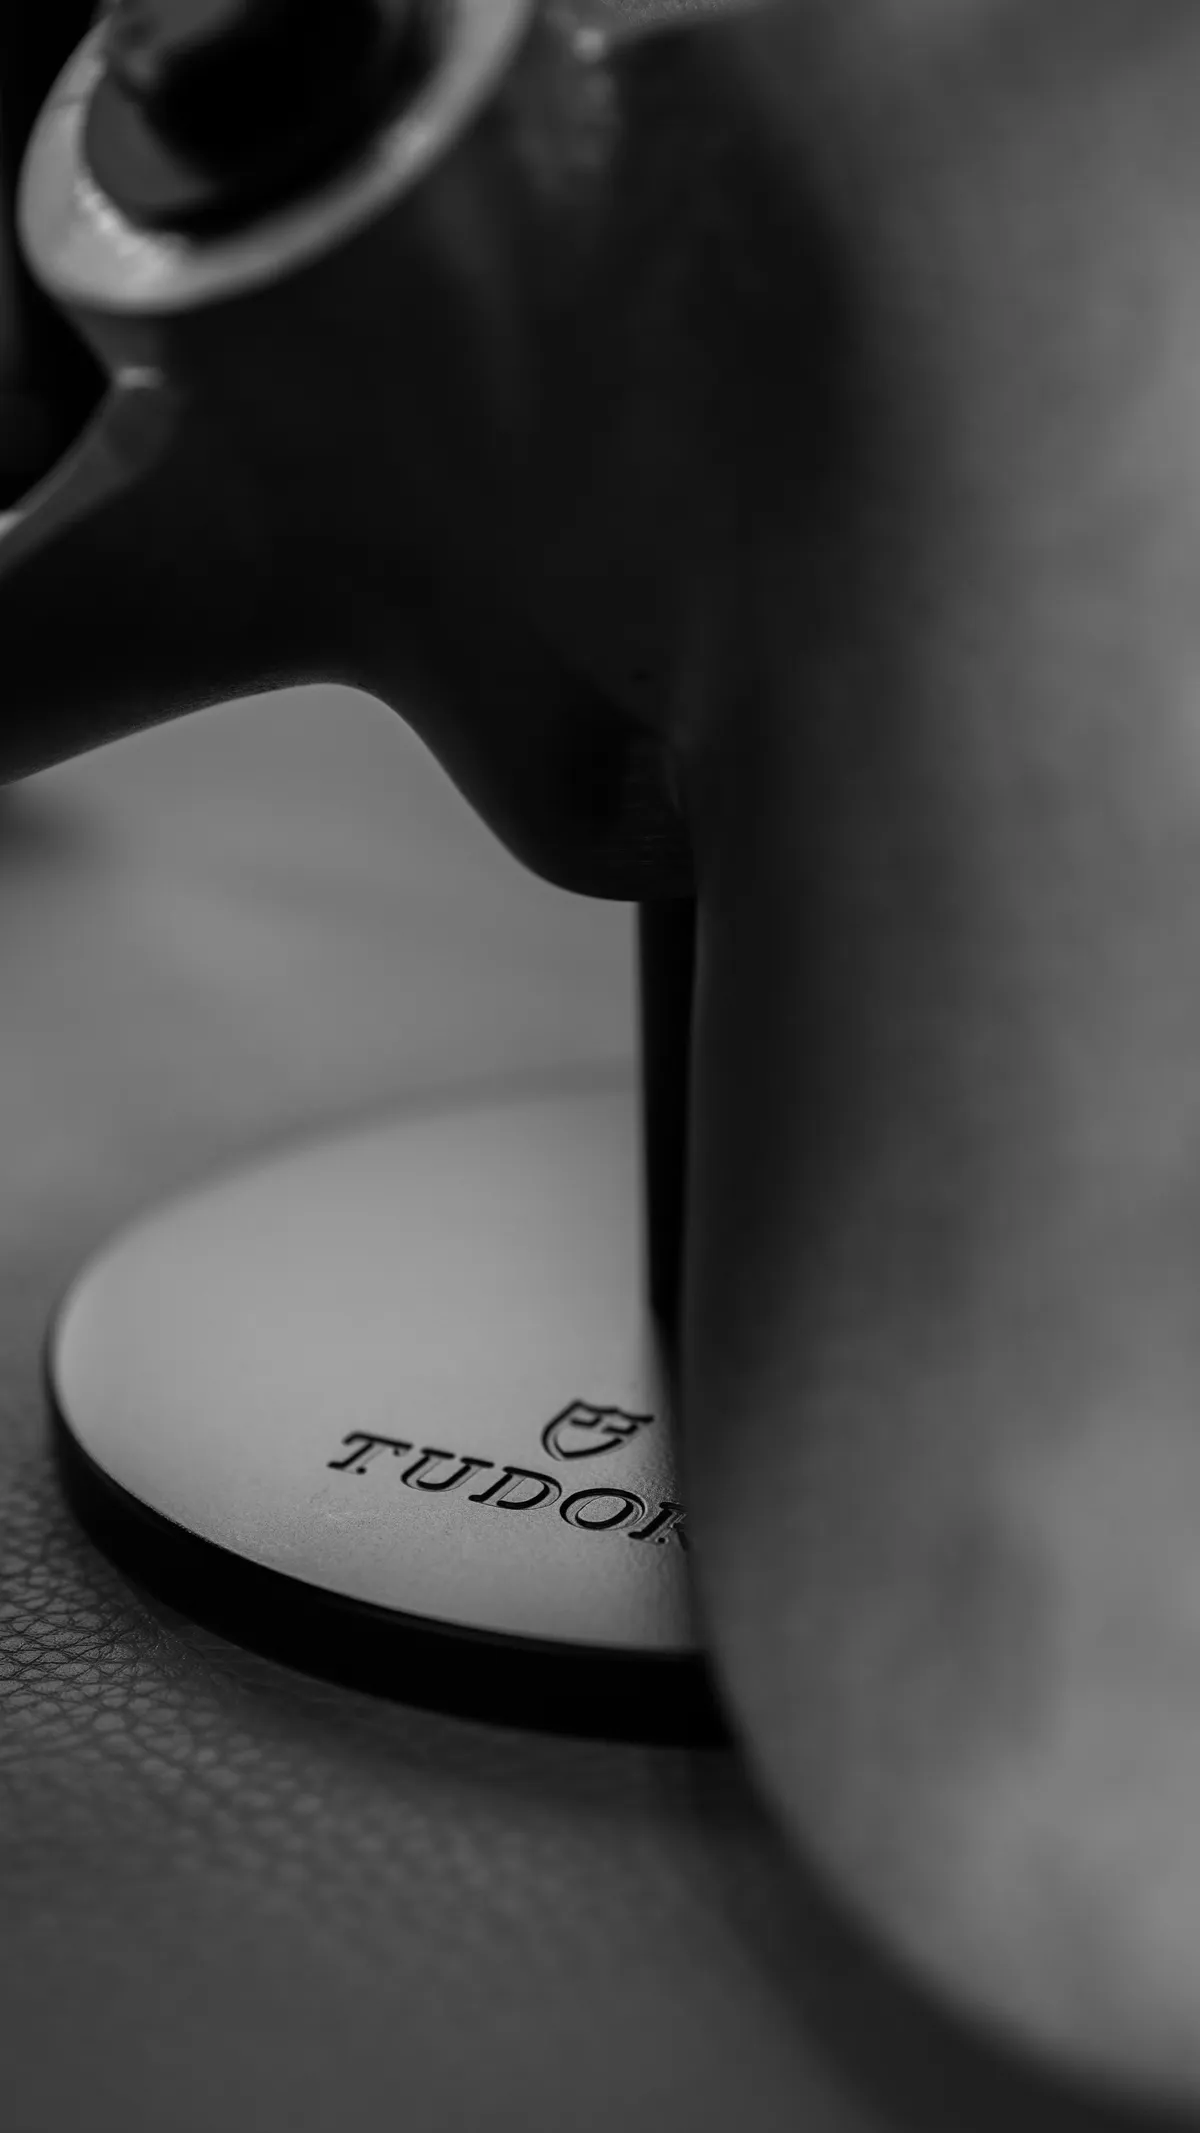
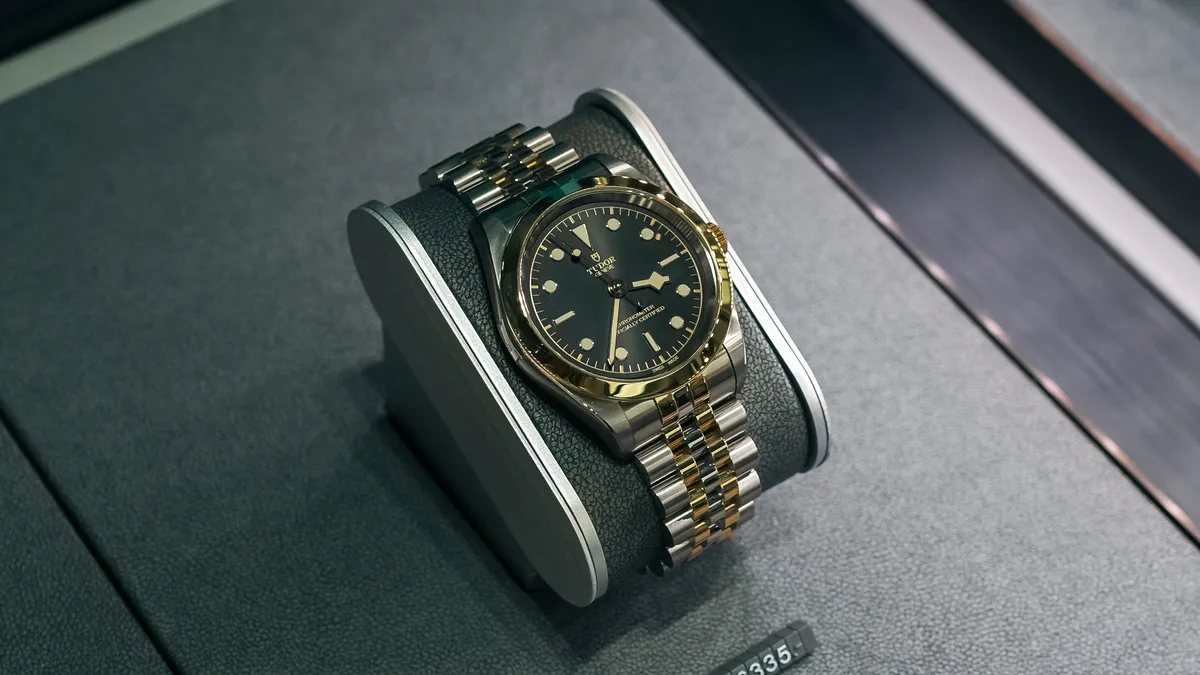
  • Tudor, photographed by DawwasEye Studios
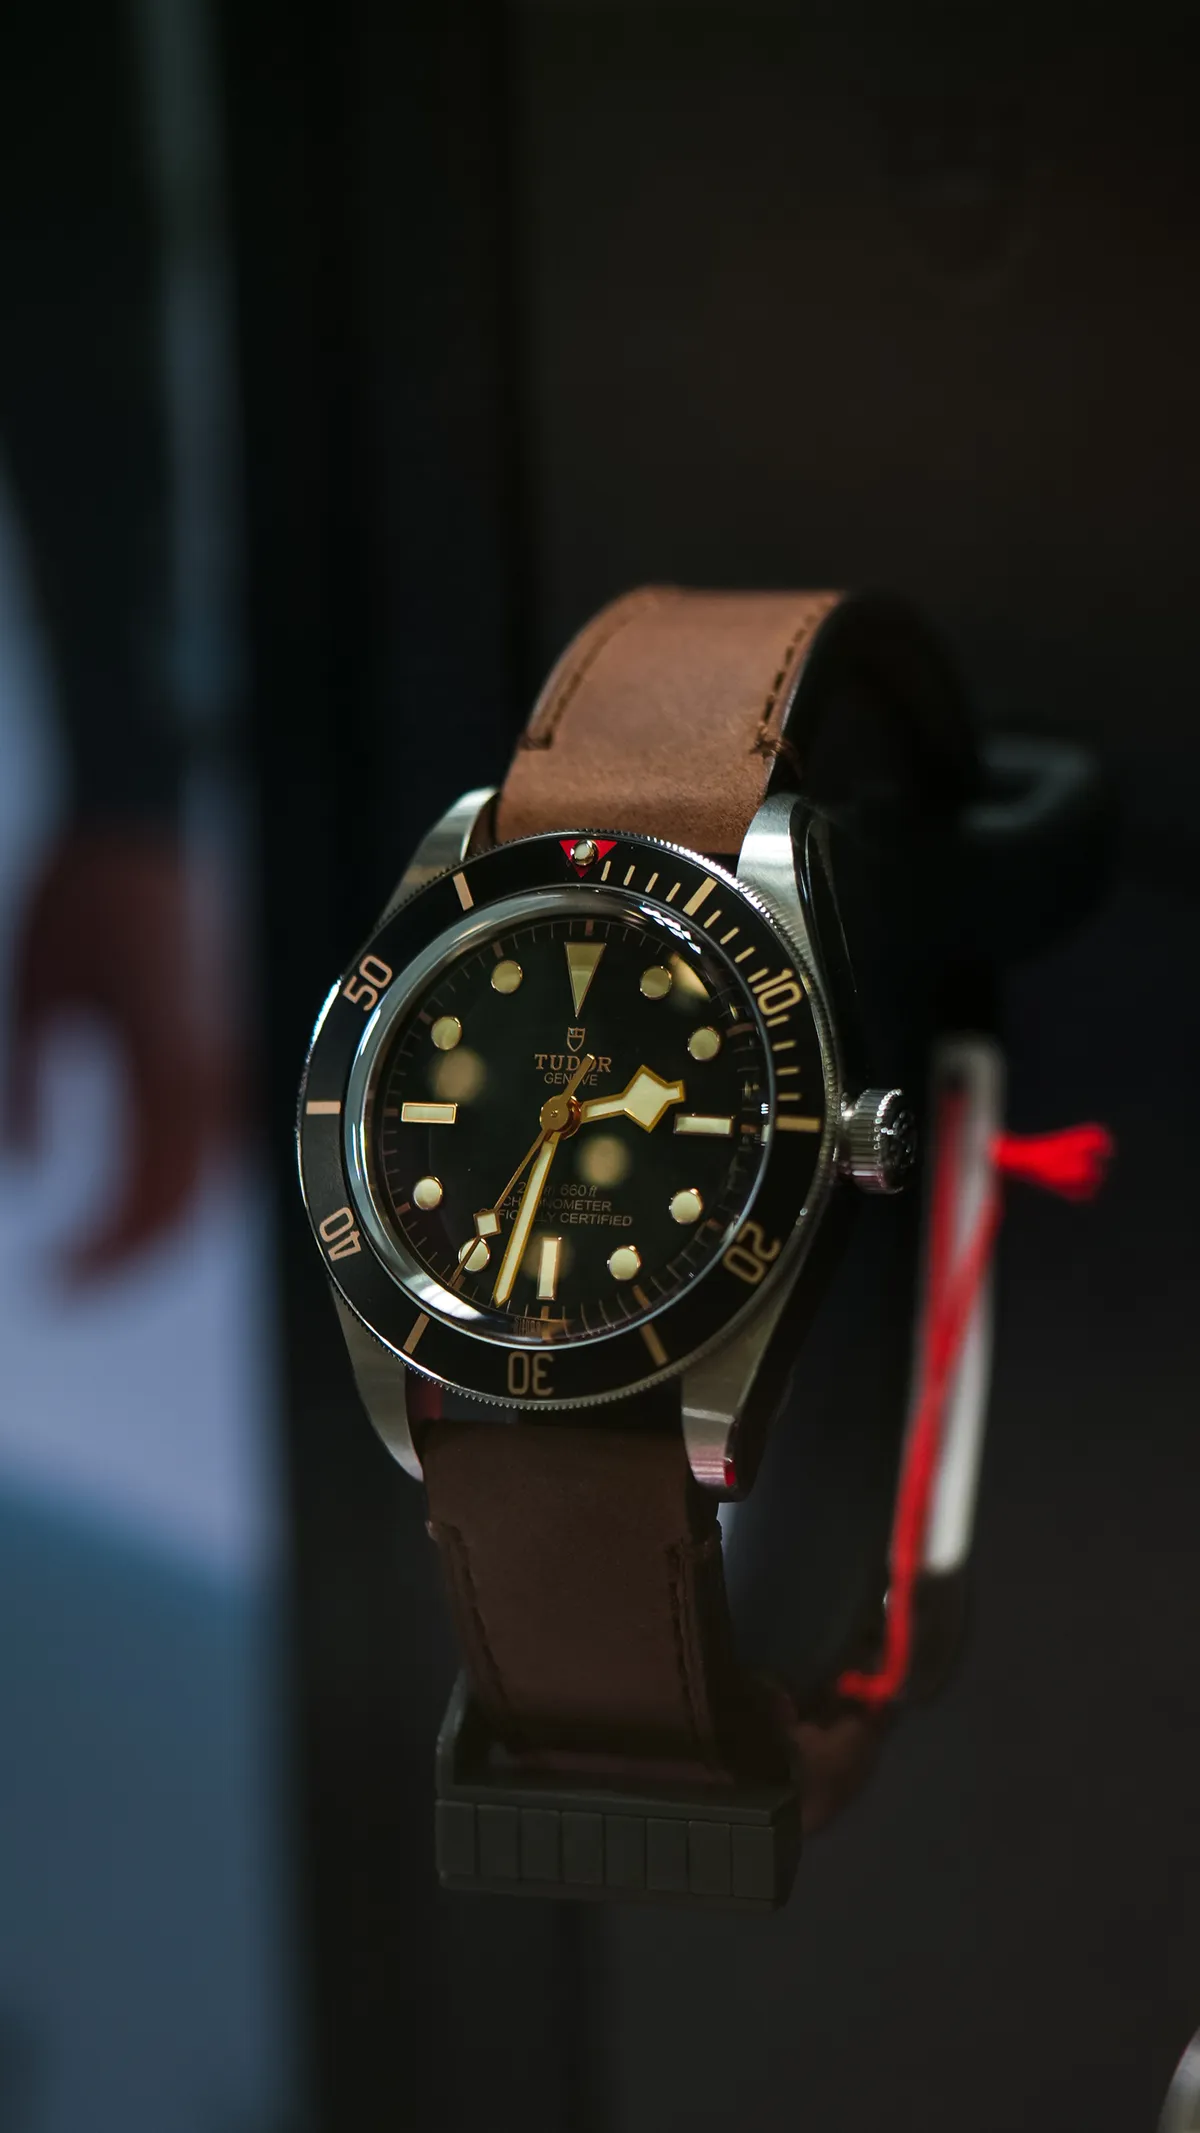
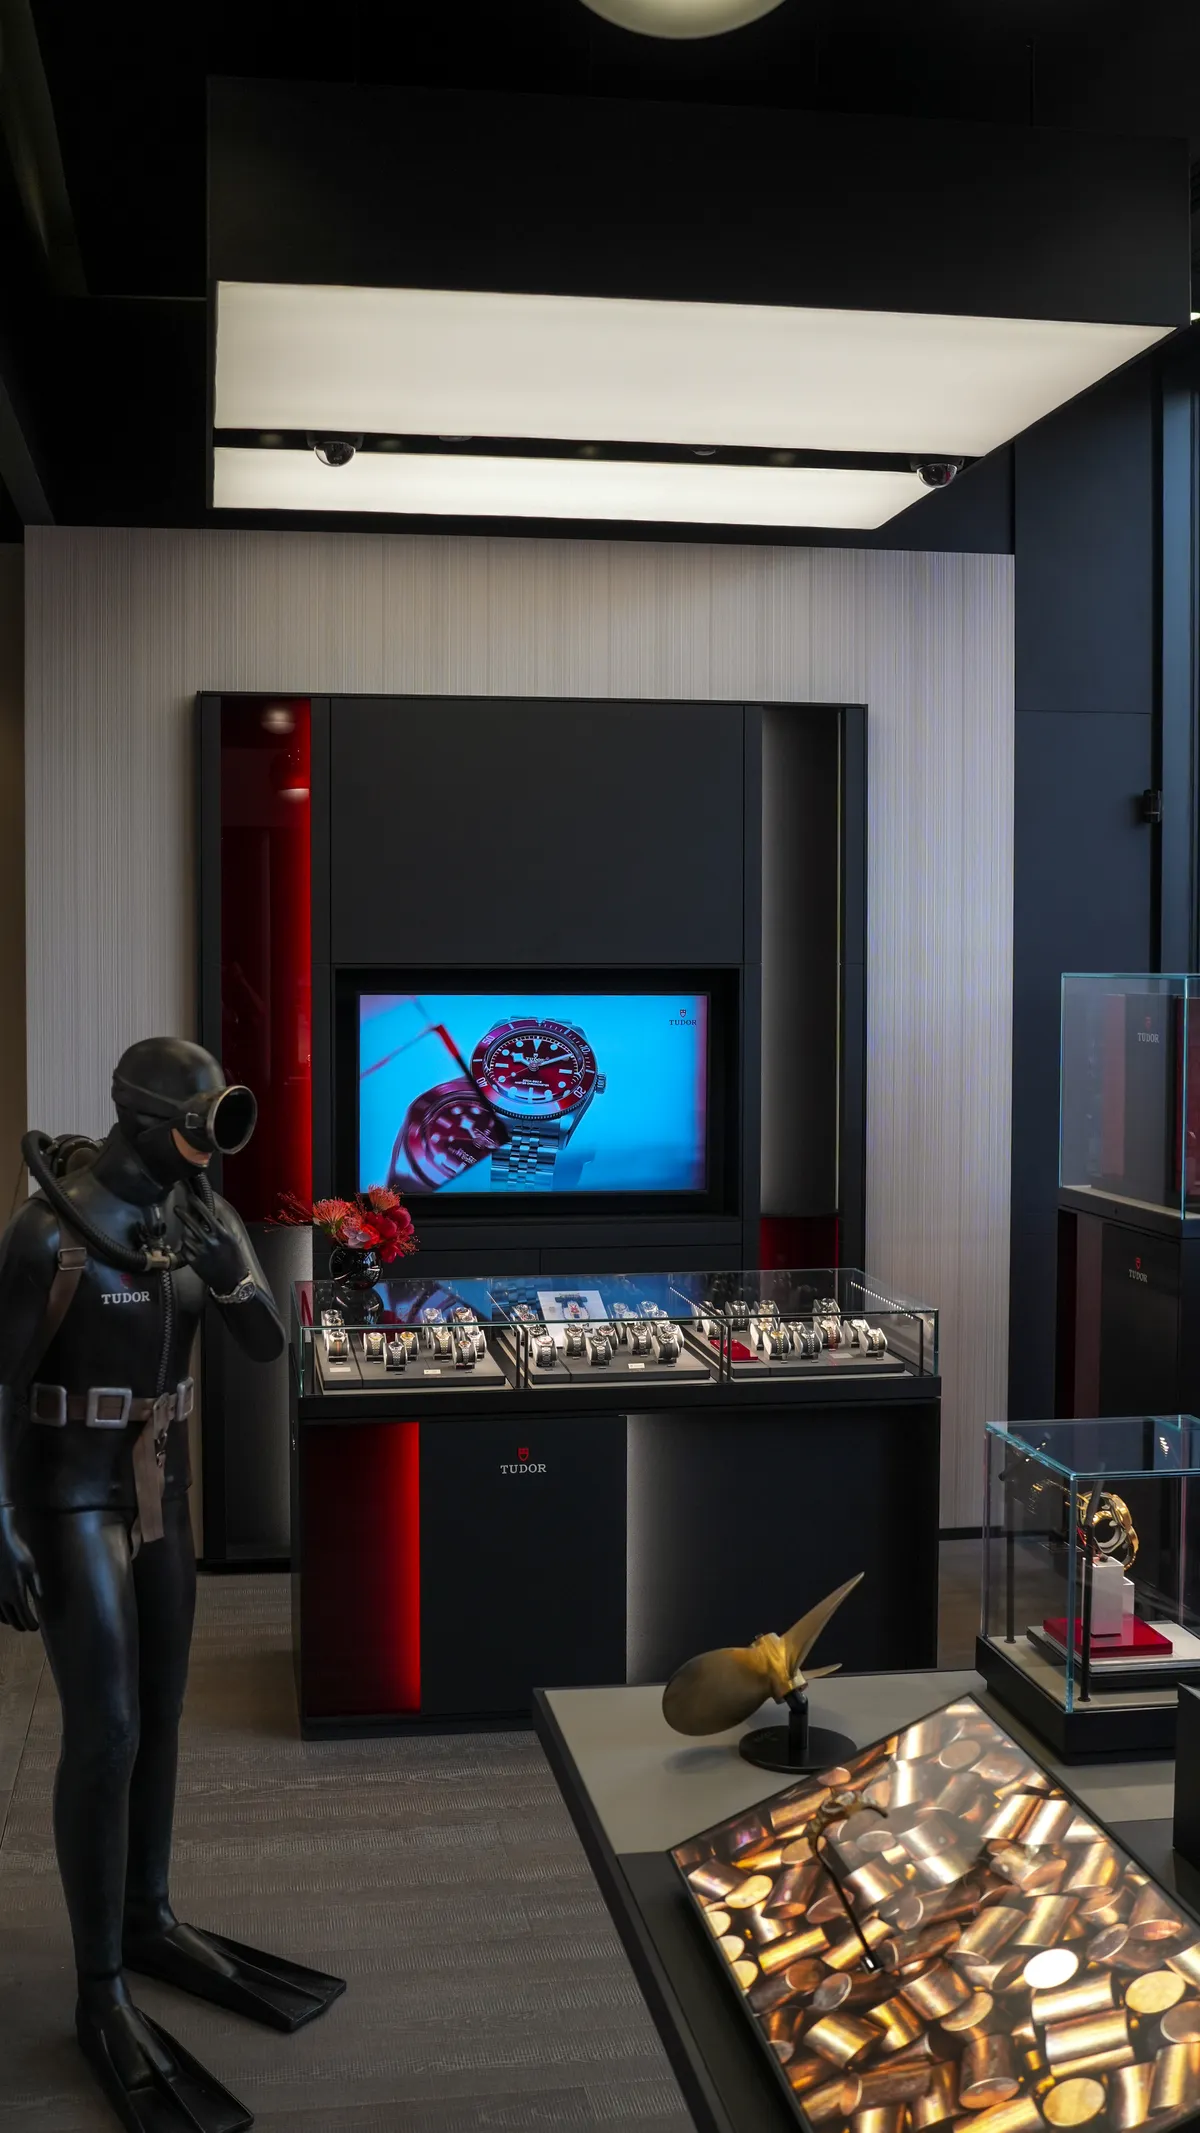
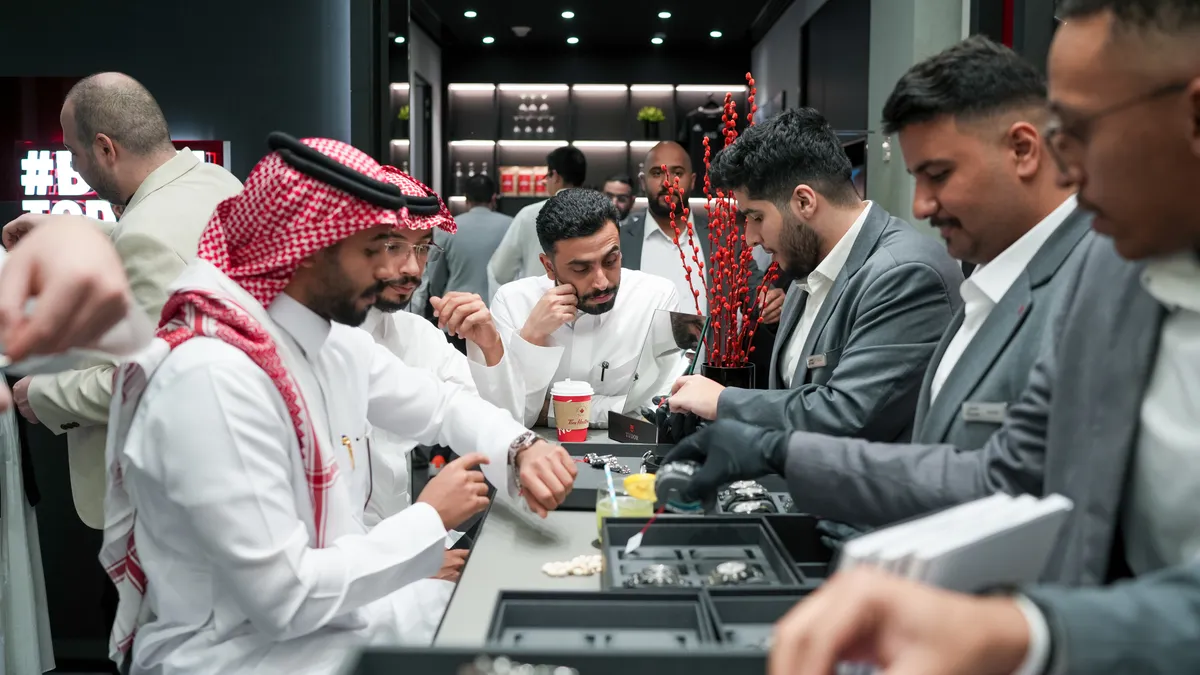
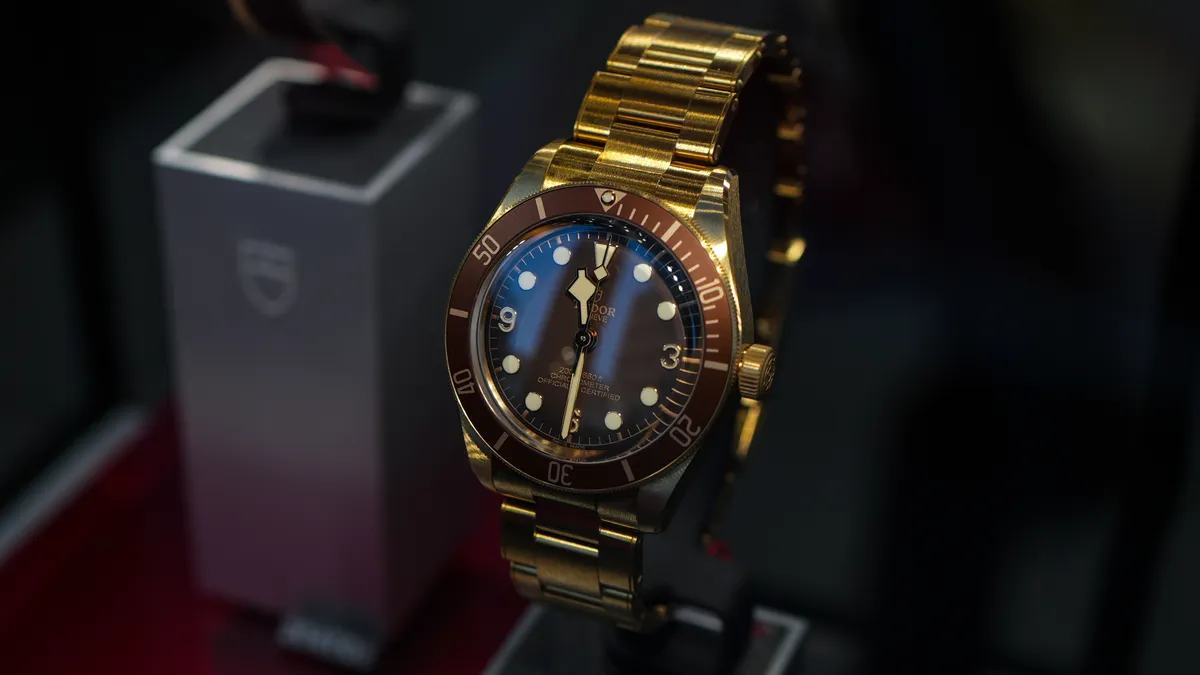
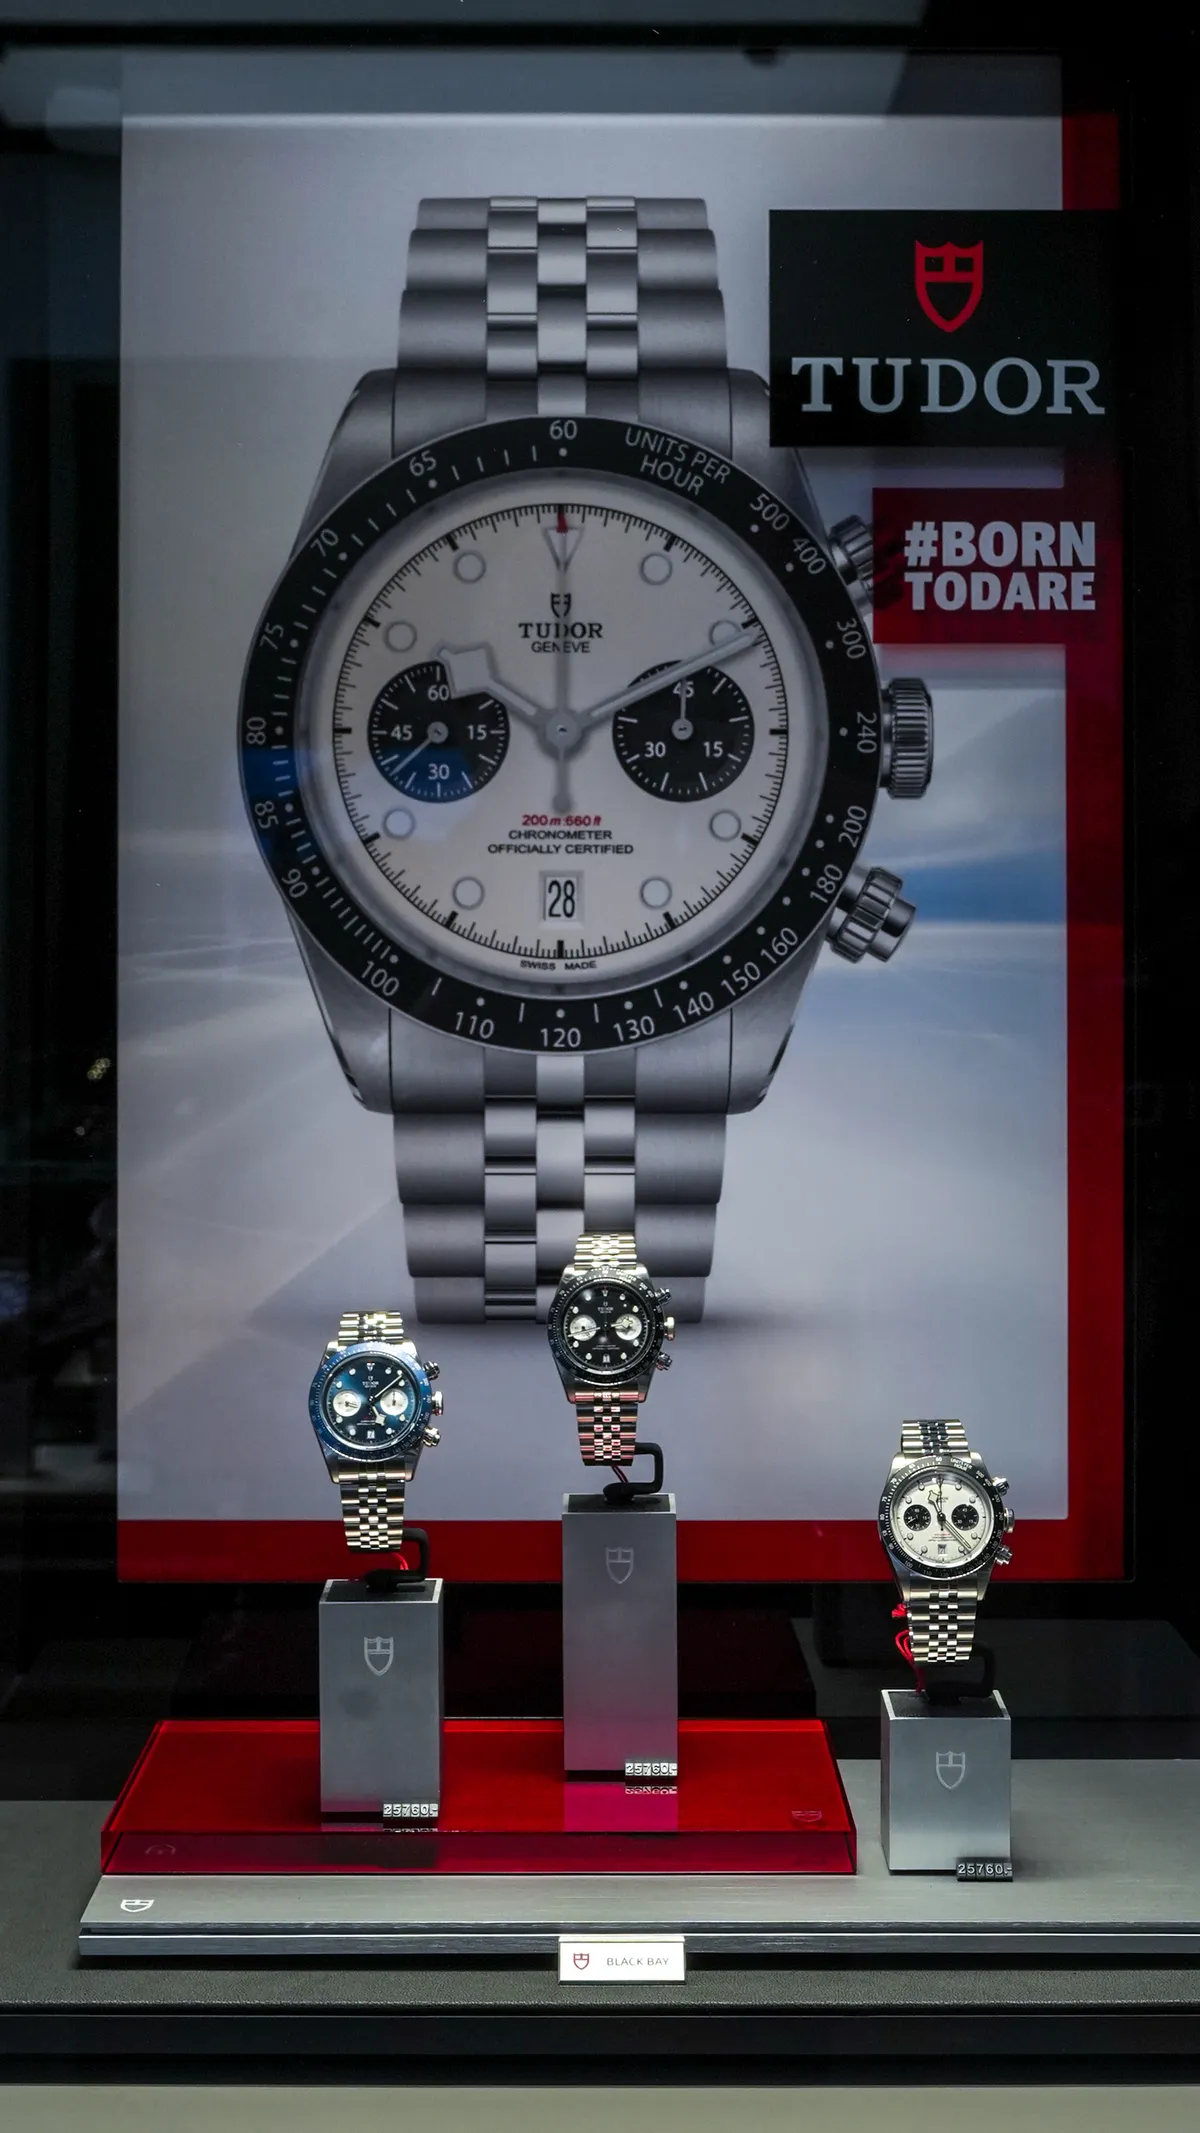
  • Tudor, photographed by DawwasEye Studios
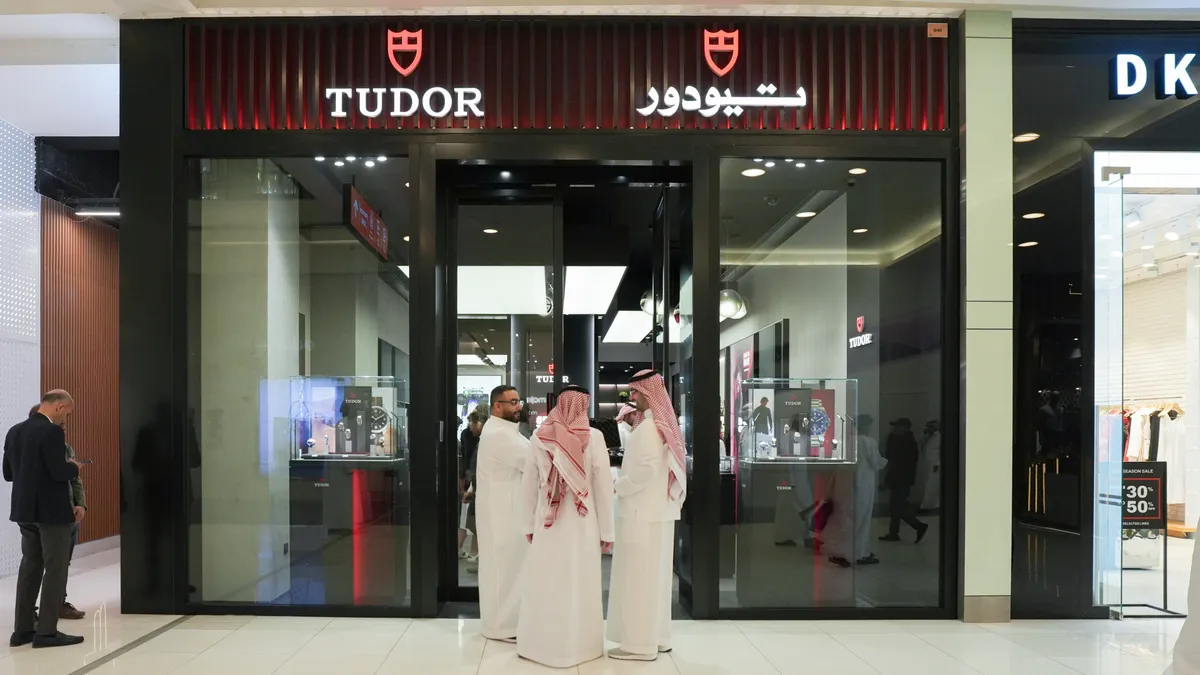
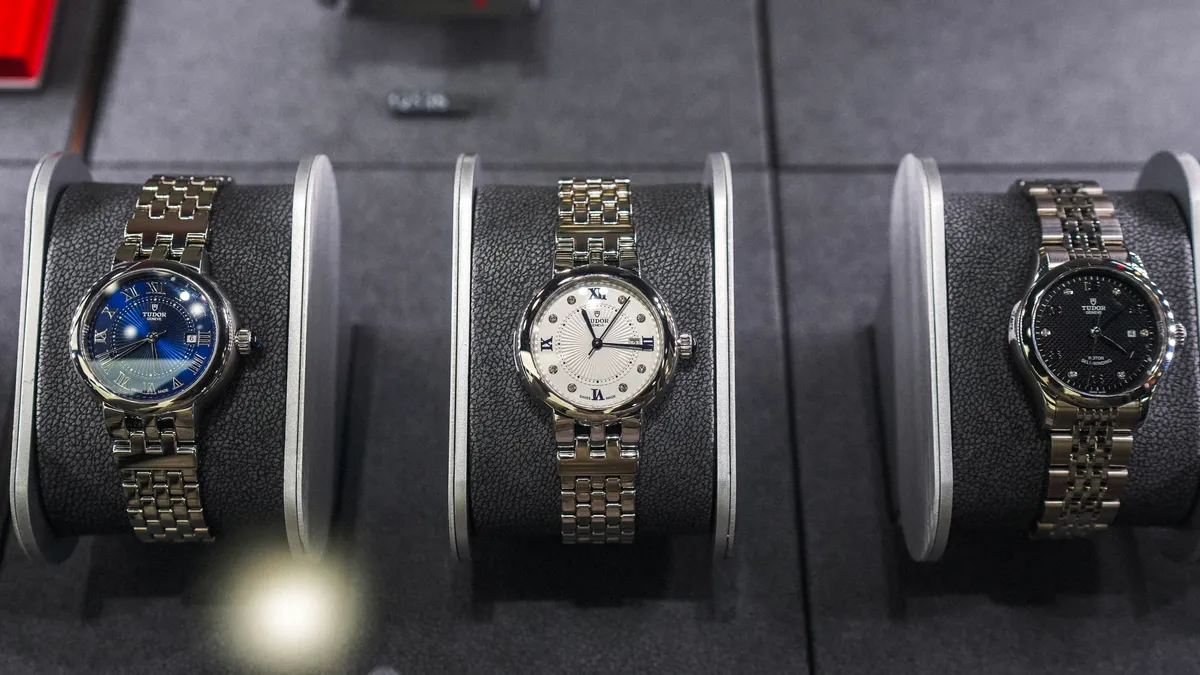
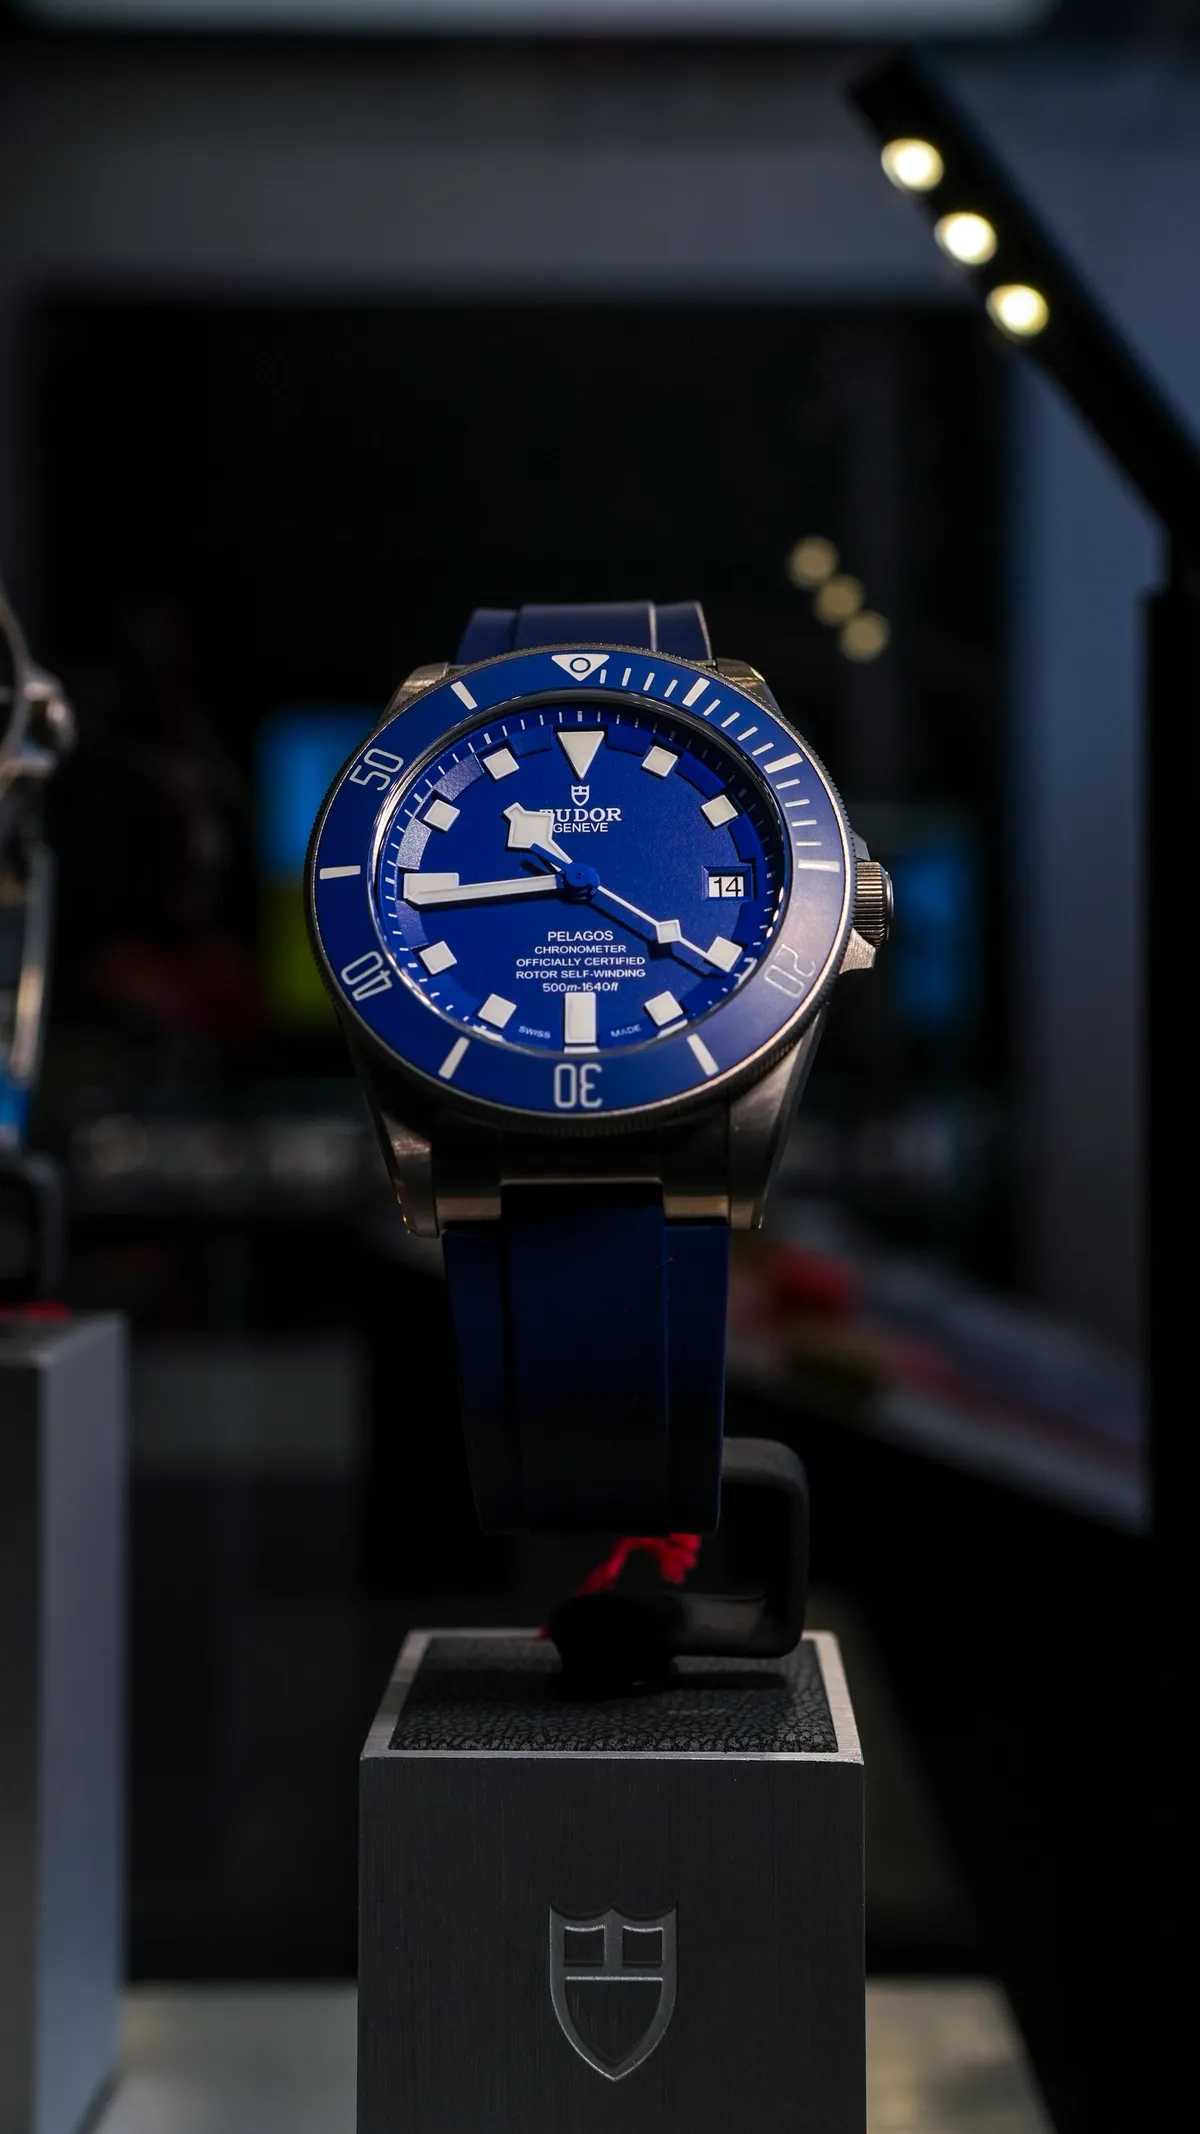
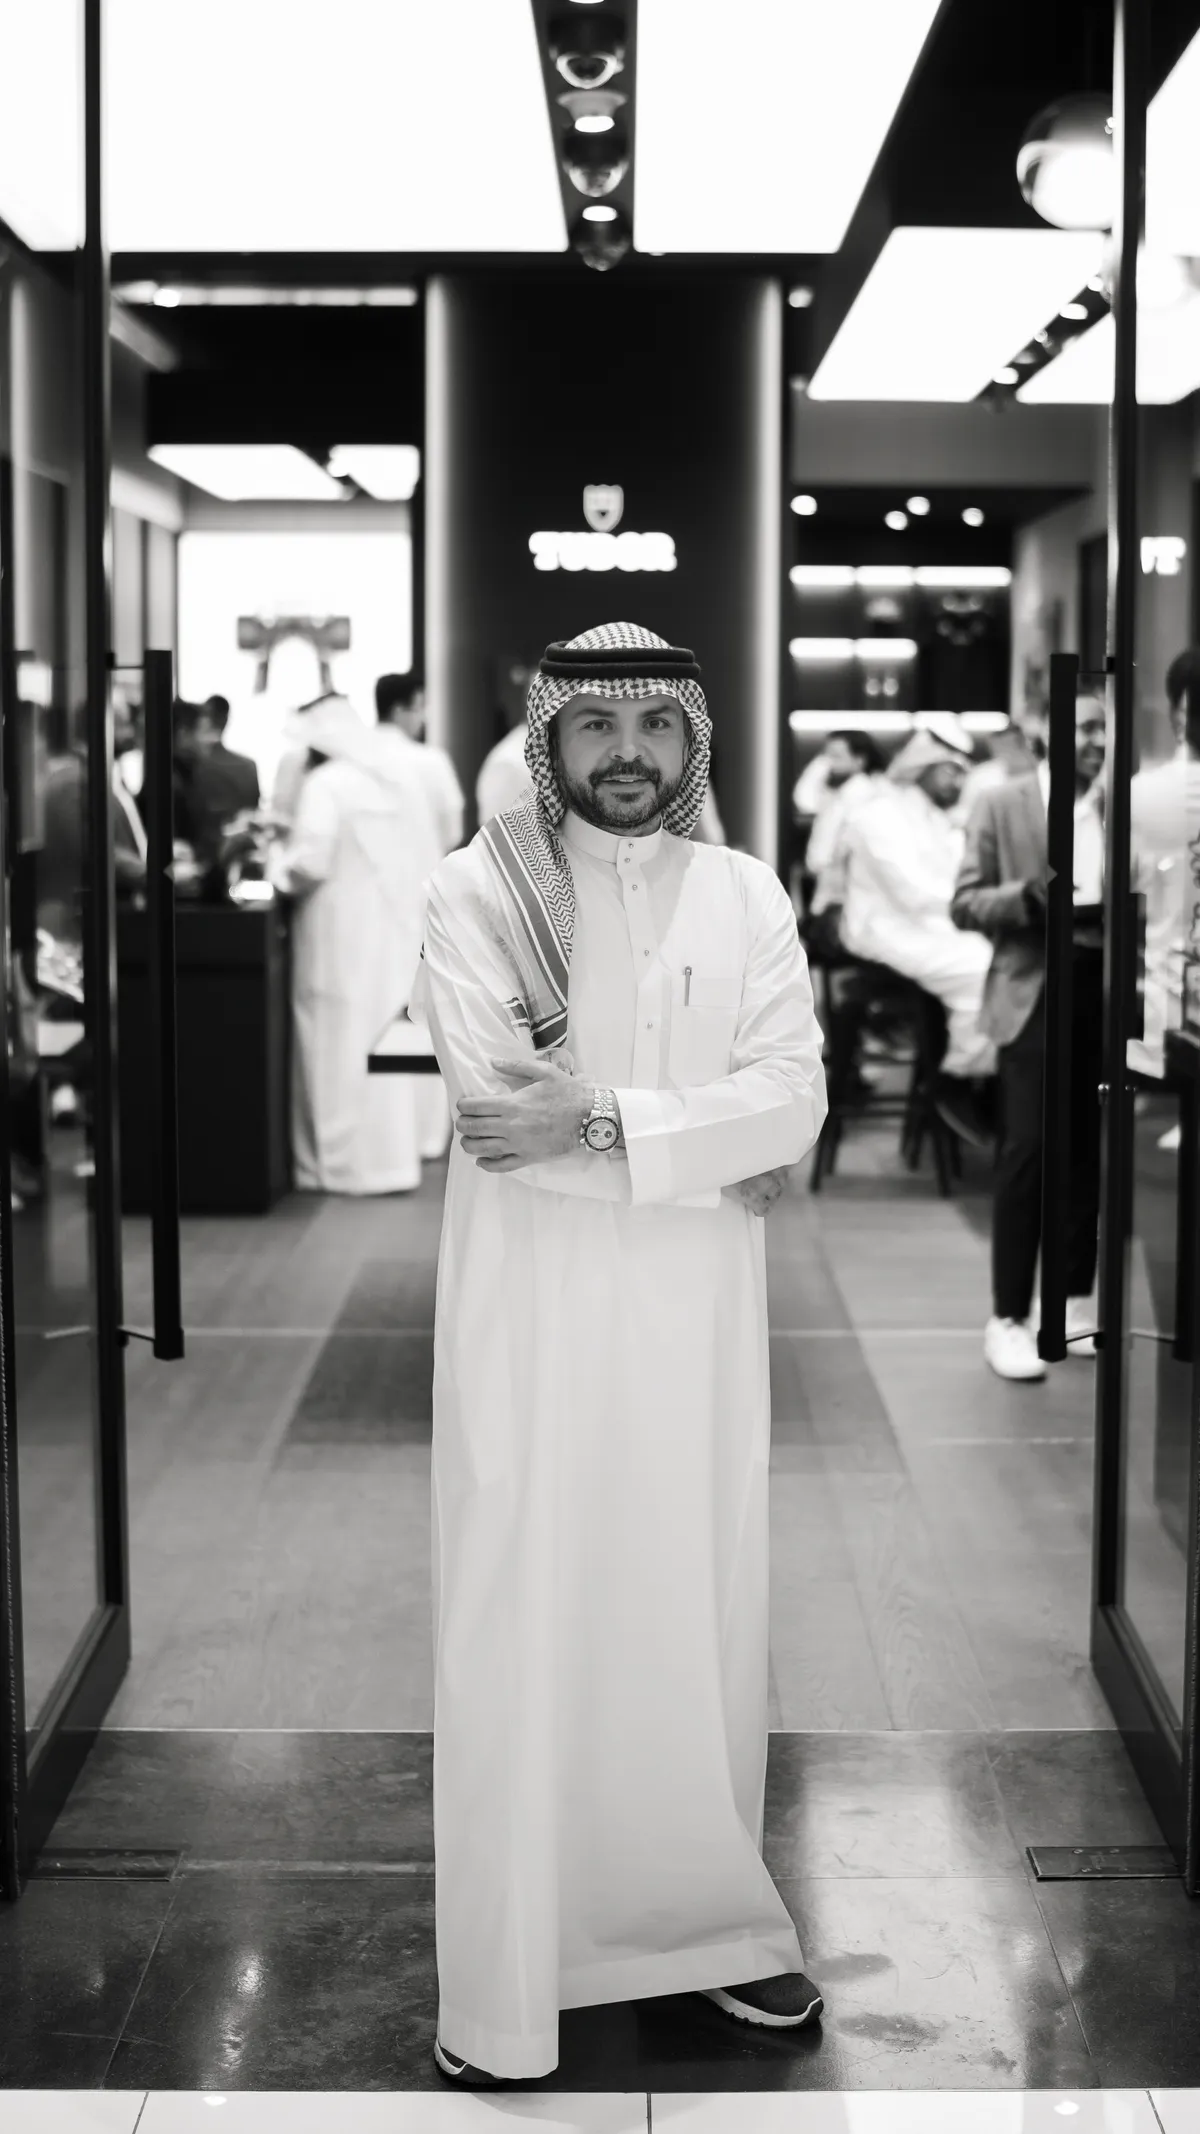
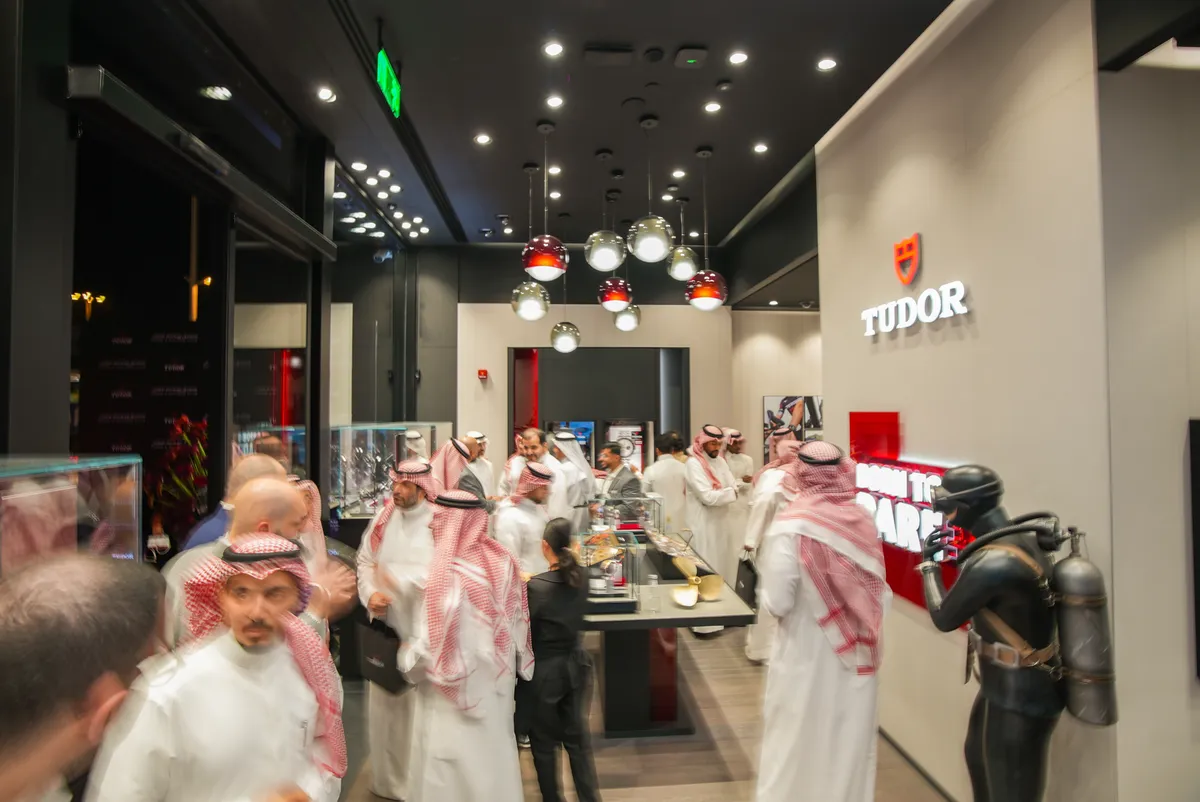
  • Tudor, photographed by DawwasEye Studios
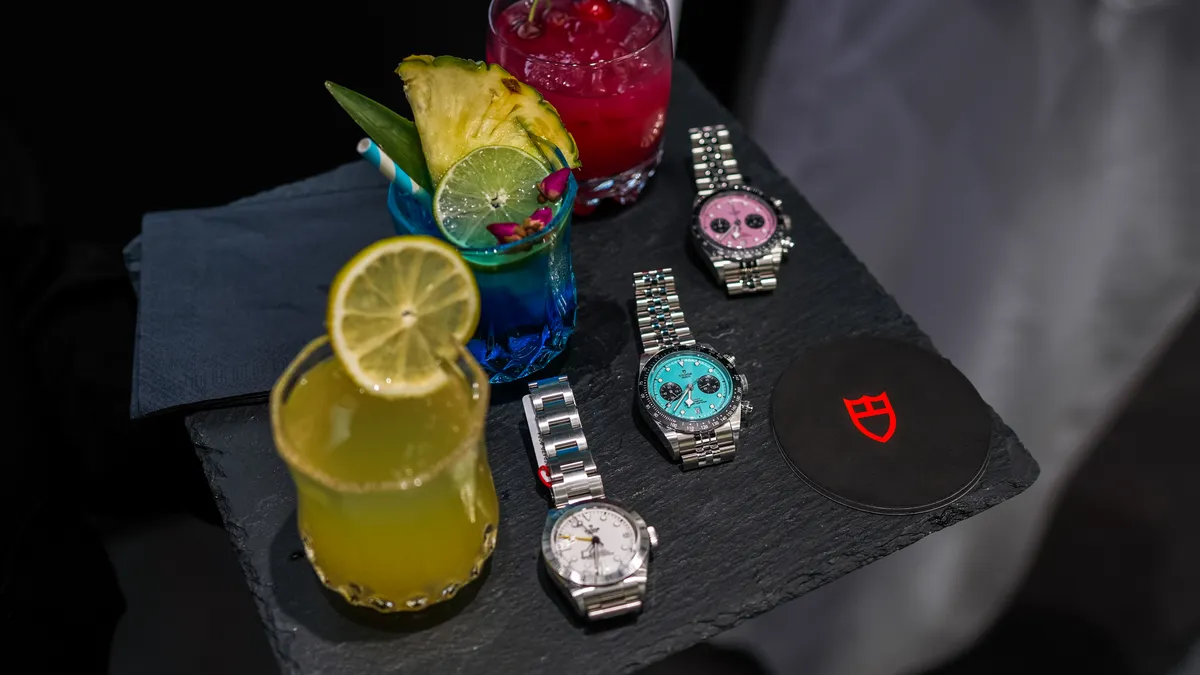
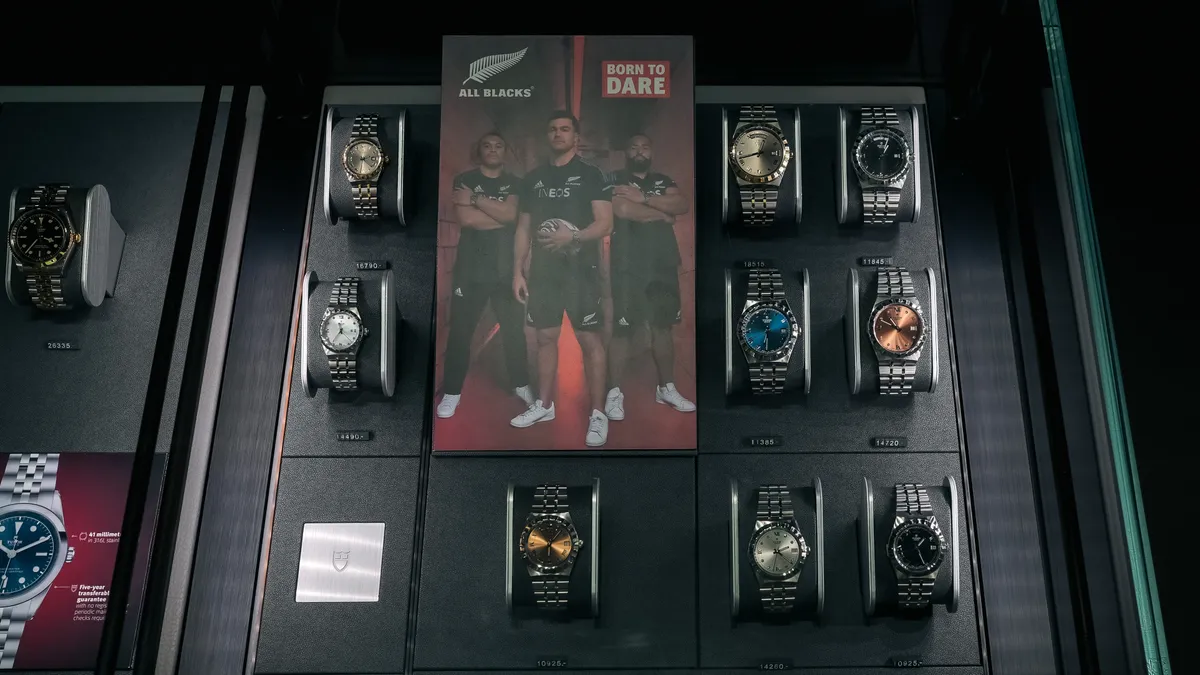
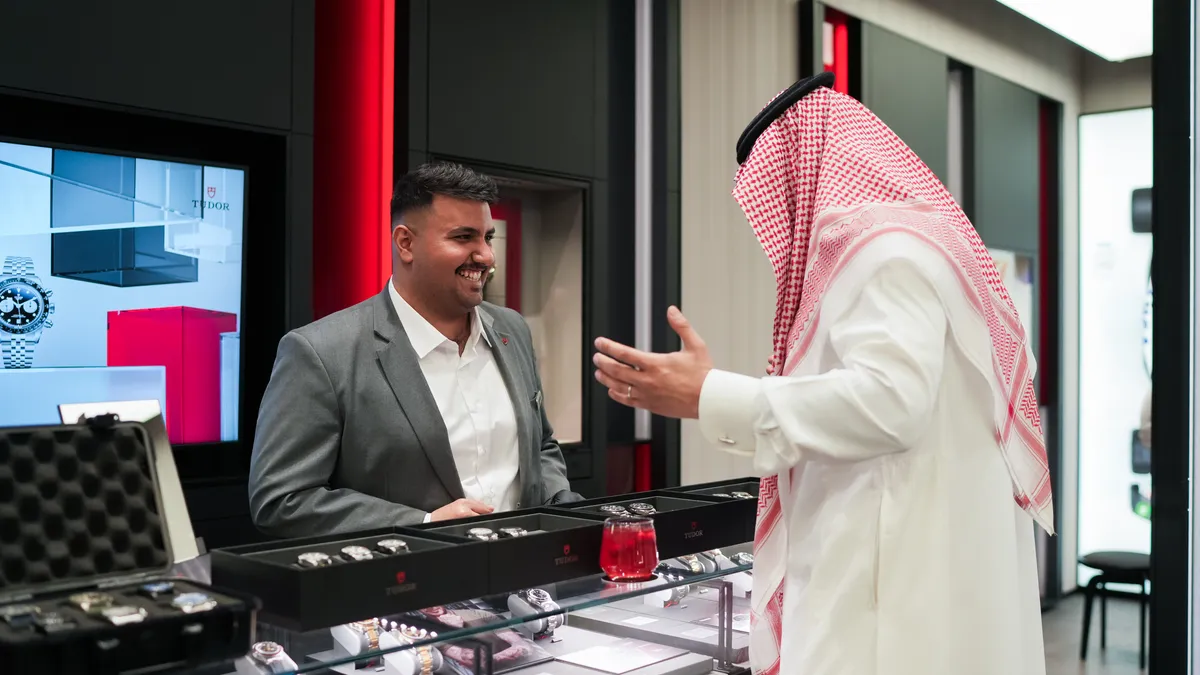
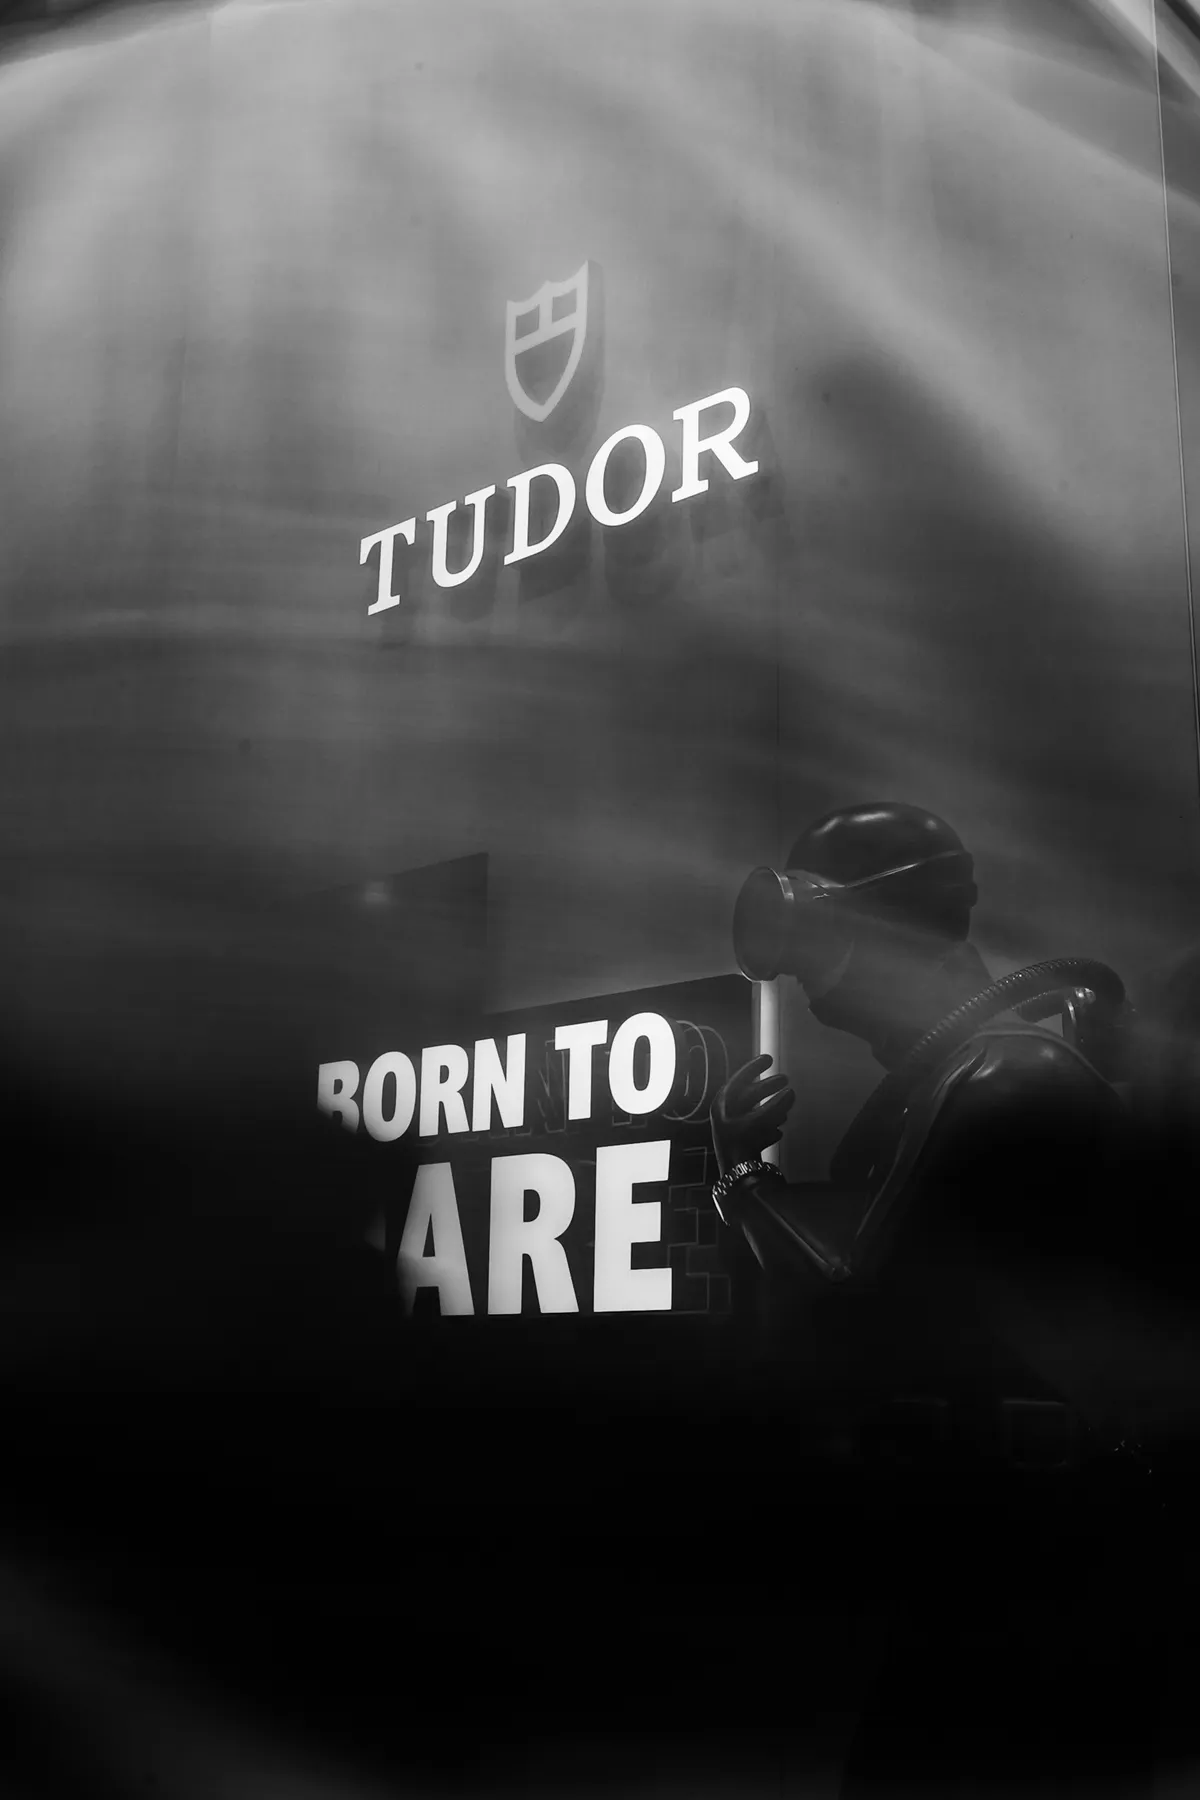
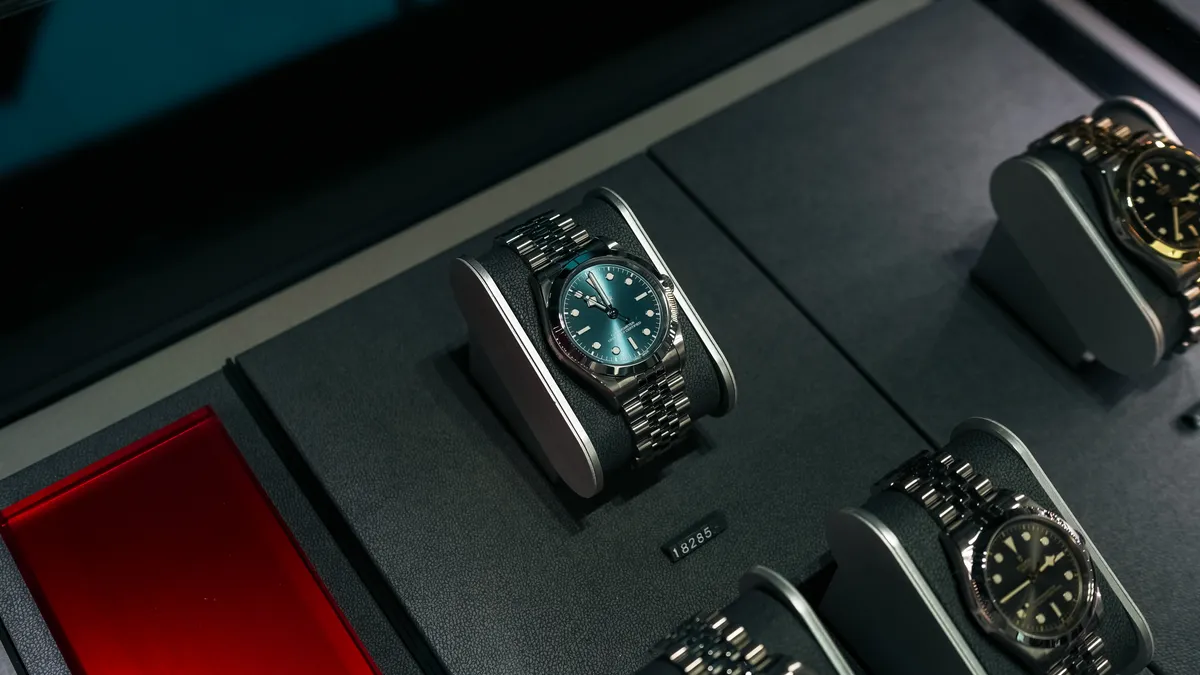
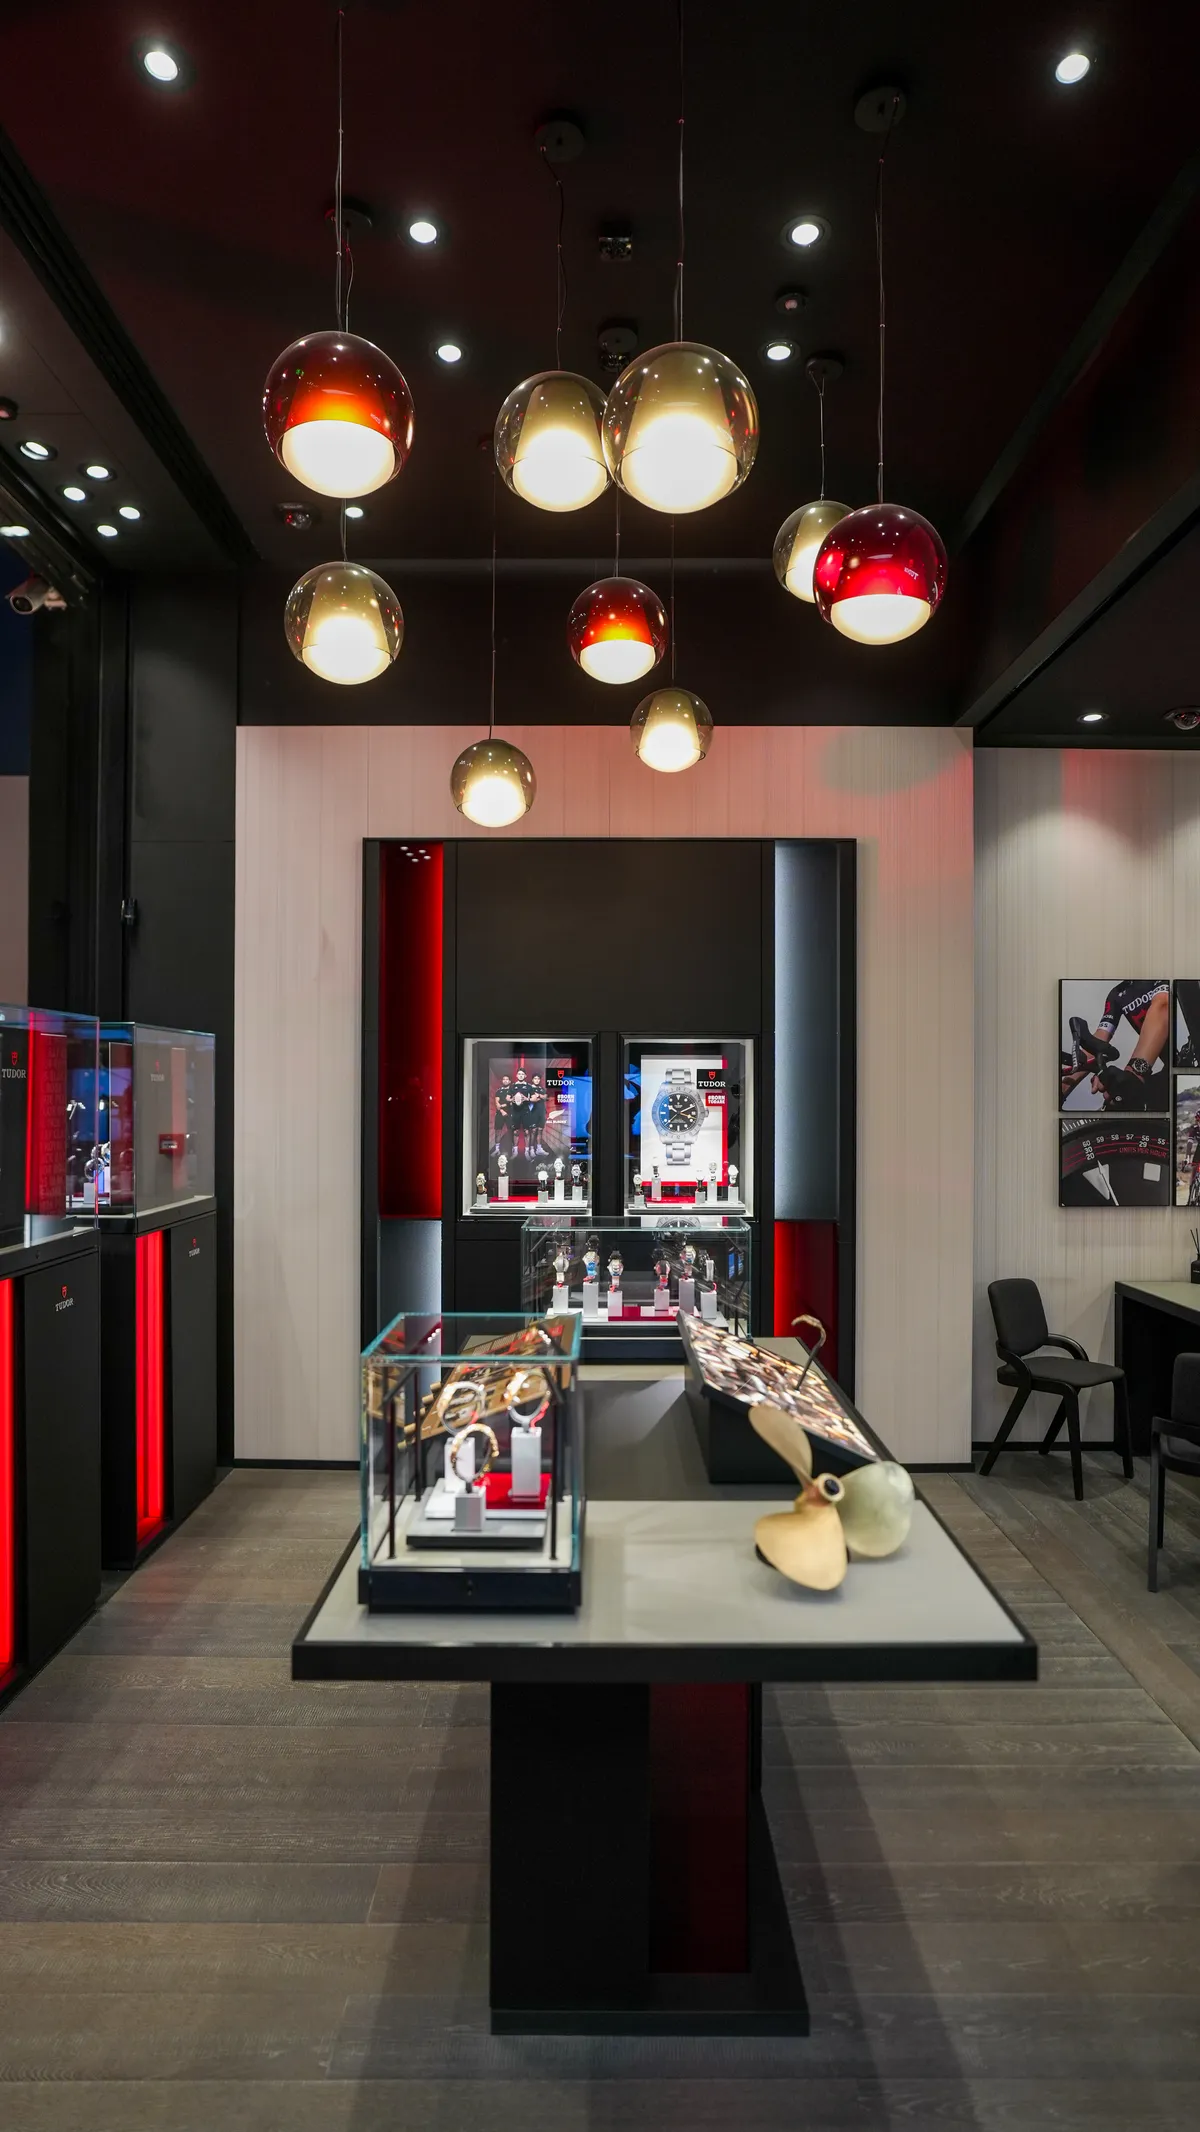
  • Tudor, photographed by DawwasEye Studios
  • Tudor, photographed by DawwasEye Studios
  • Tudor, photographed by DawwasEye Studios
  • Tudor, photographed by DawwasEye Studios
  • Tudor, photographed by DawwasEye Studios
  • Tudor, photographed by DawwasEye Studios
  • Tudor, photographed by DawwasEye Studios
  • Tudor, photographed by DawwasEye Studios
  • Tudor, photographed by DawwasEye Studios
  • Tudor, photographed by DawwasEye Studios
  • Tudor, photographed by DawwasEye Studios
  • Tudor, photographed by DawwasEye Studios
  • Tudor, photographed by DawwasEye Studios
  • Tudor, photographed by DawwasEye Studios
  • Tudor, photographed by DawwasEye Studios
  • Tudor, photographed by DawwasEye Studios
  • Tudor, photographed by DawwasEye Studios
  • Tudor, photographed by DawwasEye Studios
  • Tudor, photographed by DawwasEye Studios
  • Tudor, photographed by DawwasEye Studios
  • Tudor, photographed by DawwasEye Studios
  • Tudor, photographed by DawwasEye Studios
  • Tudor, photographed by DawwasEye Studios
  • Tudor, photographed by DawwasEye Studios
  • Tudor, photographed by DawwasEye Studios
  • Tudor, photographed by DawwasEye Studios
  • Tudor, photographed by DawwasEye Studios
  • Tudor, photographed by DawwasEye Studios
  • Tudor, photographed by DawwasEye Studios
  • Tudor, photographed by DawwasEye Studios
  • Tudor, photographed by DawwasEye Studios
  • Tudor, photographed by DawwasEye Studios
  • Tudor, photographed by DawwasEye Studios
  • Tudor, photographed by DawwasEye Studios
  • Tudor, photographed by DawwasEye Studios
  • Tudor, photographed by DawwasEye Studios
  • Tudor, photographed by DawwasEye Studios
  • Tudor, photographed by DawwasEye Studios
  • Tudor, photographed by DawwasEye Studios
  • Tudor, photographed by DawwasEye Studios
  • Tudor, photographed by DawwasEye Studios
  • Tudor, photographed by DawwasEye Studios
  • Tudor, photographed by DawwasEye Studios
  • Tudor, photographed by DawwasEye Studios
  • Tudor, photographed by DawwasEye Studios
  • Tudor, photographed by DawwasEye Studios
  • Tudor, photographed by DawwasEye Studios
  • Tudor, photographed by DawwasEye Studios
  • Tudor, photographed by DawwasEye Studios
  • Tudor, photographed by DawwasEye Studios
  • Tudor, photographed by DawwasEye Studios
  • Tudor, photographed by DawwasEye Studios
  • Tudor, photographed by DawwasEye Studios
  • Tudor, photographed by DawwasEye Studios
  • Tudor, photographed by DawwasEye Studios
  • Tudor, photographed by DawwasEye Studios
  • Tudor, photographed by DawwasEye Studios
  • Tudor, photographed by DawwasEye Studios
  • Tudor, photographed by DawwasEye Studios
  • Tudor, photographed by DawwasEye Studios
  • Tudor, photographed by DawwasEye Studios
  • Tudor, photographed by DawwasEye Studios
  • Tudor, photographed by DawwasEye Studios
  • Tudor, photographed by DawwasEye Studios
  • Tudor, photographed by DawwasEye Studios
  • Tudor, photographed by DawwasEye Studios
  • Tudor, photographed by DawwasEye Studios
  • Tudor, photographed by DawwasEye Studios
  • Tudor, photographed by DawwasEye Studios
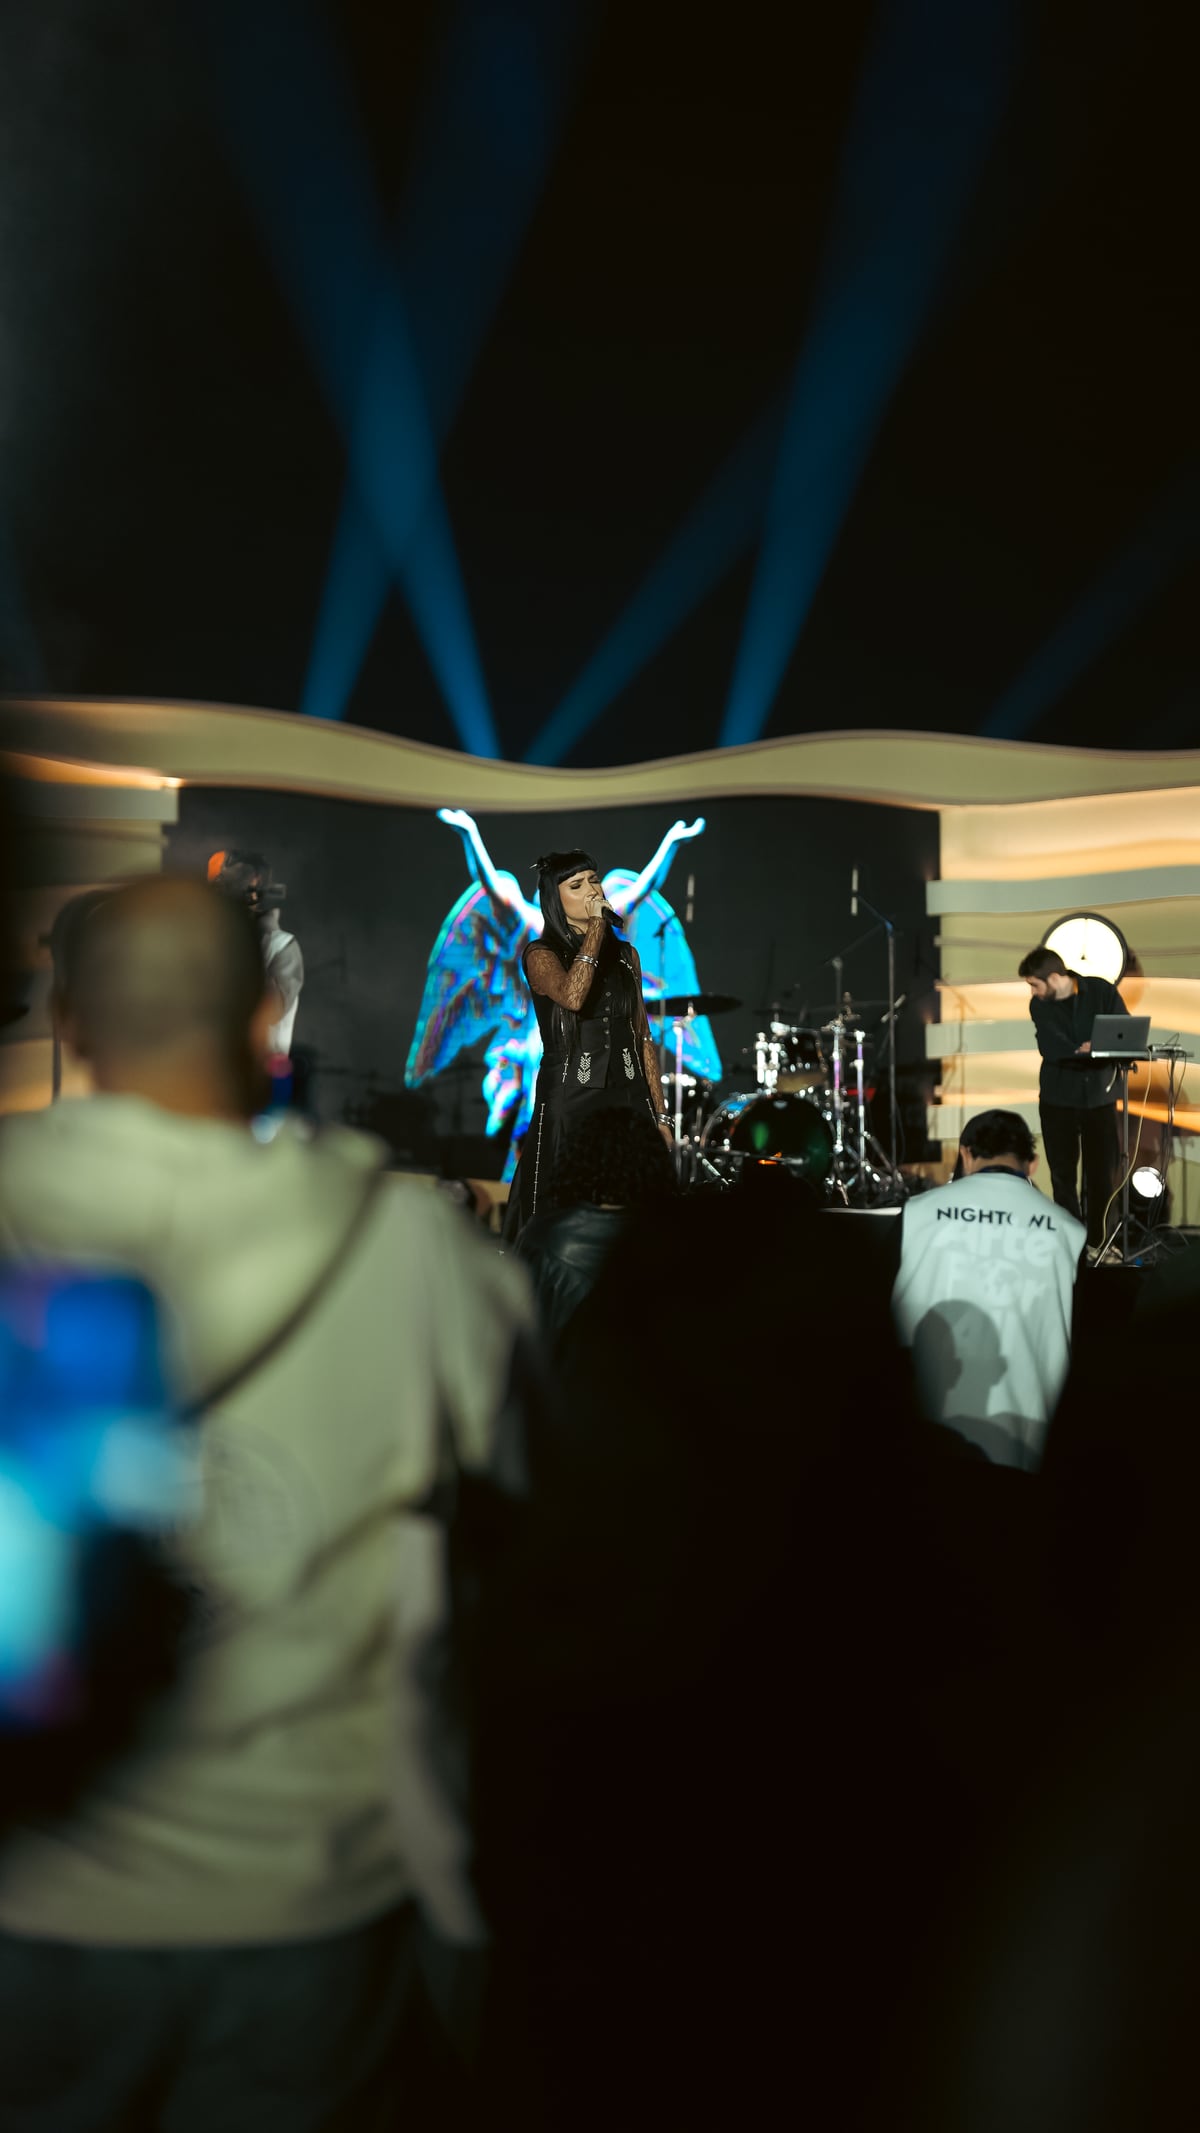
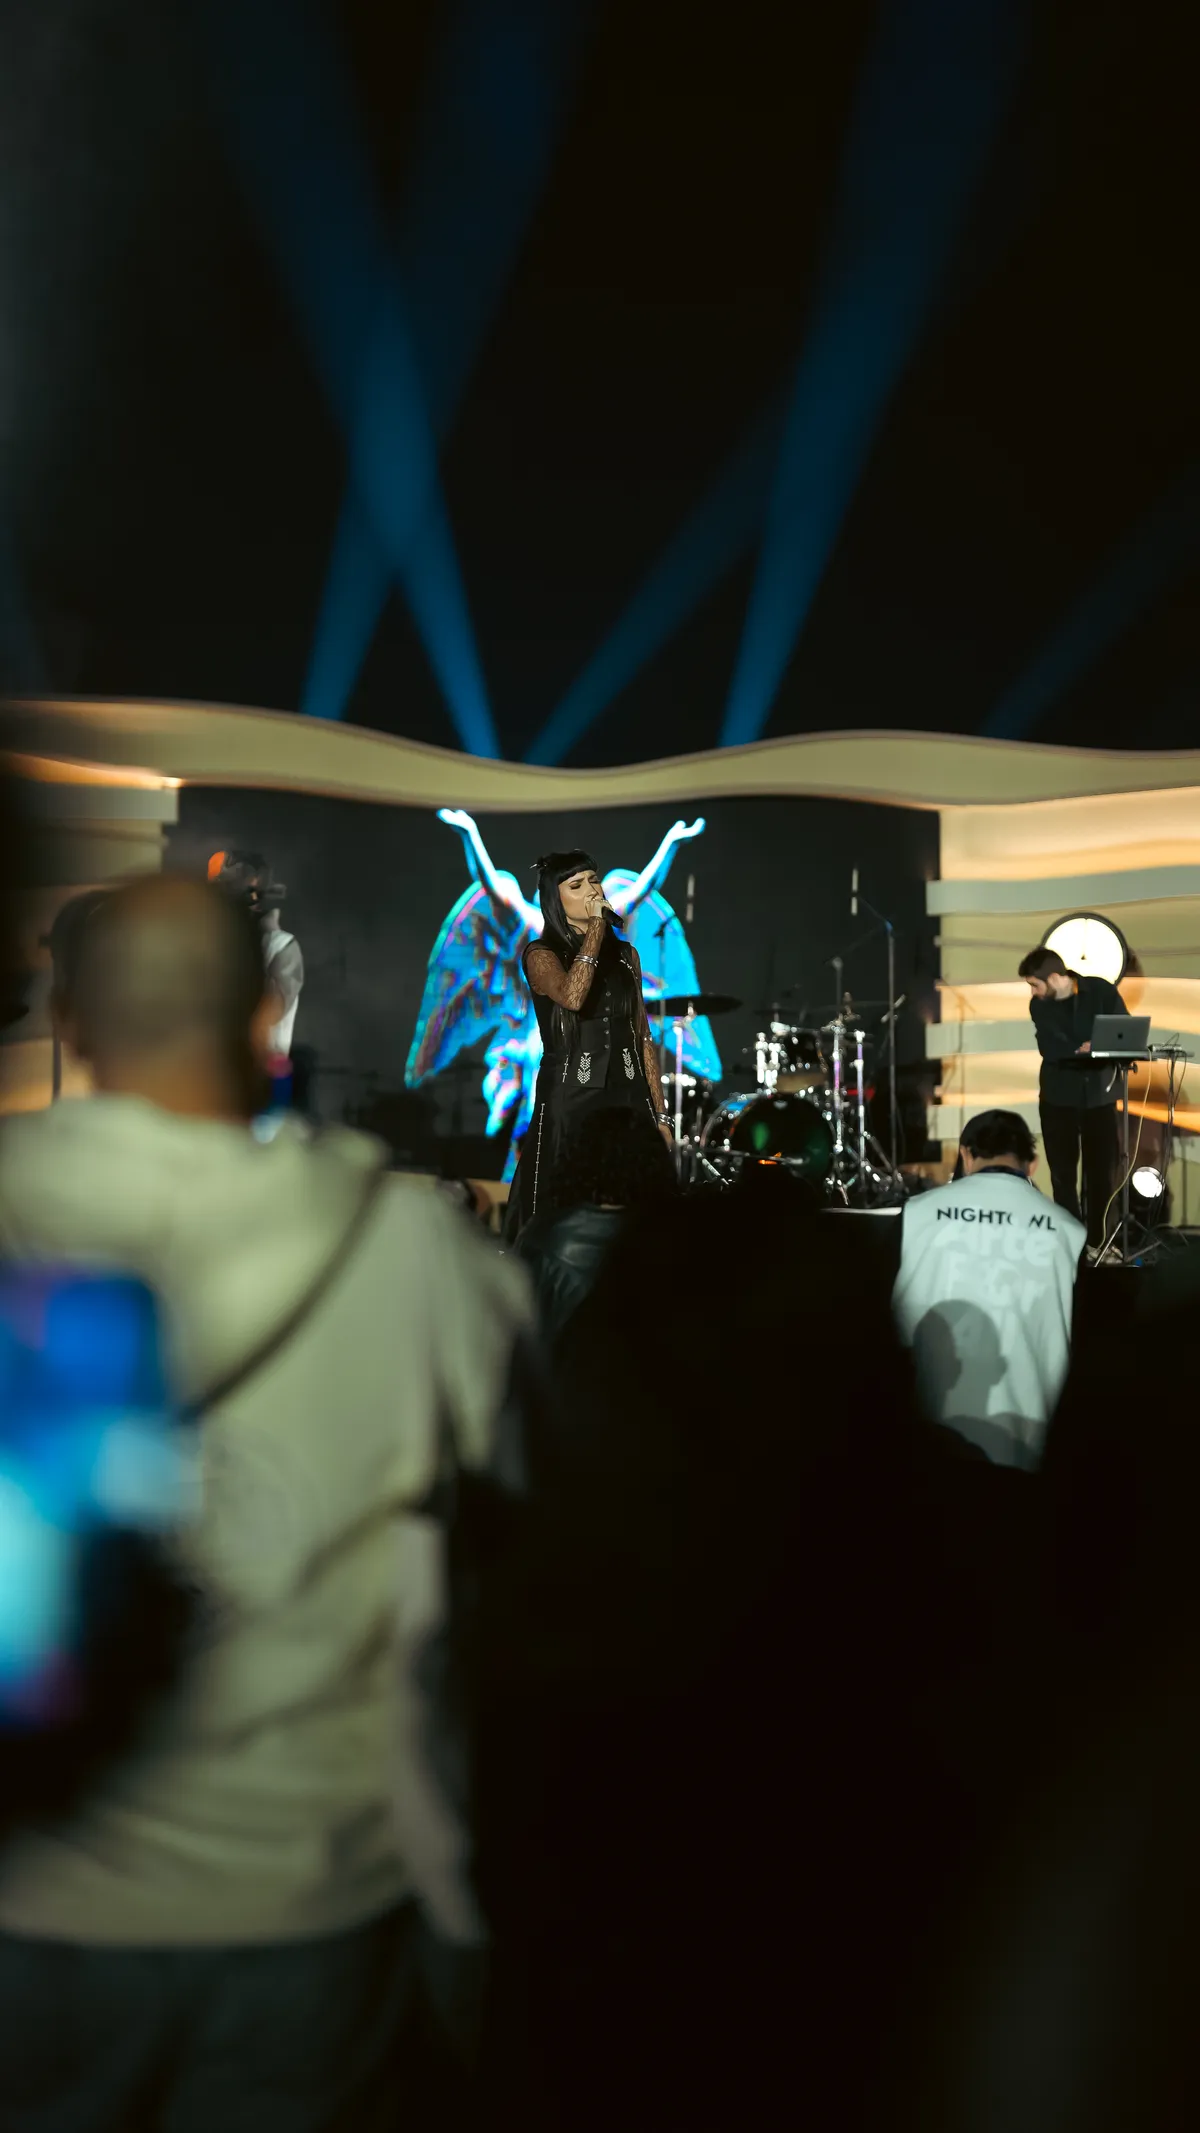
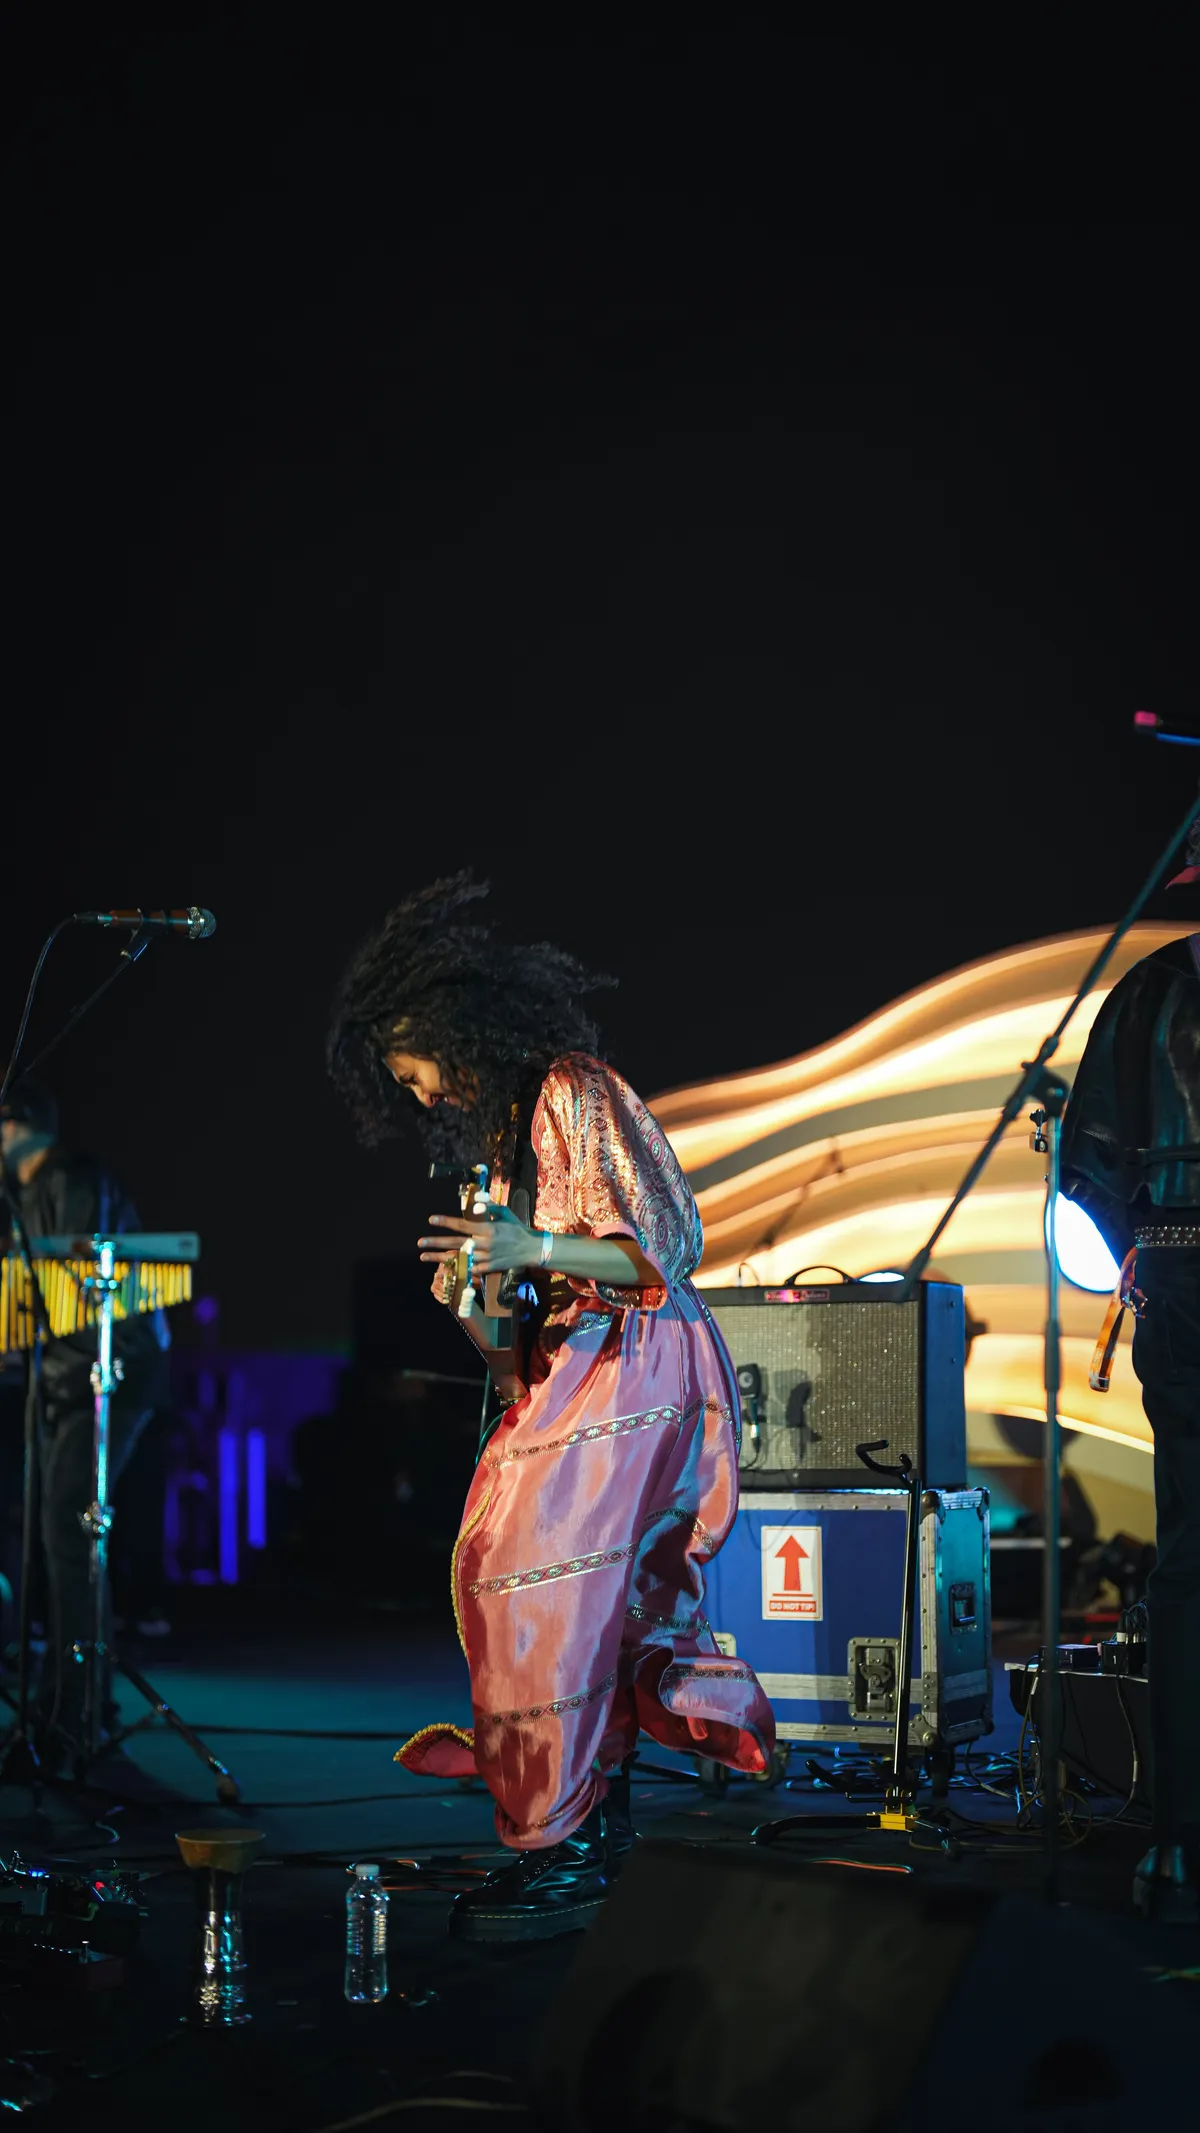
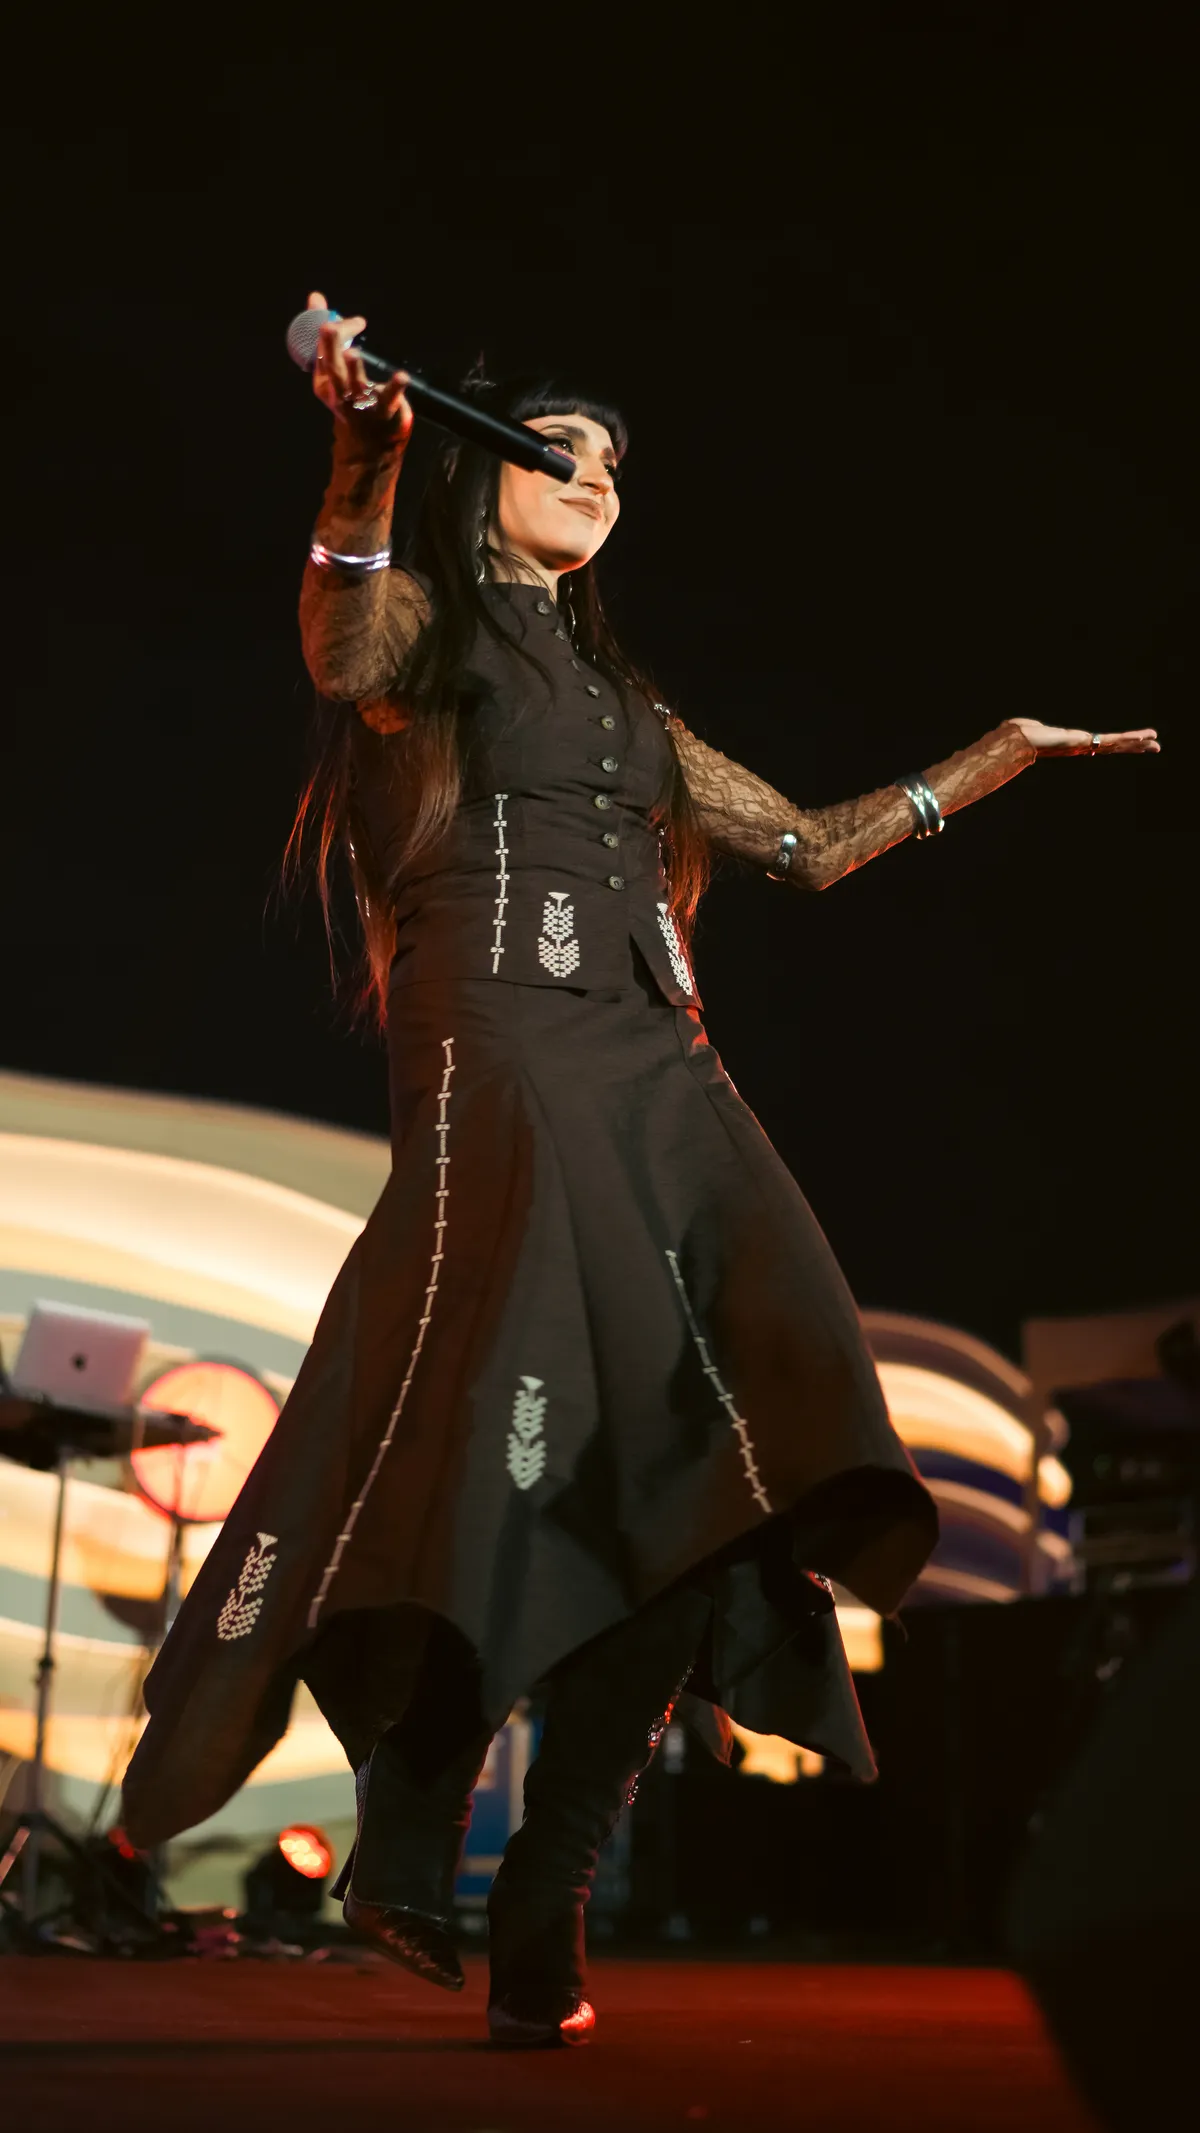
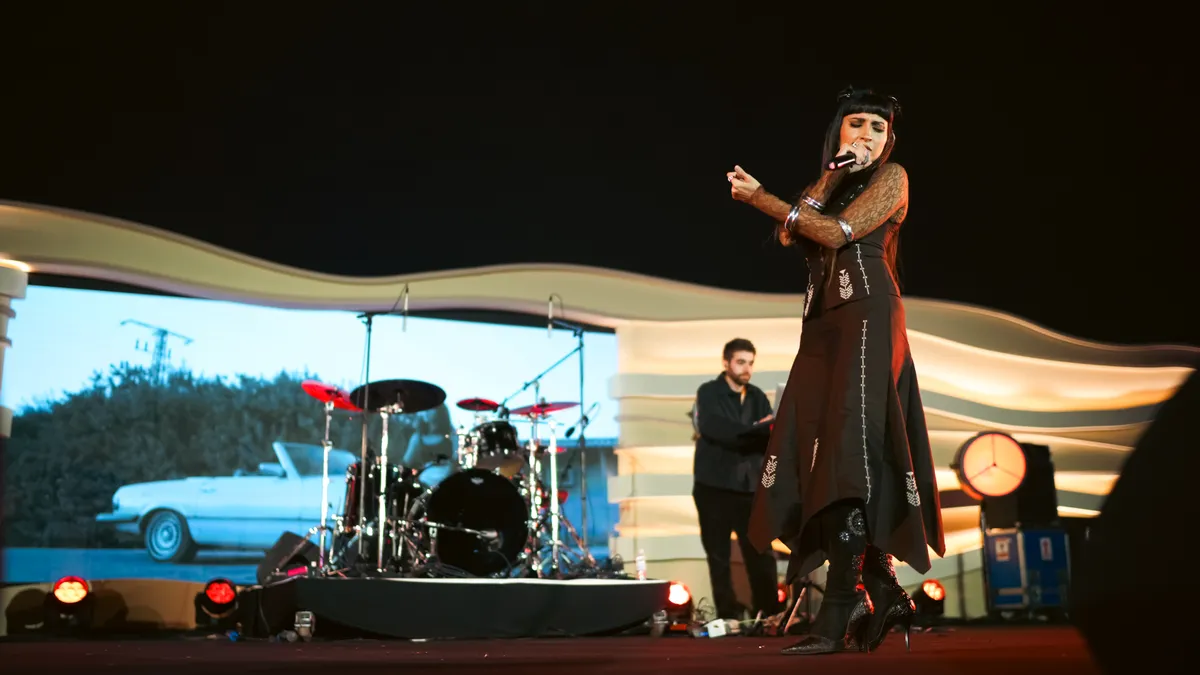
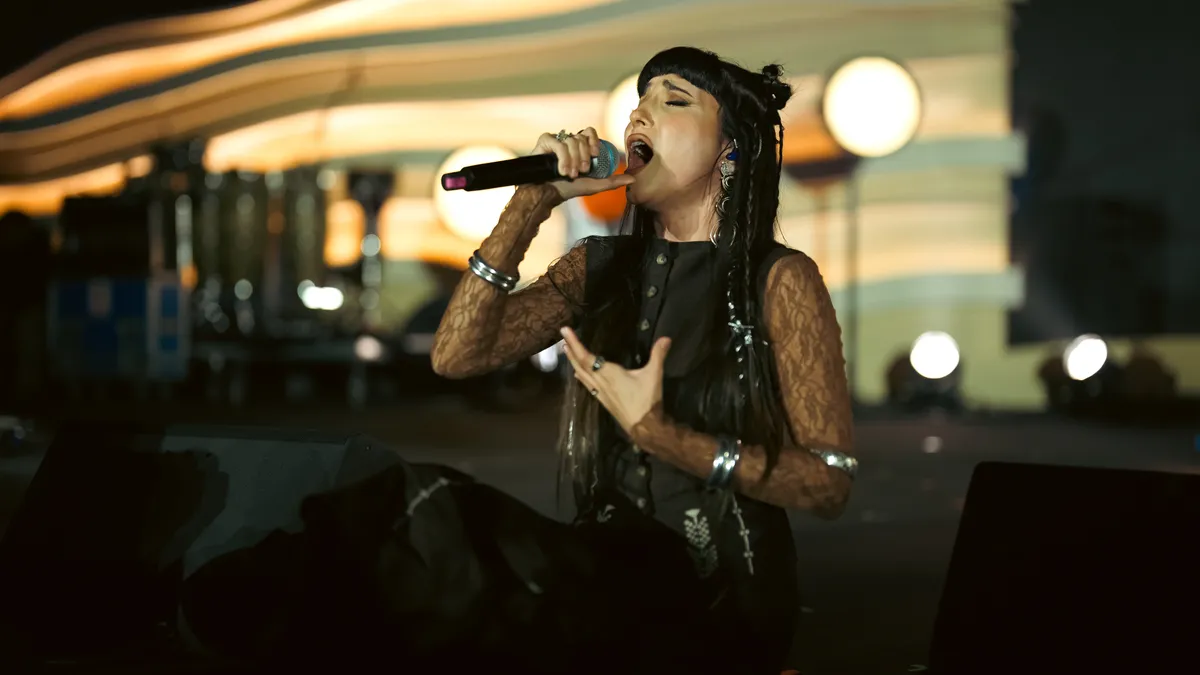
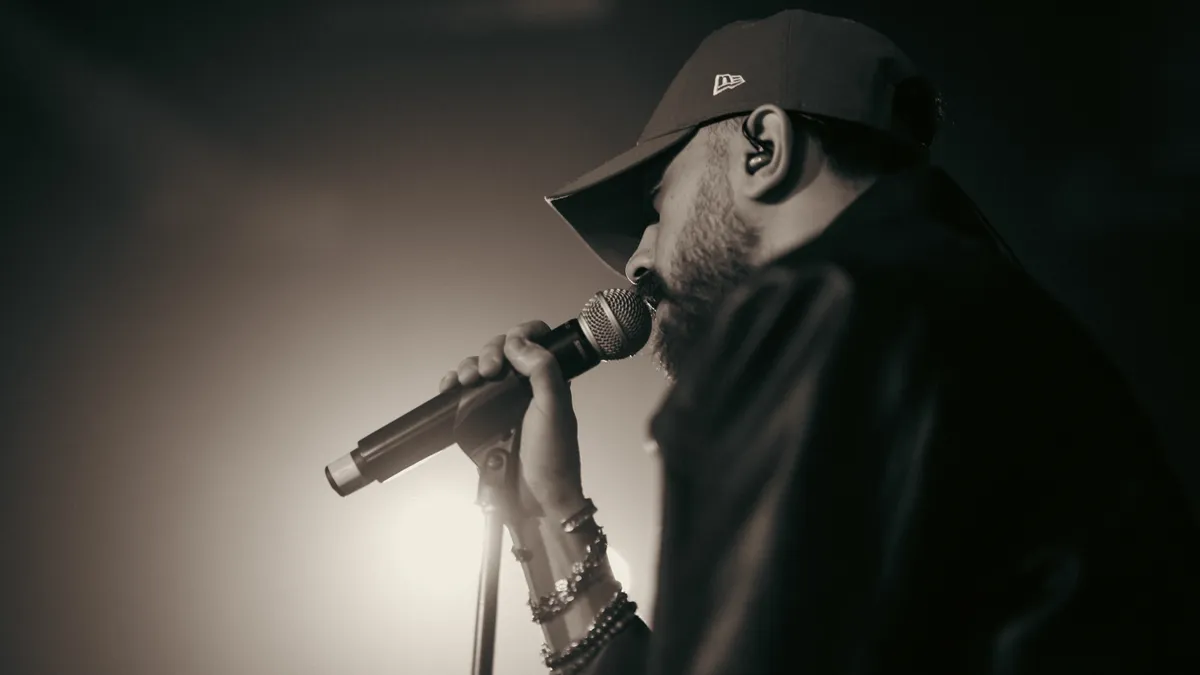
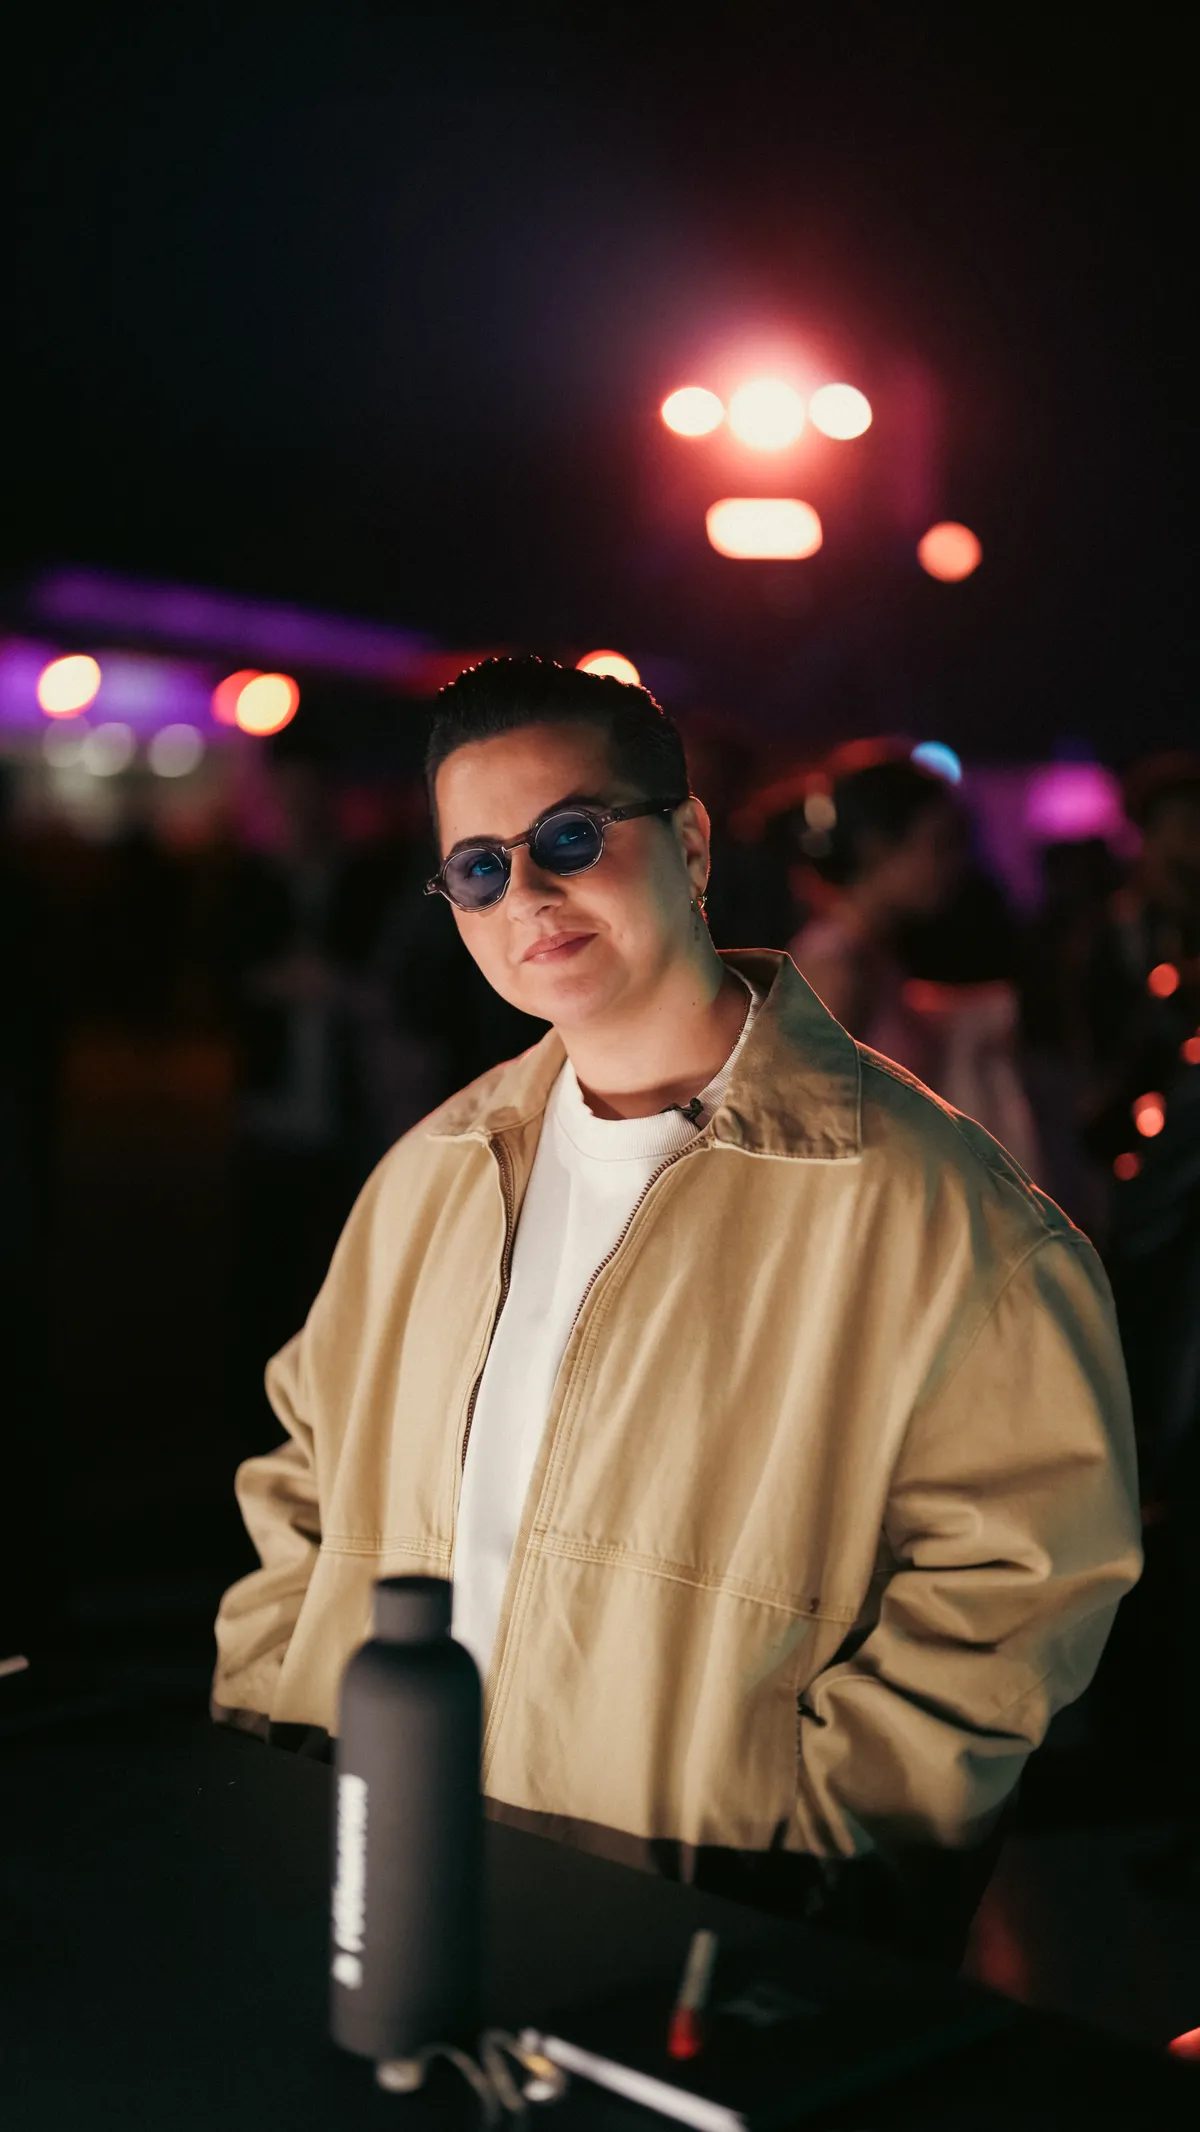
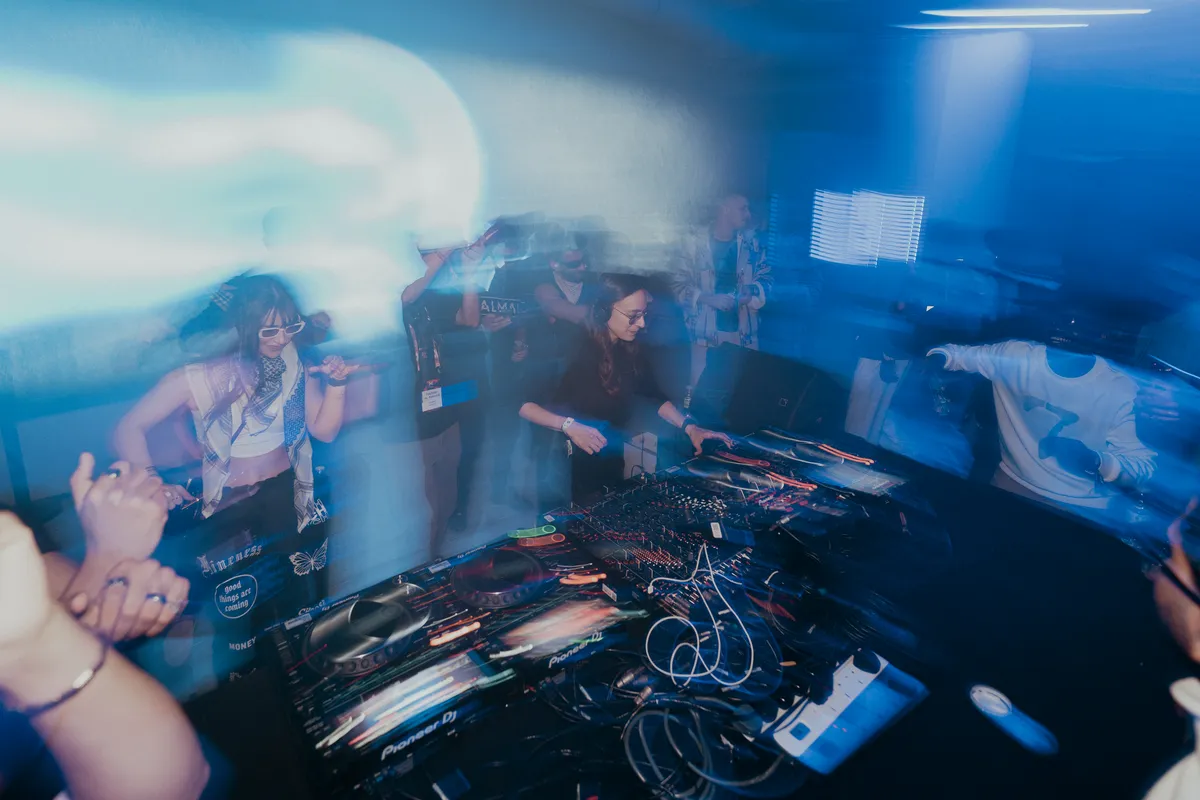
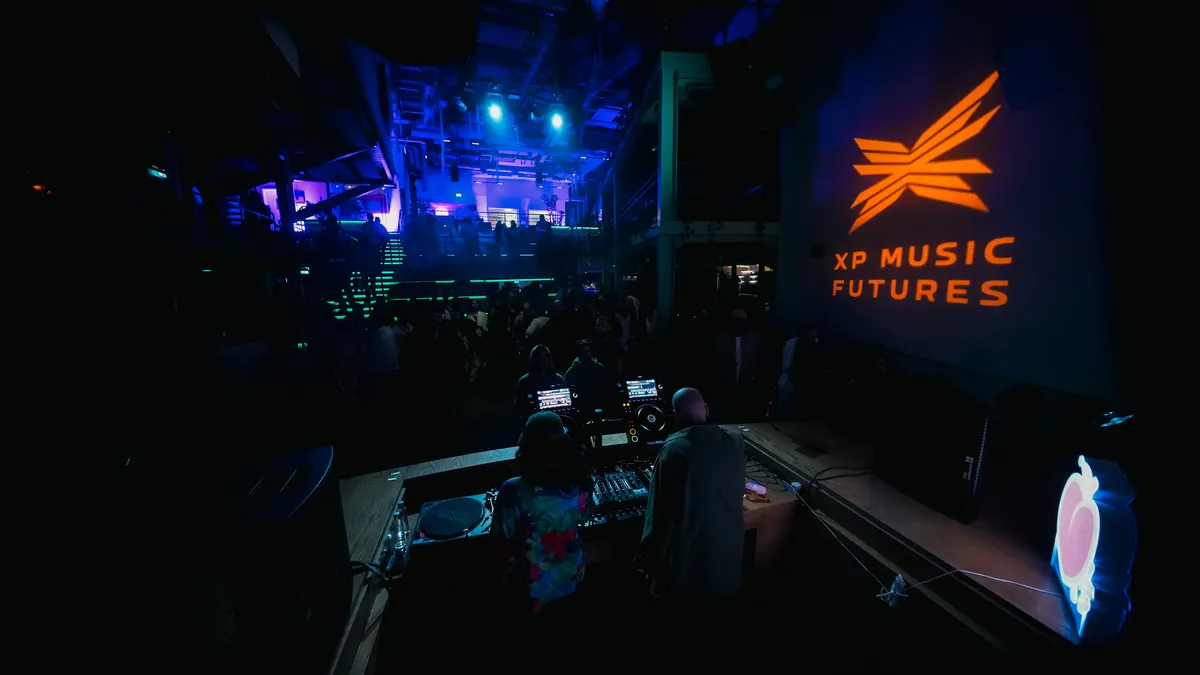
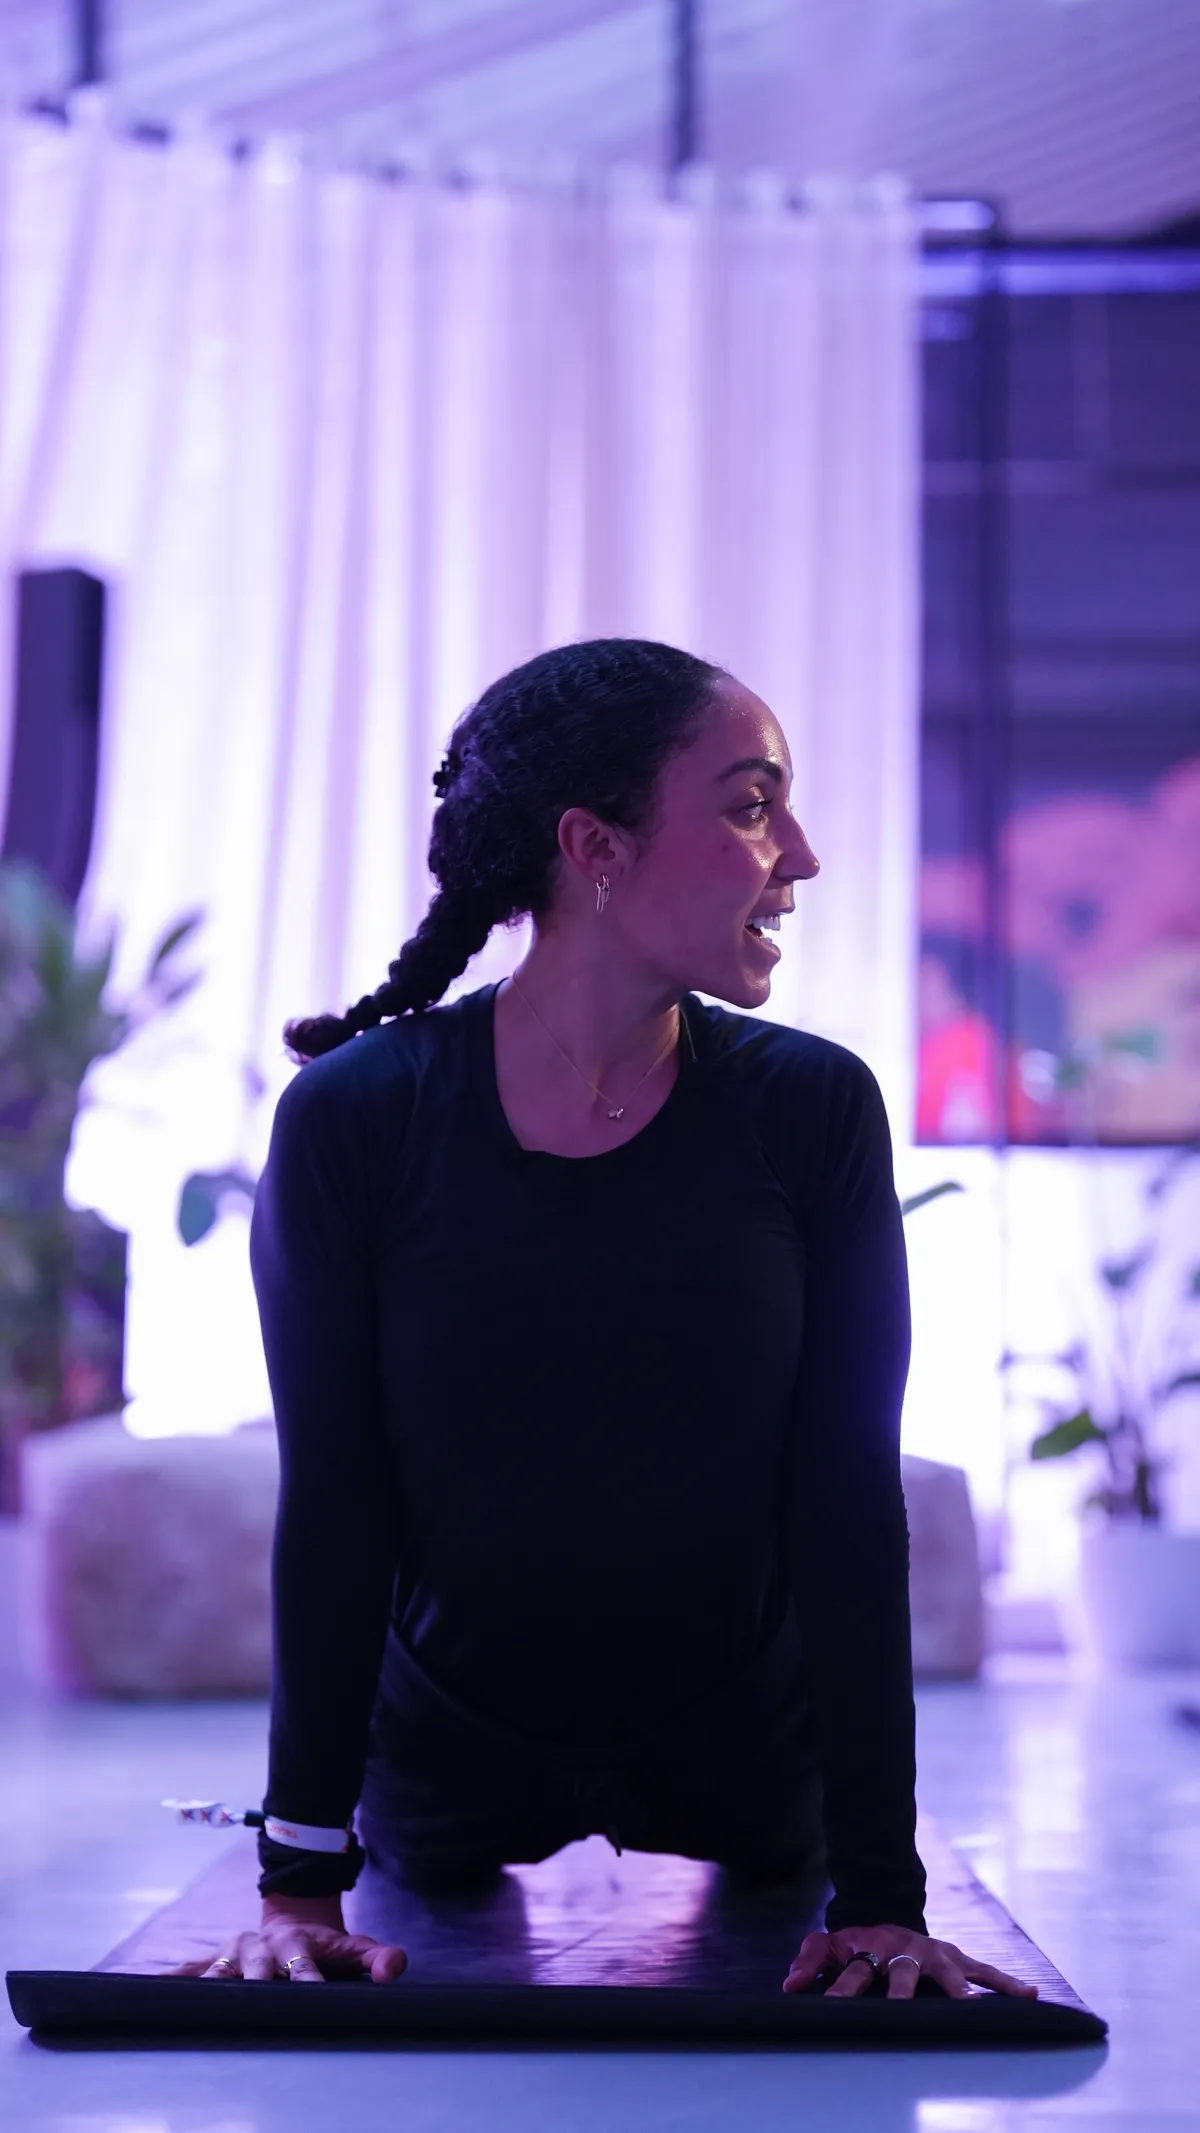
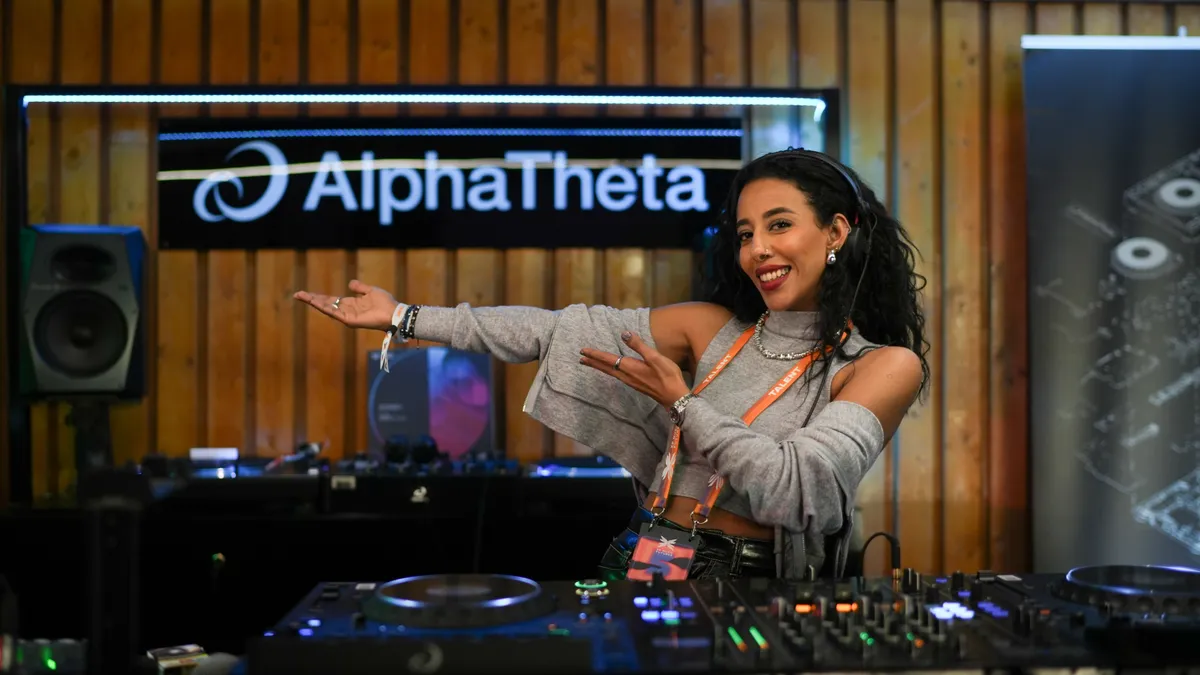
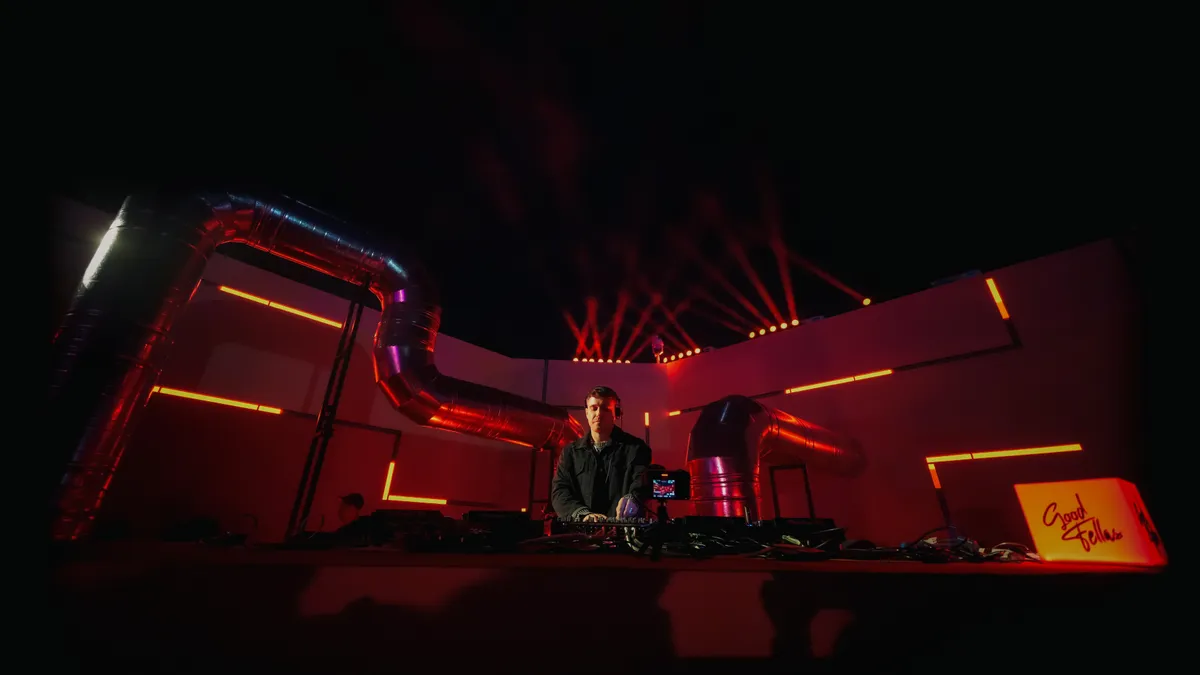
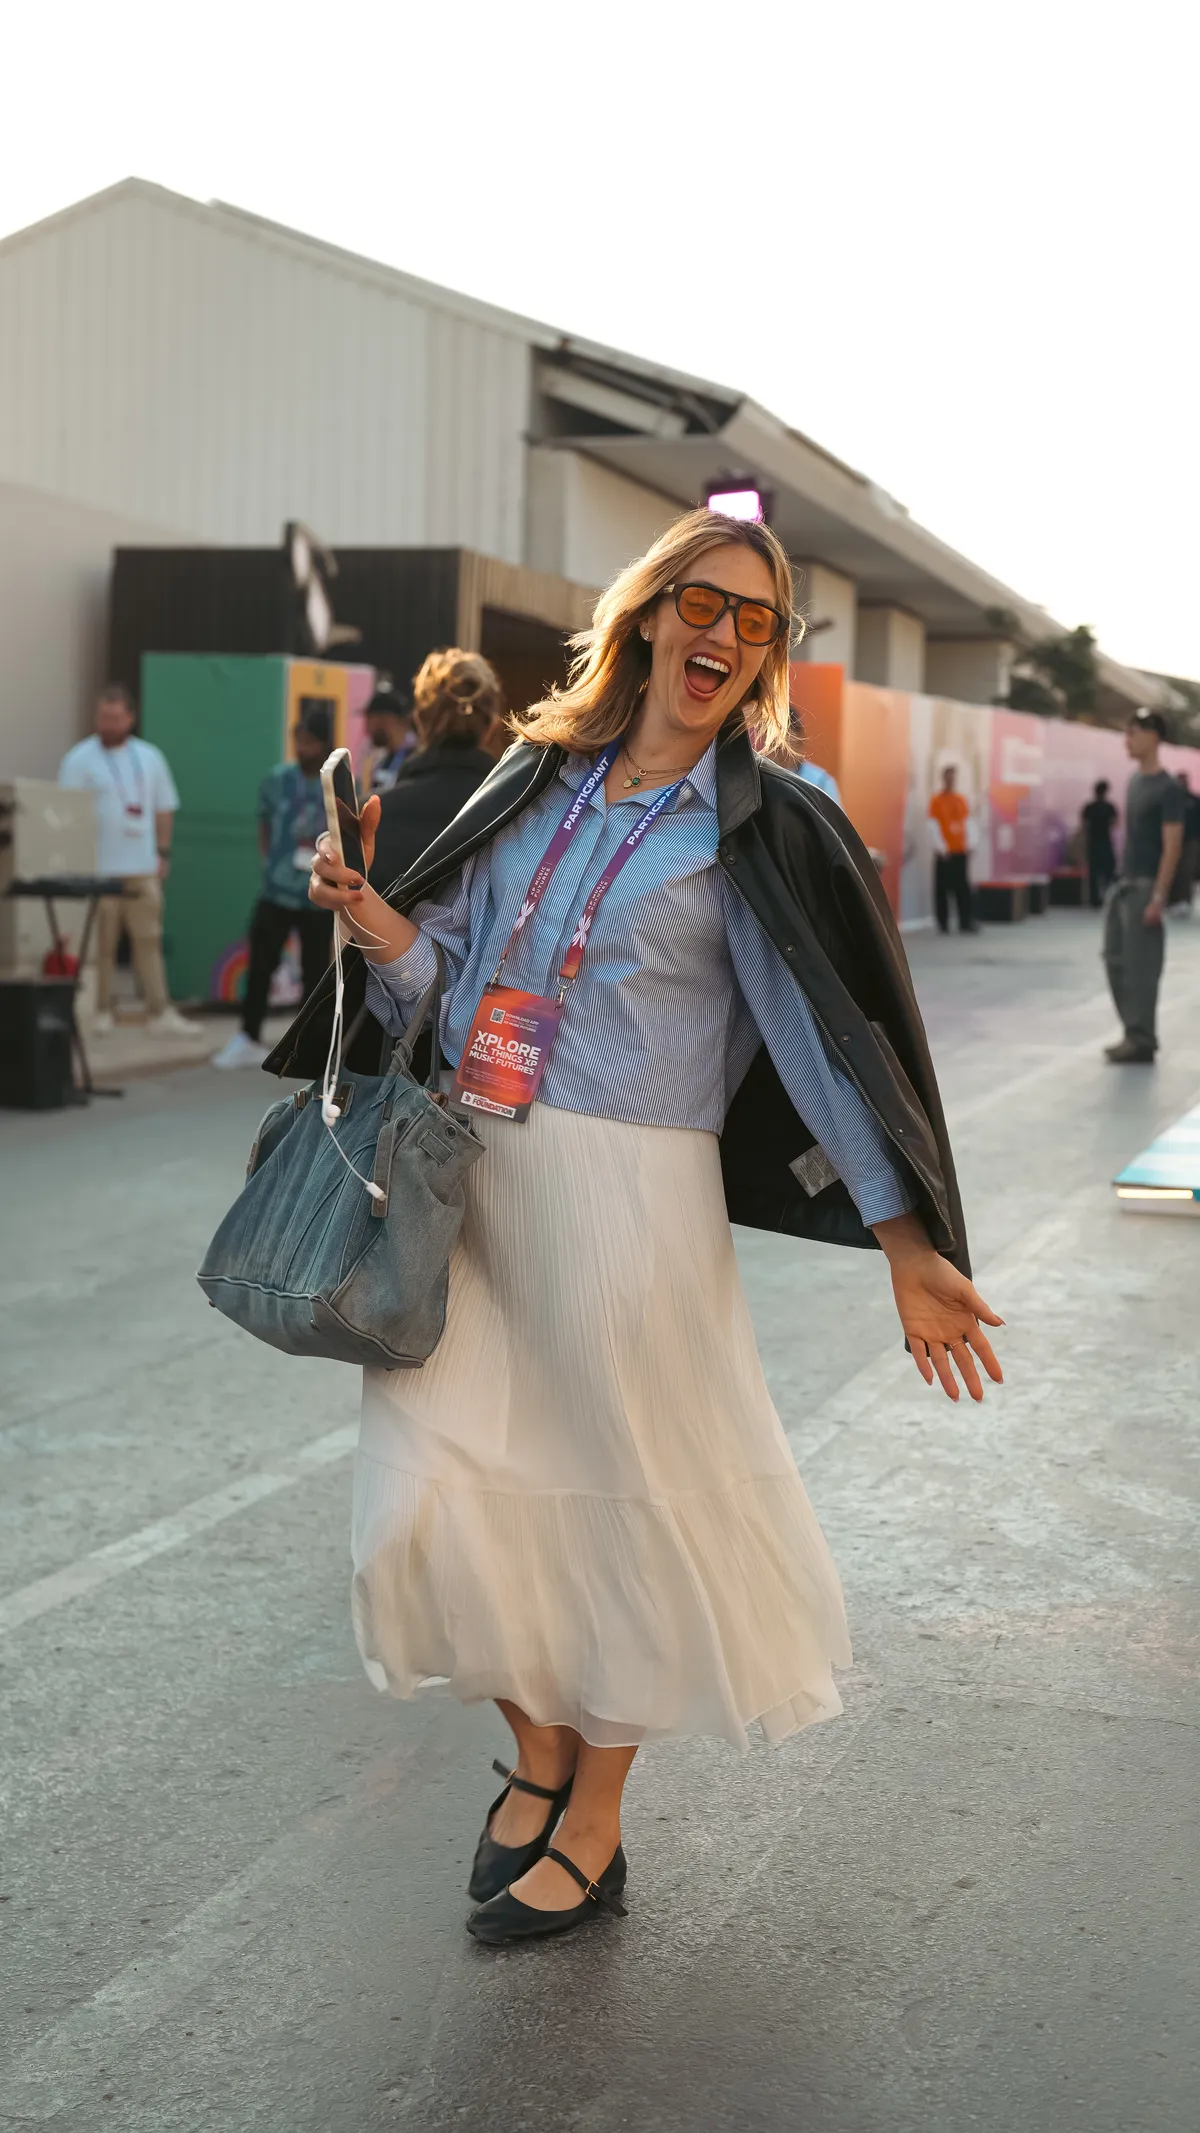
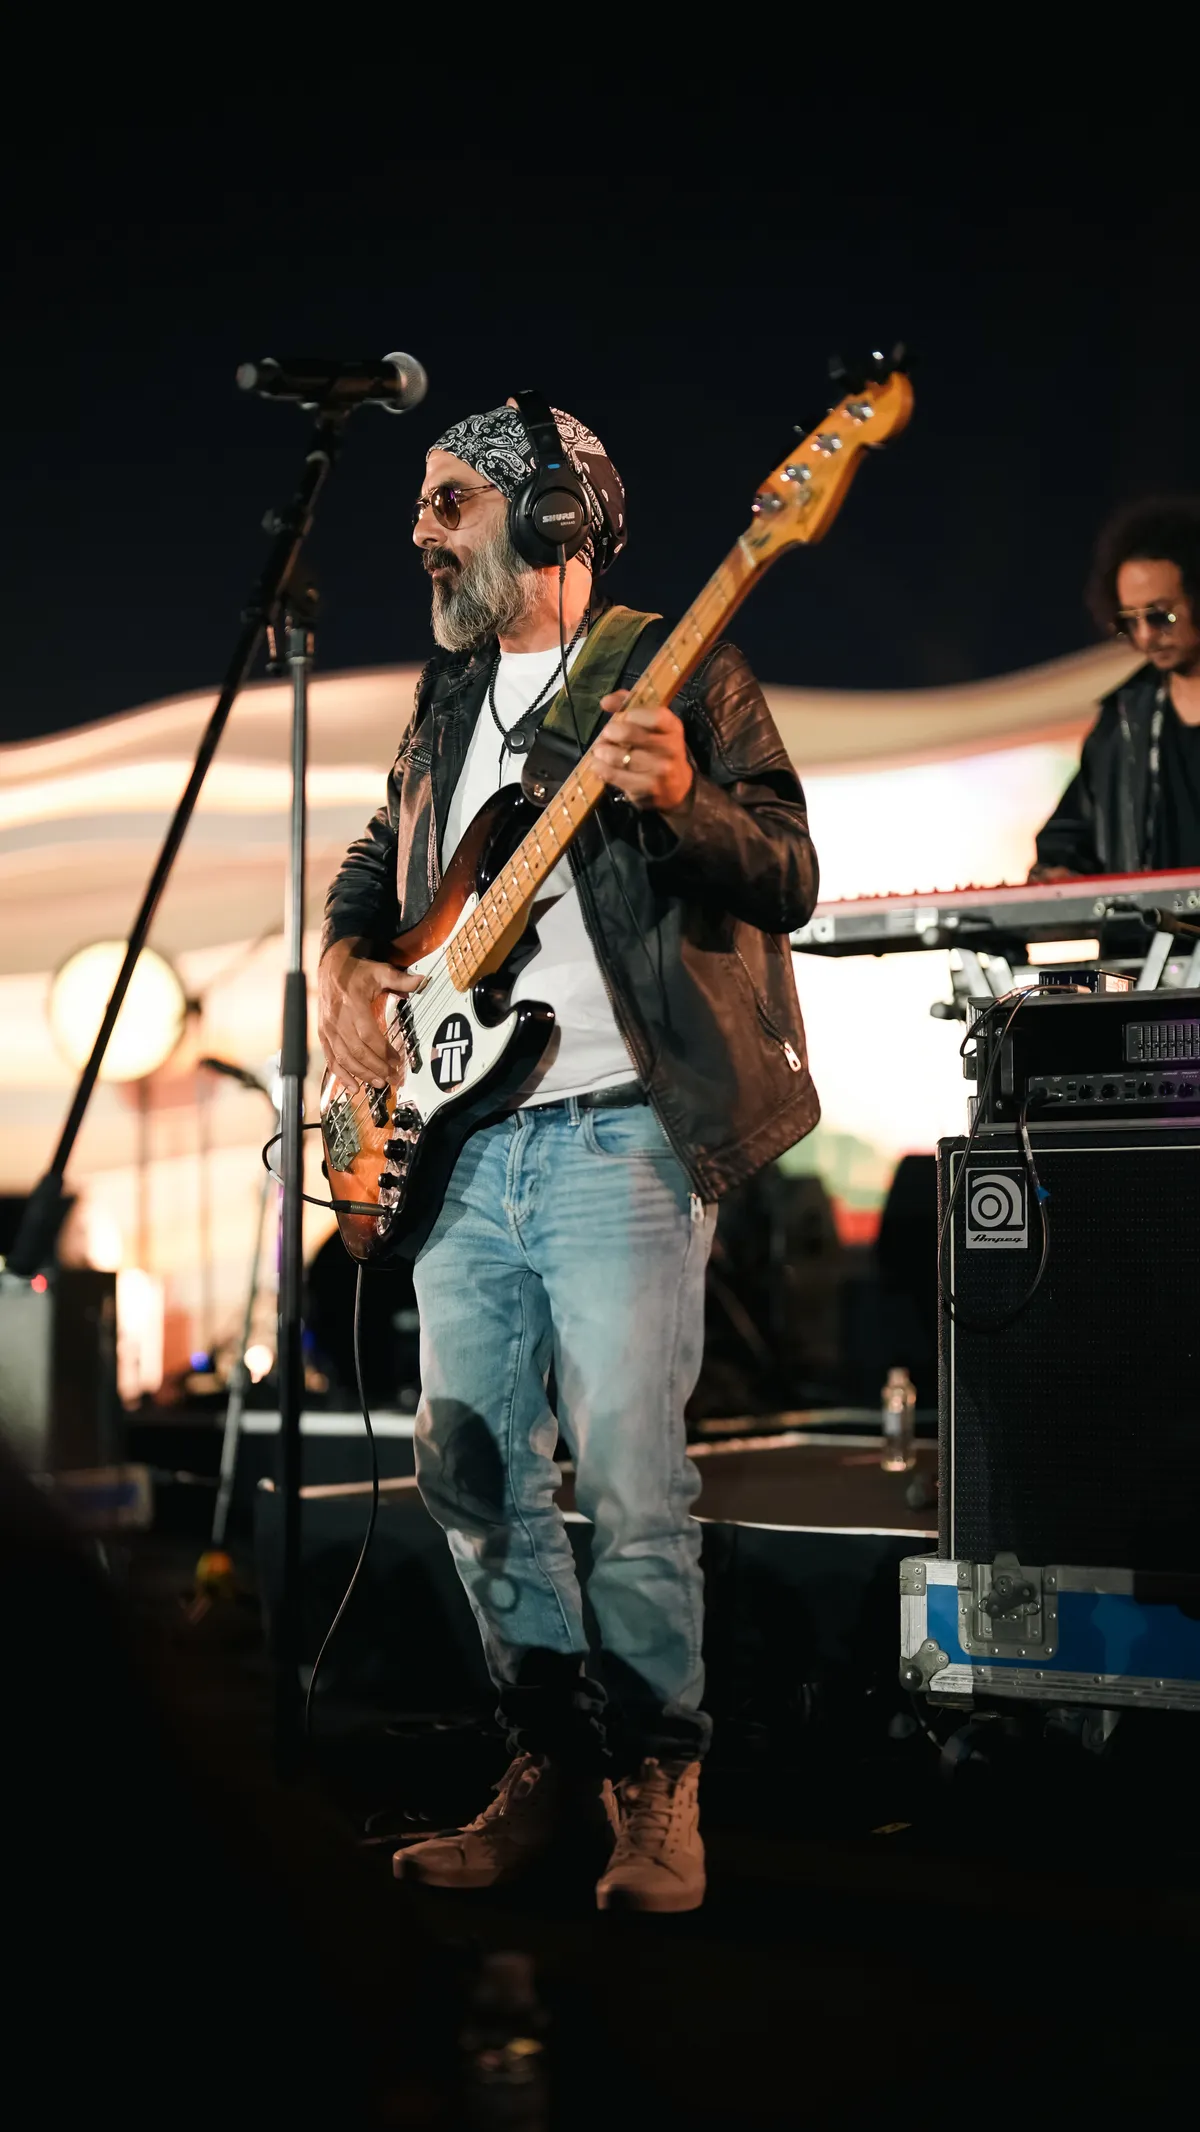
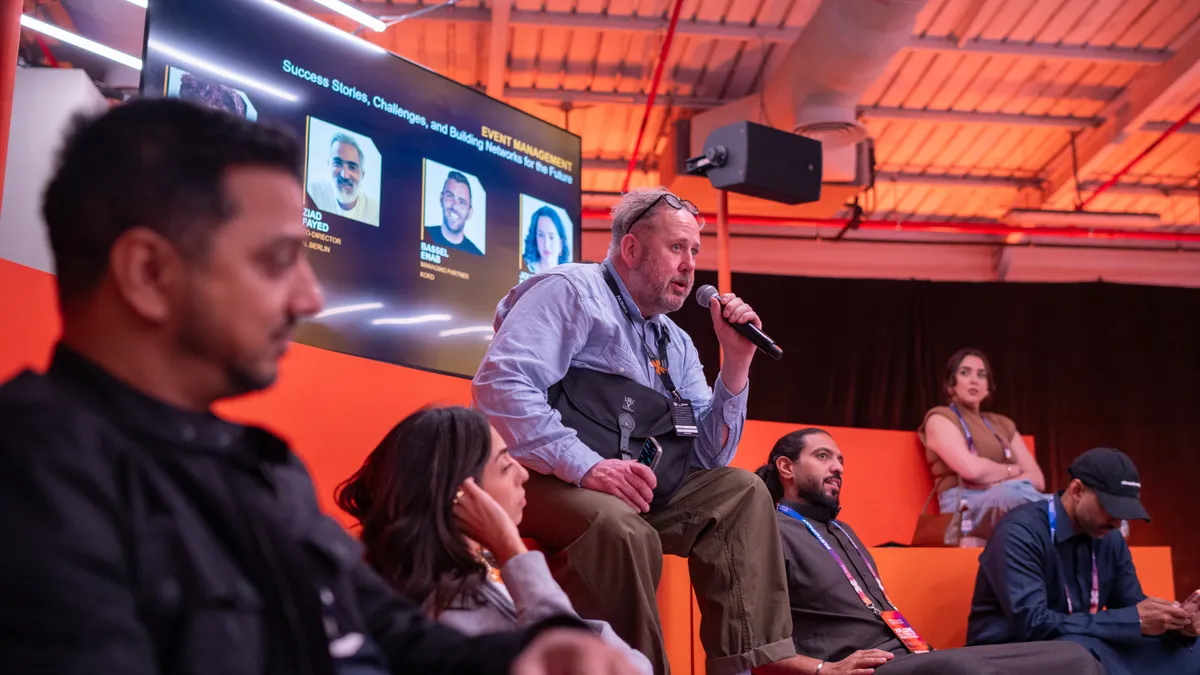
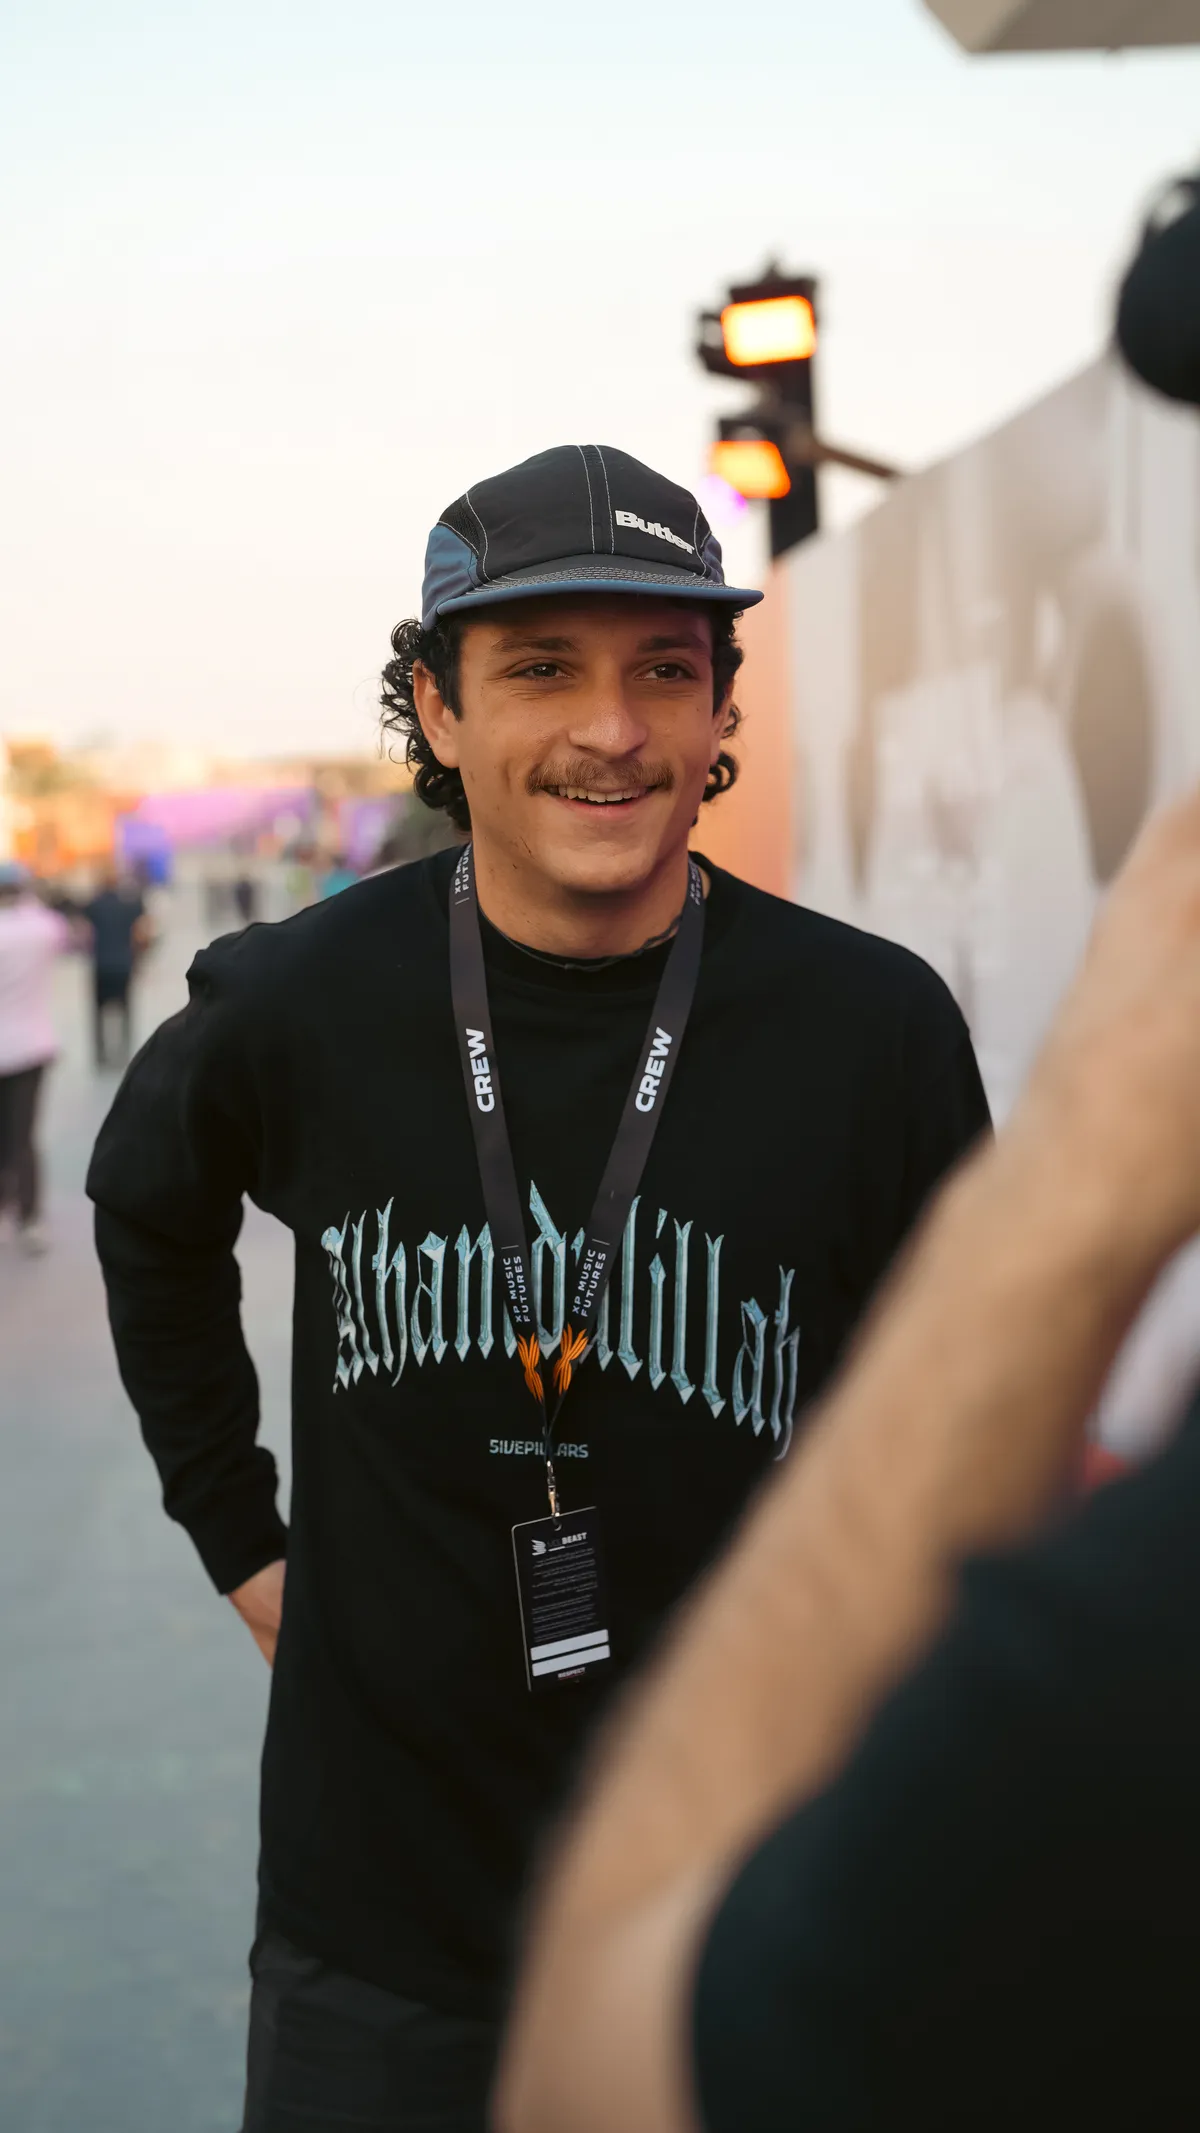
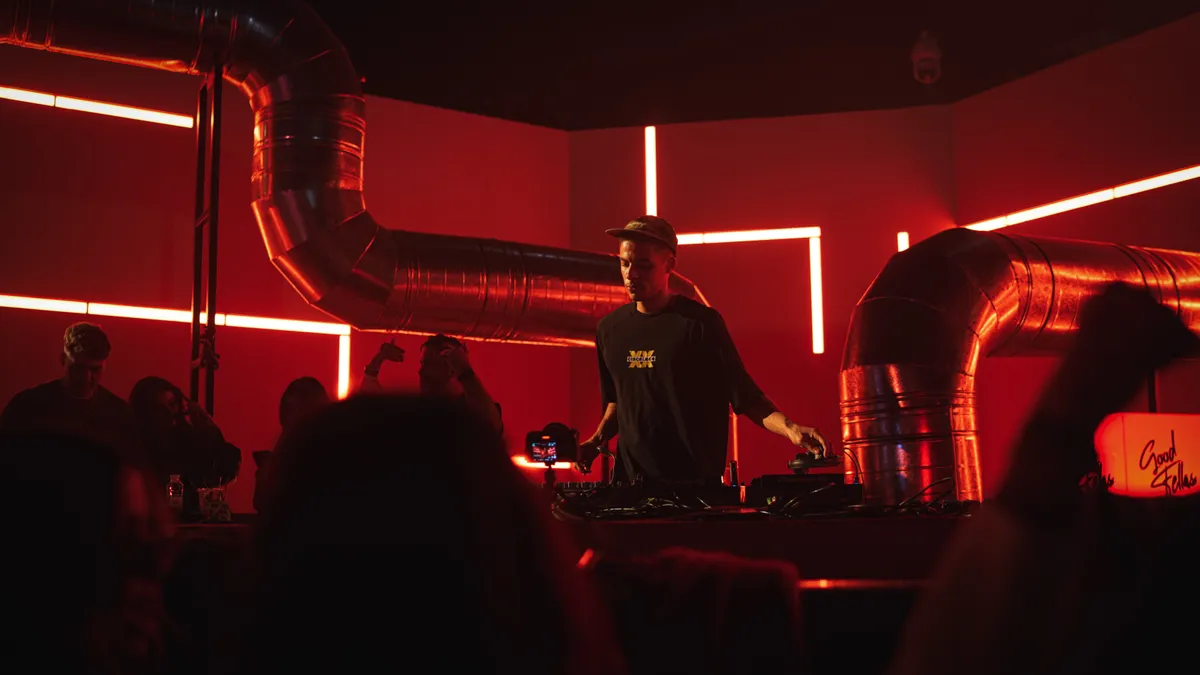
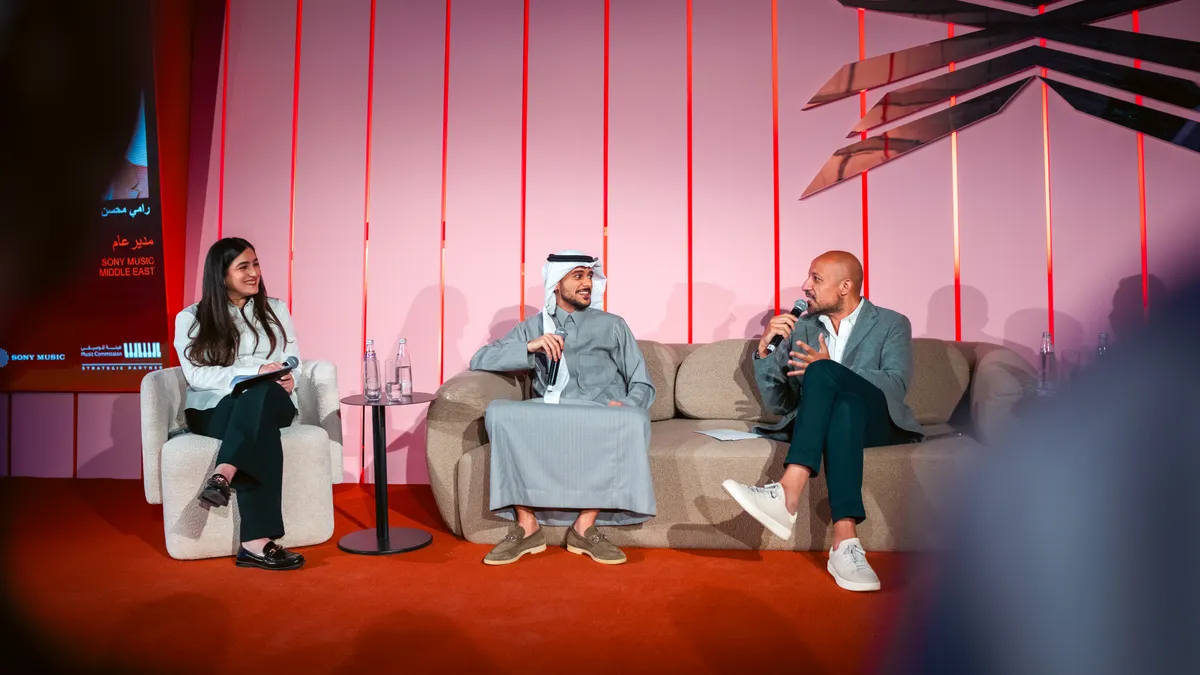
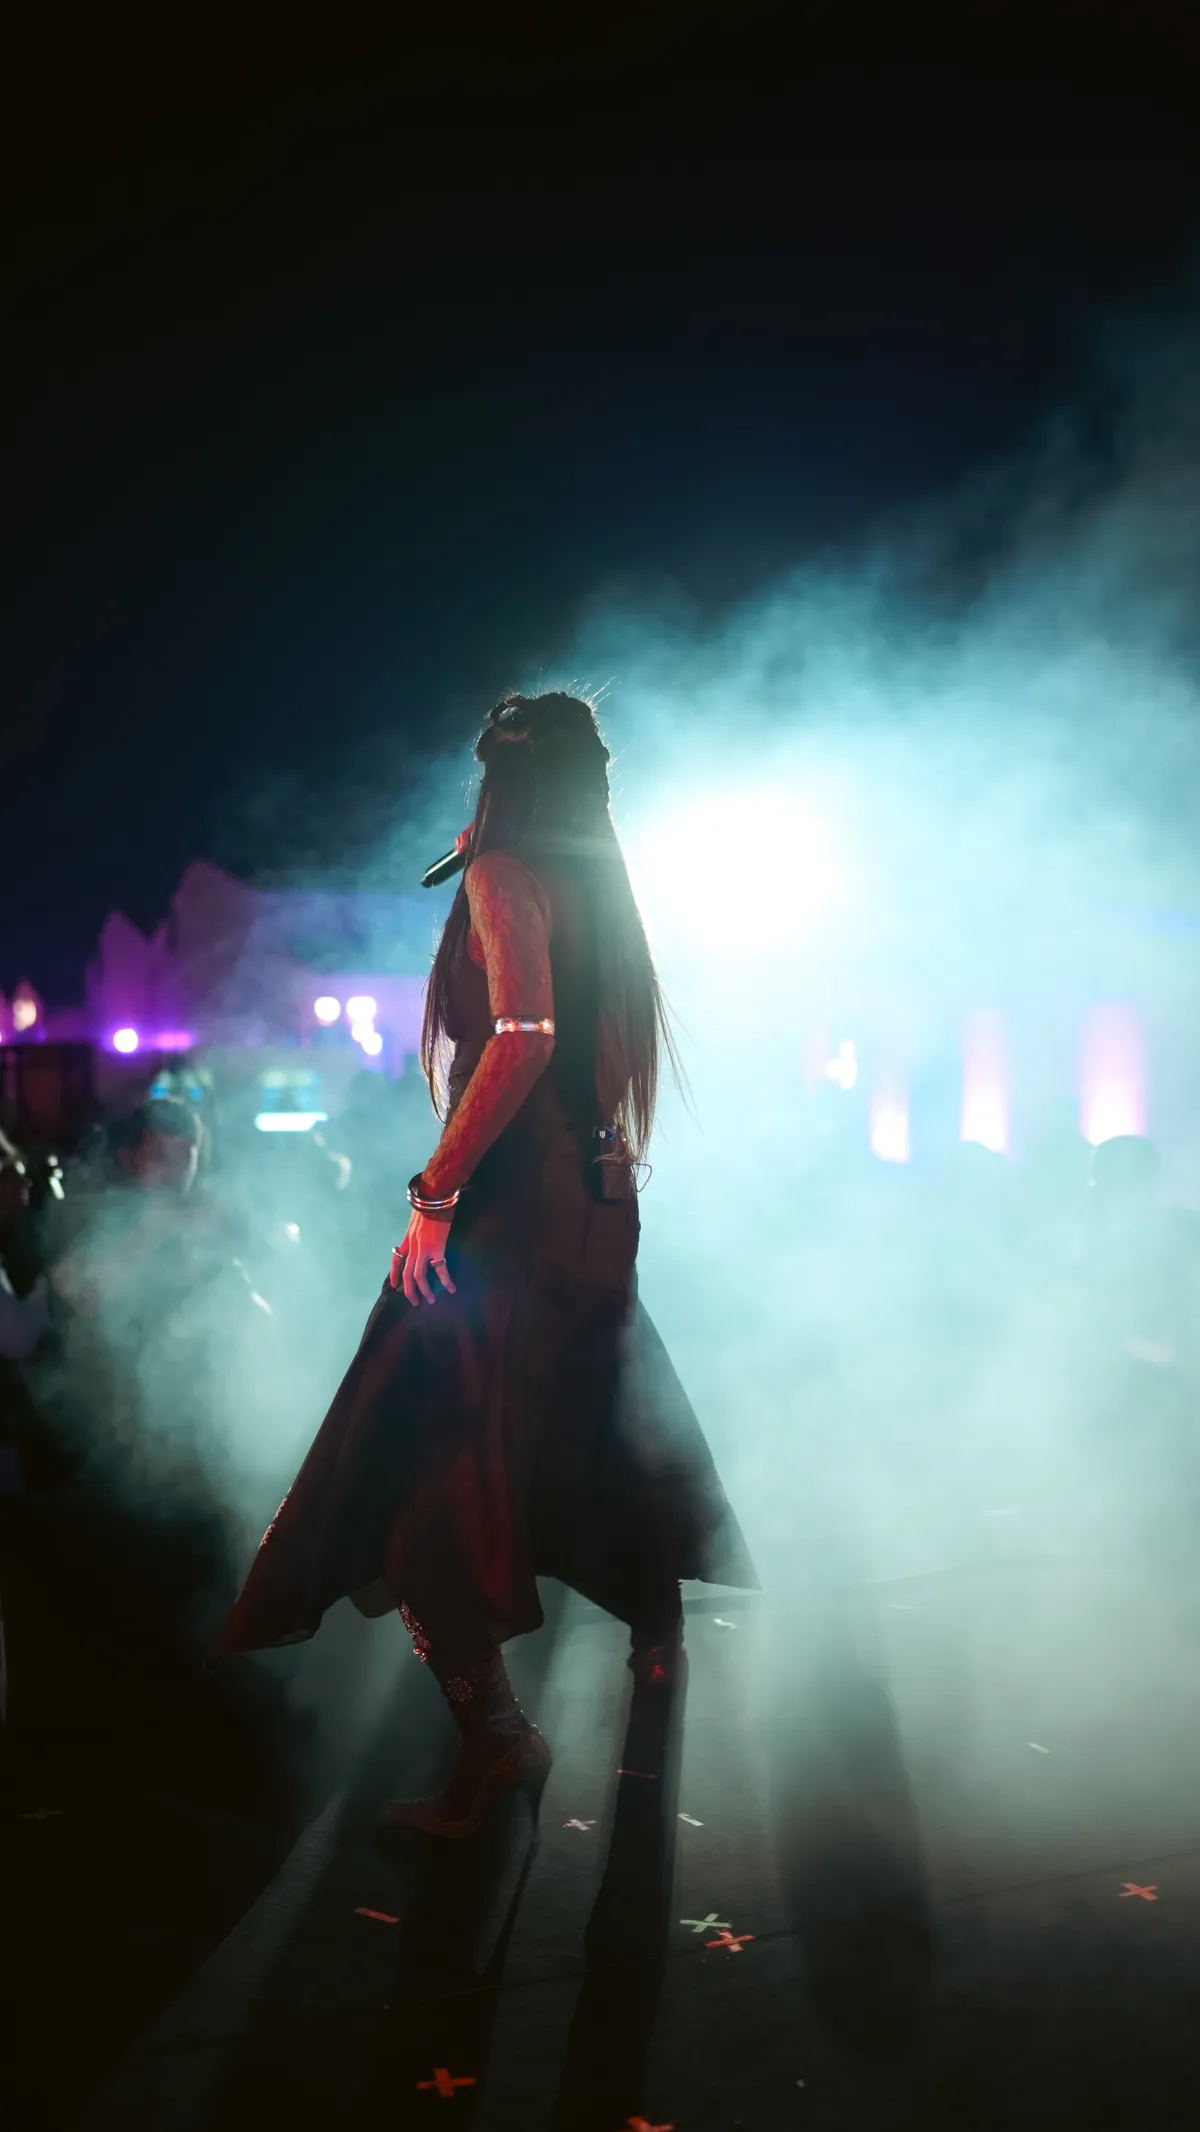
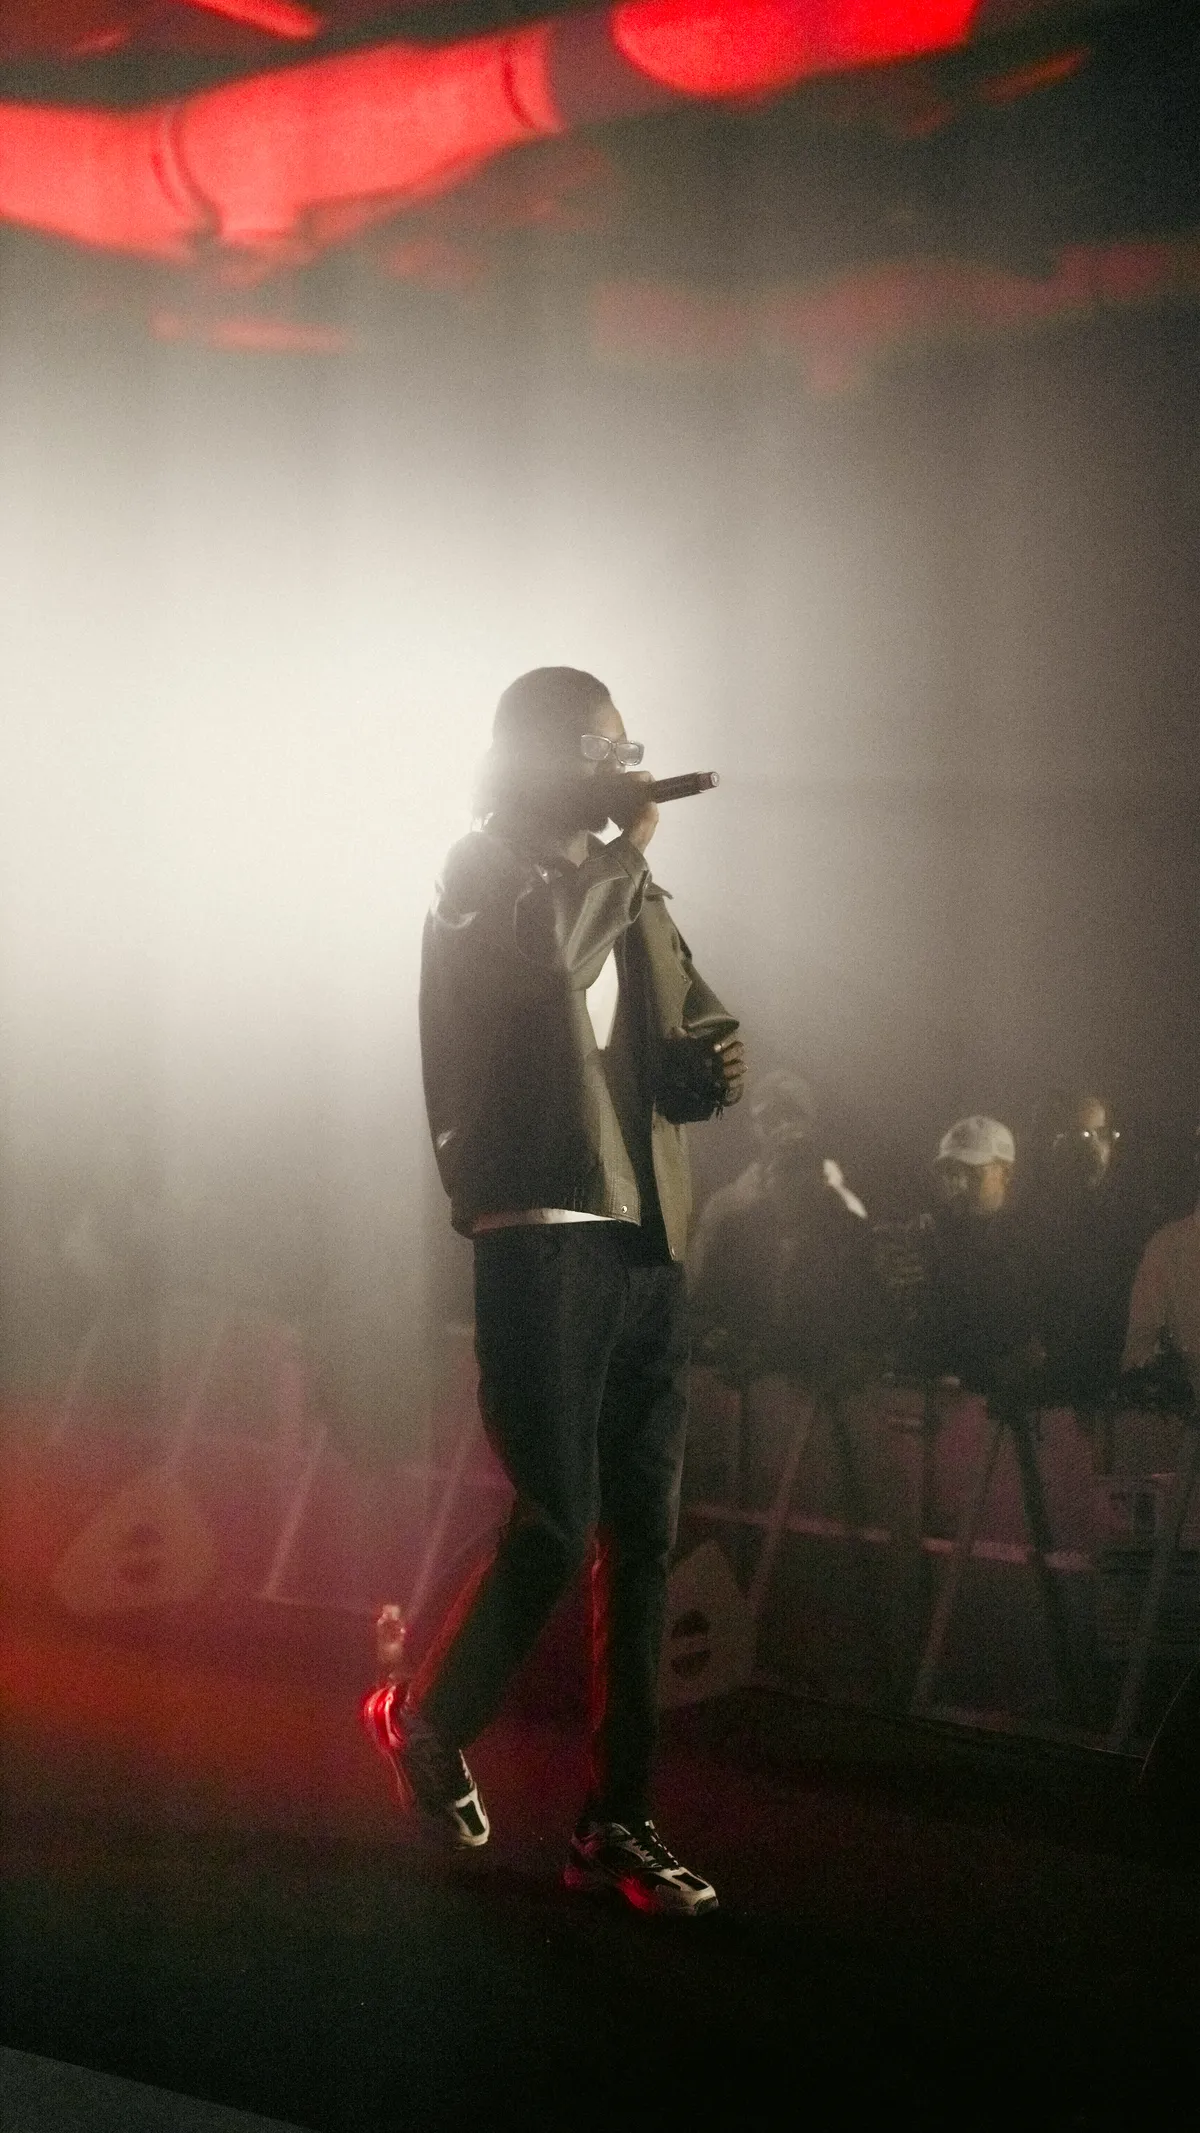
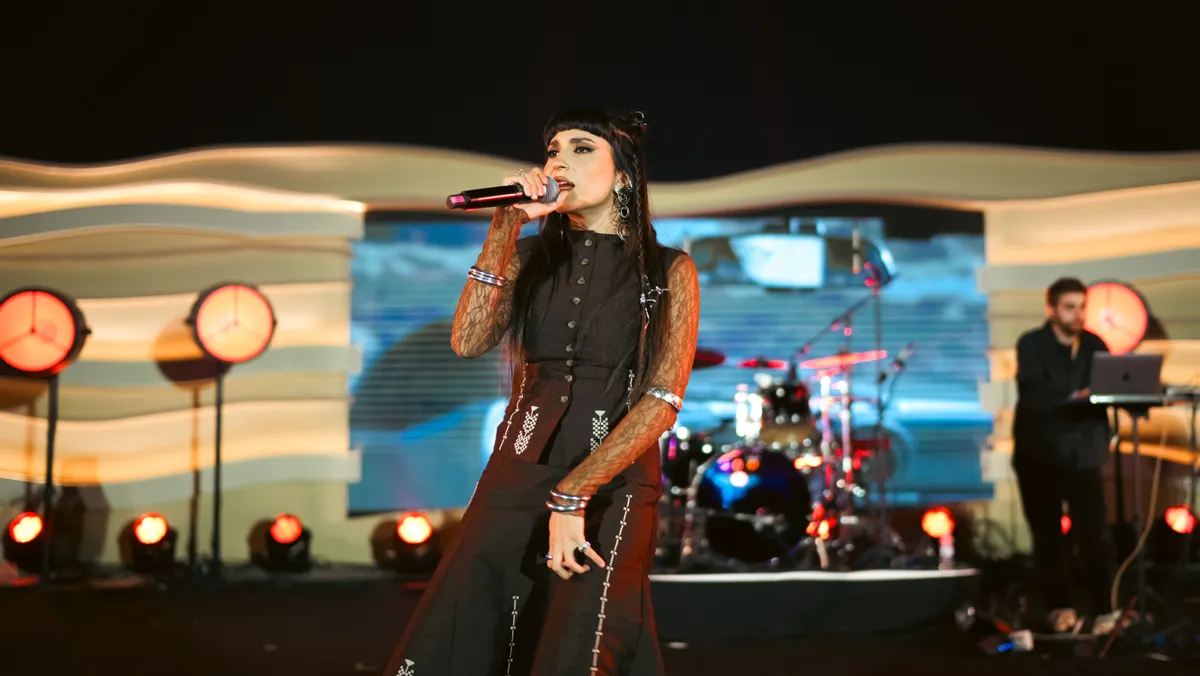
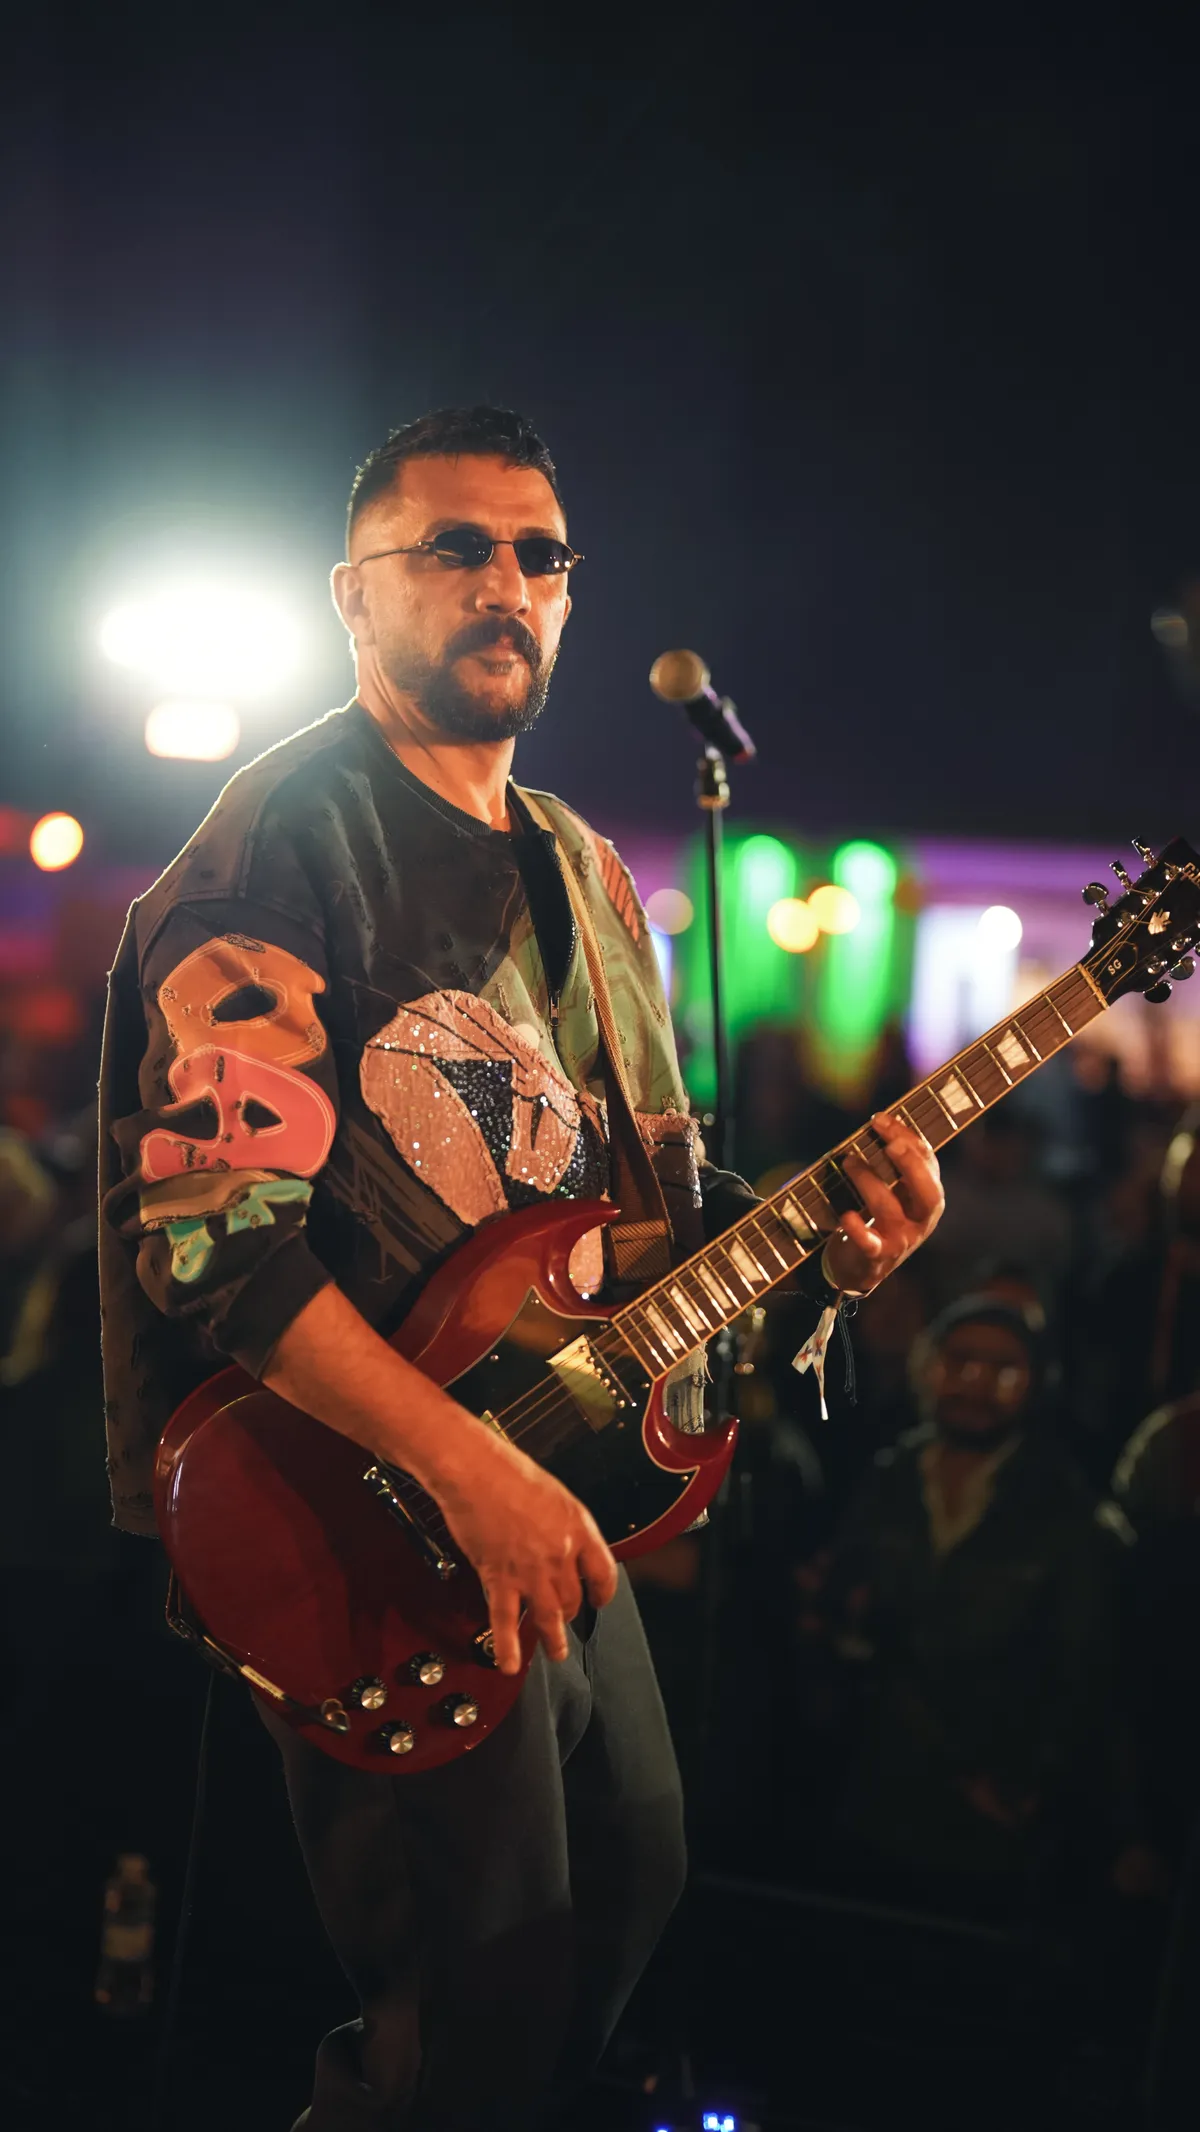
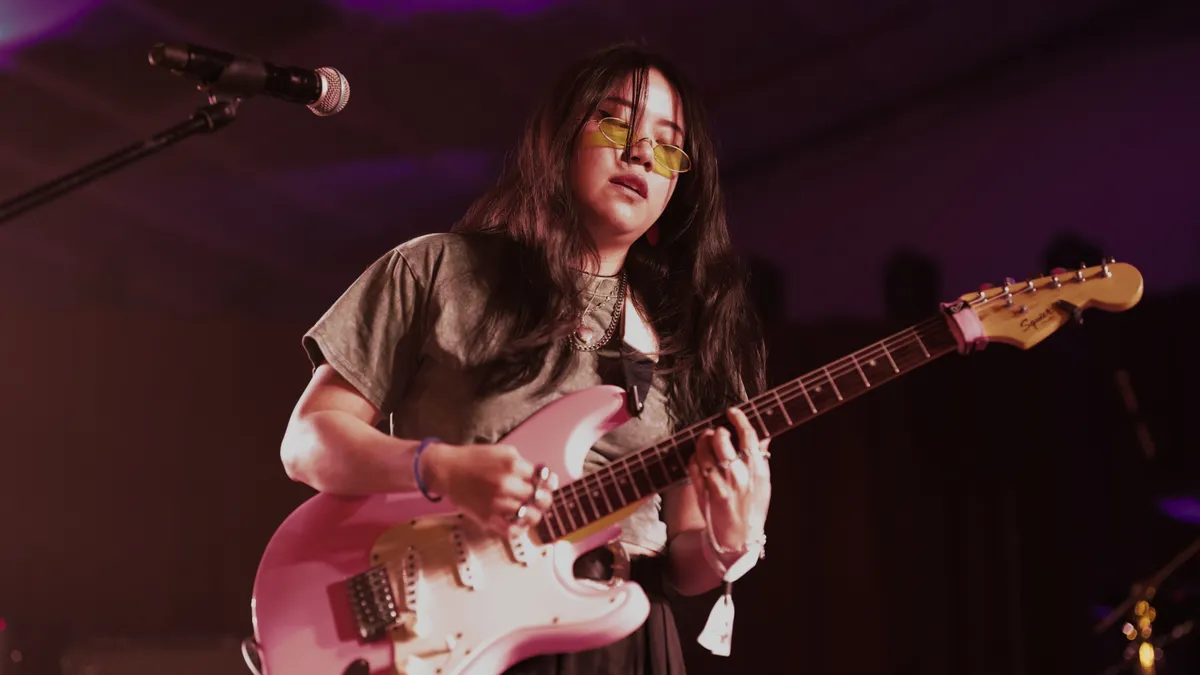
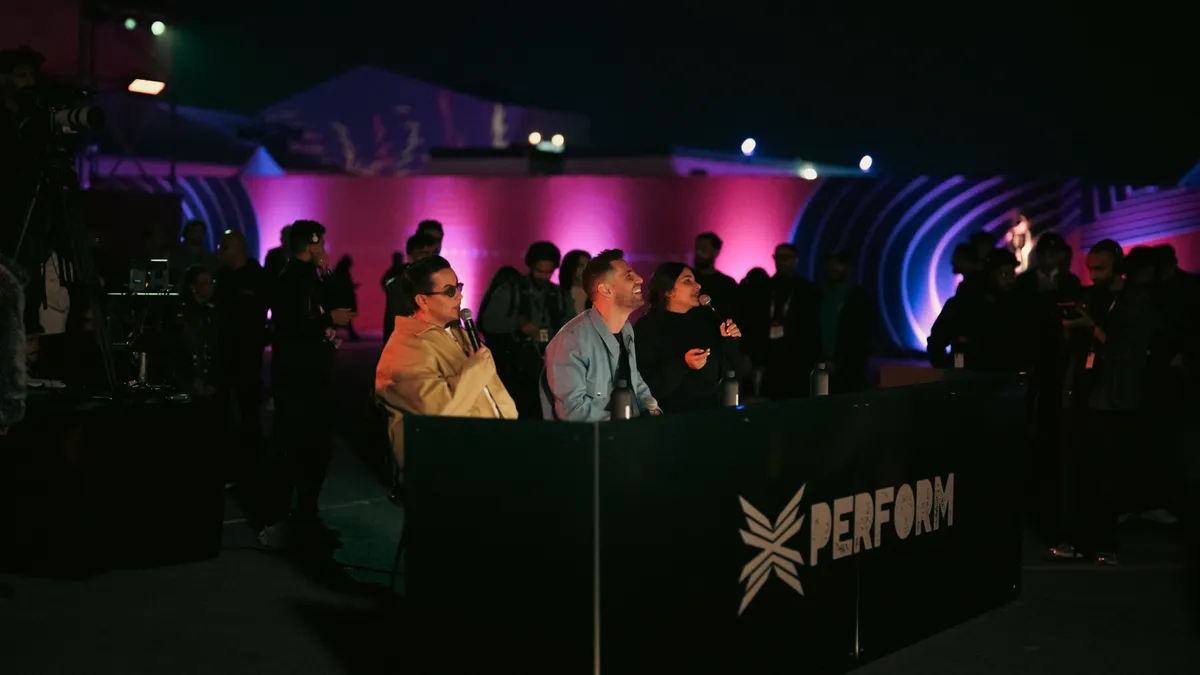
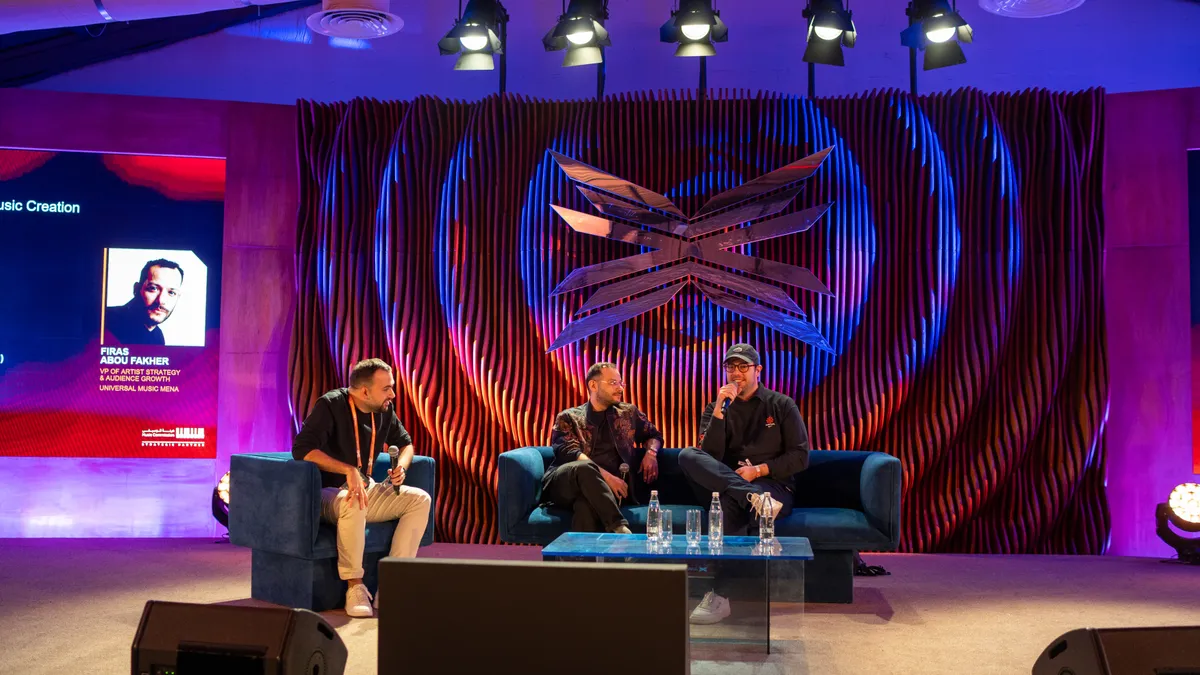
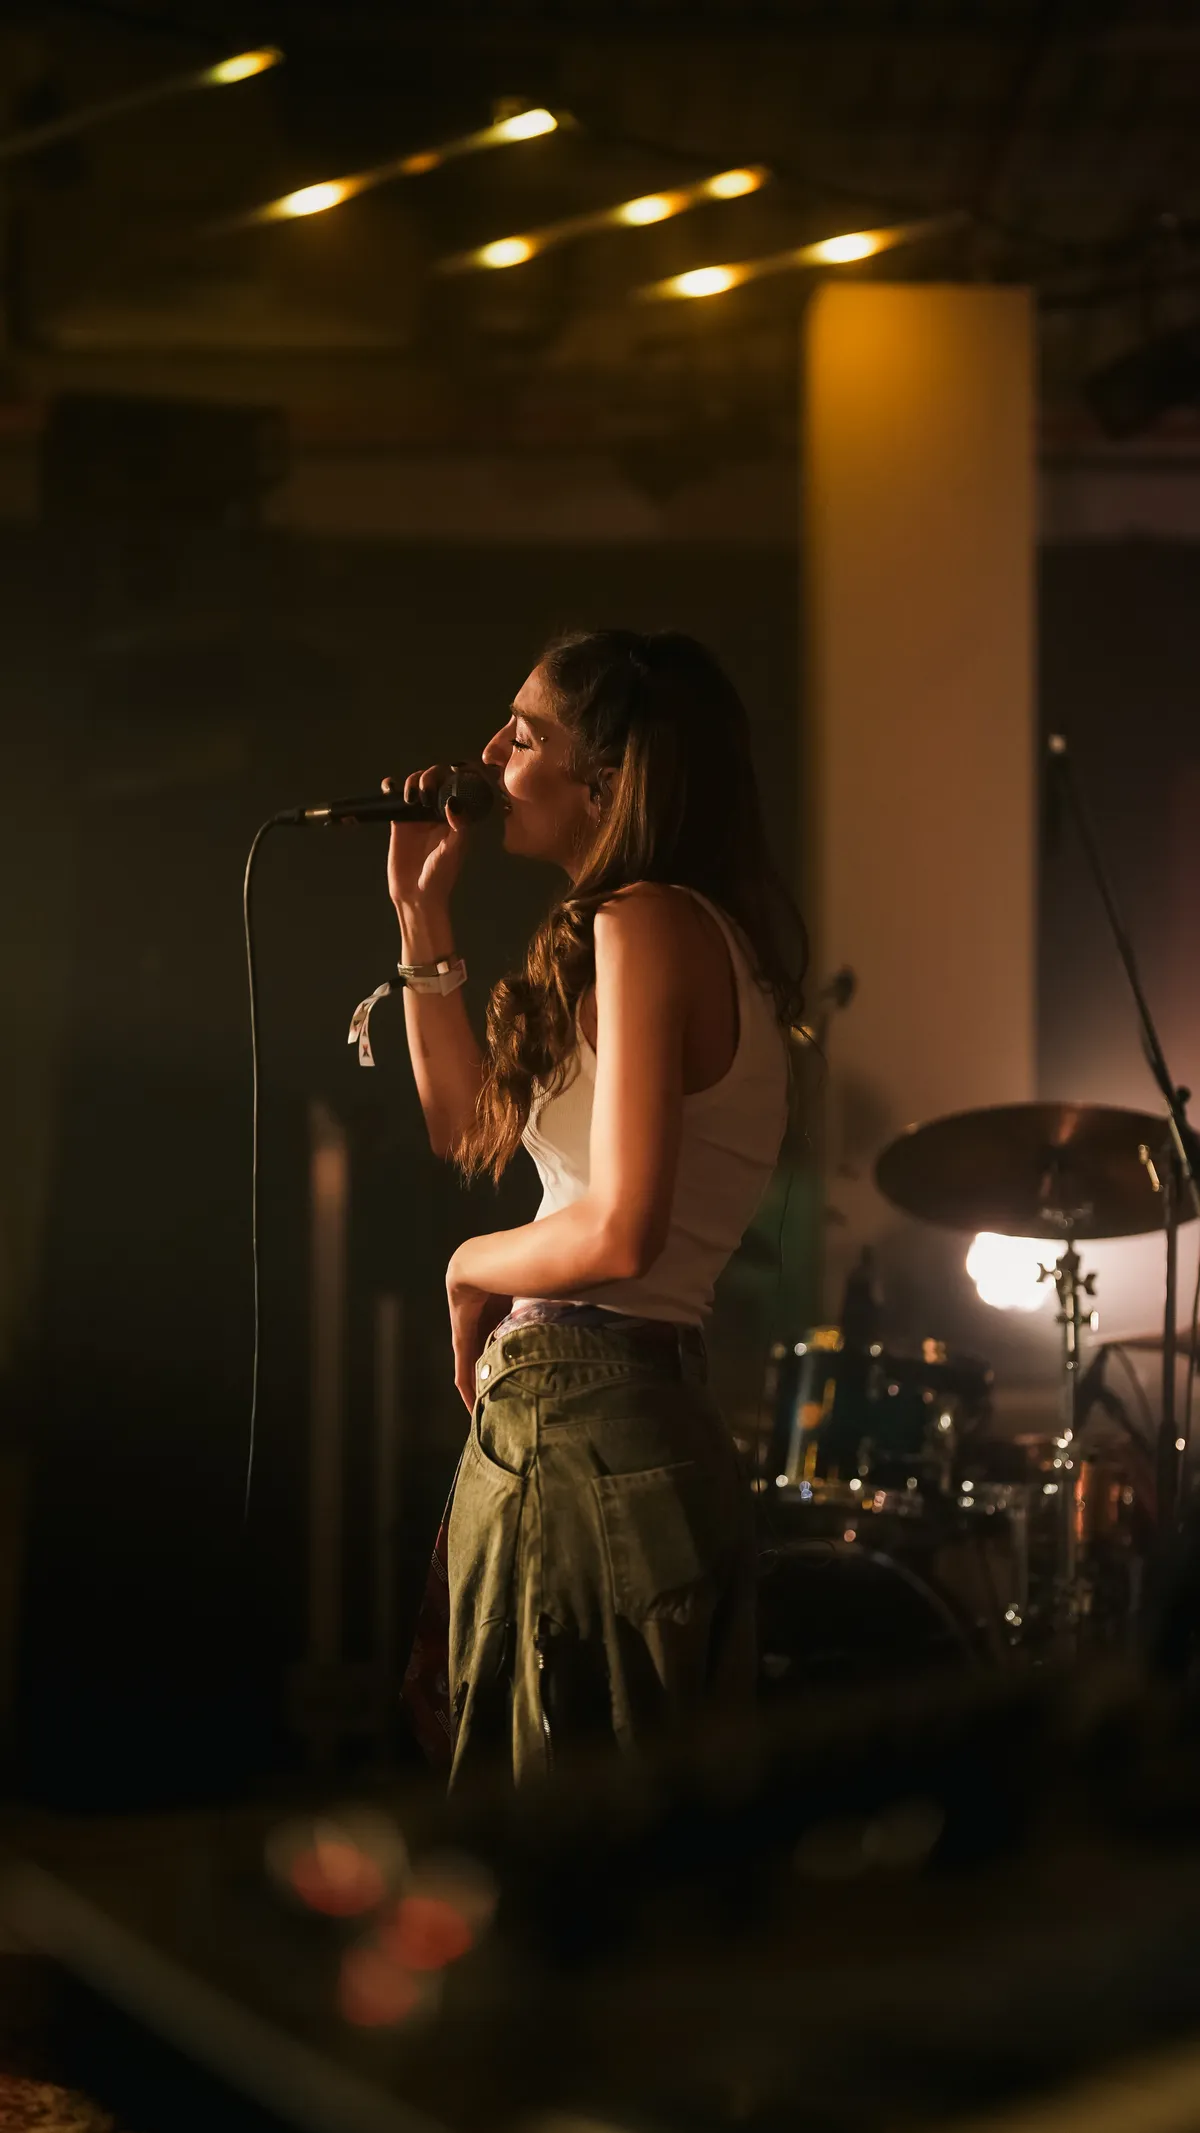
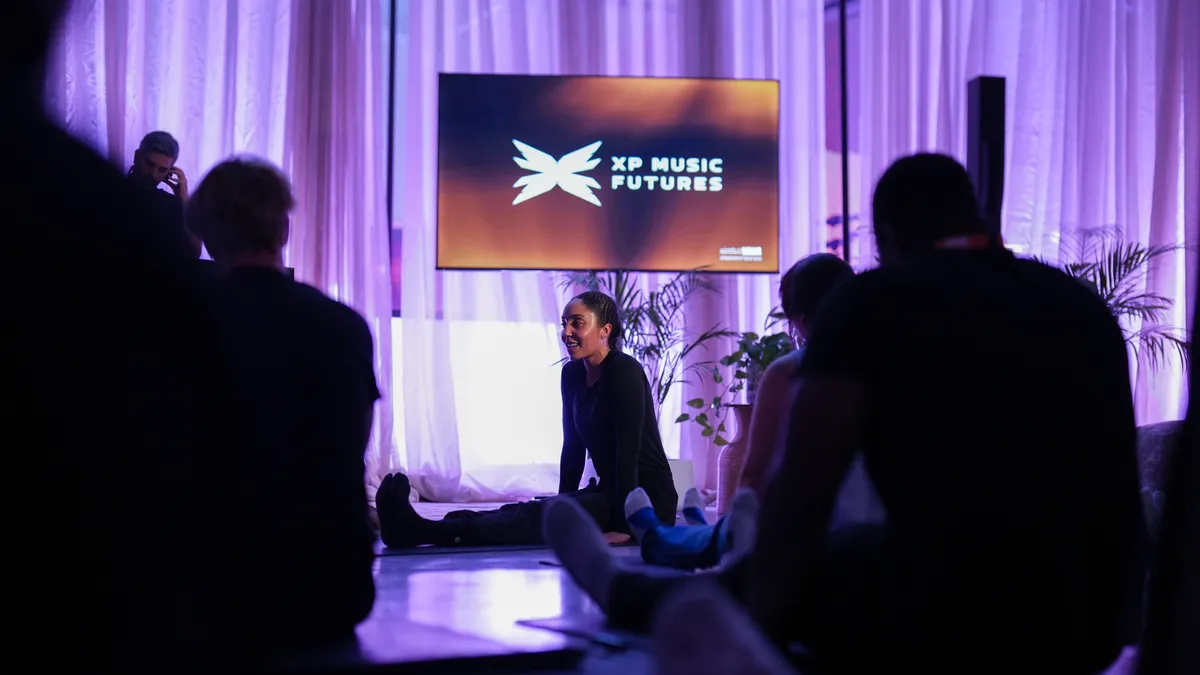
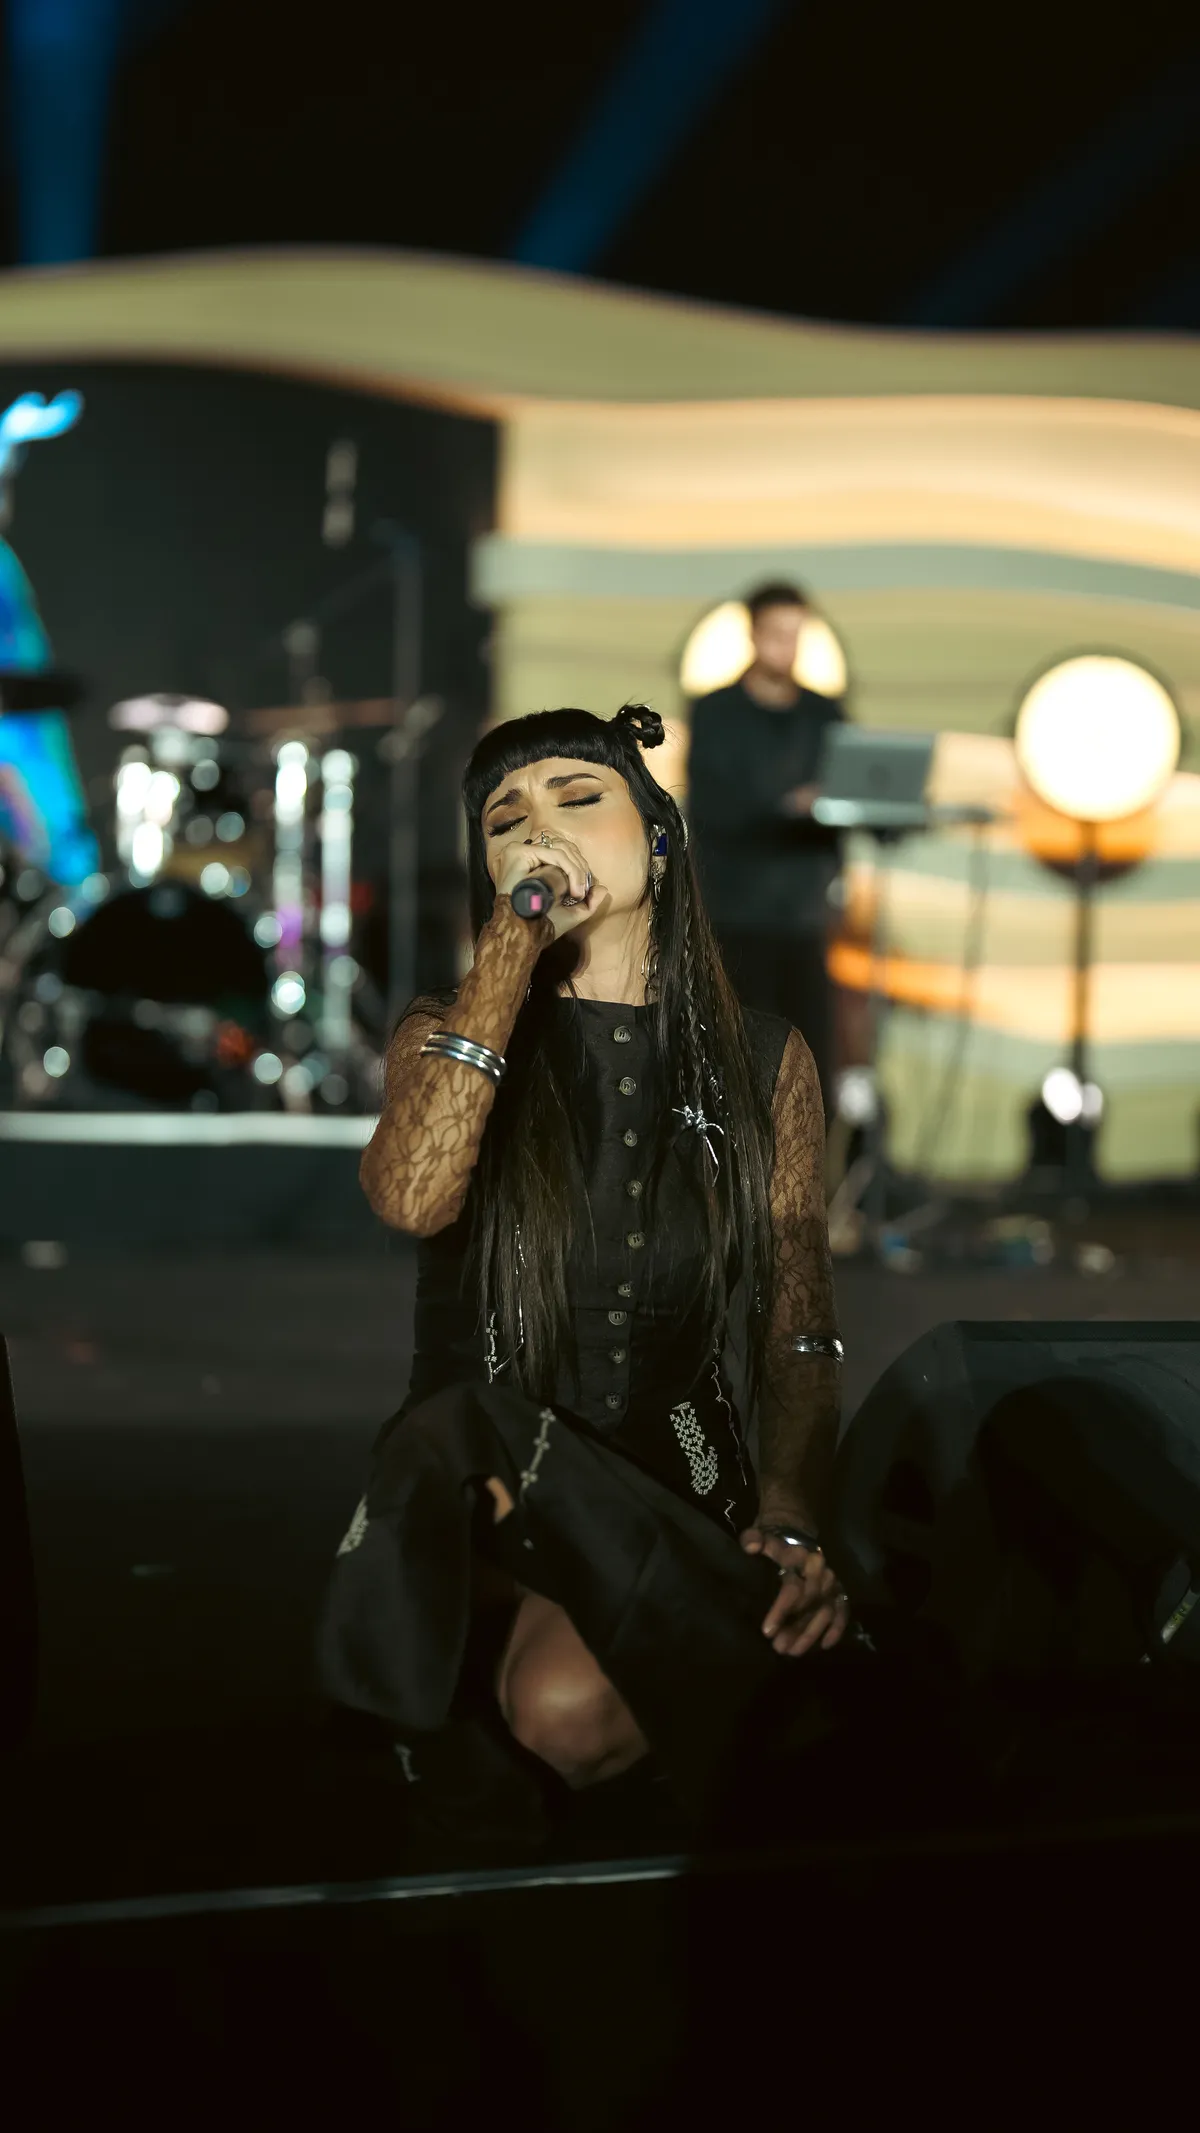
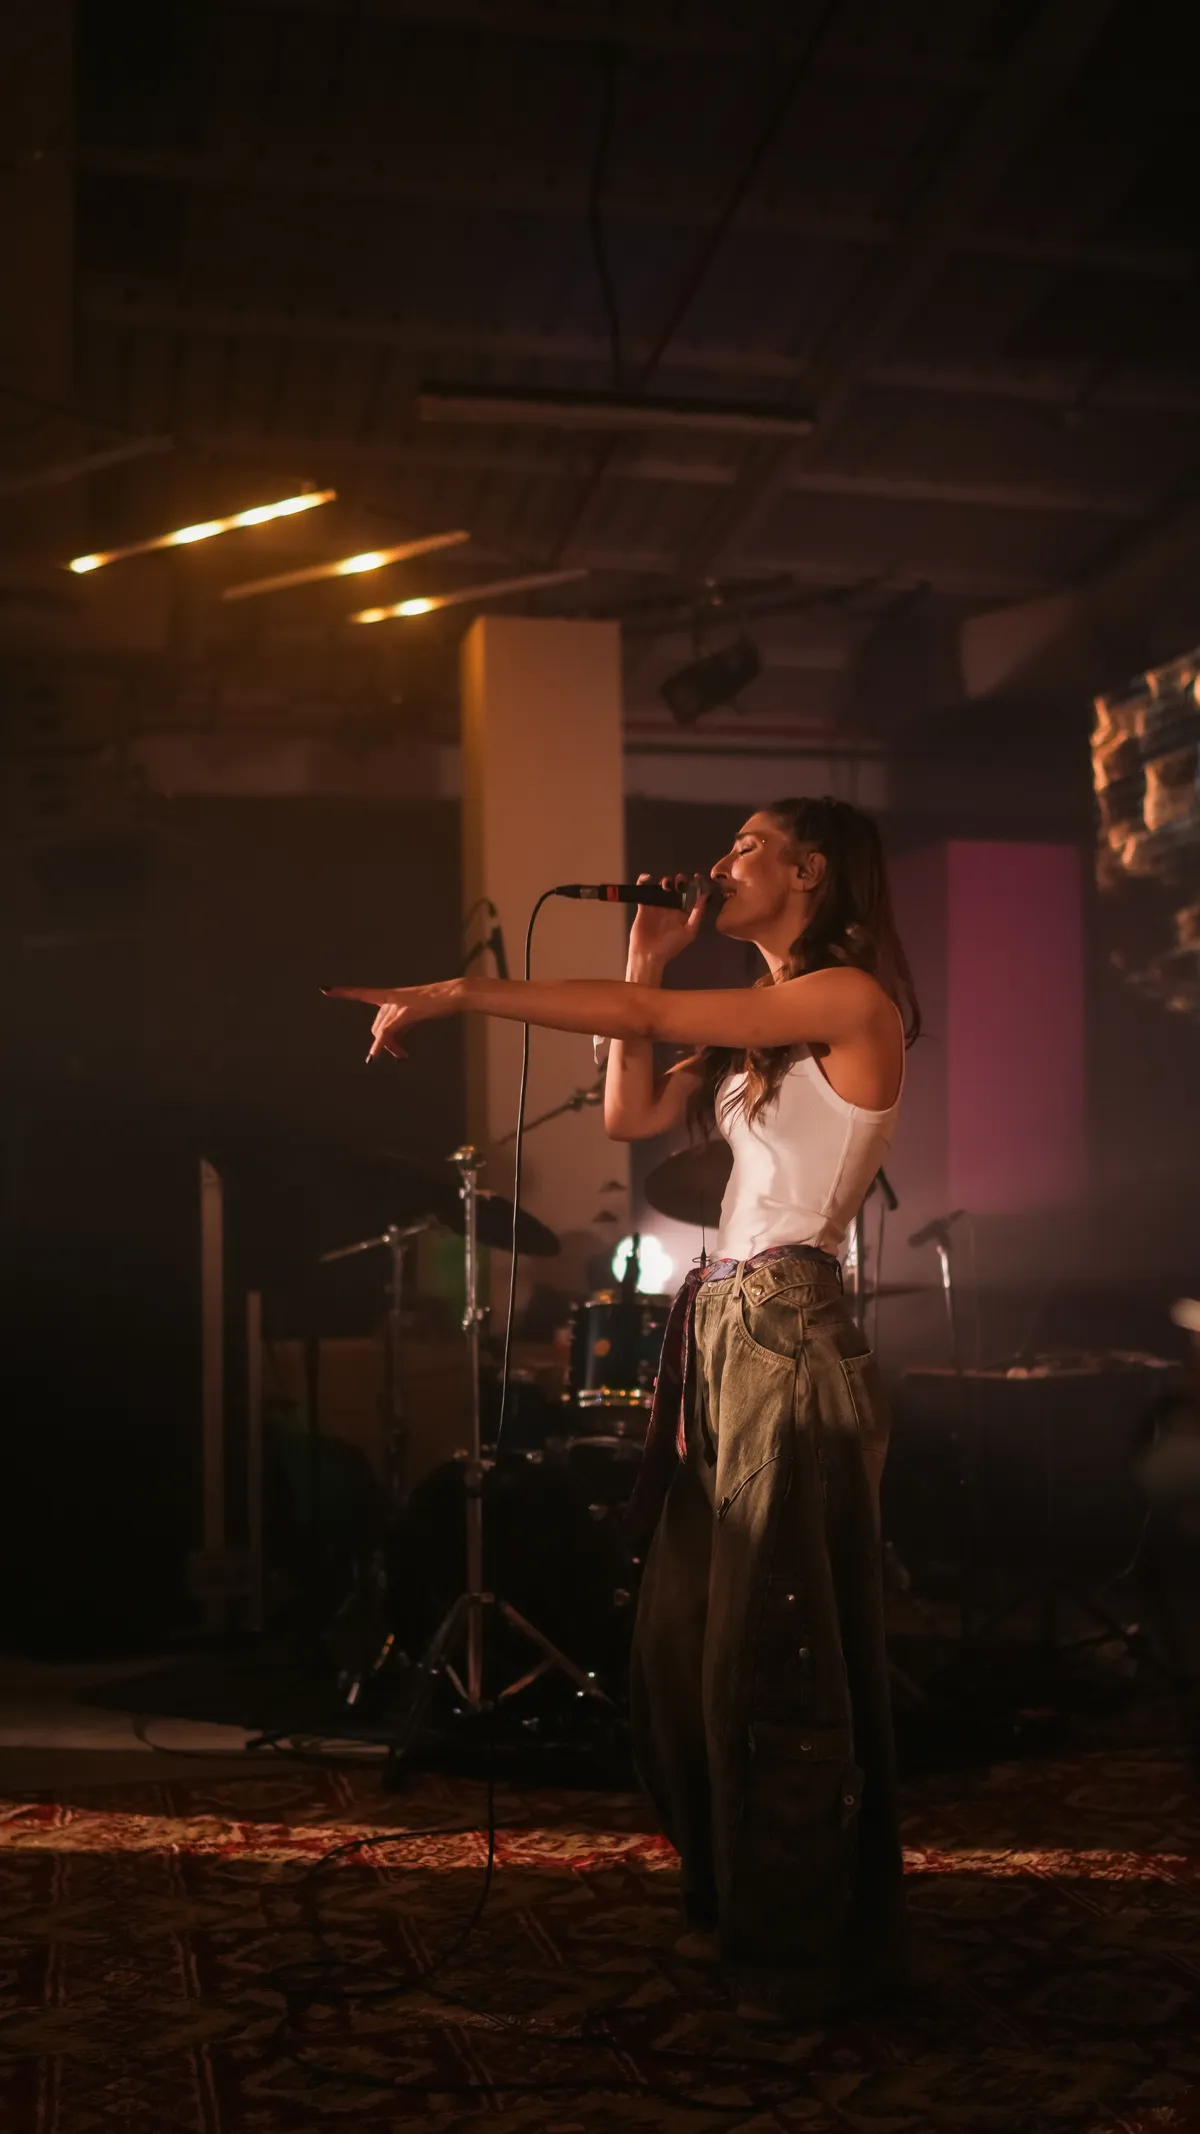
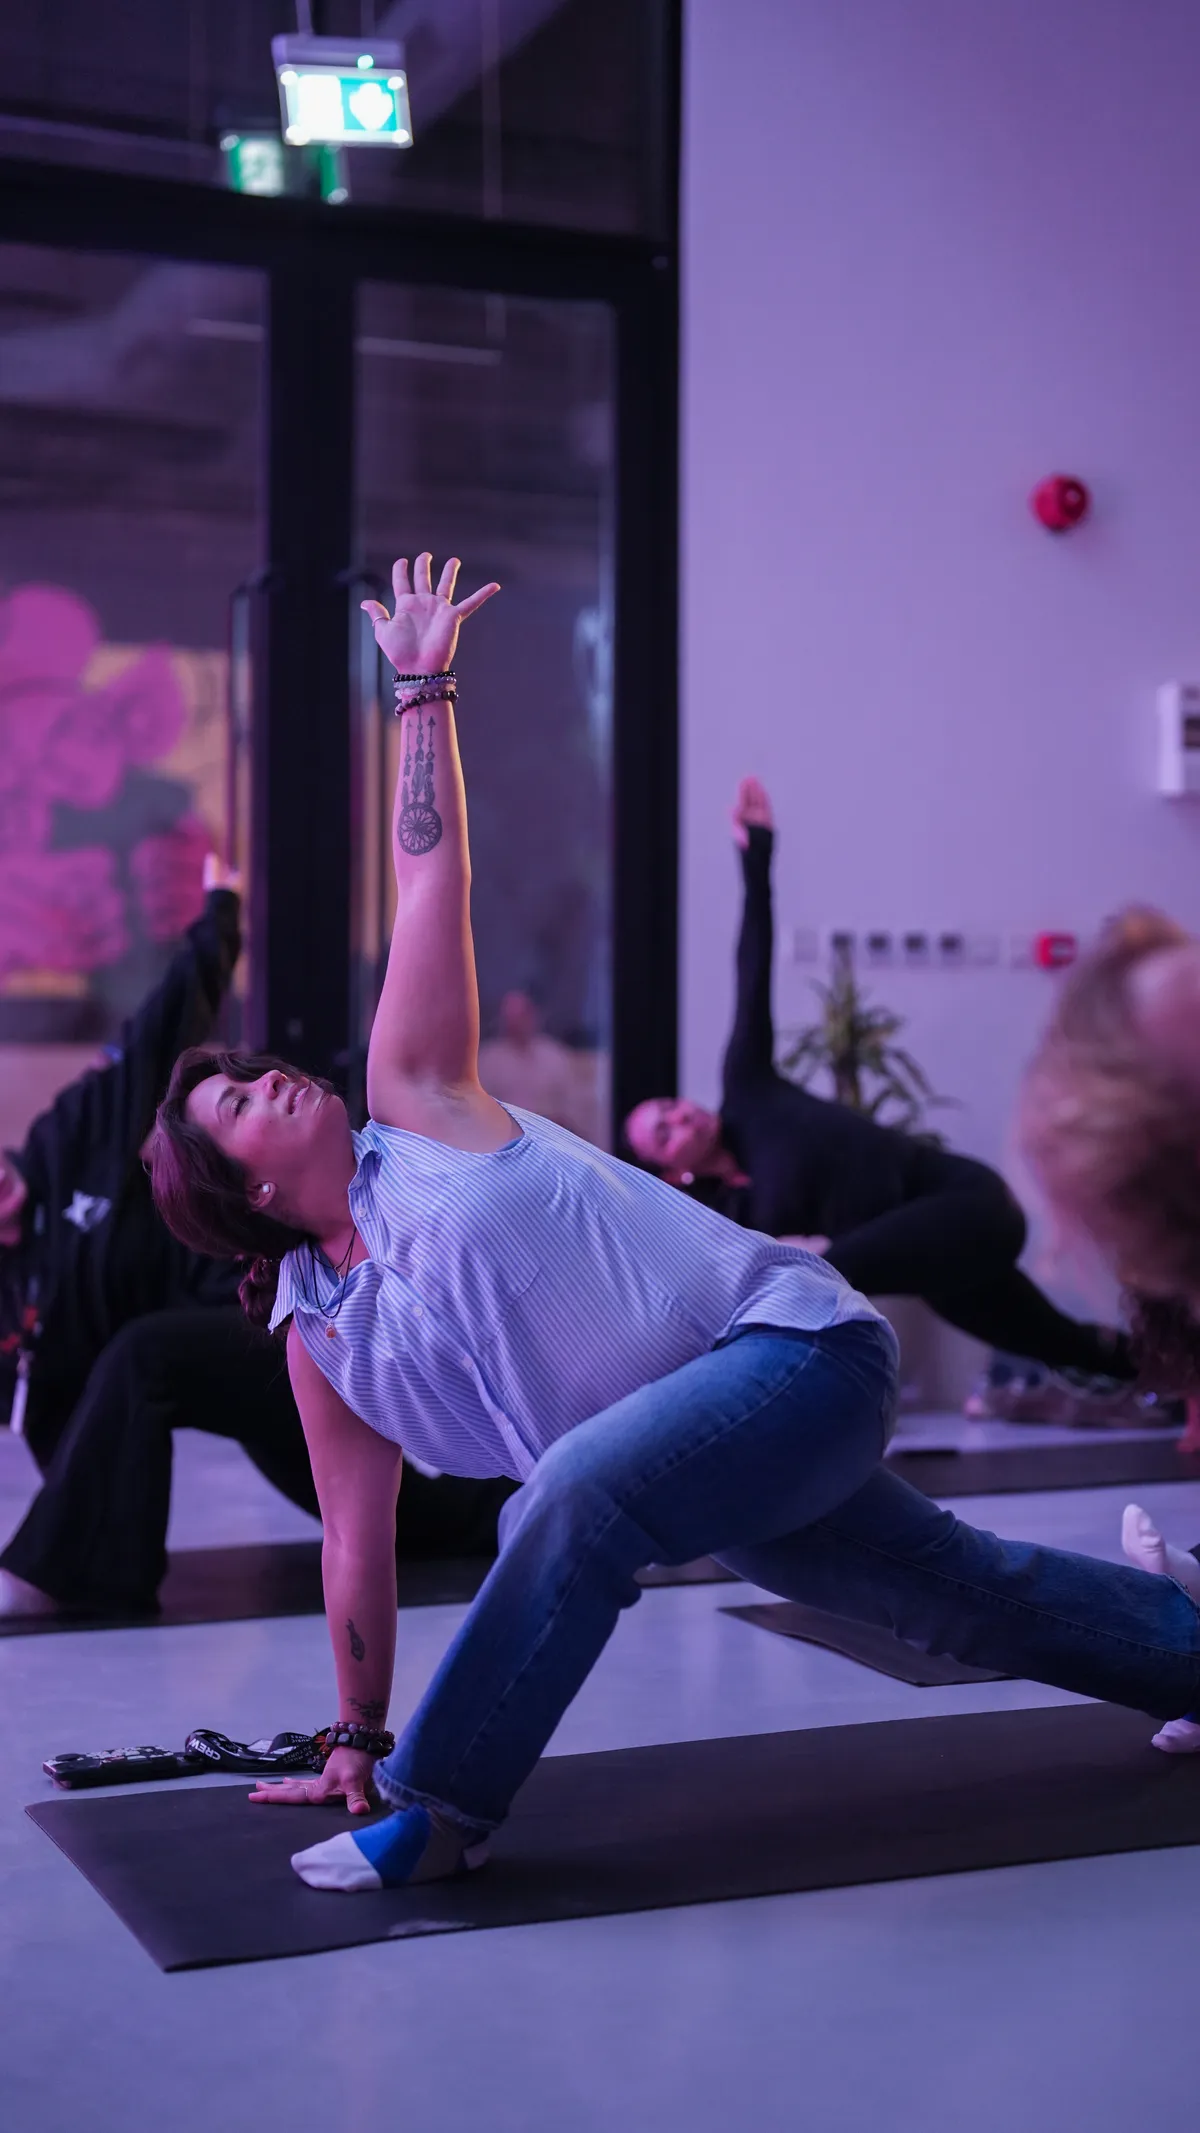
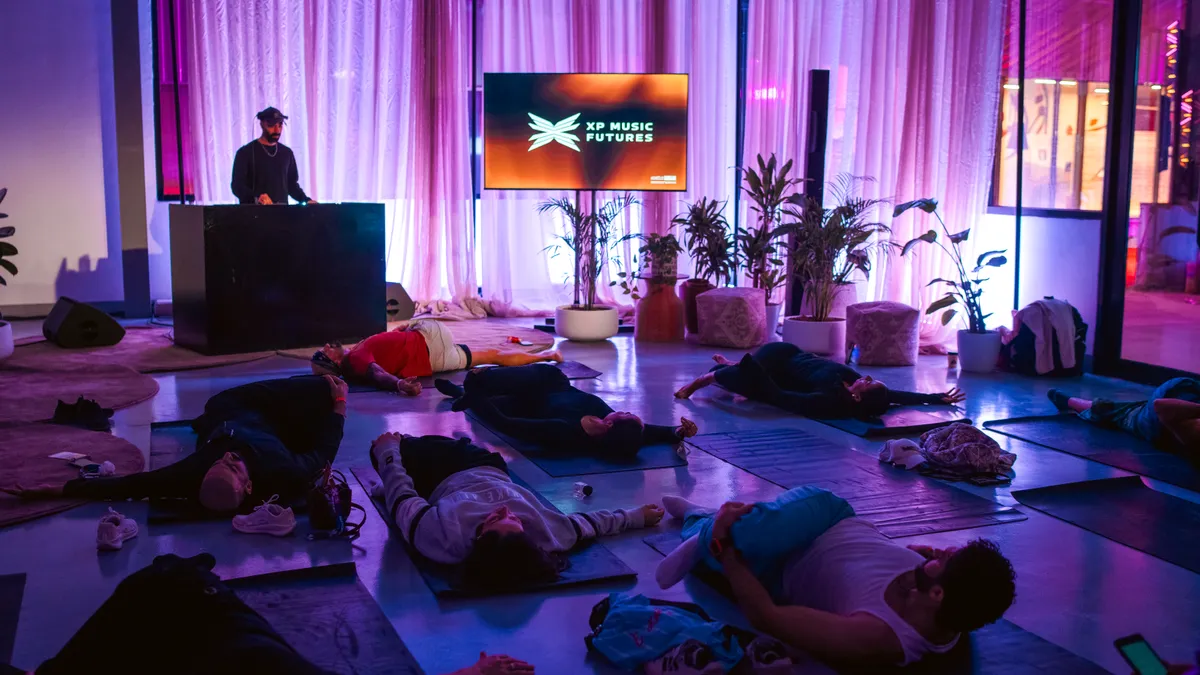
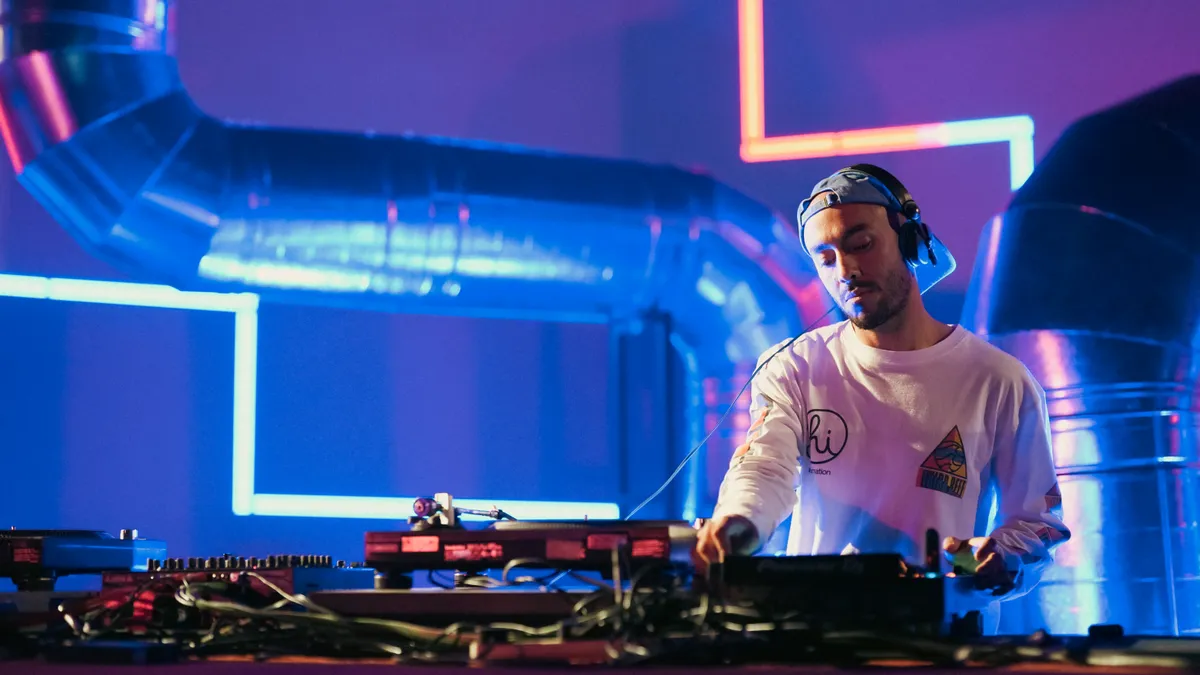
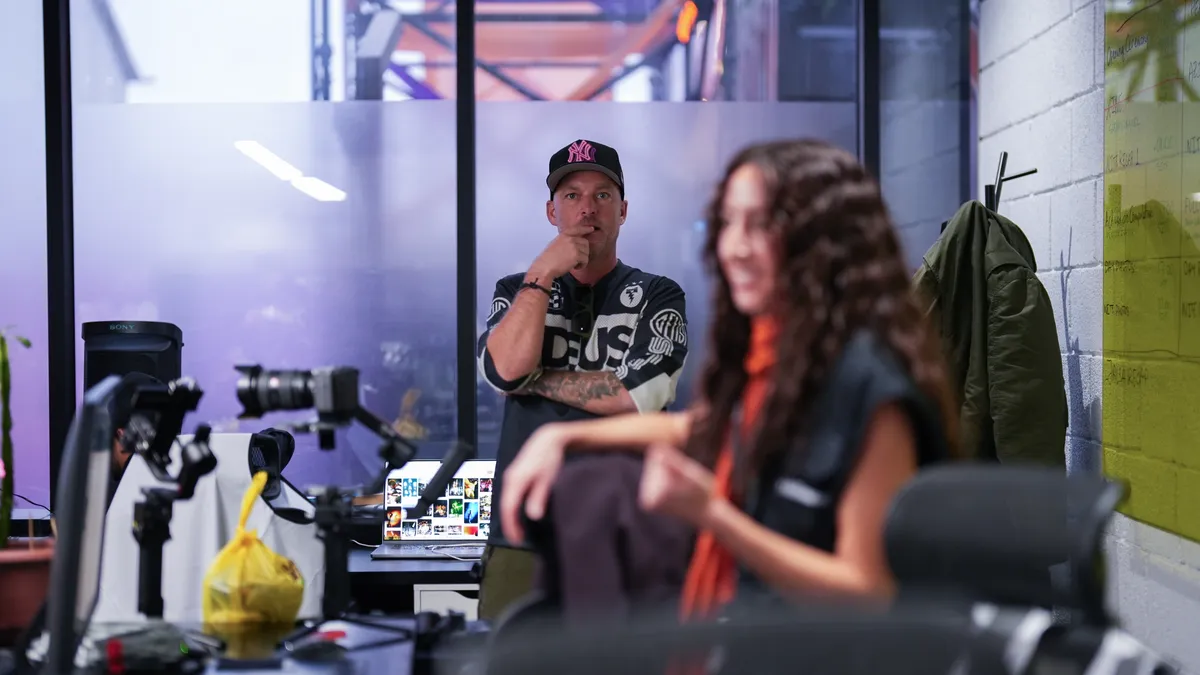
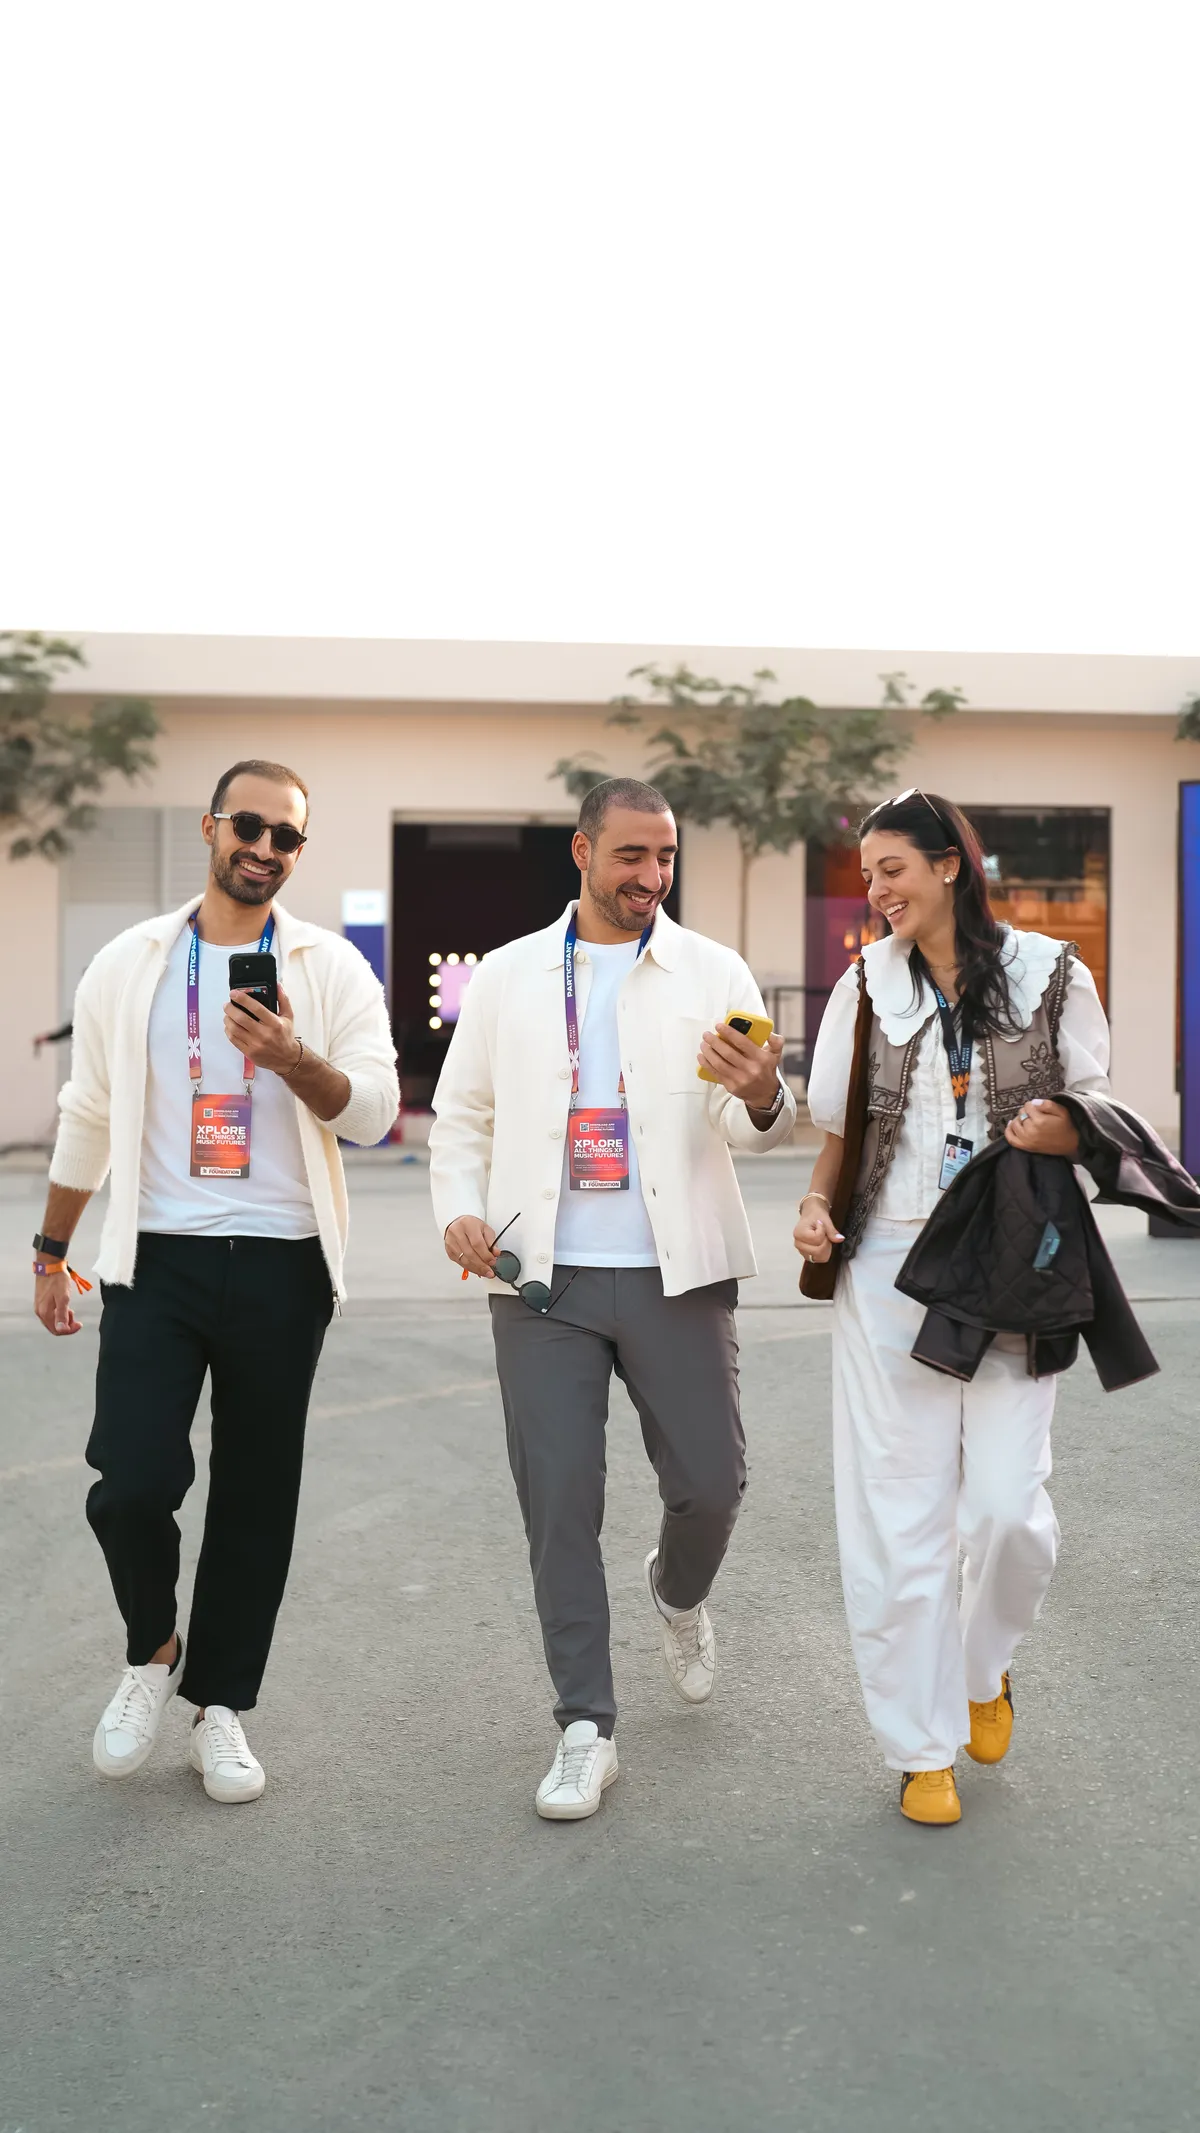
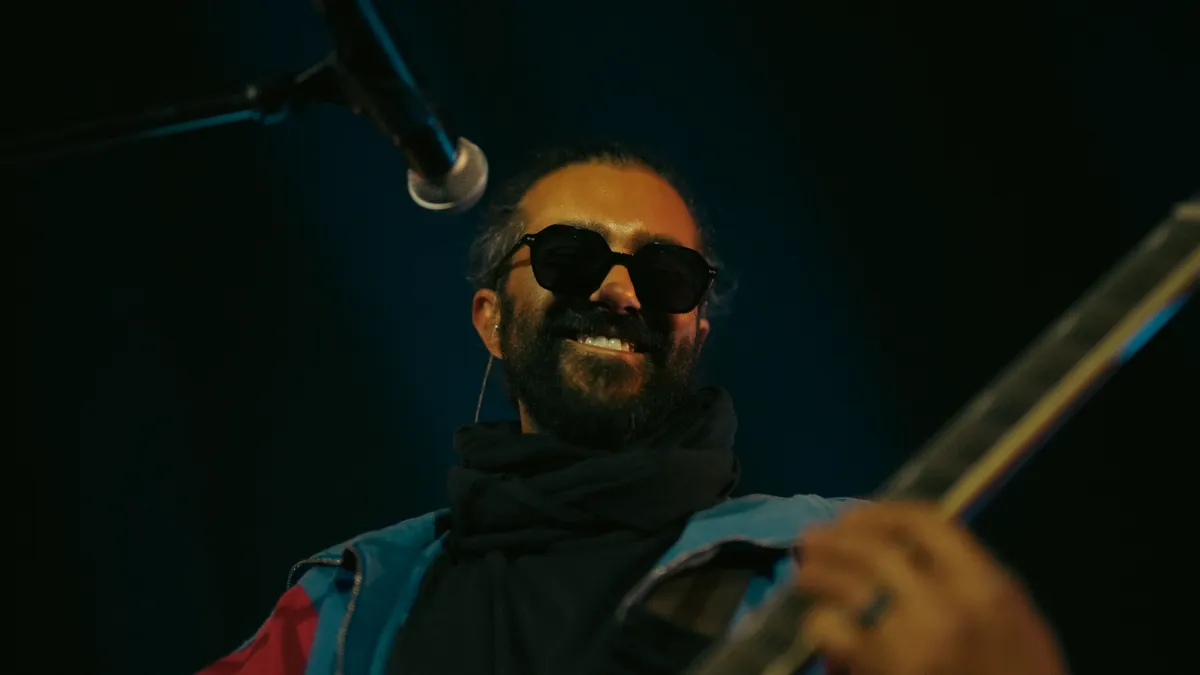
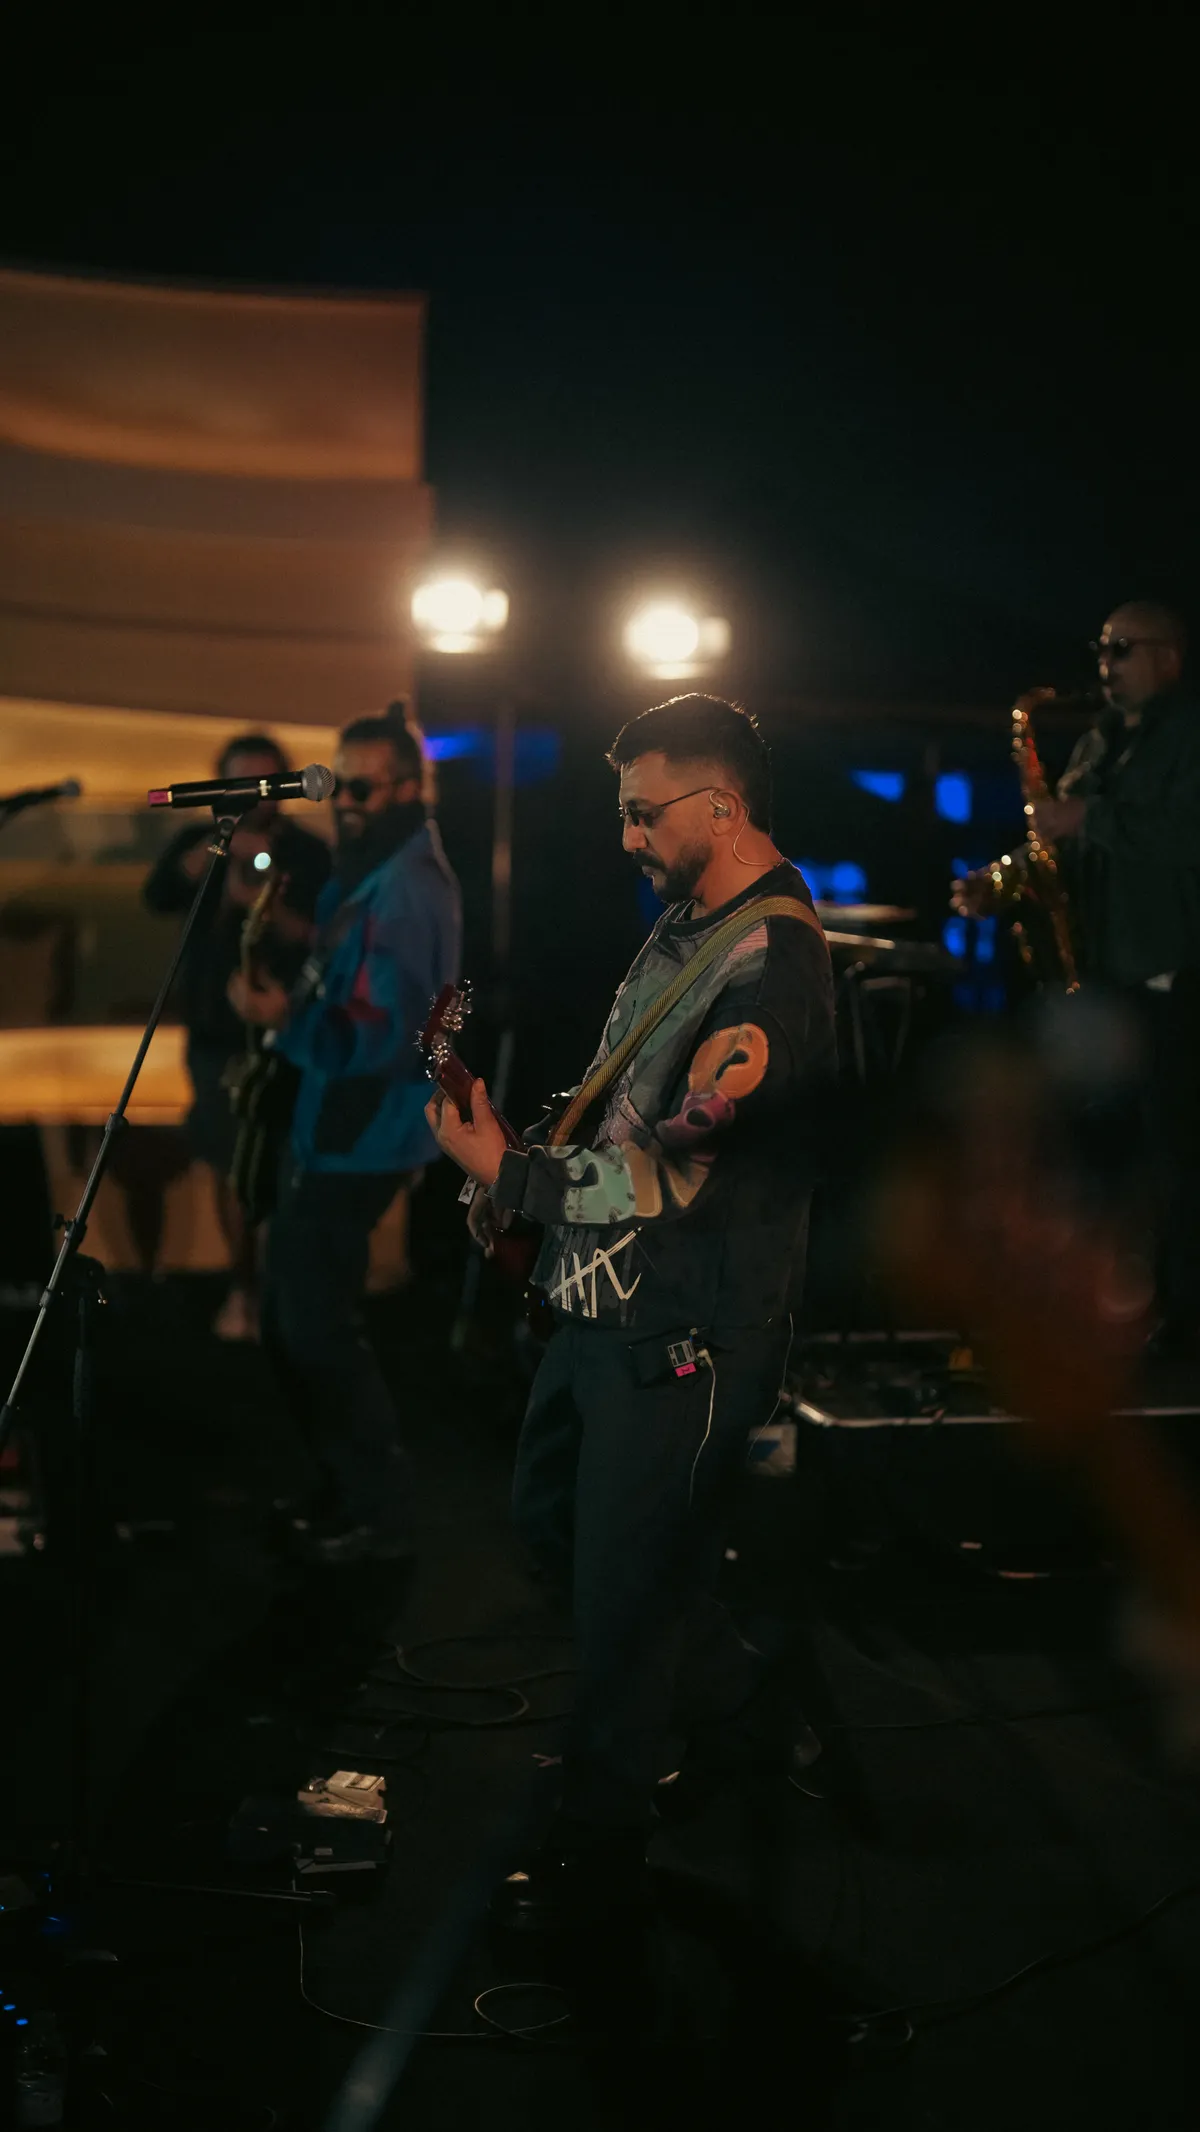
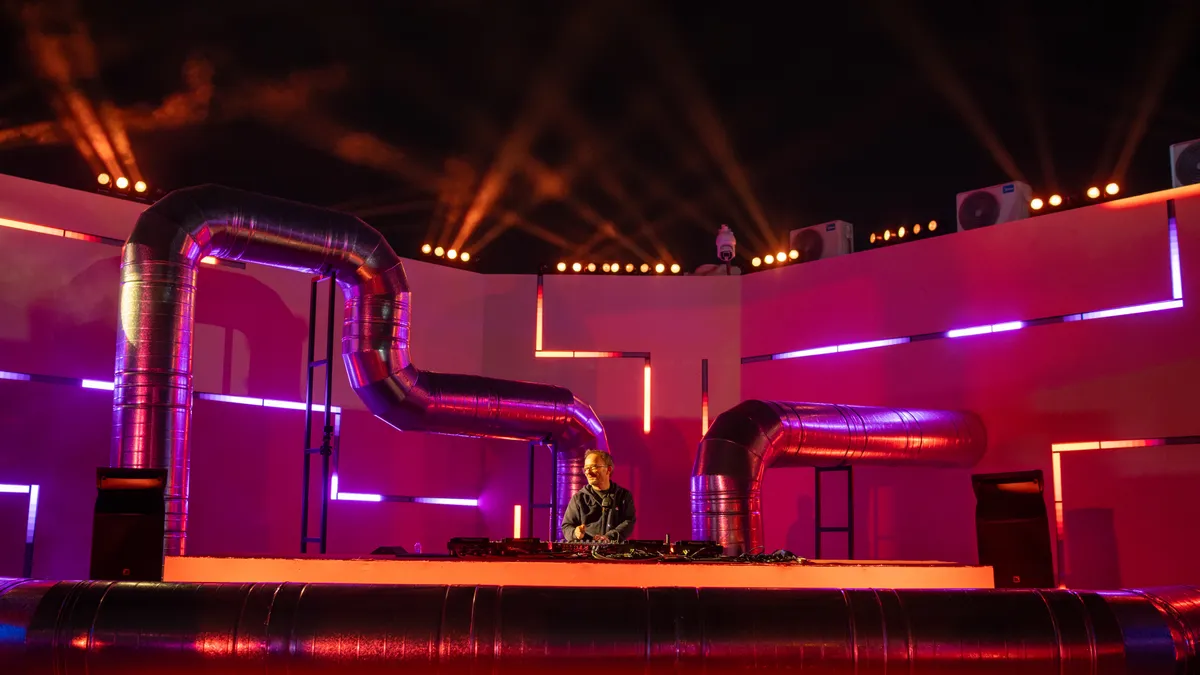
  • XP Music Futures, photographed by DawwasEye Studios
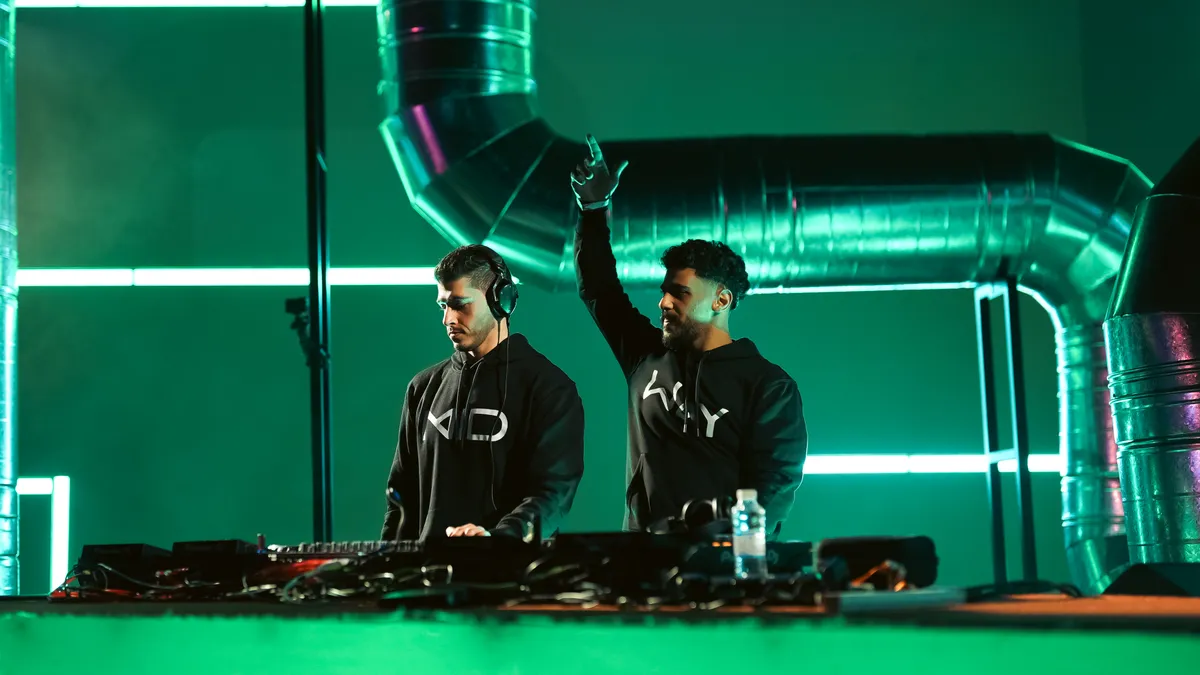
  • XP Music Futures, photographed by DawwasEye Studios
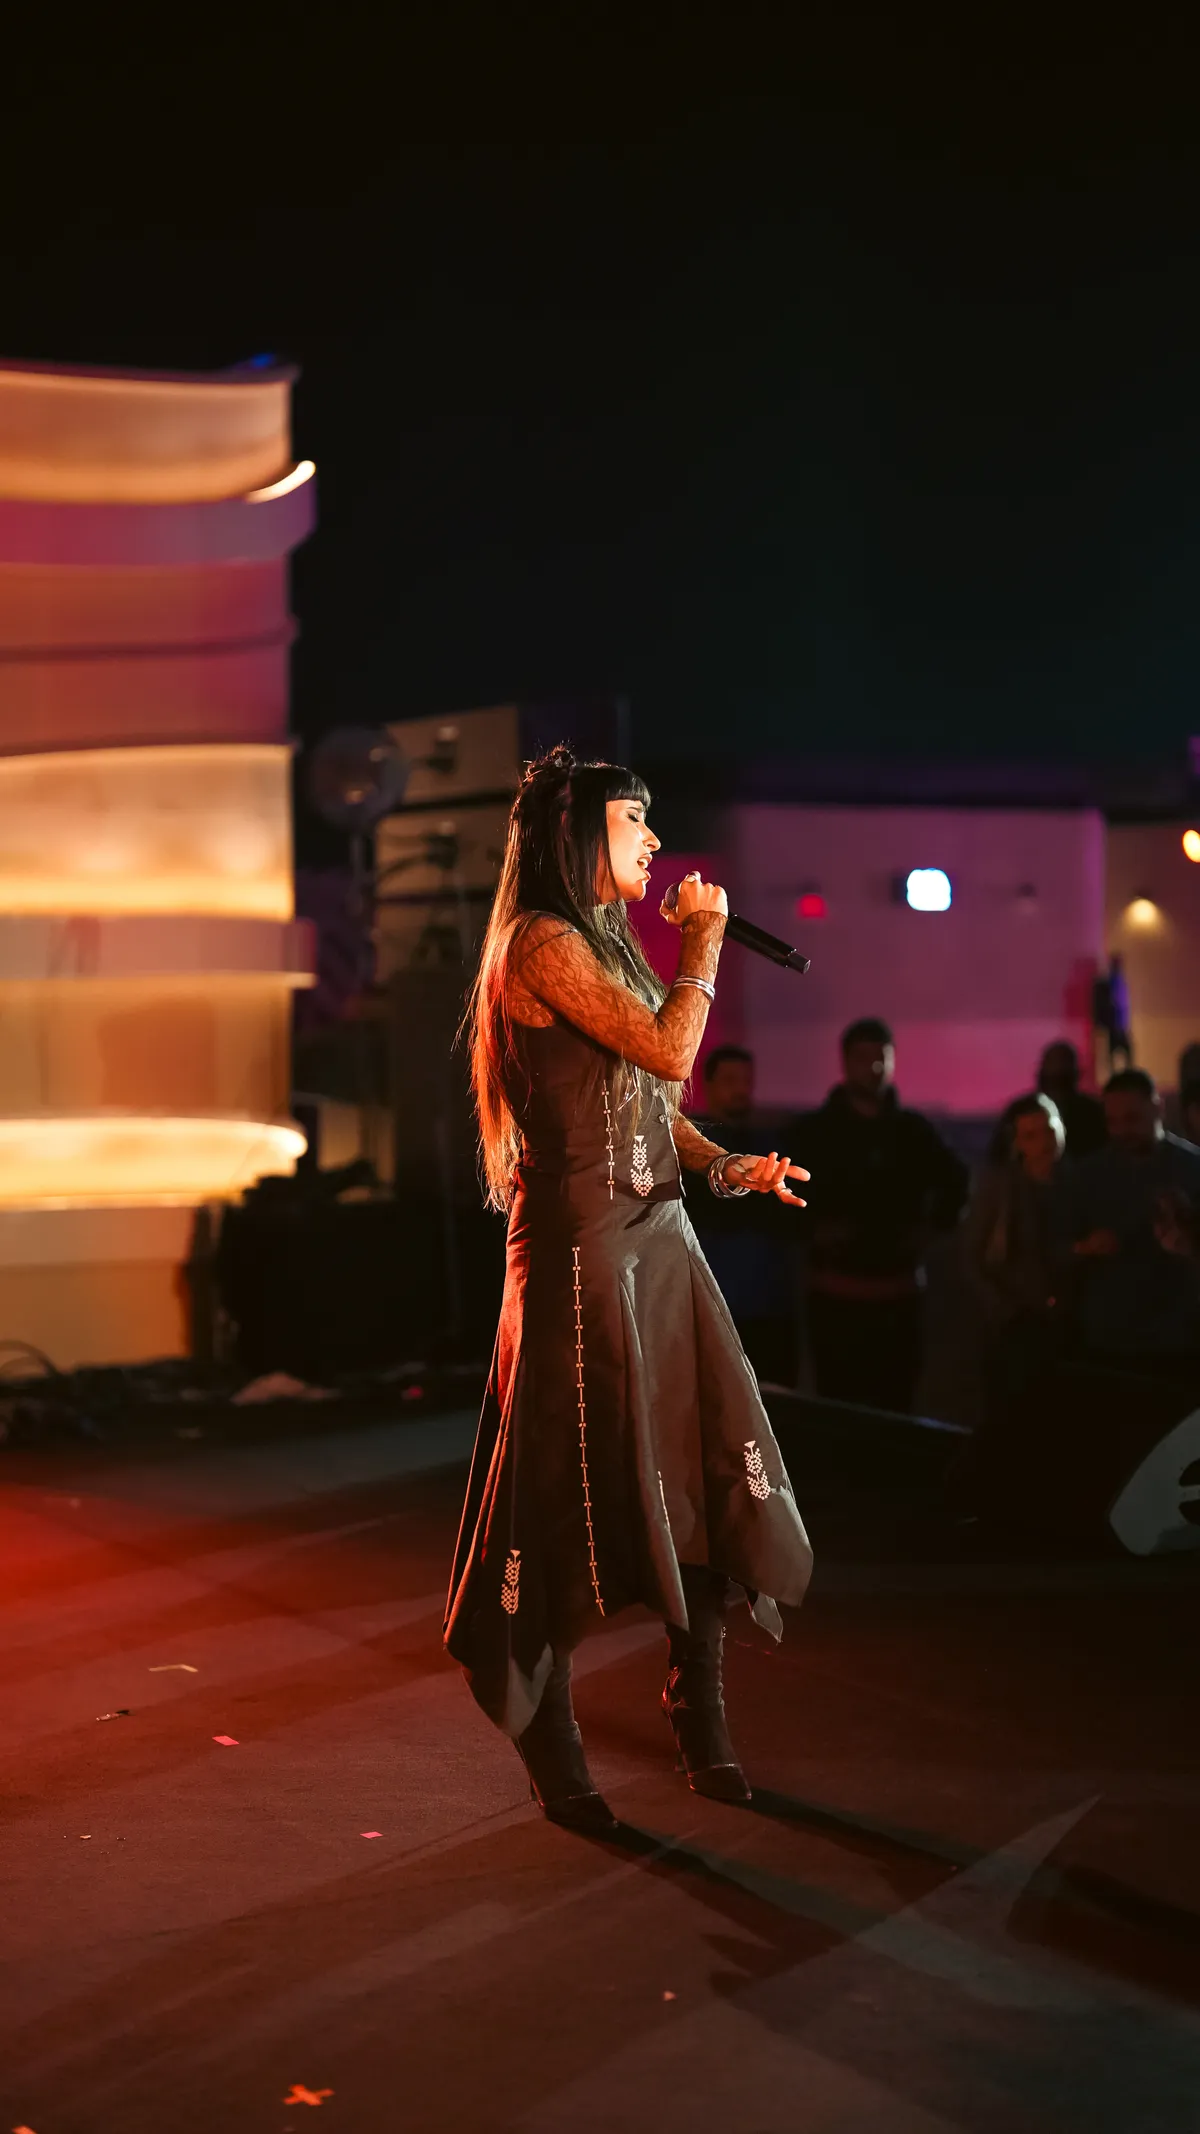
  • XP Music Futures, photographed by DawwasEye Studios
  • XP Music Futures, photographed by DawwasEye Studios
  • XP Music Futures, photographed by DawwasEye Studios
  • XP Music Futures, photographed by DawwasEye Studios
  • XP Music Futures, photographed by DawwasEye Studios
  • XP Music Futures, photographed by DawwasEye Studios
  • XP Music Futures, photographed by DawwasEye Studios
  • XP Music Futures, photographed by DawwasEye Studios
  • XP Music Futures, photographed by DawwasEye Studios
  • XP Music Futures, photographed by DawwasEye Studios
  • XP Music Futures, photographed by DawwasEye Studios
  • XP Music Futures, photographed by DawwasEye Studios
  • XP Music Futures, photographed by DawwasEye Studios
  • XP Music Futures, photographed by DawwasEye Studios
  • XP Music Futures, photographed by DawwasEye Studios
  • XP Music Futures, photographed by DawwasEye Studios
  • XP Music Futures, photographed by DawwasEye Studios
  • XP Music Futures, photographed by DawwasEye Studios
  • XP Music Futures, photographed by DawwasEye Studios
  • XP Music Futures, photographed by DawwasEye Studios
  • XP Music Futures, photographed by DawwasEye Studios
  • XP Music Futures, photographed by DawwasEye Studios
  • XP Music Futures, photographed by DawwasEye Studios
  • XP Music Futures, photographed by DawwasEye Studios
  • XP Music Futures, photographed by DawwasEye Studios
  • XP Music Futures, photographed by DawwasEye Studios
  • XP Music Futures, photographed by DawwasEye Studios
  • XP Music Futures, photographed by DawwasEye Studios
  • XP Music Futures, photographed by DawwasEye Studios
  • XP Music Futures, photographed by DawwasEye Studios
  • XP Music Futures, photographed by DawwasEye Studios
  • XP Music Futures, photographed by DawwasEye Studios
  • XP Music Futures, photographed by DawwasEye Studios
  • XP Music Futures, photographed by DawwasEye Studios
  • XP Music Futures, photographed by DawwasEye Studios
  • XP Music Futures, photographed by DawwasEye Studios
  • XP Music Futures, photographed by DawwasEye Studios
  • XP Music Futures, photographed by DawwasEye Studios
  • XP Music Futures, photographed by DawwasEye Studios
  • XP Music Futures, photographed by DawwasEye Studios
  • XP Music Futures, photographed by DawwasEye Studios
  • XP Music Futures, photographed by DawwasEye Studios
  • XP Music Futures, photographed by DawwasEye Studios
  • XP Music Futures, photographed by DawwasEye Studios
  • XP Music Futures, photographed by DawwasEye Studios
  • XP Music Futures, photographed by DawwasEye Studios
  • XP Music Futures, photographed by DawwasEye Studios
  • XP Music Futures, photographed by DawwasEye Studios
  • XP Music Futures, photographed by DawwasEye Studios
  • XP Music Futures, photographed by DawwasEye Studios
  • XP Music Futures, photographed by DawwasEye Studios
  • XP Music Futures, photographed by DawwasEye Studios
  • XP Music Futures, photographed by DawwasEye Studios
  • XP Music Futures, photographed by DawwasEye Studios
  • XP Music Futures, photographed by DawwasEye Studios
  • XP Music Futures, photographed by DawwasEye Studios
  • XP Music Futures, photographed by DawwasEye Studios
  • XP Music Futures, photographed by DawwasEye Studios
  • XP Music Futures, photographed by DawwasEye Studios
  • XP Music Futures, photographed by DawwasEye Studios
  • XP Music Futures, photographed by DawwasEye Studios
  • XP Music Futures, photographed by DawwasEye Studios
  • XP Music Futures, photographed by DawwasEye Studios
  • XP Music Futures, photographed by DawwasEye Studios
  • XP Music Futures, photographed by DawwasEye Studios
  • XP Music Futures, photographed by DawwasEye Studios
  • XP Music Futures, photographed by DawwasEye Studios
  • XP Music Futures, photographed by DawwasEye Studios
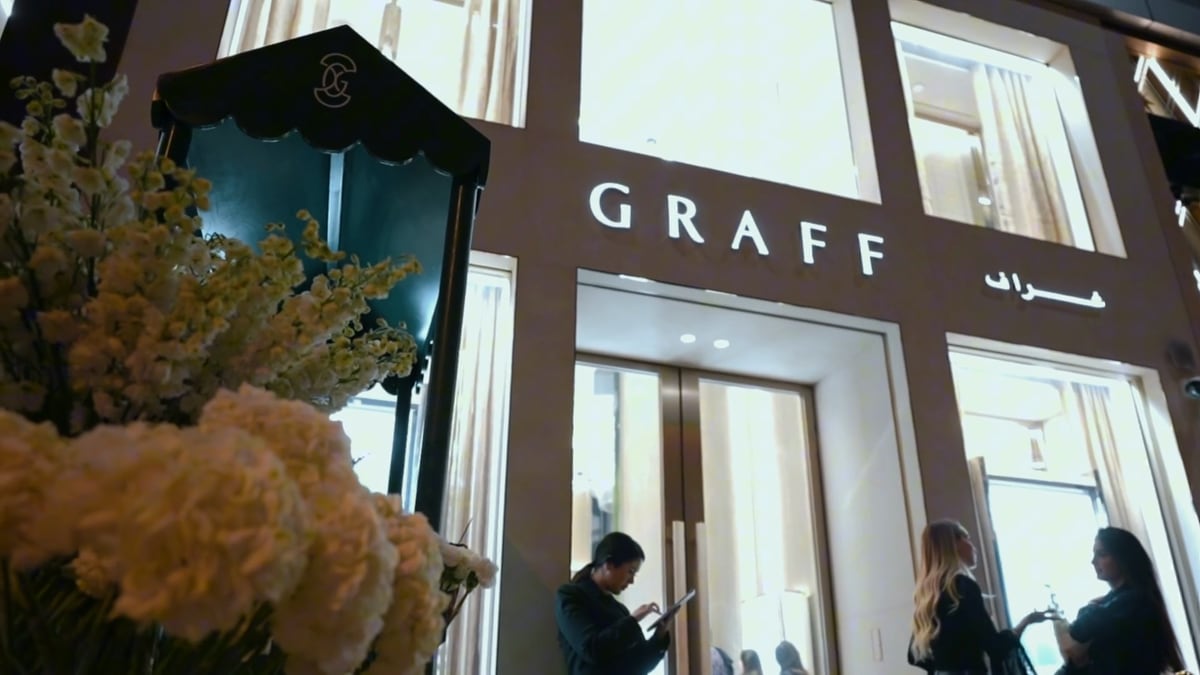
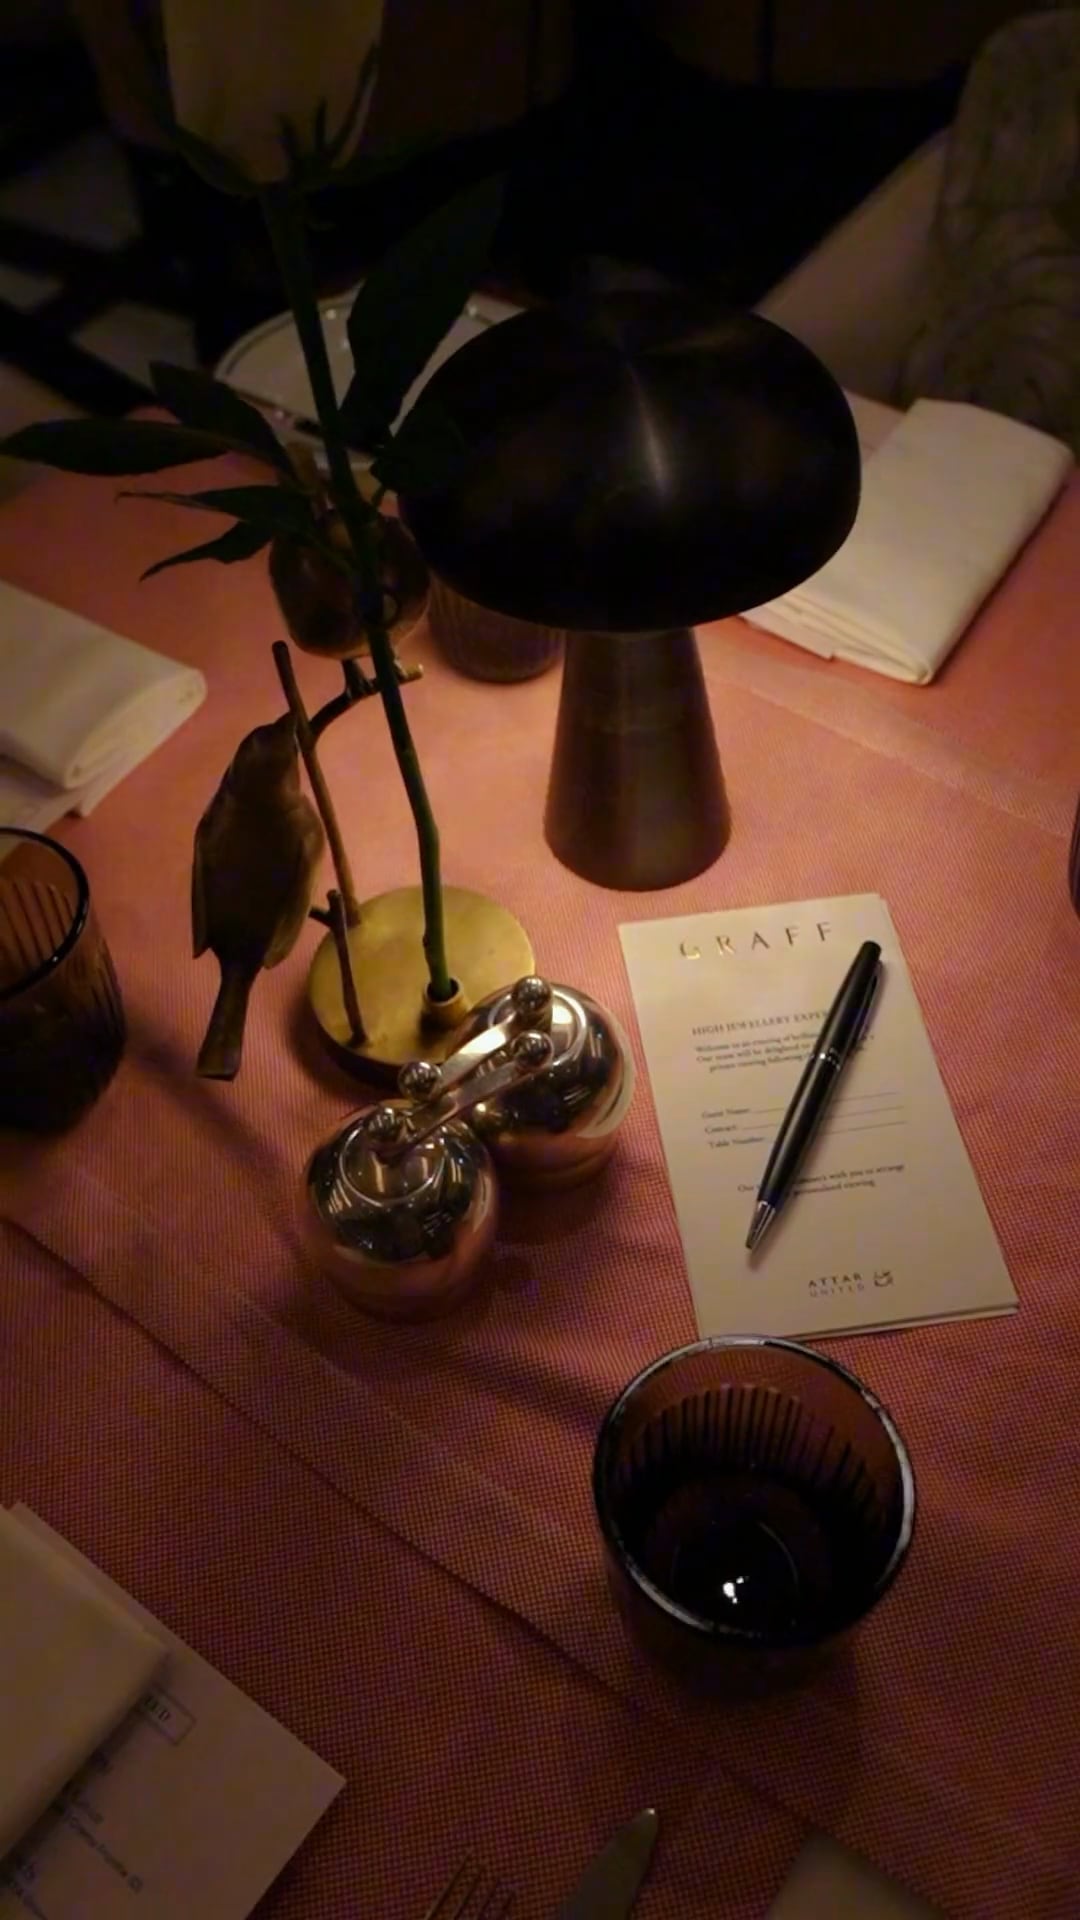
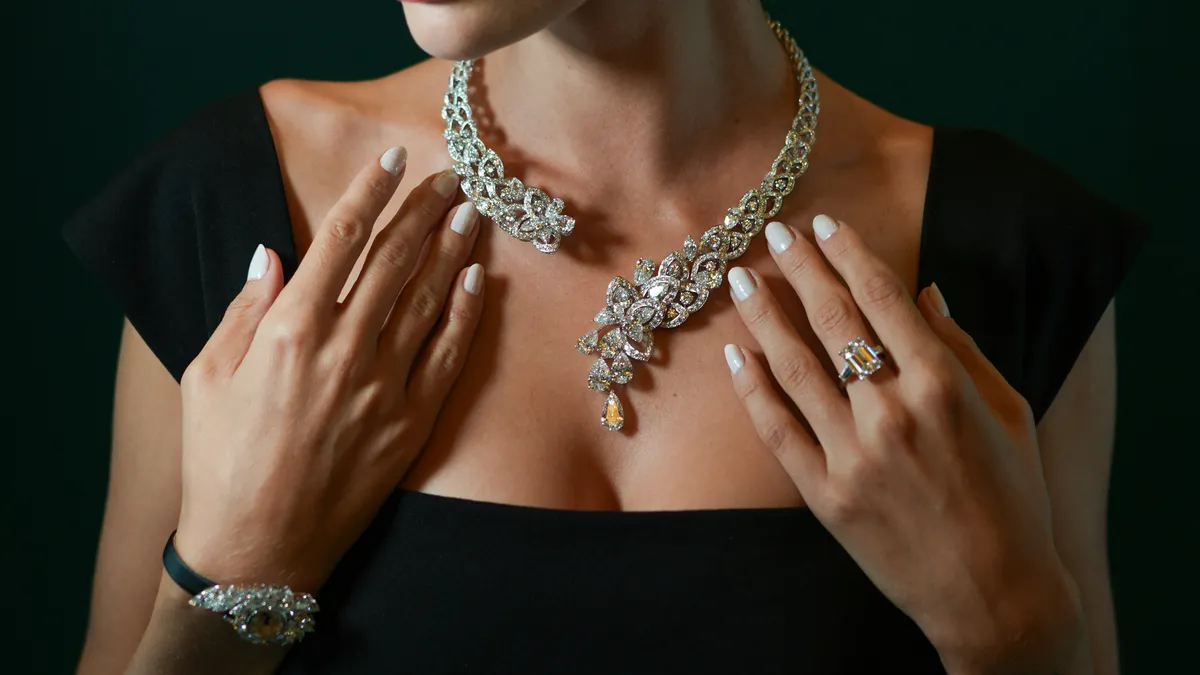
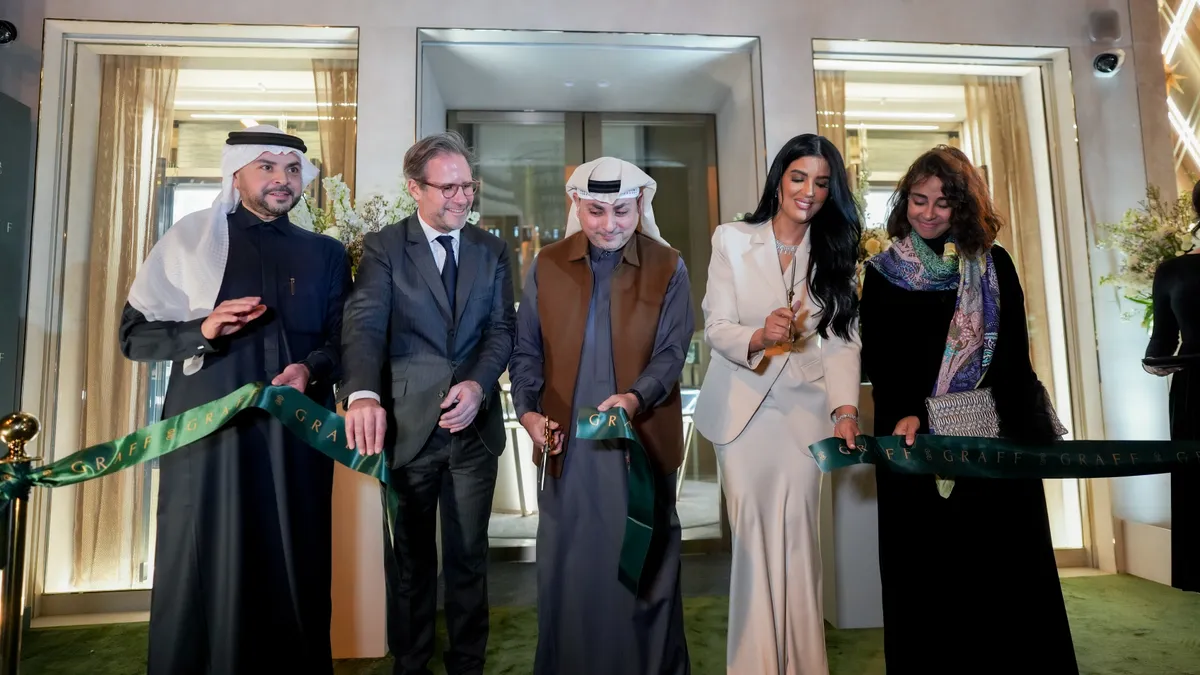
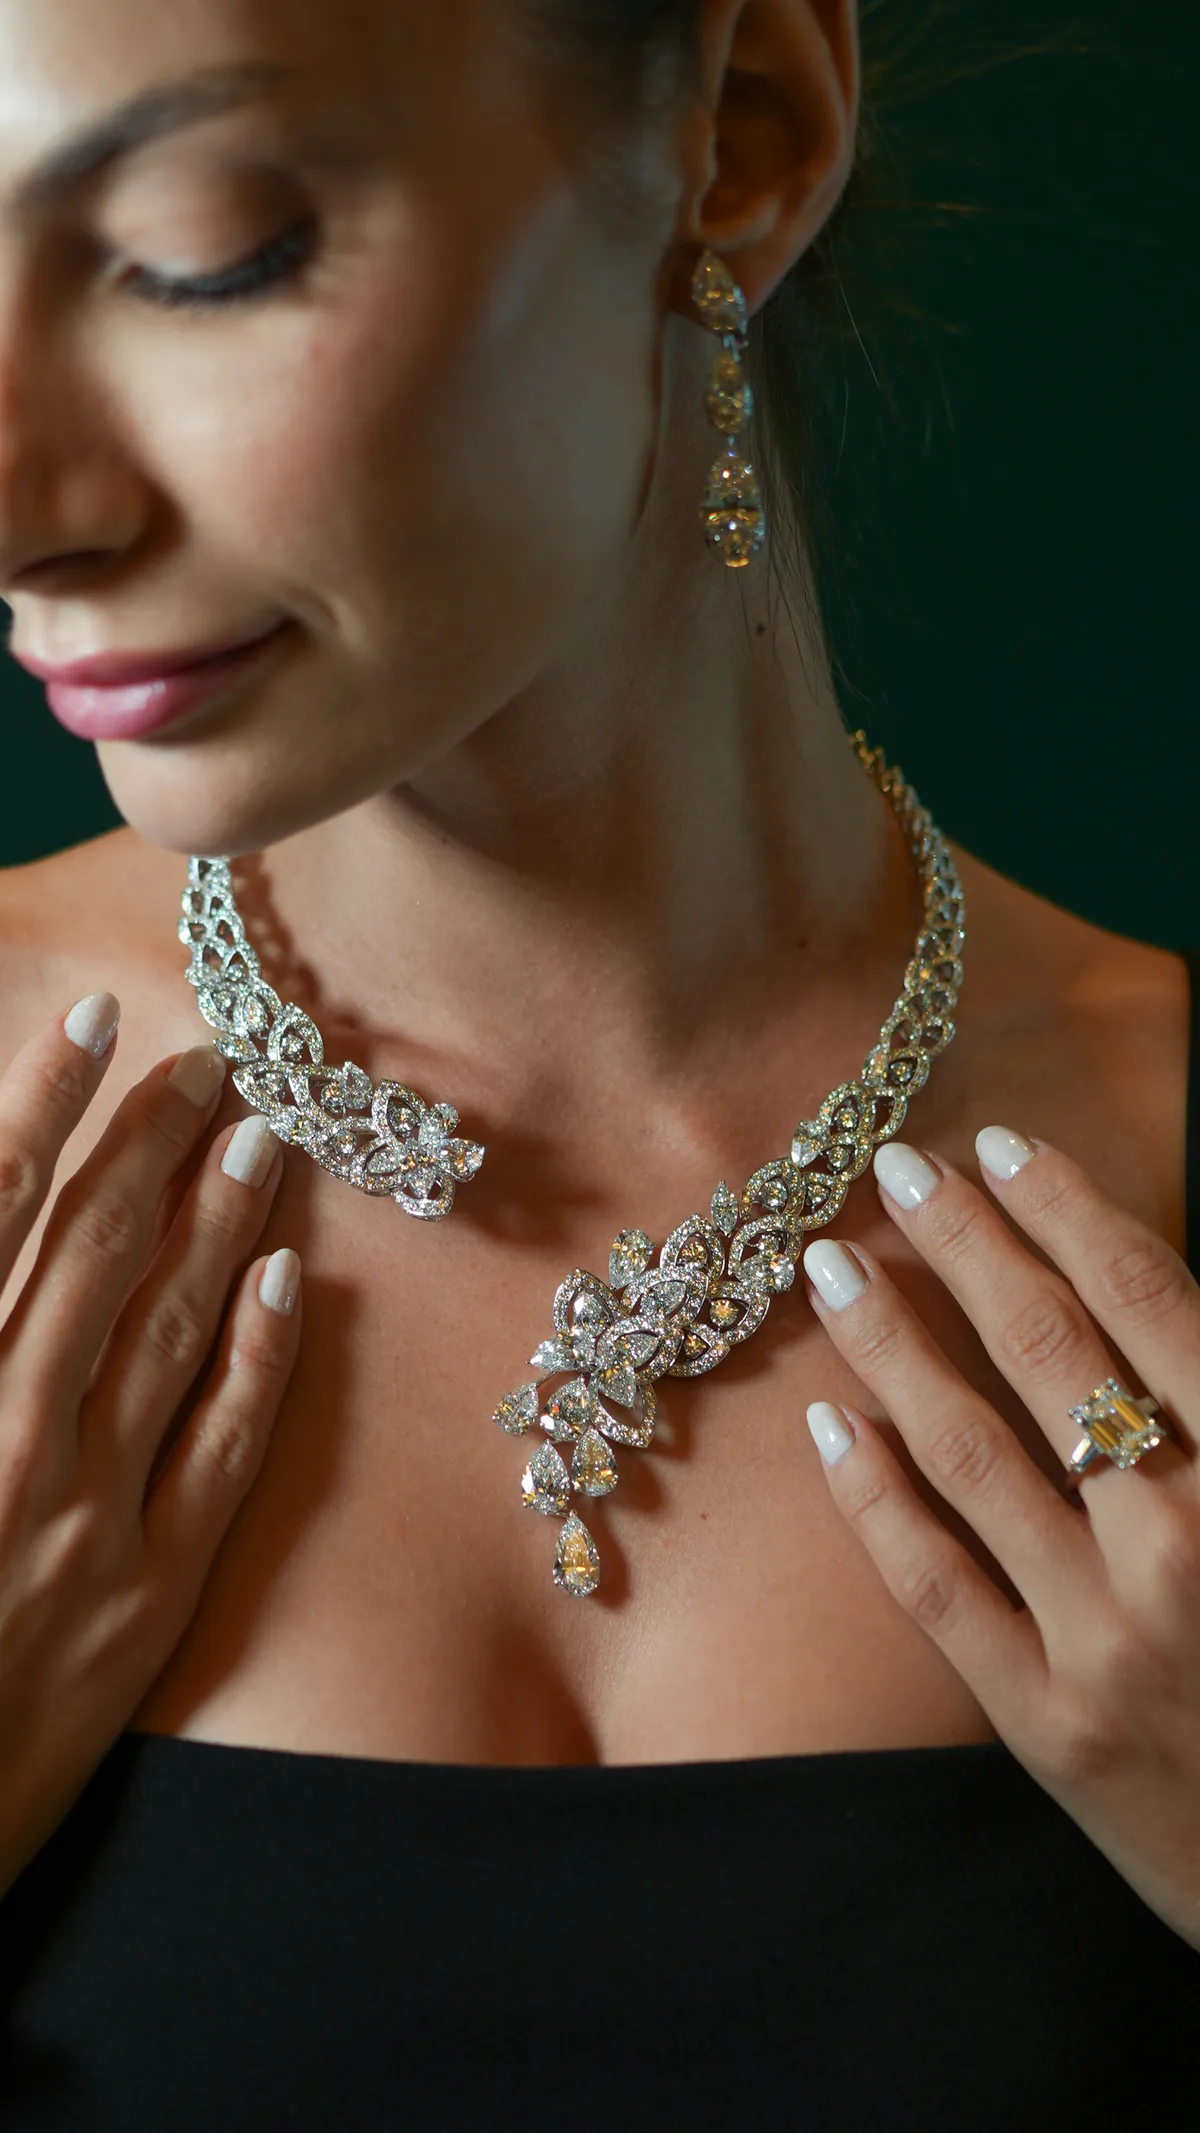
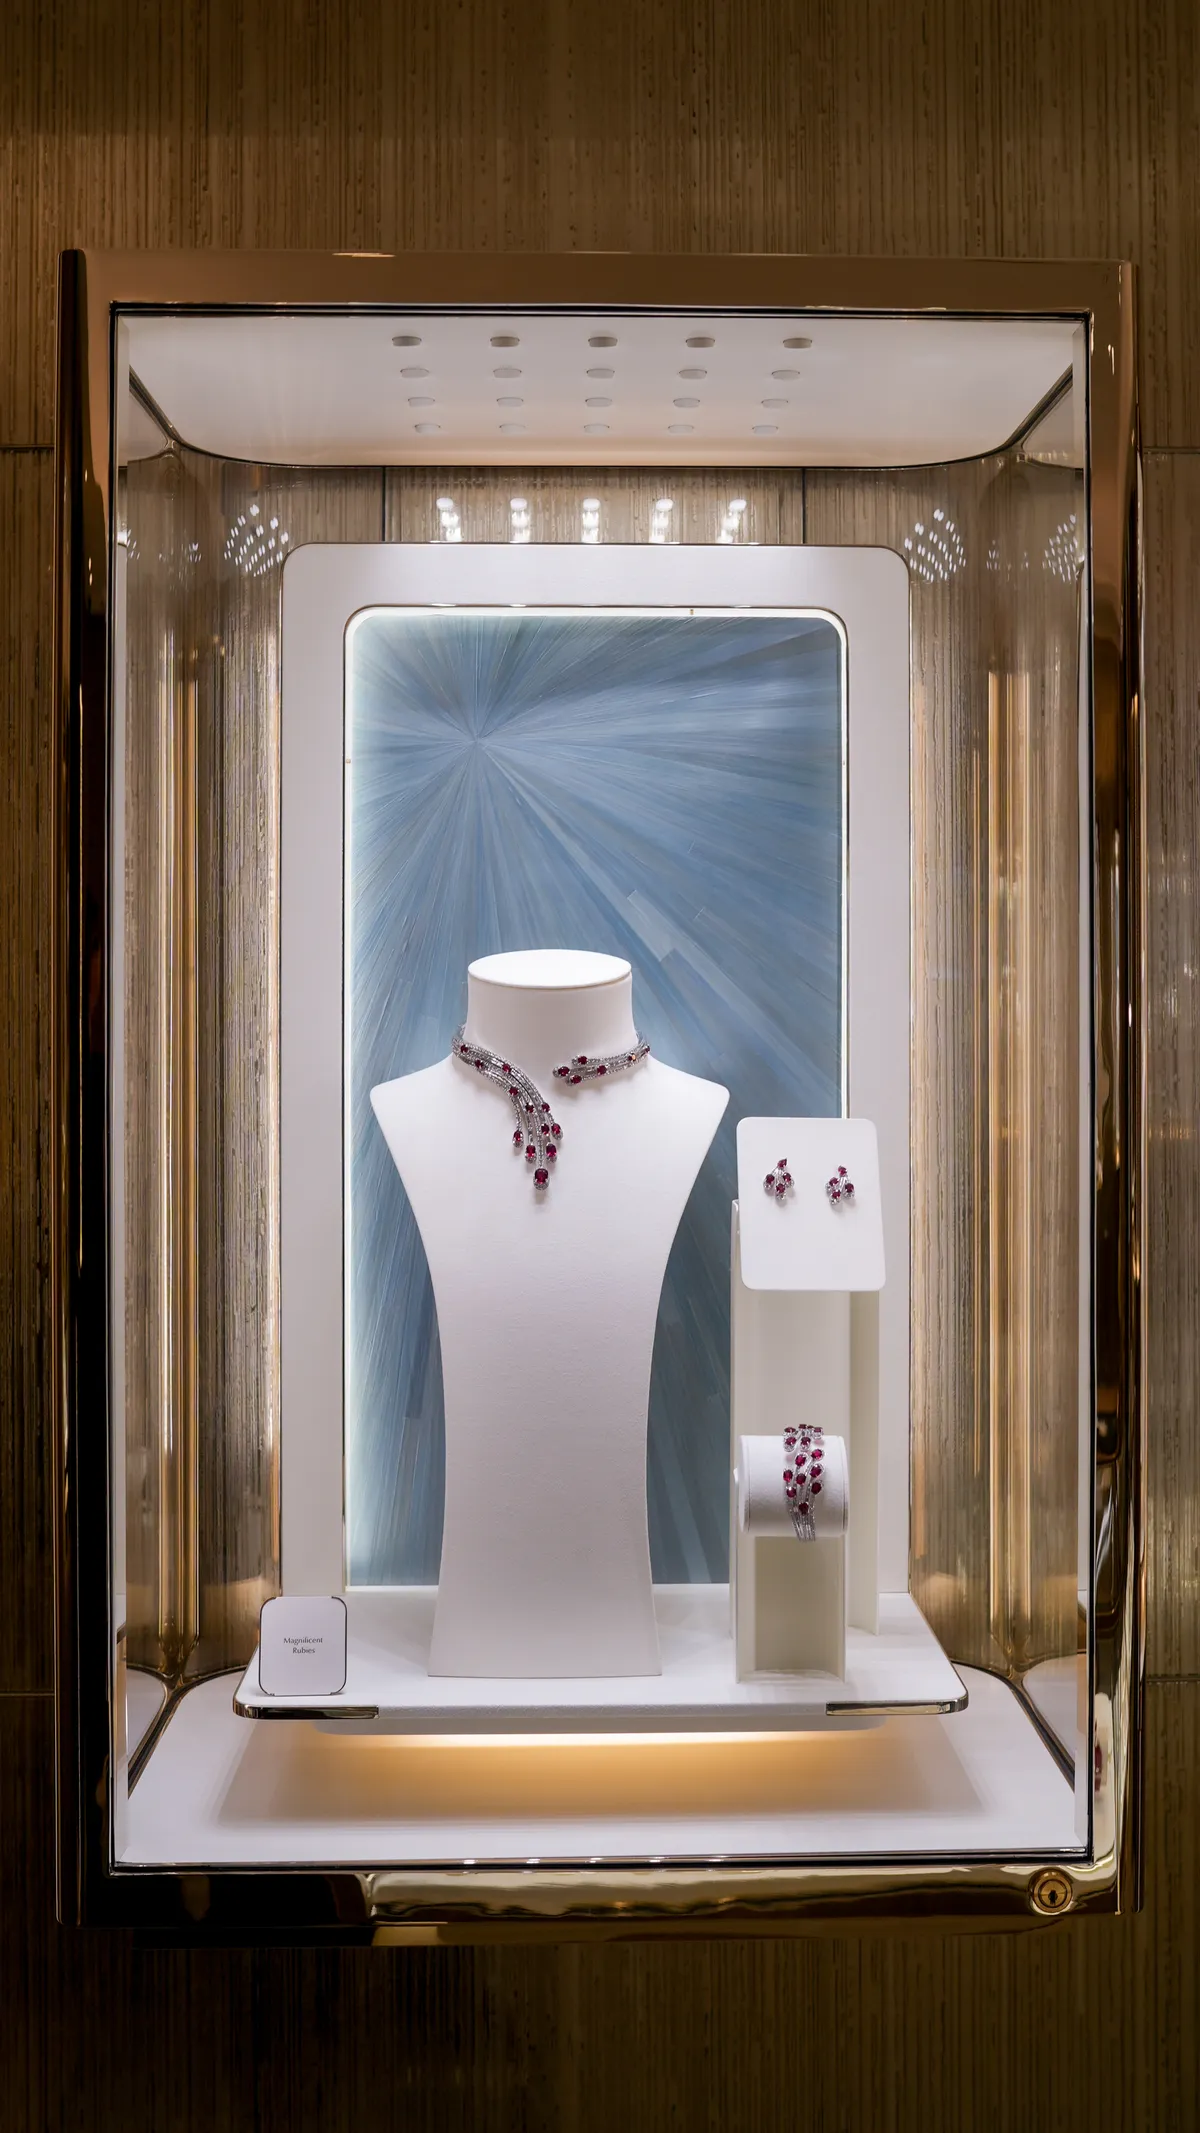
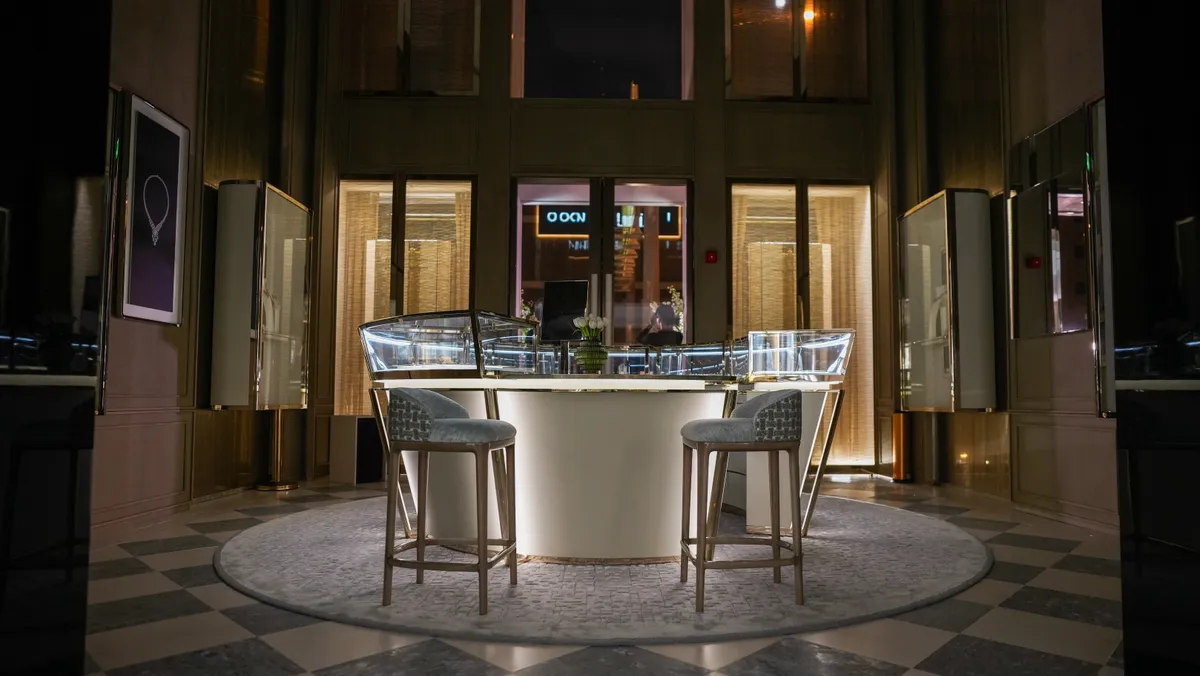
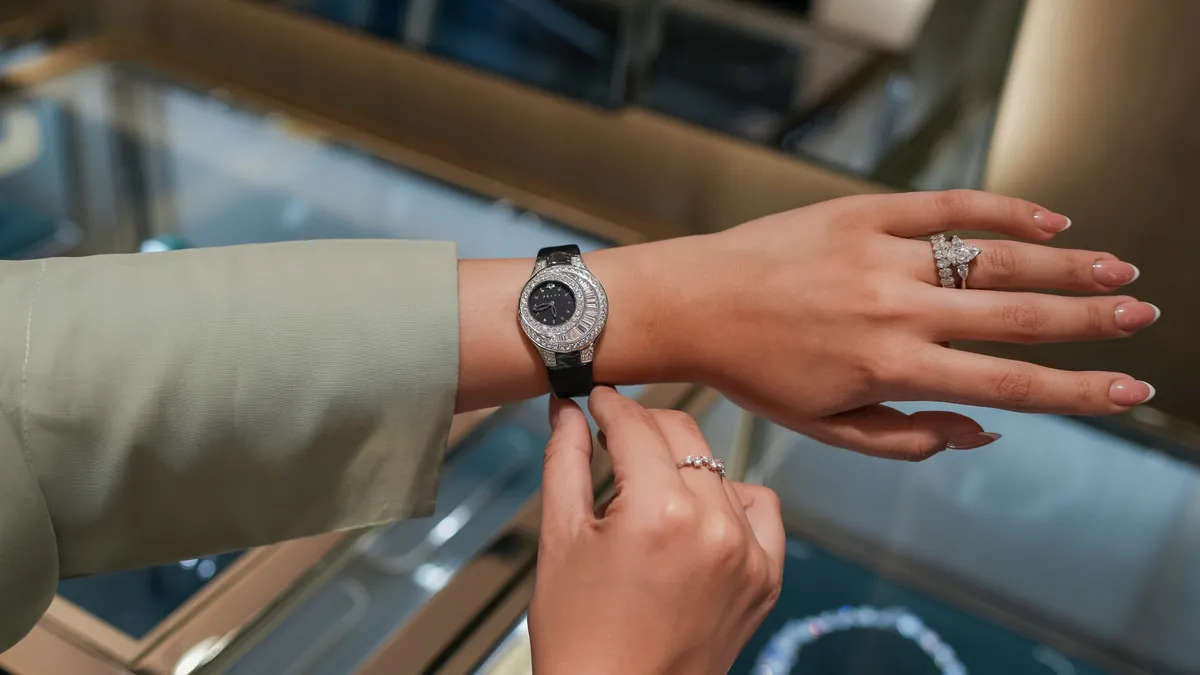
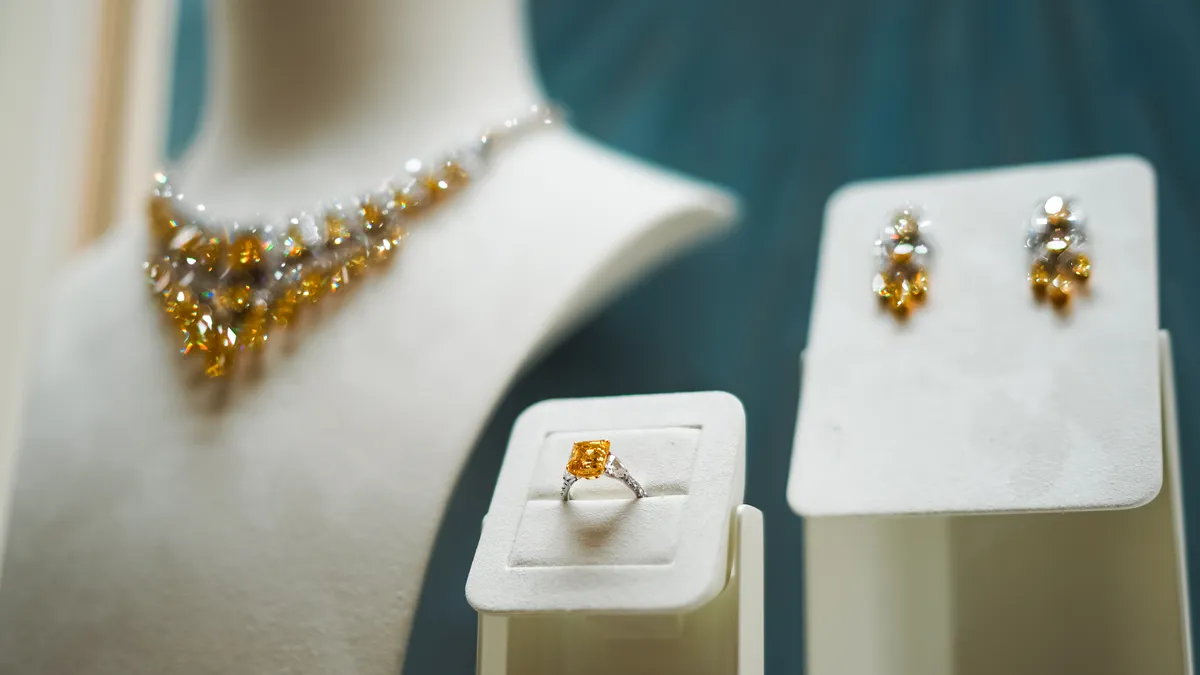
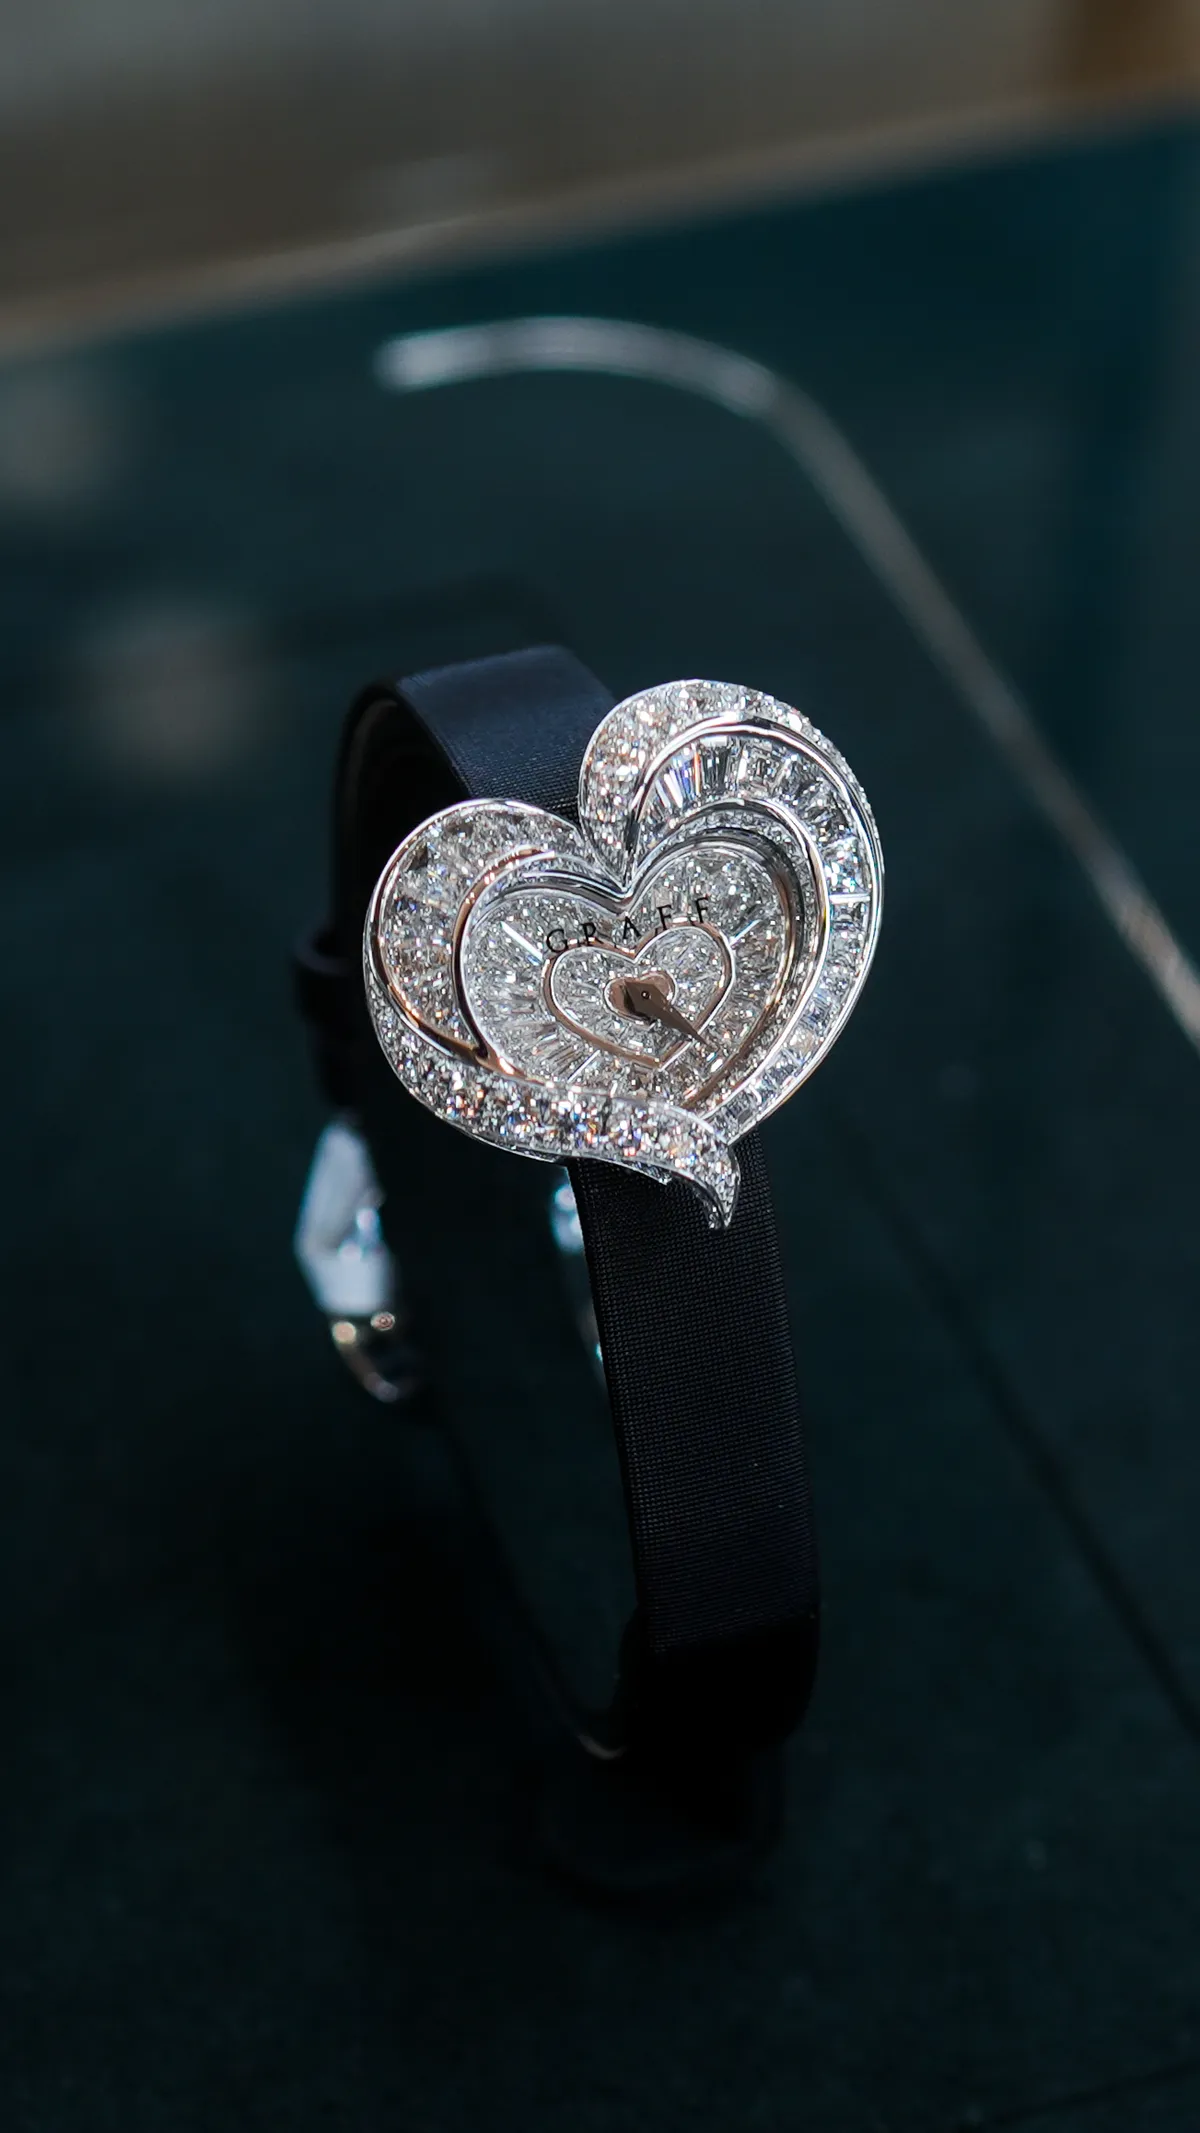
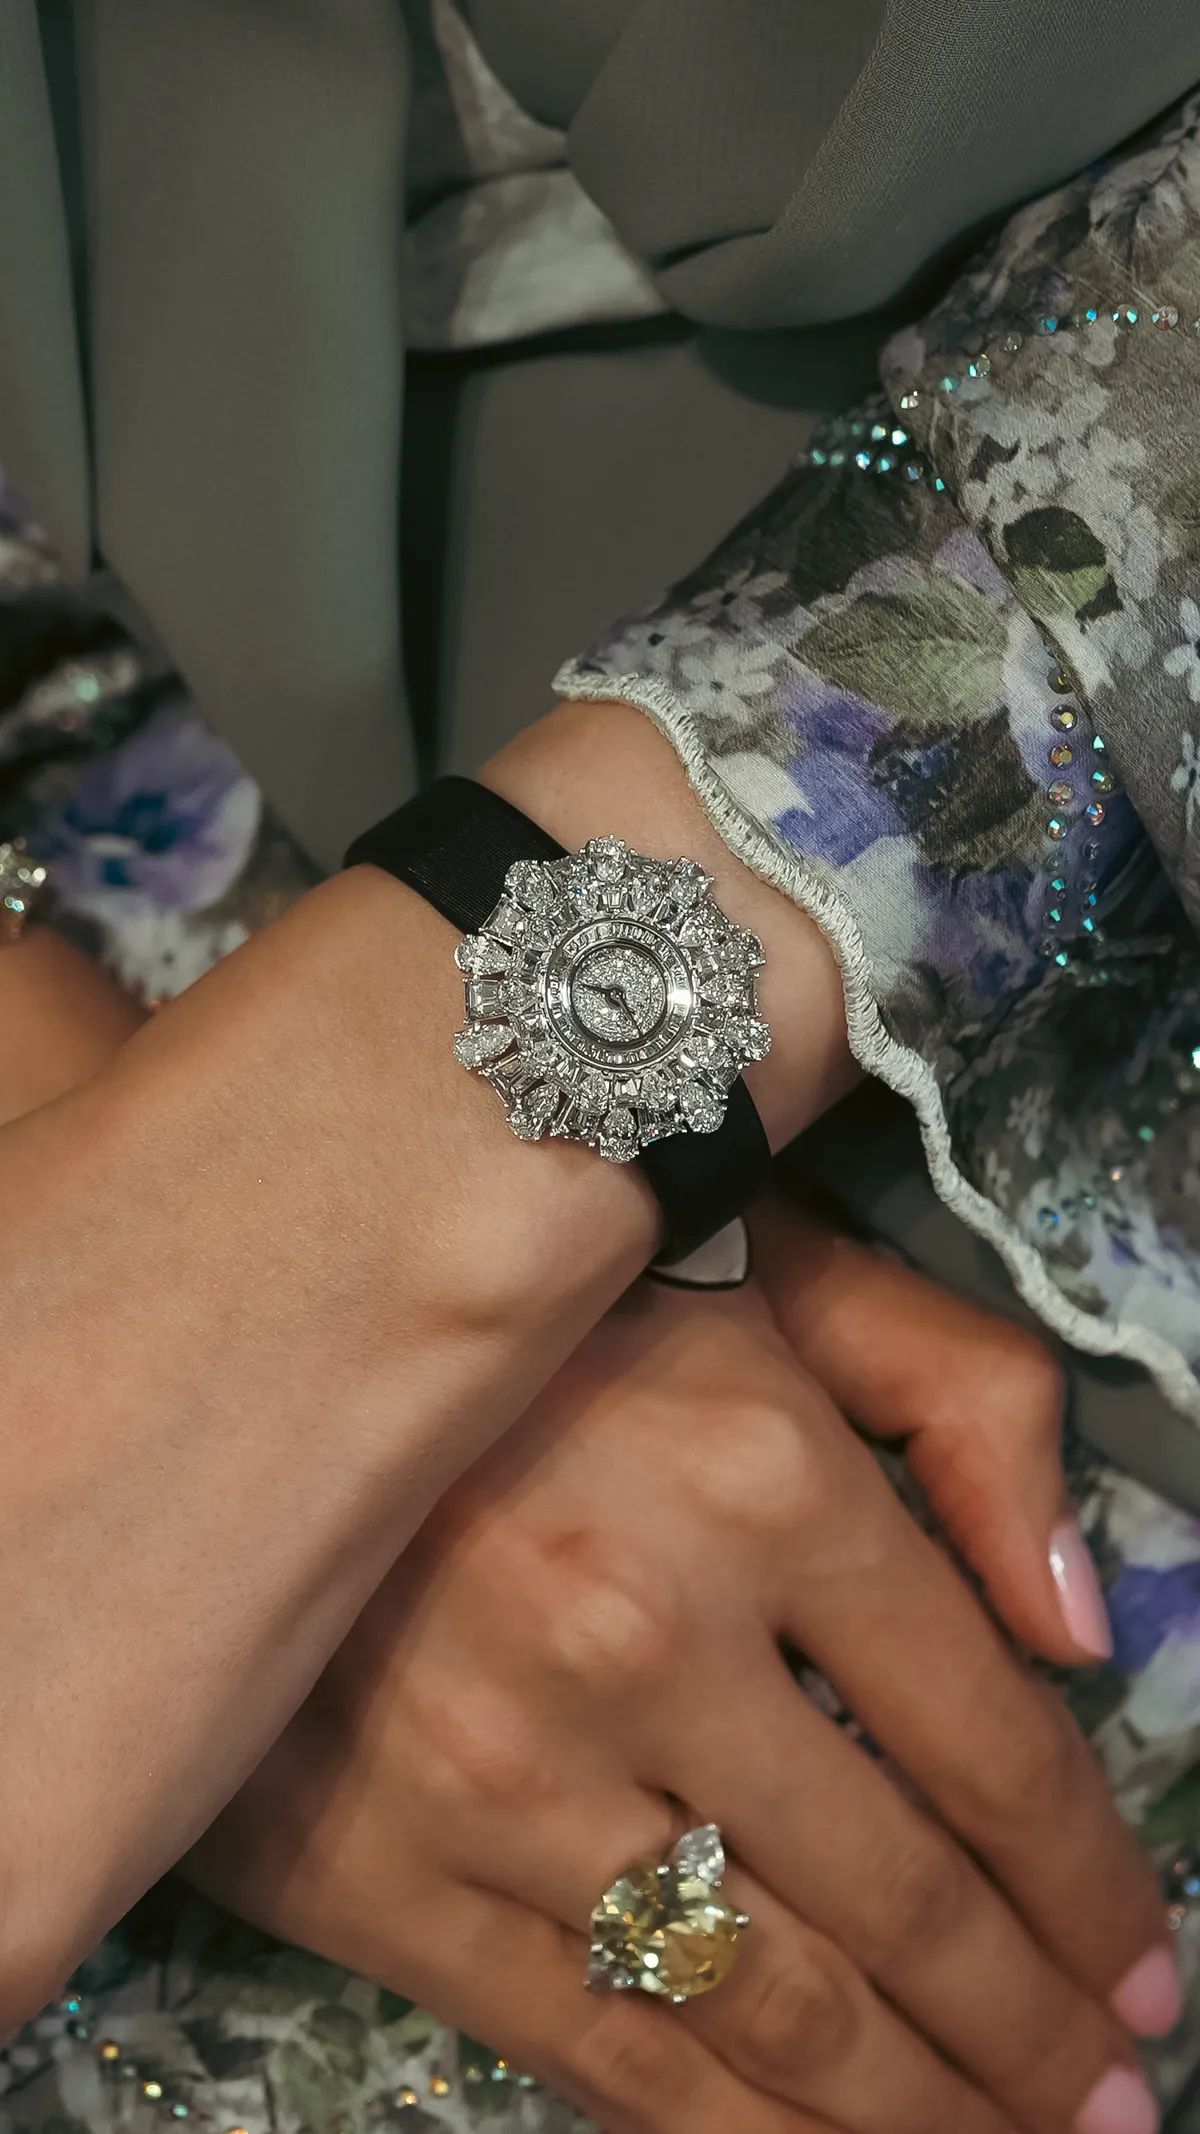
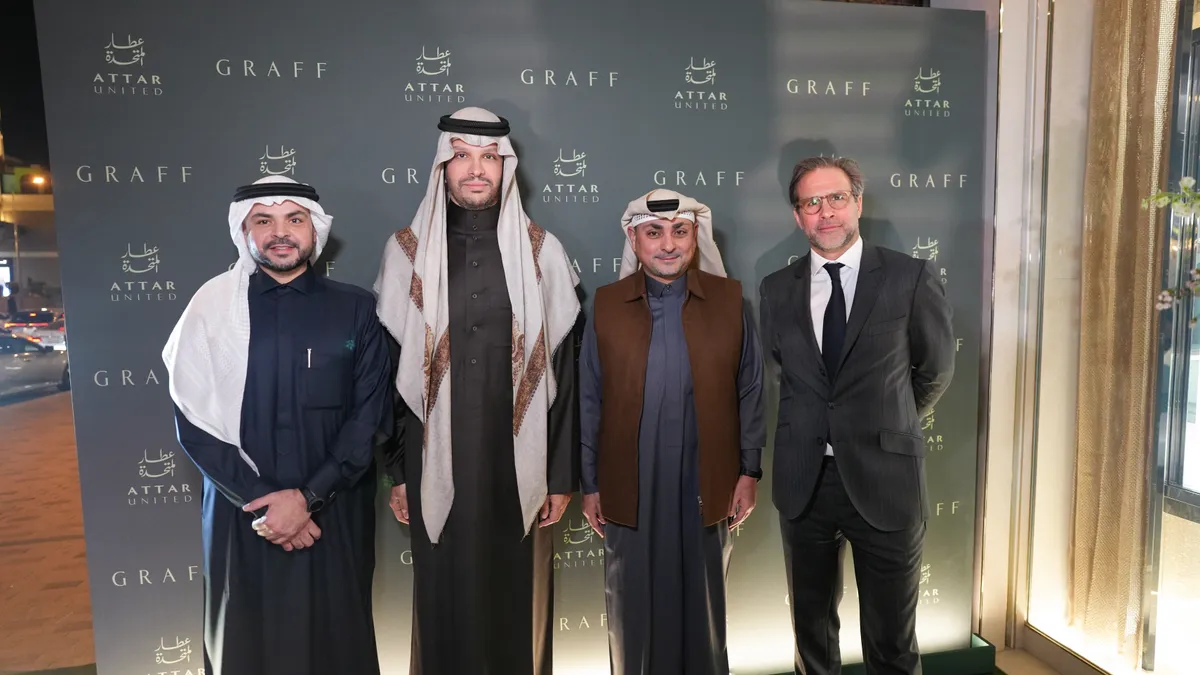
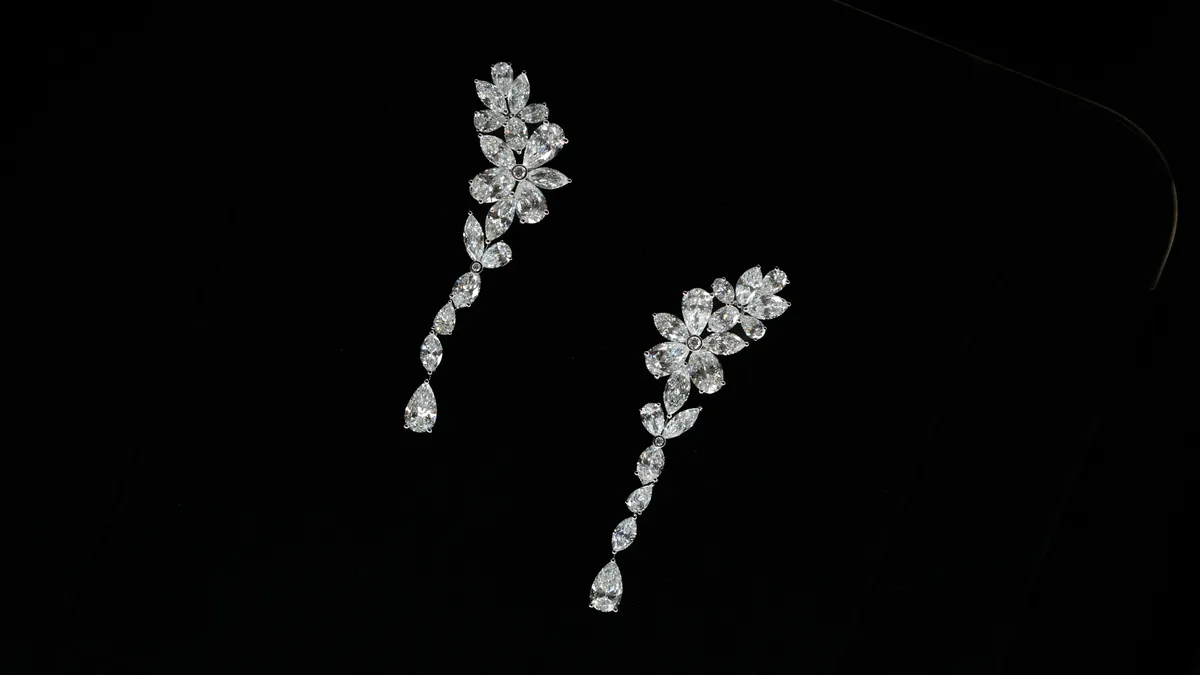
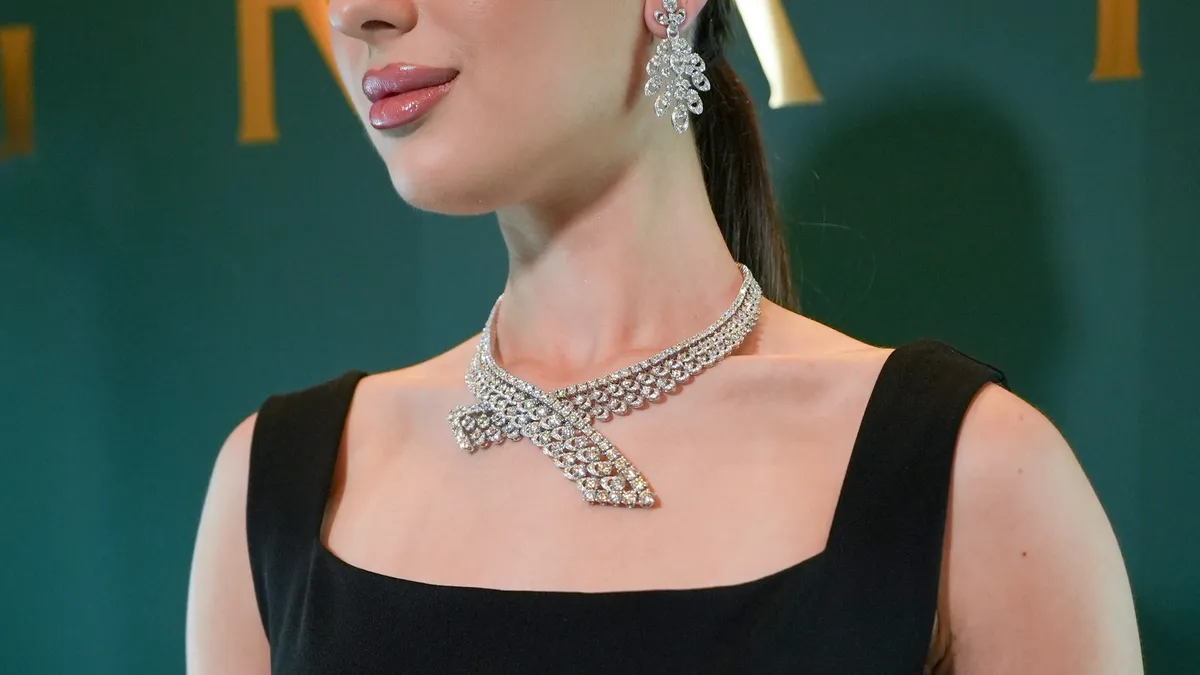
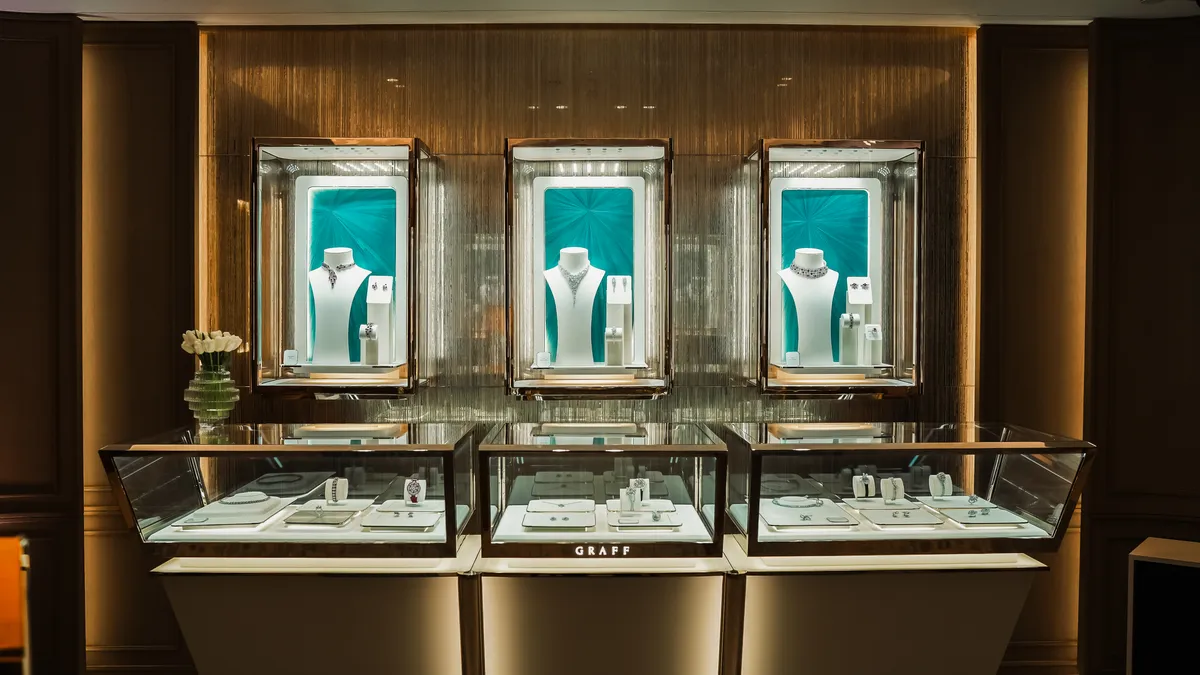
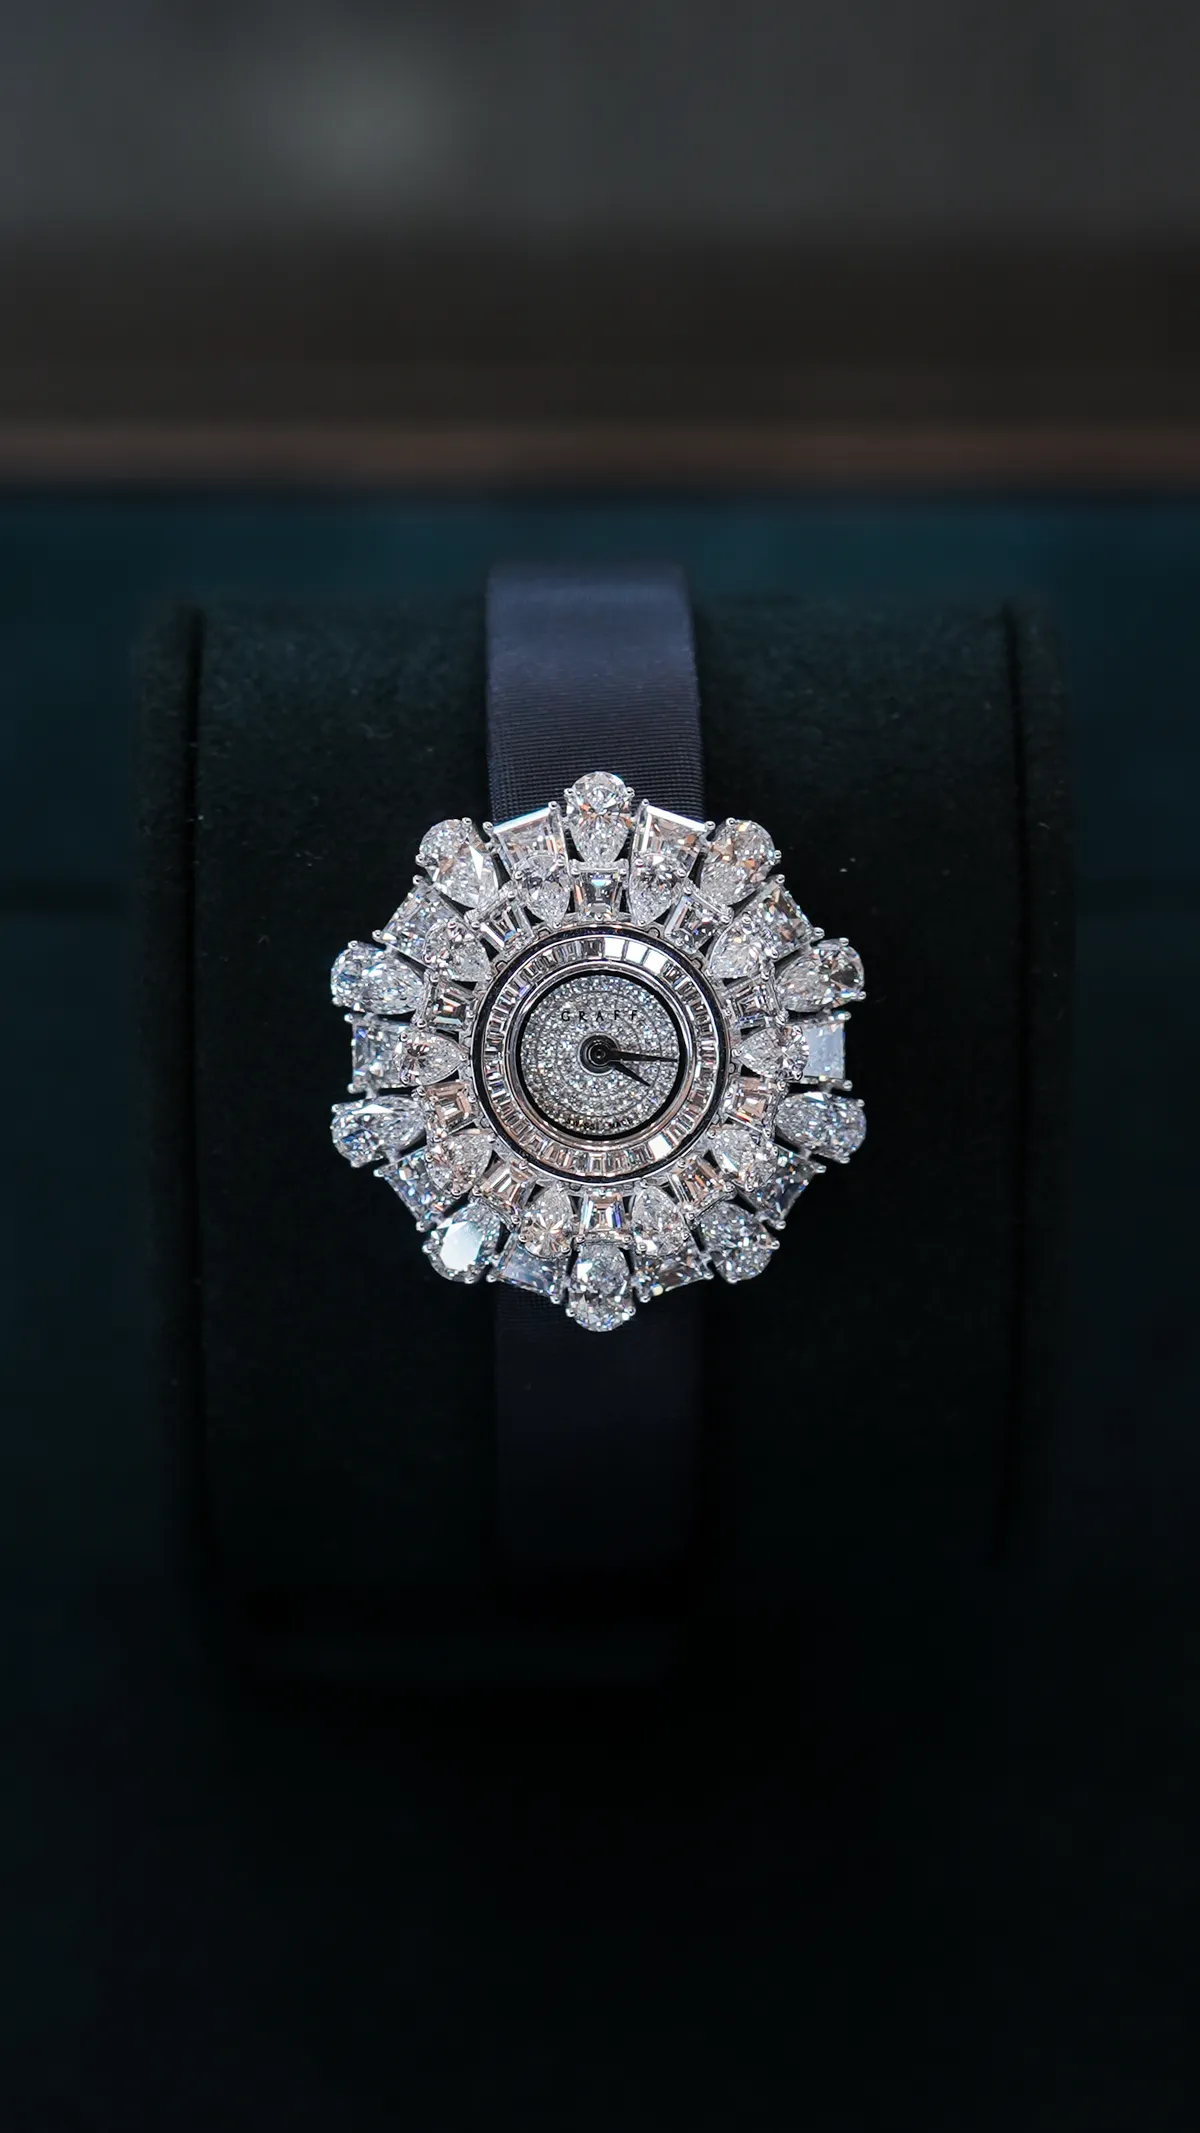
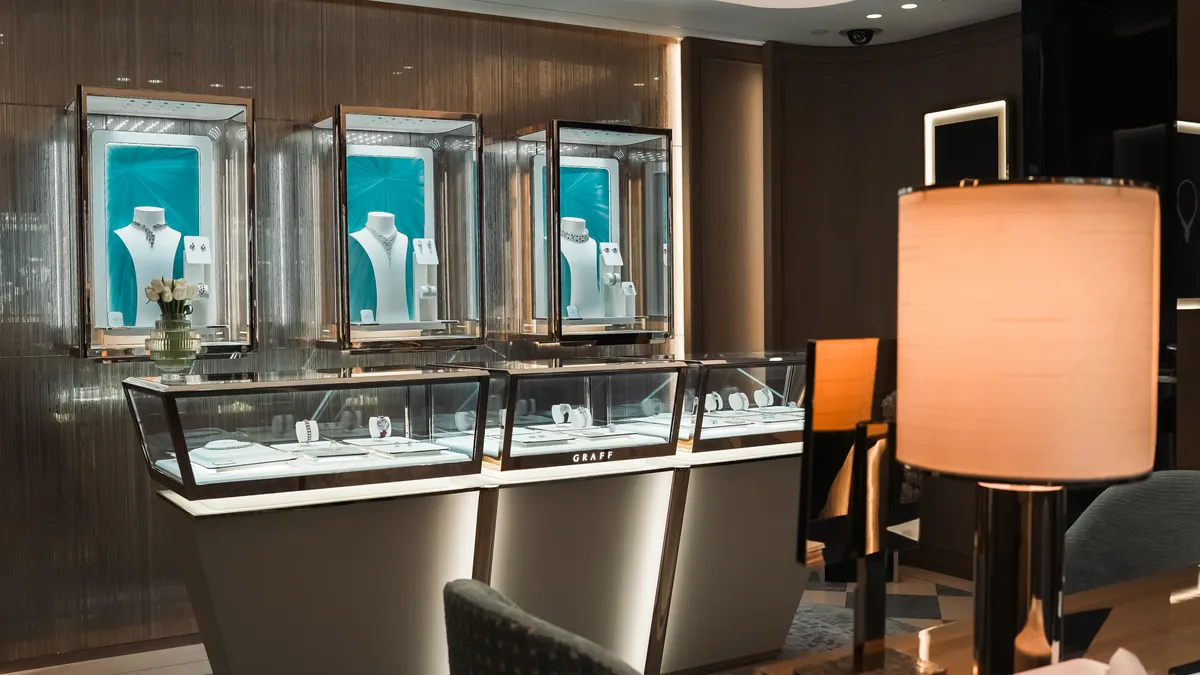
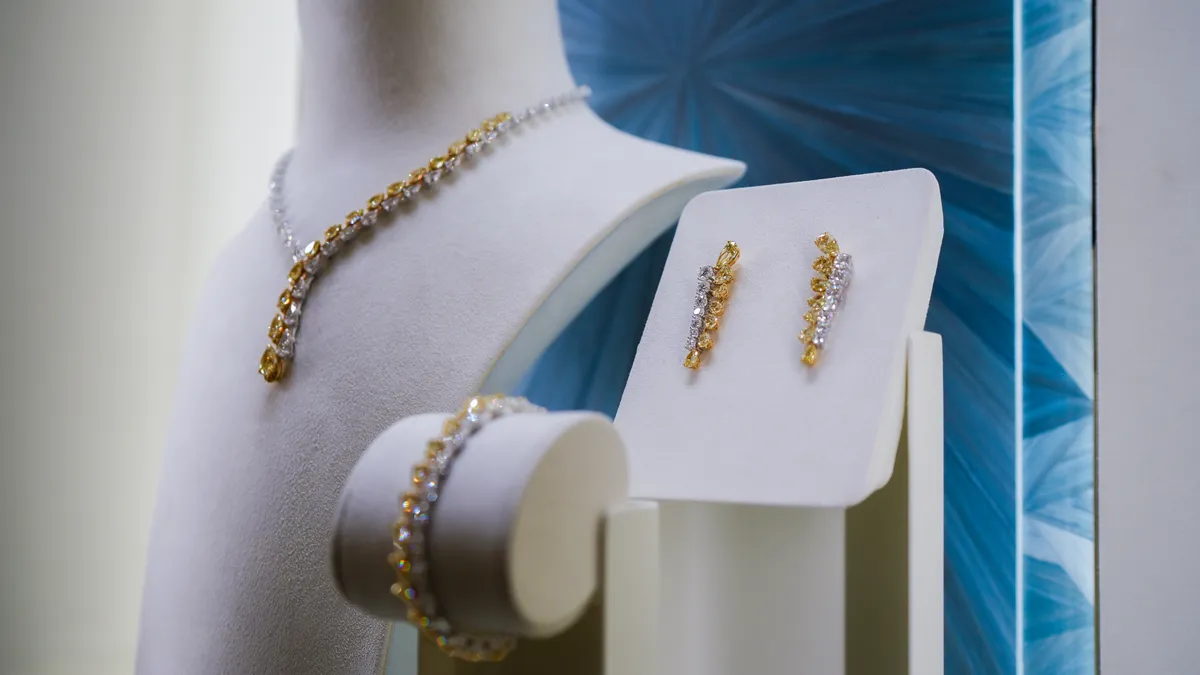
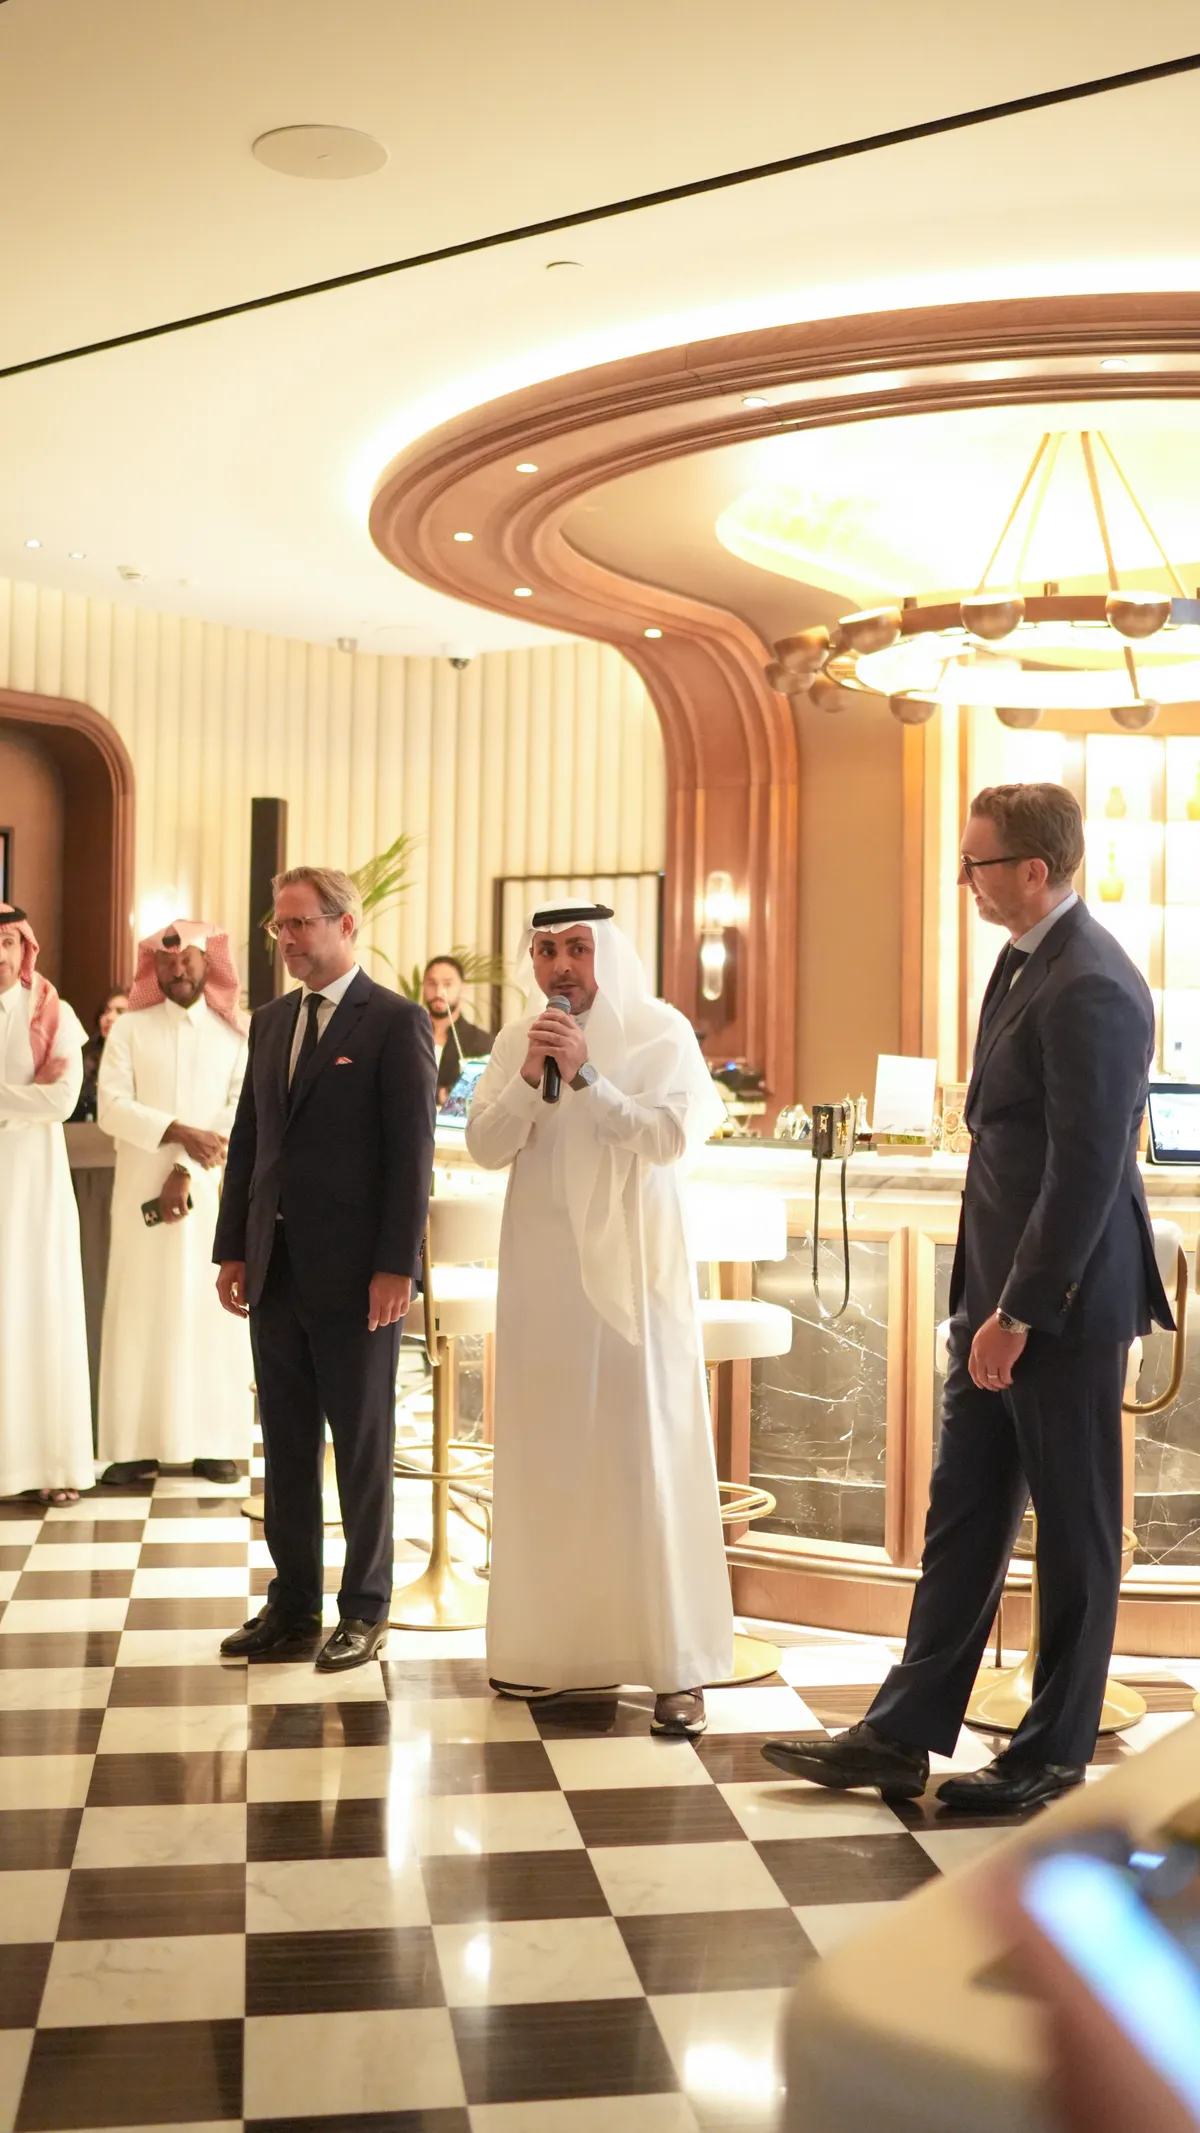
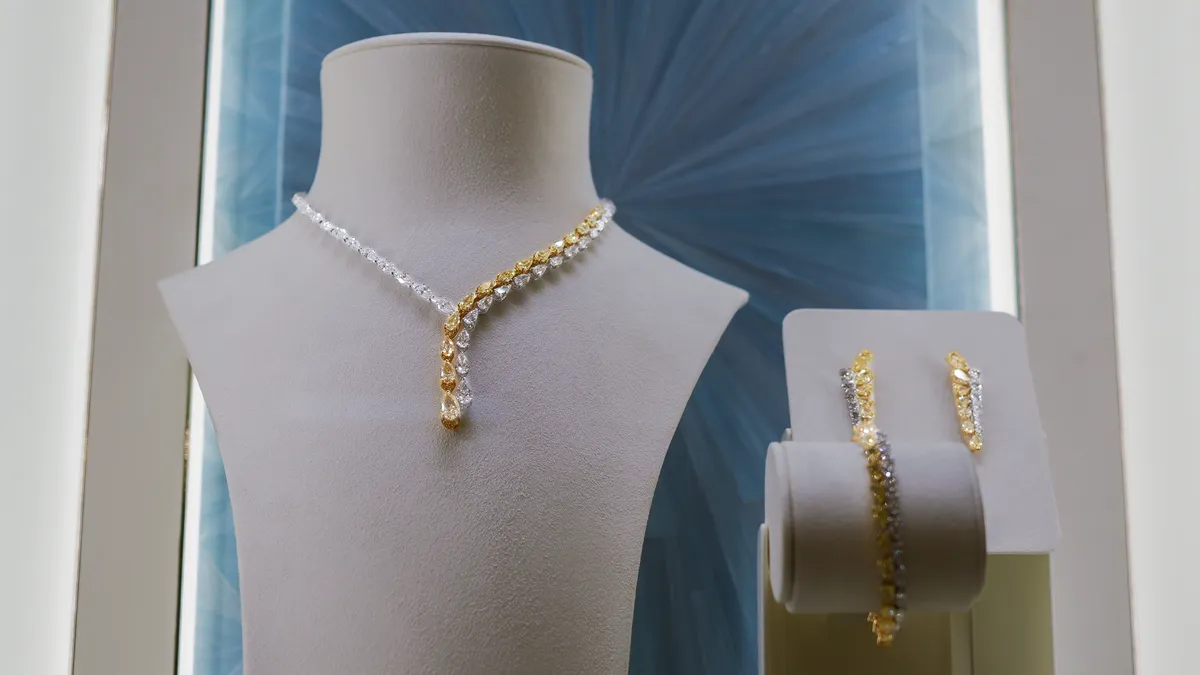
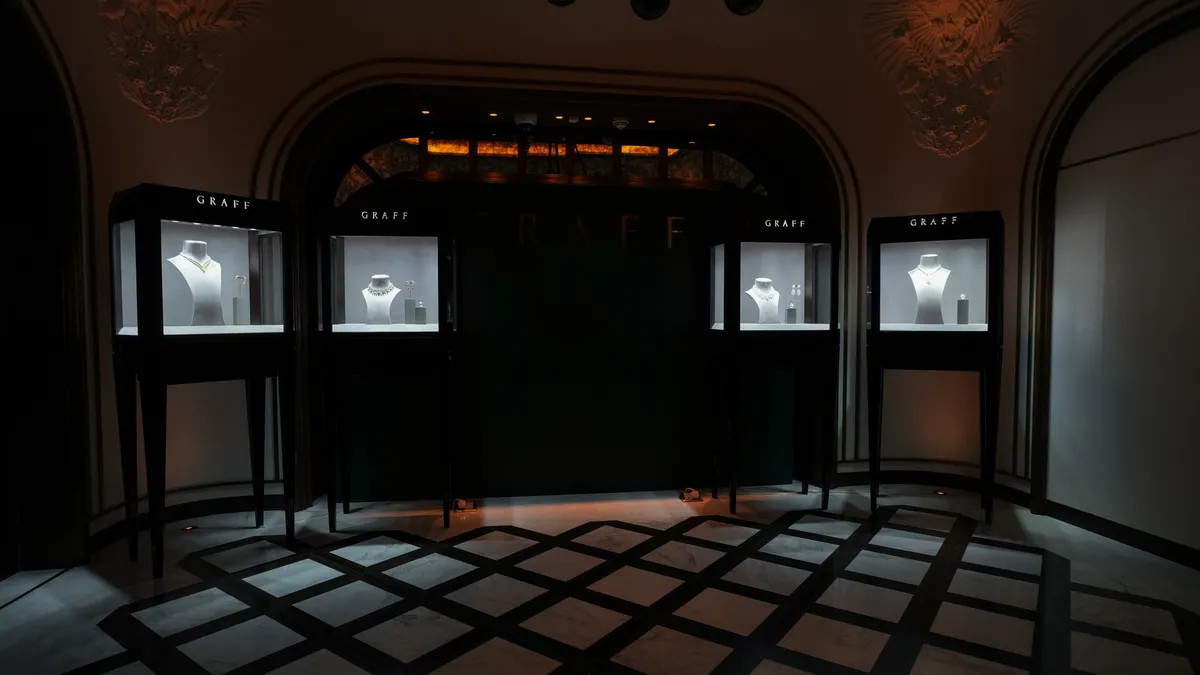
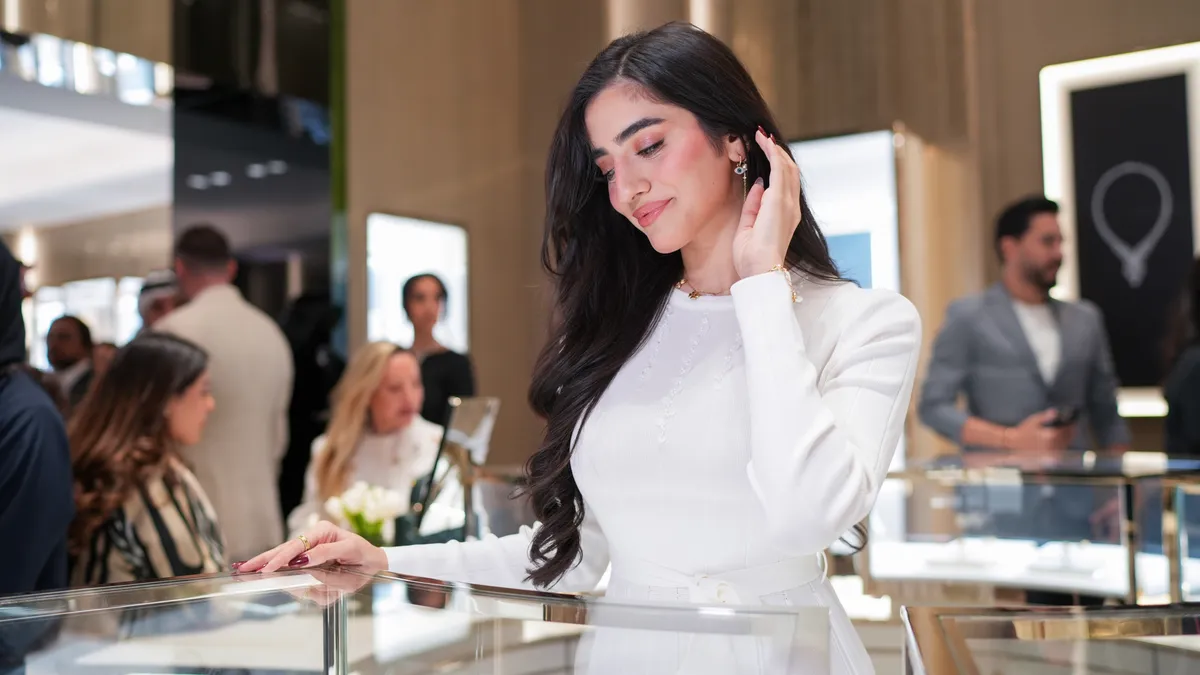
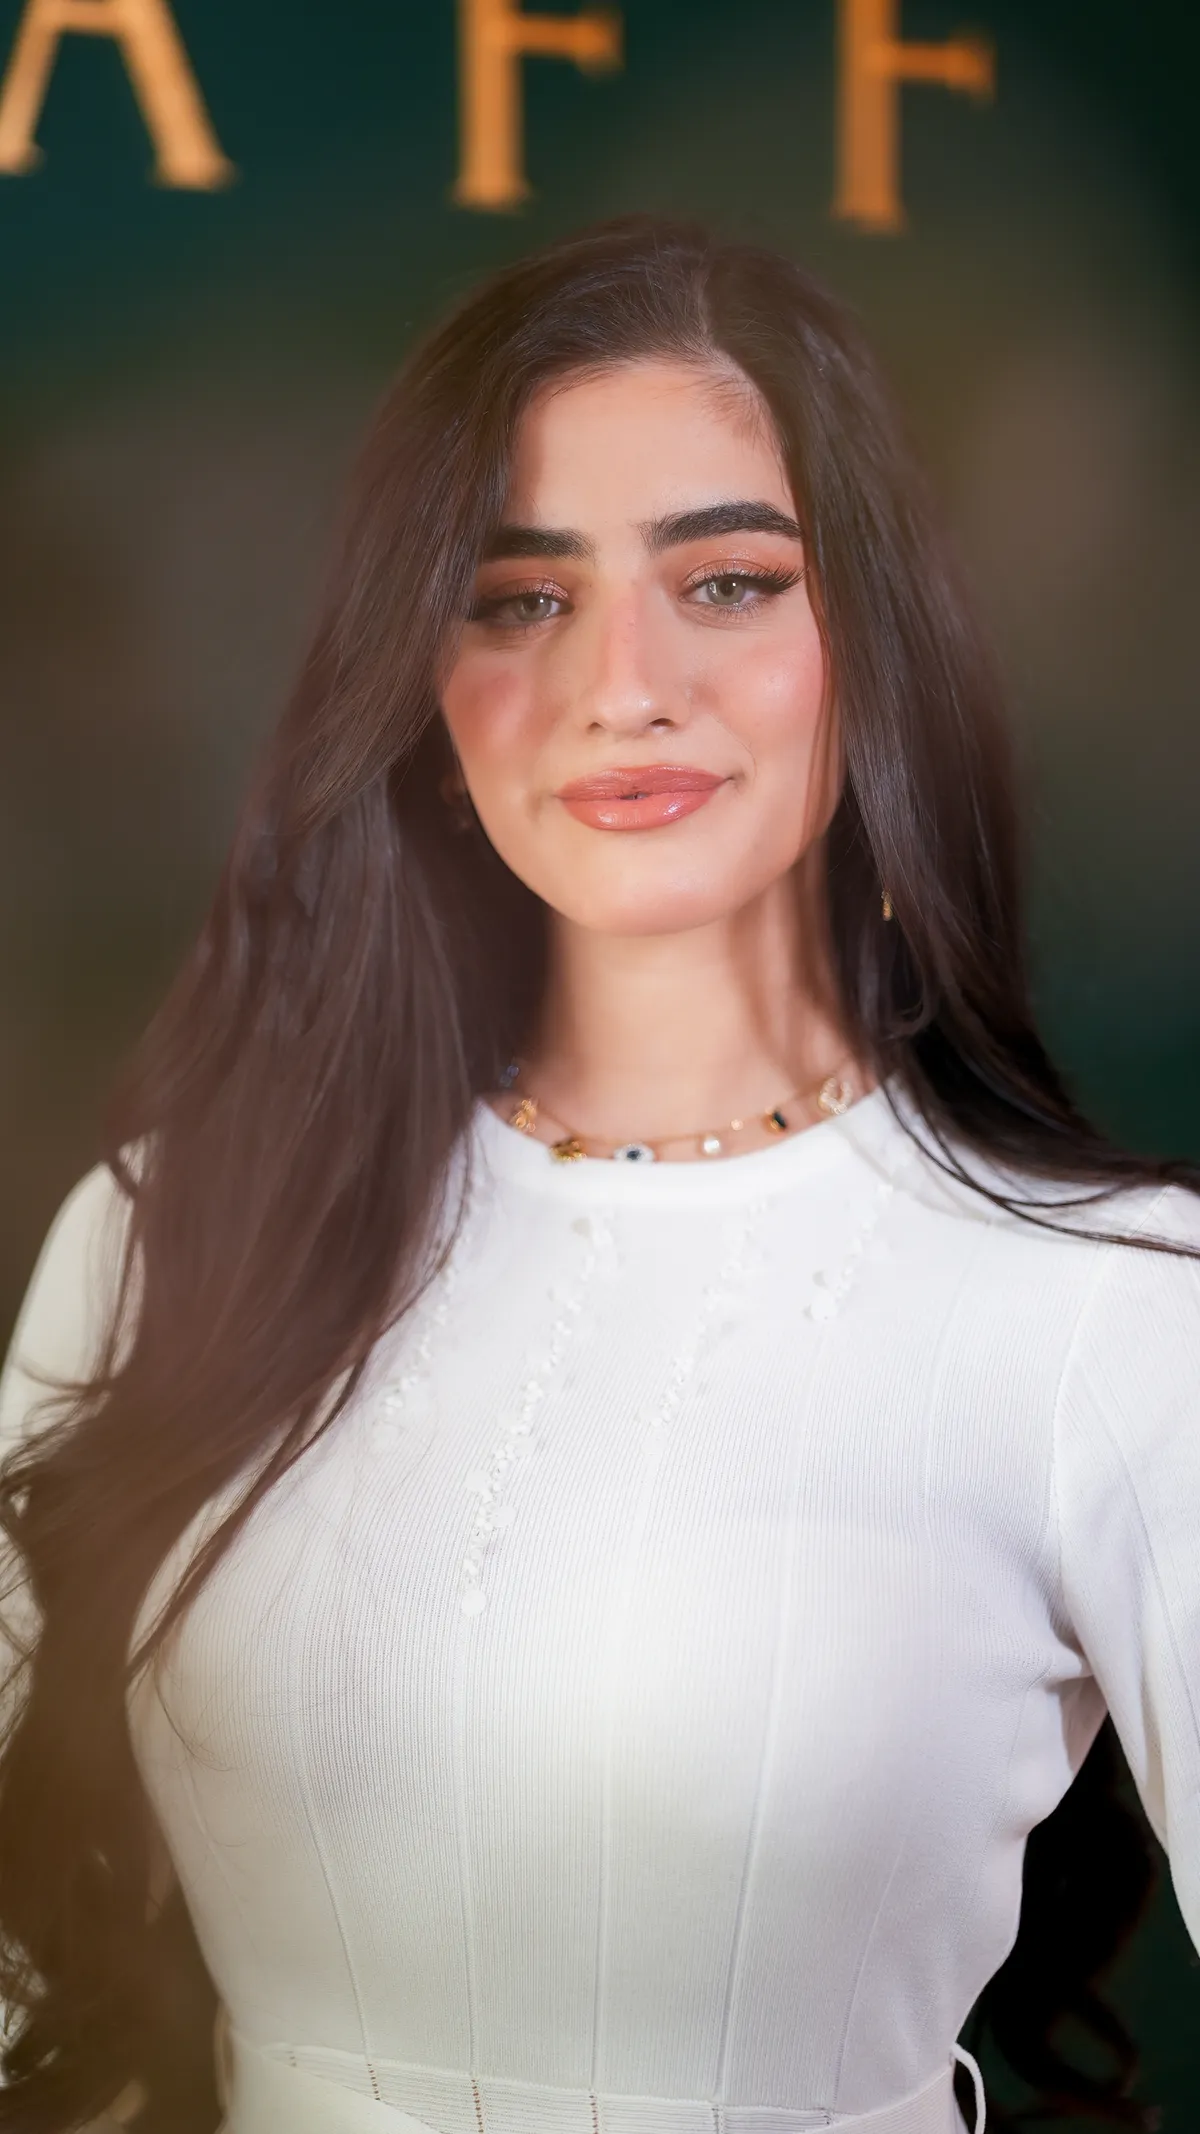
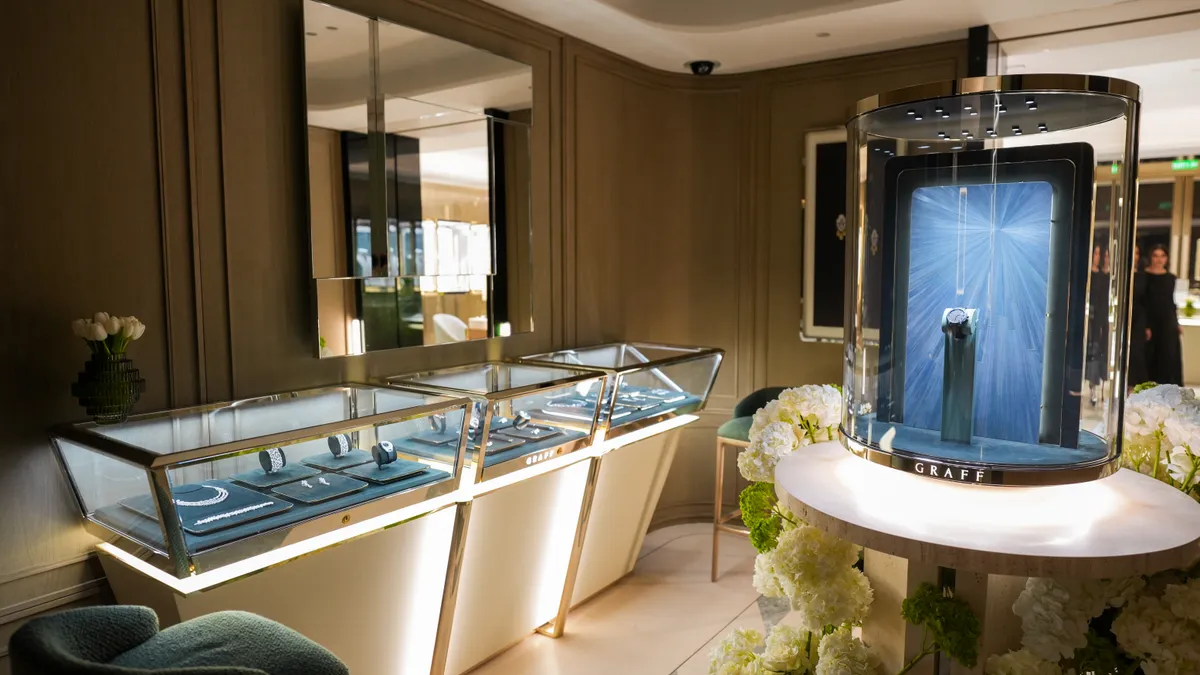
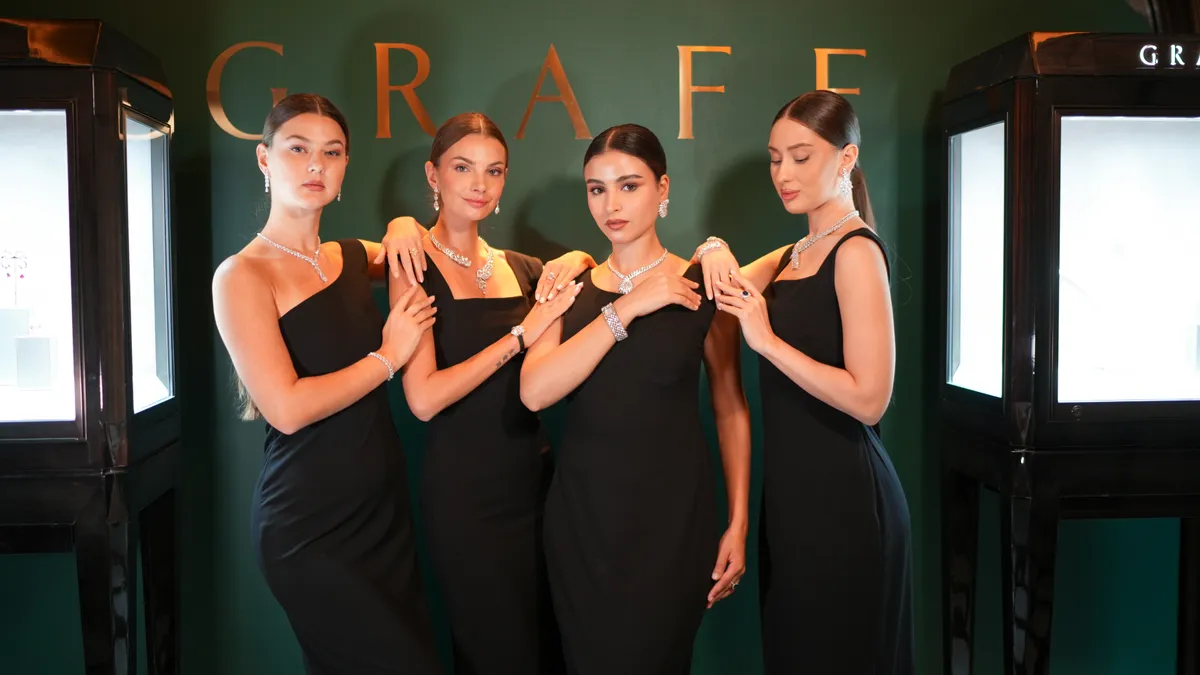
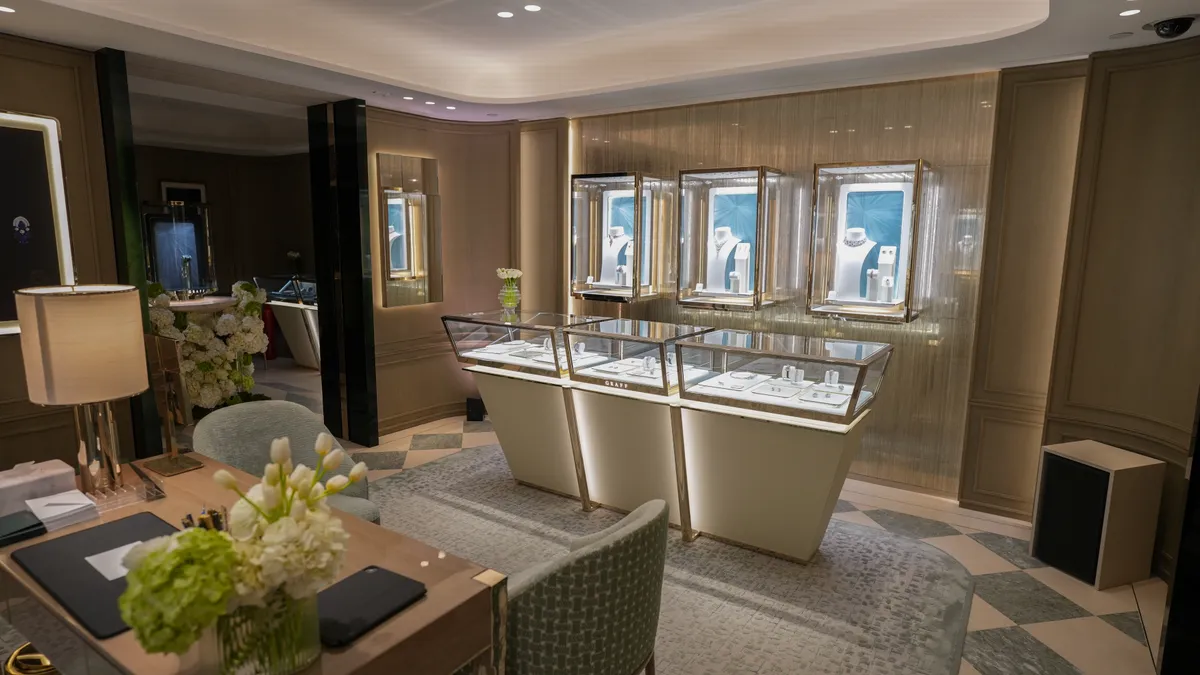
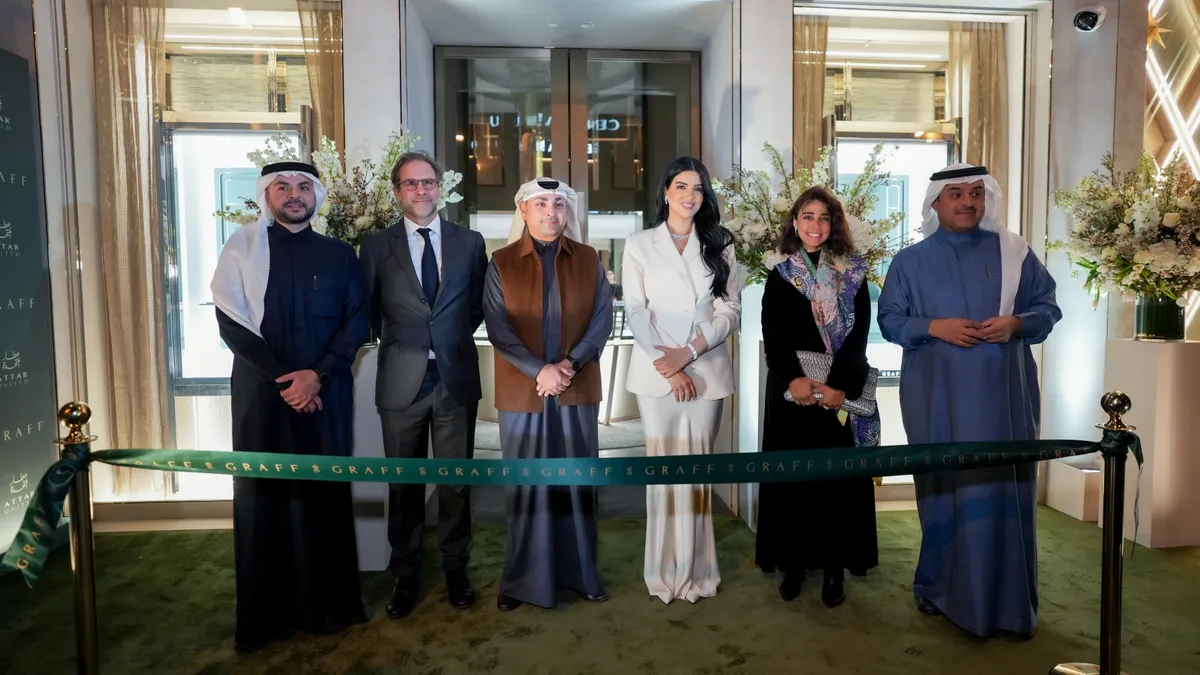
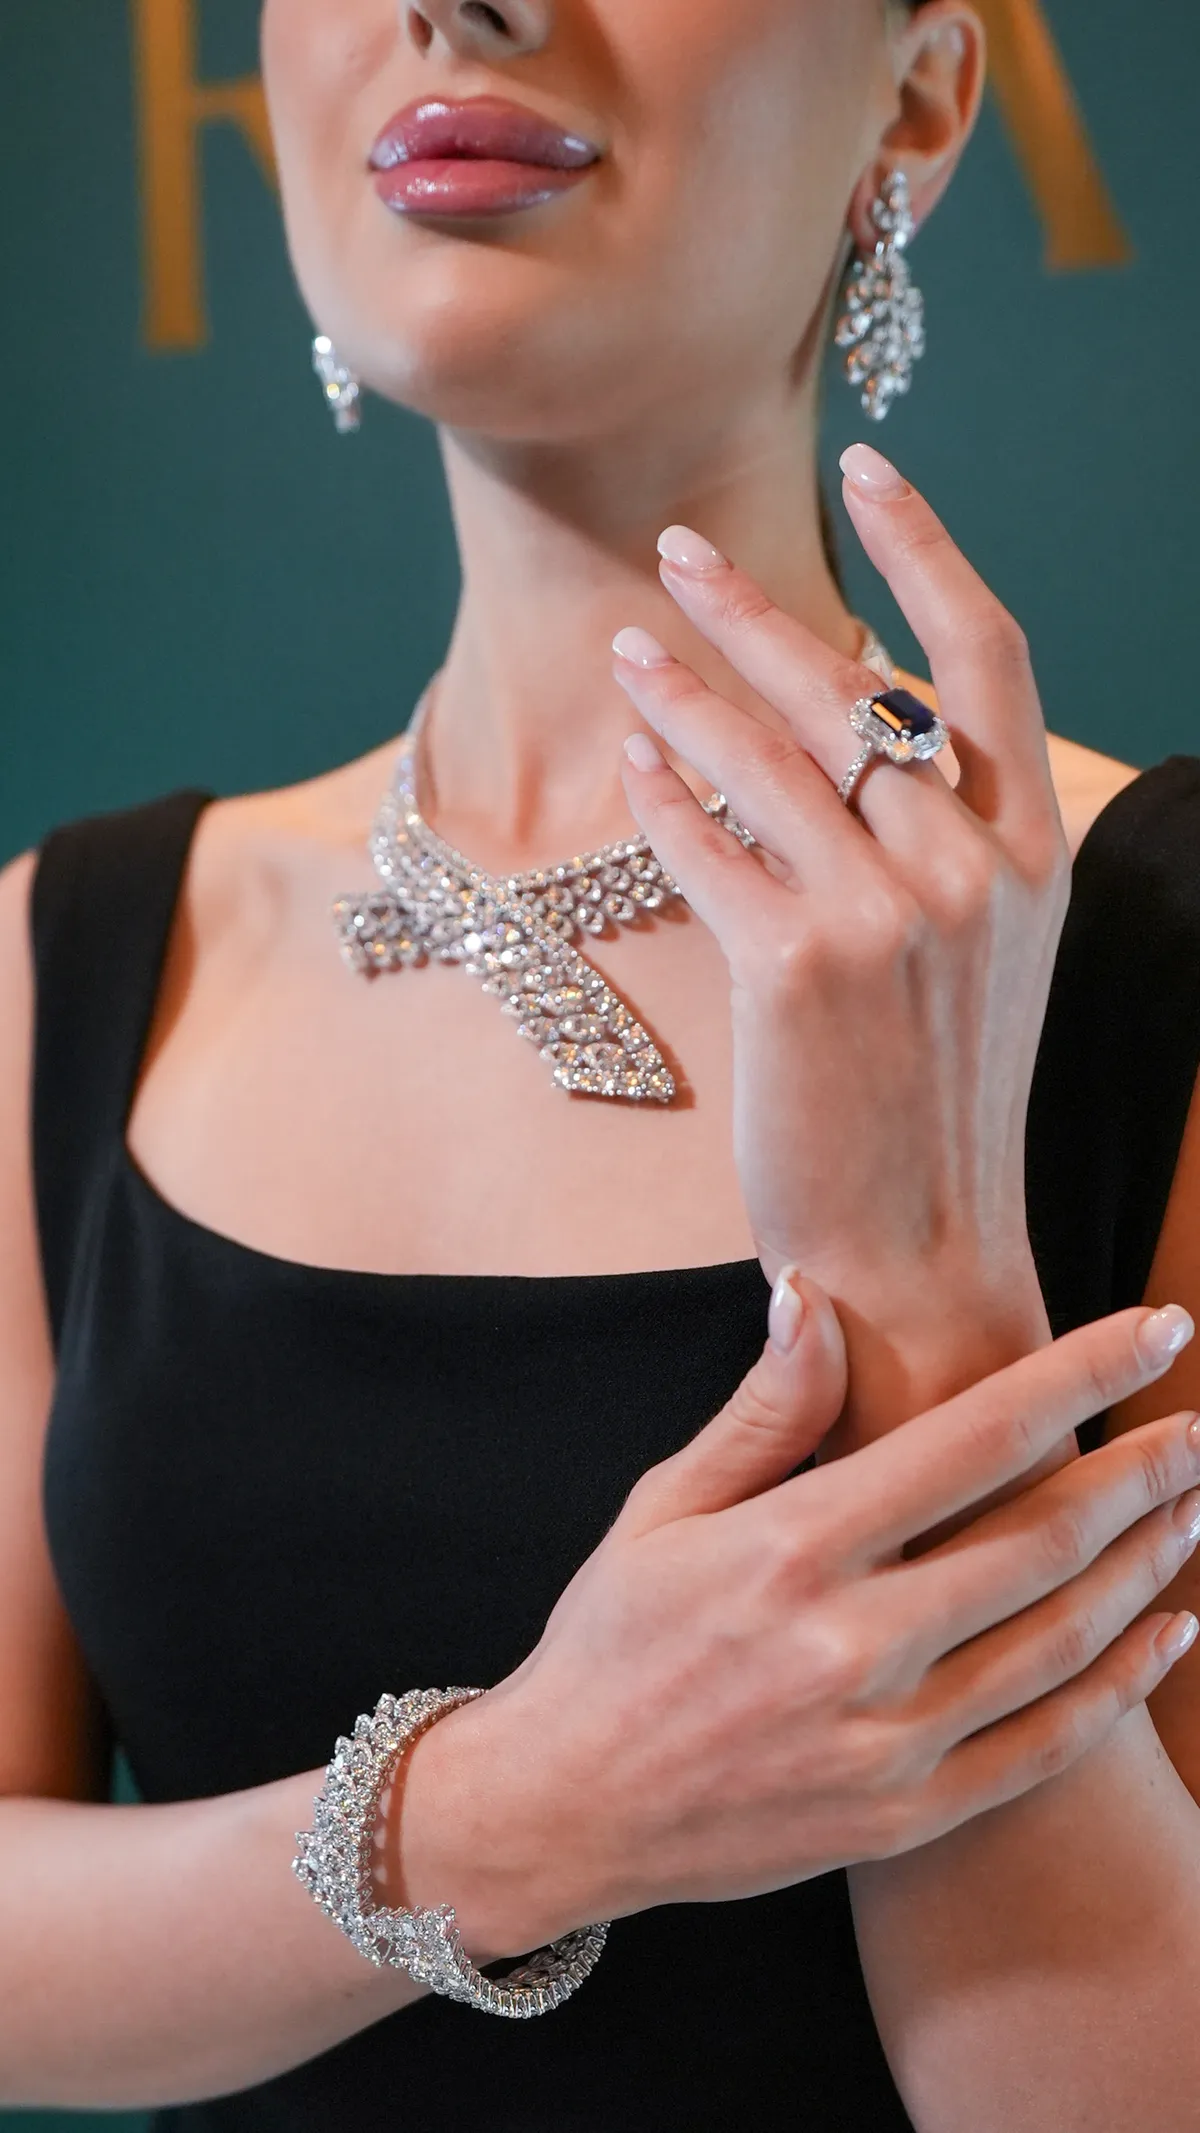
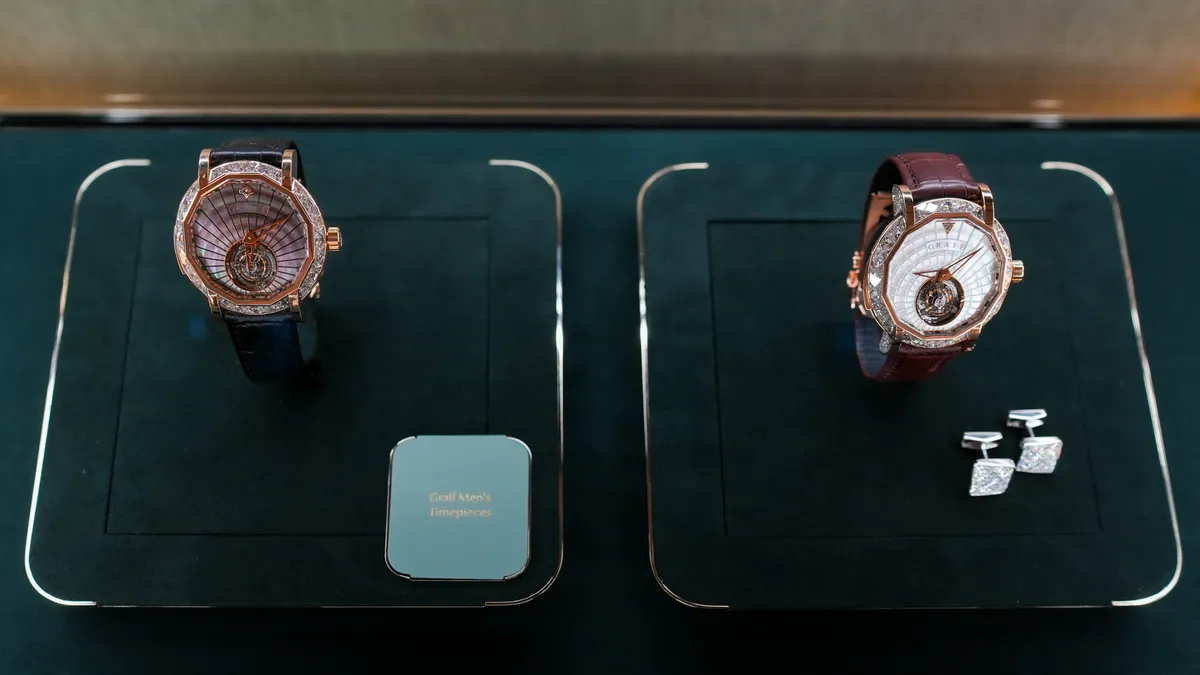
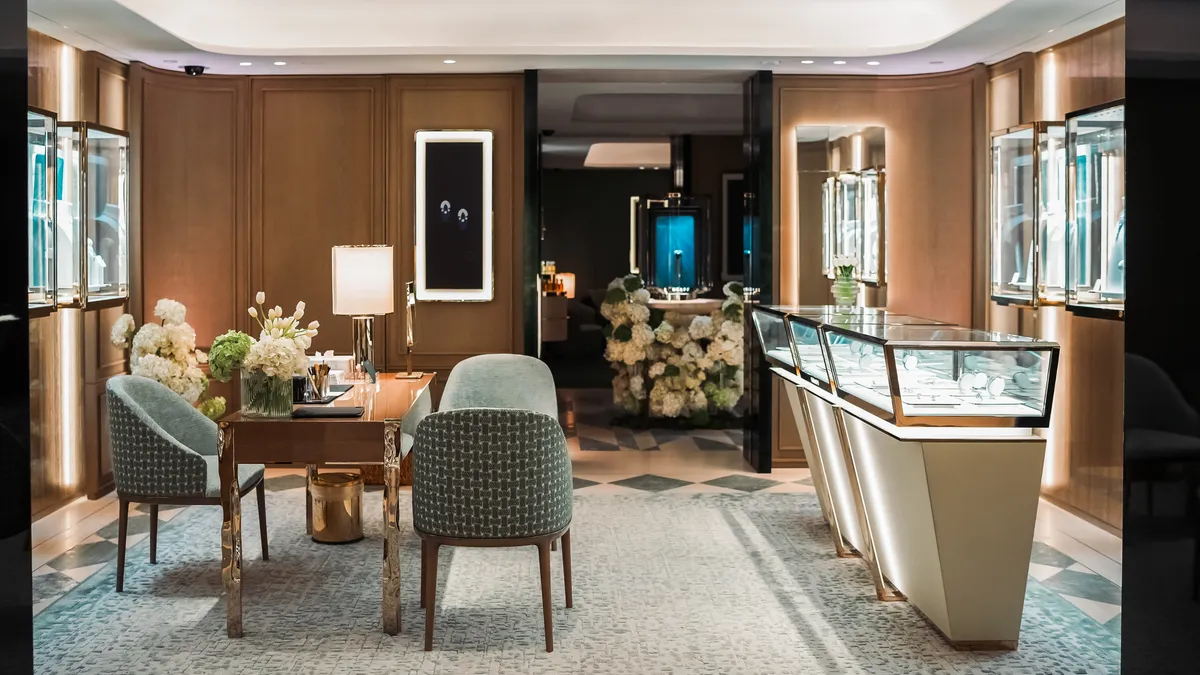
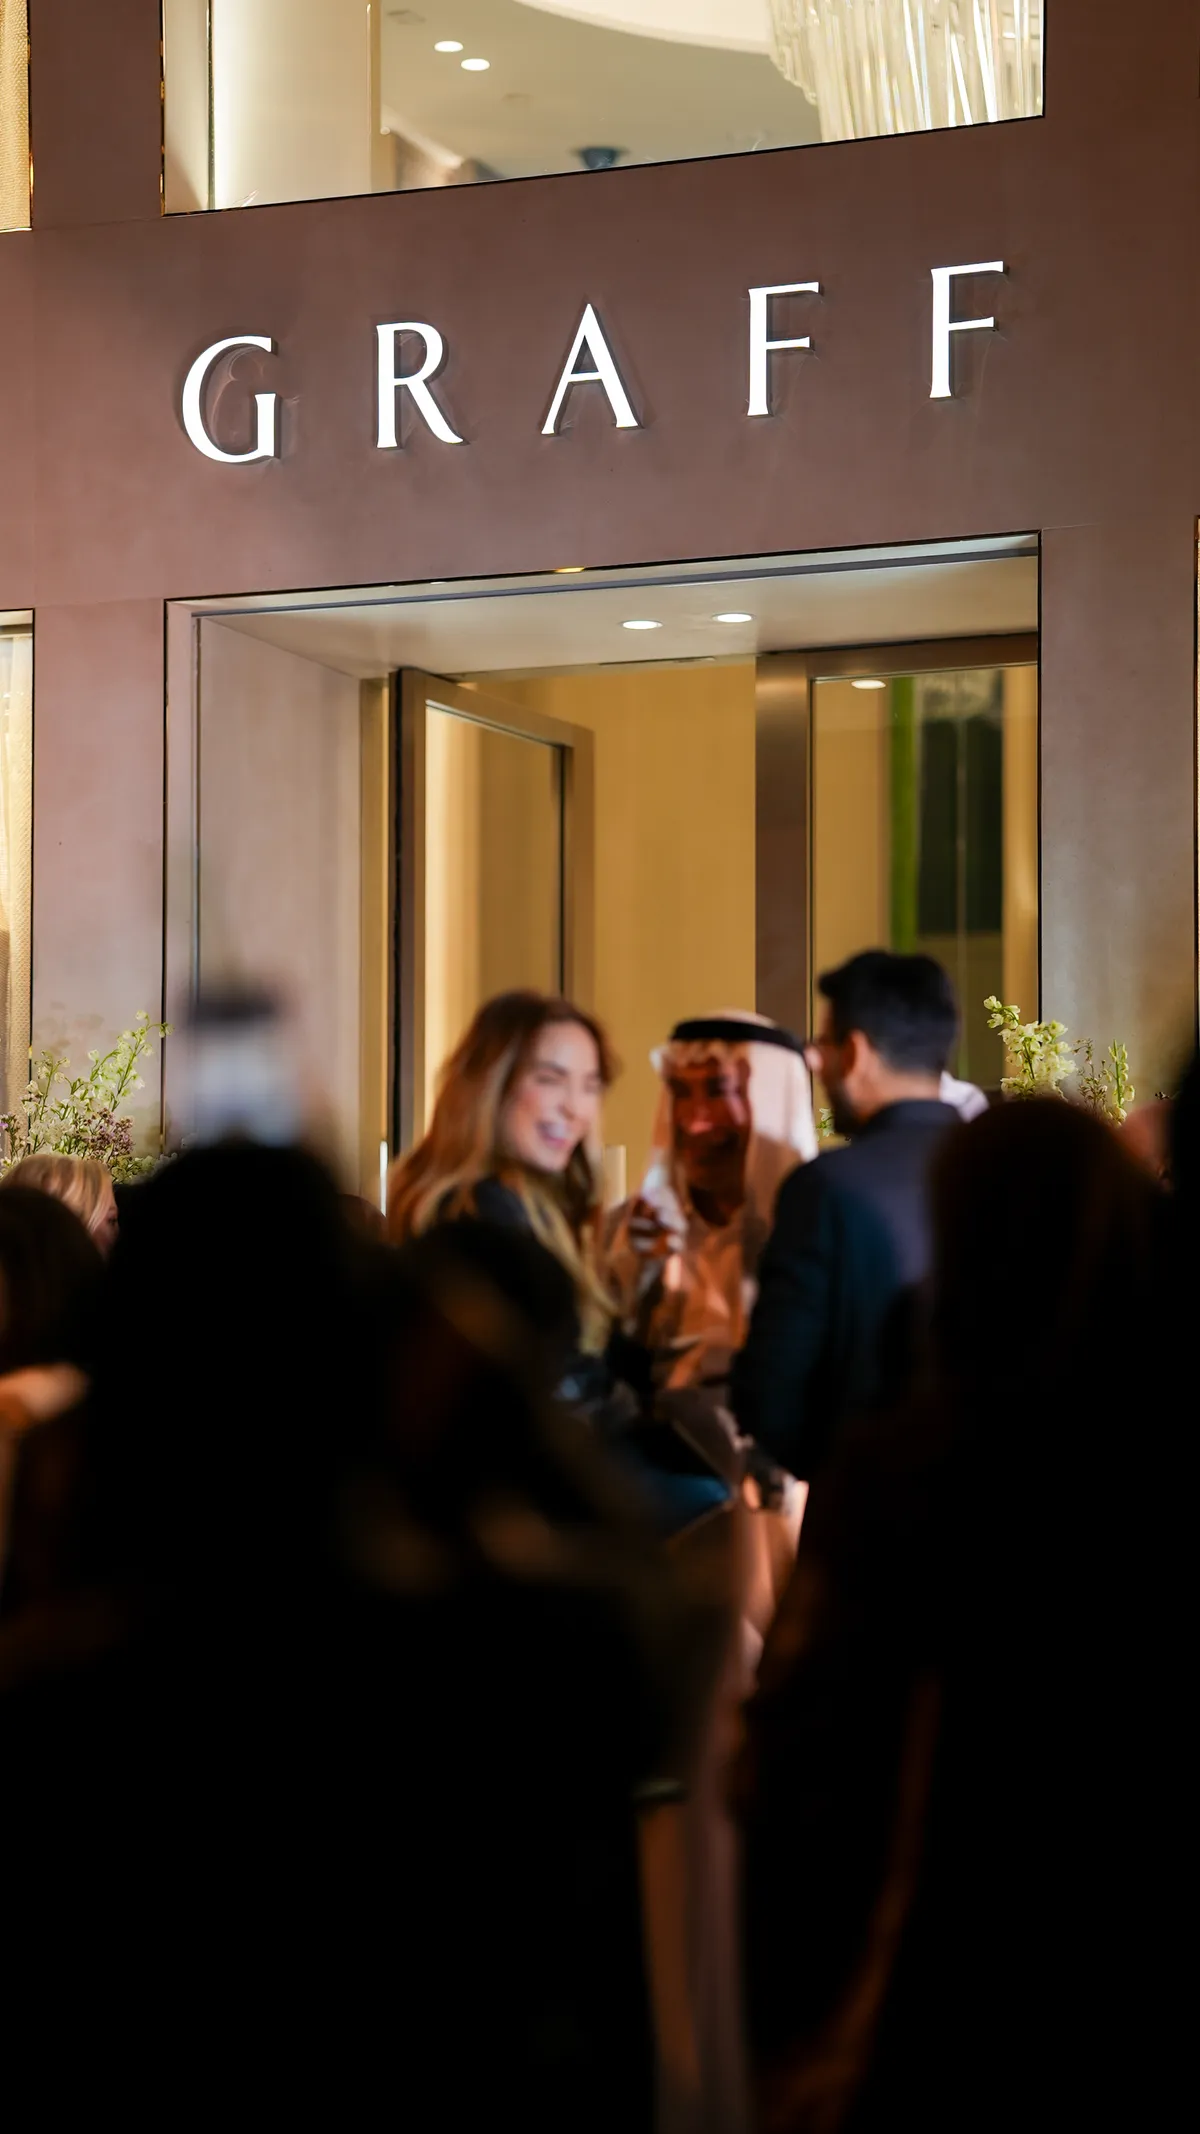
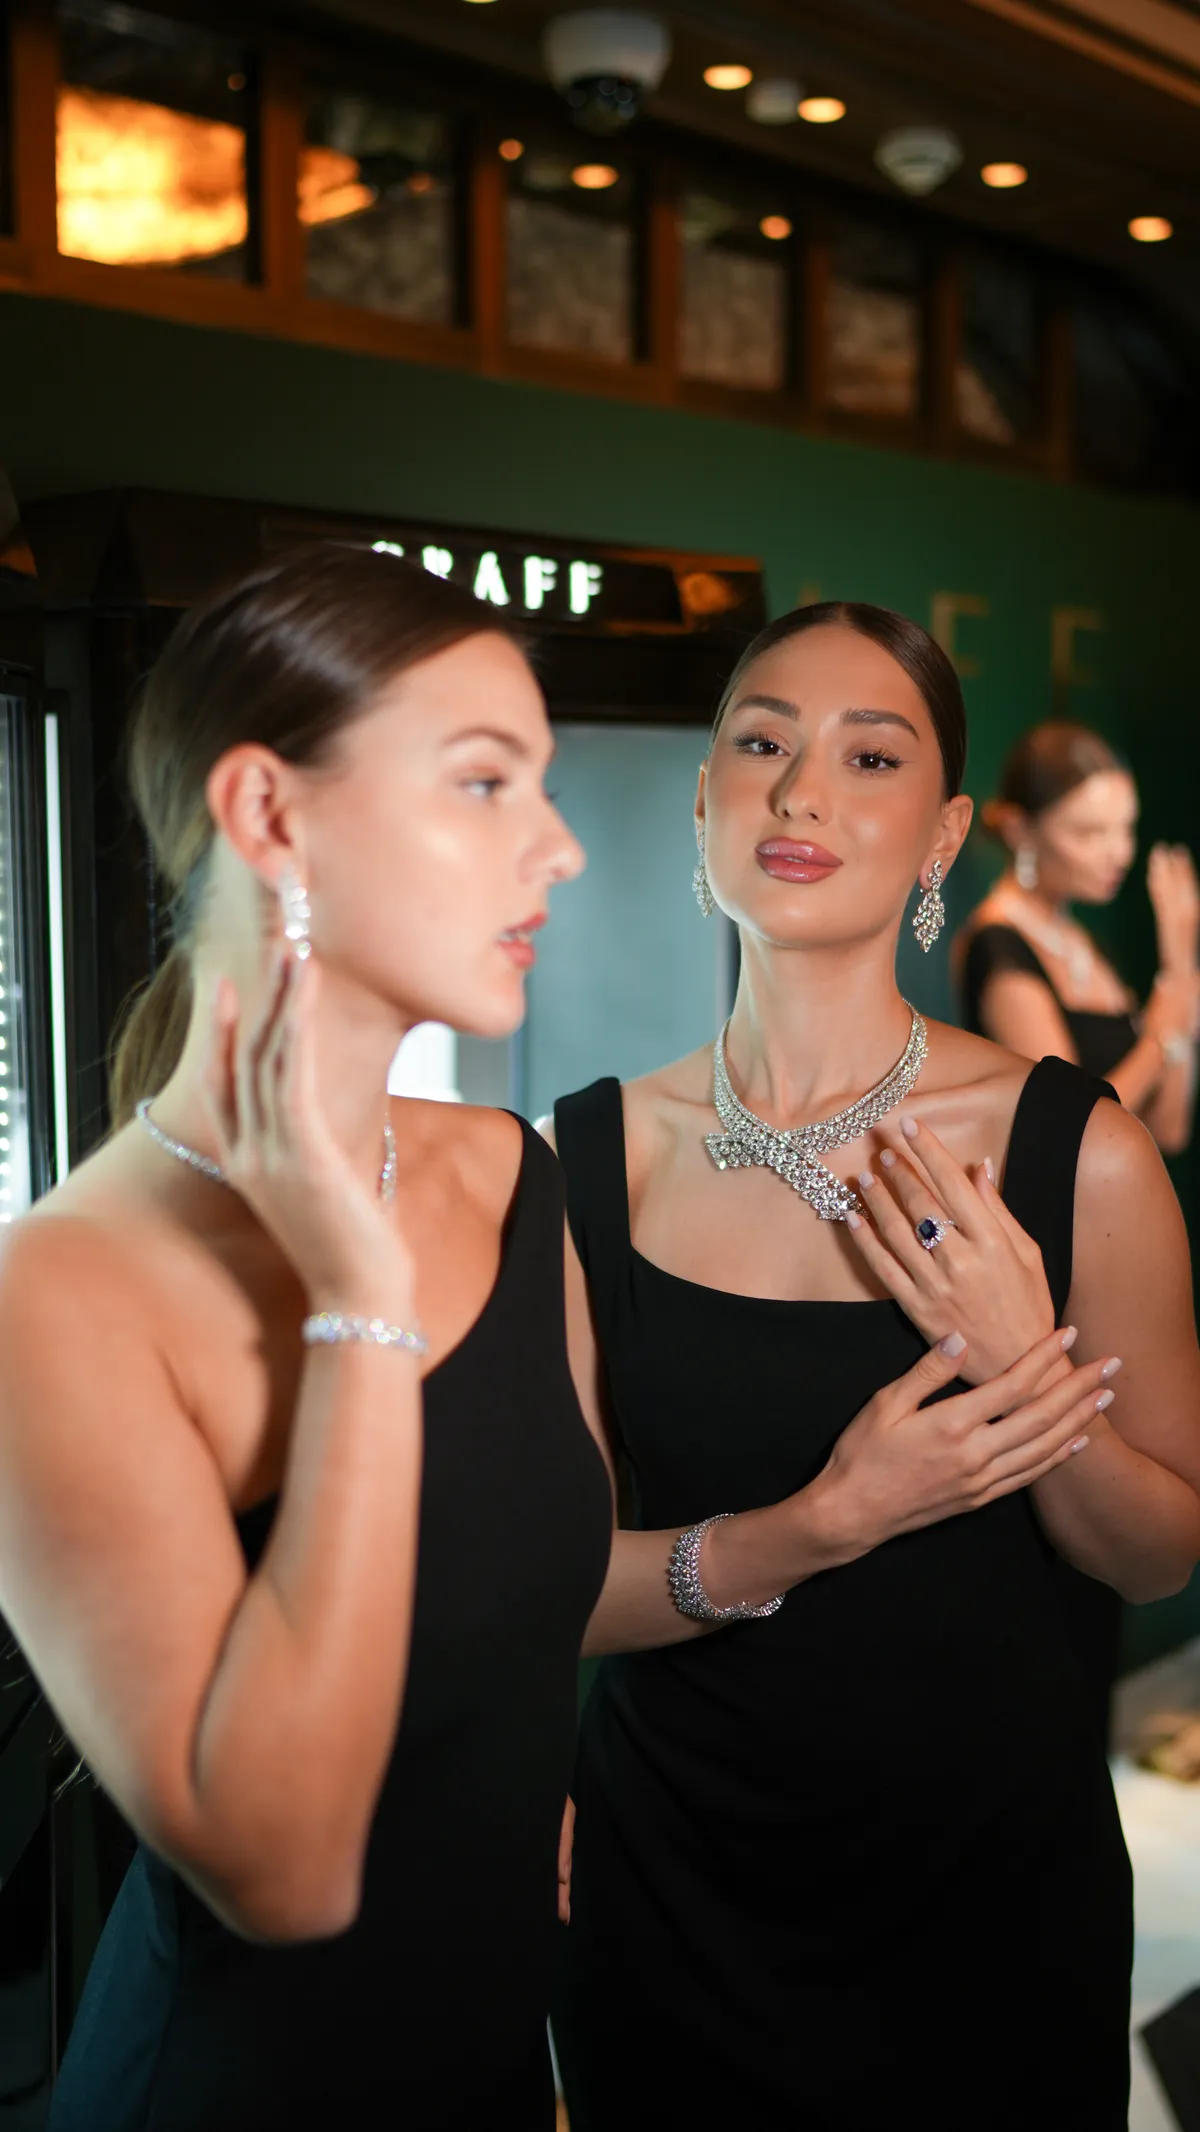
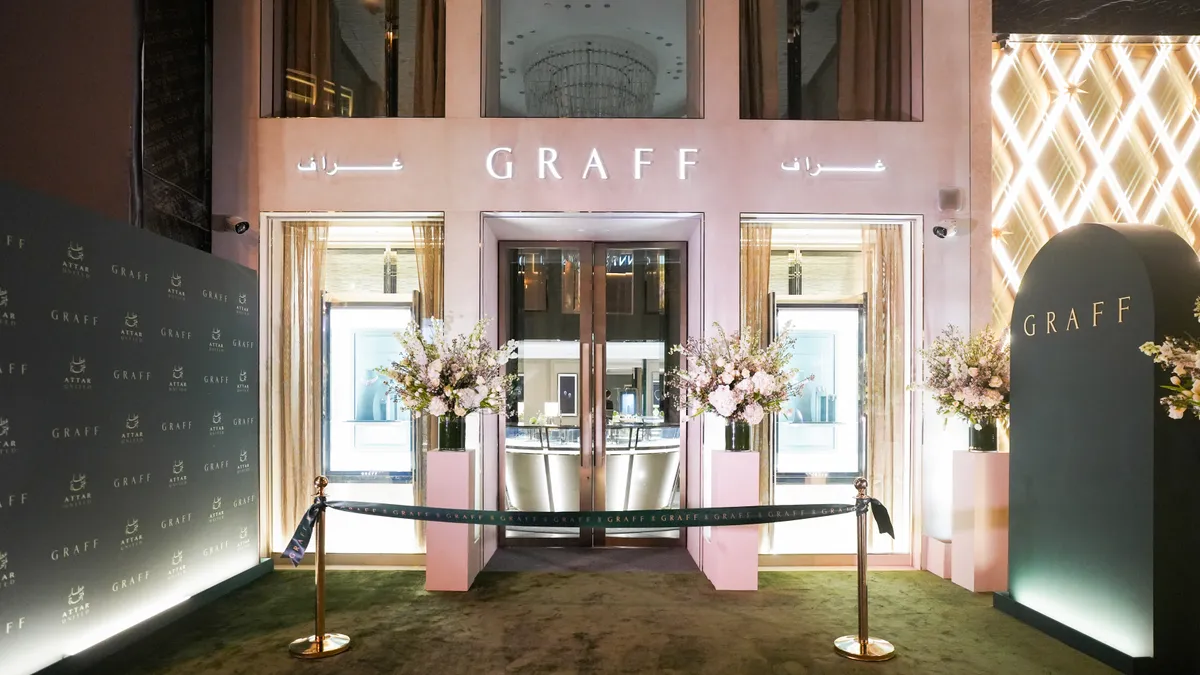
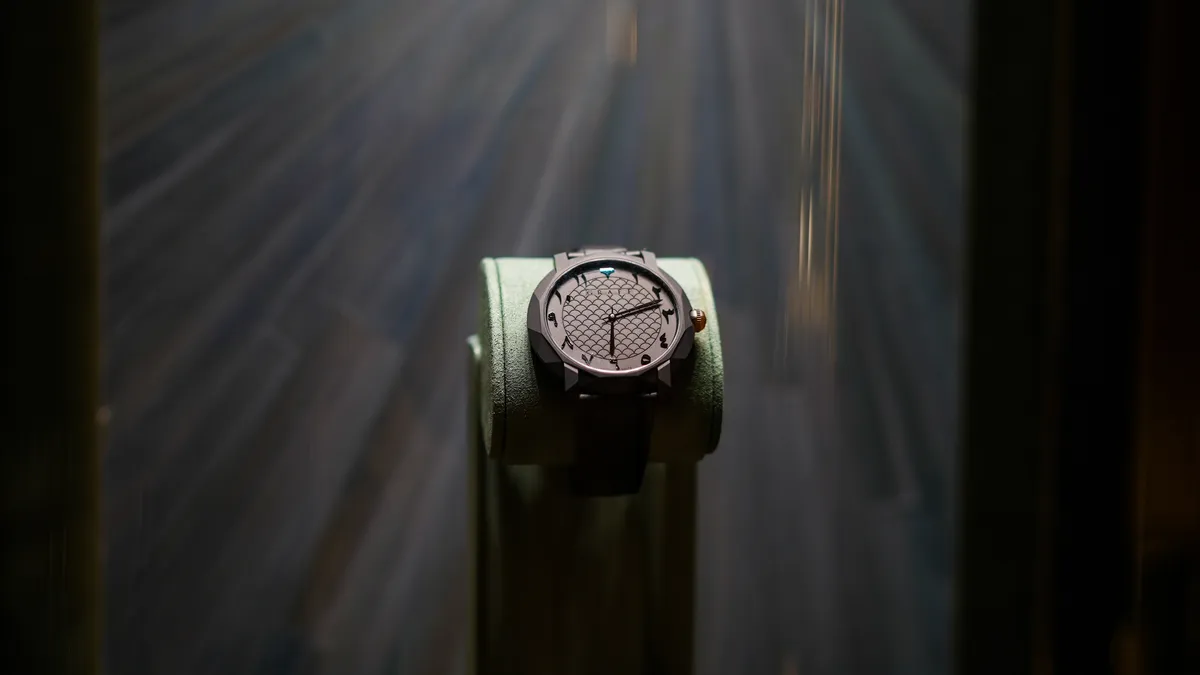
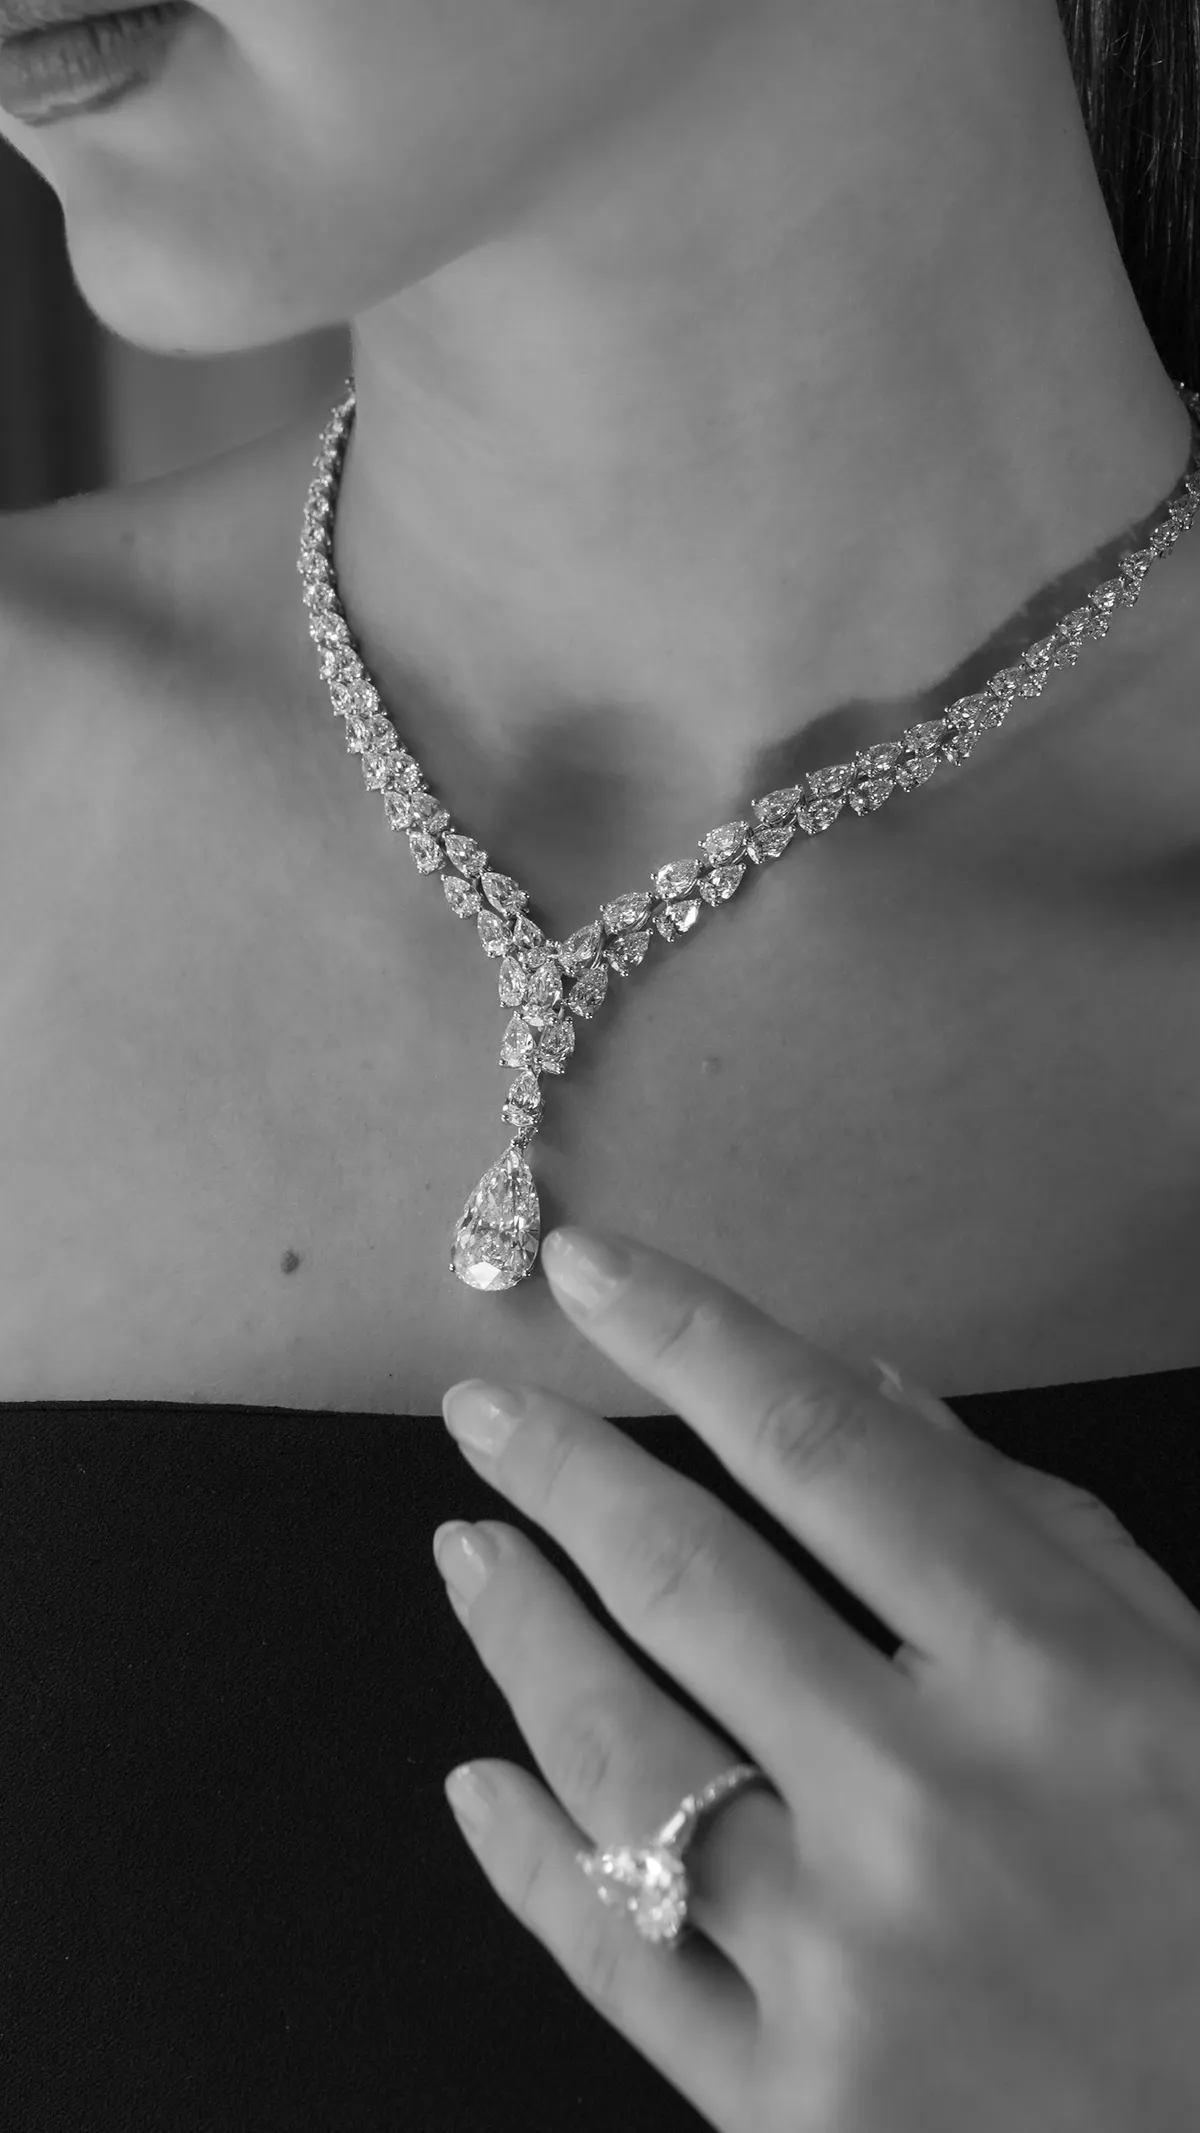
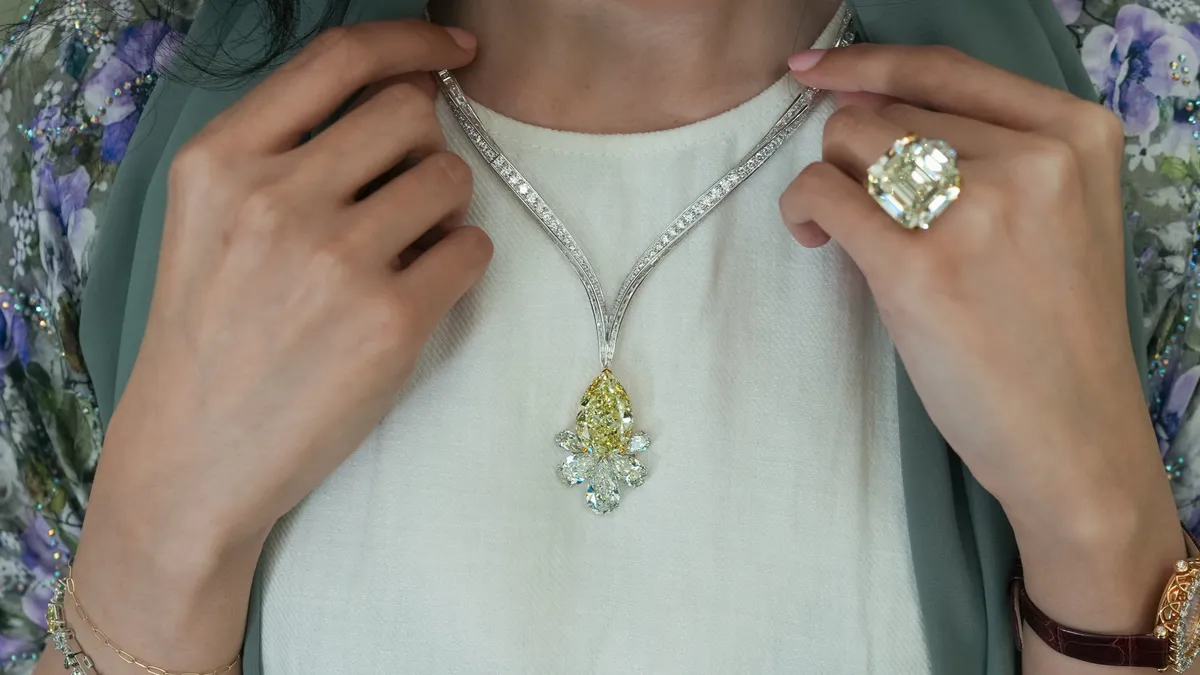
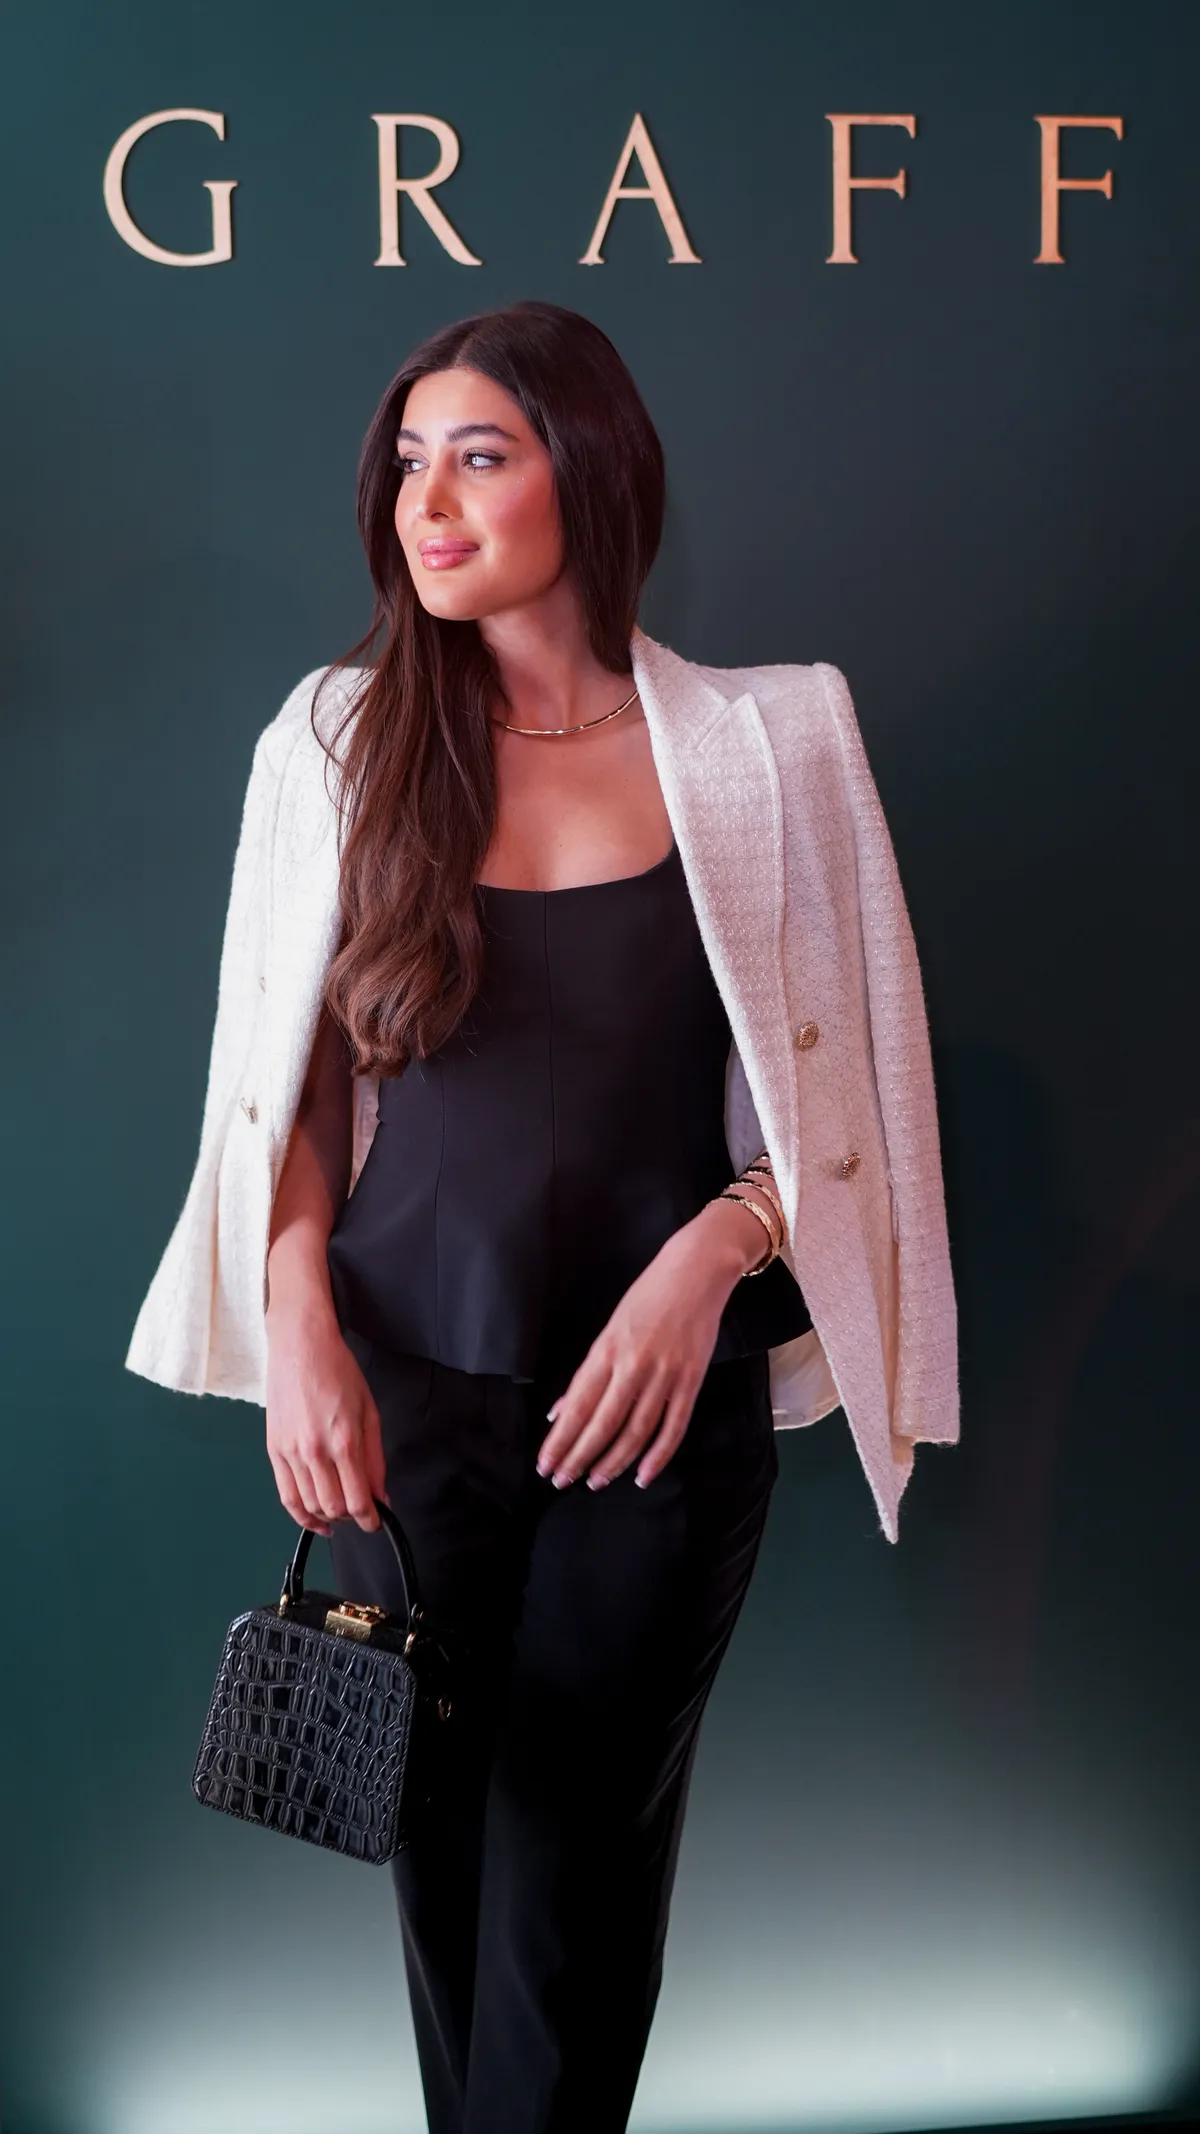
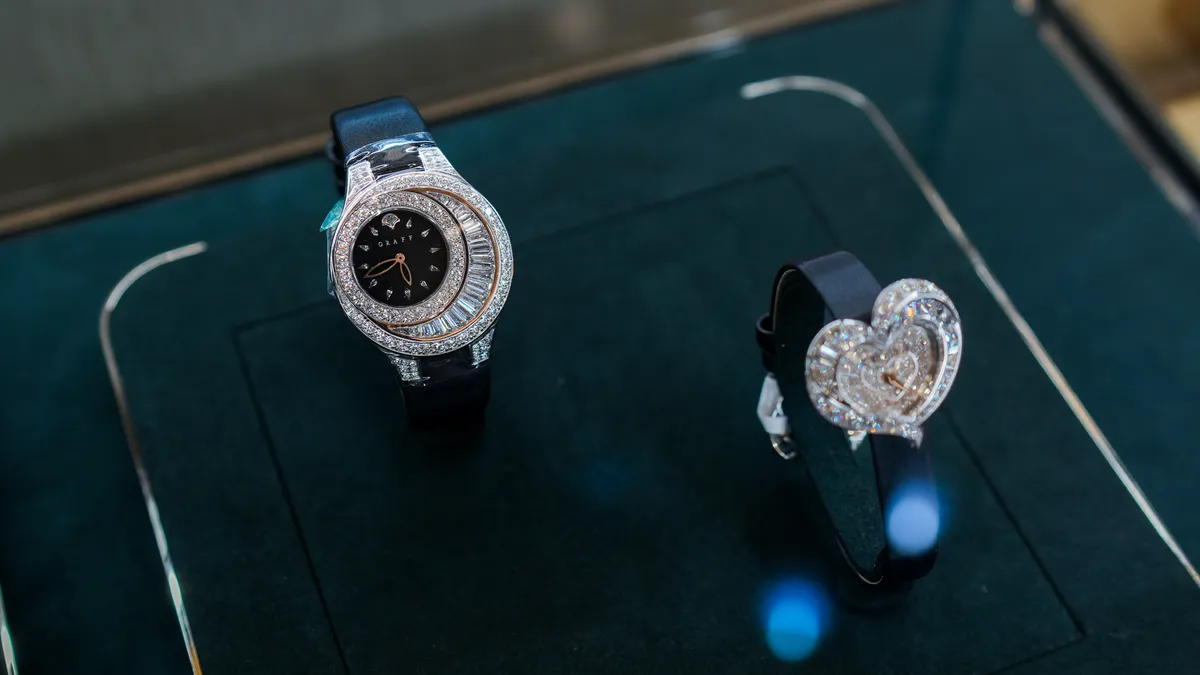
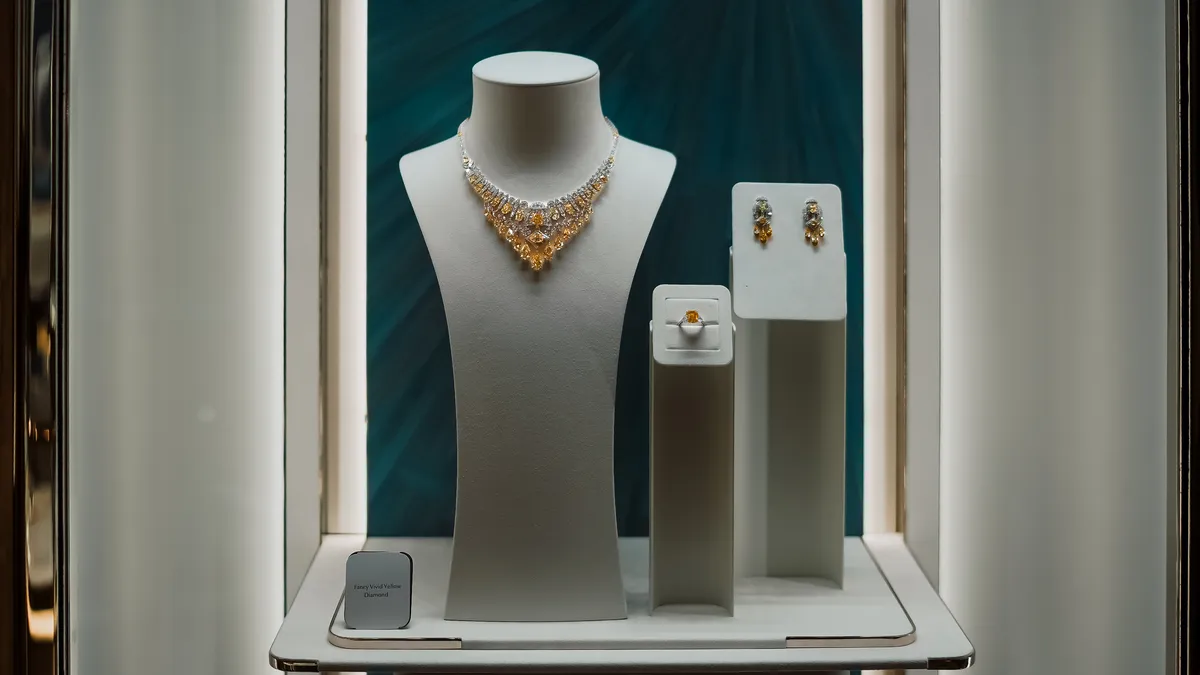
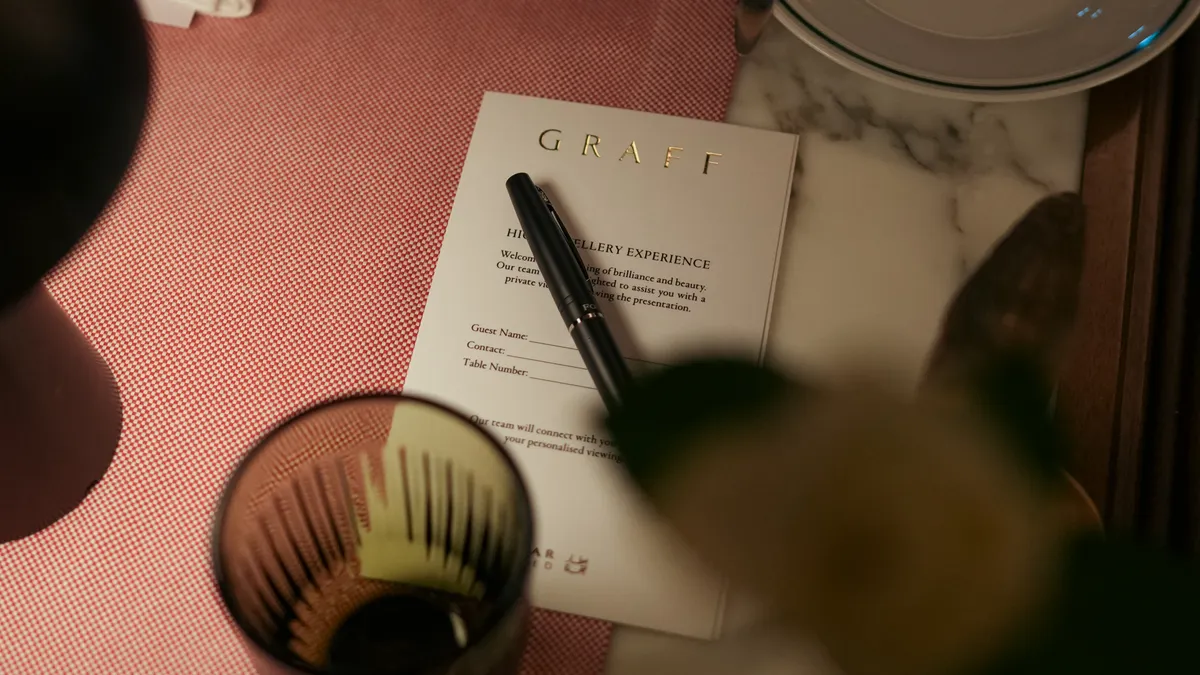
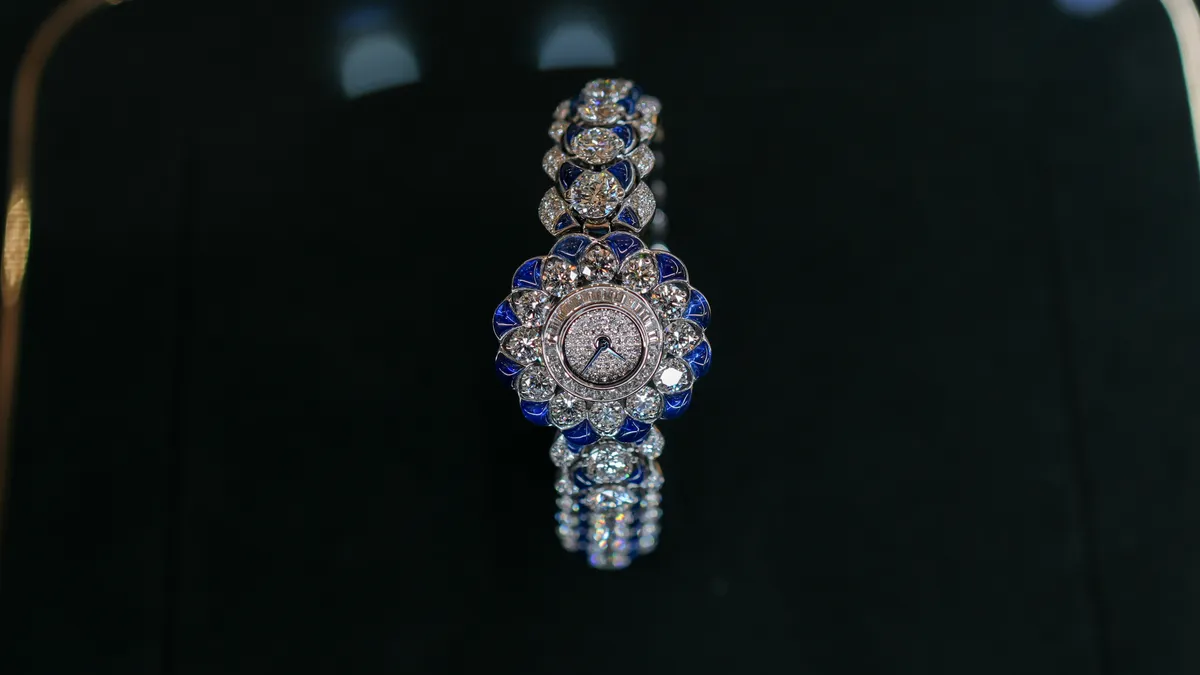
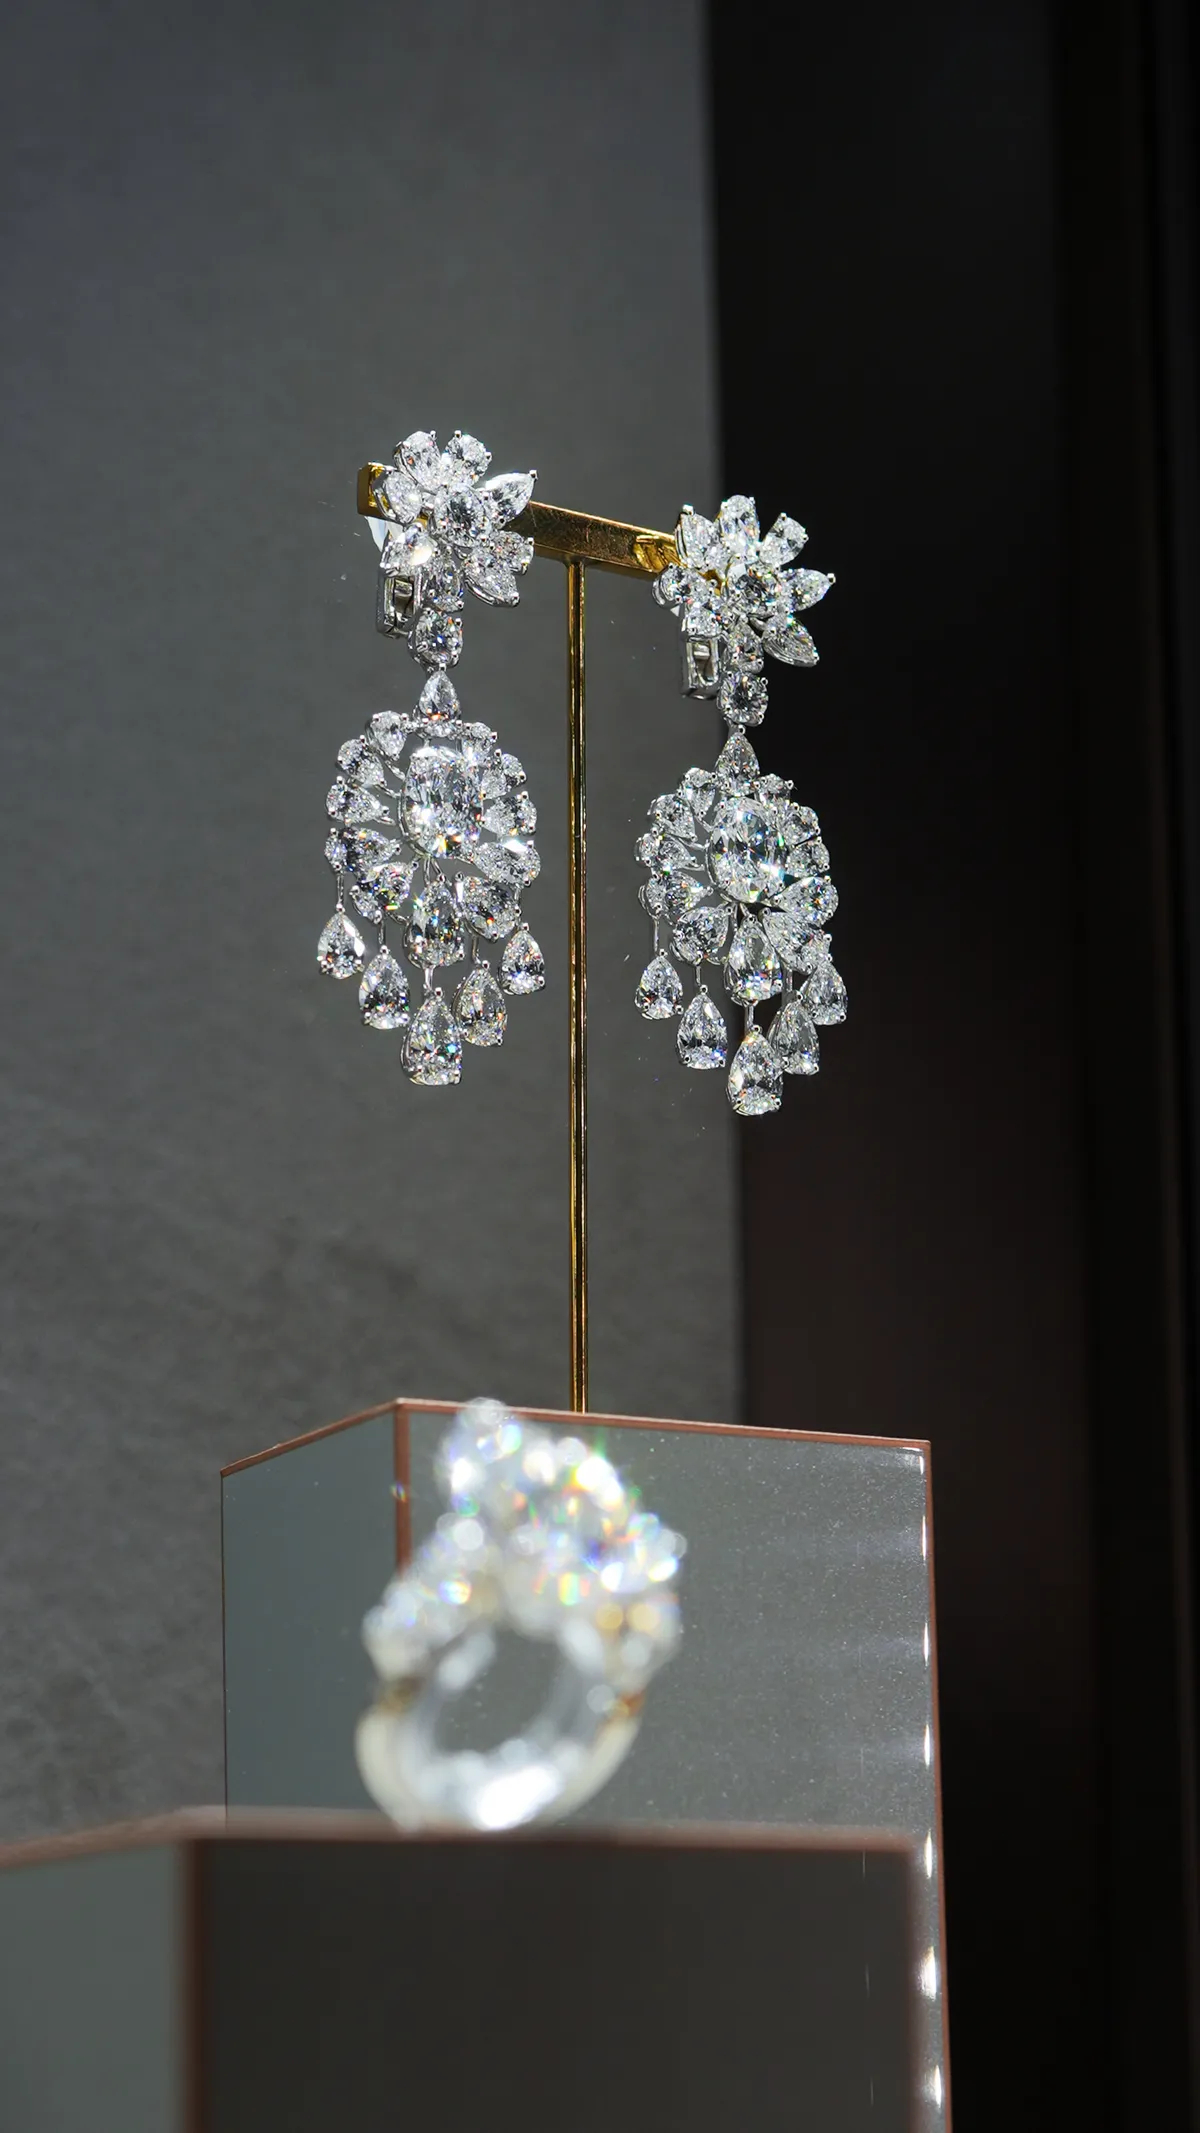
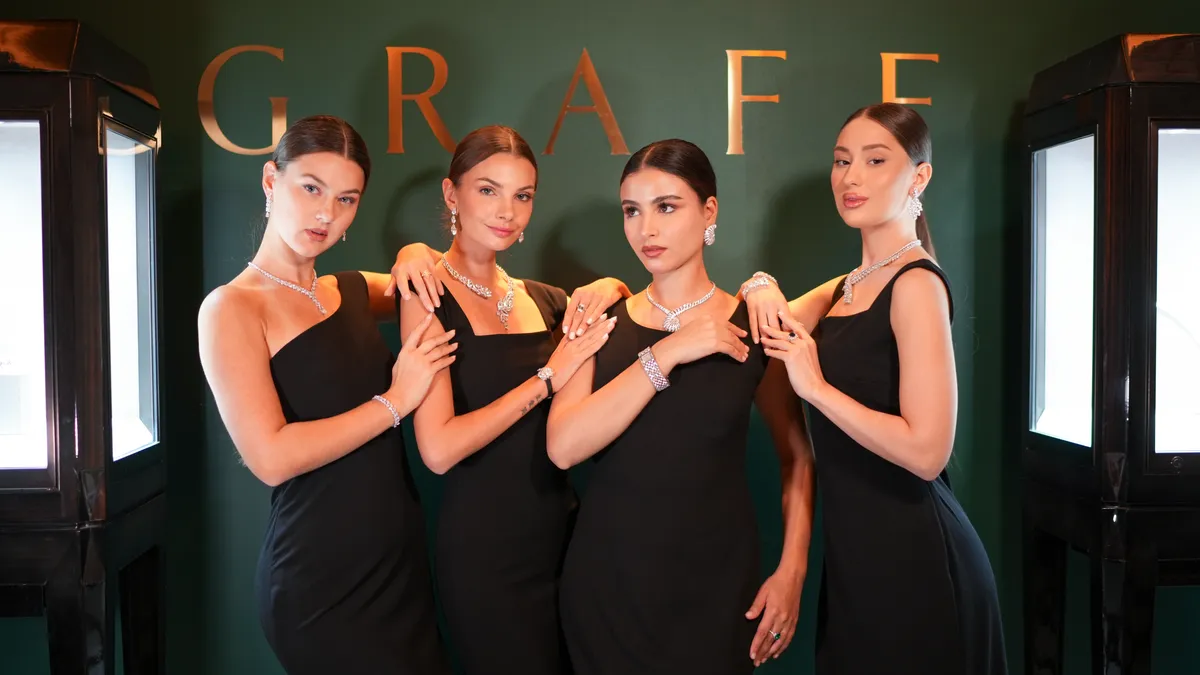
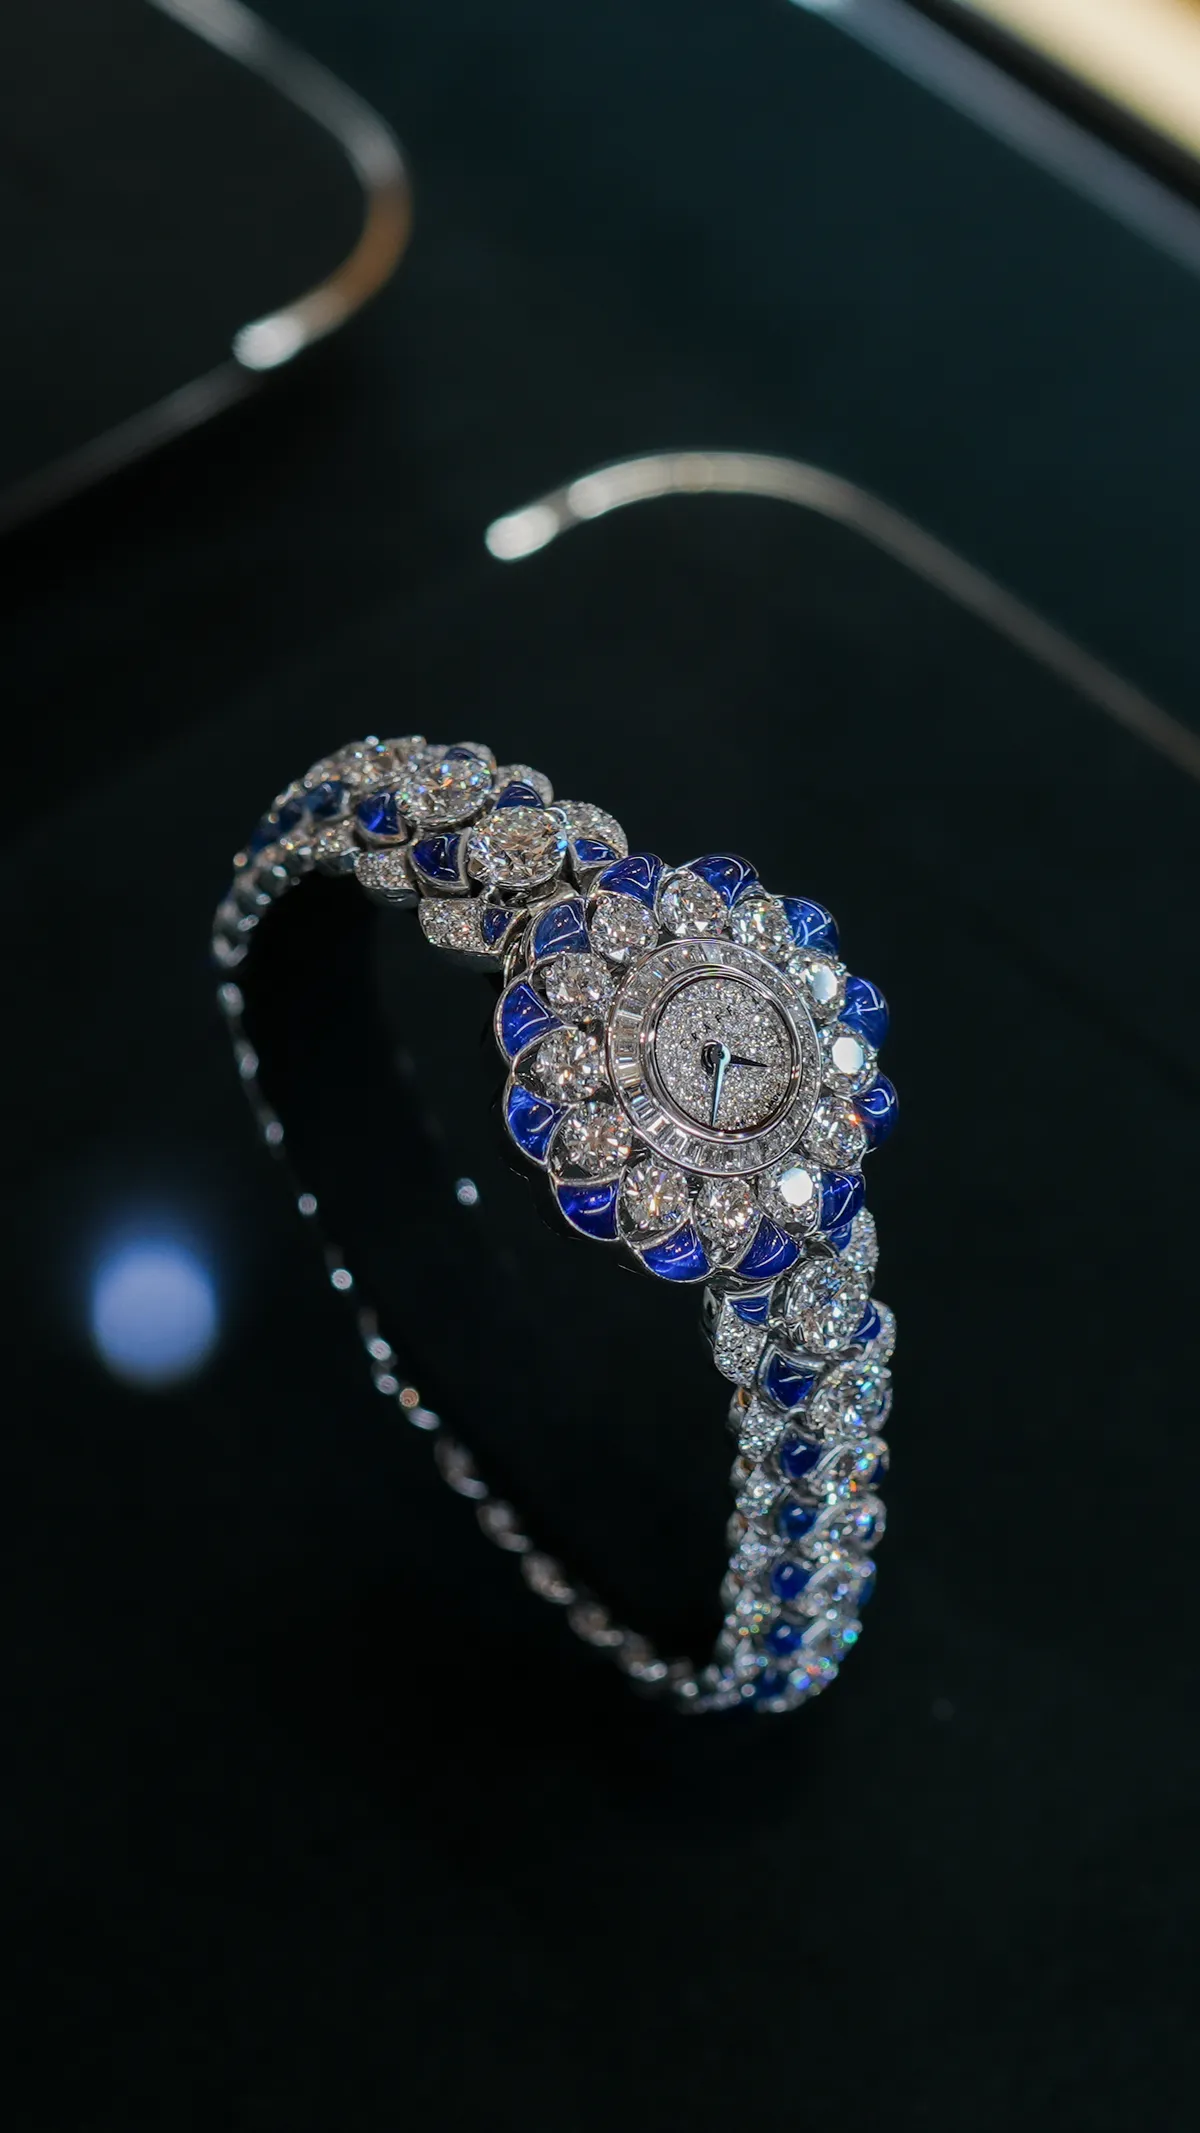
  • Graff, photographed by DawwasEye Studios
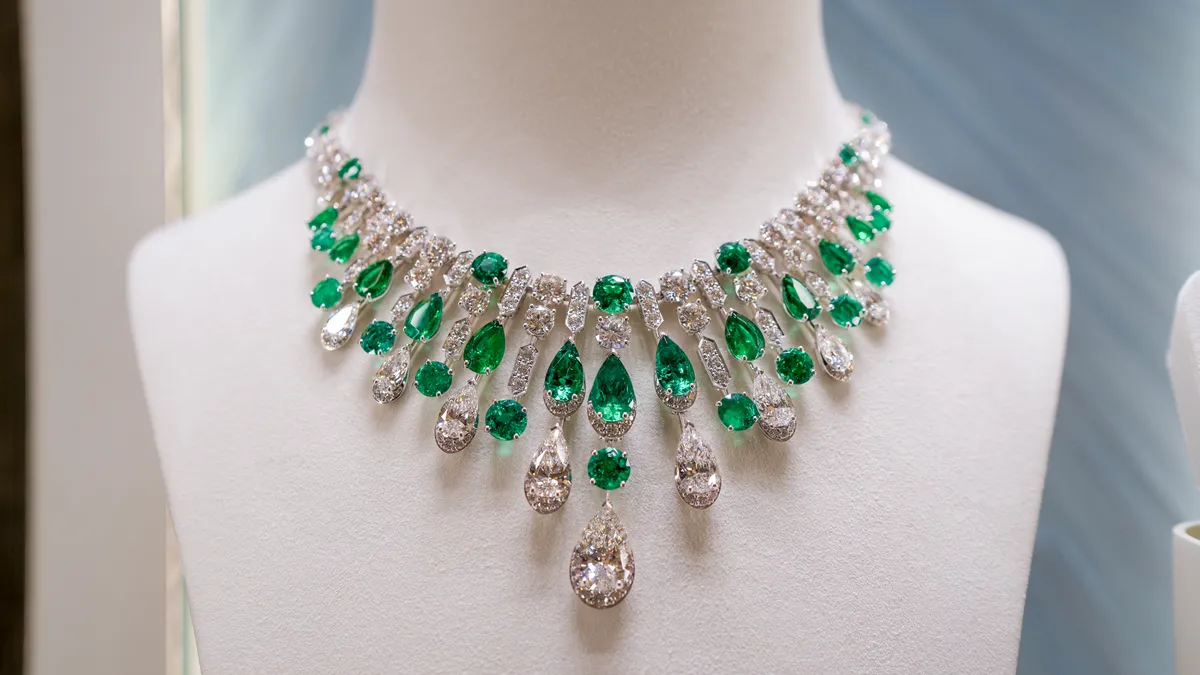
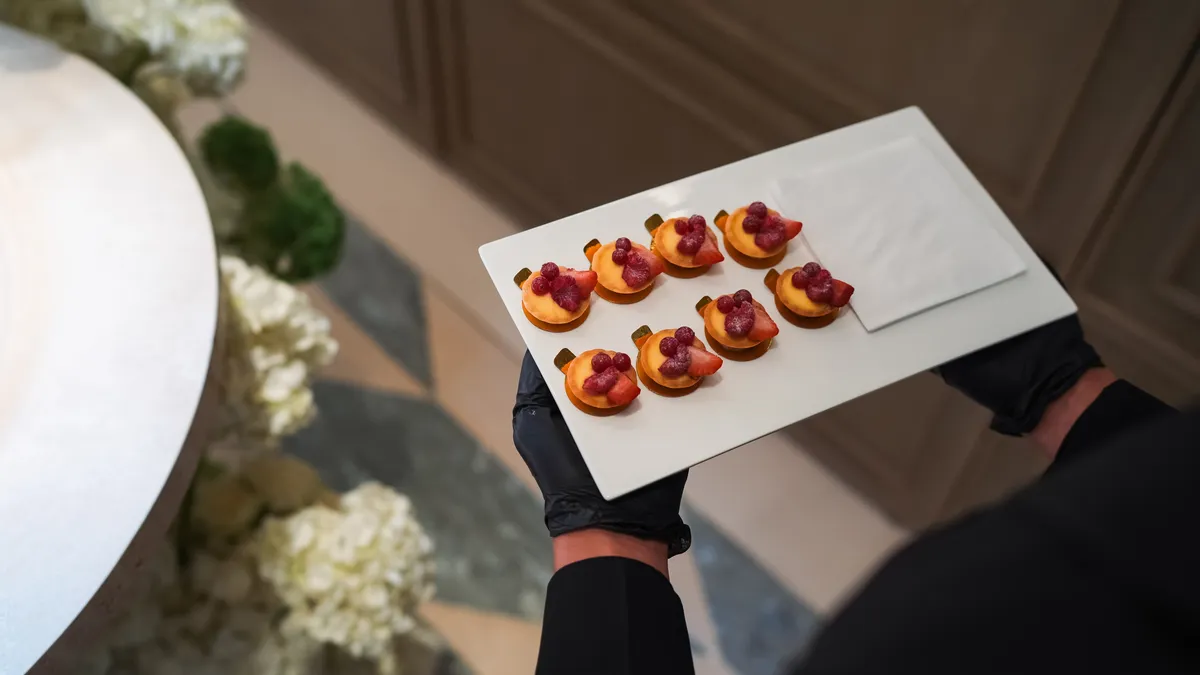
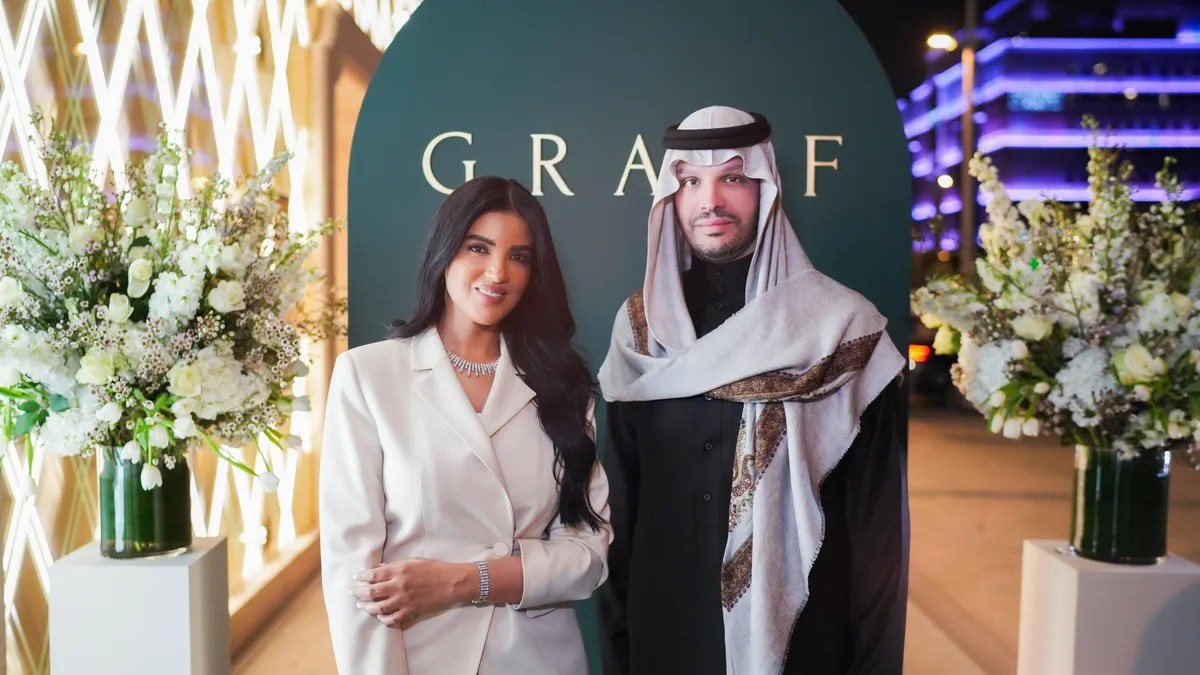
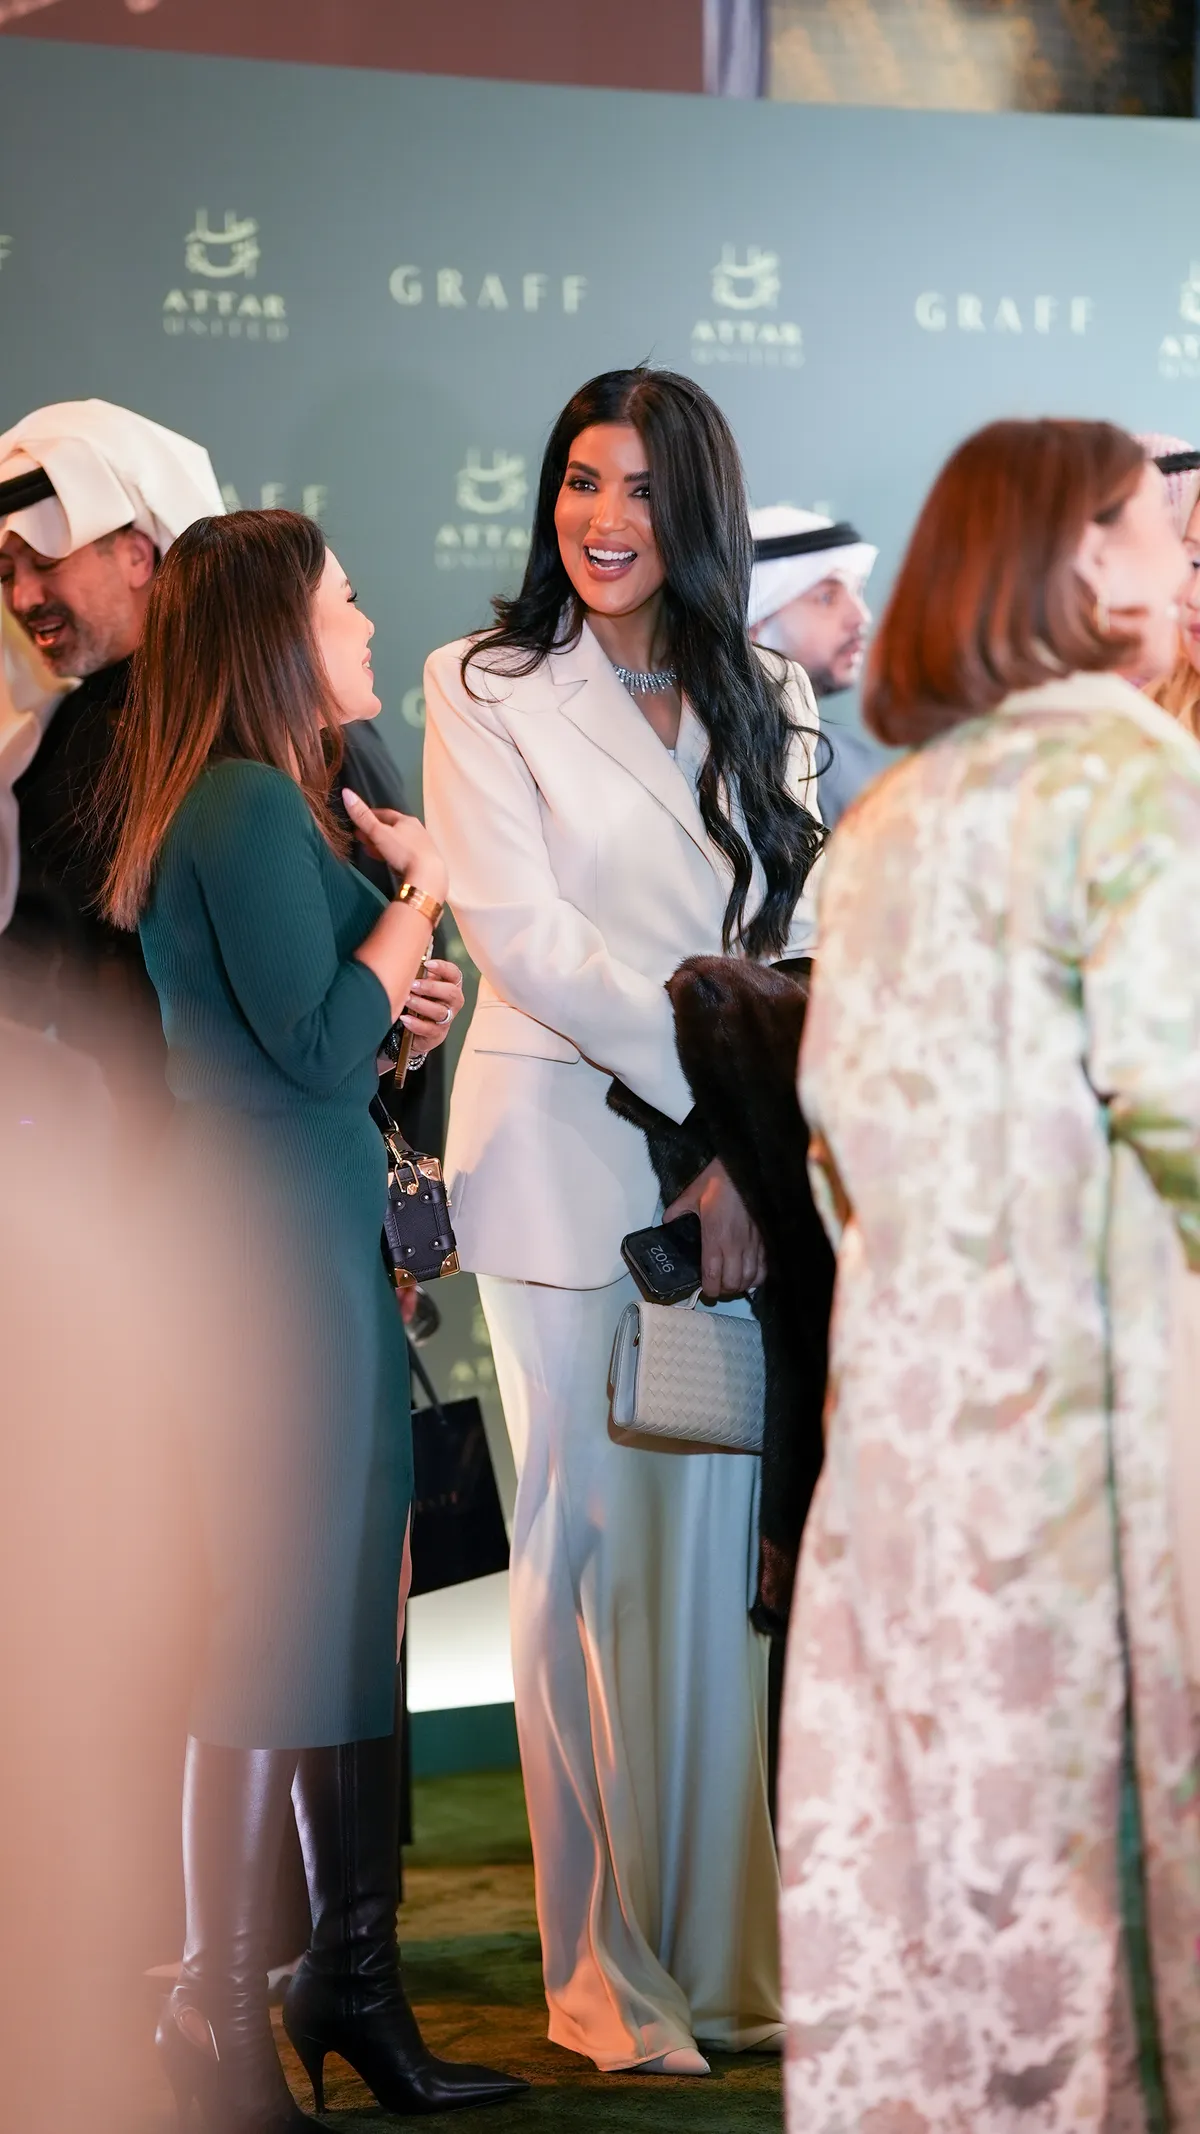
  • Graff, photographed by DawwasEye Studios
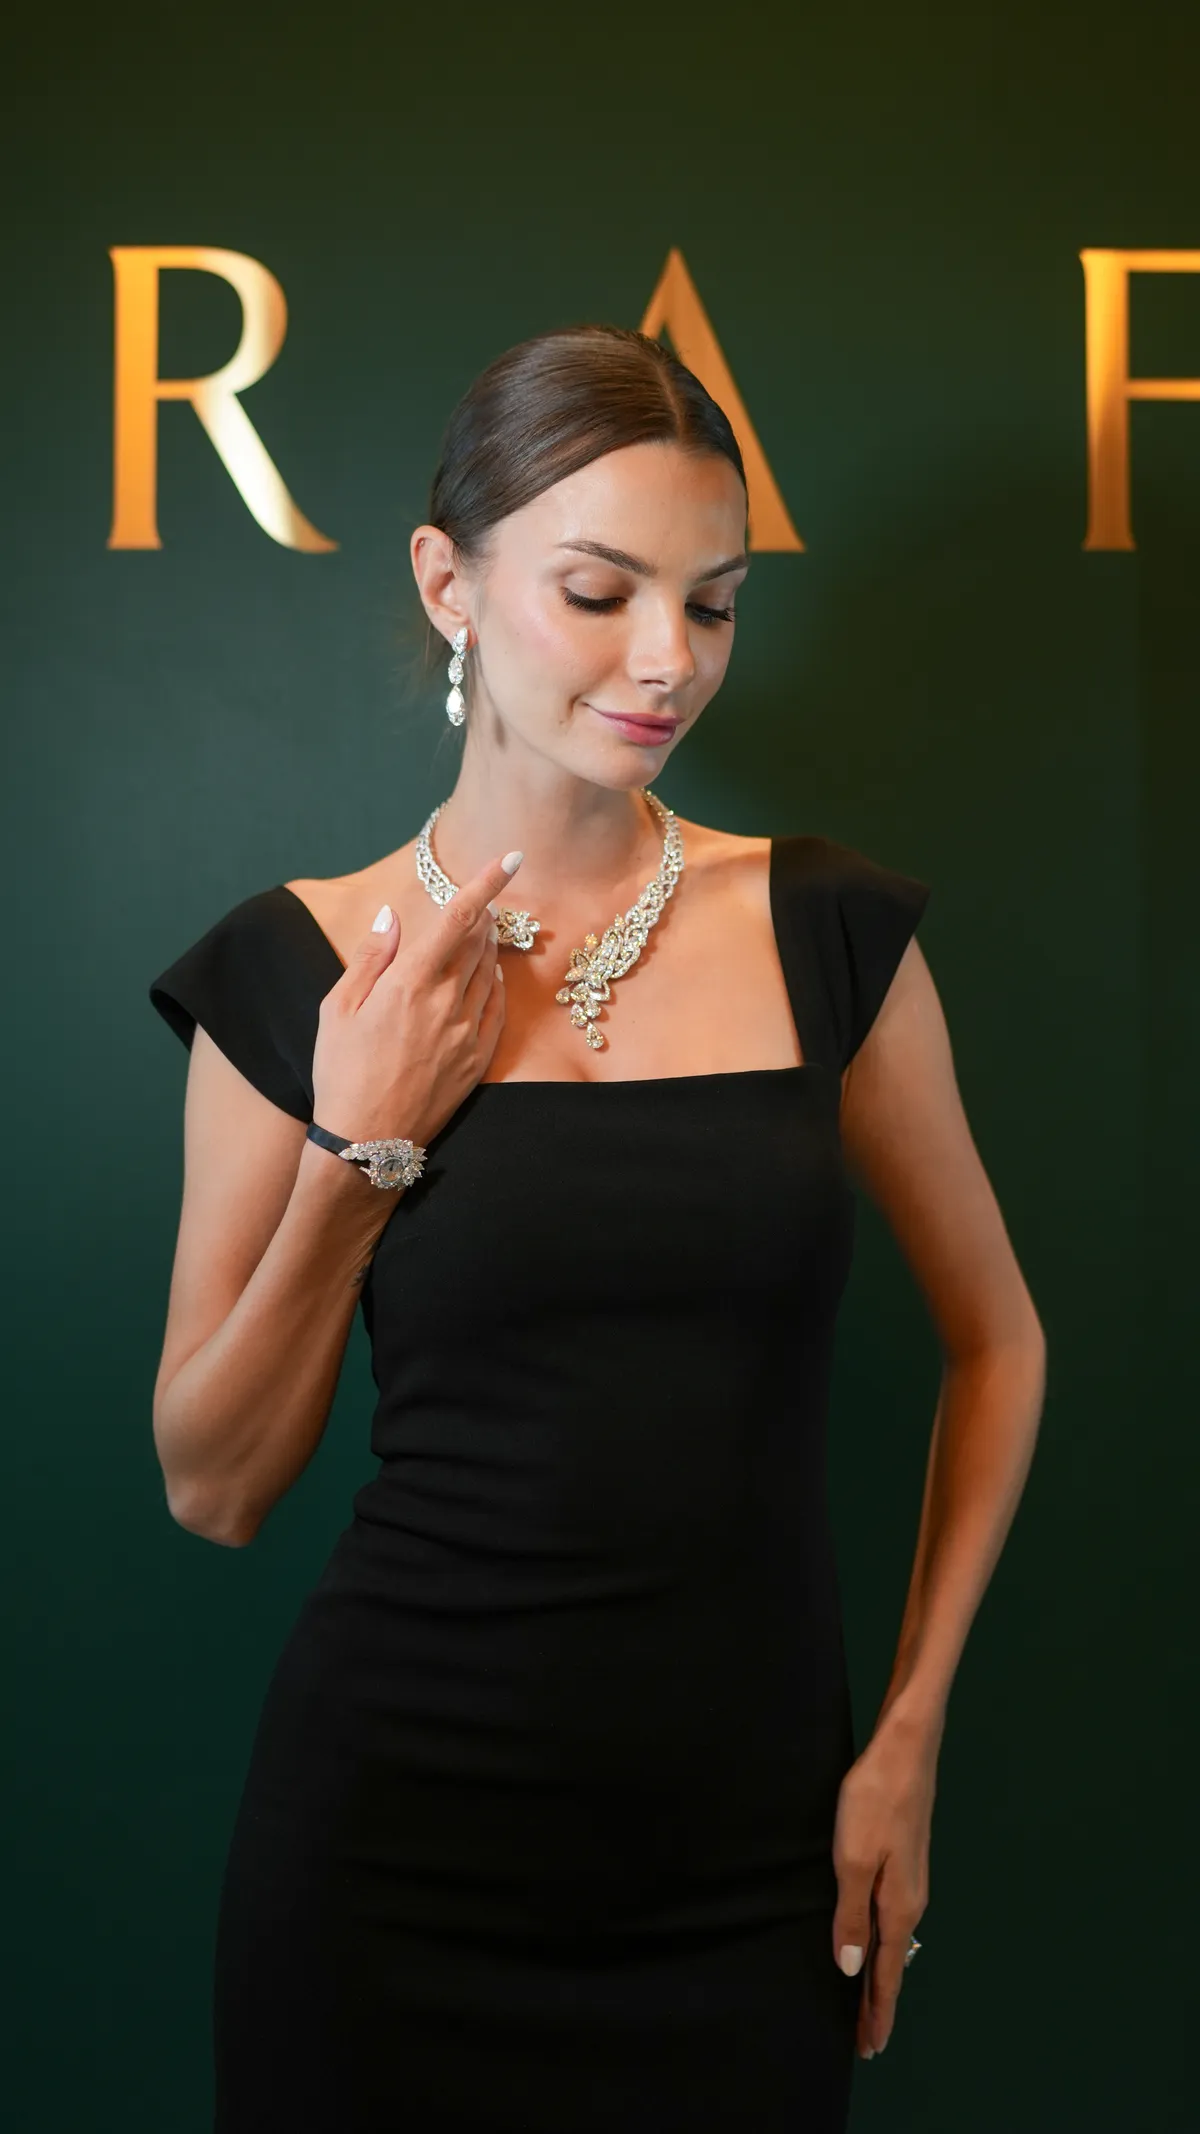
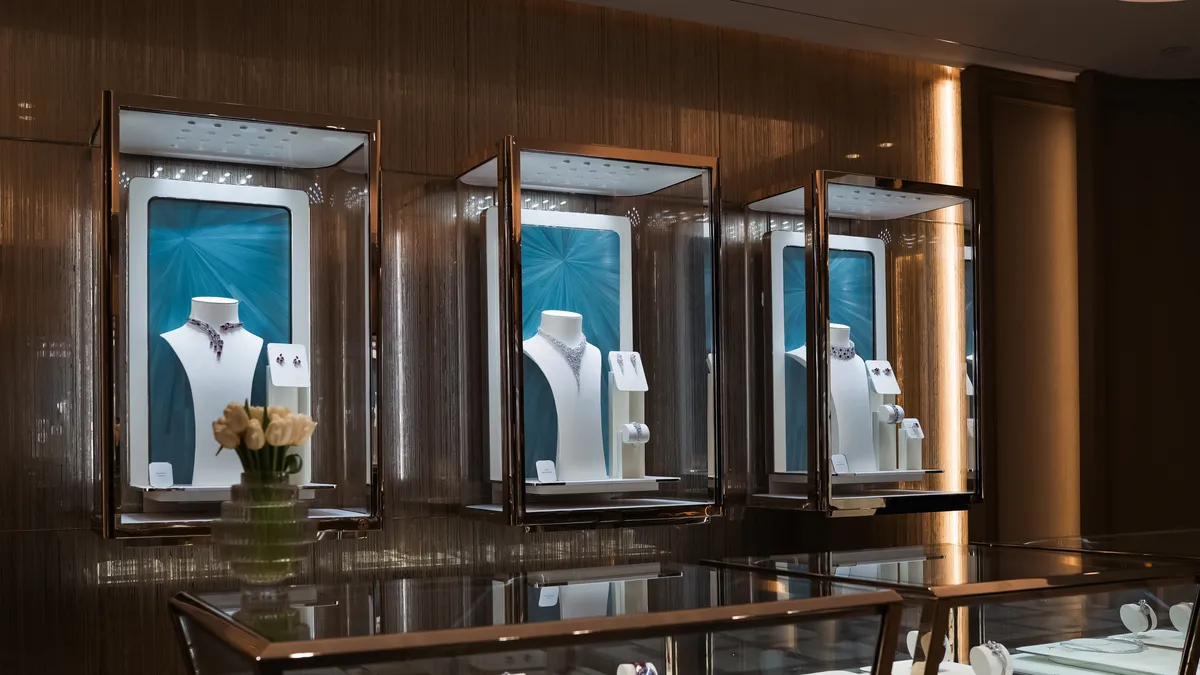
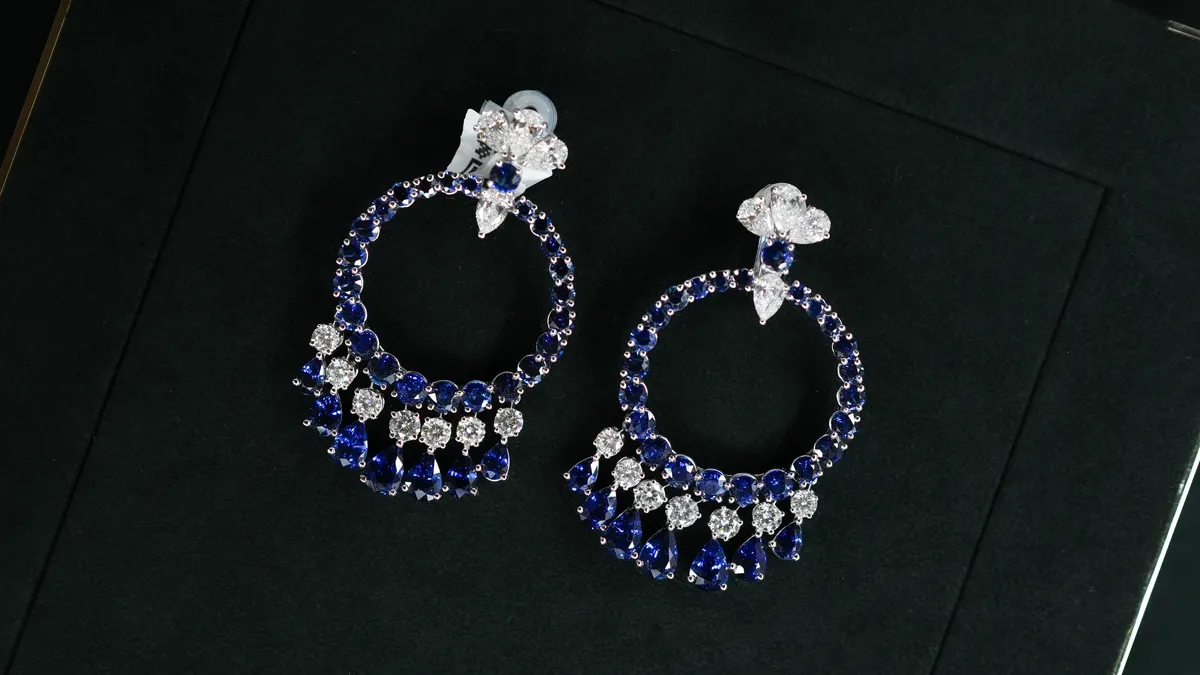
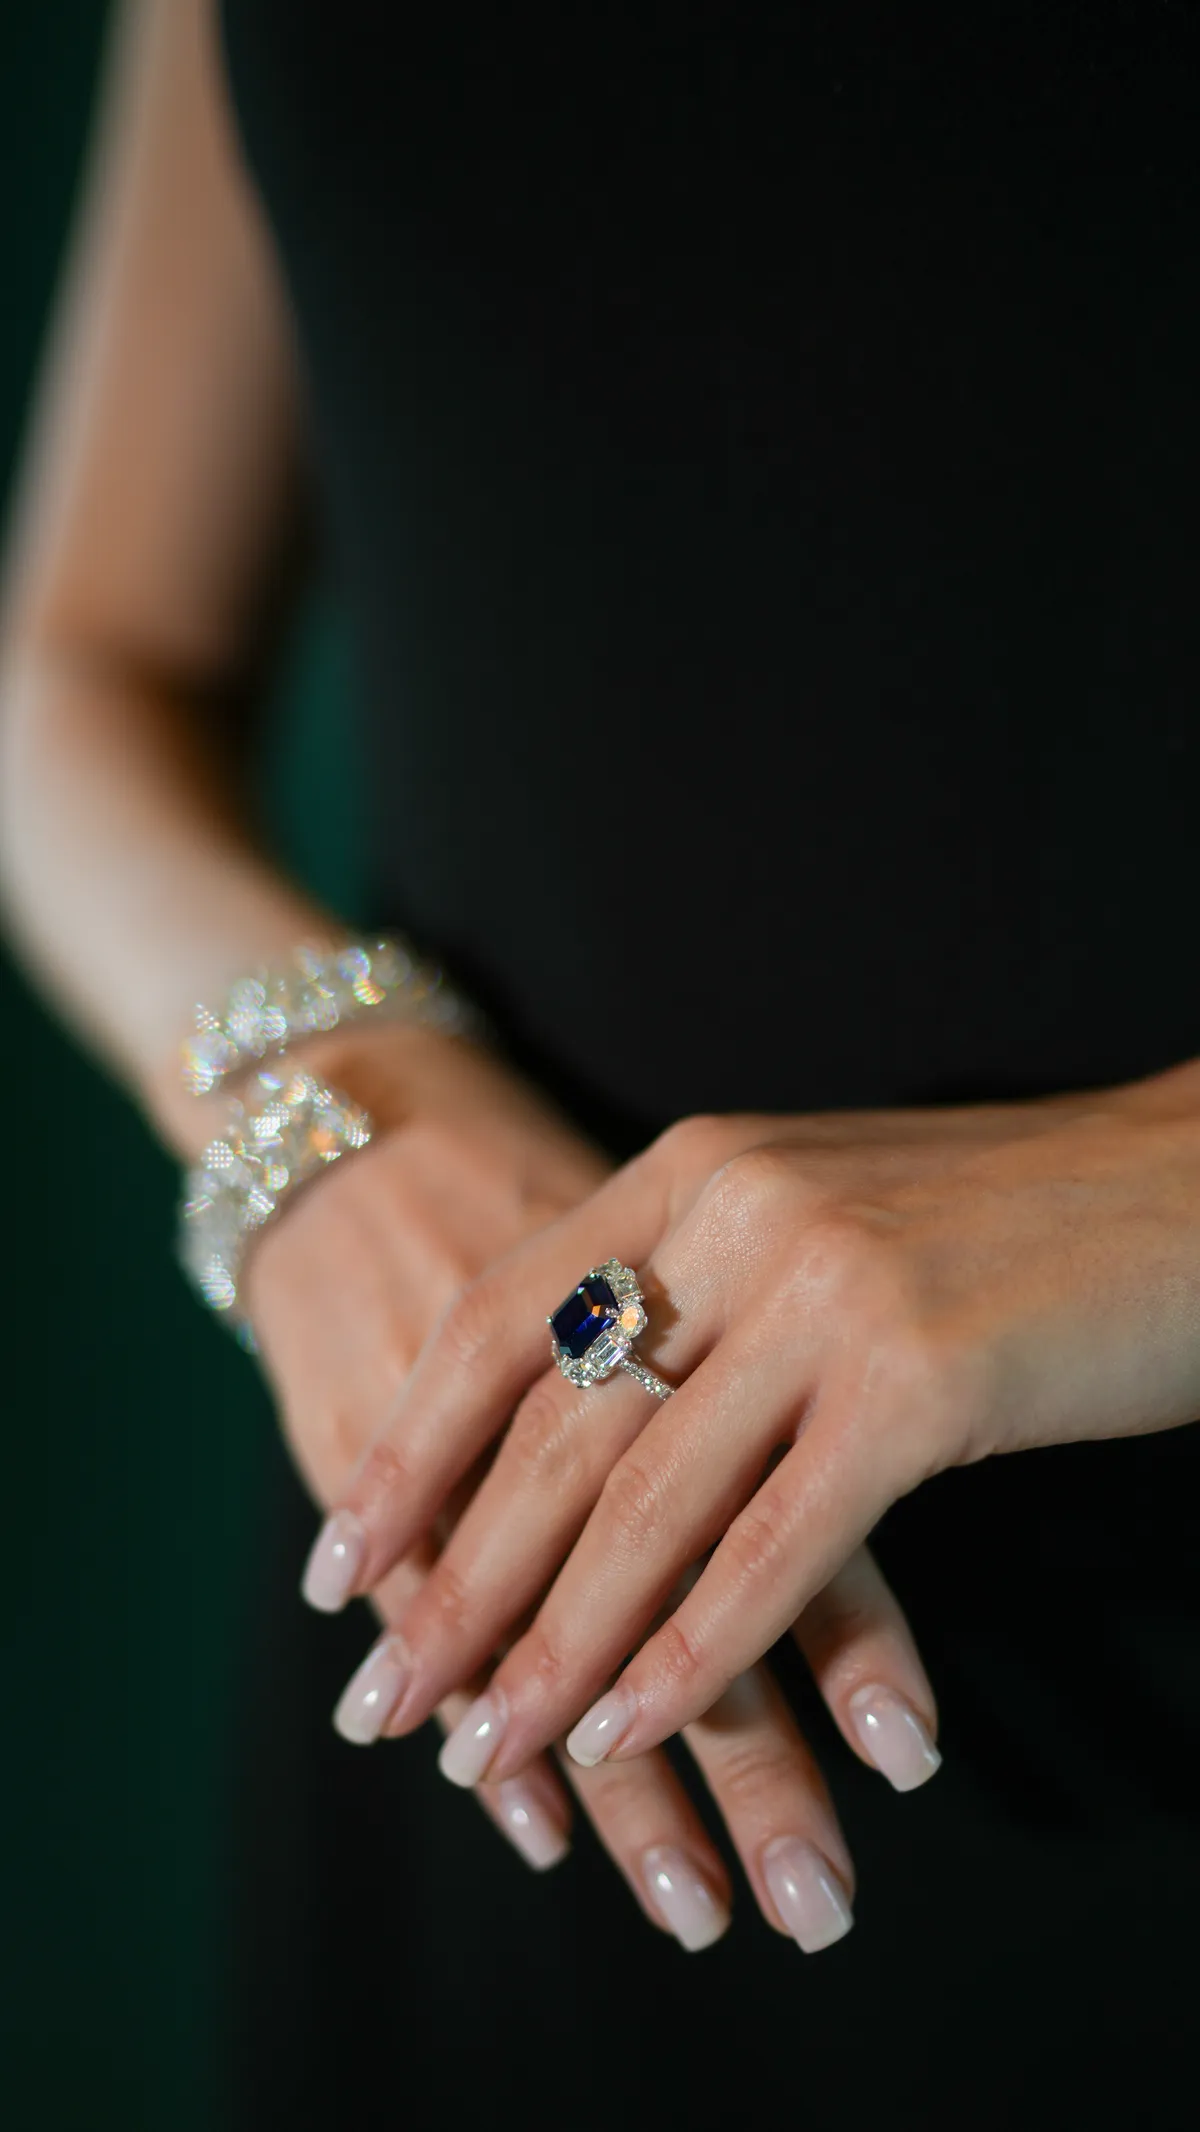
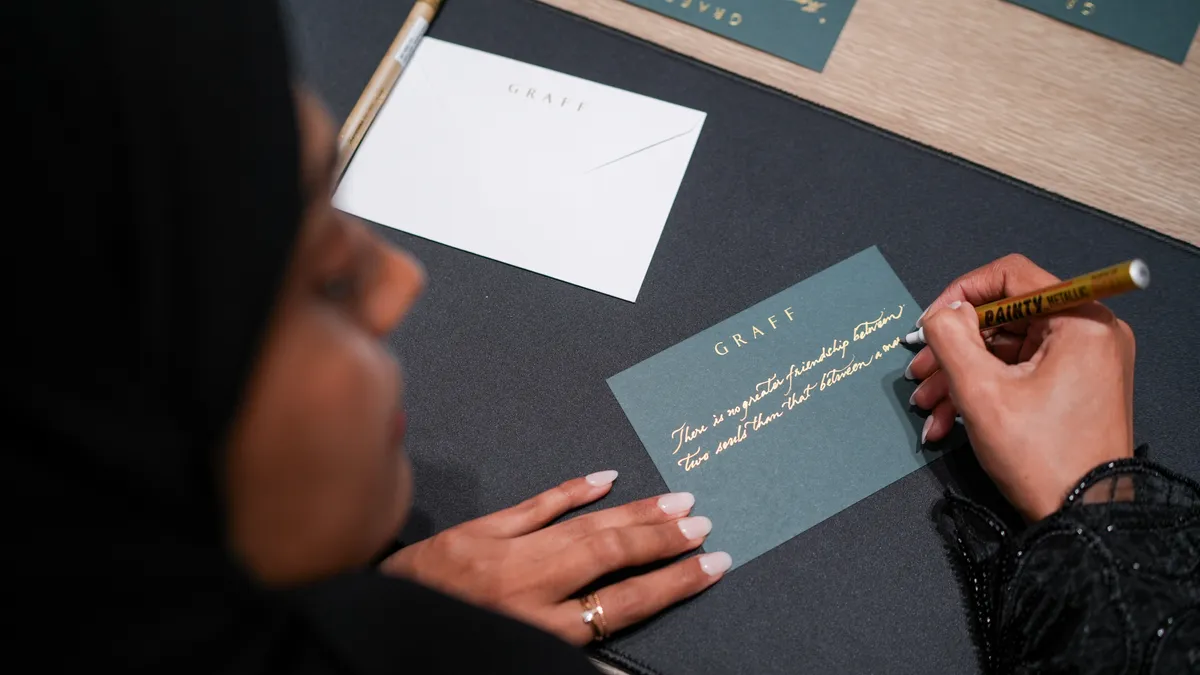
  • Graff, photographed by DawwasEye Studios
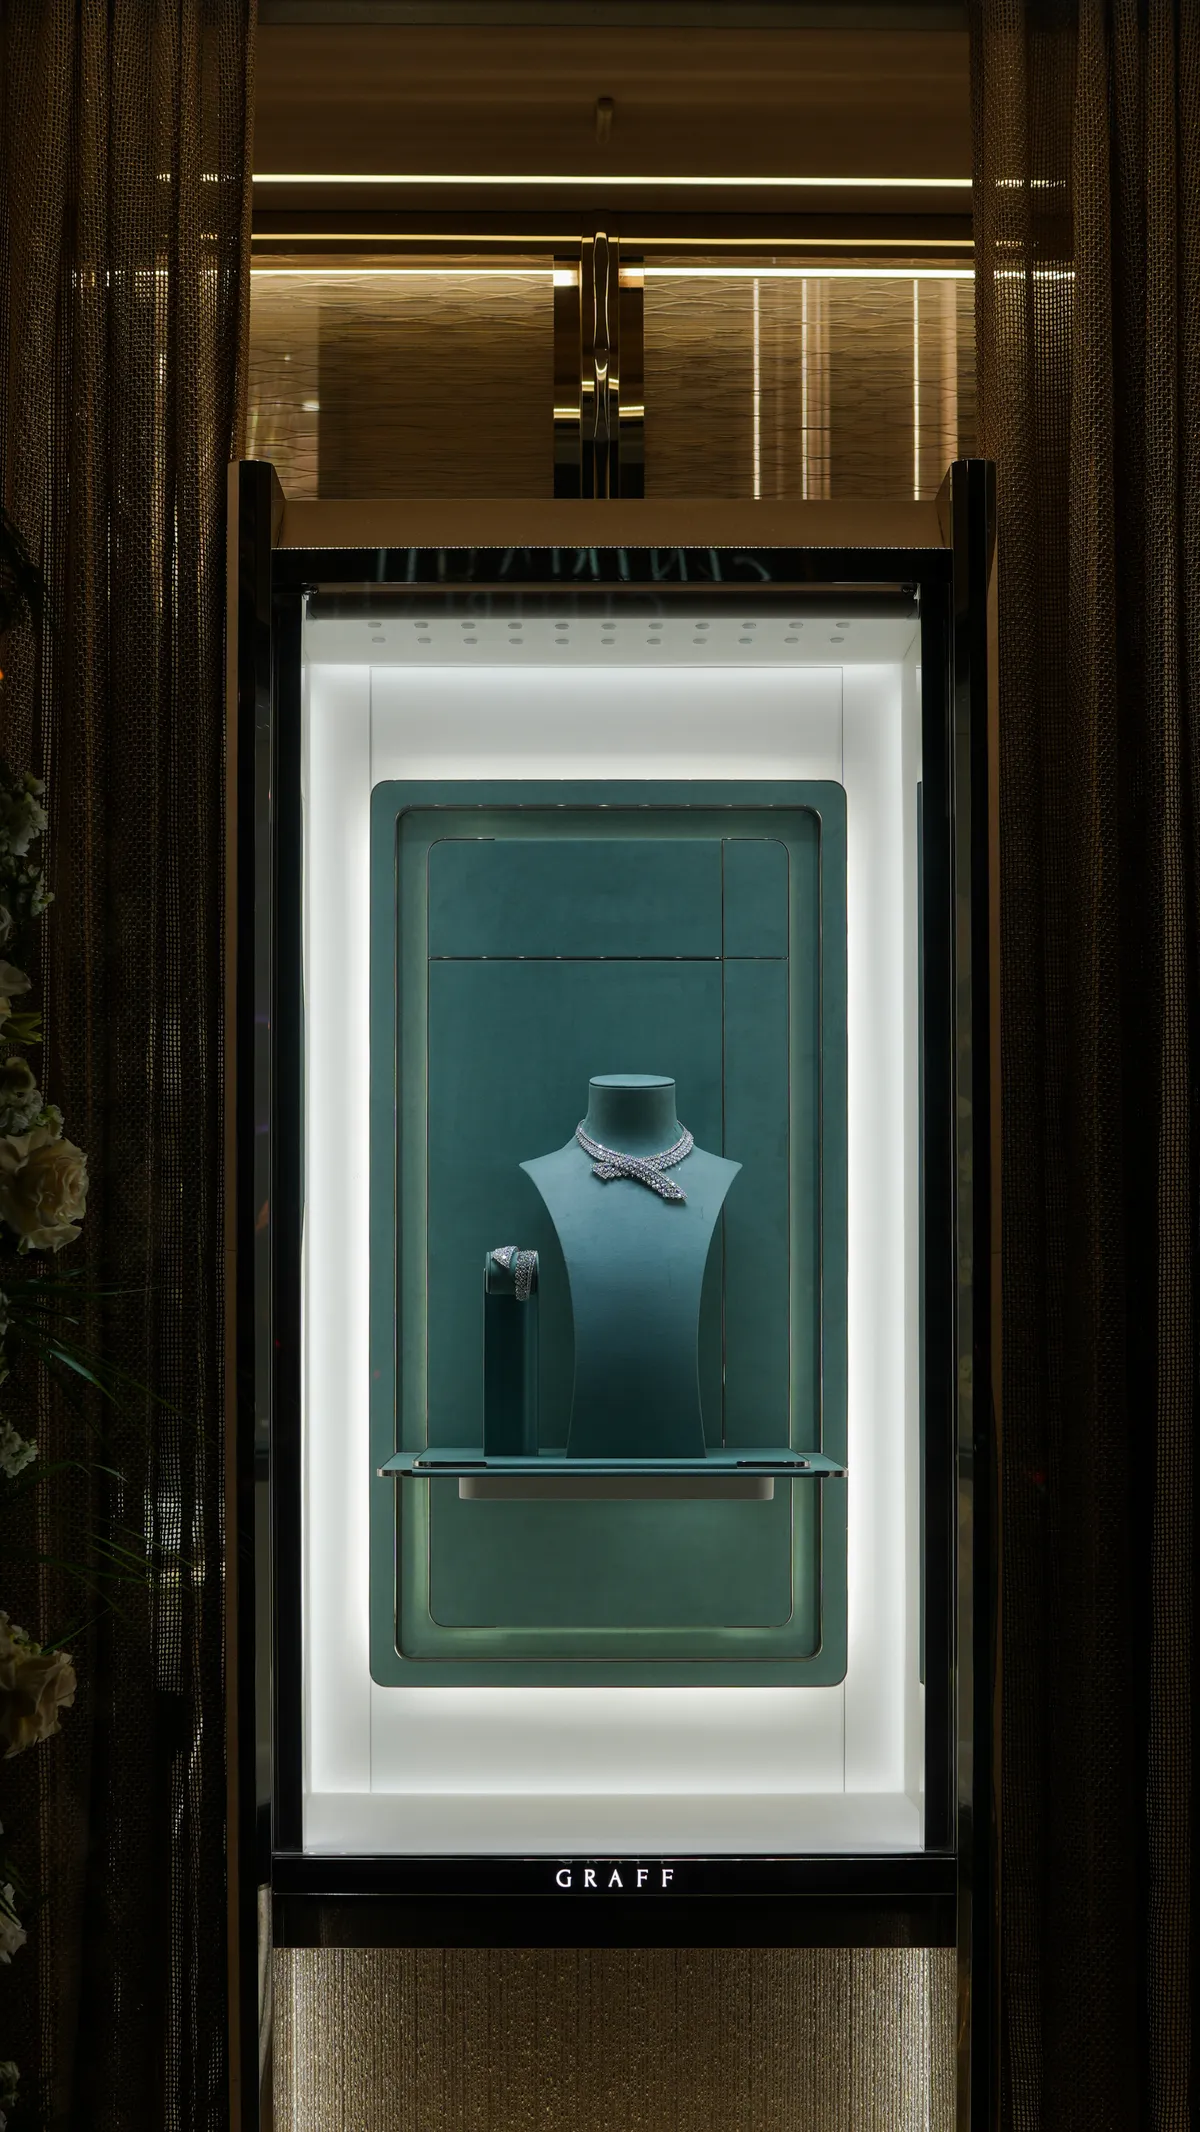
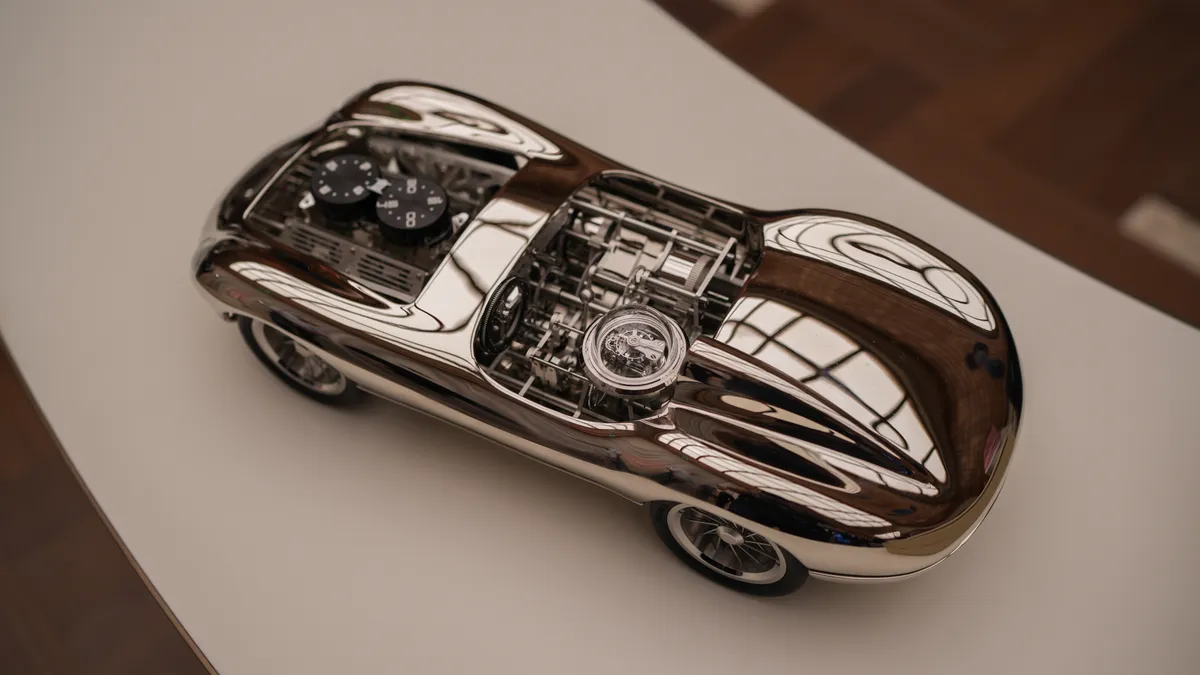
  • Graff, photographed by DawwasEye Studios
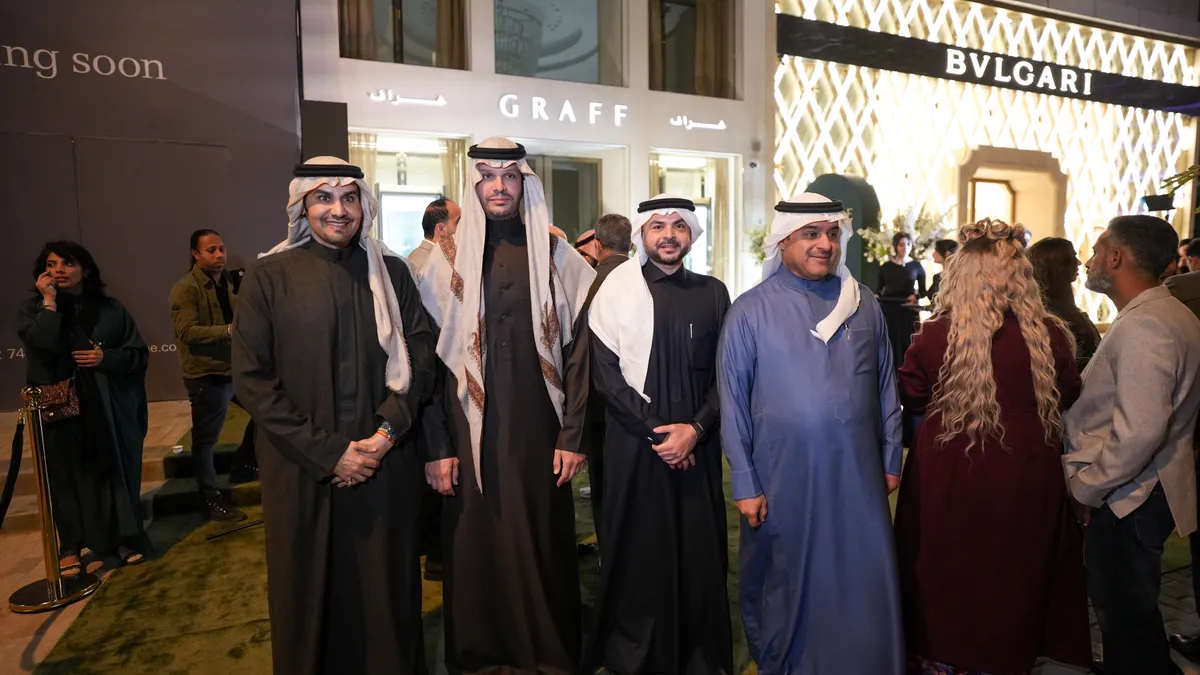
  • Graff, photographed by DawwasEye Studios
  • Graff, photographed by DawwasEye Studios
  • Graff, photographed by DawwasEye Studios
  • Graff, photographed by DawwasEye Studios
  • Graff, photographed by DawwasEye Studios
  • Graff, photographed by DawwasEye Studios
  • Graff, photographed by DawwasEye Studios
  • Graff, photographed by DawwasEye Studios
  • Graff, photographed by DawwasEye Studios
  • Graff, photographed by DawwasEye Studios
  • Graff, photographed by DawwasEye Studios
  • Graff, photographed by DawwasEye Studios
  • Graff, photographed by DawwasEye Studios
  • Graff, photographed by DawwasEye Studios
  • Graff, photographed by DawwasEye Studios
  • Graff, photographed by DawwasEye Studios
  • Graff, photographed by DawwasEye Studios
  • Graff, photographed by DawwasEye Studios
  • Graff, photographed by DawwasEye Studios
  • Graff, photographed by DawwasEye Studios
  • Graff, photographed by DawwasEye Studios
  • Graff, photographed by DawwasEye Studios
  • Graff, photographed by DawwasEye Studios
  • Graff, photographed by DawwasEye Studios
  • Graff, photographed by DawwasEye Studios
  • Graff, photographed by DawwasEye Studios
  • Graff, photographed by DawwasEye Studios
  • Graff, photographed by DawwasEye Studios
  • Graff, photographed by DawwasEye Studios
  • Graff, photographed by DawwasEye Studios
  • Graff, photographed by DawwasEye Studios
  • Graff, photographed by DawwasEye Studios
  • Graff, photographed by DawwasEye Studios
  • Graff, photographed by DawwasEye Studios
  • Graff, photographed by DawwasEye Studios
  • Graff, photographed by DawwasEye Studios
  • Graff, photographed by DawwasEye Studios
  • Graff, photographed by DawwasEye Studios
  • Graff, photographed by DawwasEye Studios
  • Graff, photographed by DawwasEye Studios
  • Graff, photographed by DawwasEye Studios
  • Graff, photographed by DawwasEye Studios
  • Graff, photographed by DawwasEye Studios
  • Graff, photographed by DawwasEye Studios
  • Graff, photographed by DawwasEye Studios
  • Graff, photographed by DawwasEye Studios
  • Graff, photographed by DawwasEye Studios
  • Graff, photographed by DawwasEye Studios
  • Graff, photographed by DawwasEye Studios
  • Graff, photographed by DawwasEye Studios
  • Graff, photographed by DawwasEye Studios
  • Graff, photographed by DawwasEye Studios
  • Graff, photographed by DawwasEye Studios
  • Graff, photographed by DawwasEye Studios
  • Graff, photographed by DawwasEye Studios
  • Graff, photographed by DawwasEye Studios
  • Graff, photographed by DawwasEye Studios
  • Graff, photographed by DawwasEye Studios
  • Graff, photographed by DawwasEye Studios
  • Graff, photographed by DawwasEye Studios
  • Graff, photographed by DawwasEye Studios
  • Graff, photographed by DawwasEye Studios
  • Graff, photographed by DawwasEye Studios
  • Graff, photographed by DawwasEye Studios
  • Graff, photographed by DawwasEye Studios
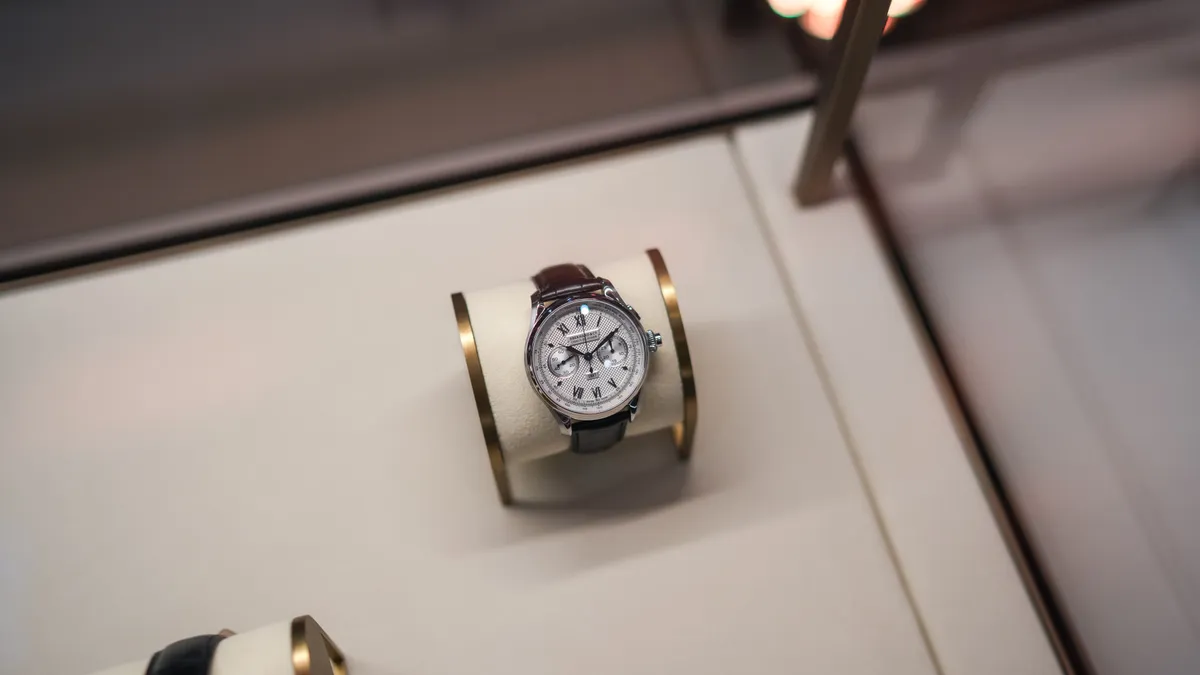
  • Crown & Compass, photographed by DawwasEye Studios
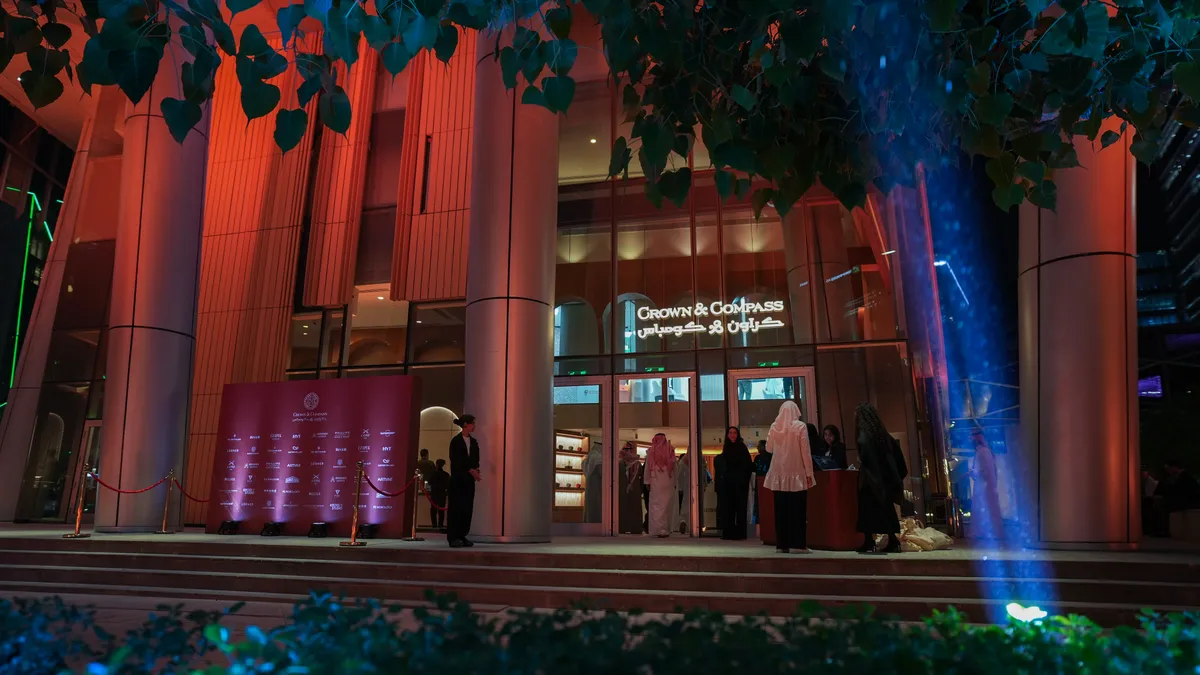
  • Crown & Compass, photographed by DawwasEye Studios
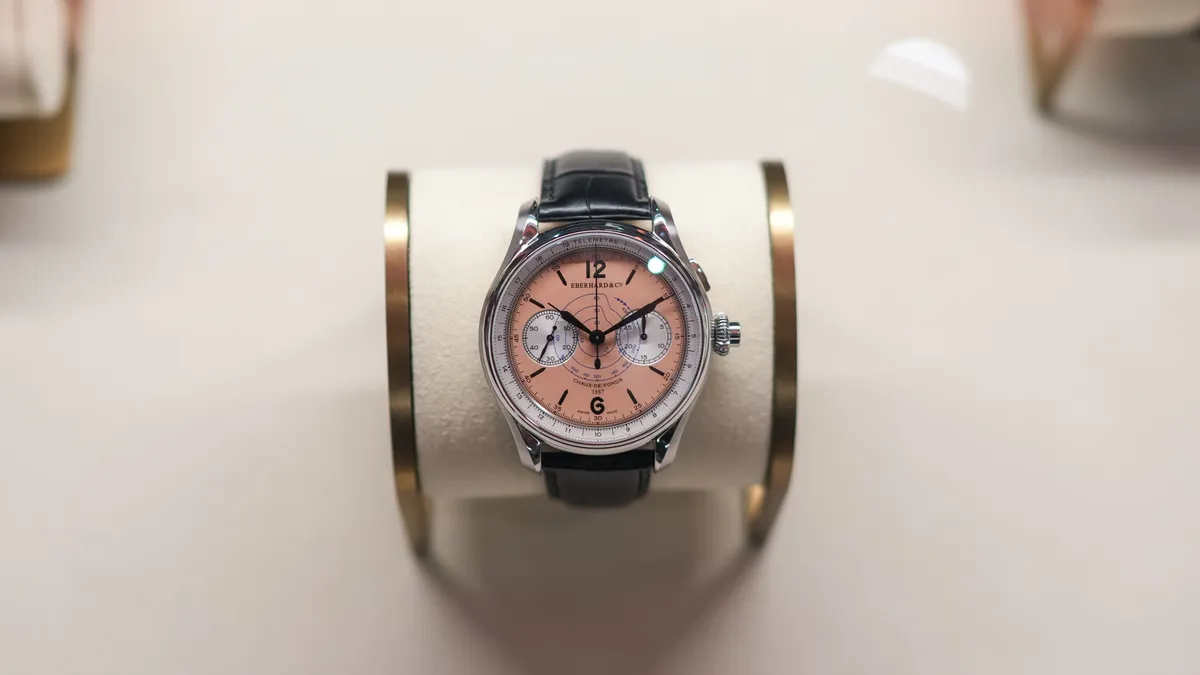
  • Crown & Compass, photographed by DawwasEye Studios
  • Crown & Compass, photographed by DawwasEye Studios
  • Crown & Compass, photographed by DawwasEye Studios
  • Crown & Compass, photographed by DawwasEye Studios
  • Crown & Compass, photographed by DawwasEye Studios
  • Crown & Compass, photographed by DawwasEye Studios
  • Crown & Compass, photographed by DawwasEye Studios
  • Crown & Compass, photographed by DawwasEye Studios
  • Crown & Compass, photographed by DawwasEye Studios
  • Crown & Compass, photographed by DawwasEye Studios
  • Crown & Compass, photographed by DawwasEye Studios
  • Crown & Compass, photographed by DawwasEye Studios
  • Crown & Compass, photographed by DawwasEye Studios
  • Crown & Compass, photographed by DawwasEye Studios
  • Crown & Compass, photographed by DawwasEye Studios
  • Crown & Compass, photographed by DawwasEye Studios
  • Crown & Compass, photographed by DawwasEye Studios
  • Crown & Compass, photographed by DawwasEye Studios
  • Crown & Compass, photographed by DawwasEye Studios
  • Crown & Compass, photographed by DawwasEye Studios
  • Crown & Compass, photographed by DawwasEye Studios
  • Crown & Compass, photographed by DawwasEye Studios
  • Crown & Compass, photographed by DawwasEye Studios
  • Crown & Compass, photographed by DawwasEye Studios
  • Crown & Compass, photographed by DawwasEye Studios
  • Crown & Compass, photographed by DawwasEye Studios
  • Crown & Compass, photographed by DawwasEye Studios
  • Crown & Compass, photographed by DawwasEye Studios
  • Crown & Compass, photographed by DawwasEye Studios
  • Crown & Compass, photographed by DawwasEye Studios
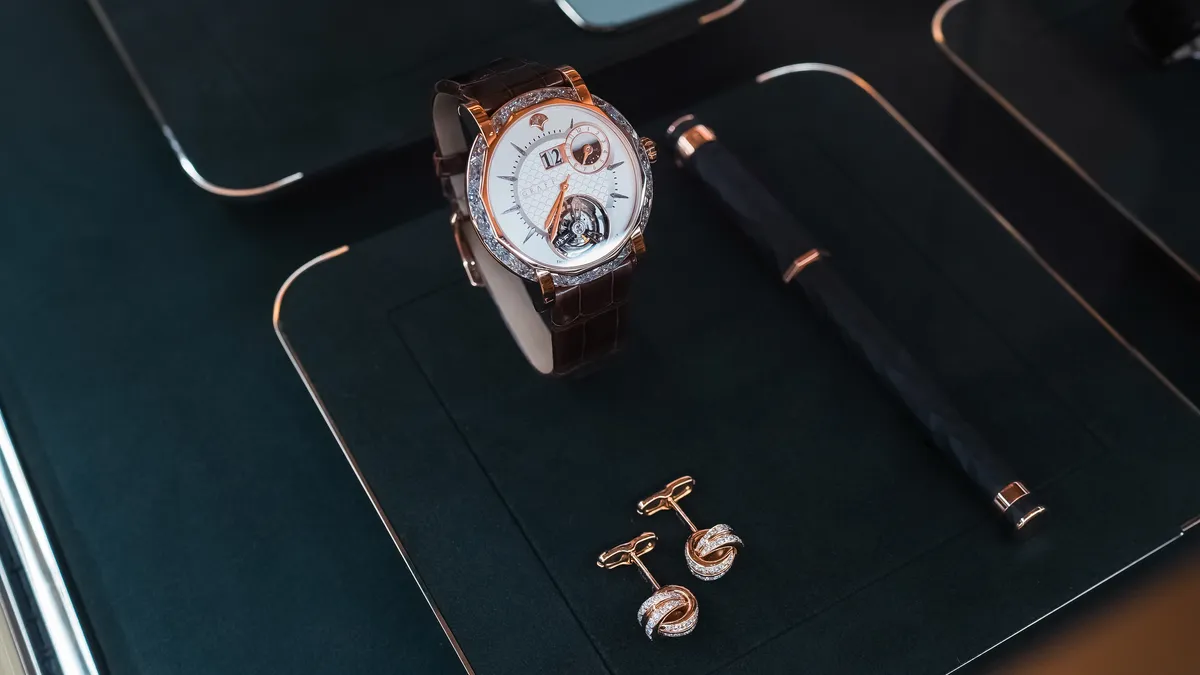
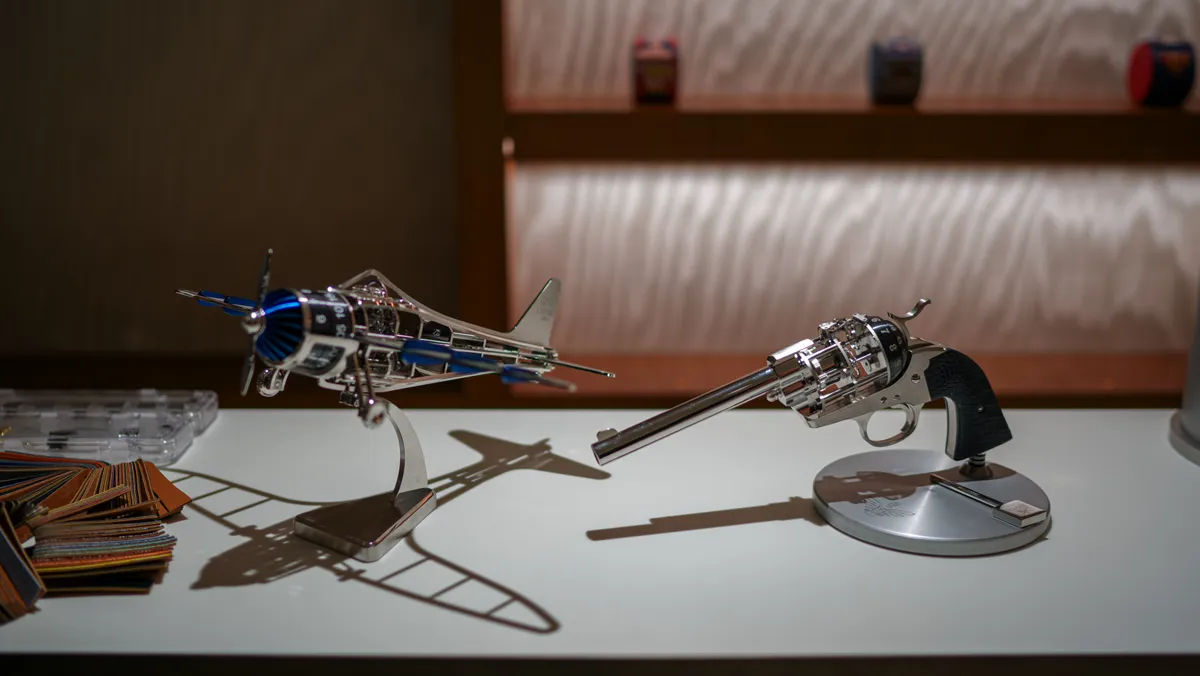
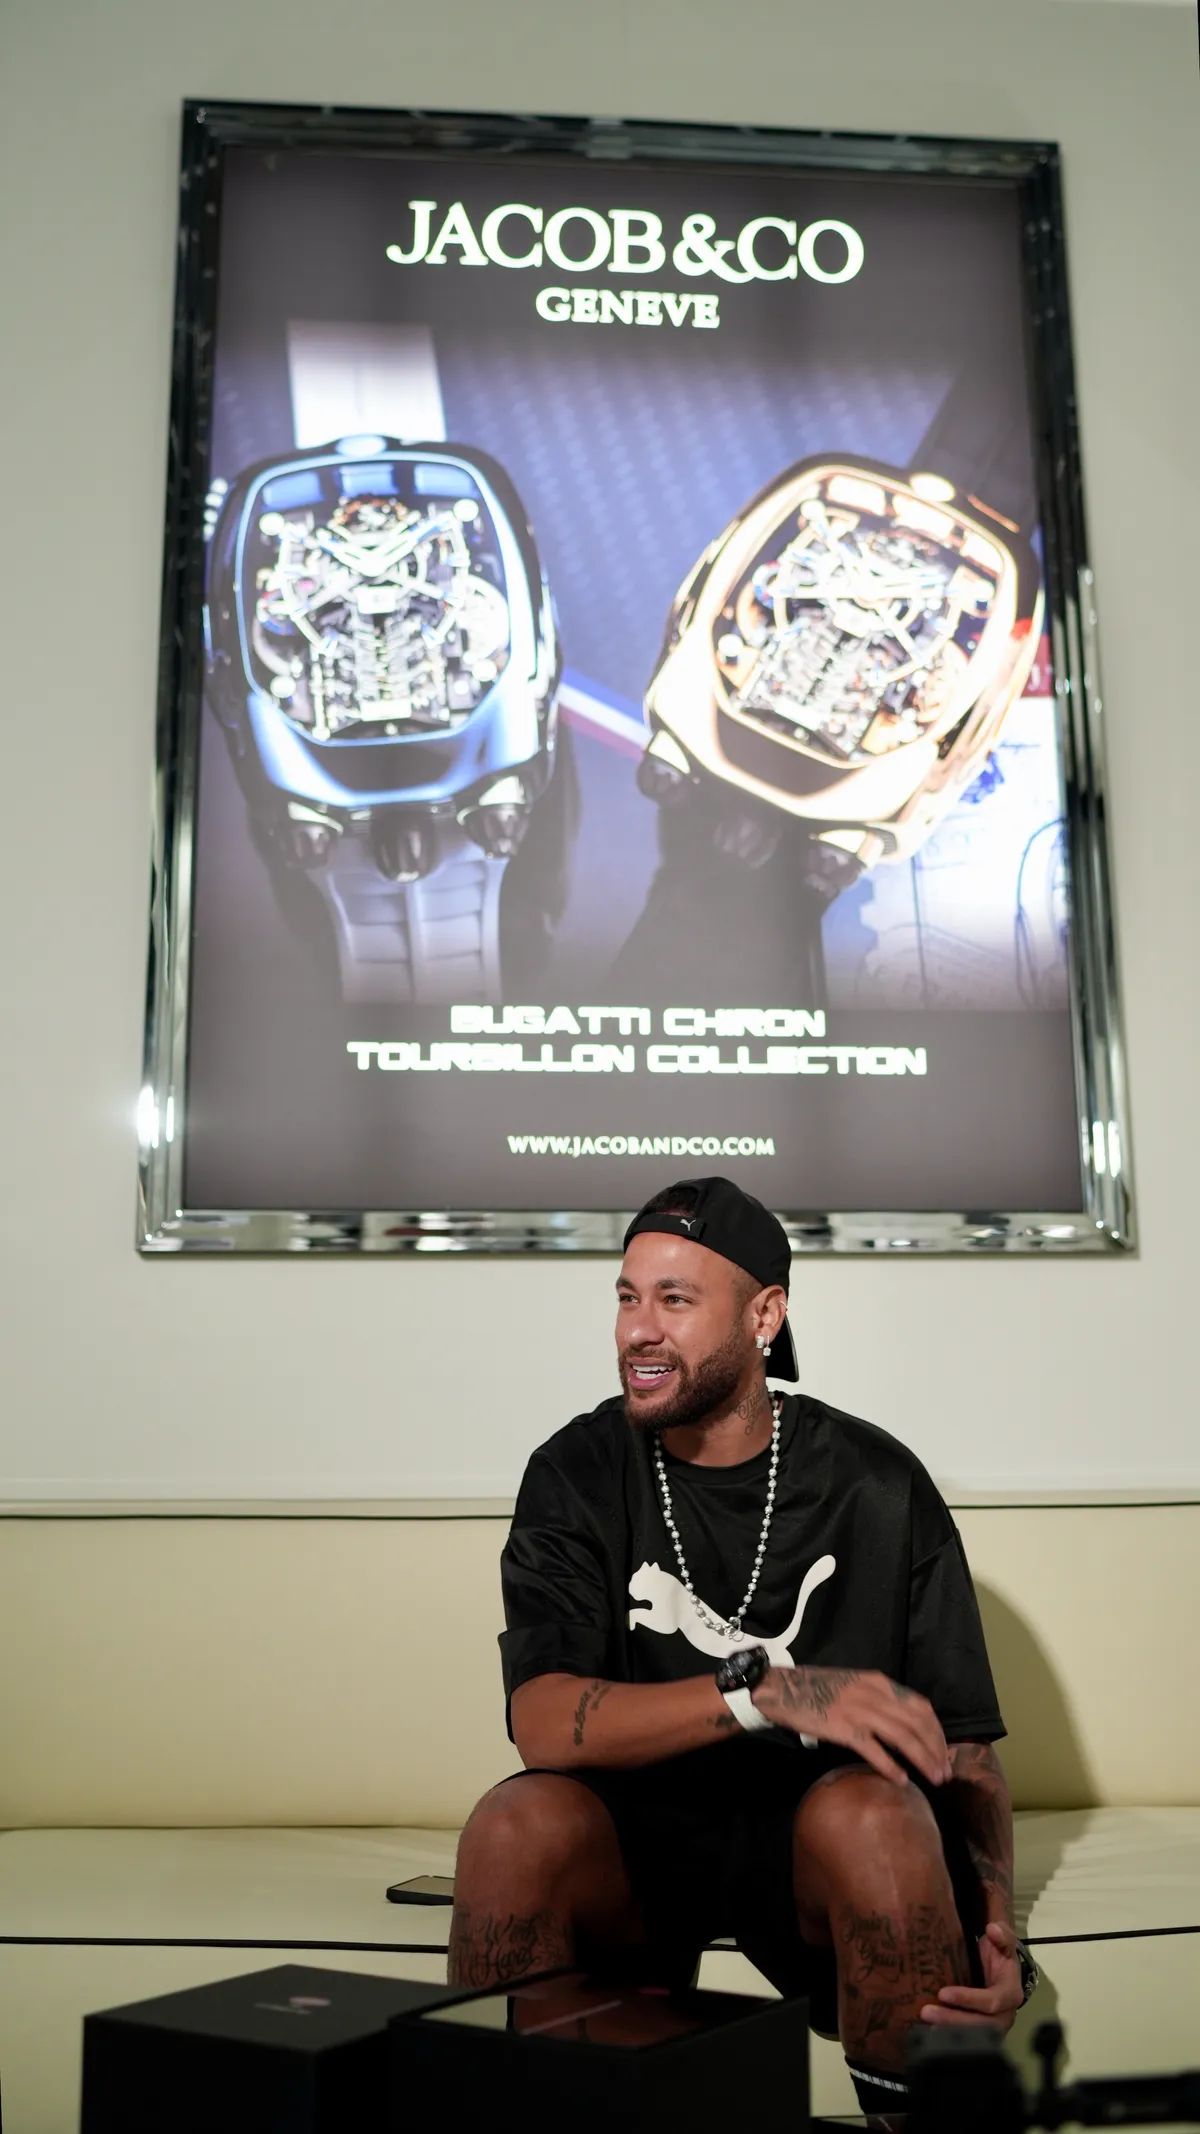
  • Jacob & Co, photographed by DawwasEye Studios
  • Jacob & Co, photographed by DawwasEye Studios
  • Jacob & Co, photographed by DawwasEye Studios
  • Jacob & Co, photographed by DawwasEye Studios
  • Jacob & Co, photographed by DawwasEye Studios
  • Jacob & Co, photographed by DawwasEye Studios
  • Jacob & Co, photographed by DawwasEye Studios
  • Jacob & Co, photographed by DawwasEye Studios
  • Jacob & Co, photographed by DawwasEye Studios
  • Jacob & Co, photographed by DawwasEye Studios
  • Jacob & Co, photographed by DawwasEye Studios
  • Jacob & Co, photographed by DawwasEye Studios
  • Jacob & Co, photographed by DawwasEye Studios
  • Jacob & Co, photographed by DawwasEye Studios
  • Jacob & Co, photographed by DawwasEye Studios
  • Jacob & Co, photographed by DawwasEye Studios
  • Jacob & Co, photographed by DawwasEye Studios
  • Jacob & Co, photographed by DawwasEye Studios
  • Jacob & Co, photographed by DawwasEye Studios
  • Jacob & Co, photographed by DawwasEye Studios
  • Jacob & Co, photographed by DawwasEye Studios
  • Jacob & Co, photographed by DawwasEye Studios
  • Jacob & Co, photographed by DawwasEye Studios
  • Jacob & Co, photographed by DawwasEye Studios
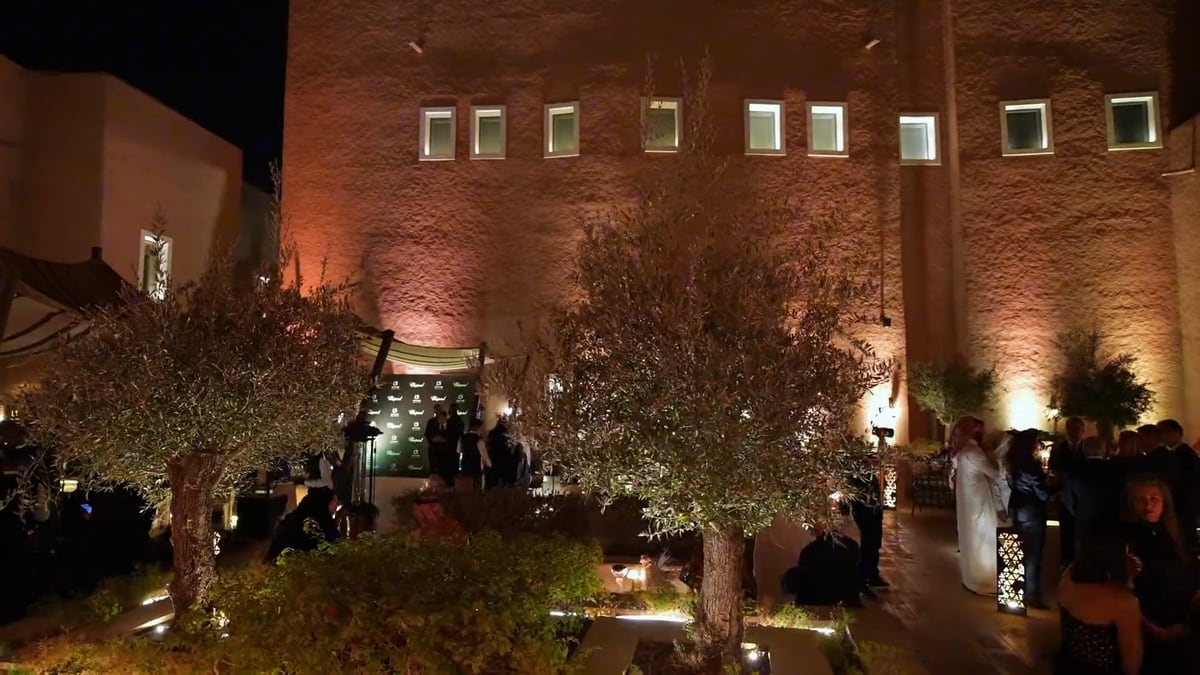
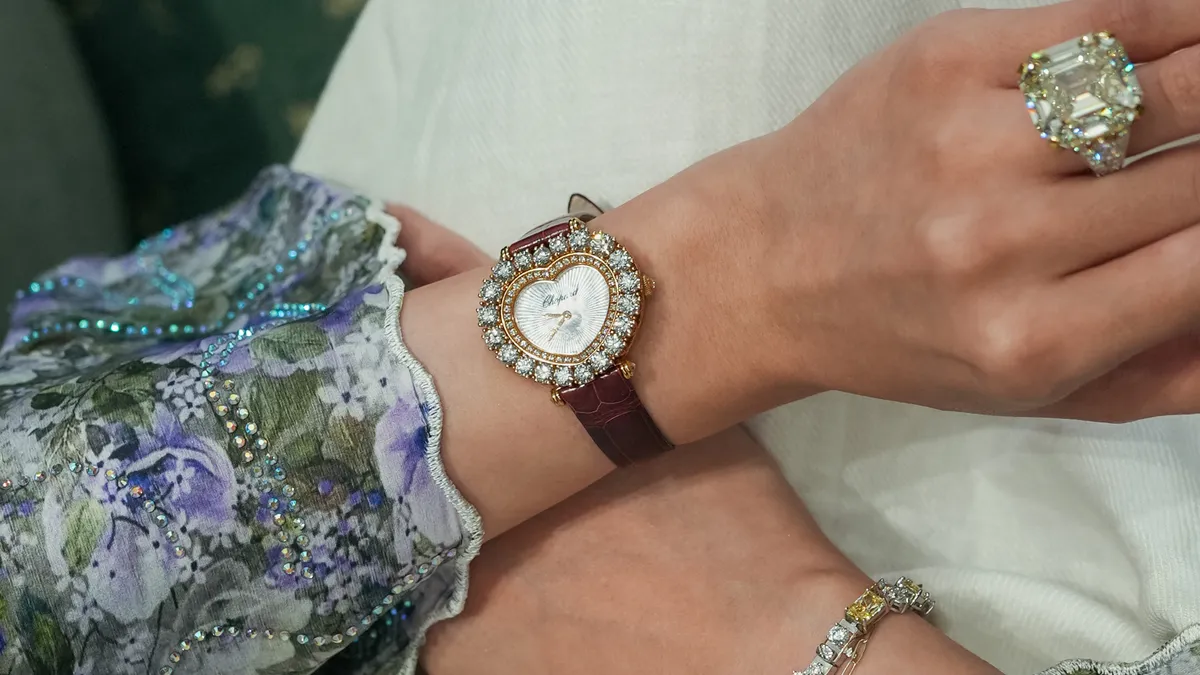
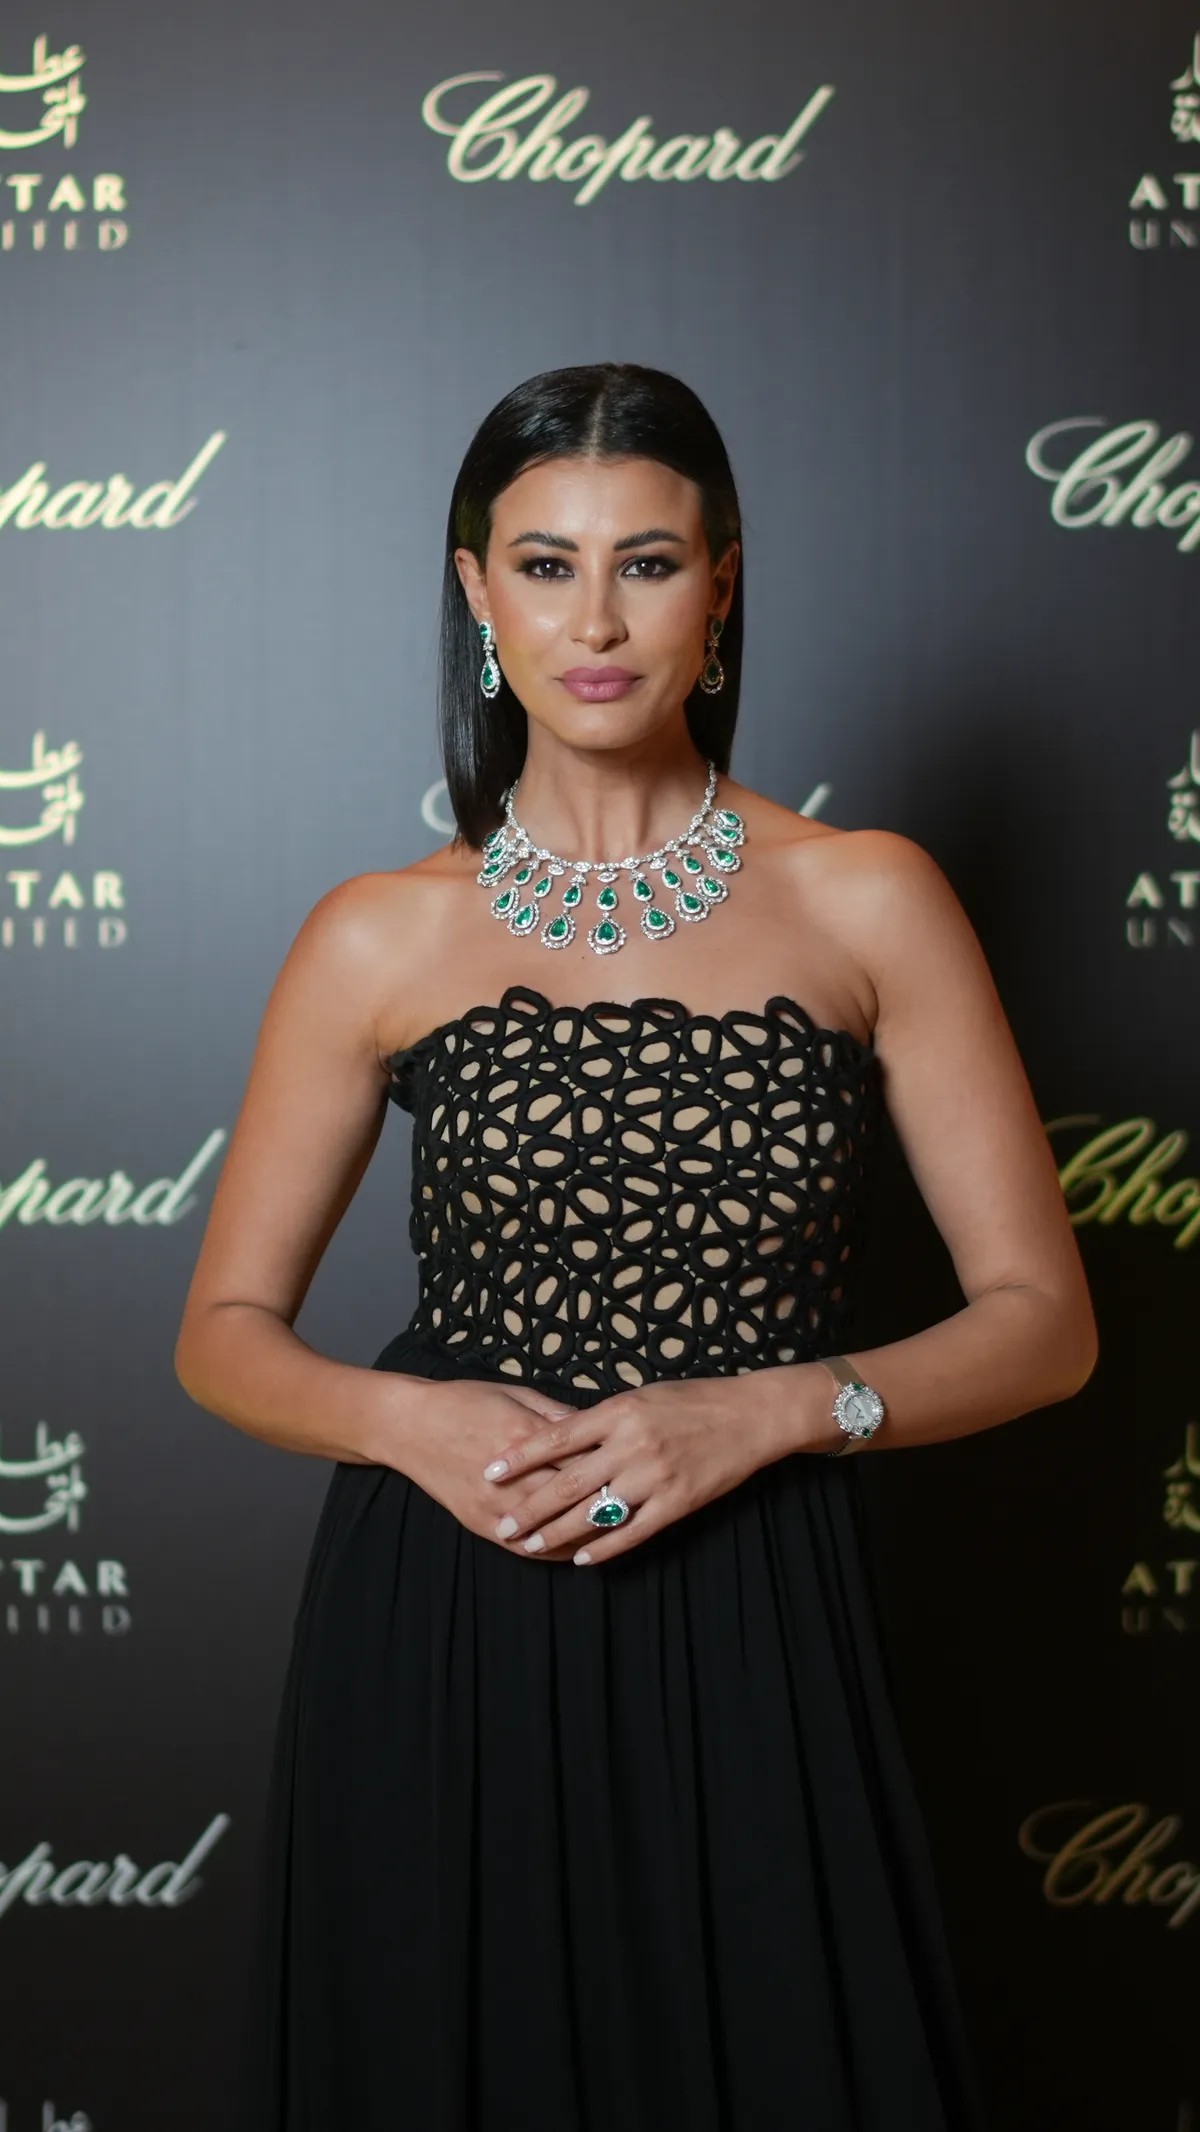
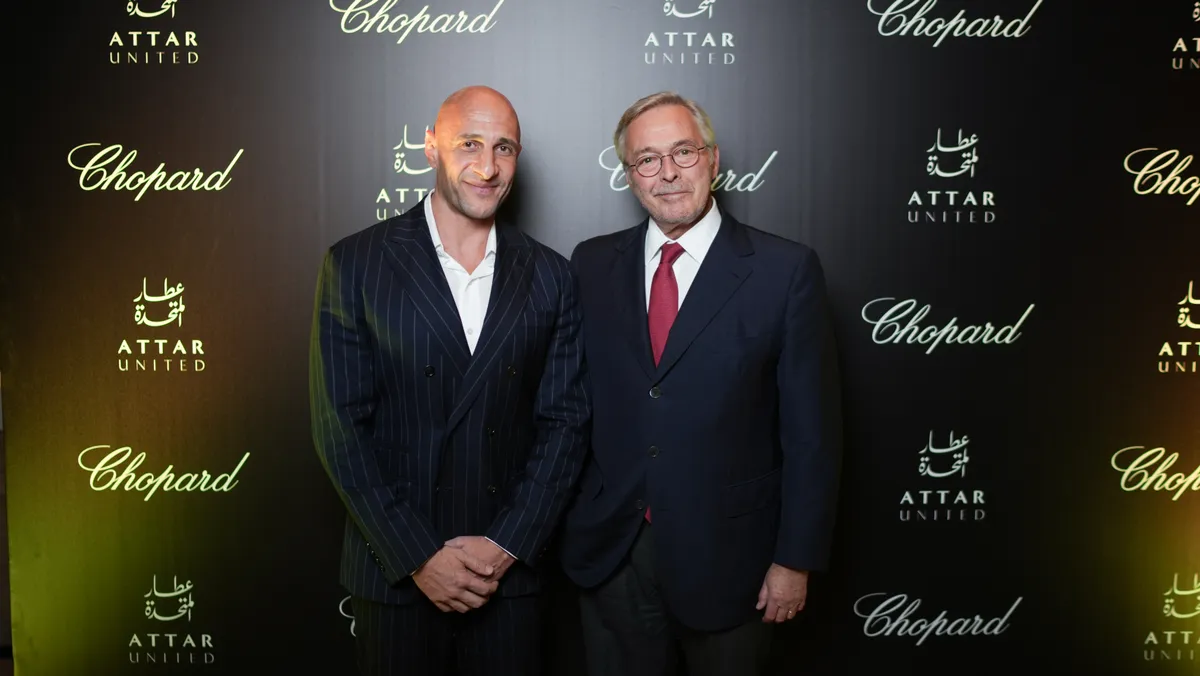
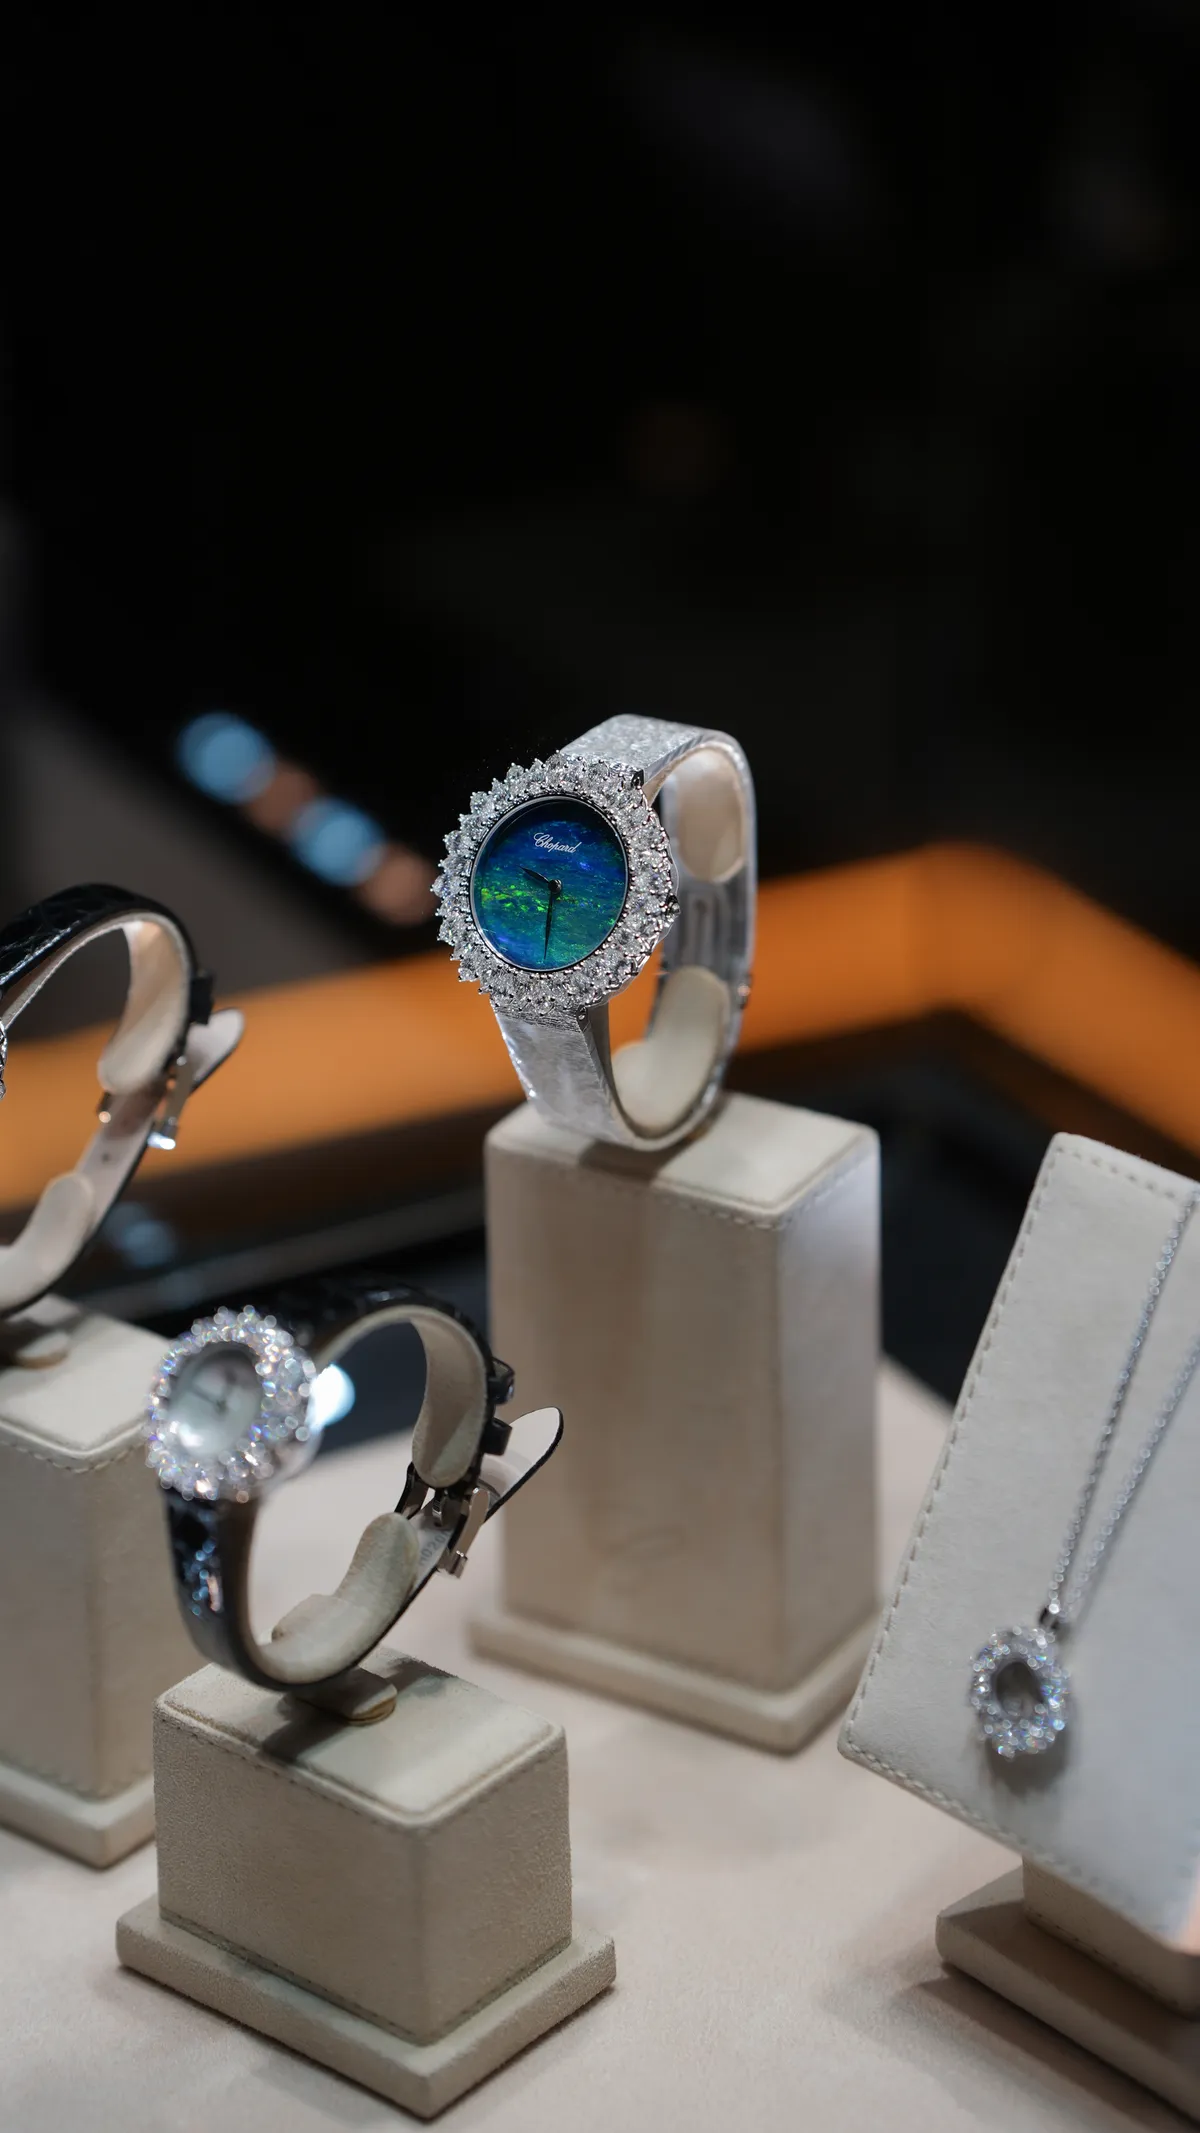
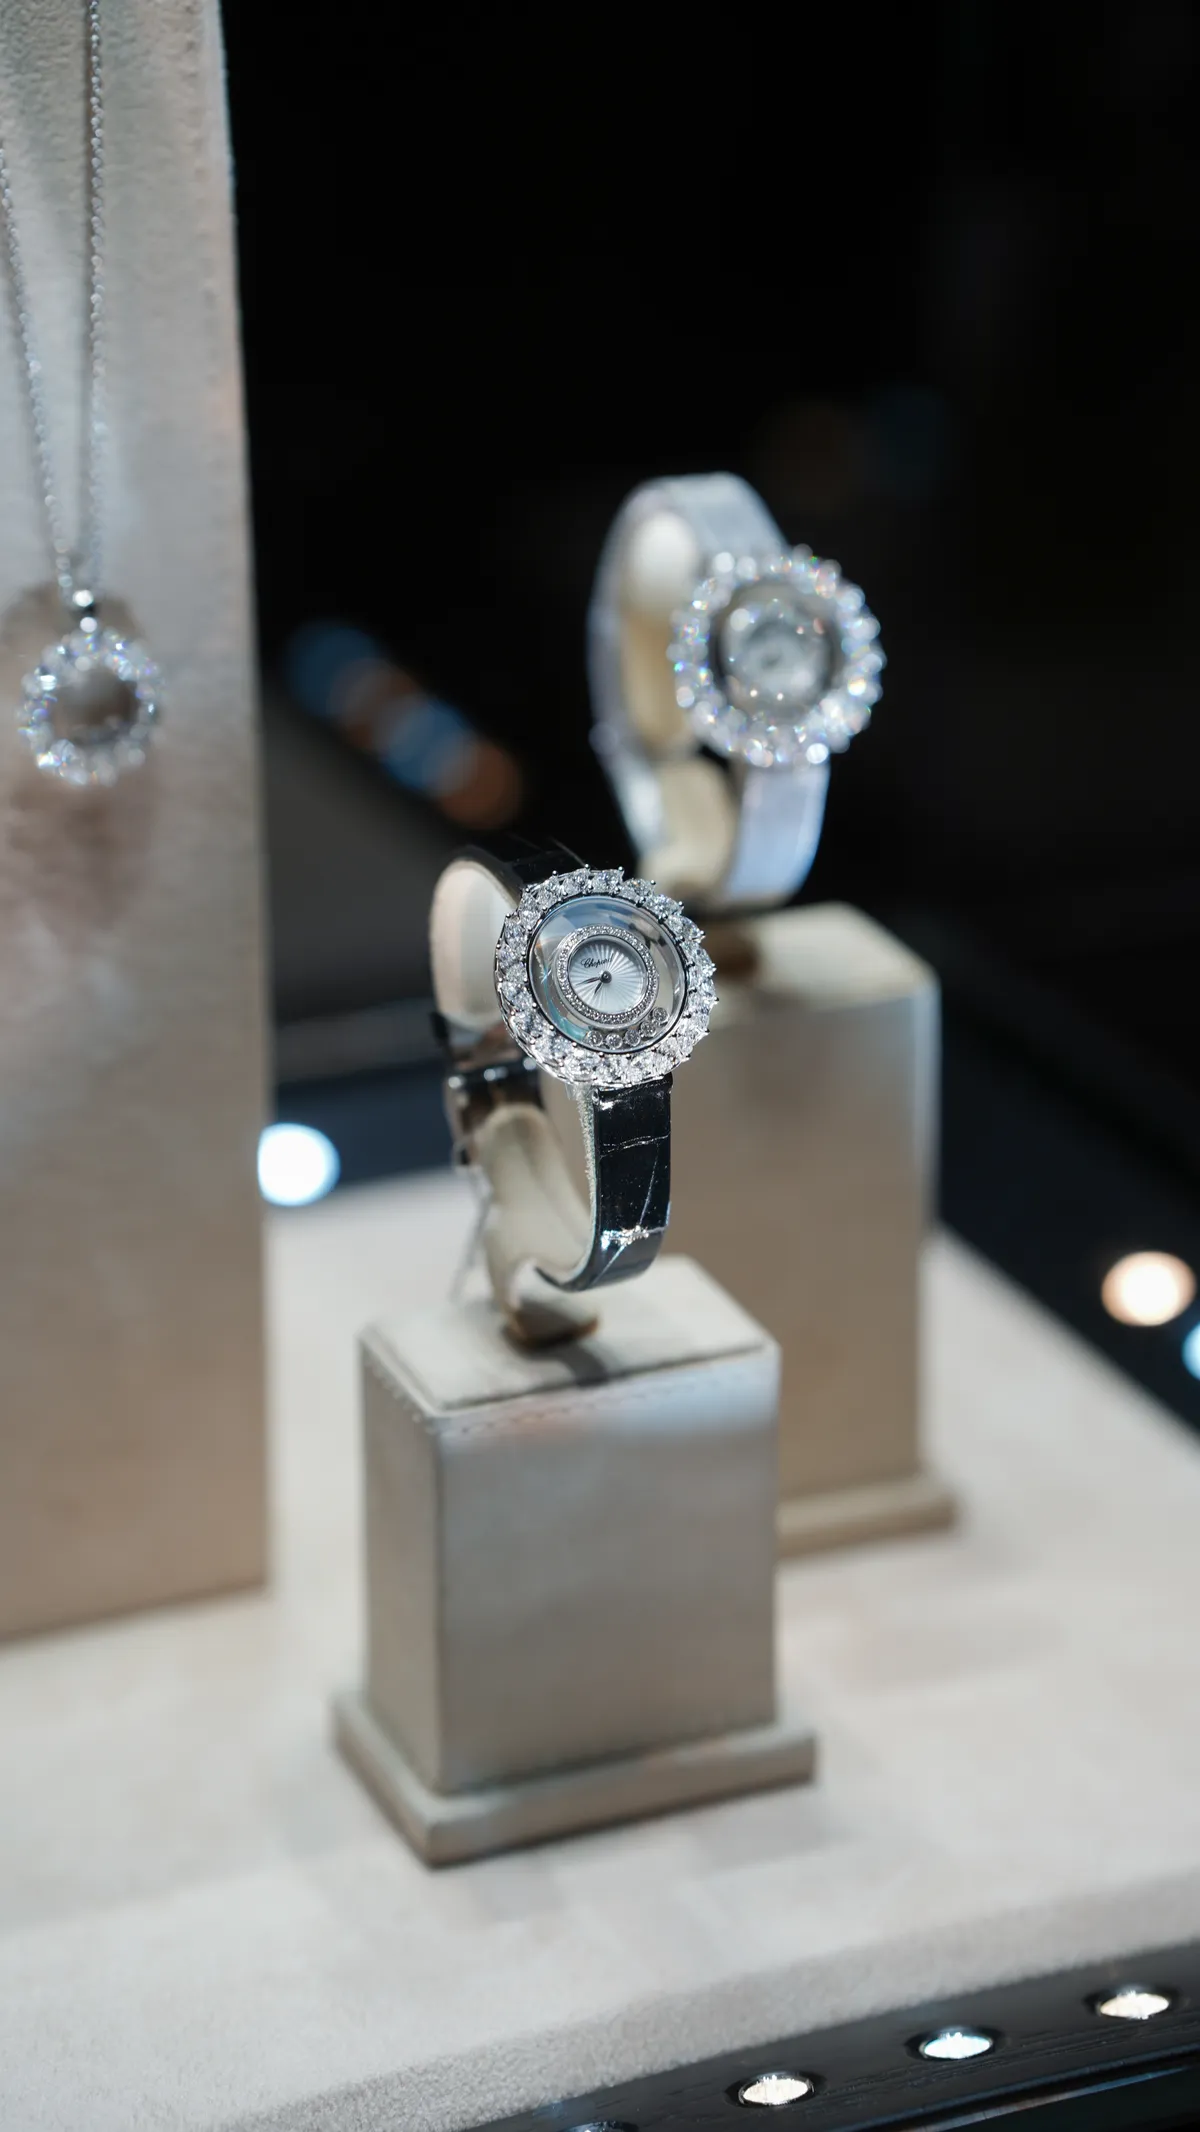
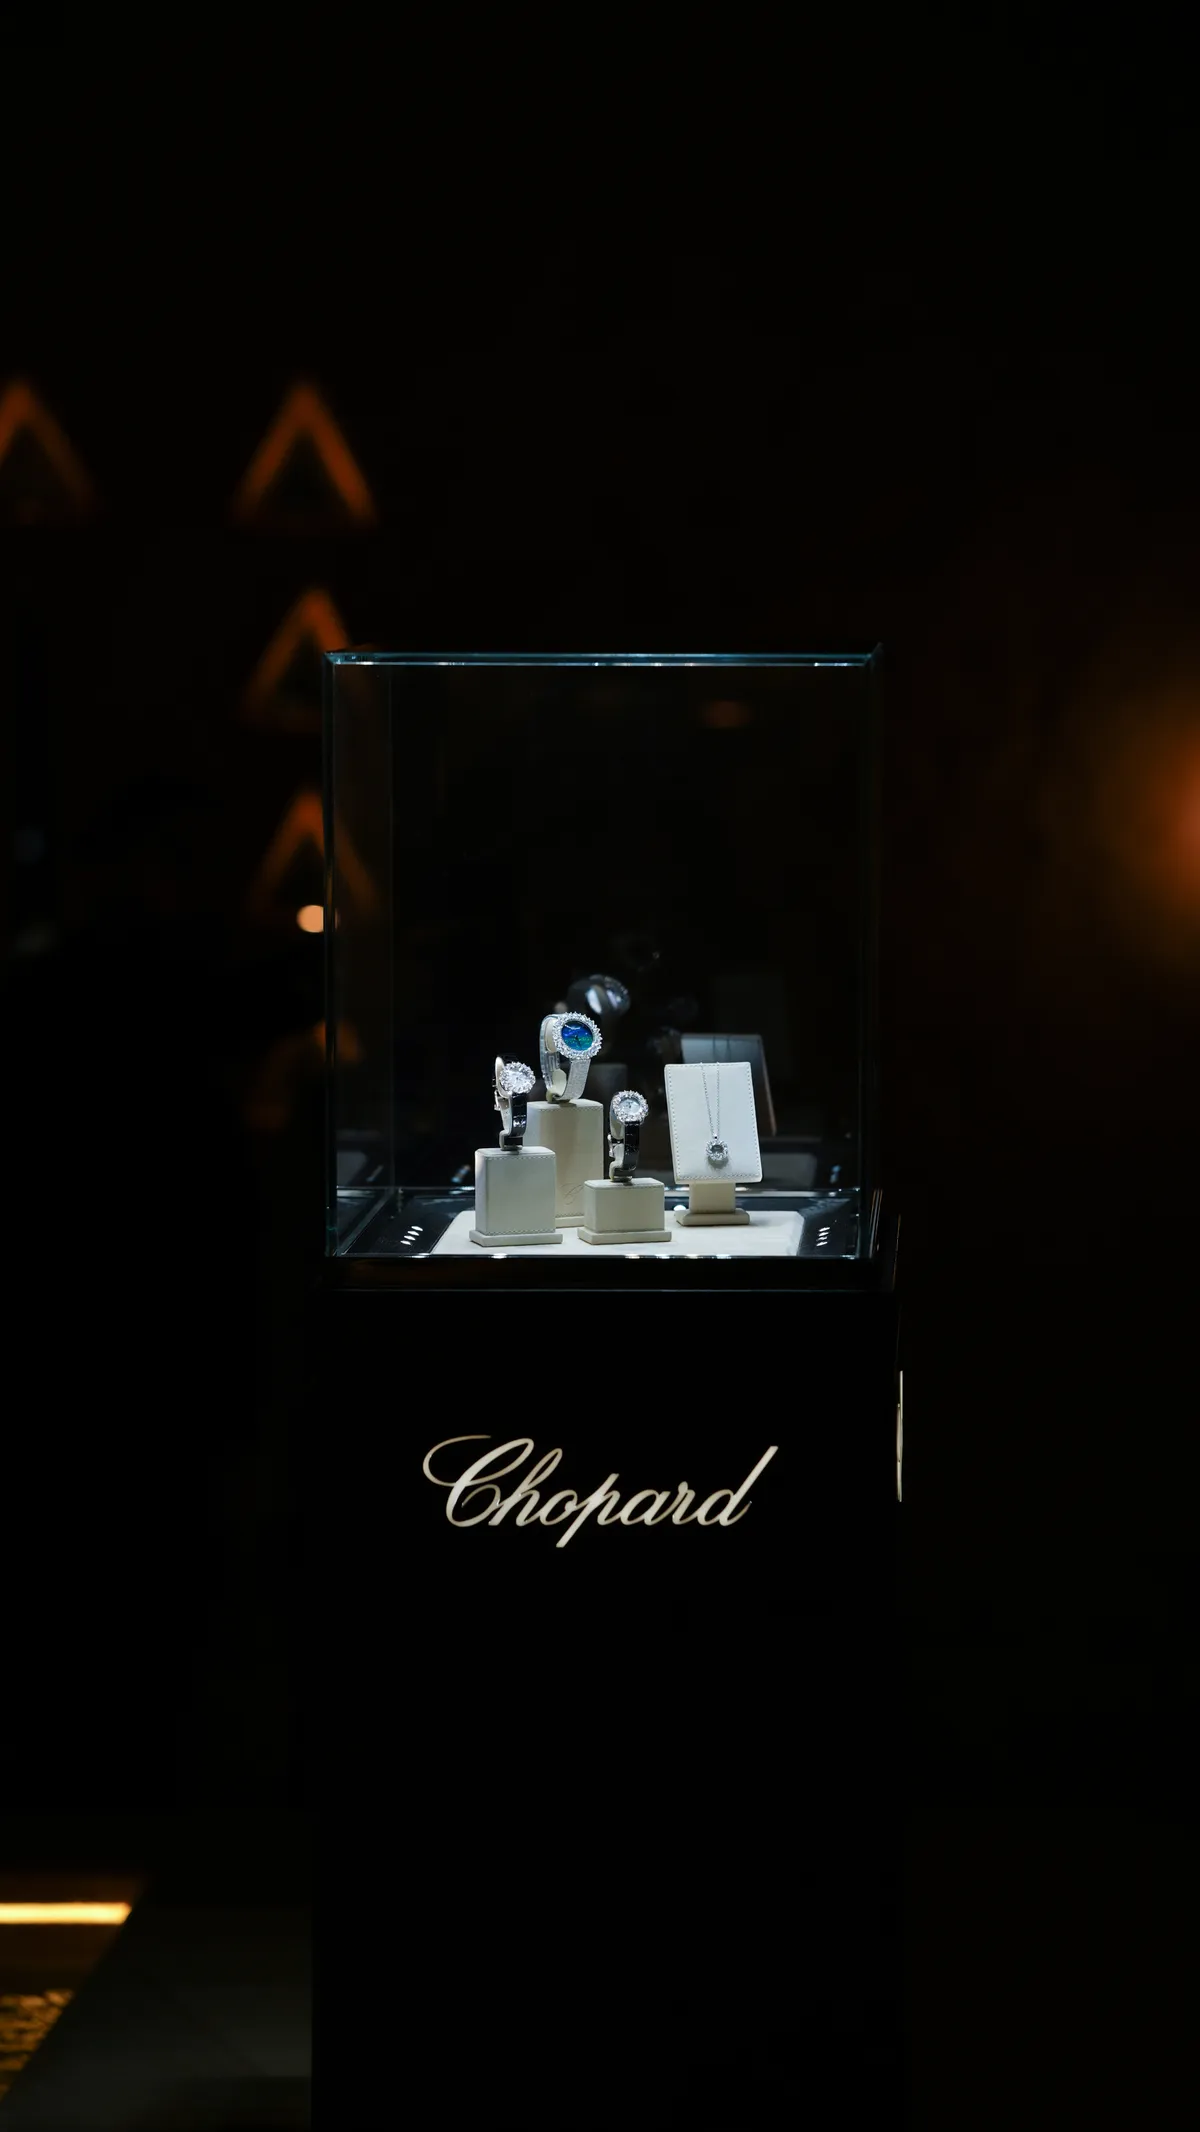
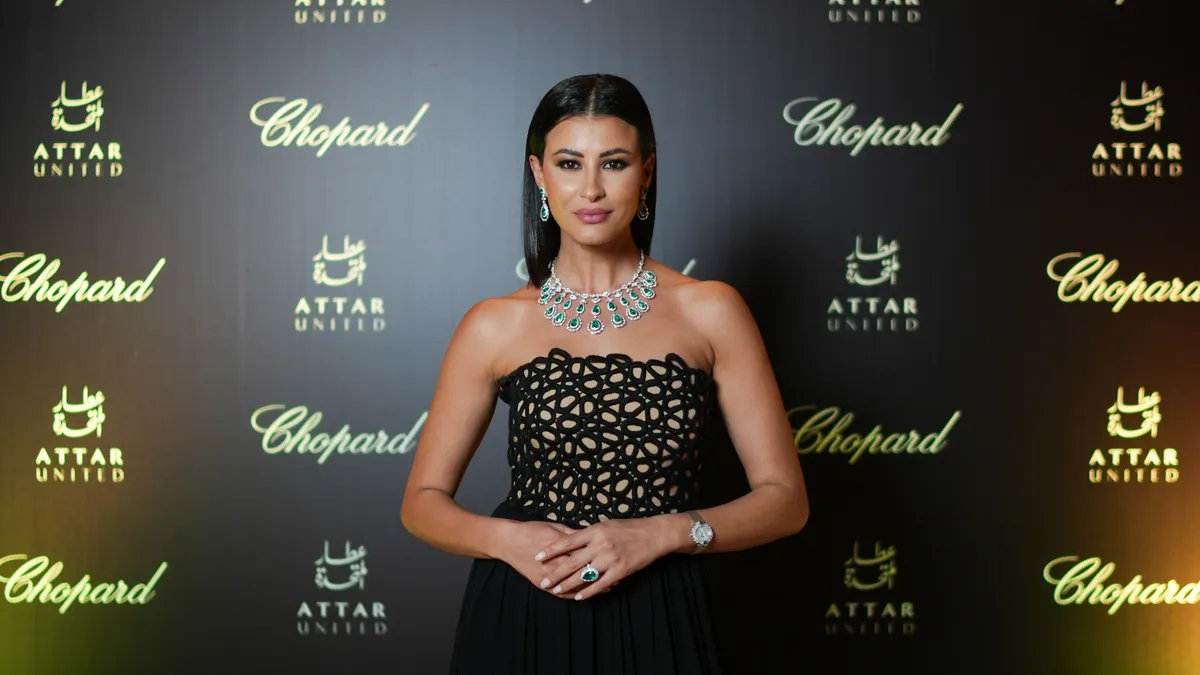
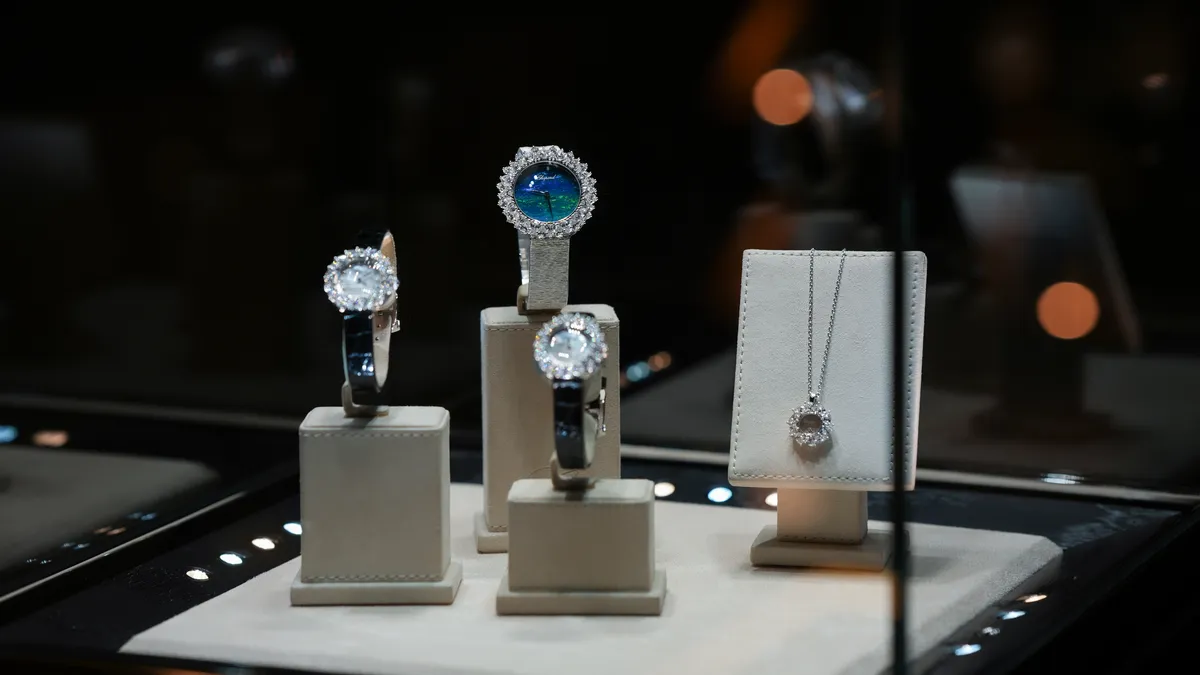
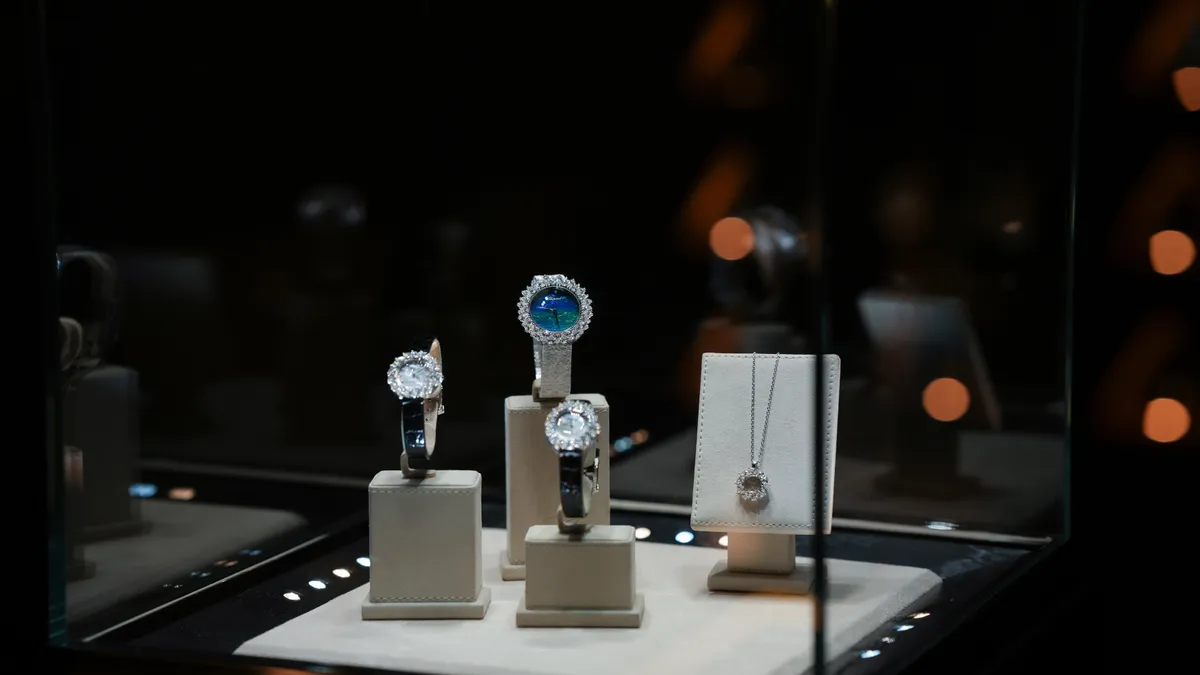
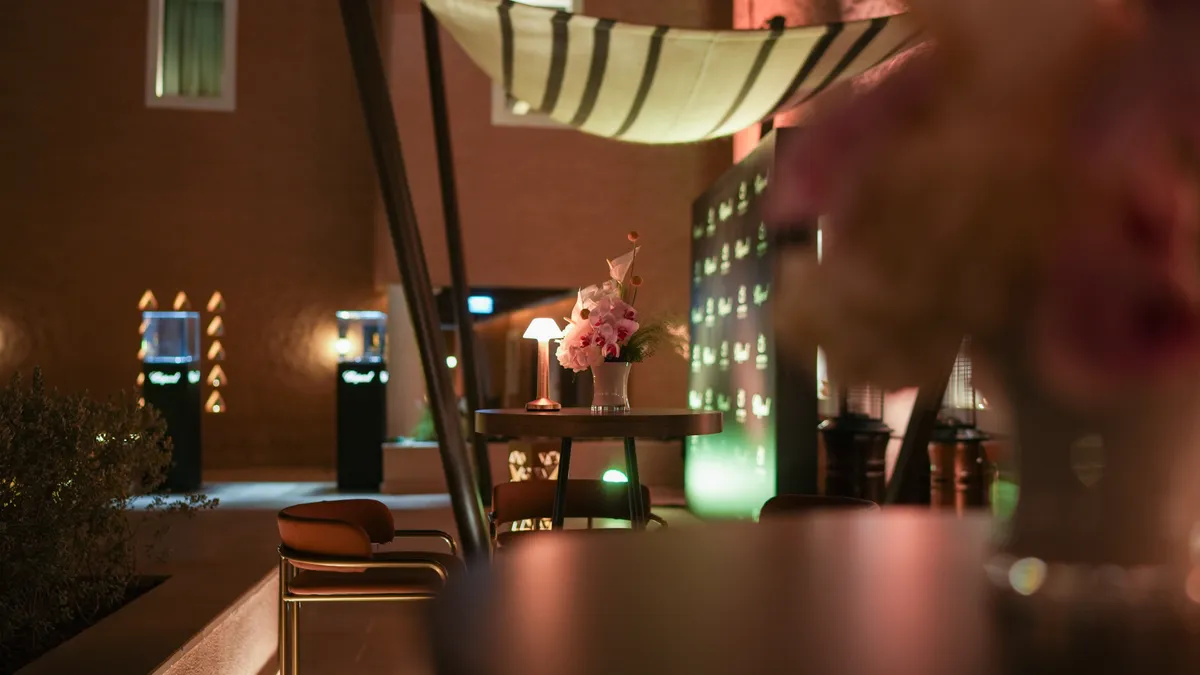
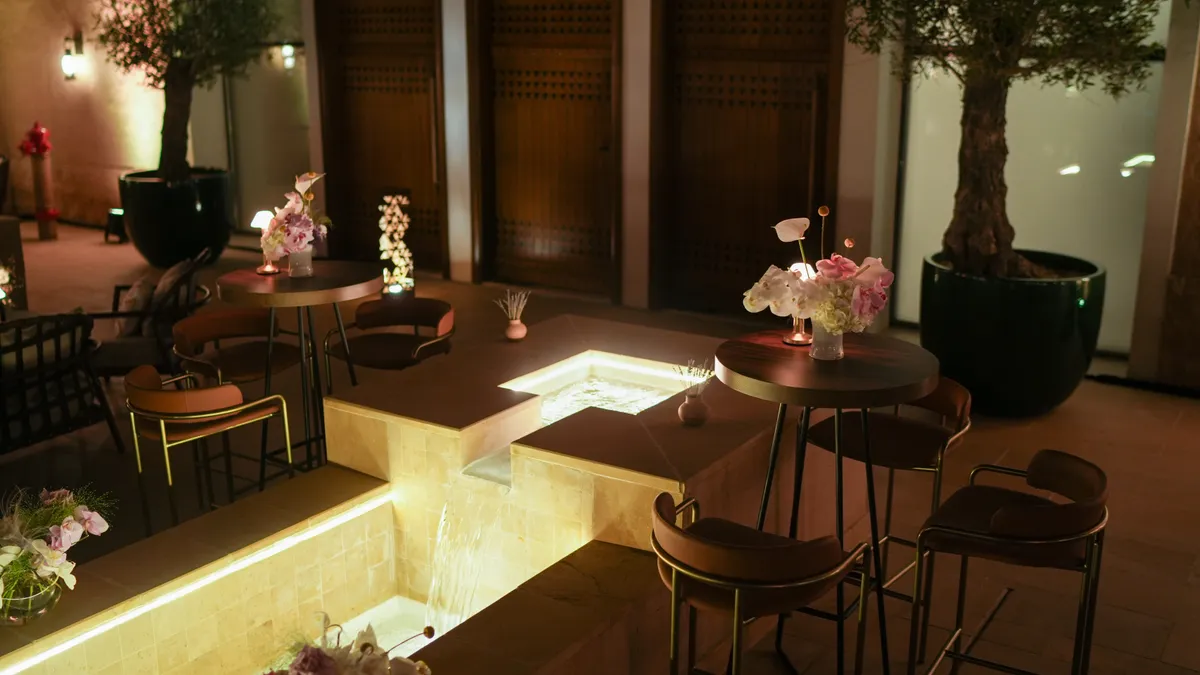
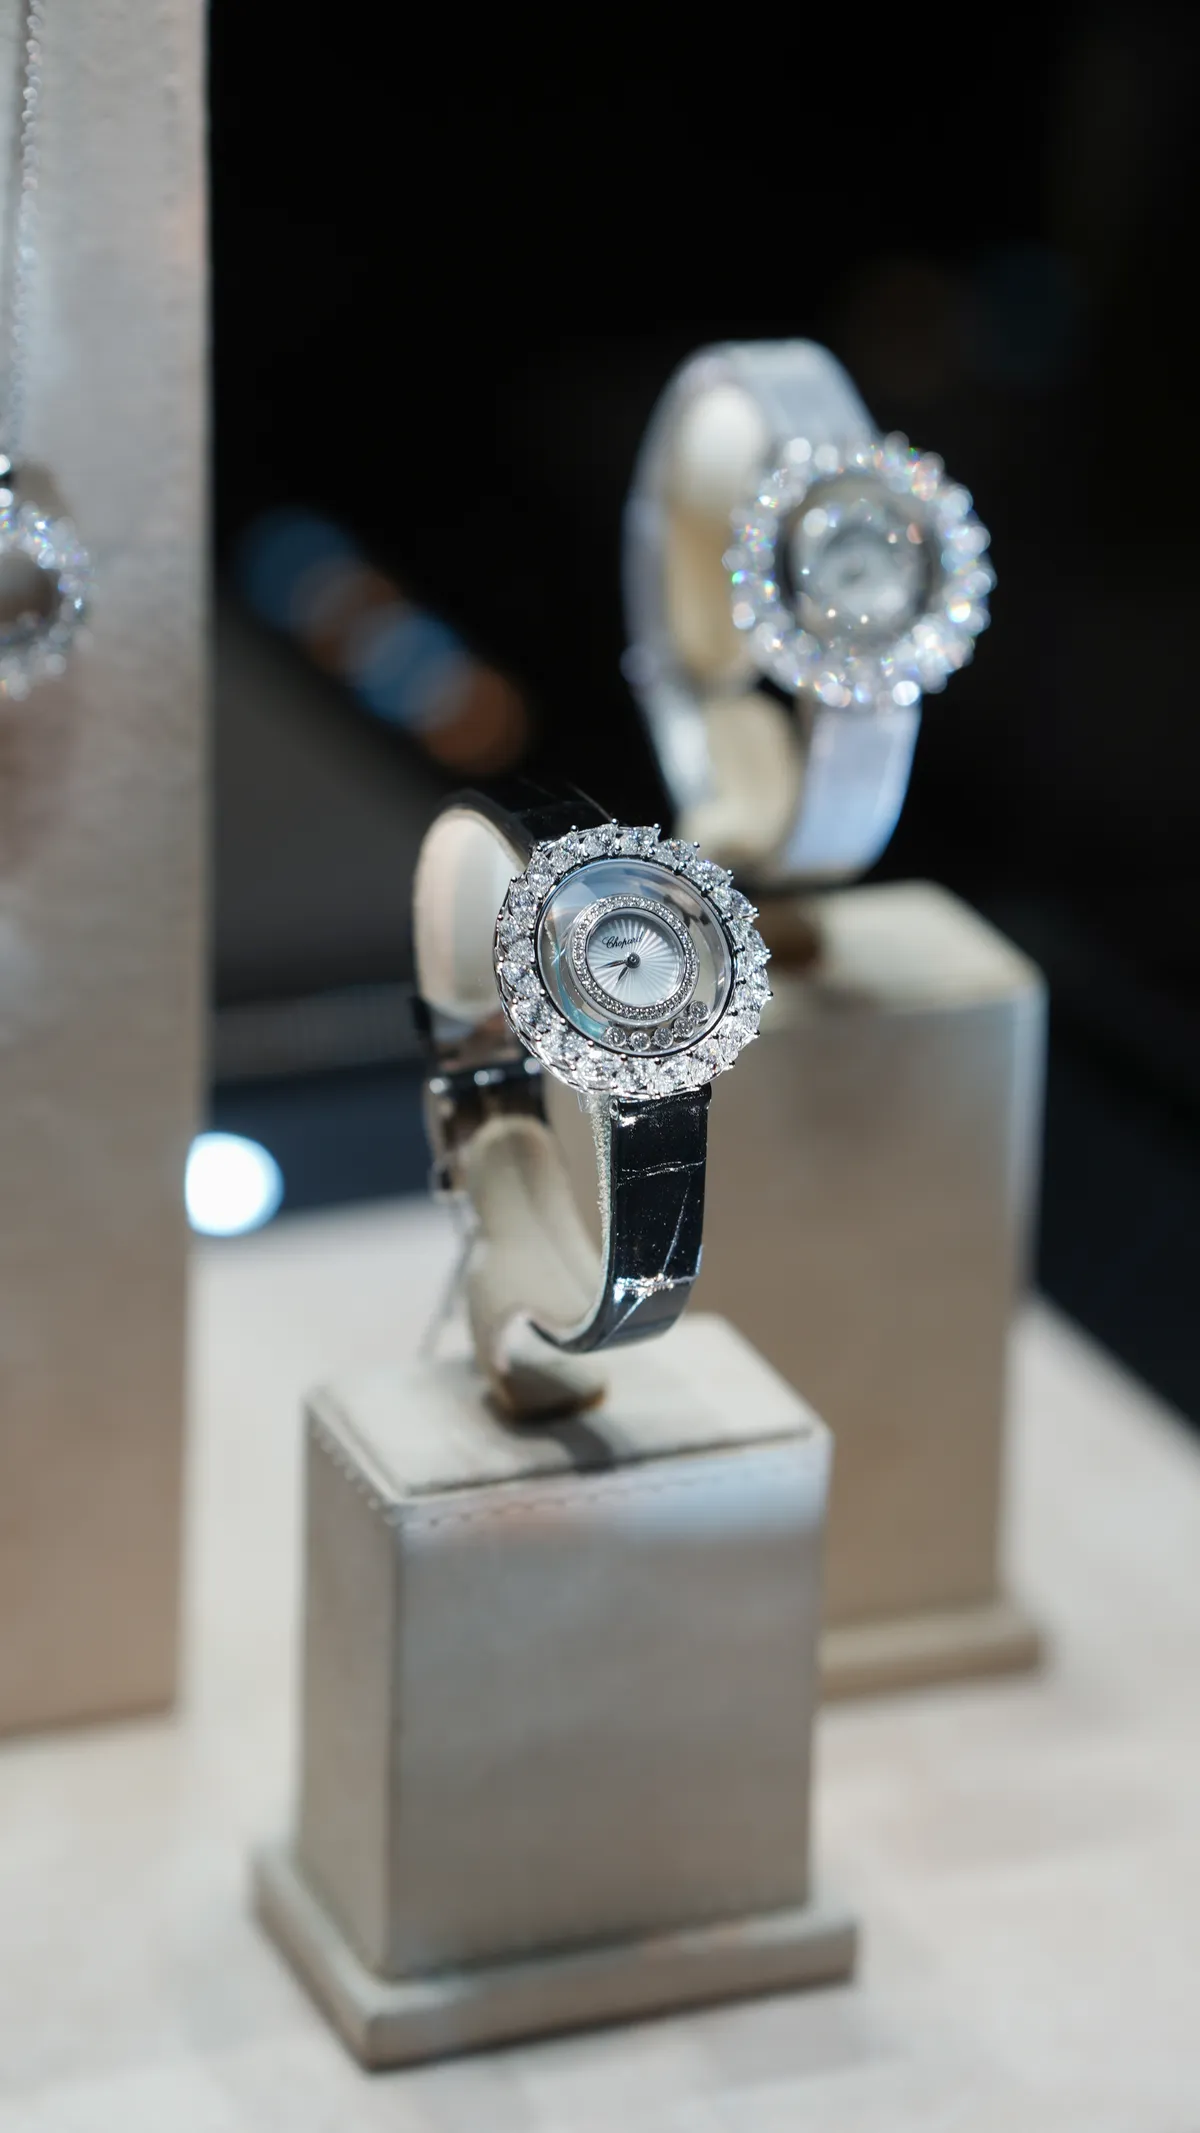
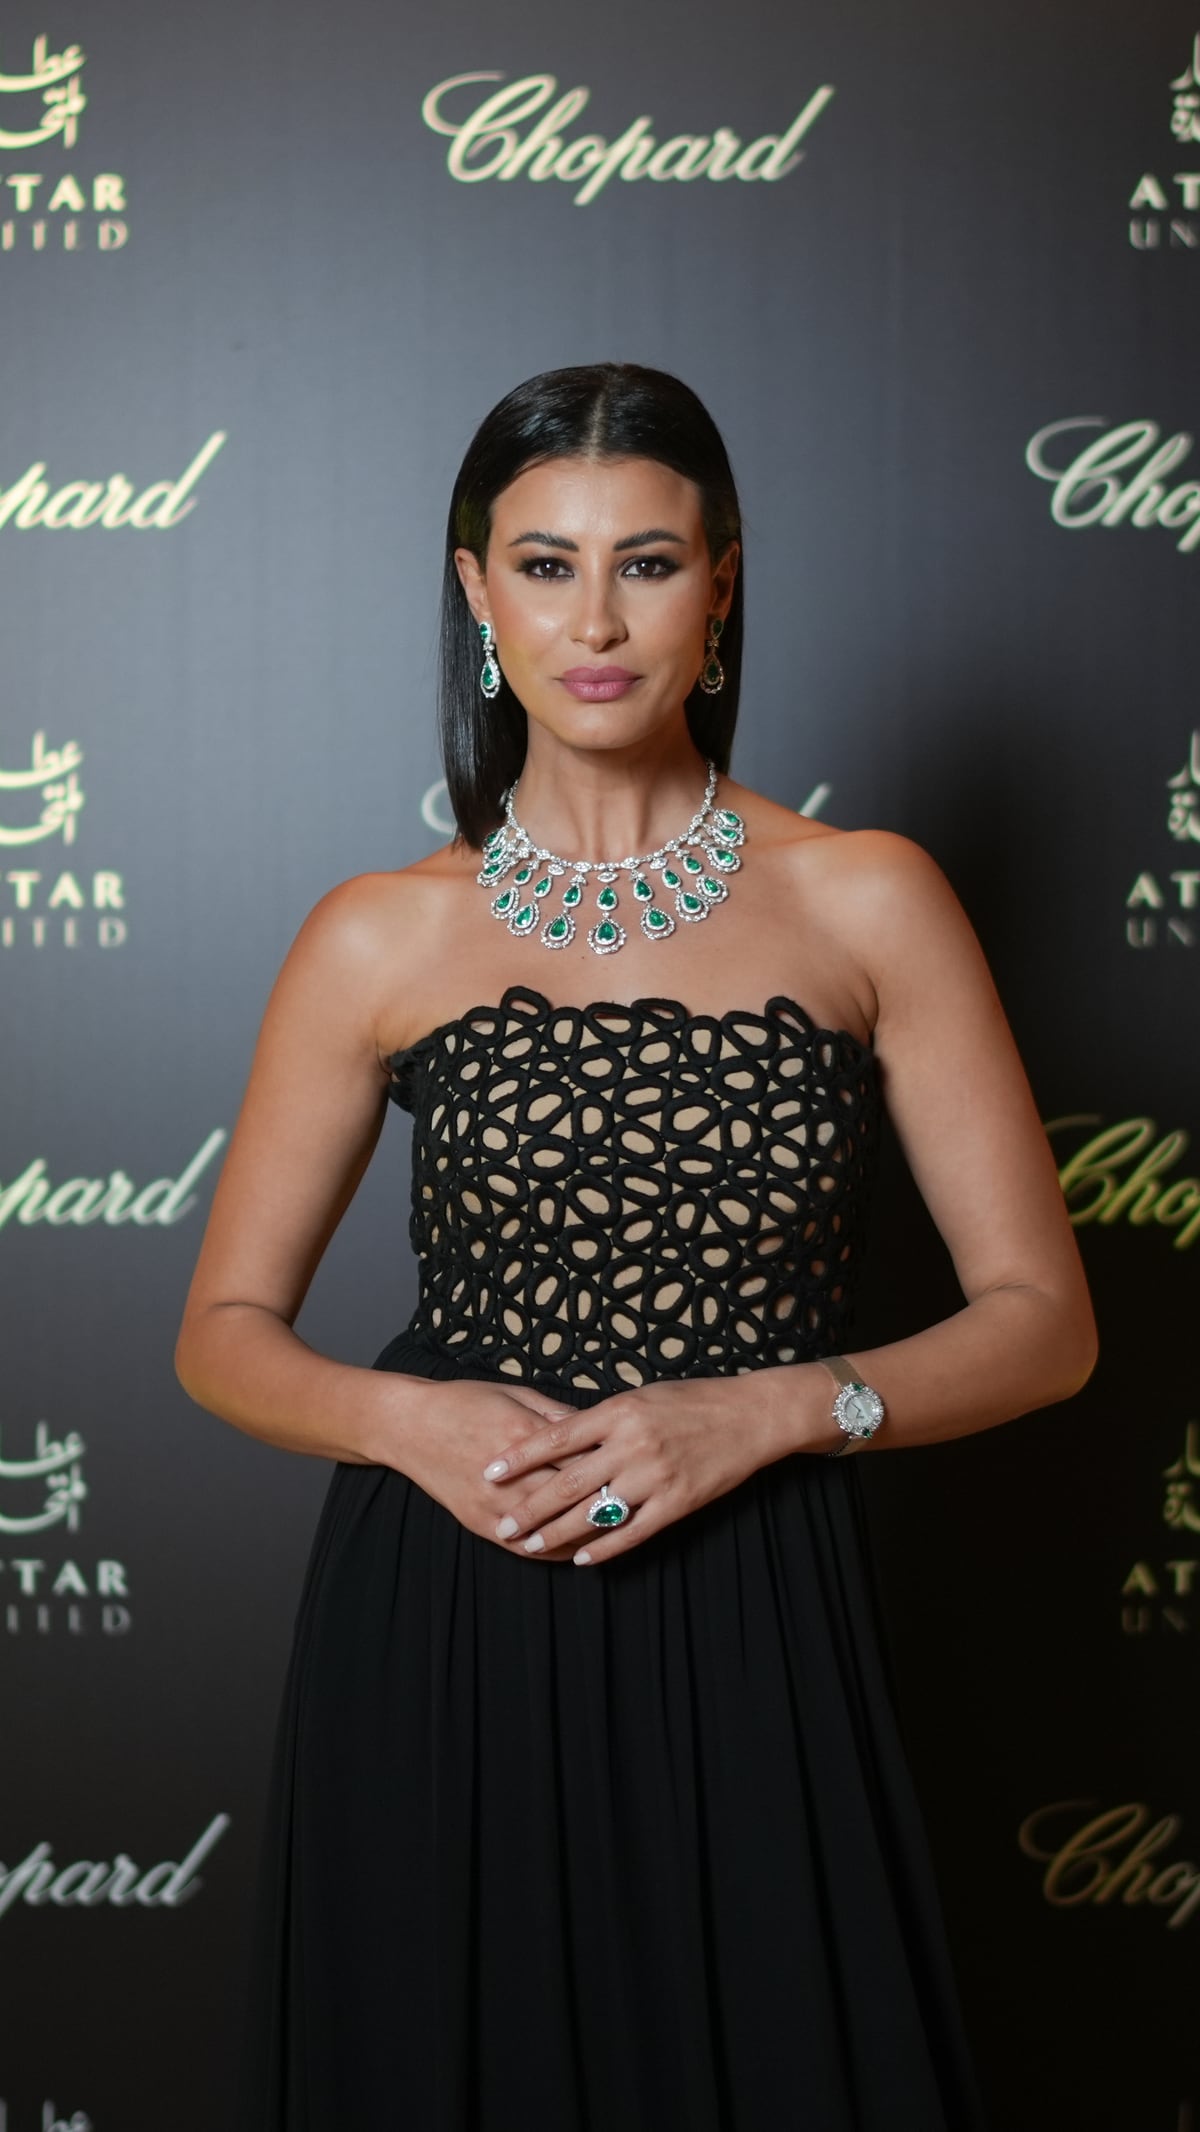
  • Chopard, photographed by DawwasEye Studios
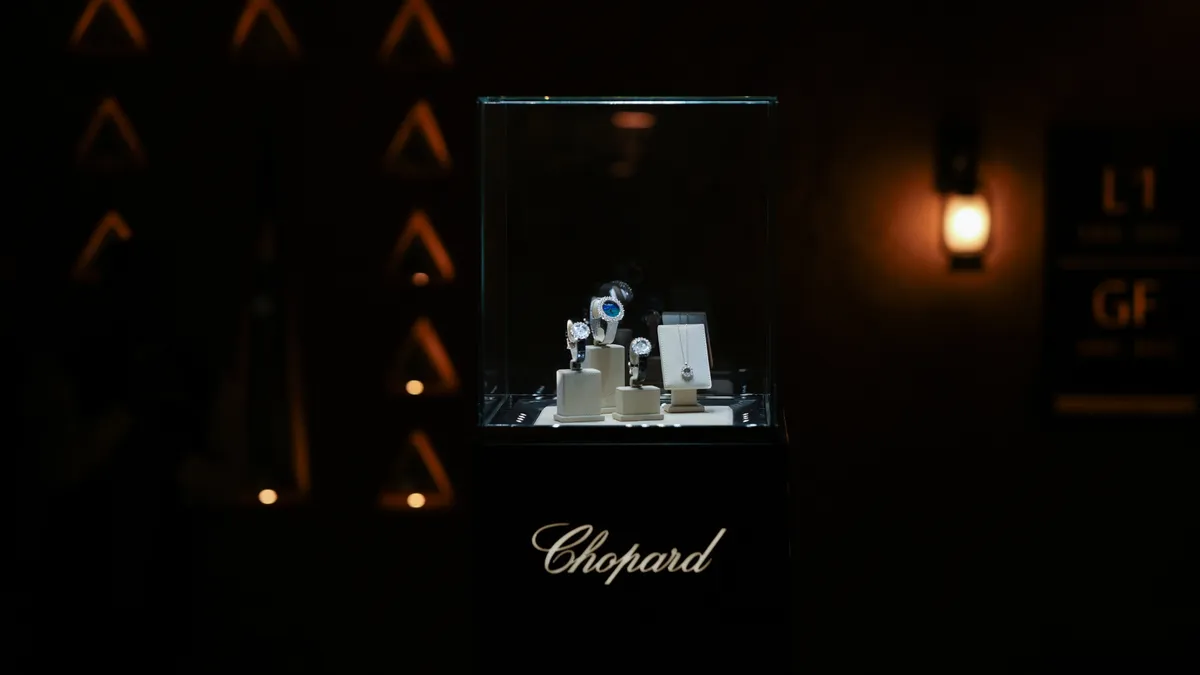
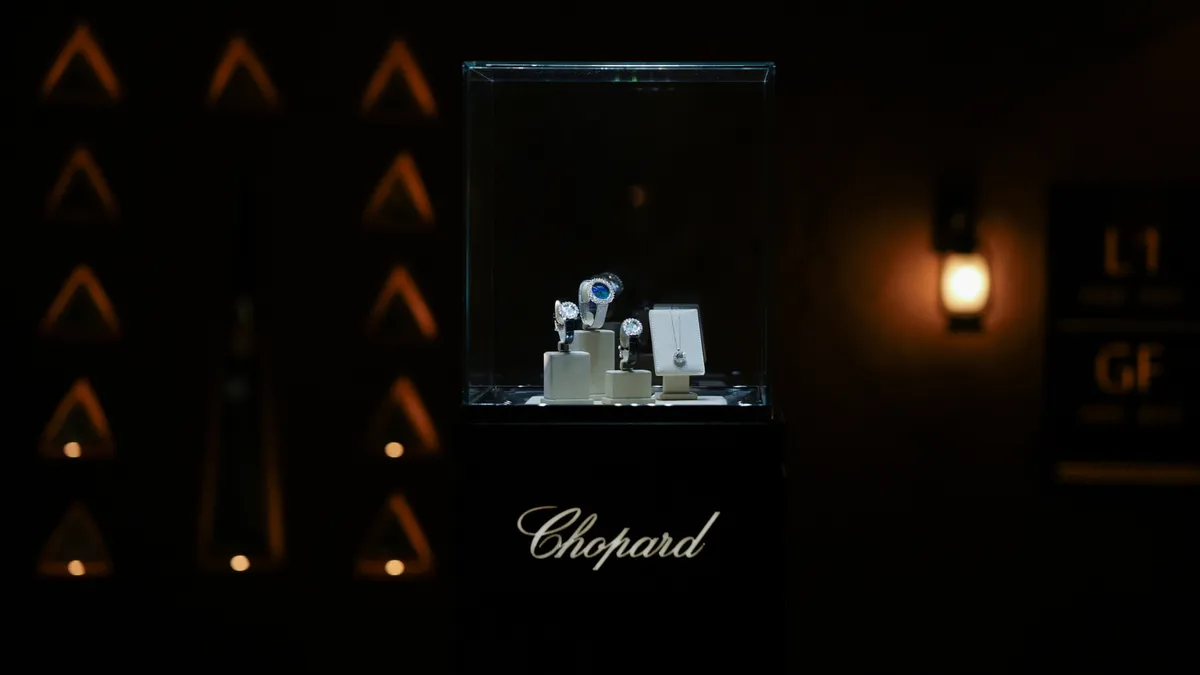
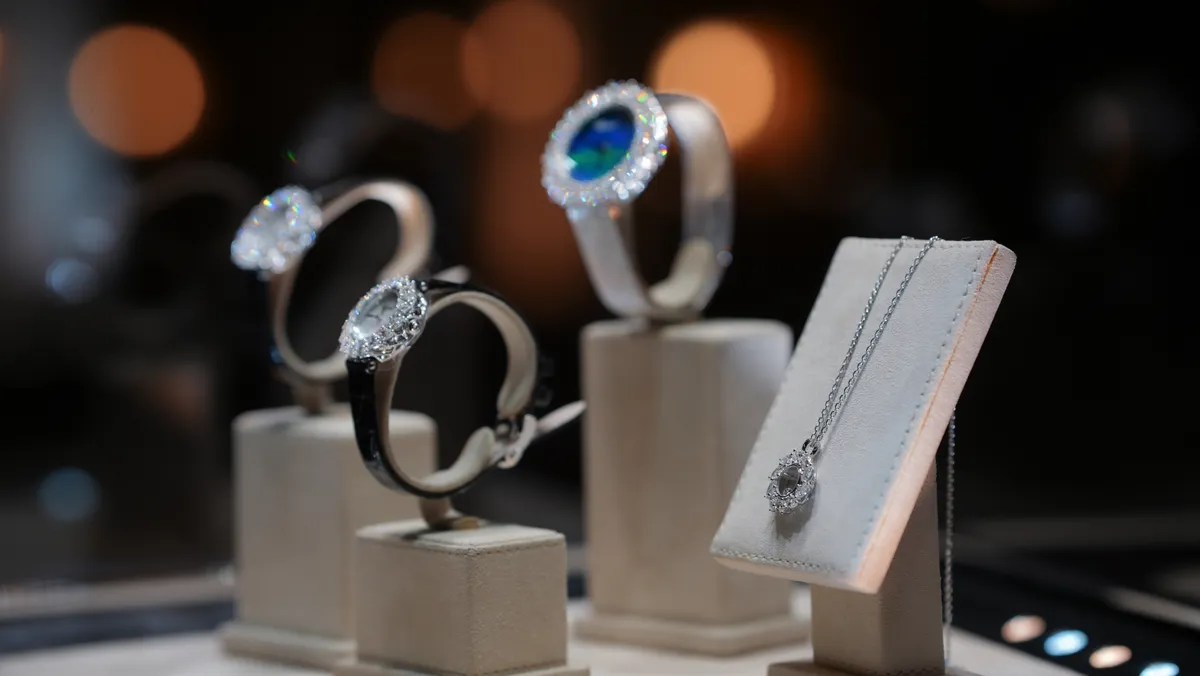
  • Chopard, photographed by DawwasEye Studios
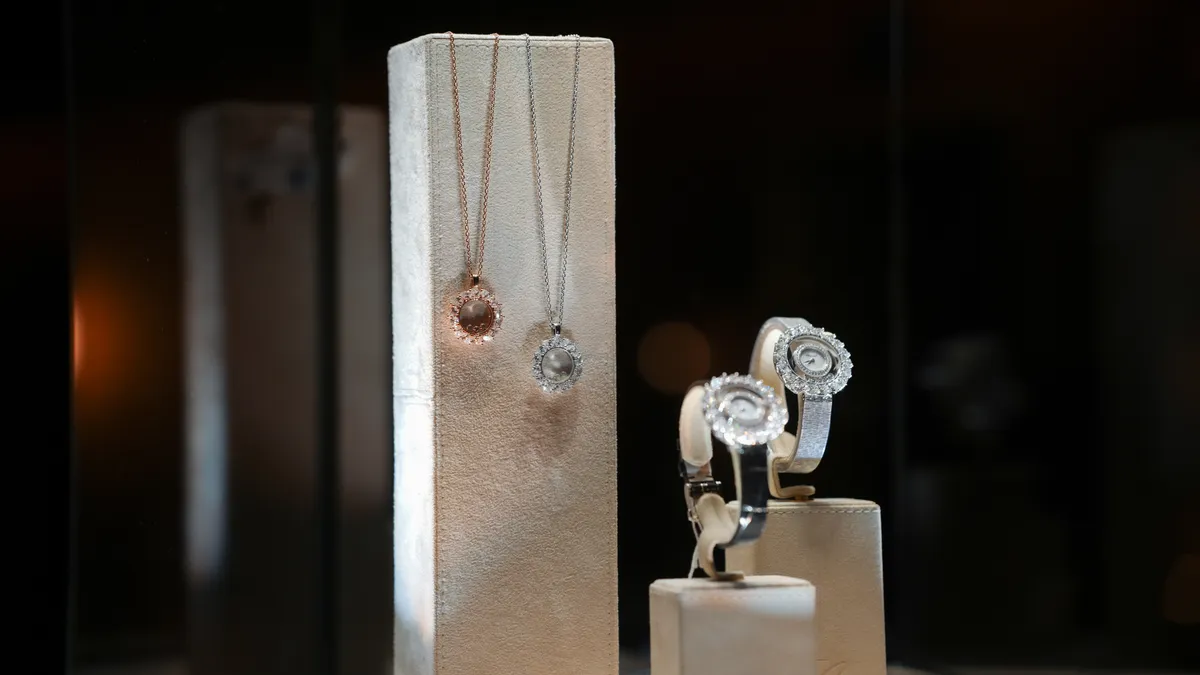
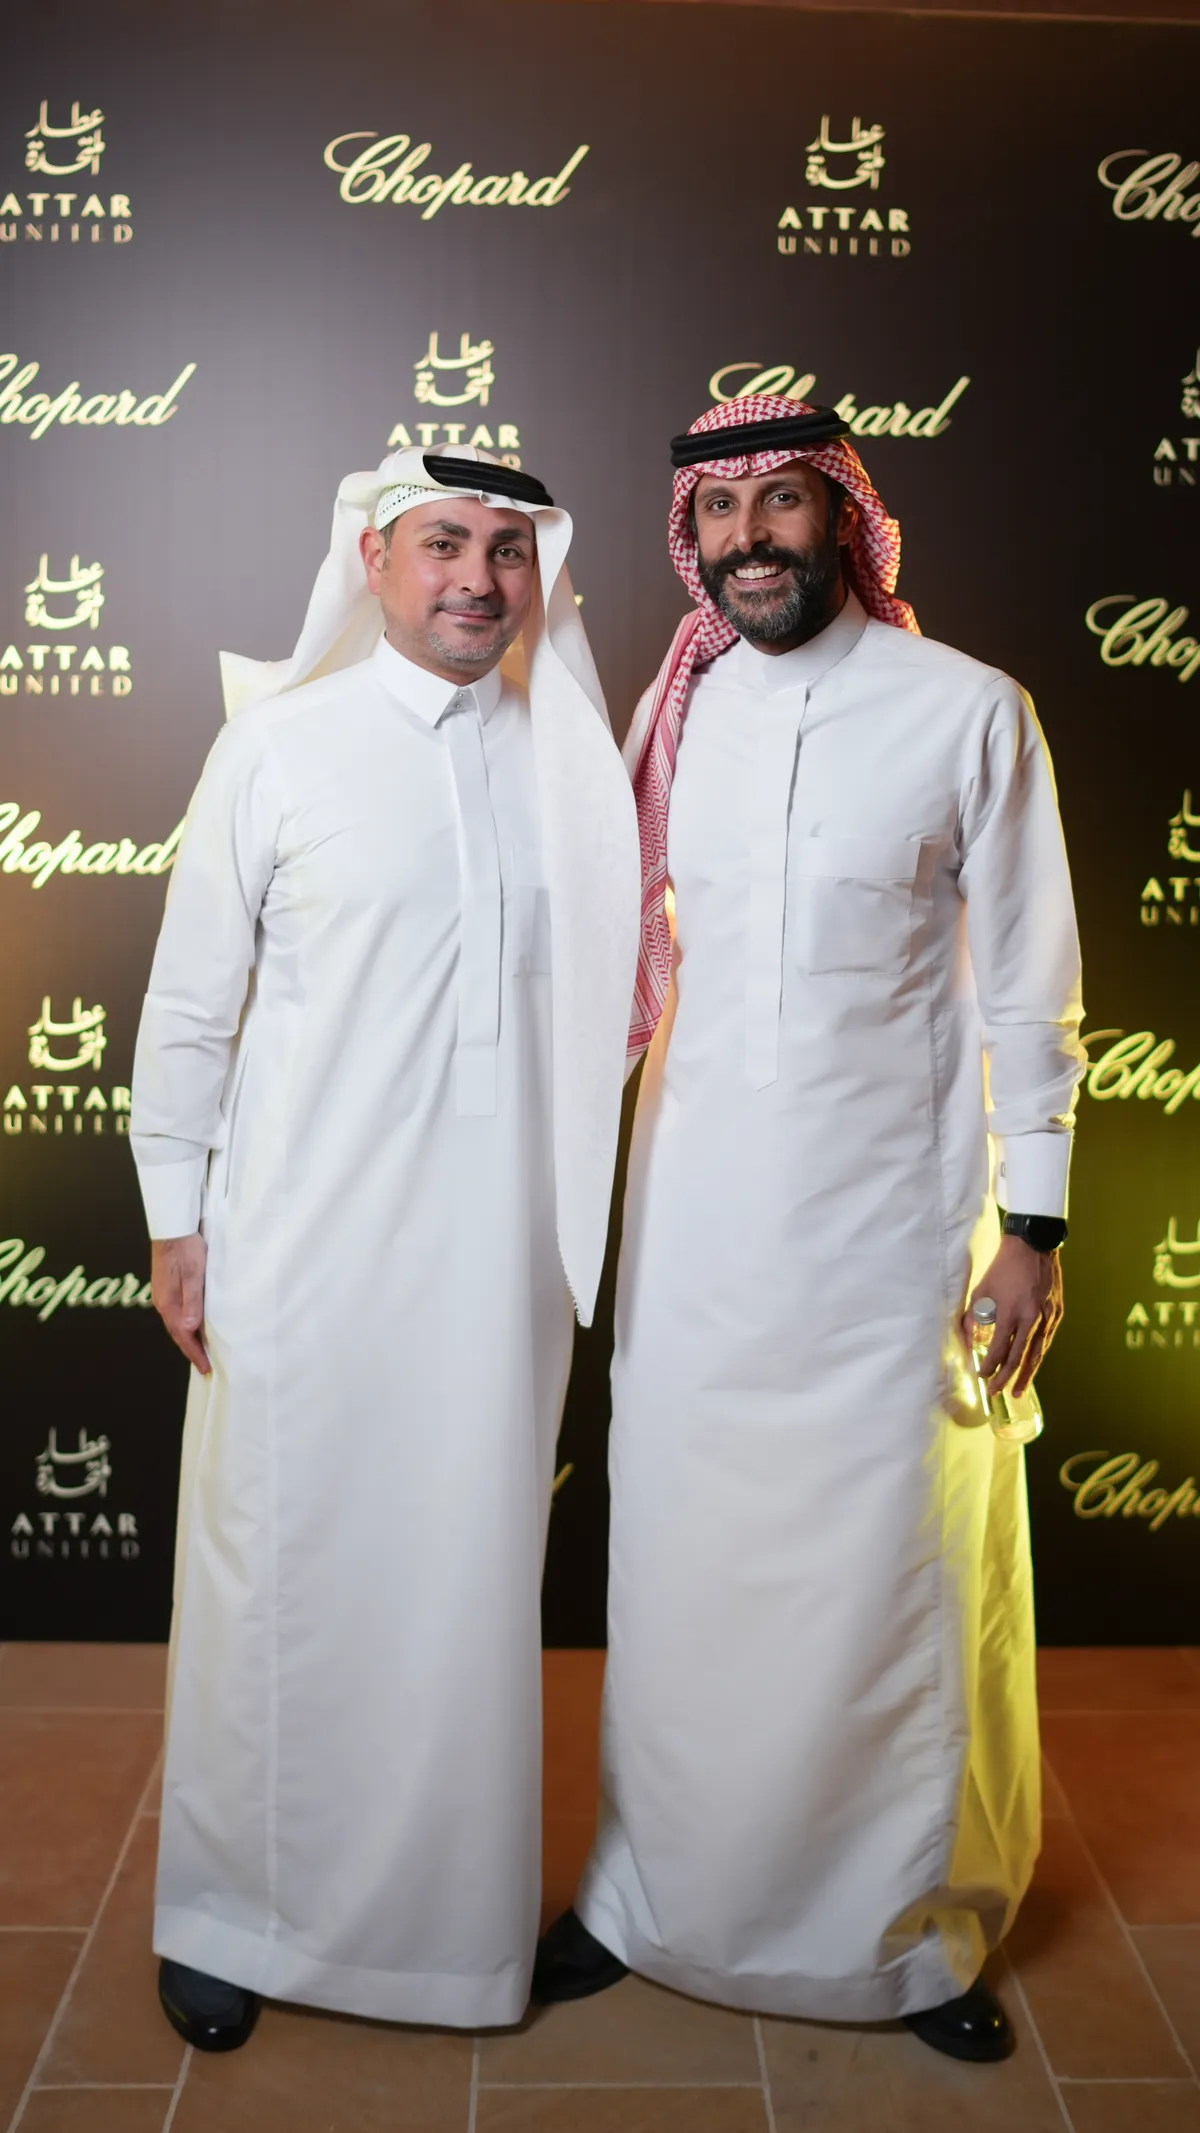
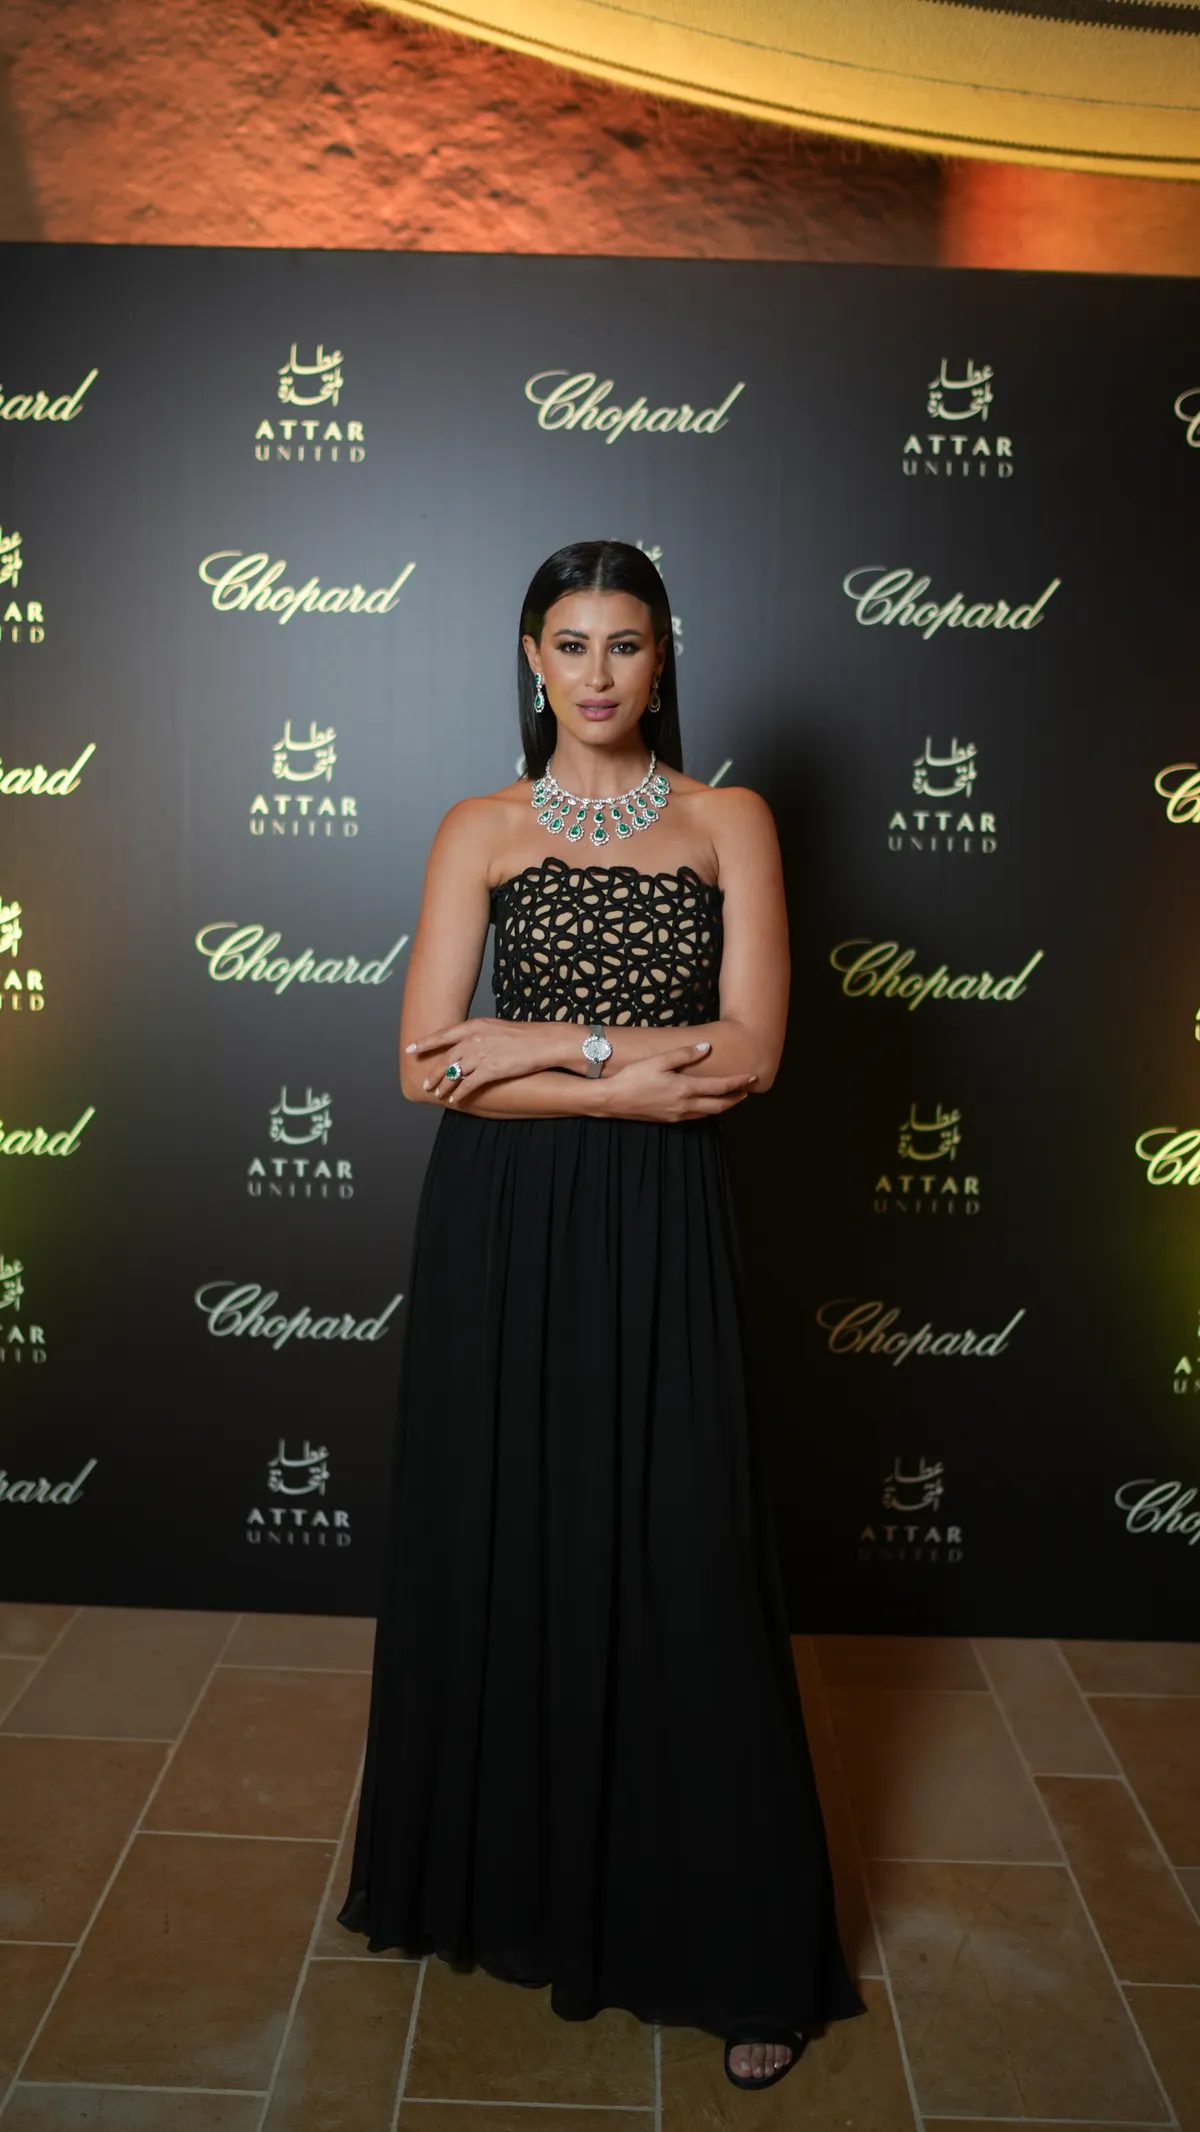
  • Chopard, photographed by DawwasEye Studios
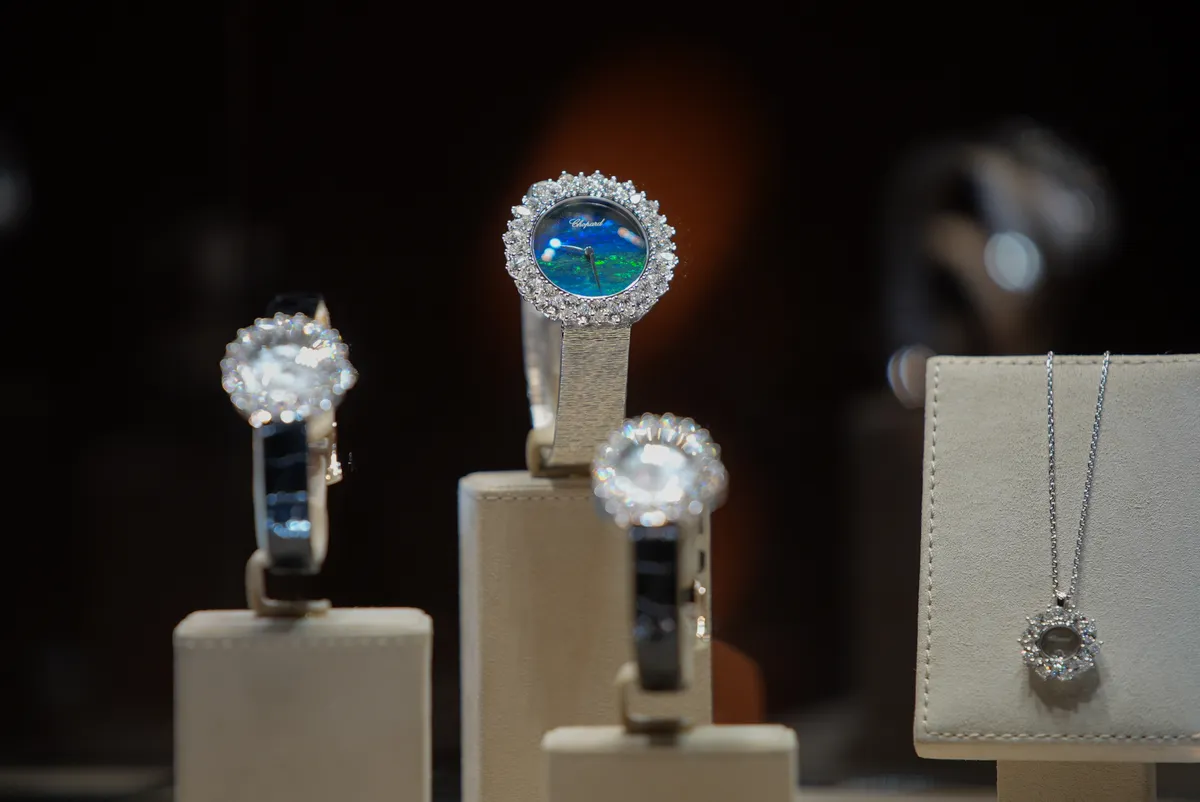
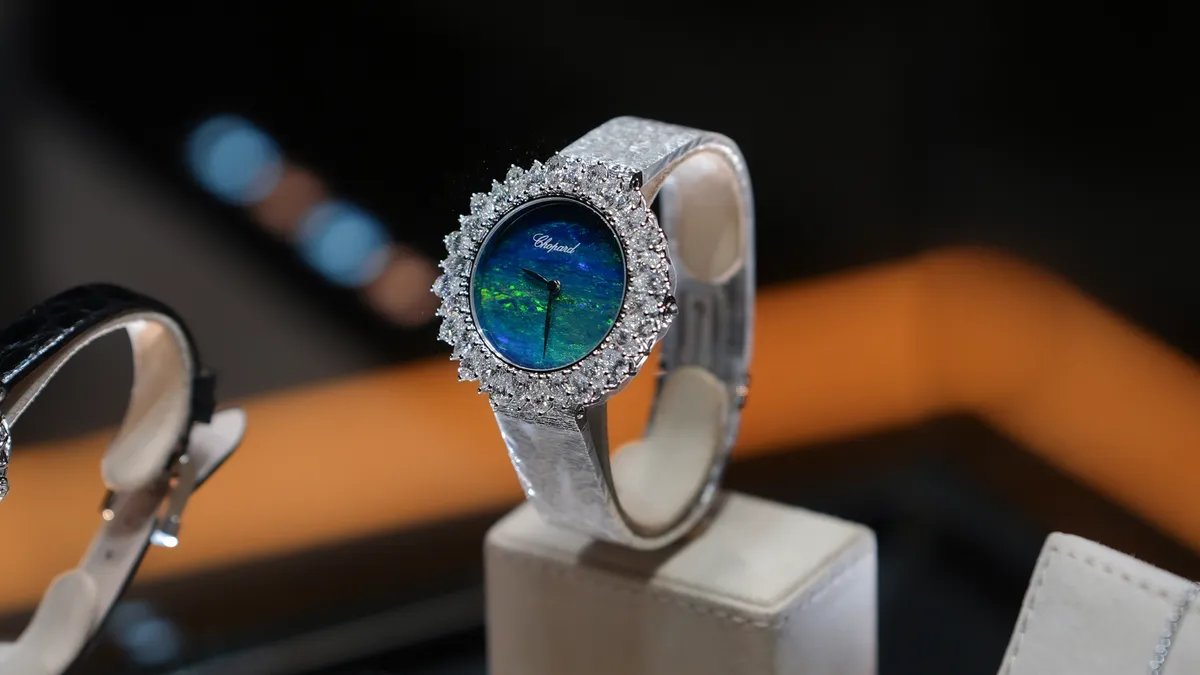
  • Chopard, photographed by DawwasEye Studios
  • Chopard, photographed by DawwasEye Studios
  • Chopard, photographed by DawwasEye Studios
  • Chopard, photographed by DawwasEye Studios
  • Chopard, photographed by DawwasEye Studios
  • Chopard, photographed by DawwasEye Studios
  • Chopard, photographed by DawwasEye Studios
  • Chopard, photographed by DawwasEye Studios
  • Chopard, photographed by DawwasEye Studios
  • Chopard, photographed by DawwasEye Studios
  • Chopard, photographed by DawwasEye Studios
  • Chopard, photographed by DawwasEye Studios
  • Chopard, photographed by DawwasEye Studios
  • Chopard, photographed by DawwasEye Studios
  • Chopard, photographed by DawwasEye Studios
  • Chopard, photographed by DawwasEye Studios
  • Chopard, photographed by DawwasEye Studios
  • Chopard, photographed by DawwasEye Studios
  • Chopard, photographed by DawwasEye Studios
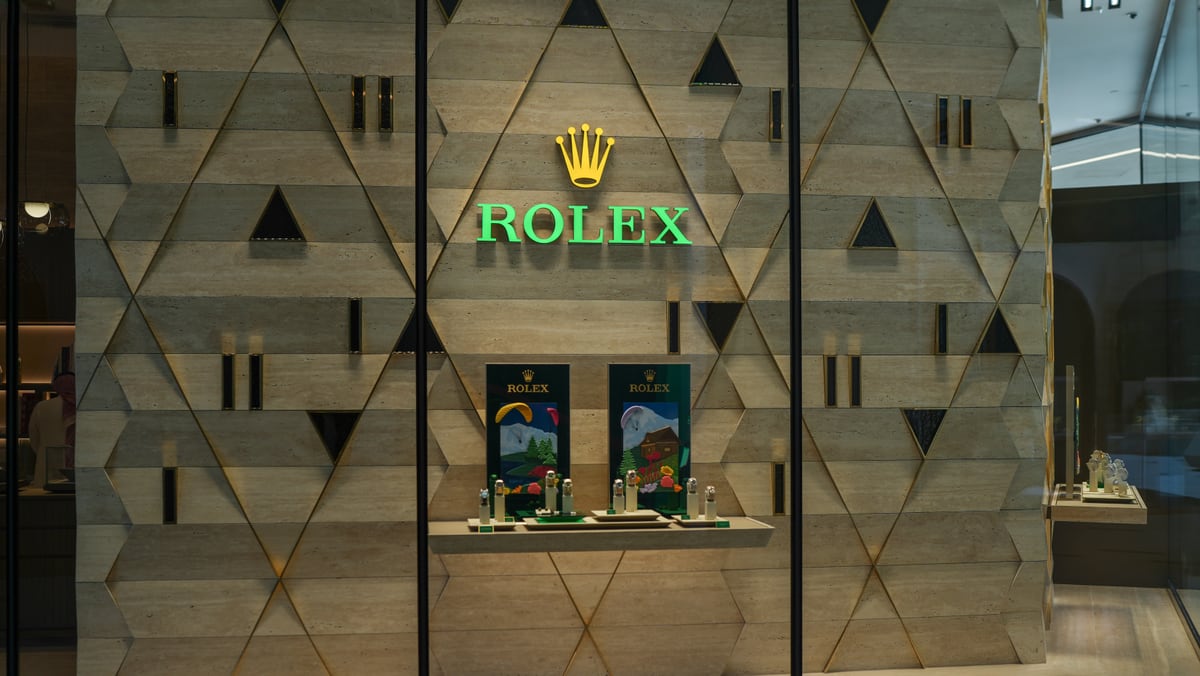
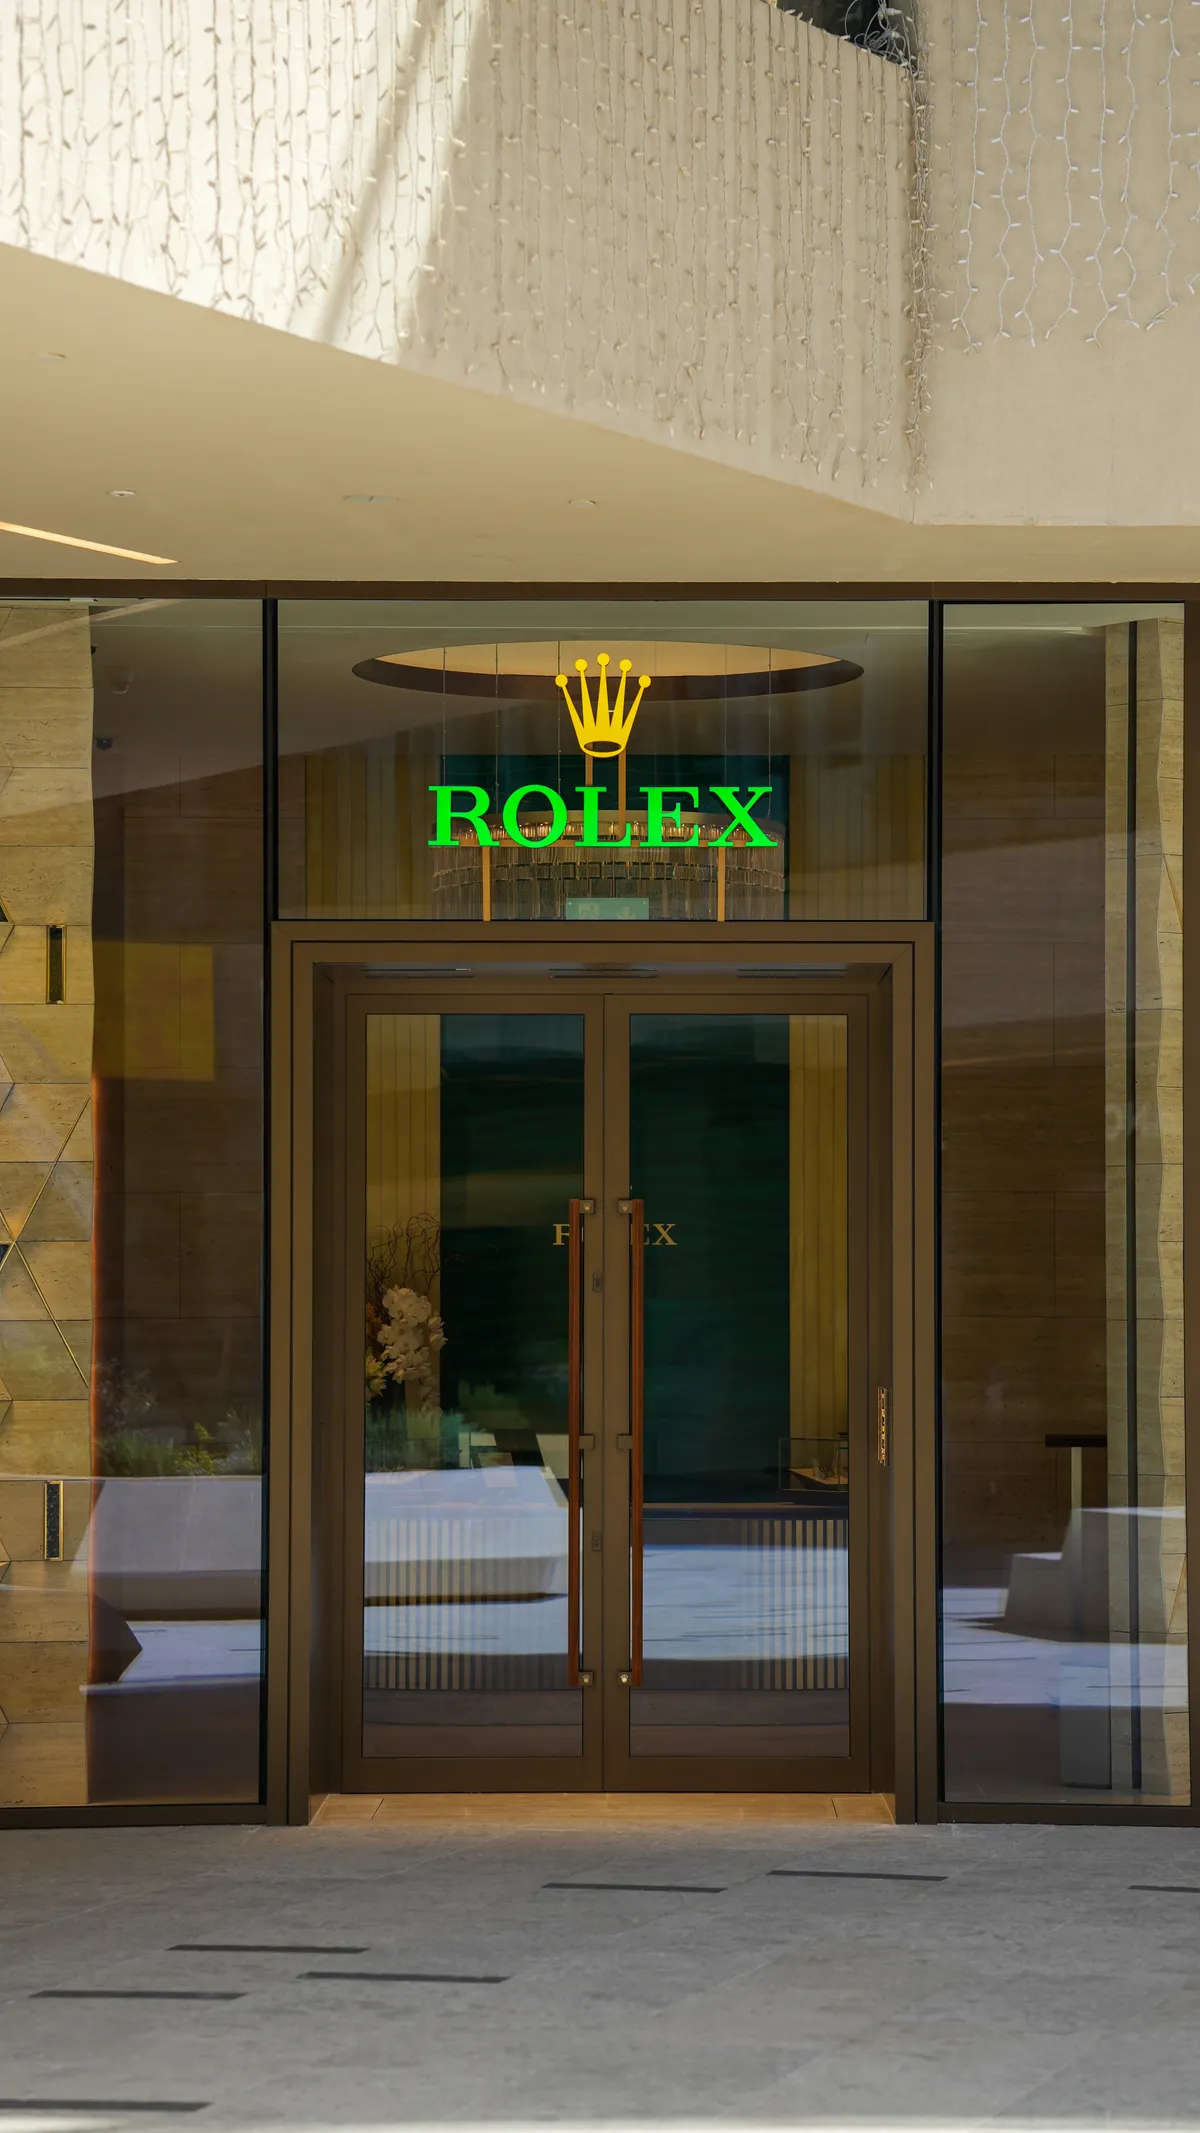
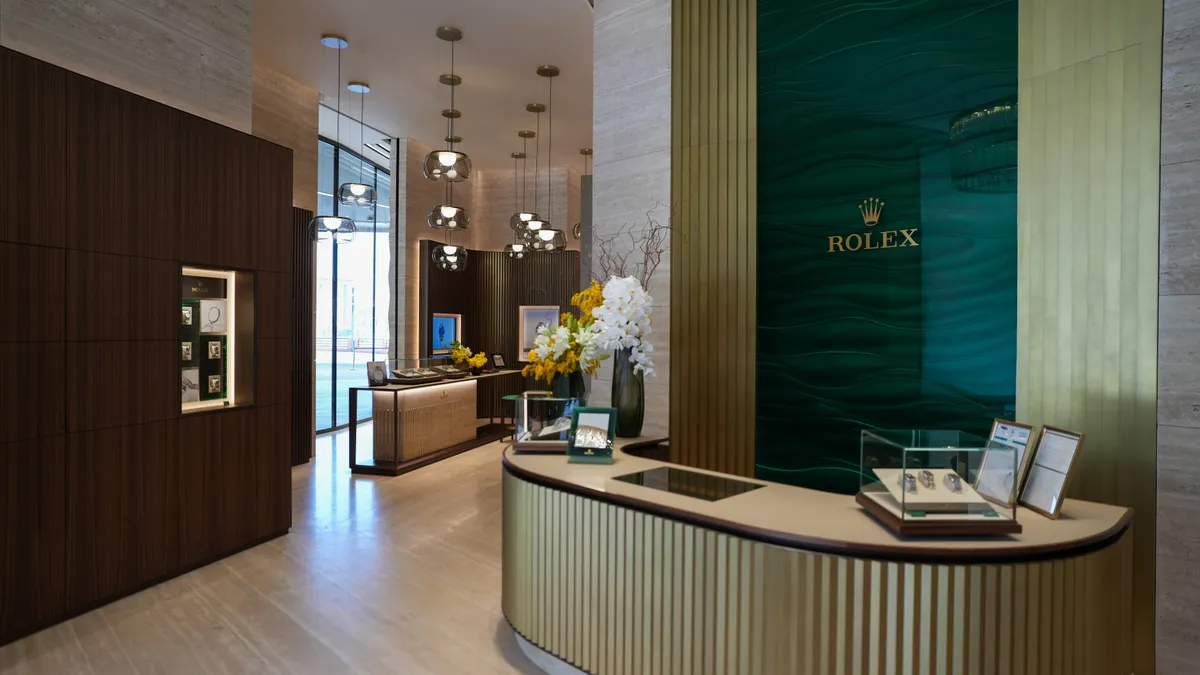
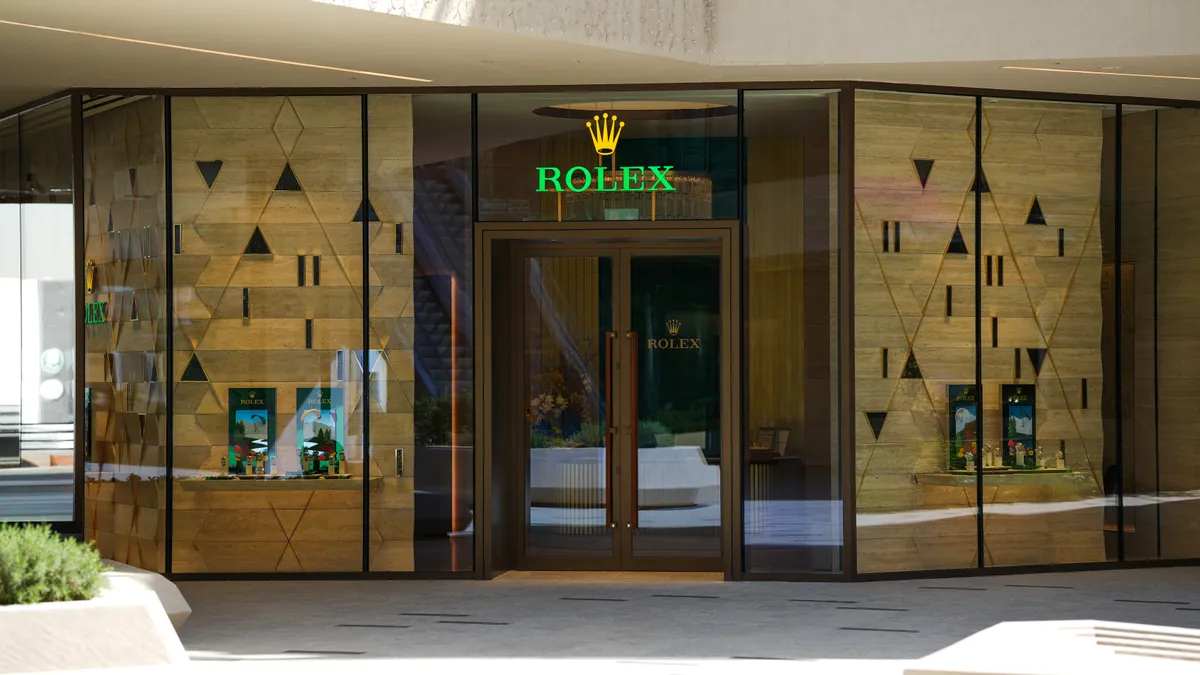
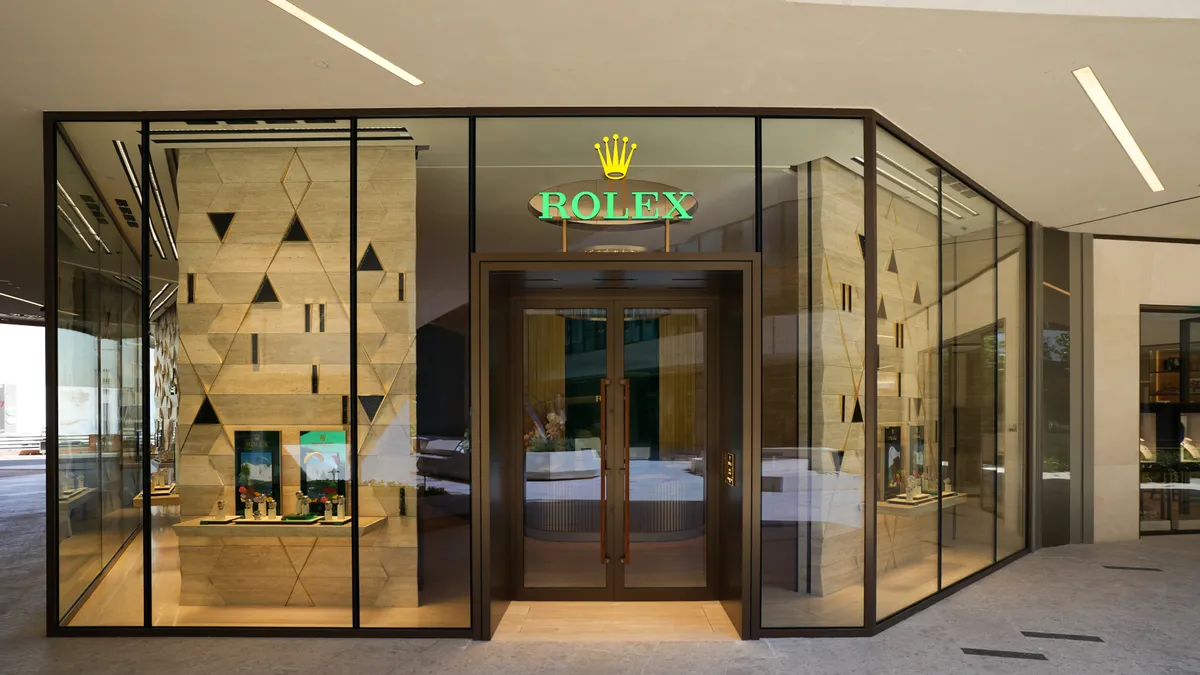
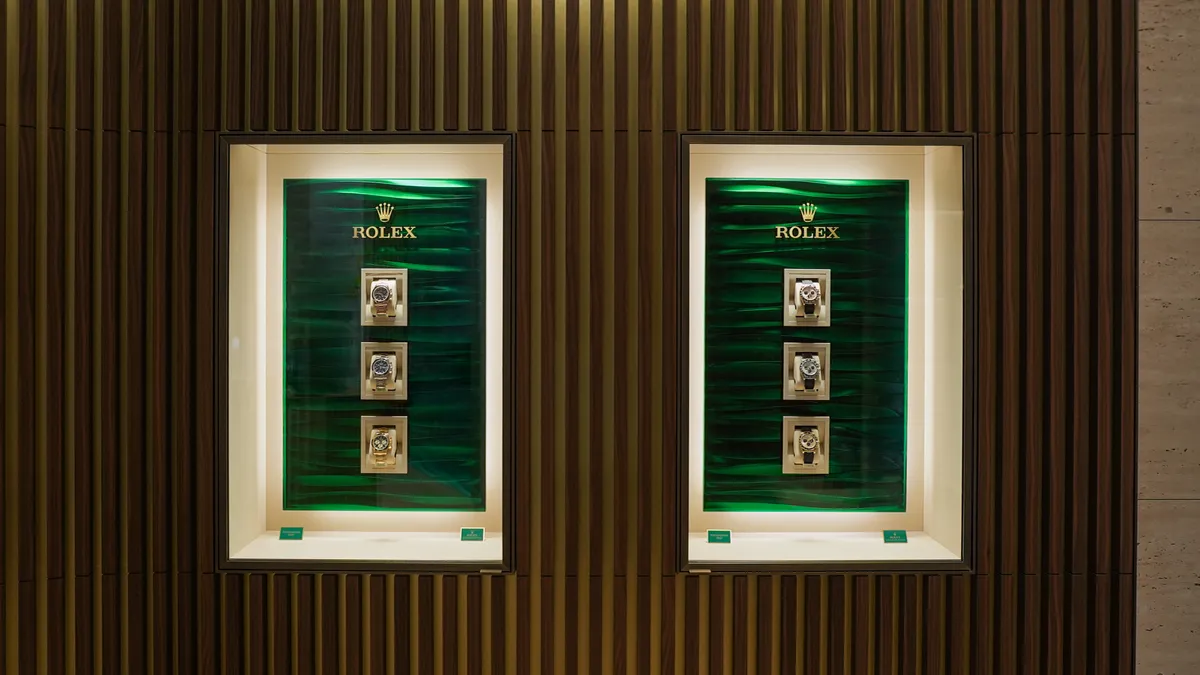
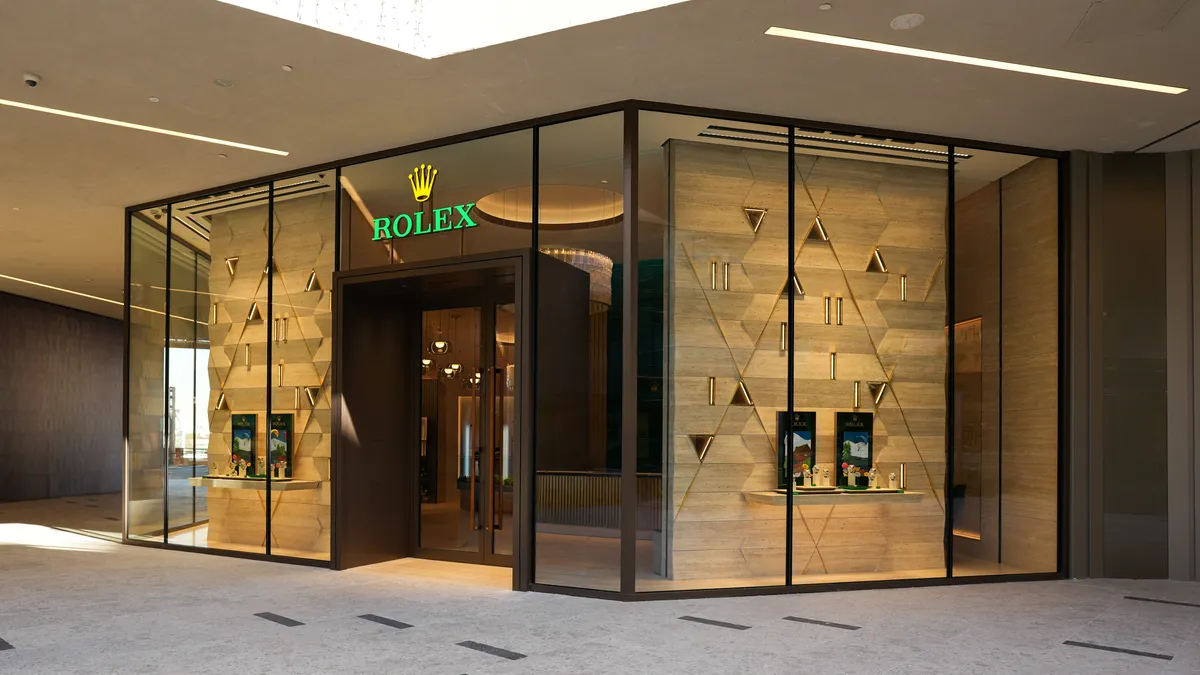
  • Rolex, photographed by DawwasEye Studios
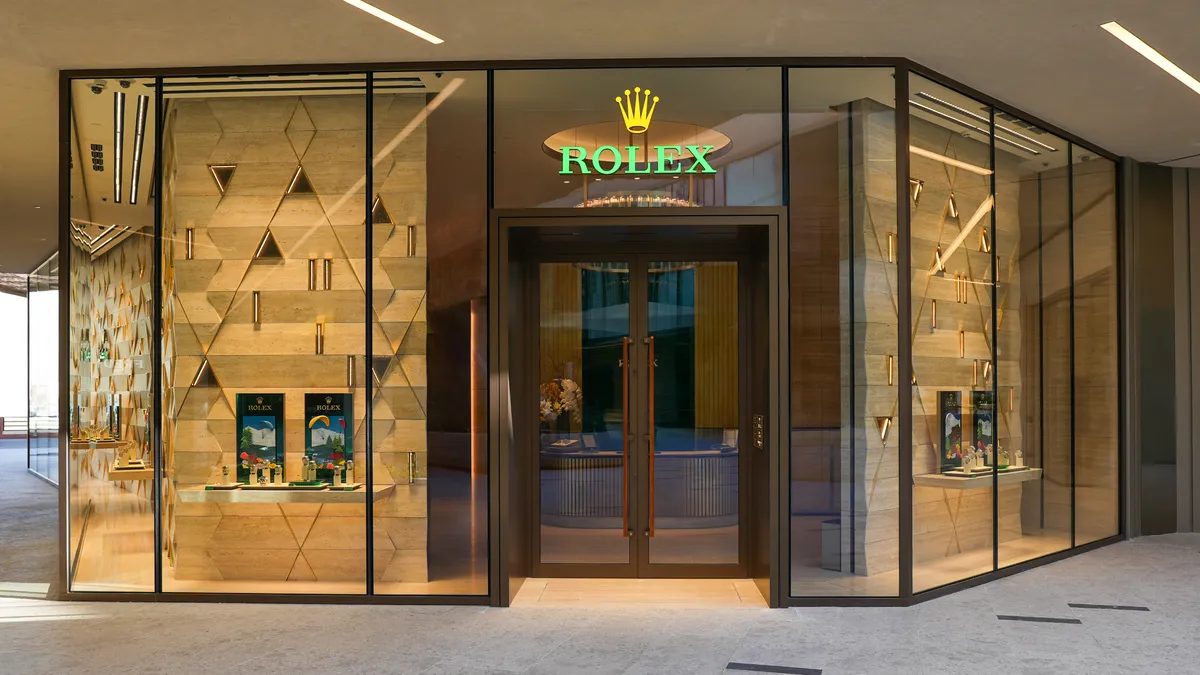
  • Rolex, photographed by DawwasEye Studios
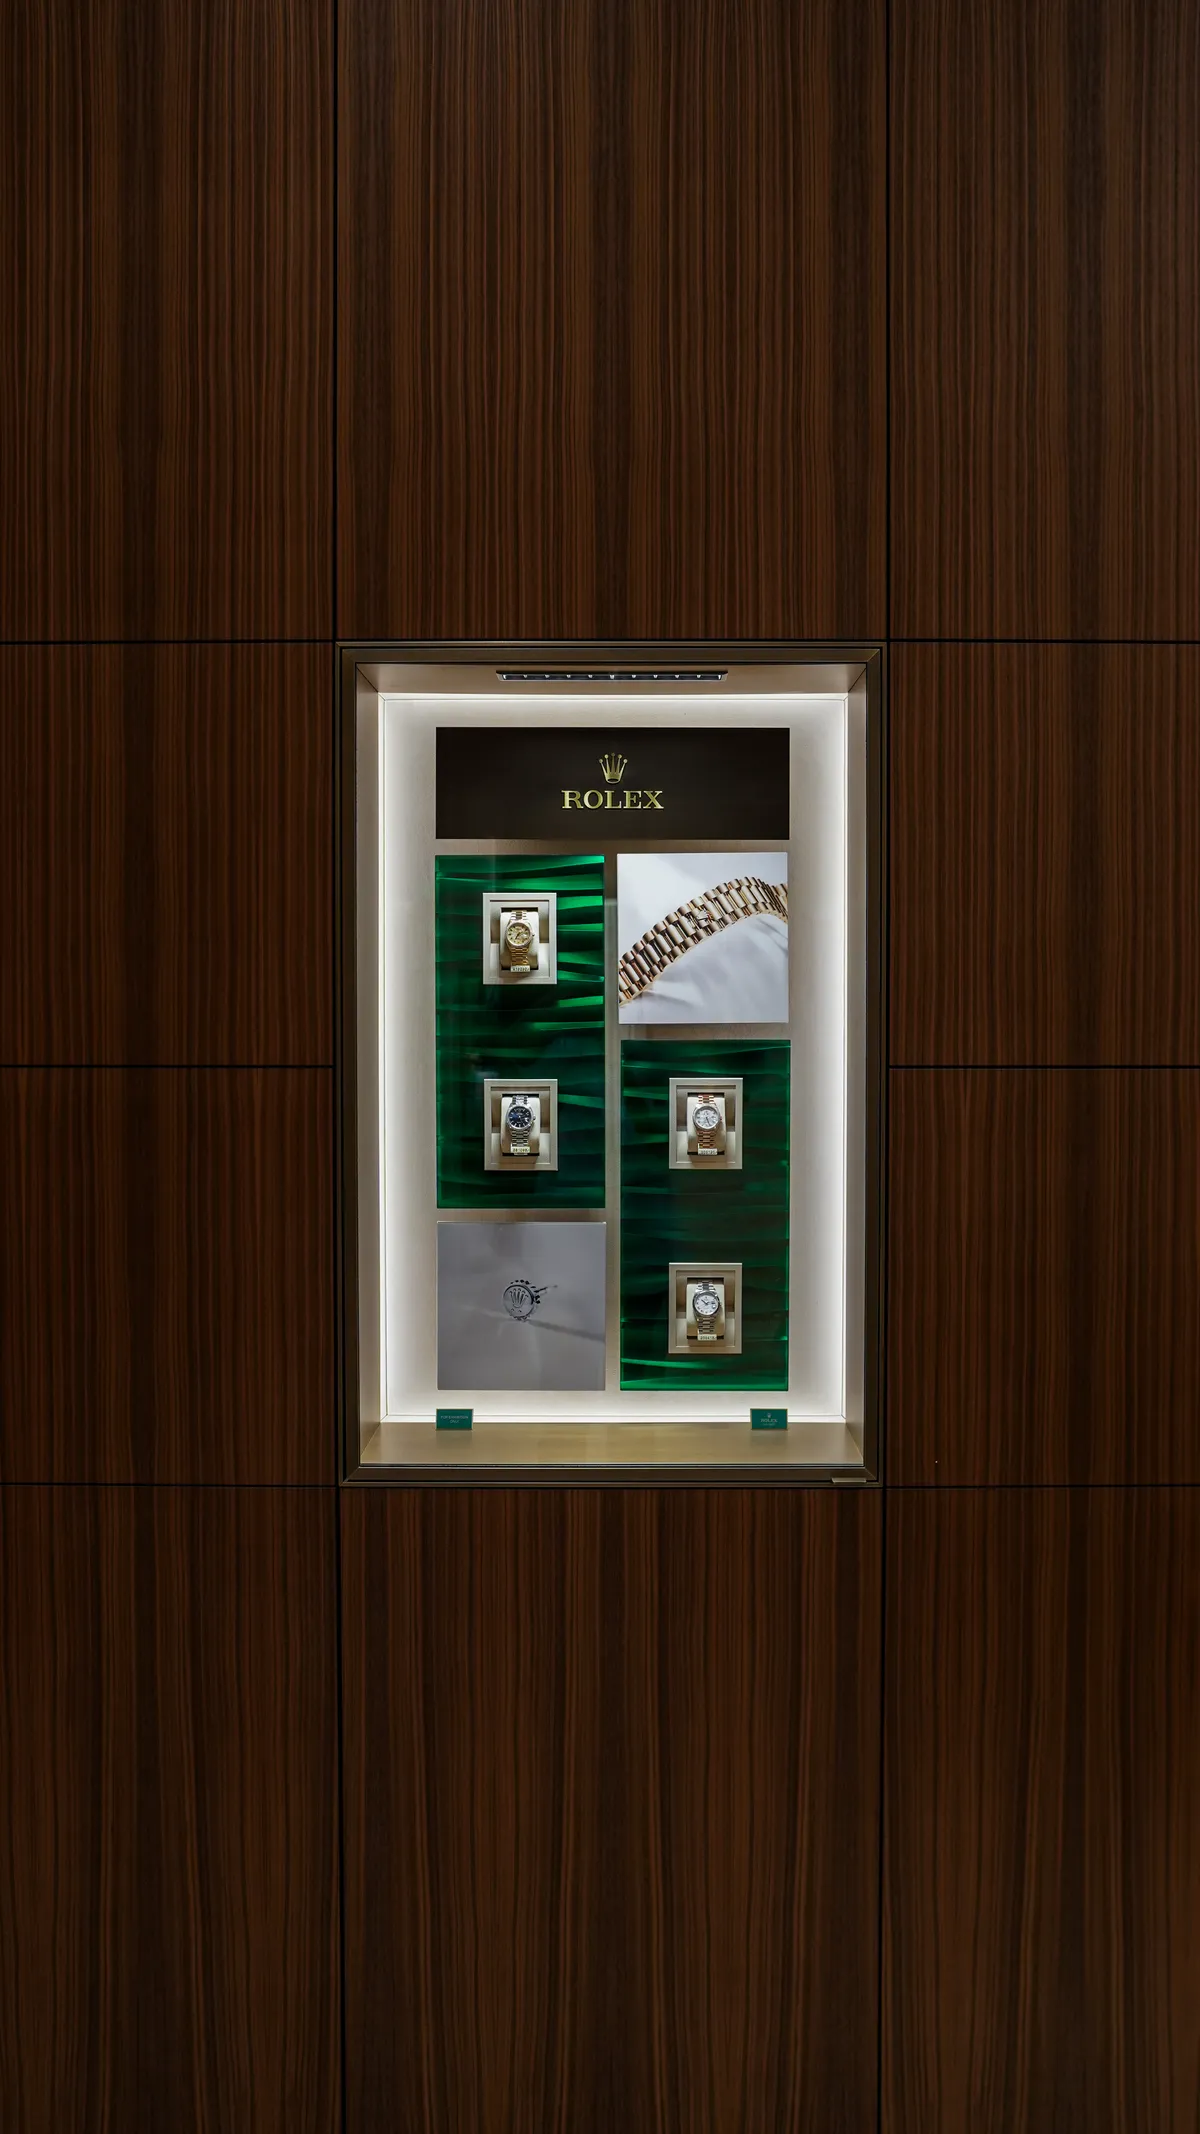
  • Rolex, photographed by DawwasEye Studios
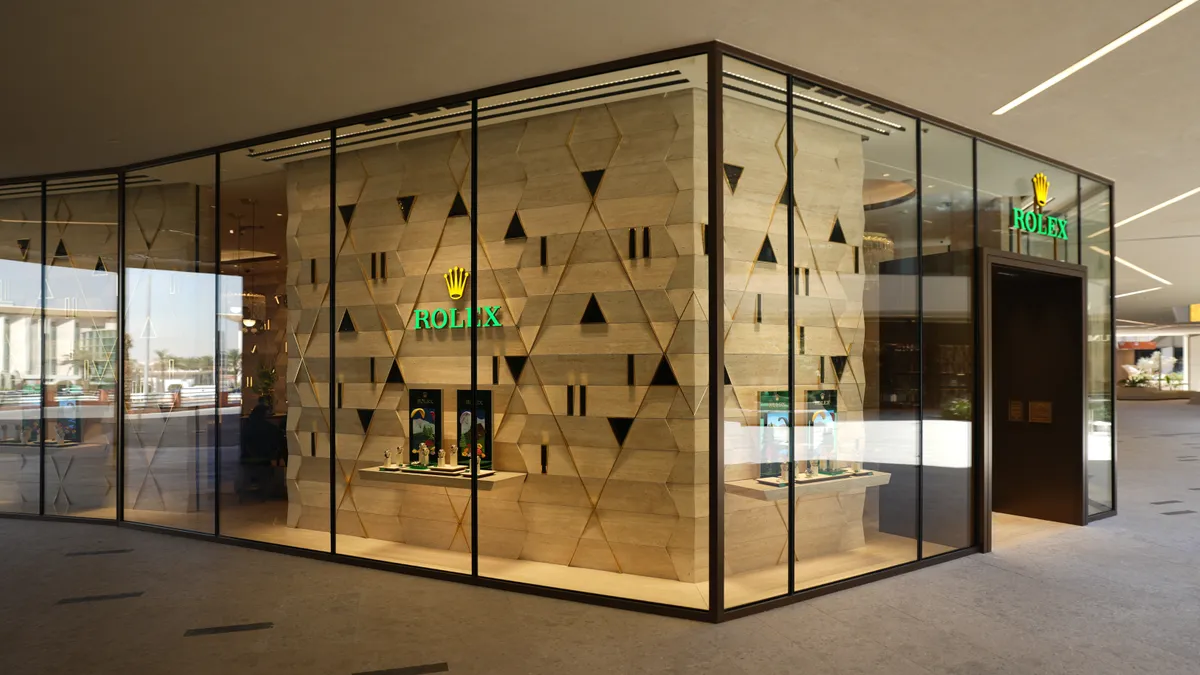
  • Rolex, photographed by DawwasEye Studios
  • Rolex, photographed by DawwasEye Studios
  • Rolex, photographed by DawwasEye Studios
  • Rolex, photographed by DawwasEye Studios
  • Rolex, photographed by DawwasEye Studios
  • Rolex, photographed by DawwasEye Studios
  • Rolex, photographed by DawwasEye Studios
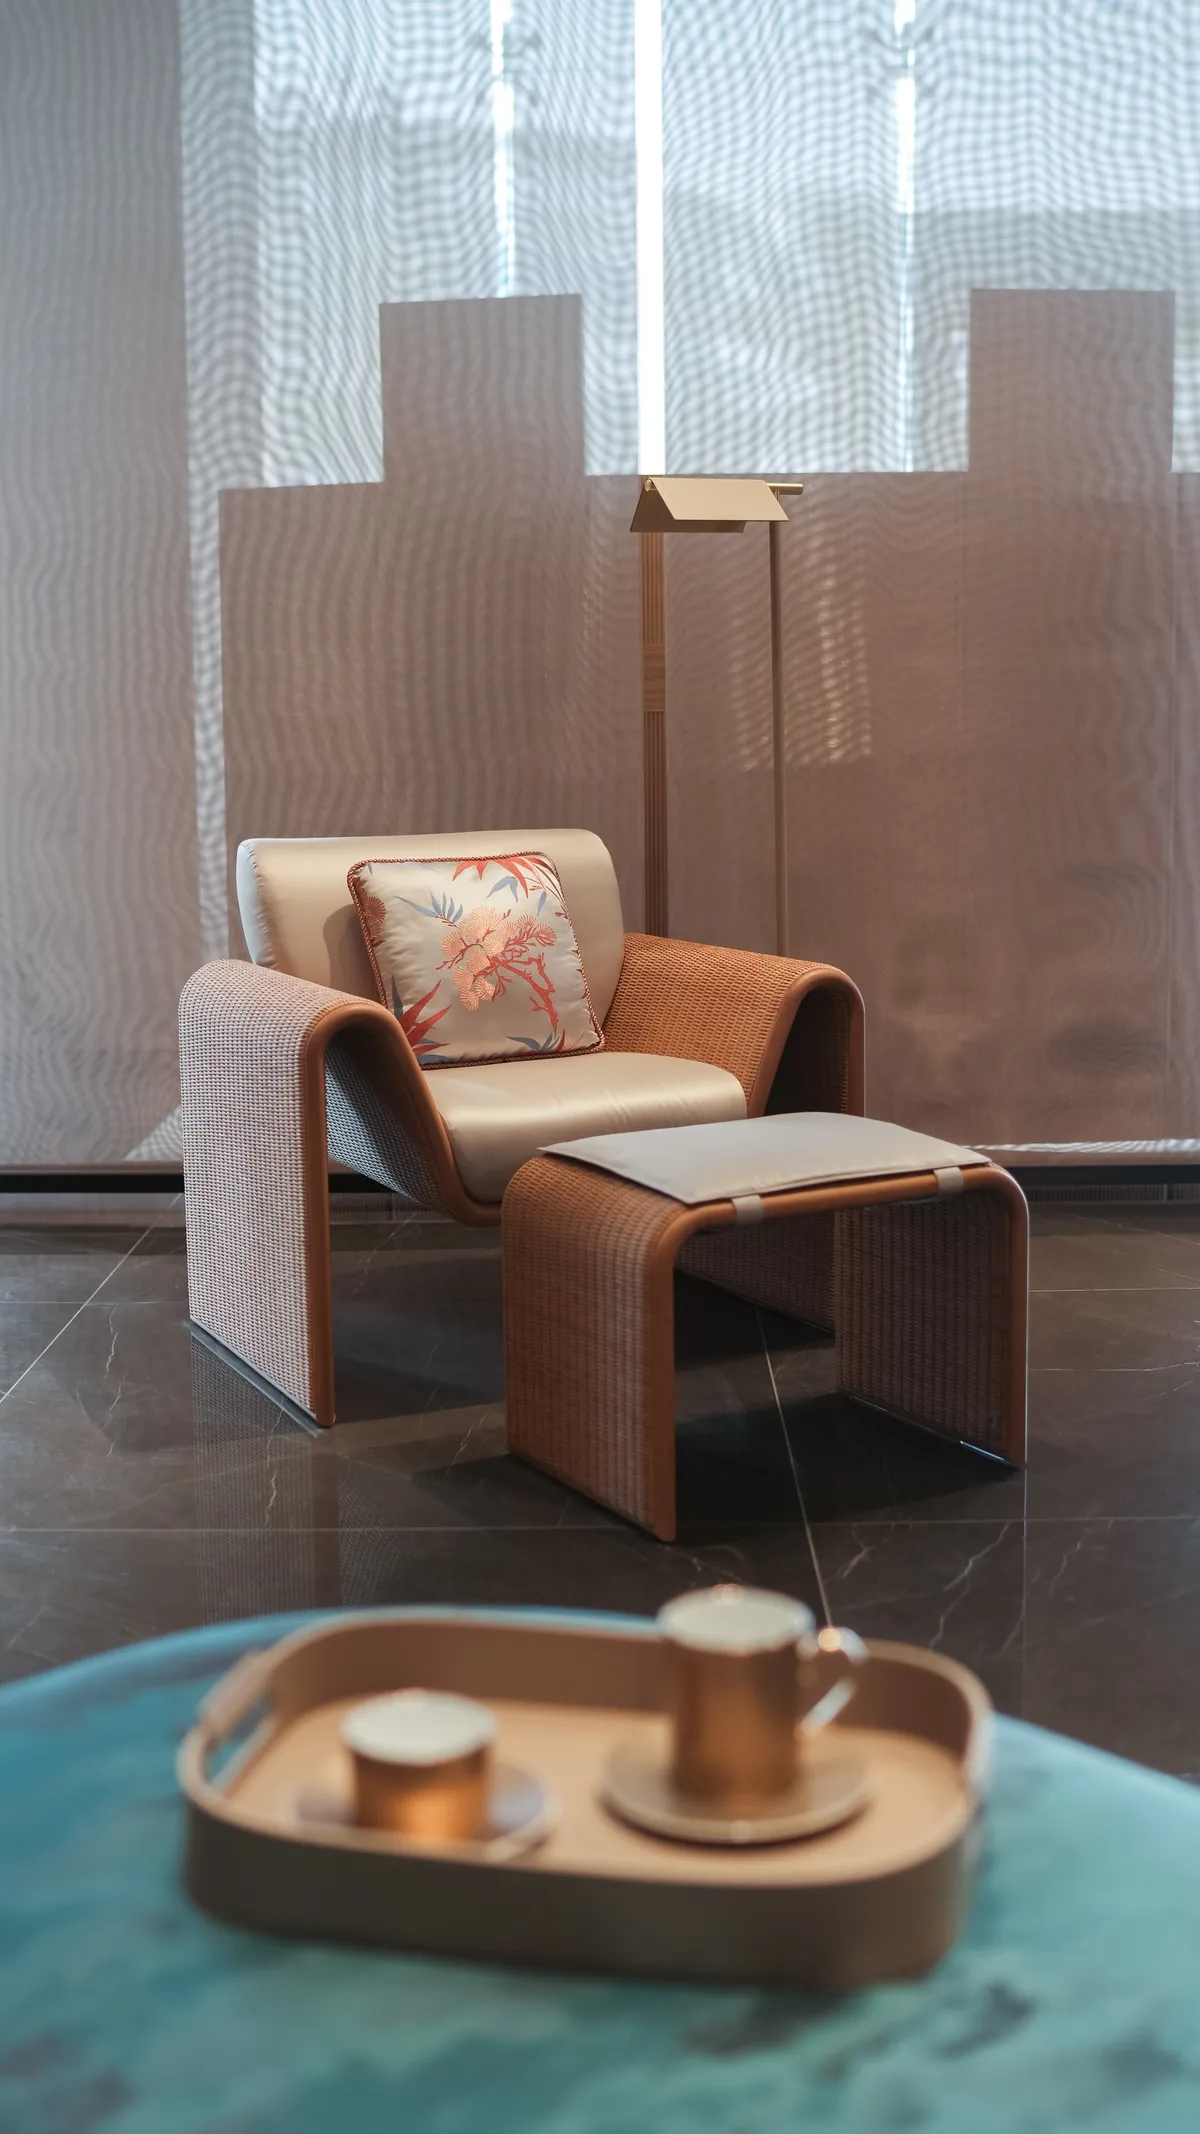
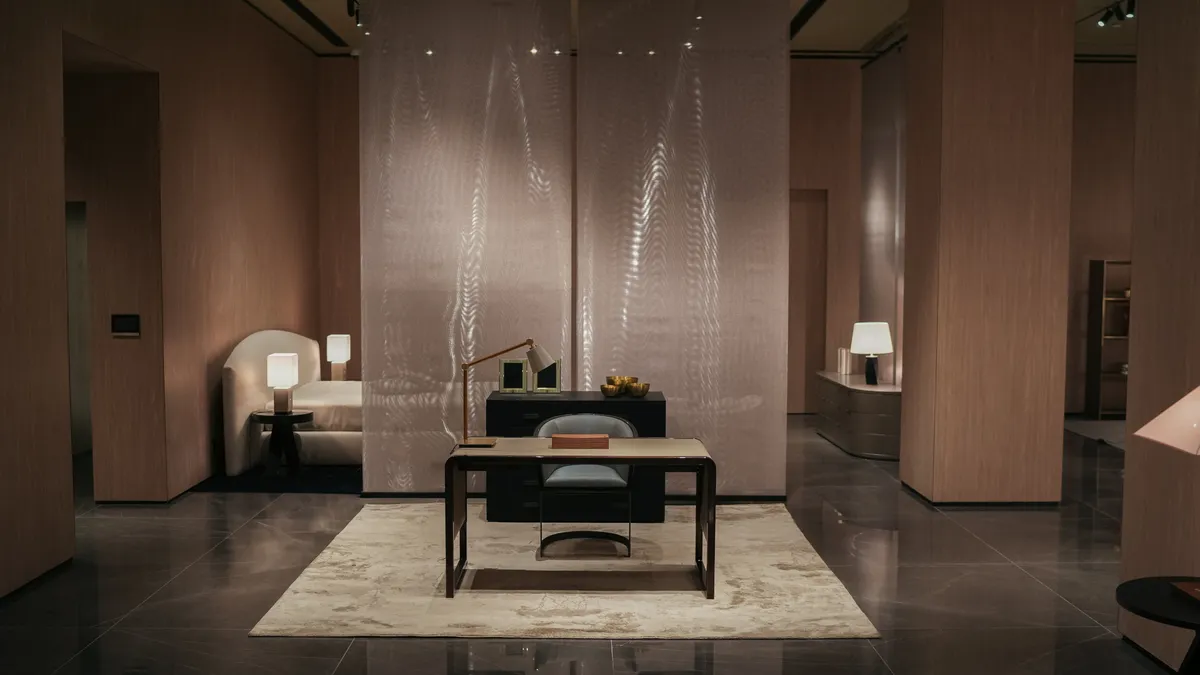
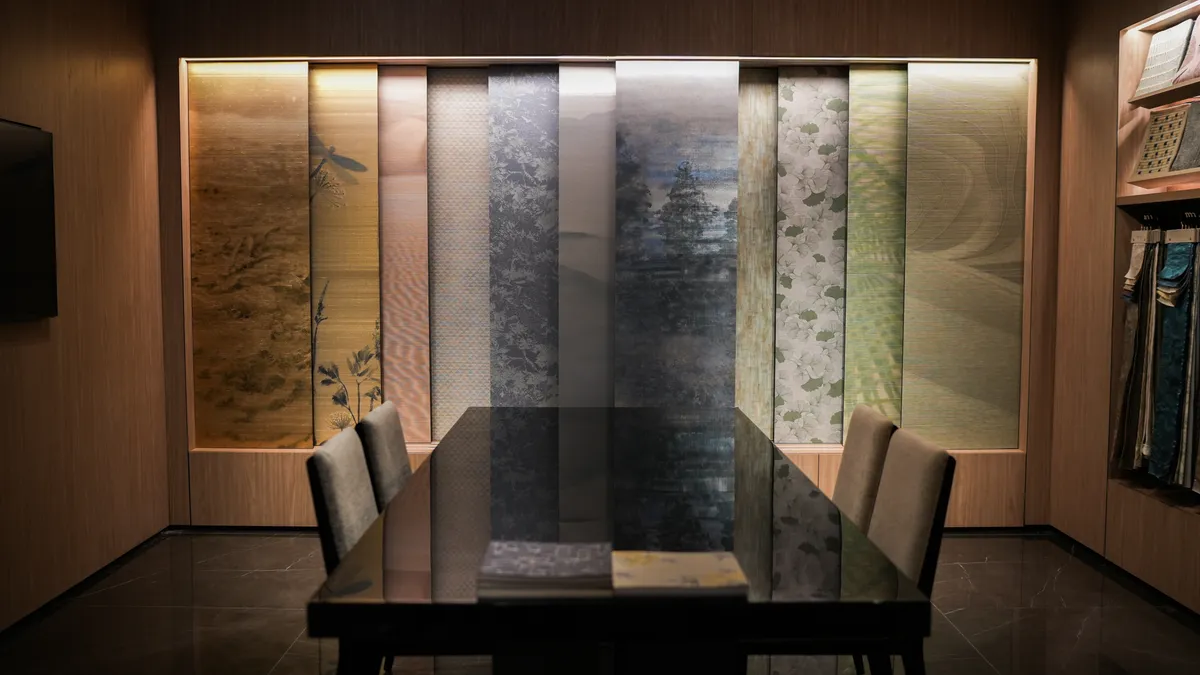
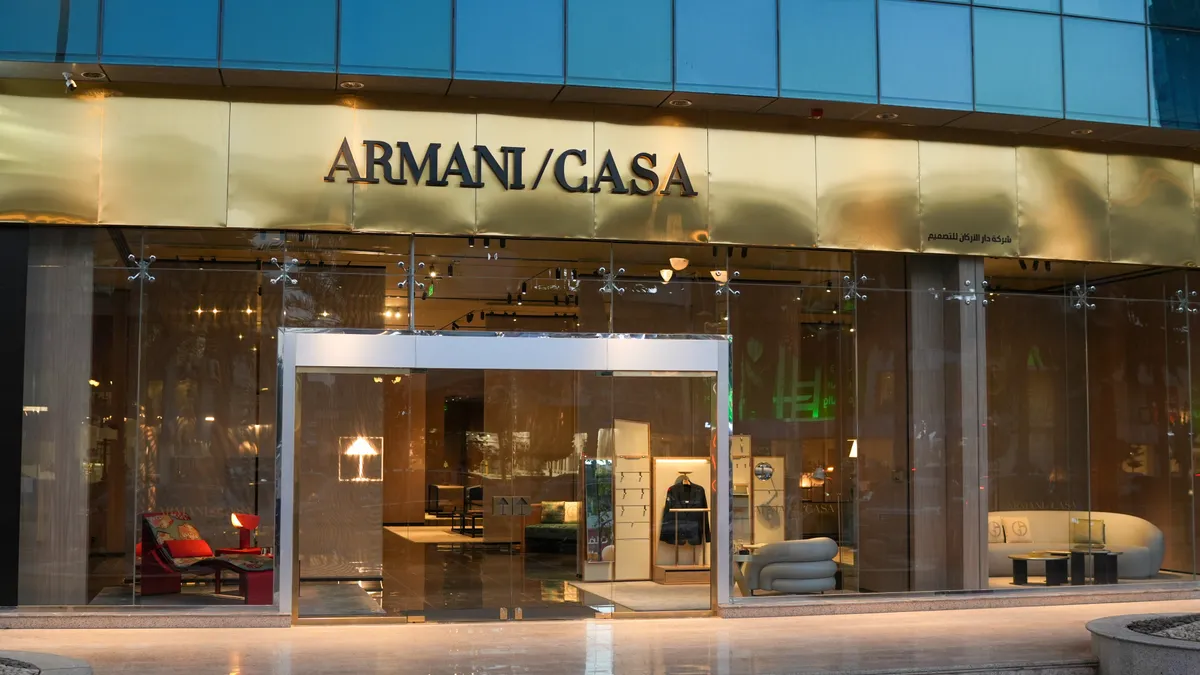
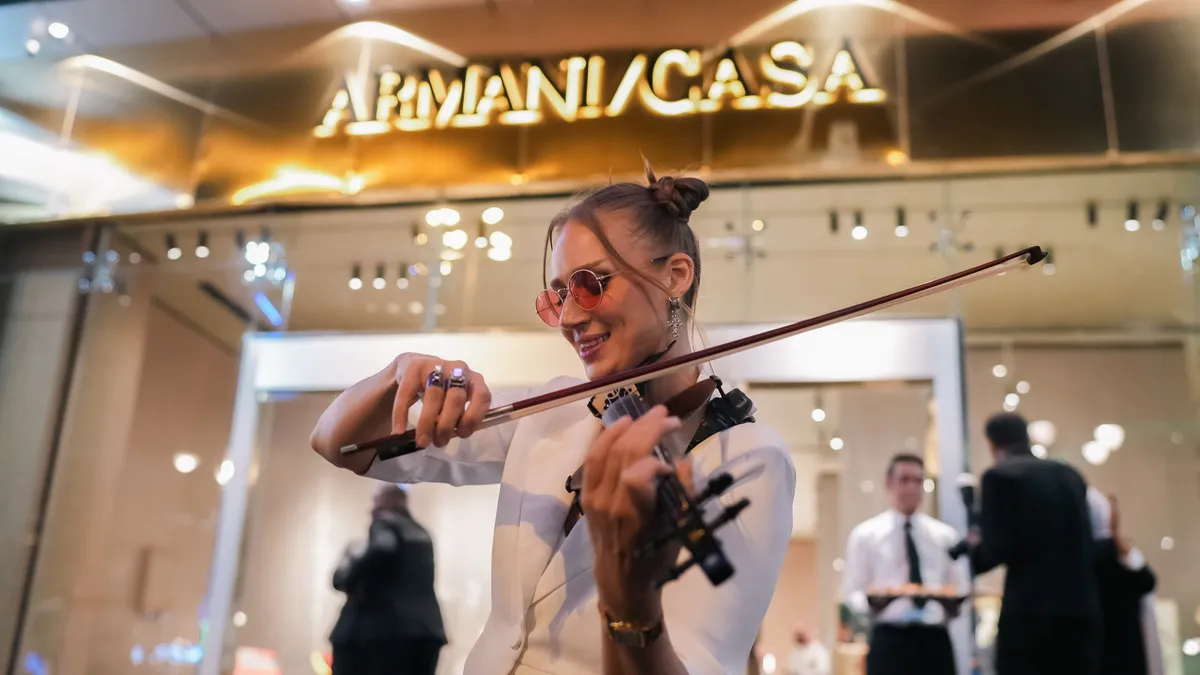
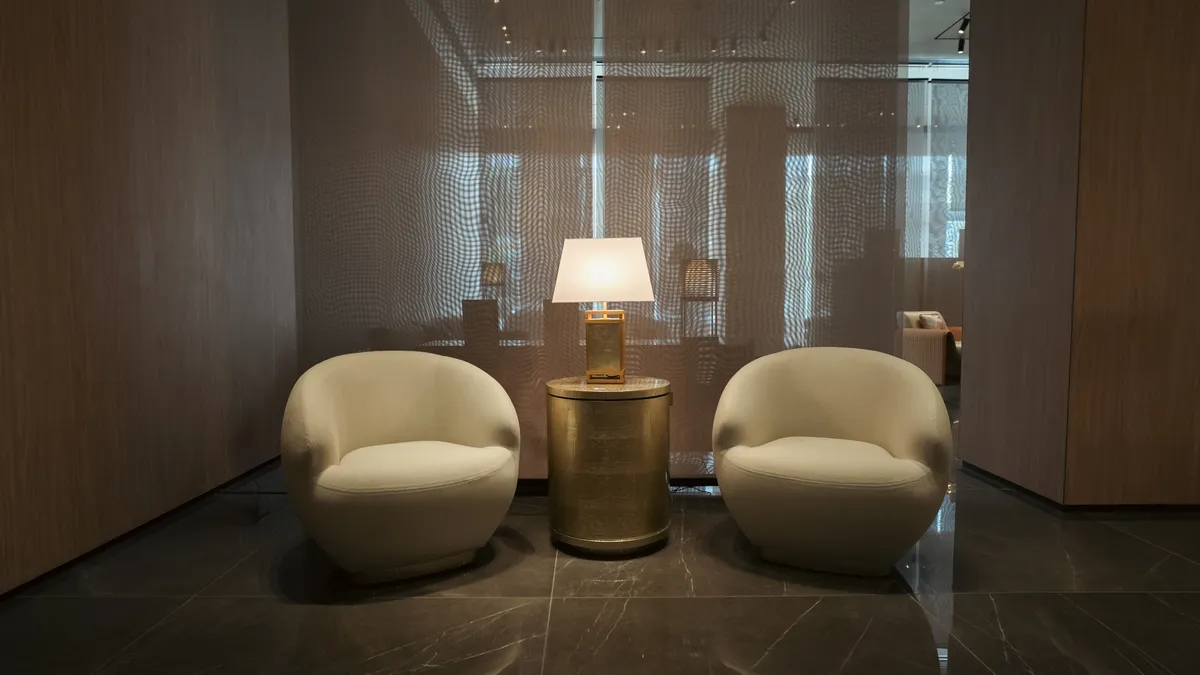
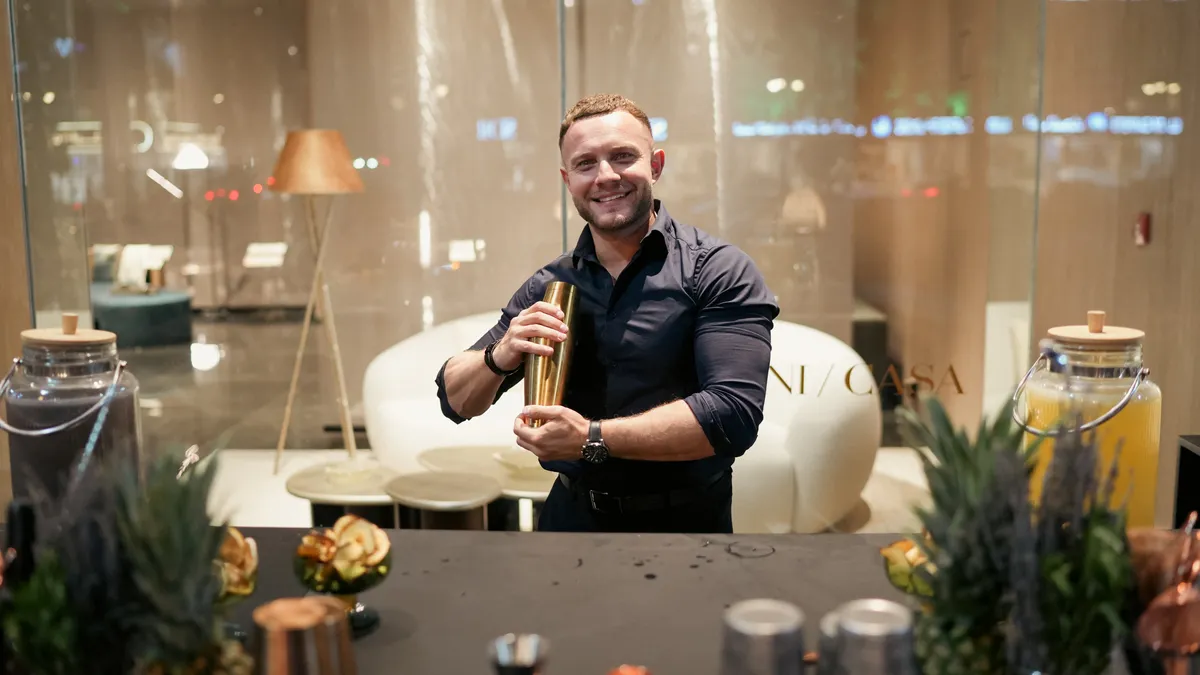
  • Armani/Casa, photographed by DawwasEye Studios
  • Armani/Casa, photographed by DawwasEye Studios
  • Armani/Casa, photographed by DawwasEye Studios
  • Armani/Casa, photographed by DawwasEye Studios
  • Armani/Casa, photographed by DawwasEye Studios
  • Armani/Casa, photographed by DawwasEye Studios
  • Armani/Casa, photographed by DawwasEye Studios
  • Armani/Casa, photographed by DawwasEye Studios
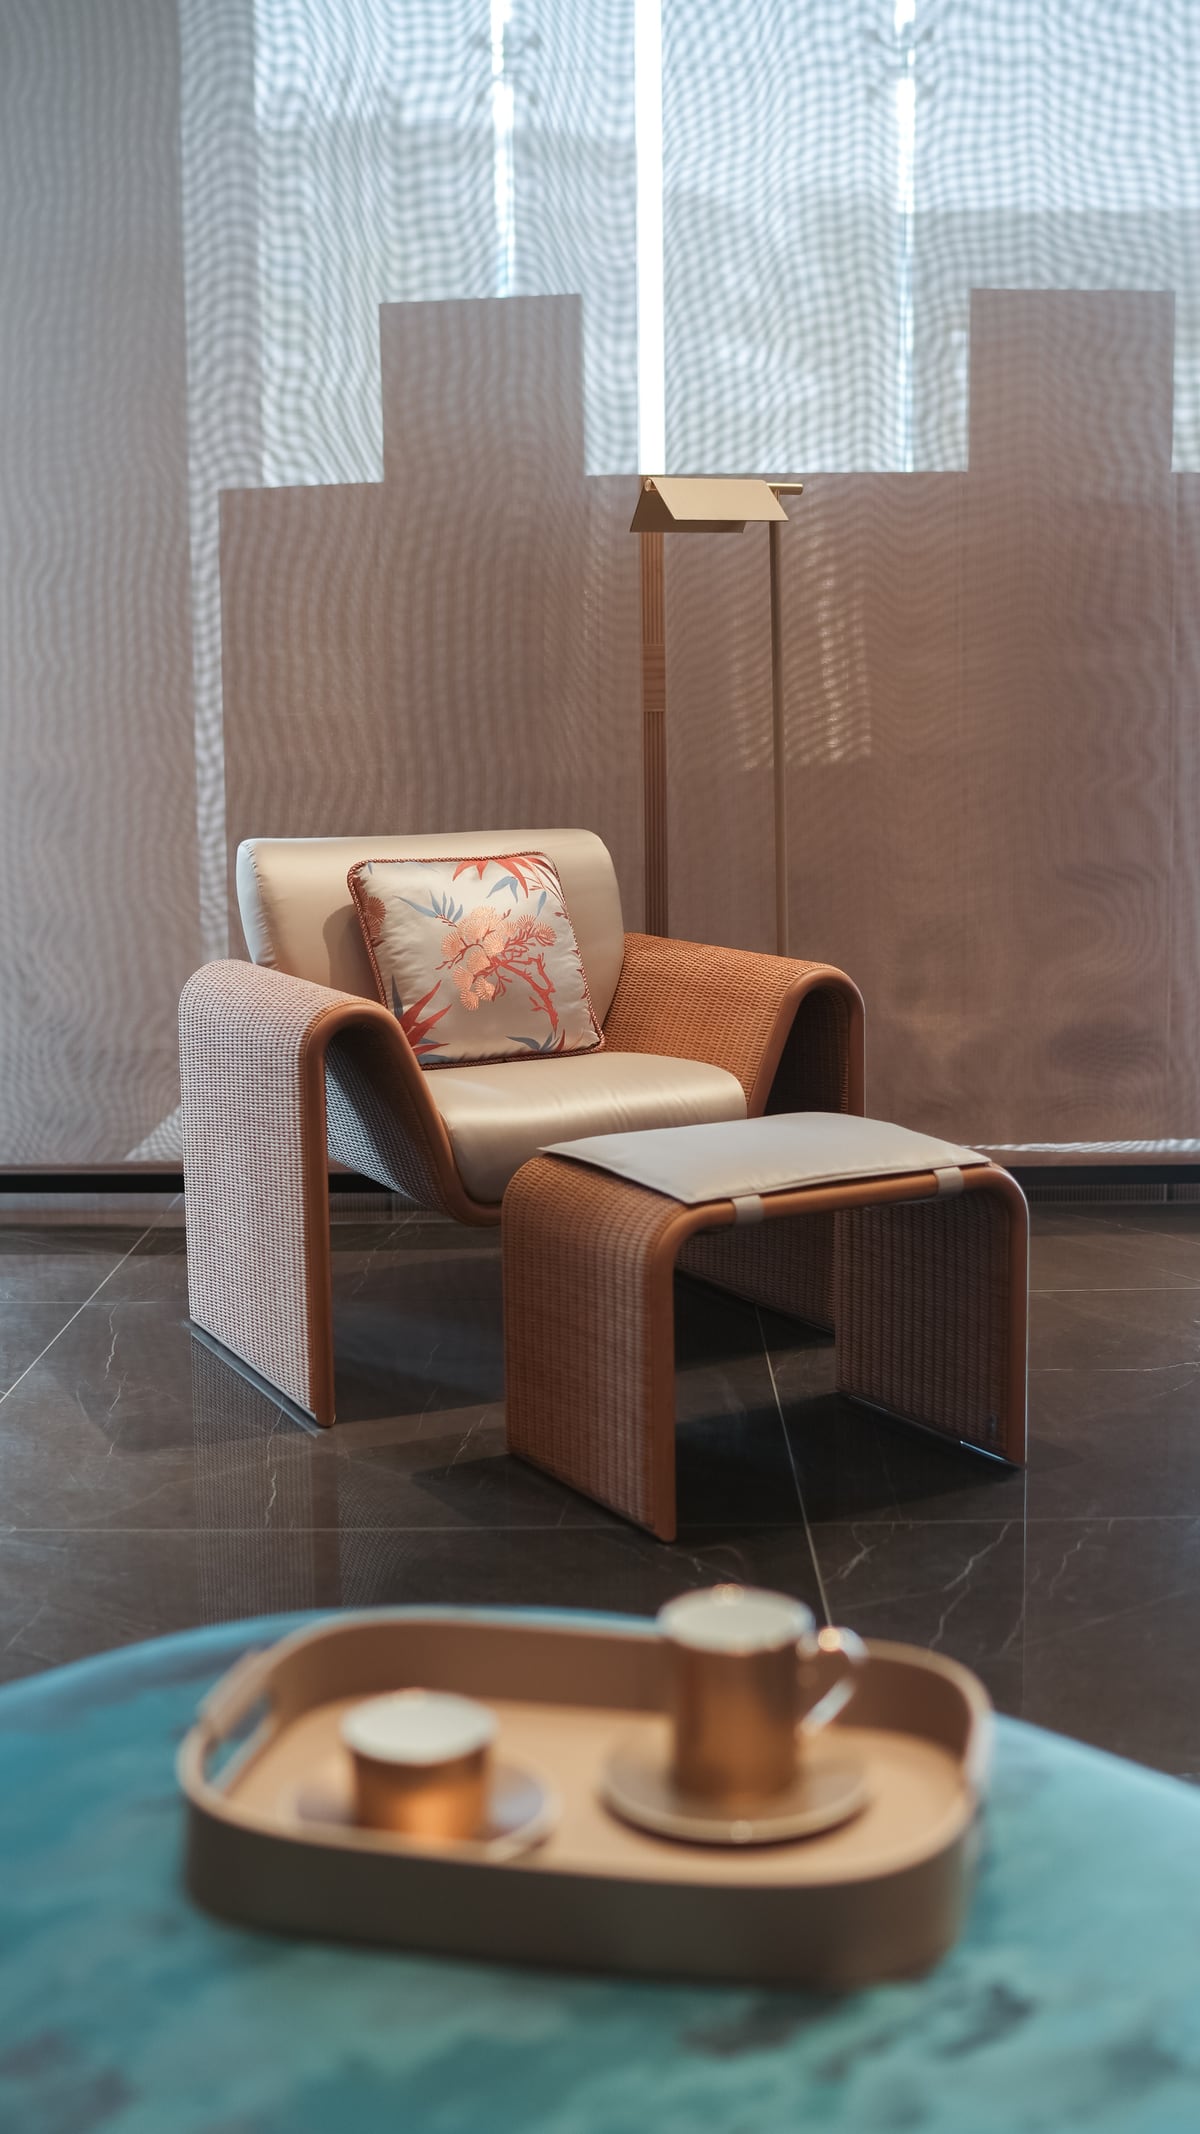
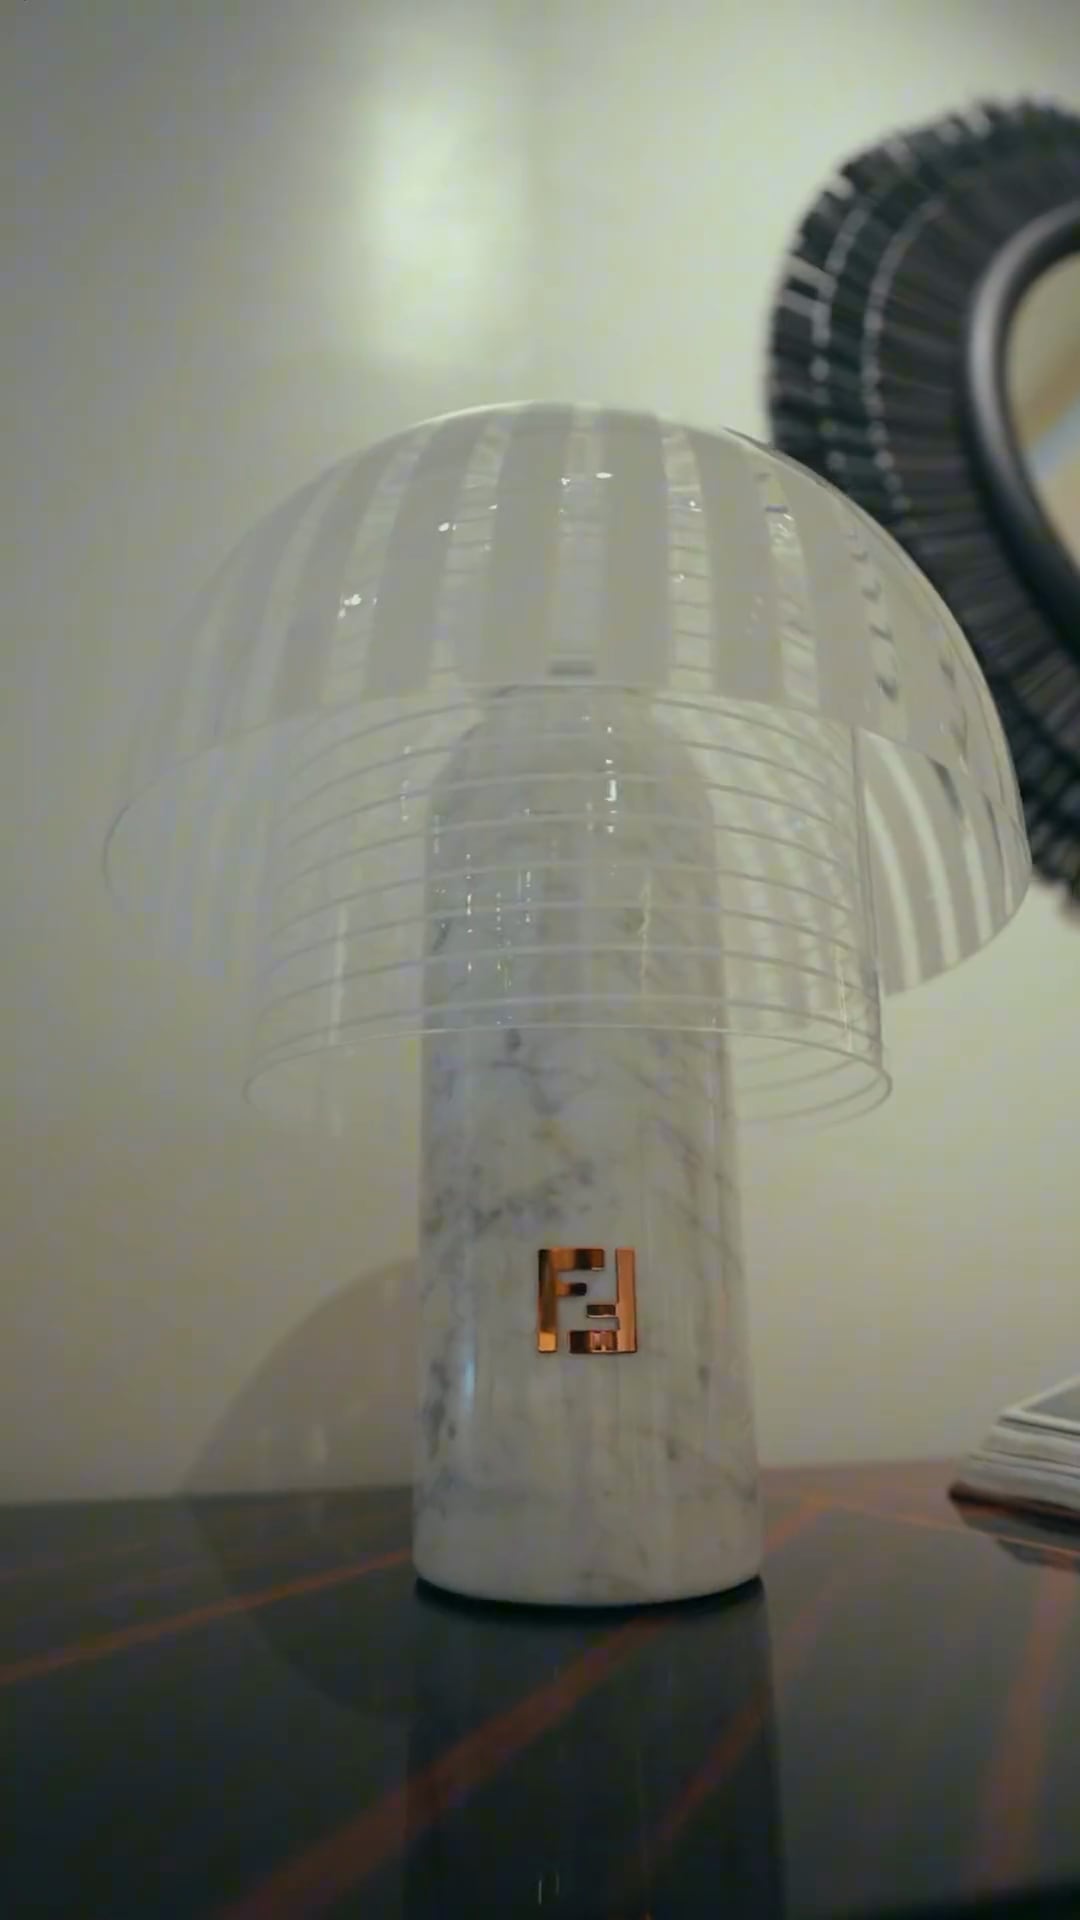
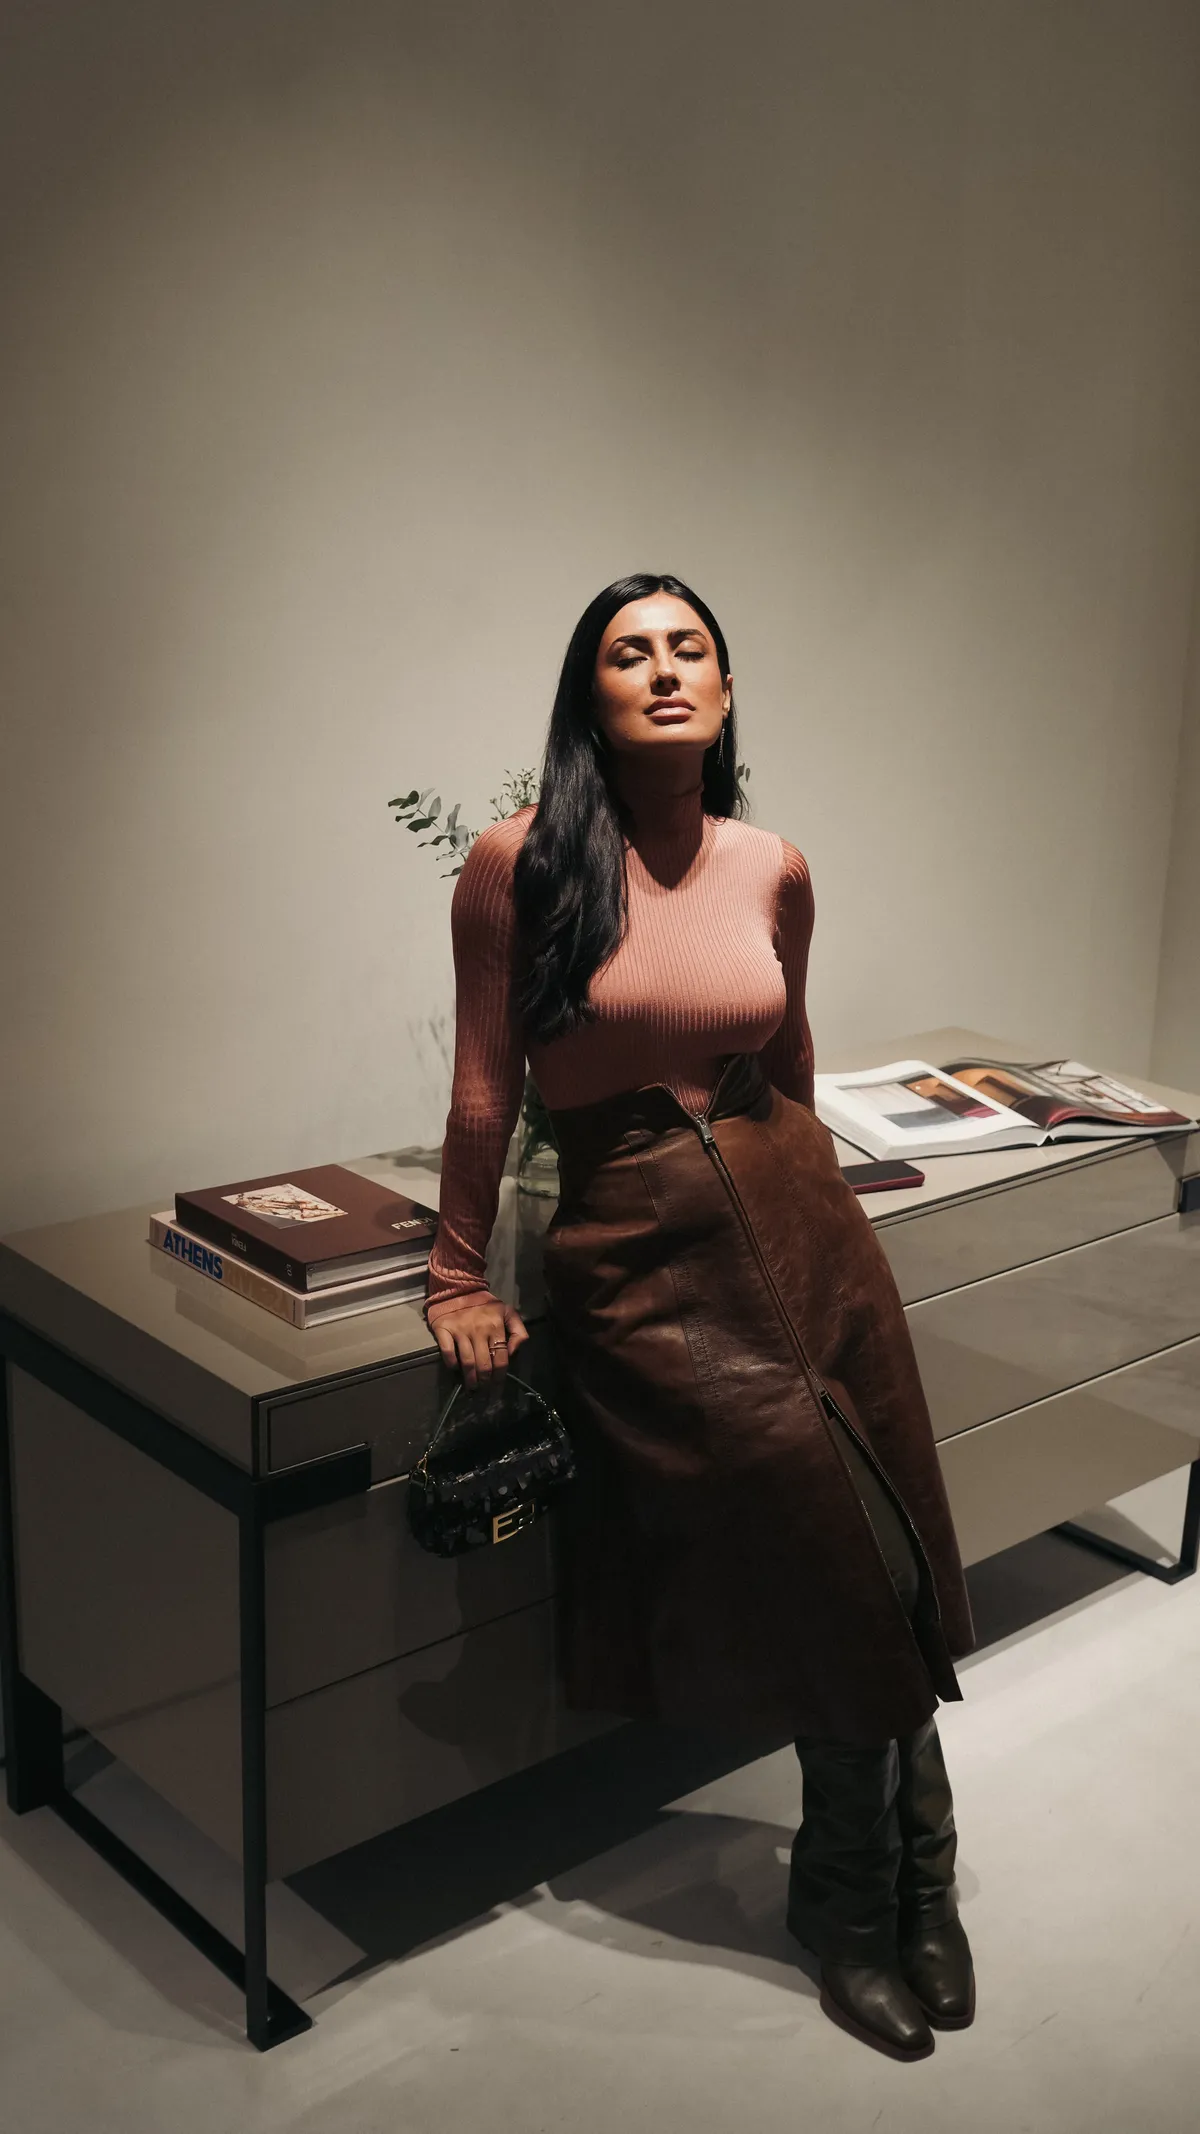
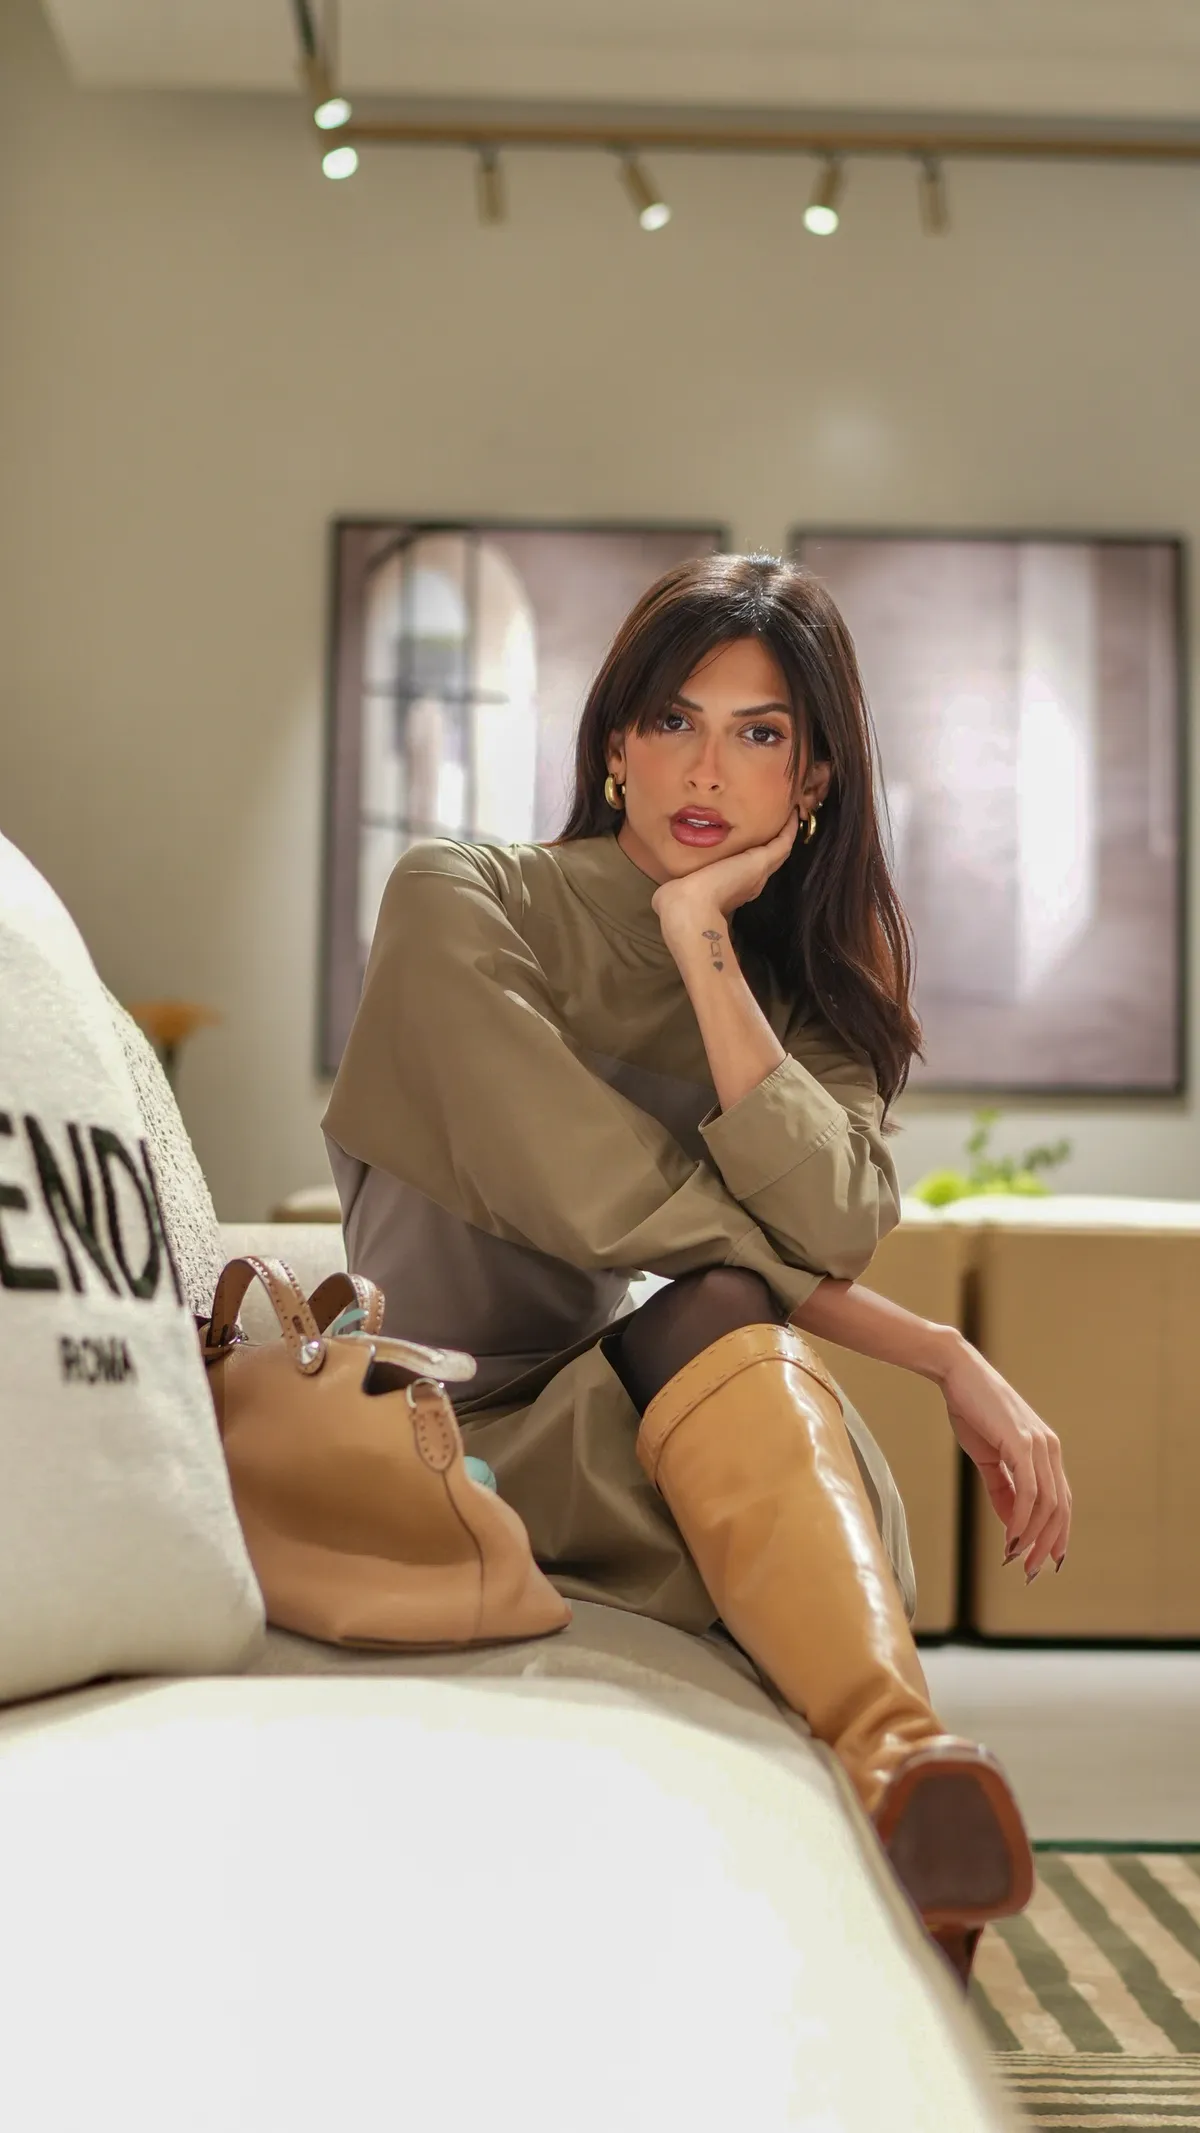
  • Fendi Casa, photographed by DawwasEye Studios
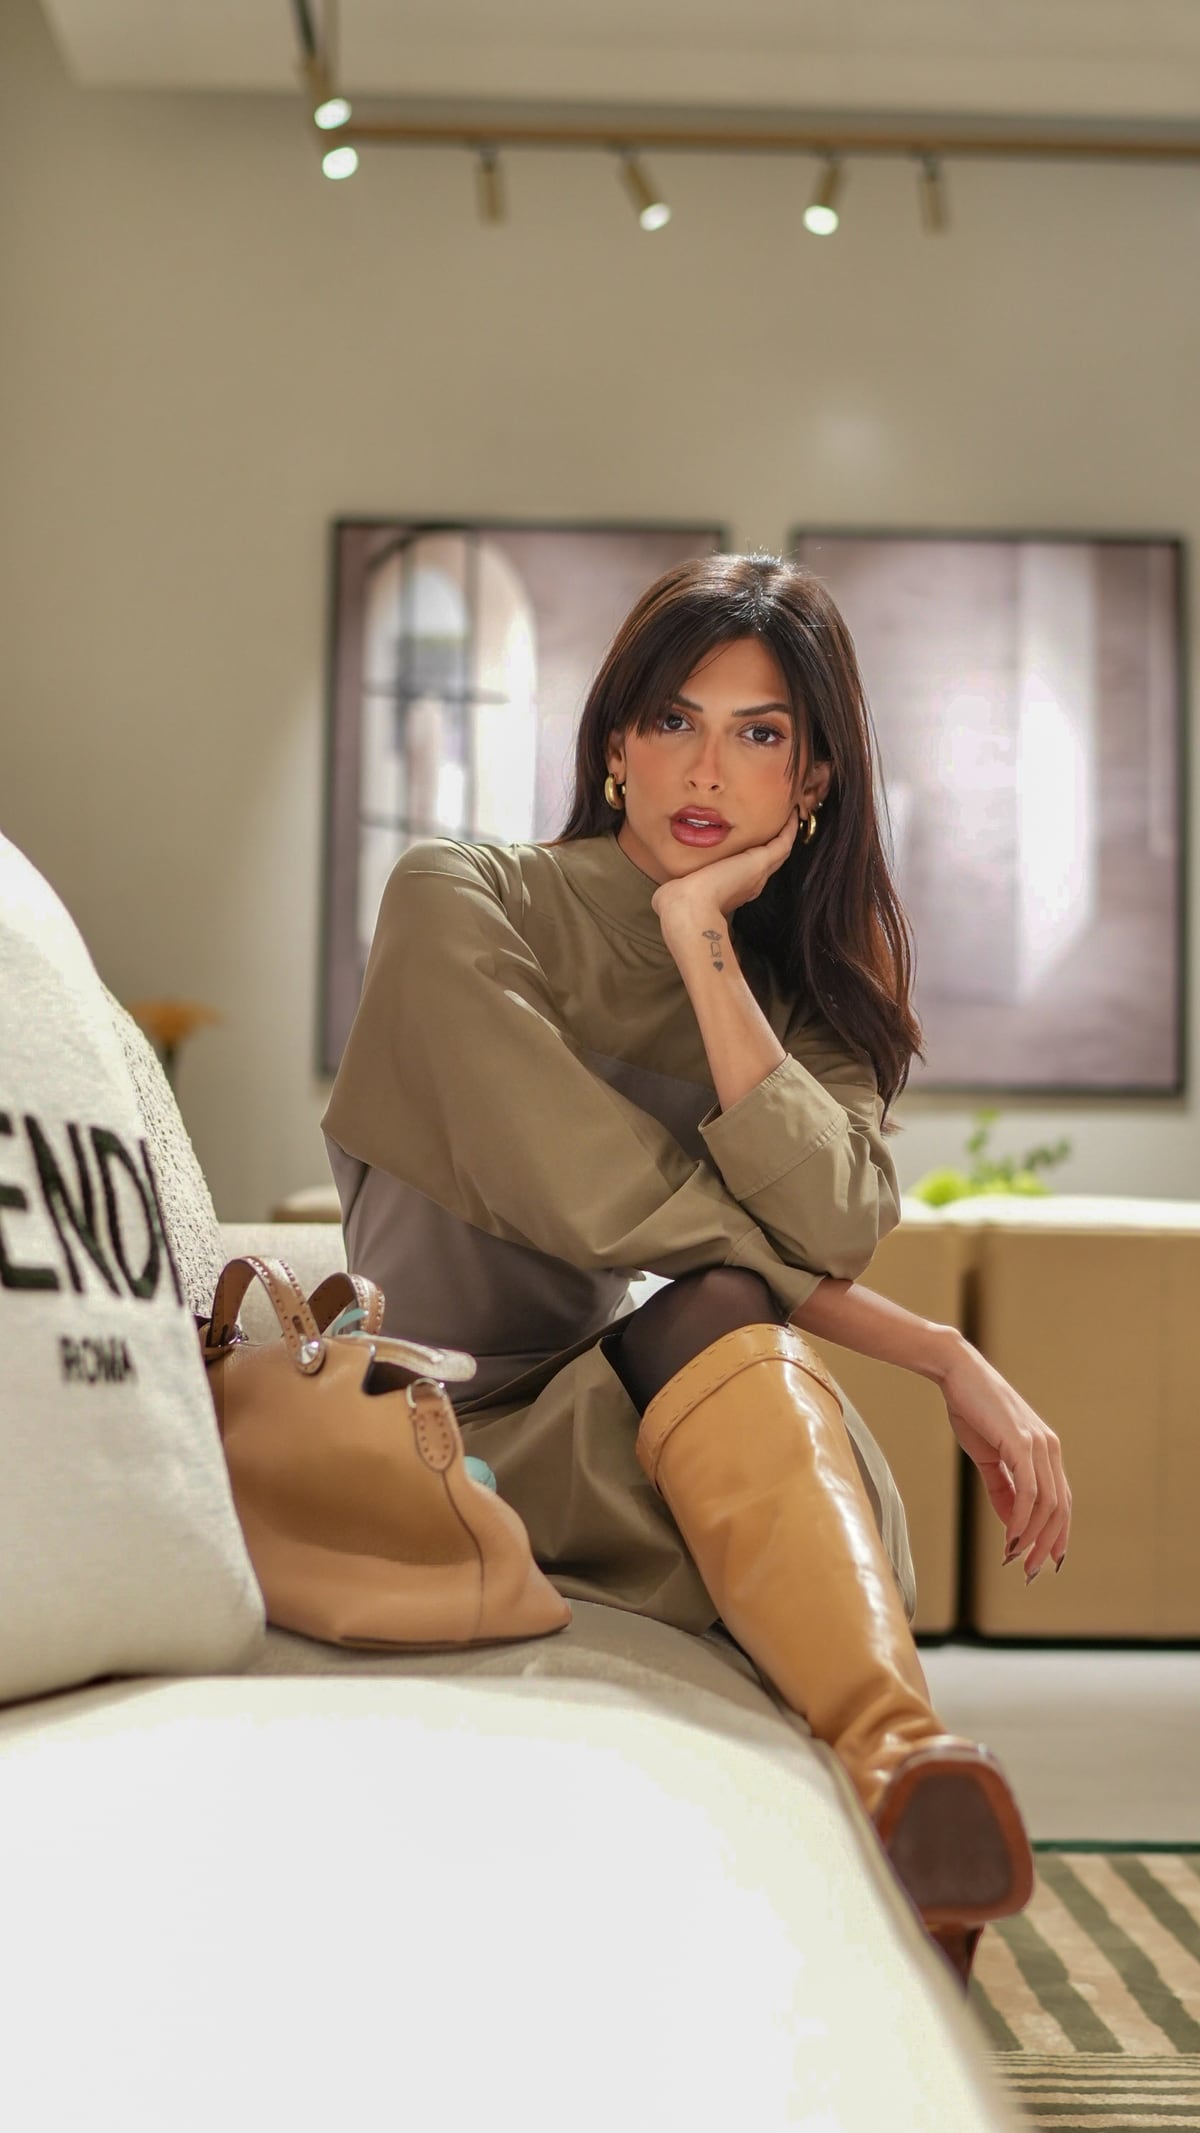
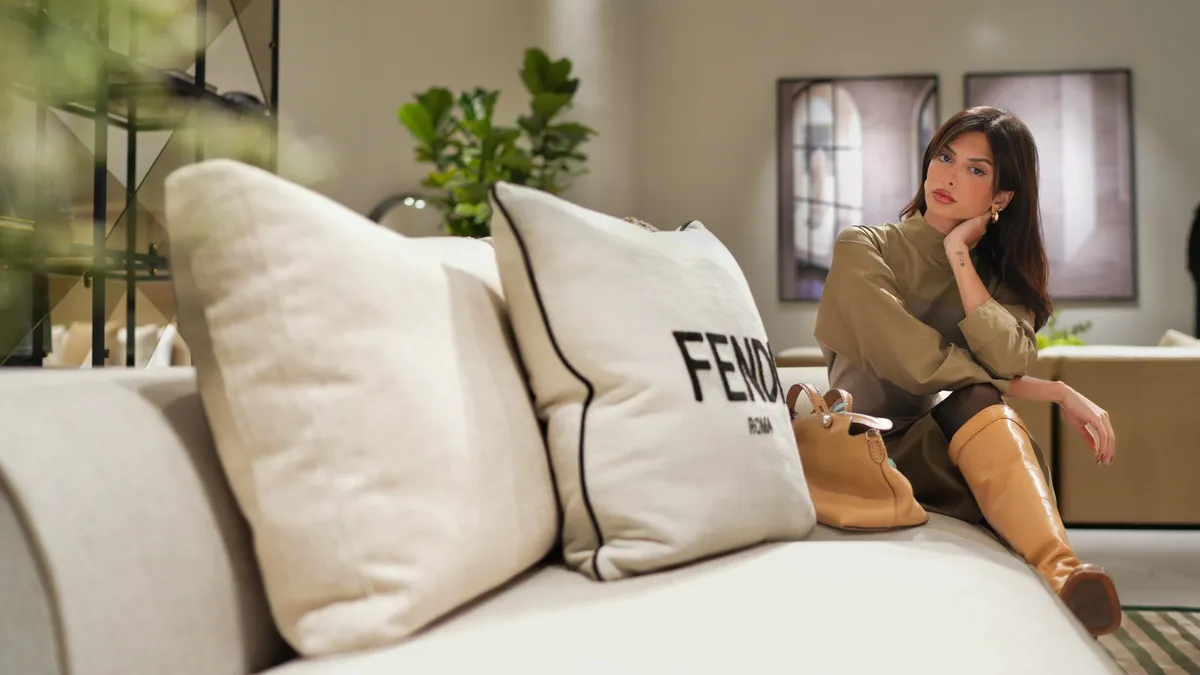
  • Fendi Casa, photographed by DawwasEye Studios
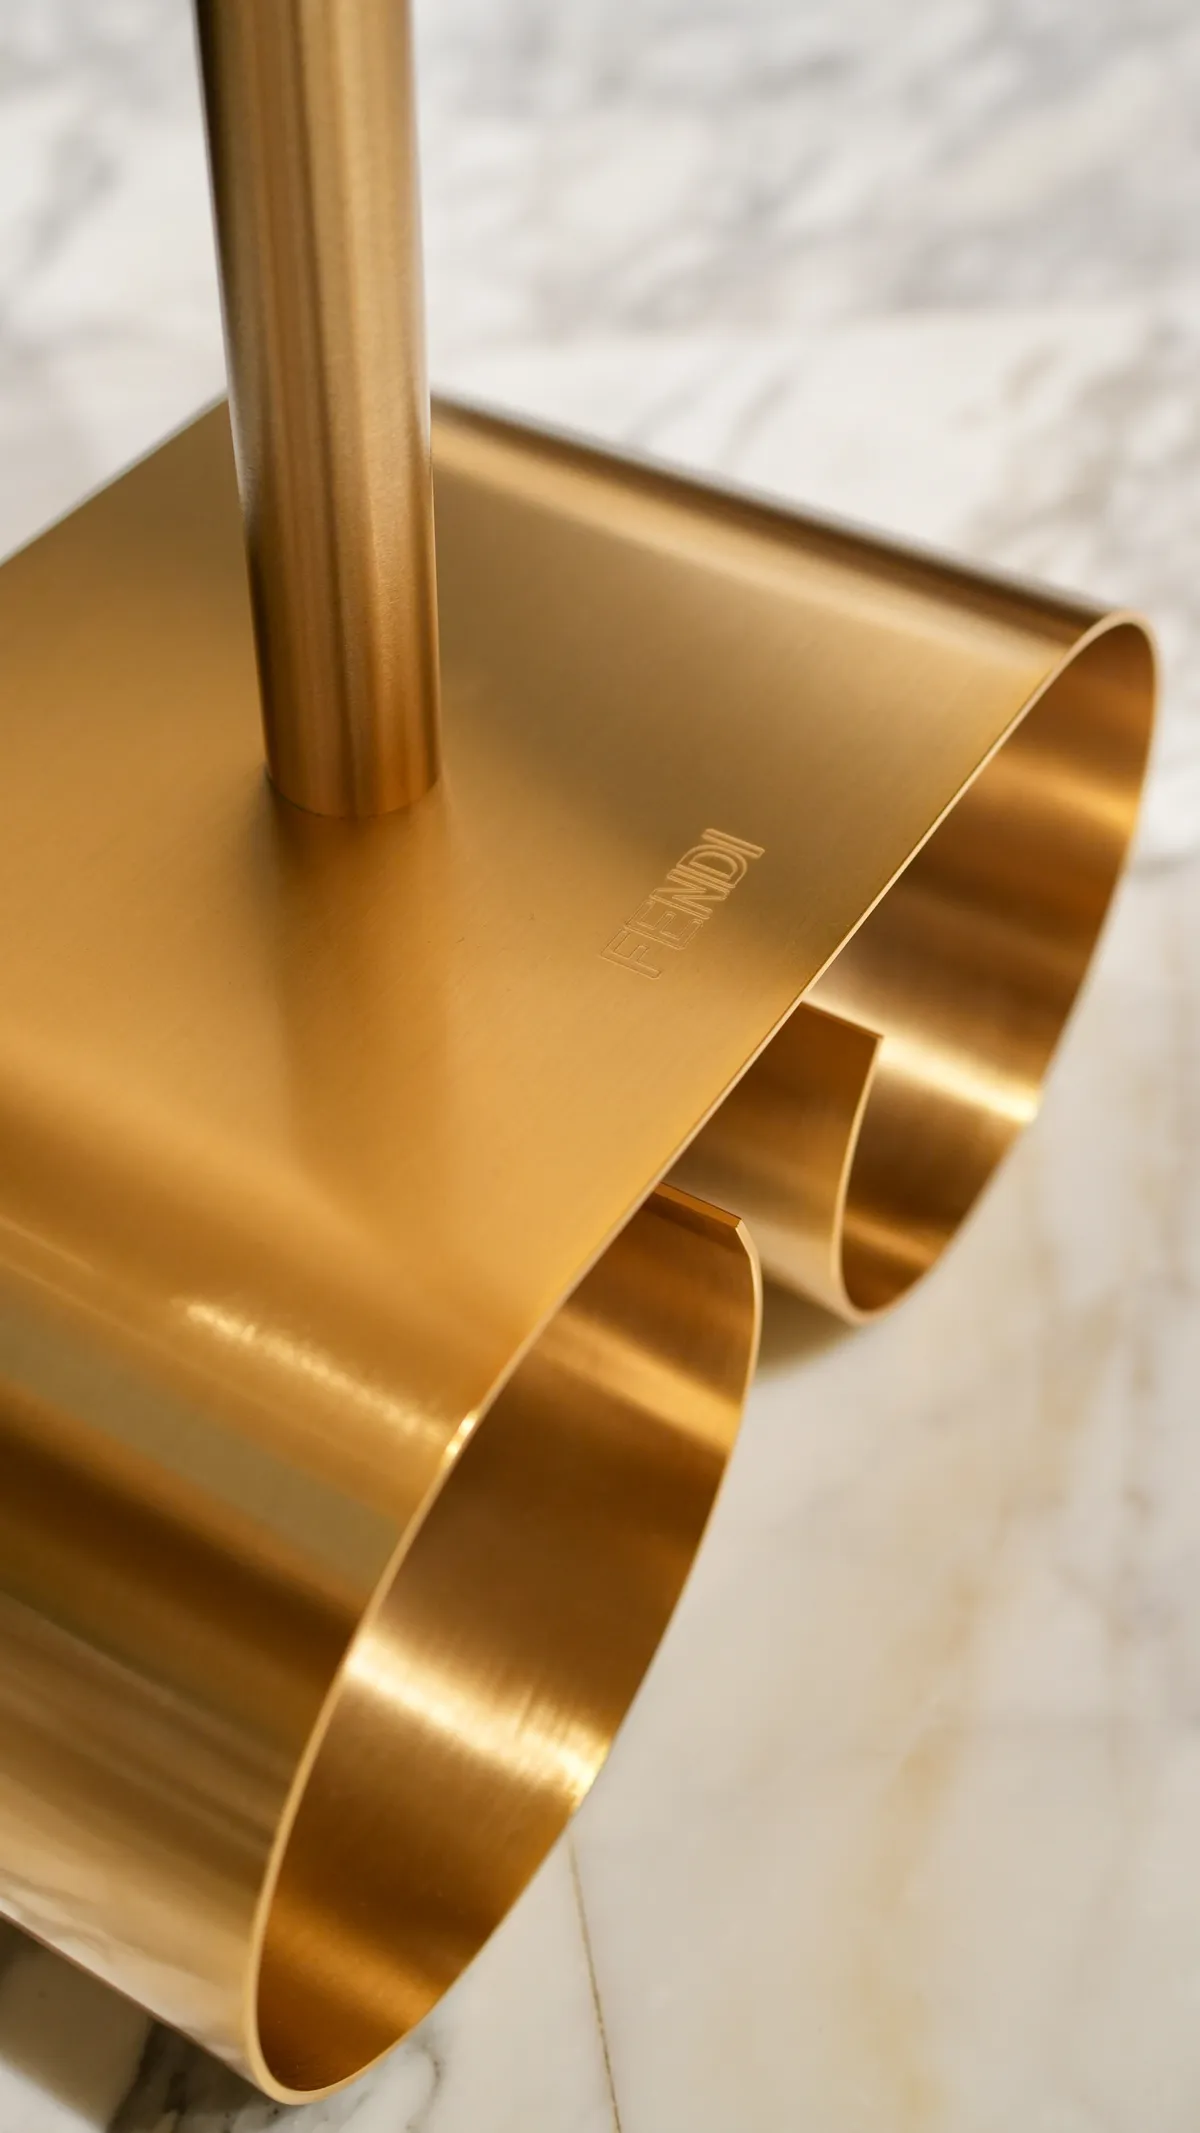
  • Fendi Casa, photographed by DawwasEye Studios
  • Fendi Casa, photographed by DawwasEye Studios
  • Fendi Casa, photographed by DawwasEye Studios
  • Fendi Casa, photographed by DawwasEye Studios
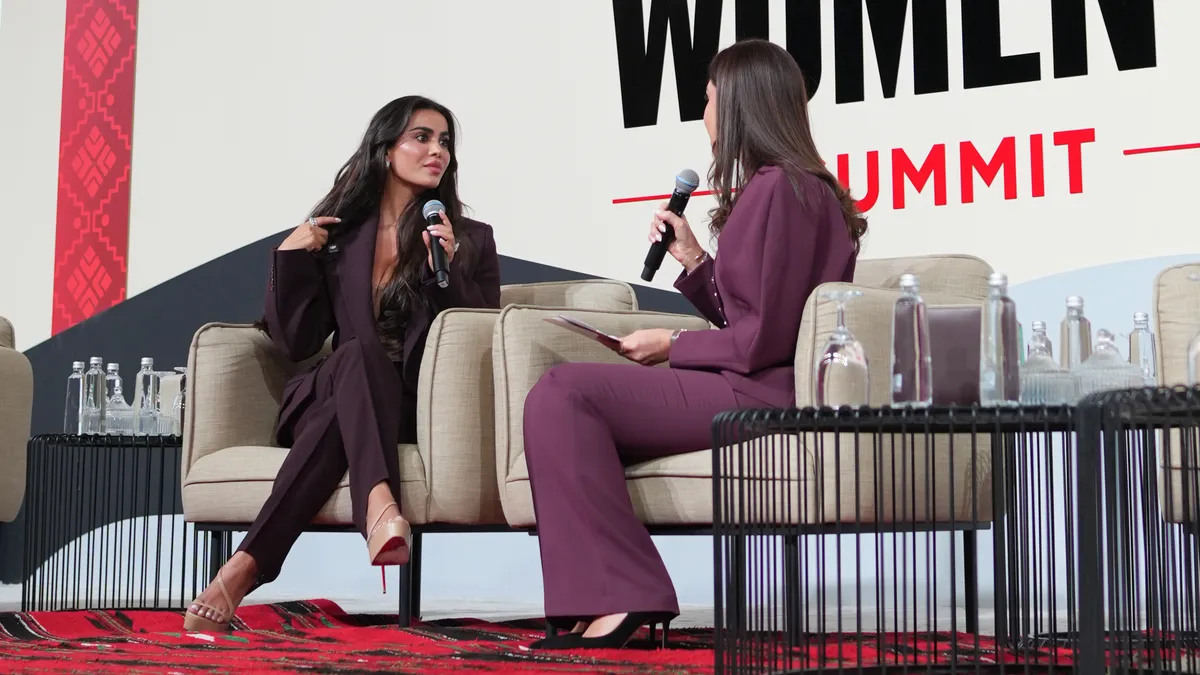
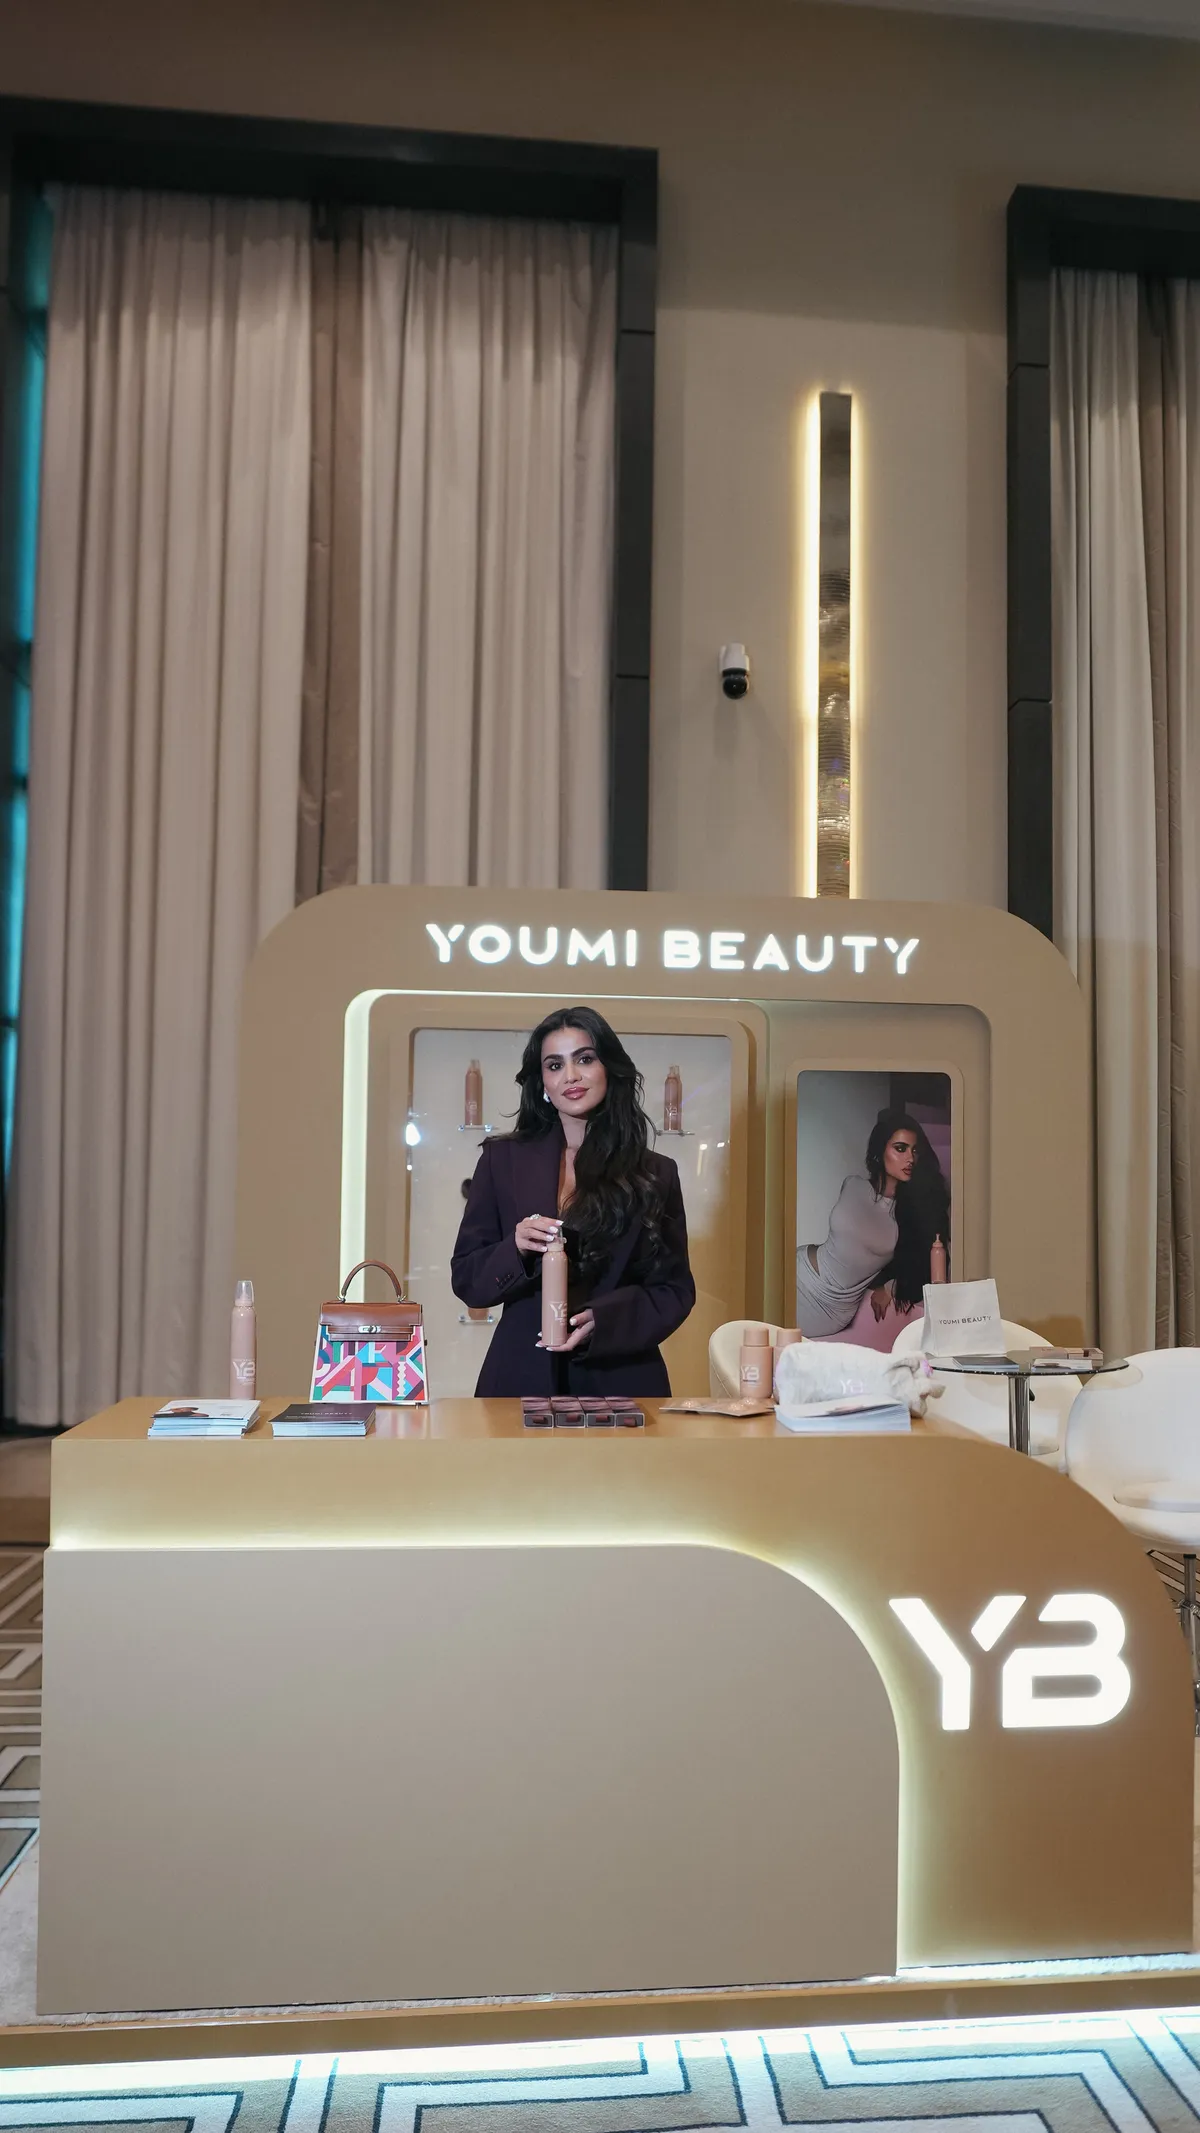
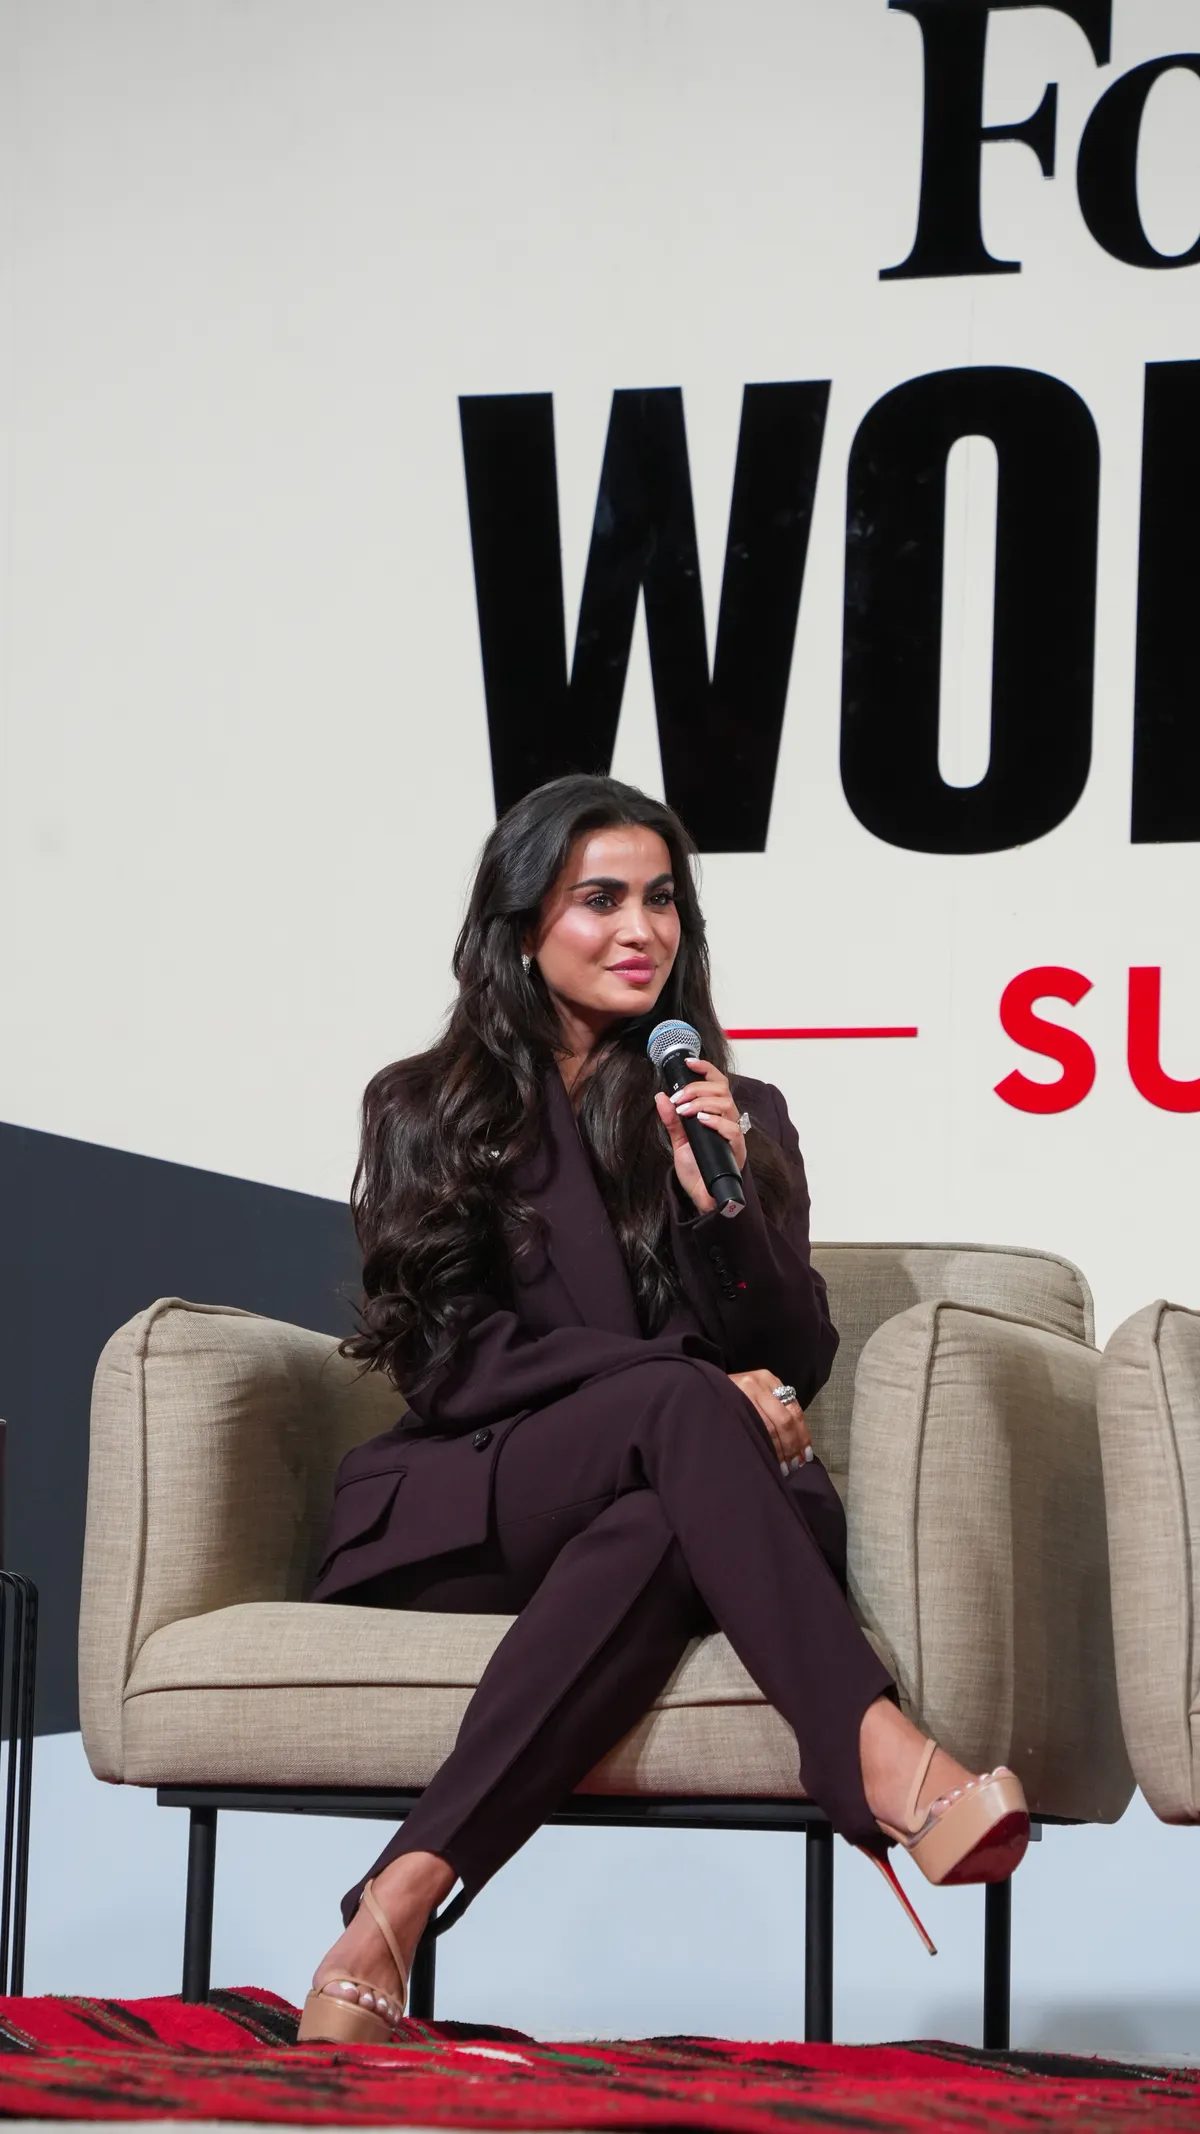
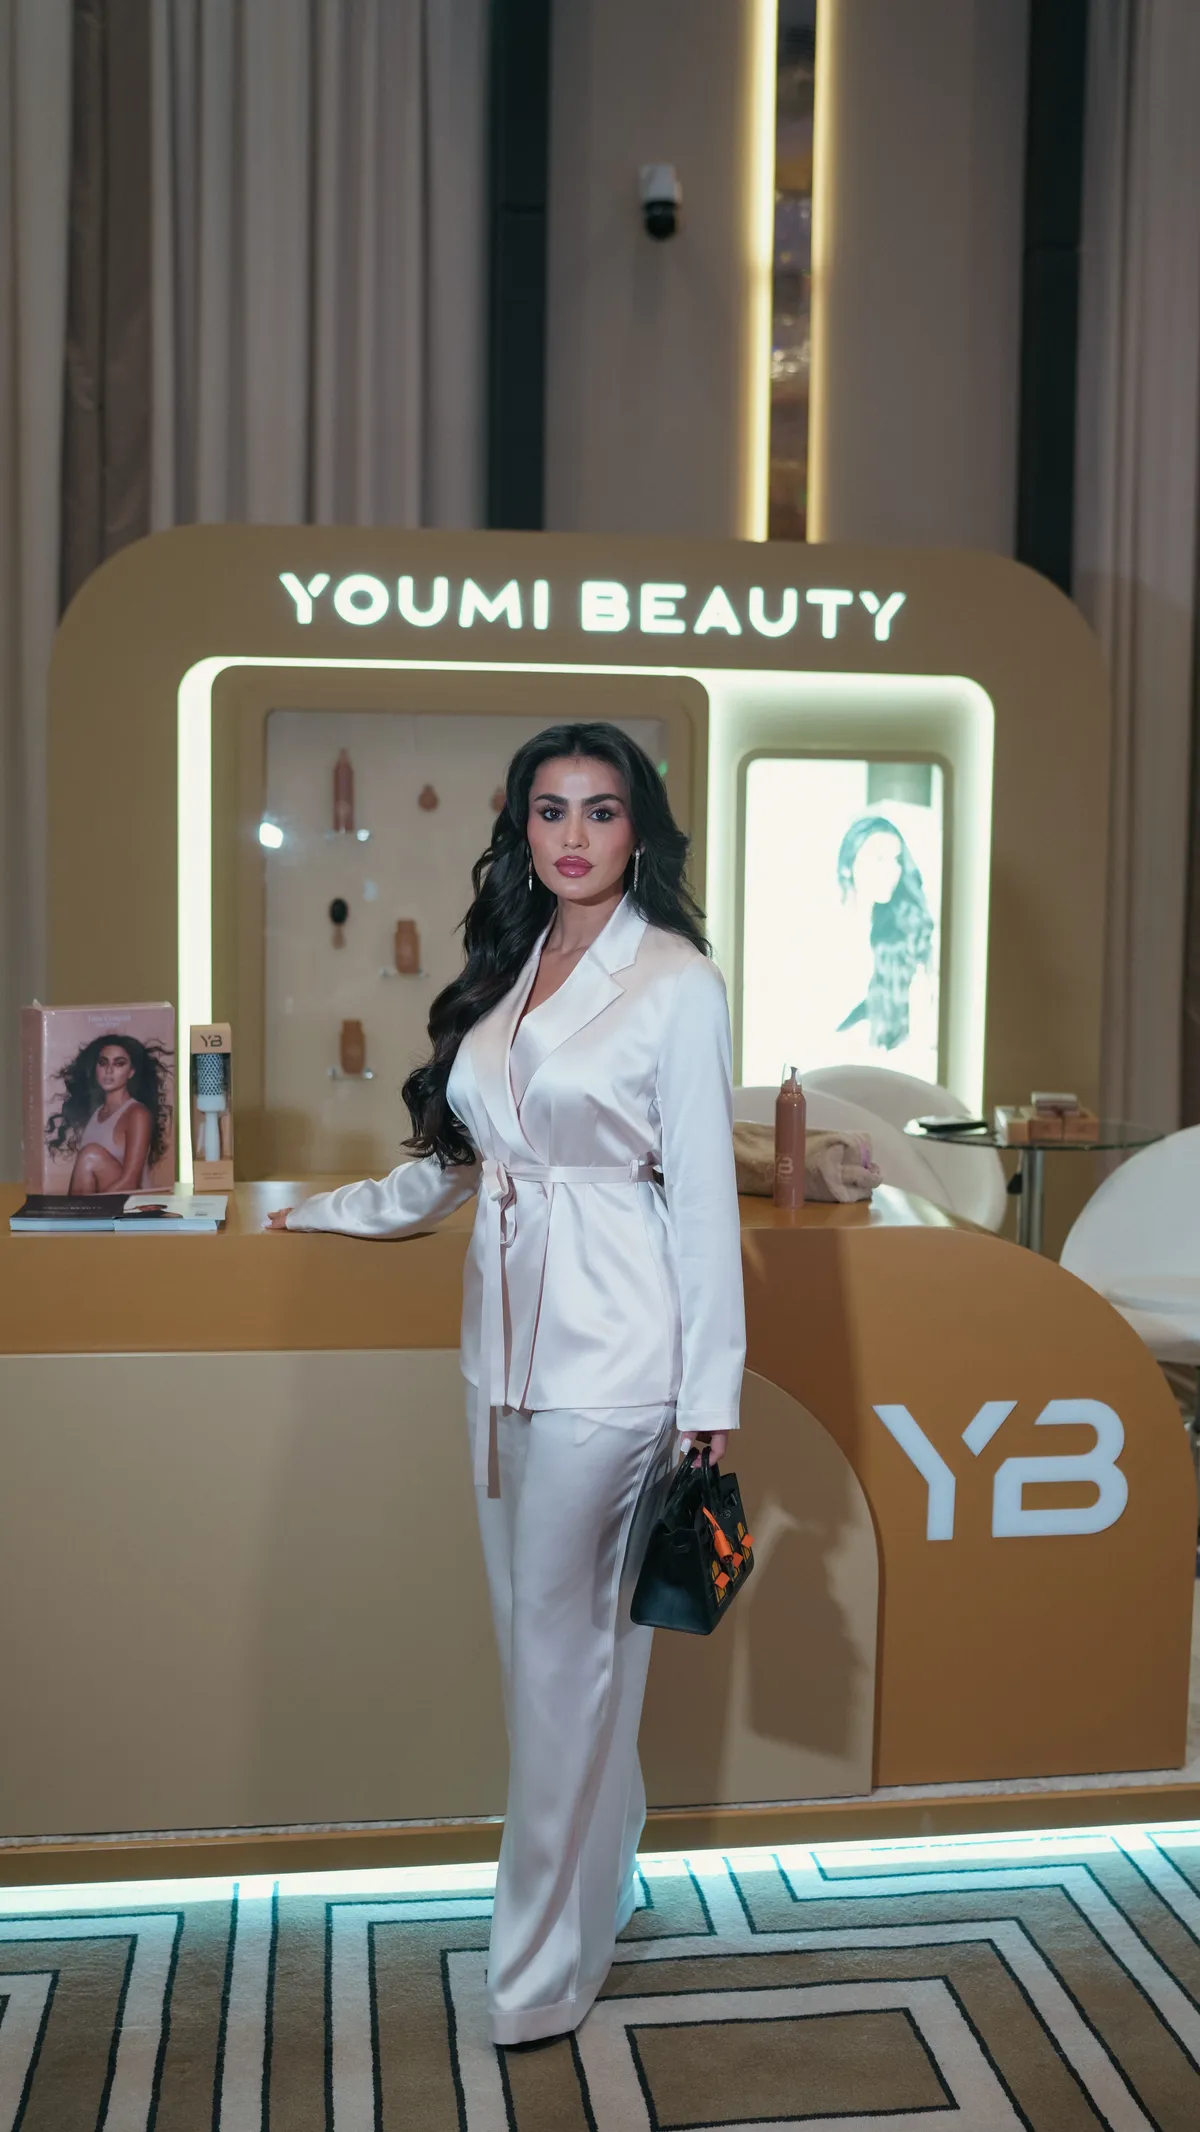
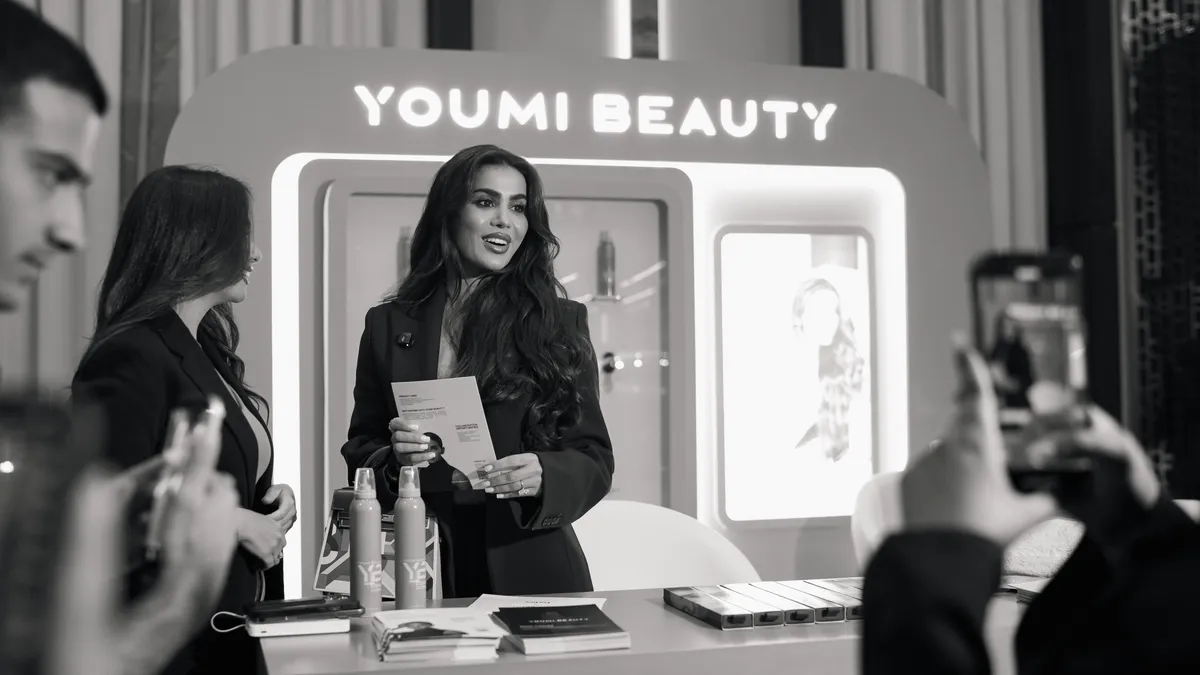
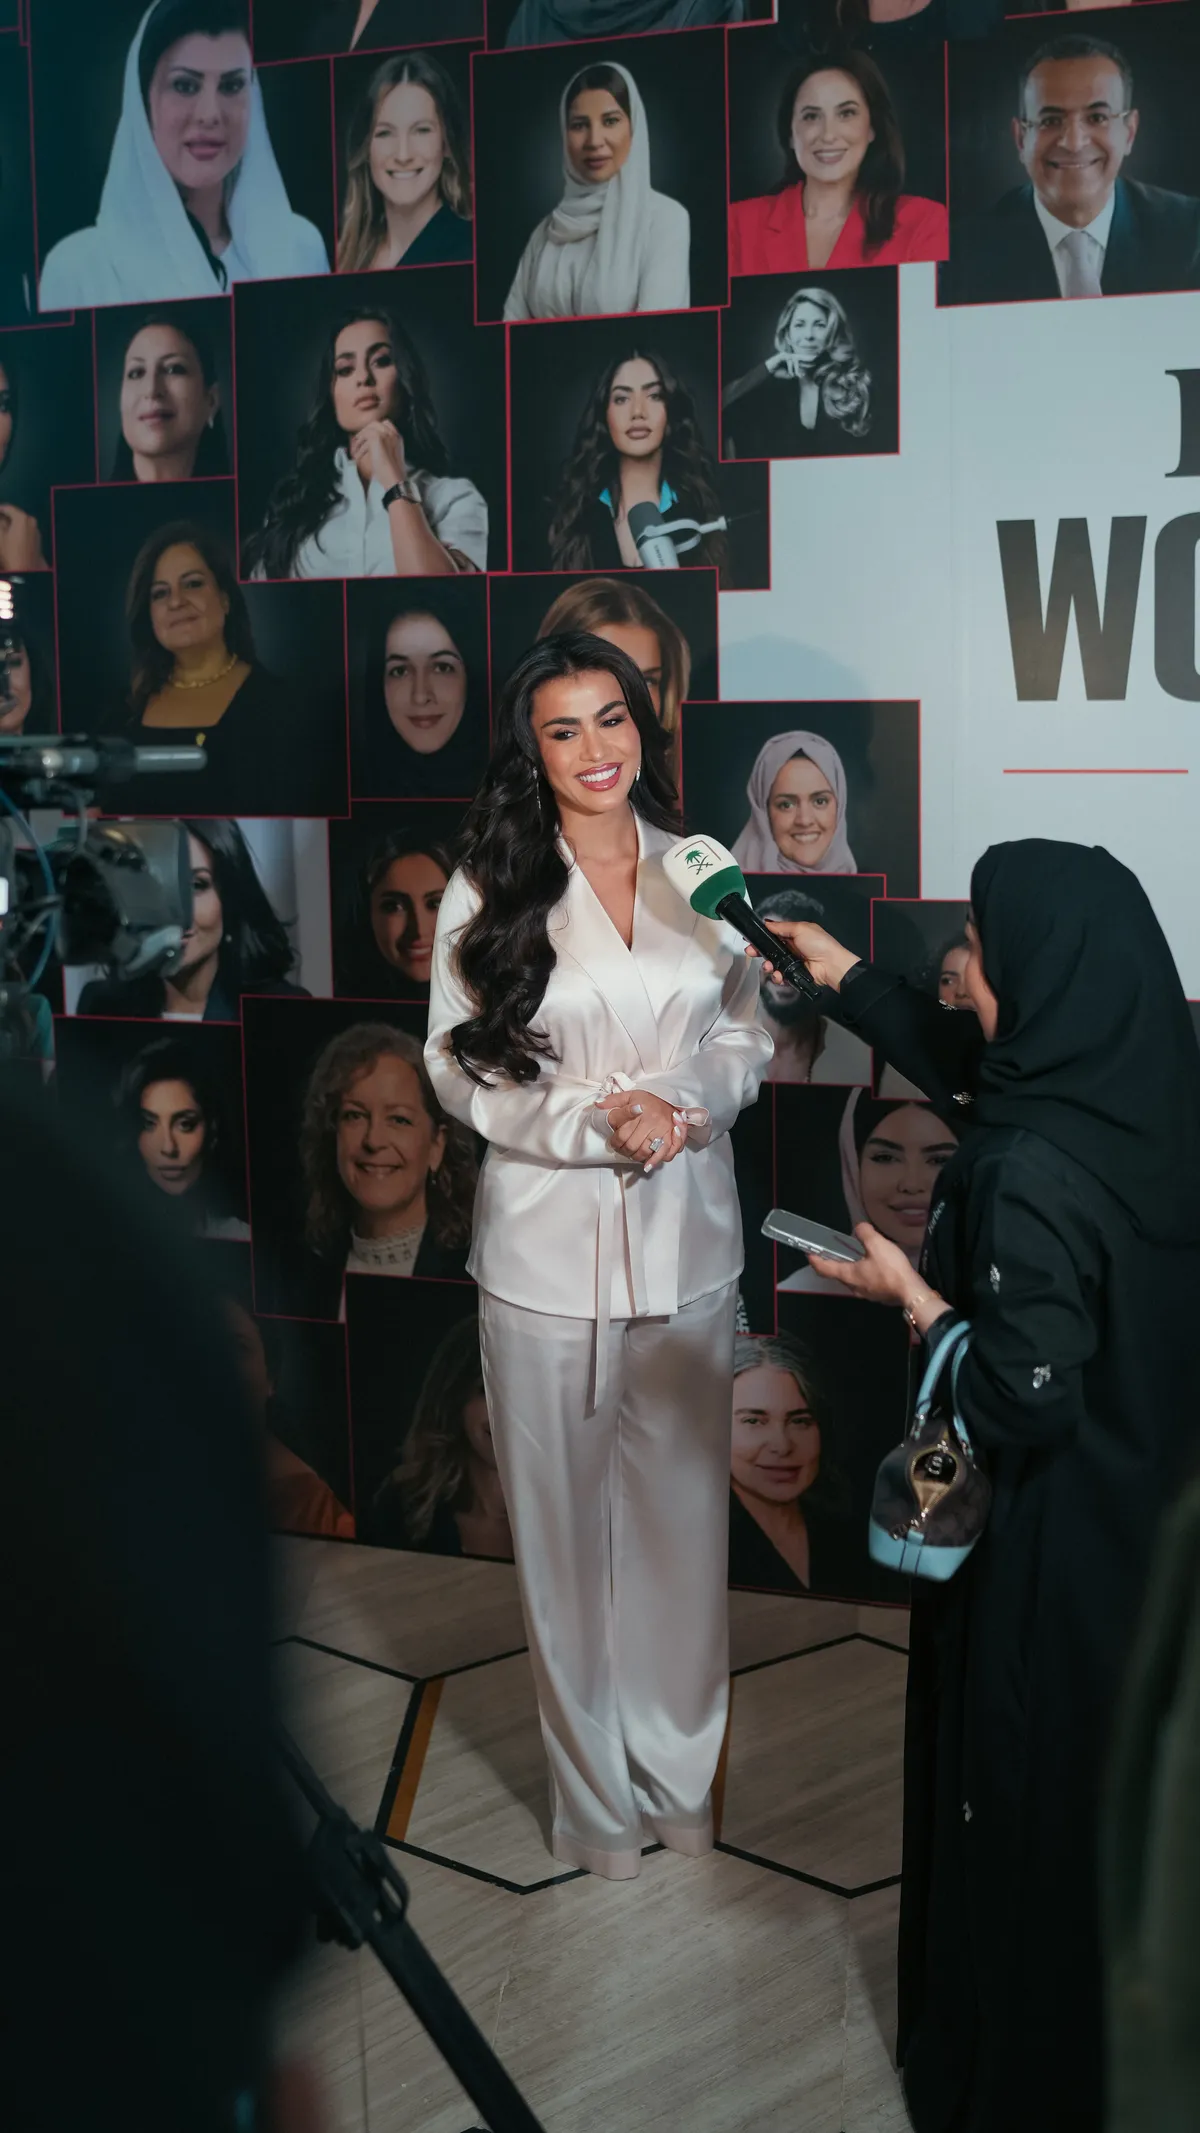
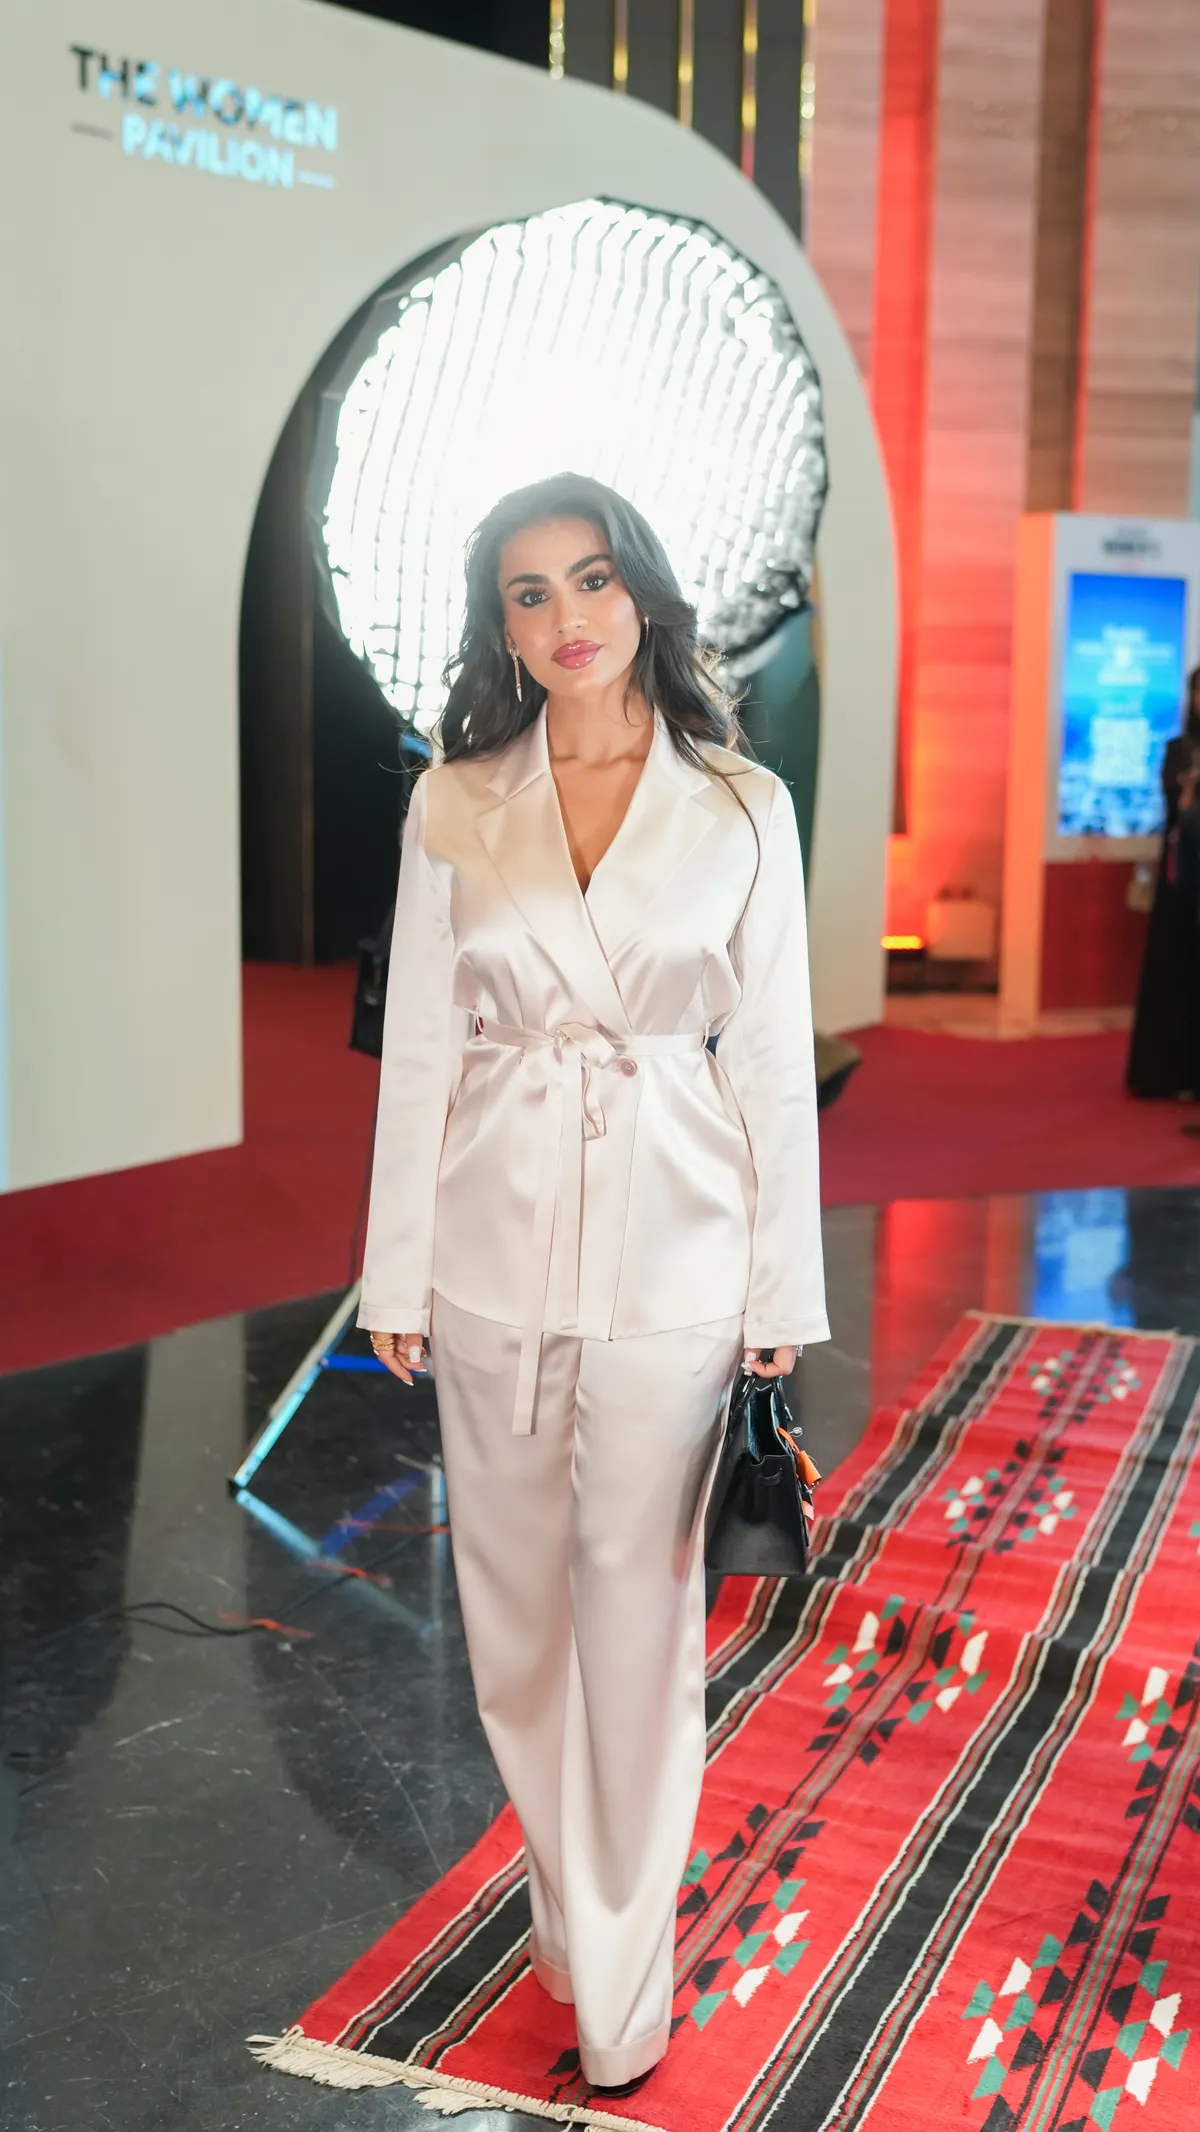
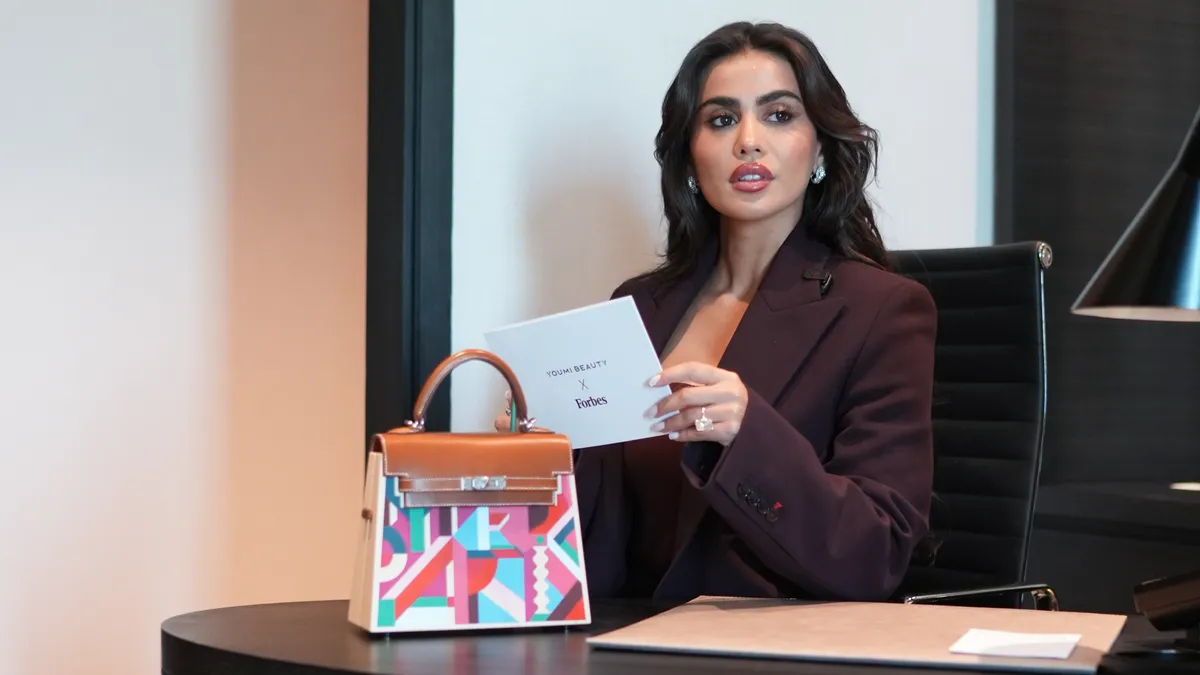
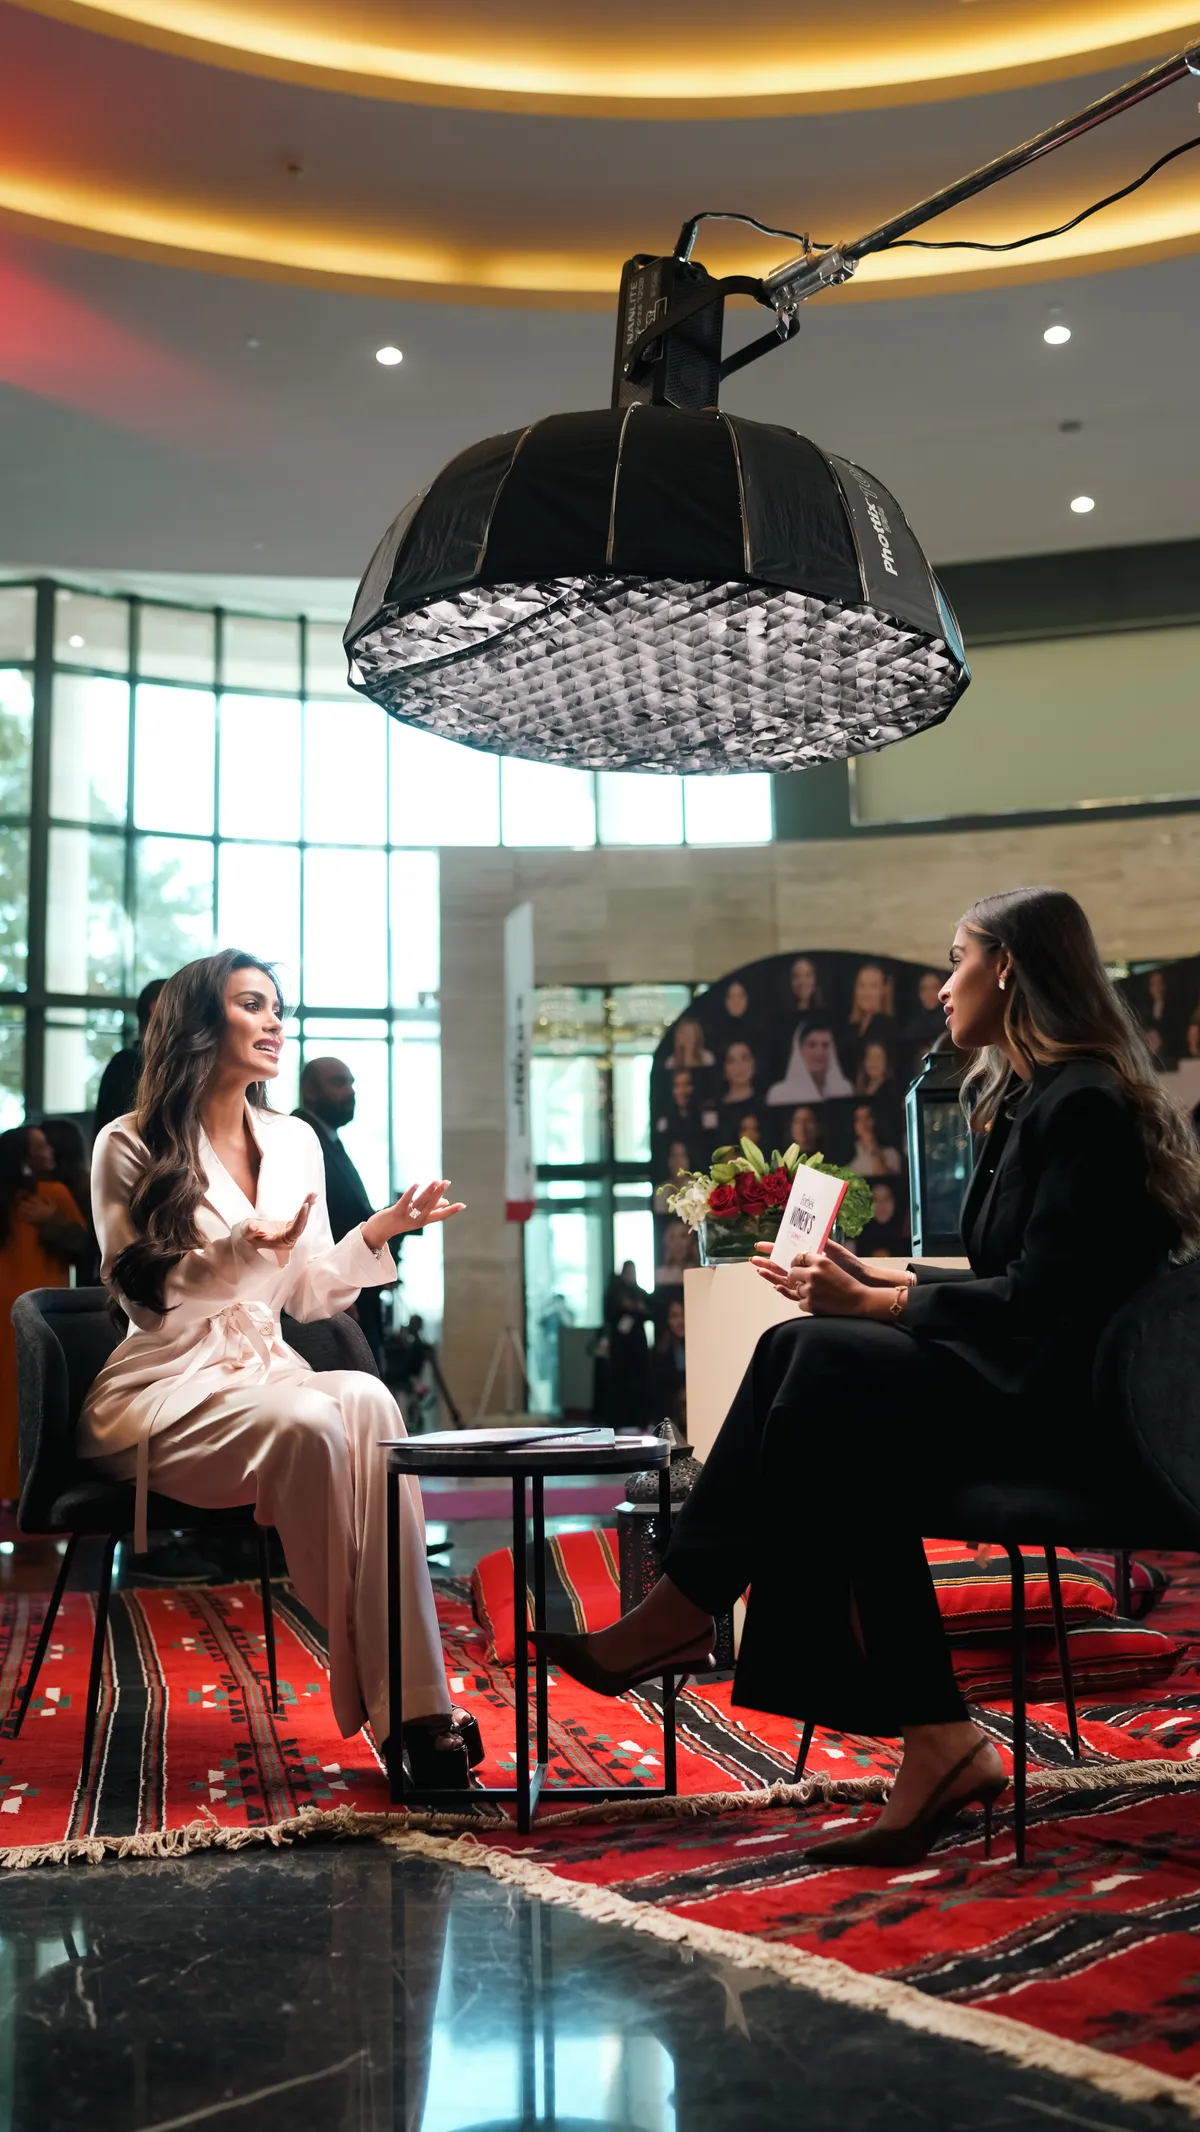
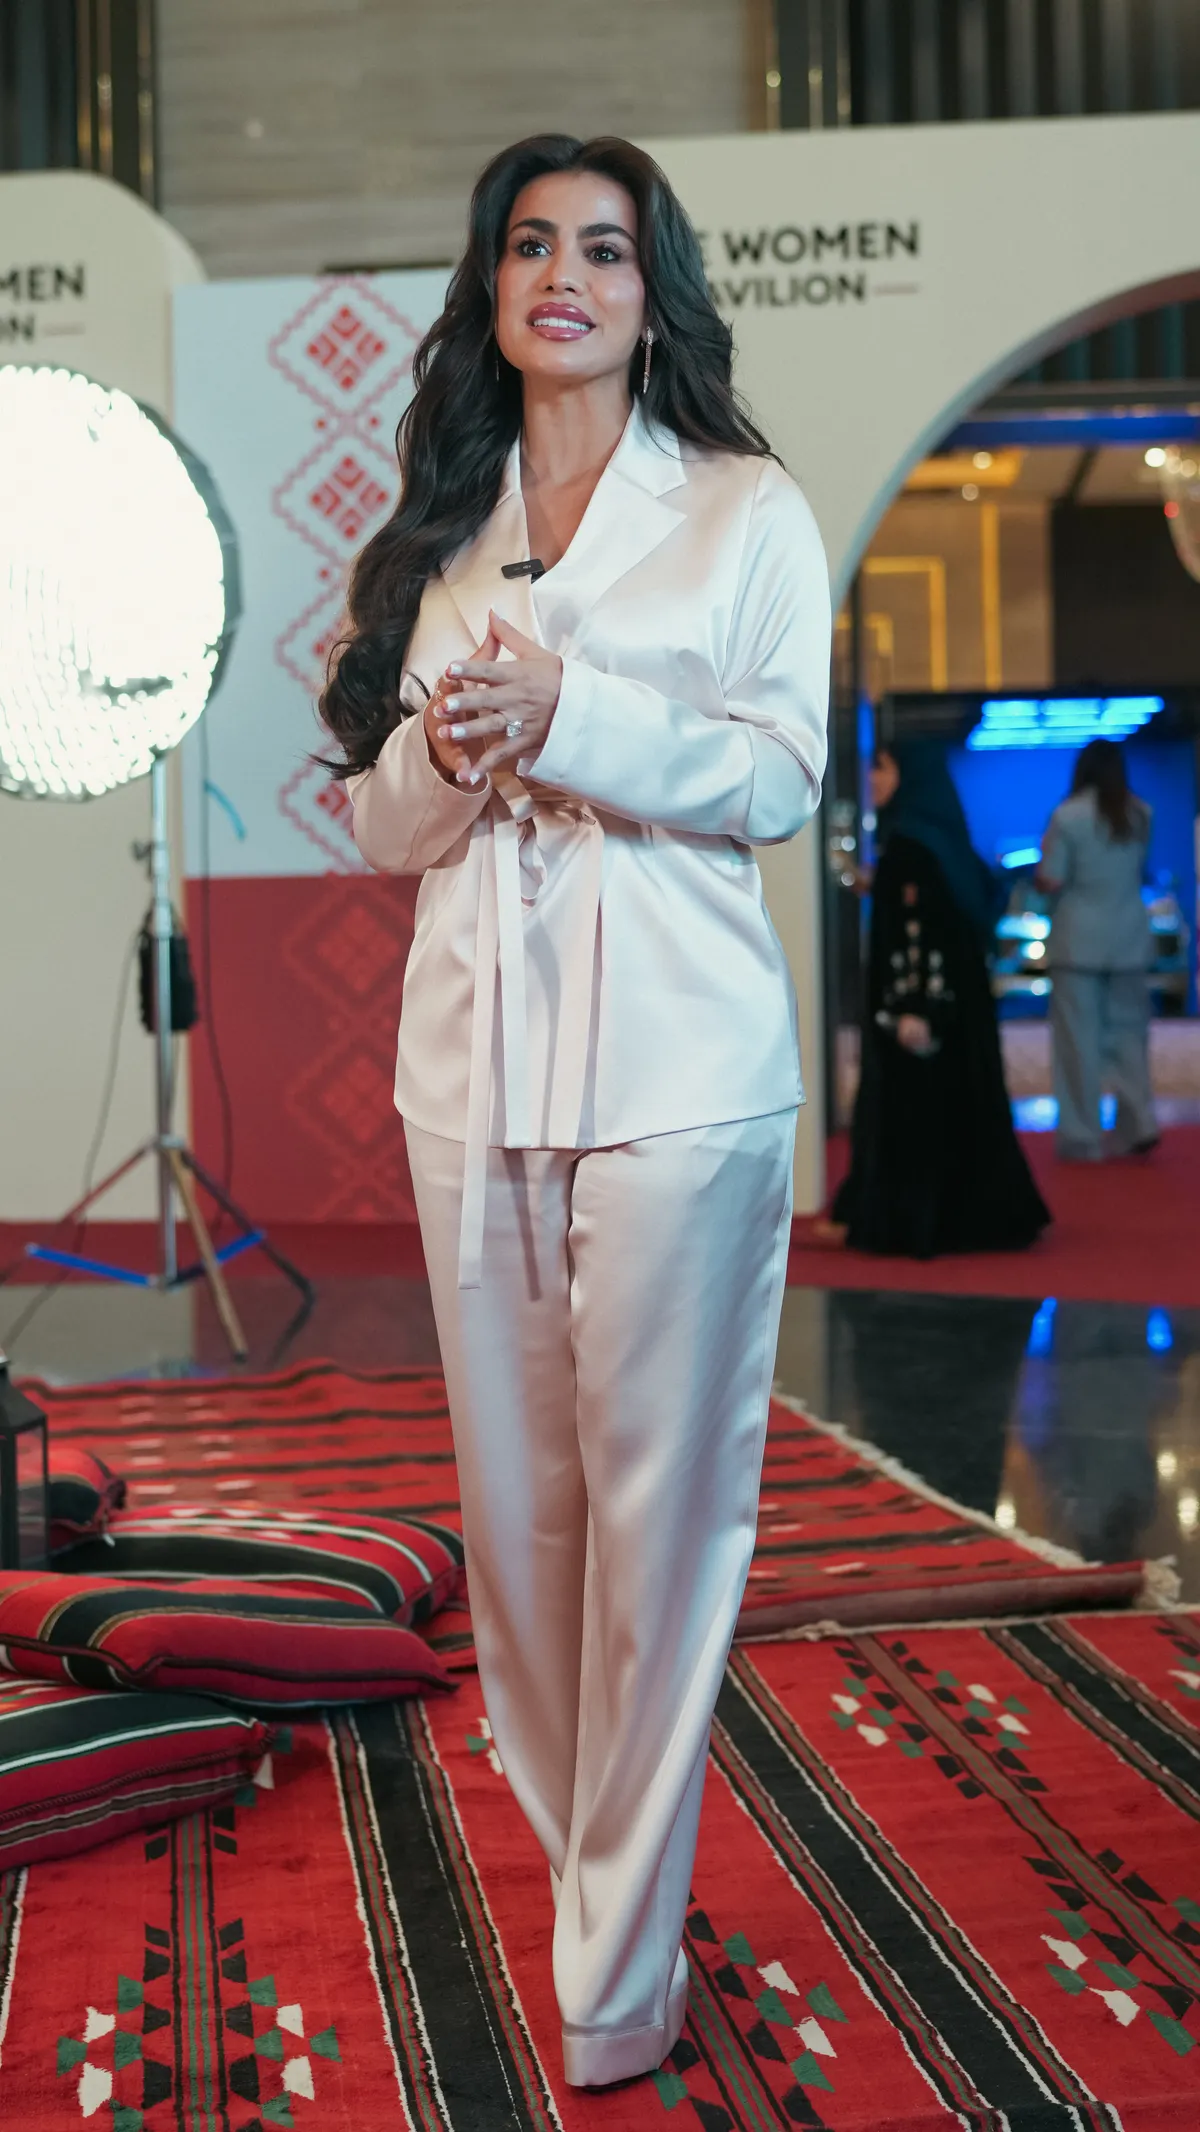
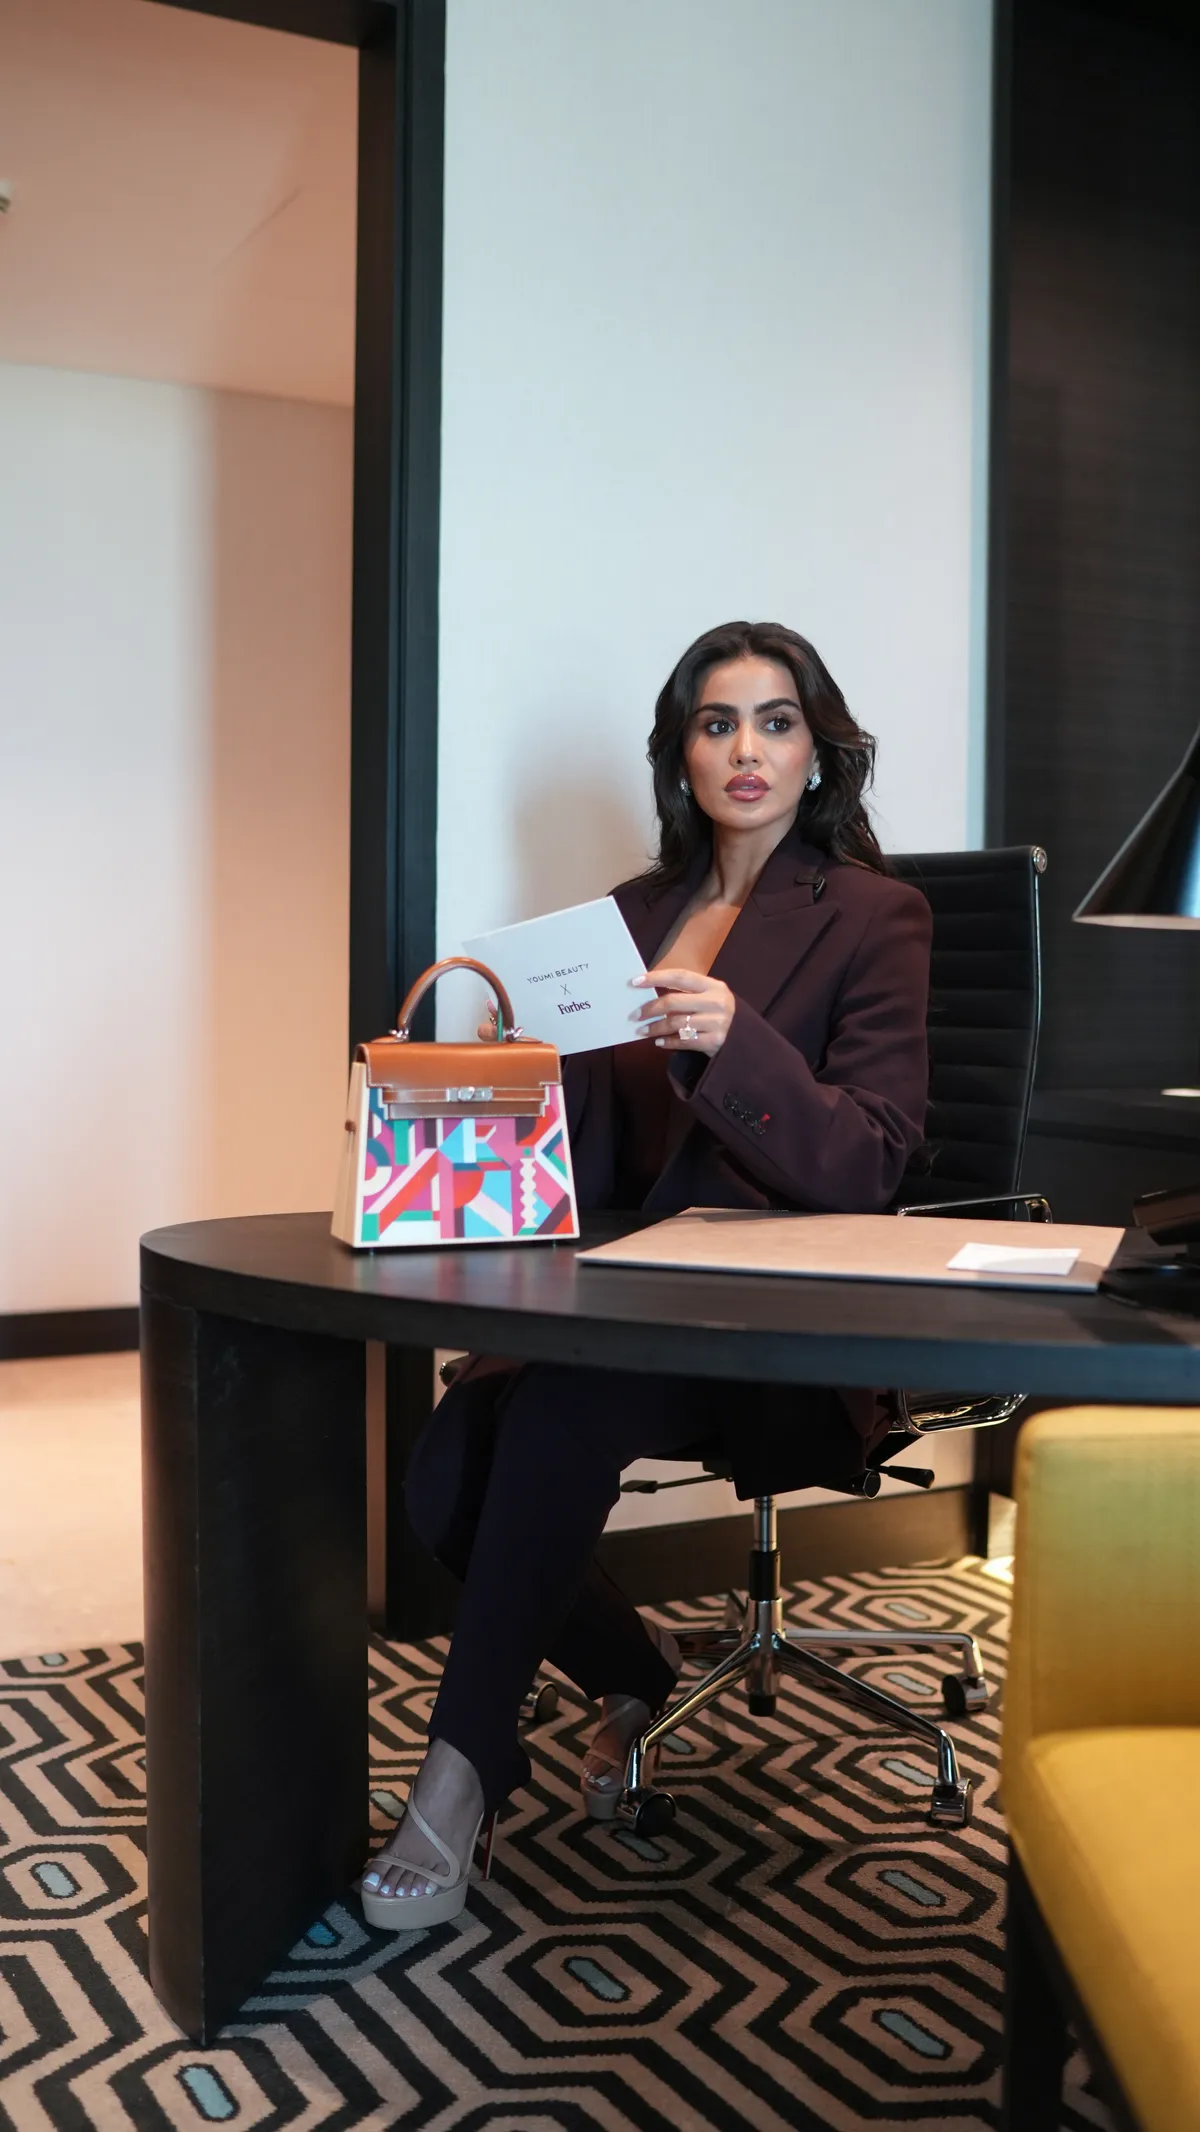
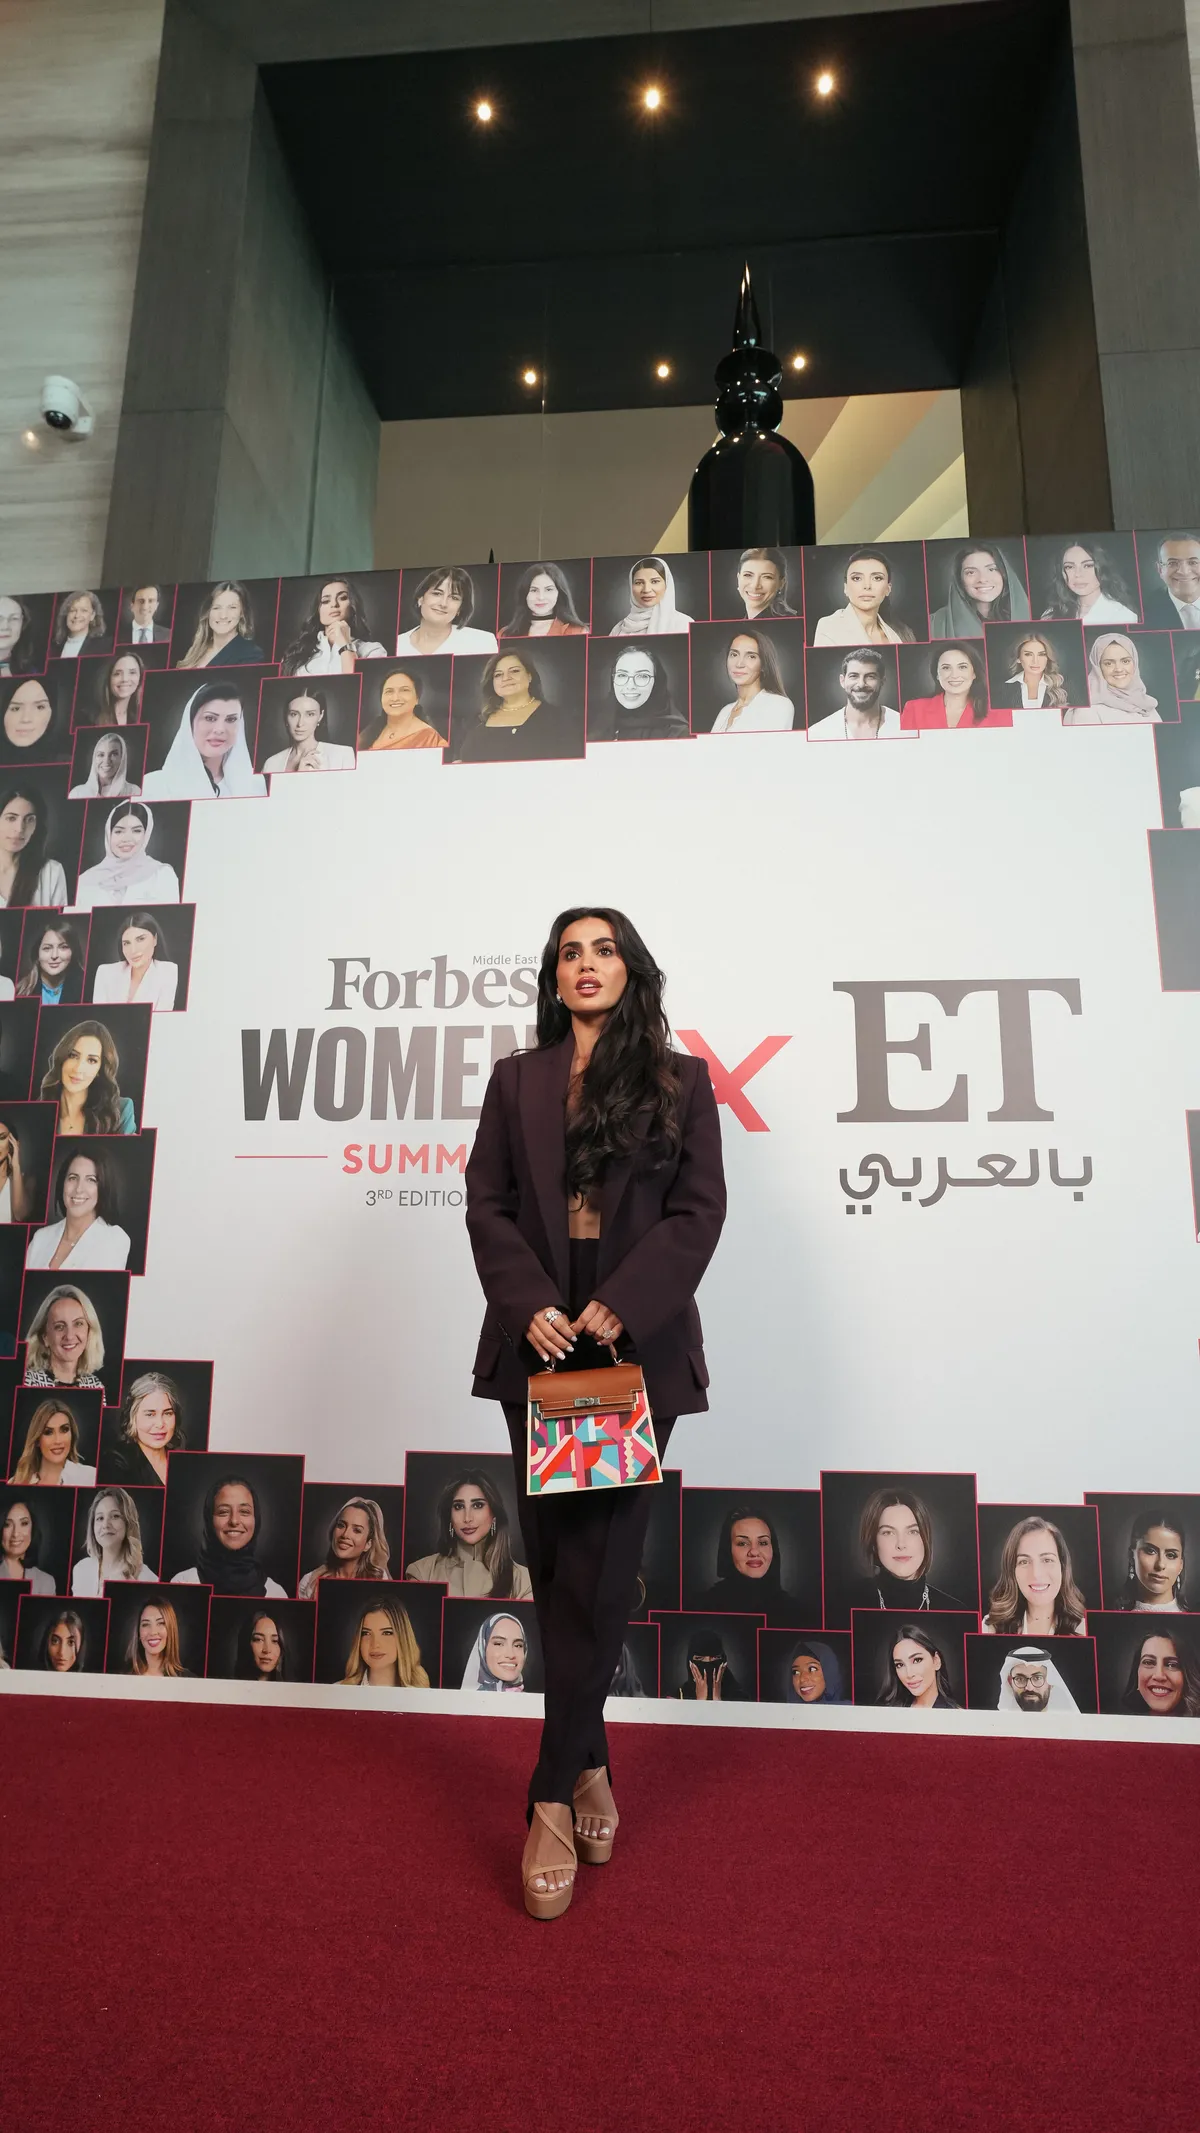
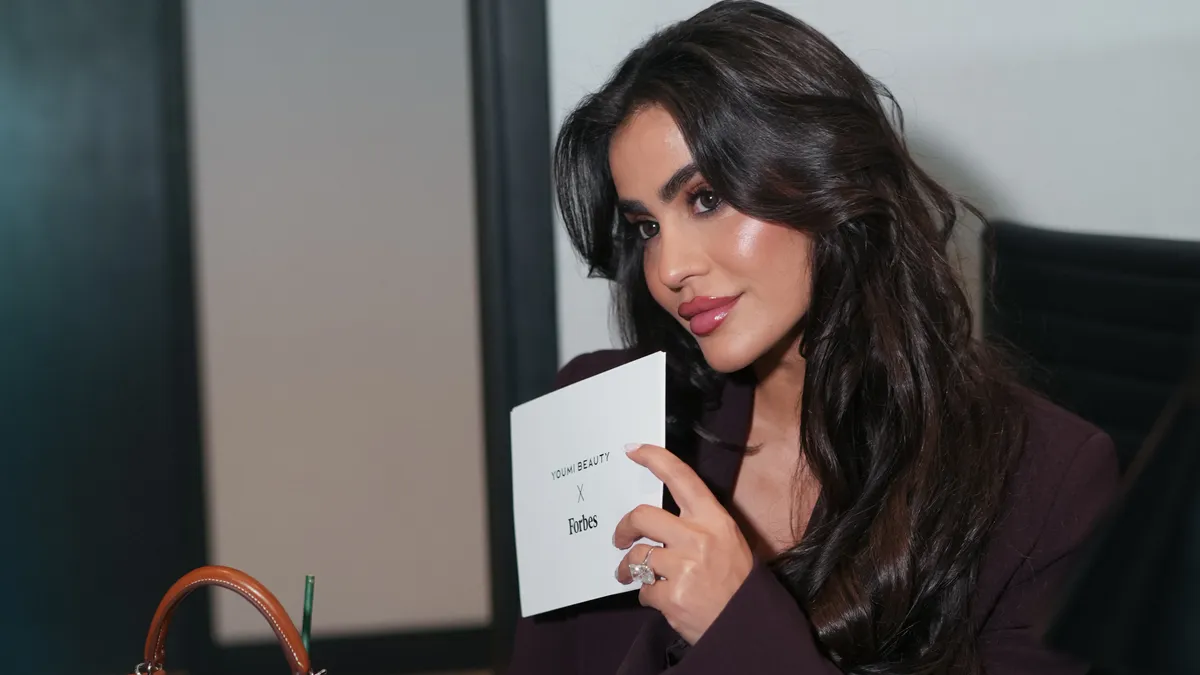
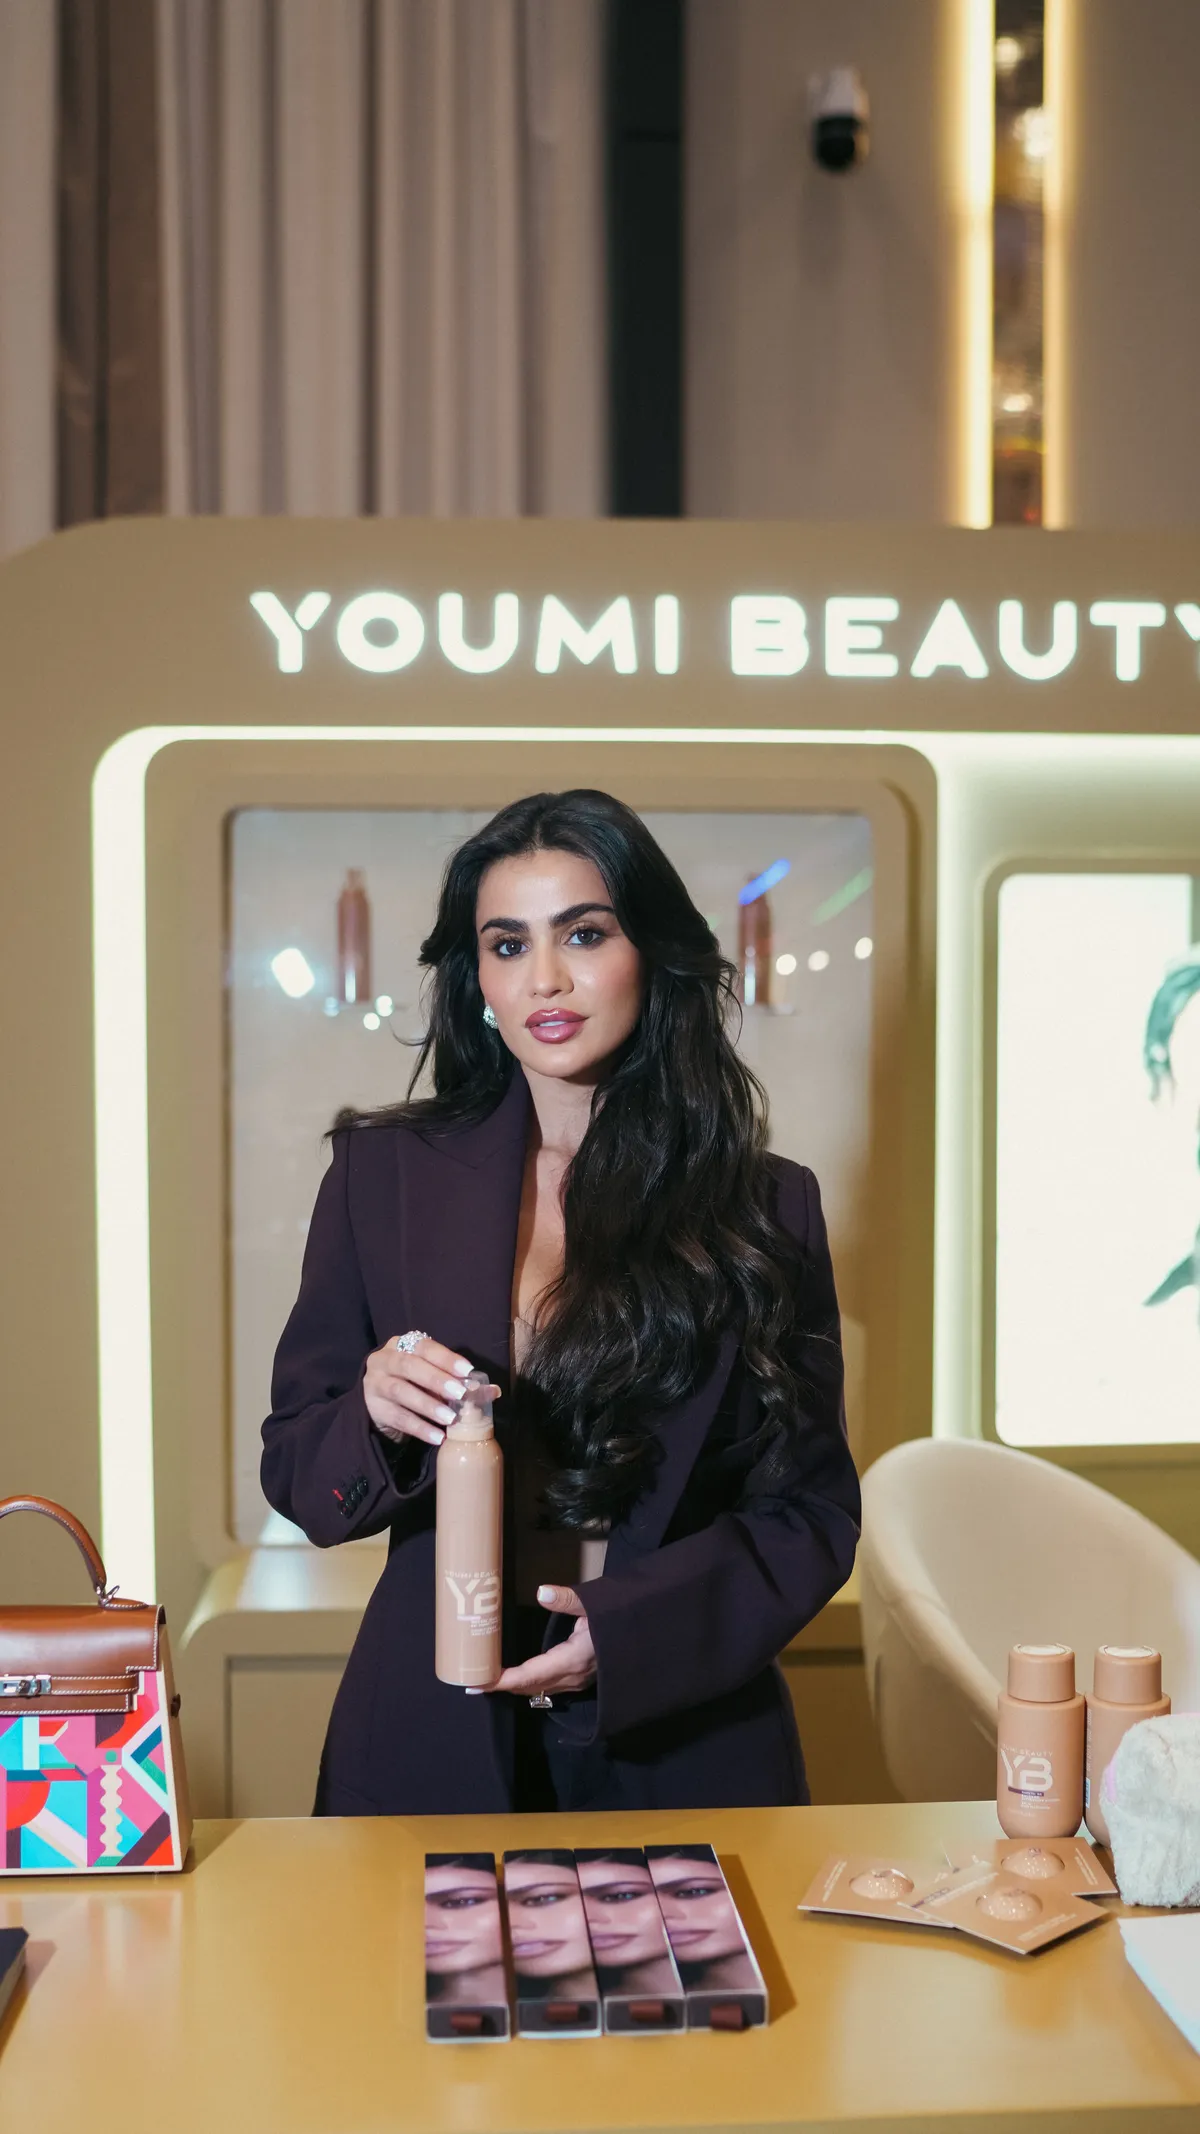
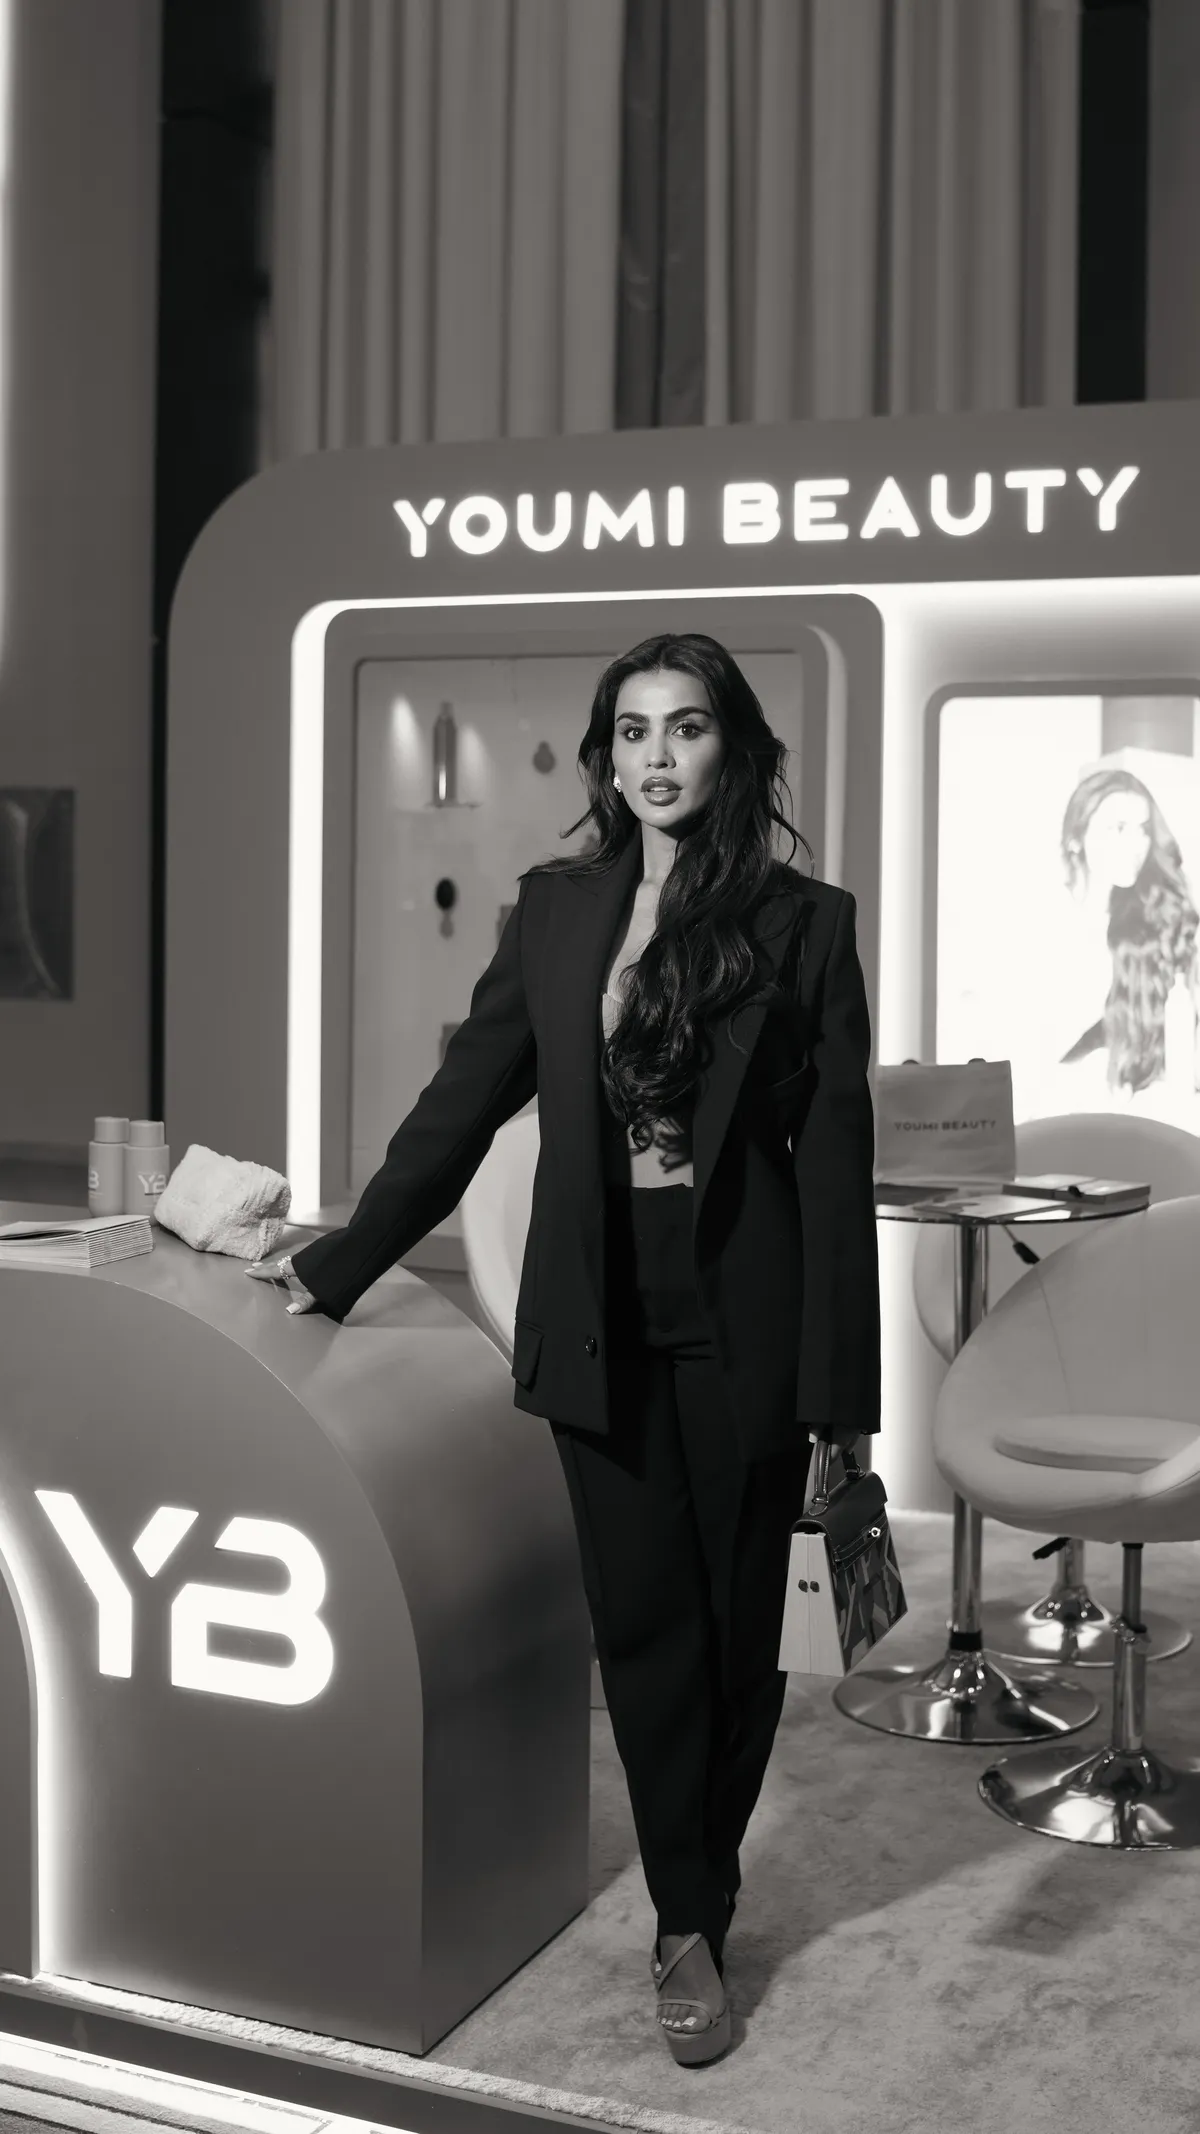
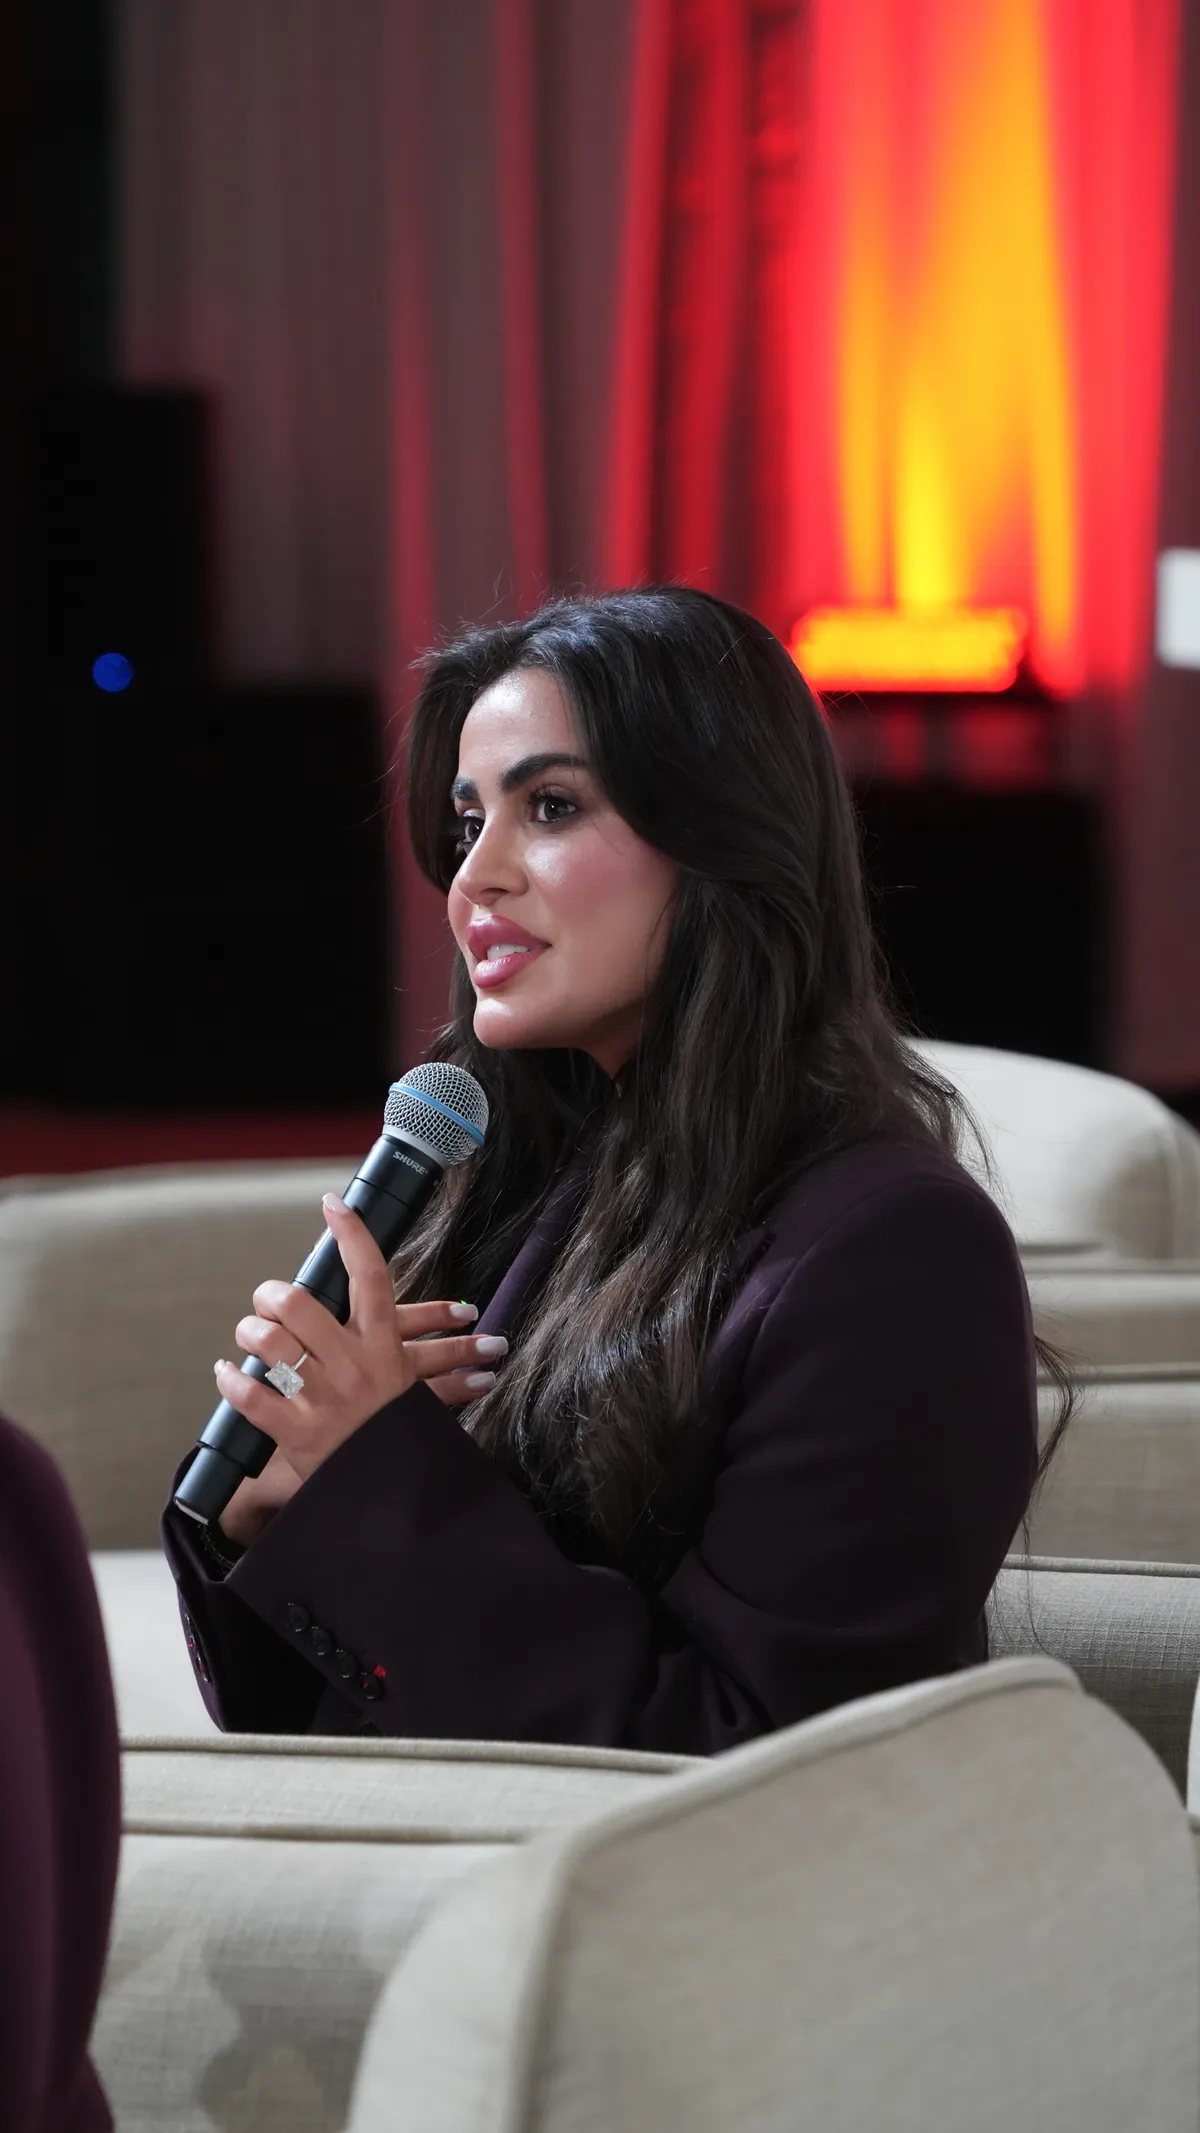
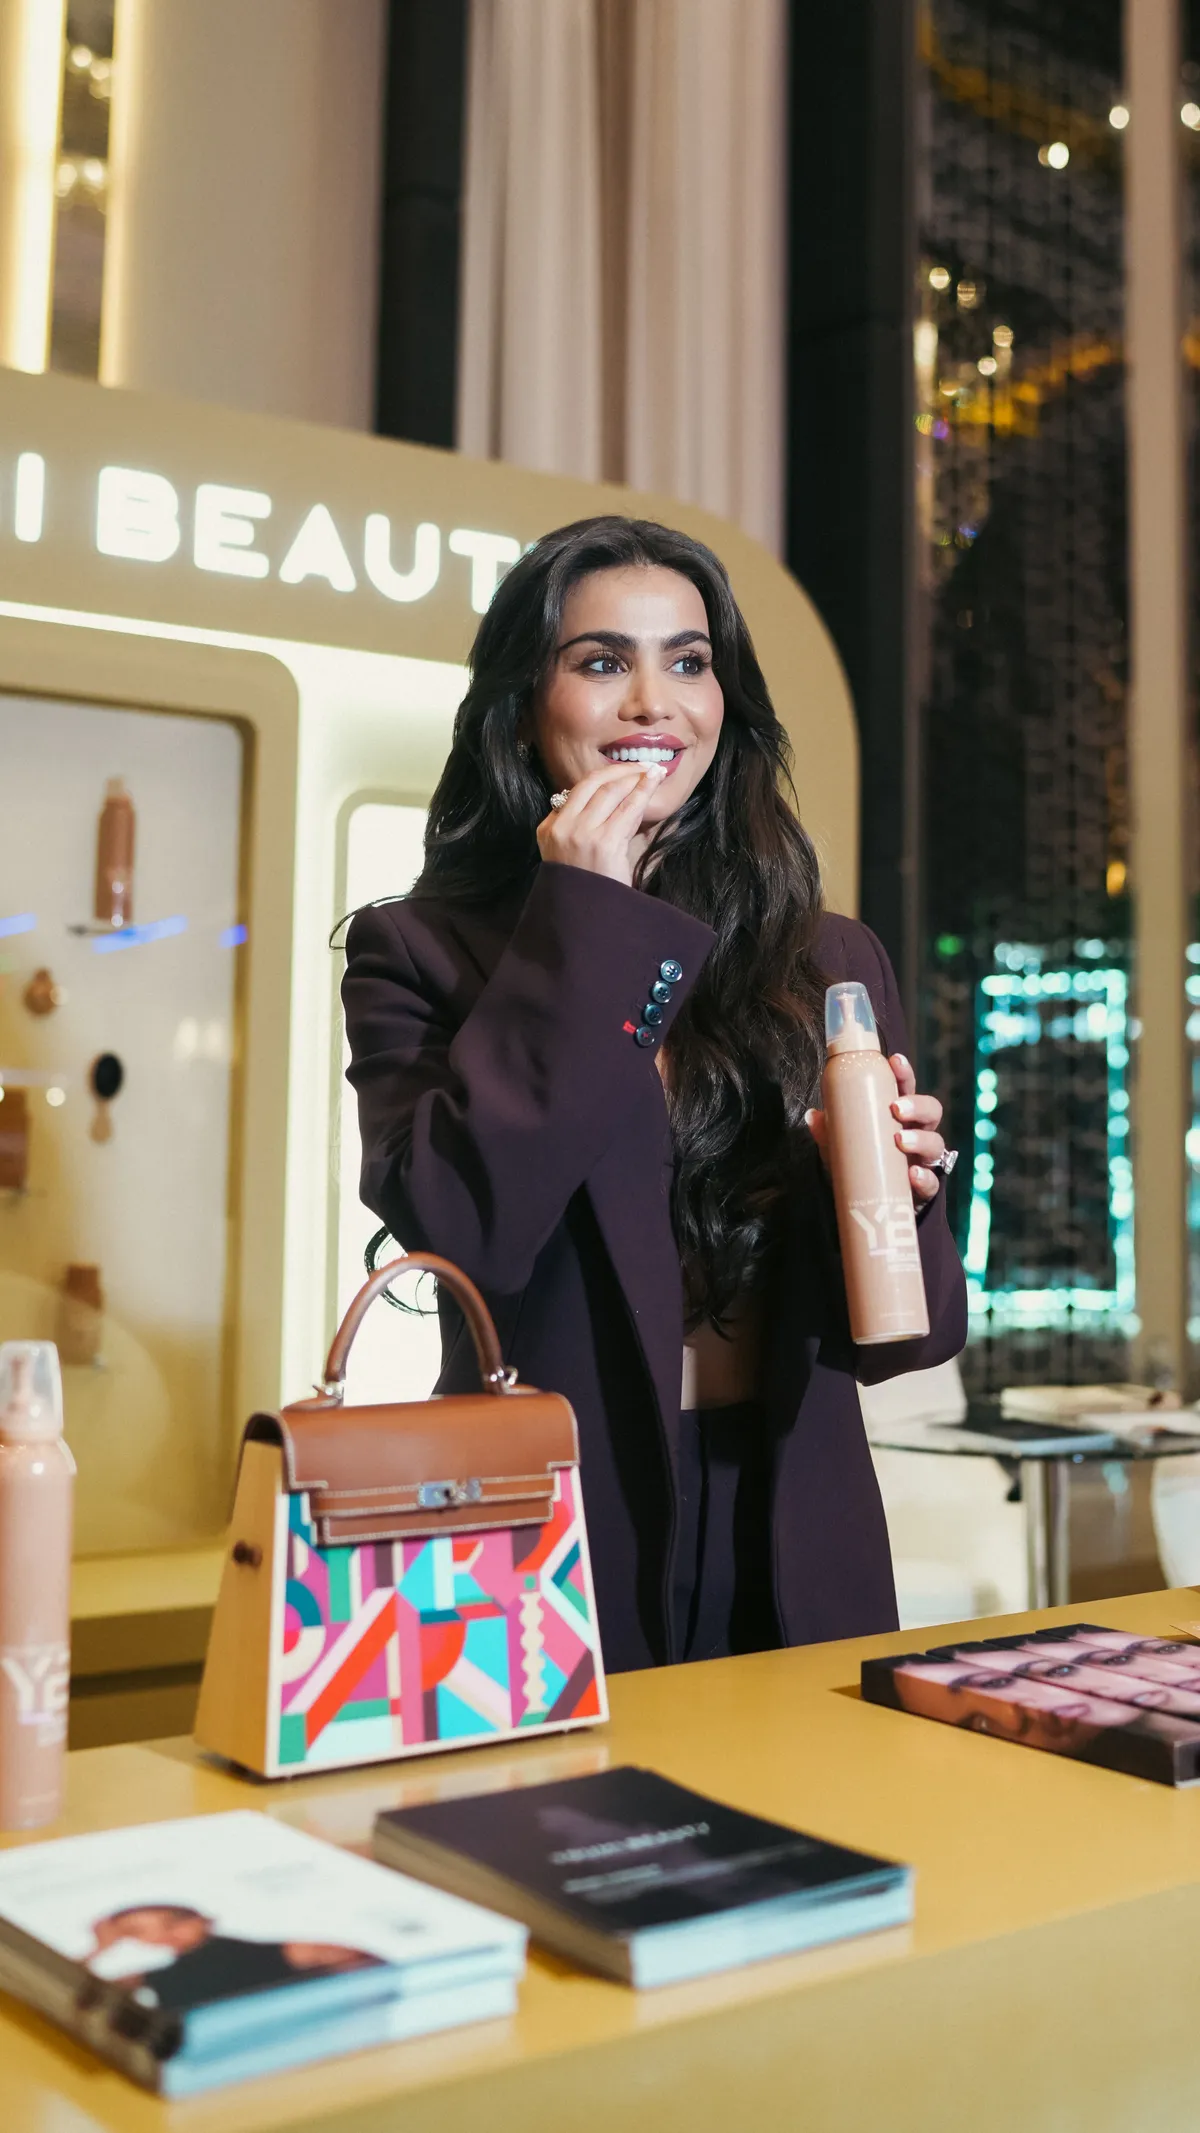
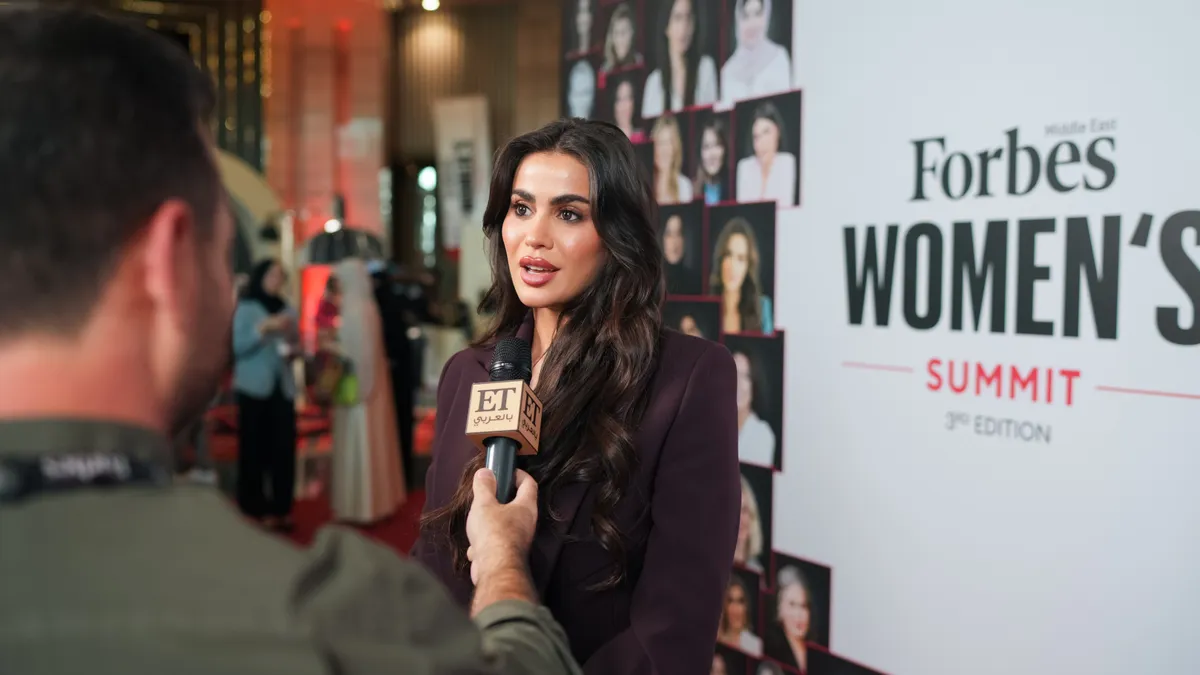
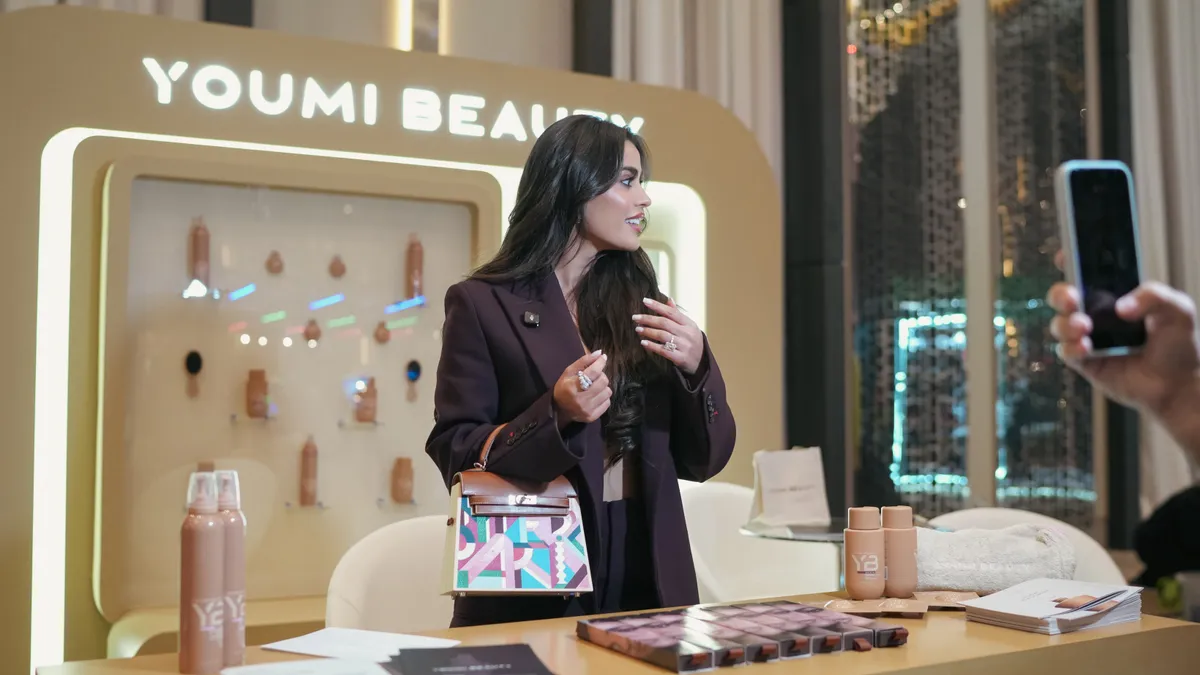
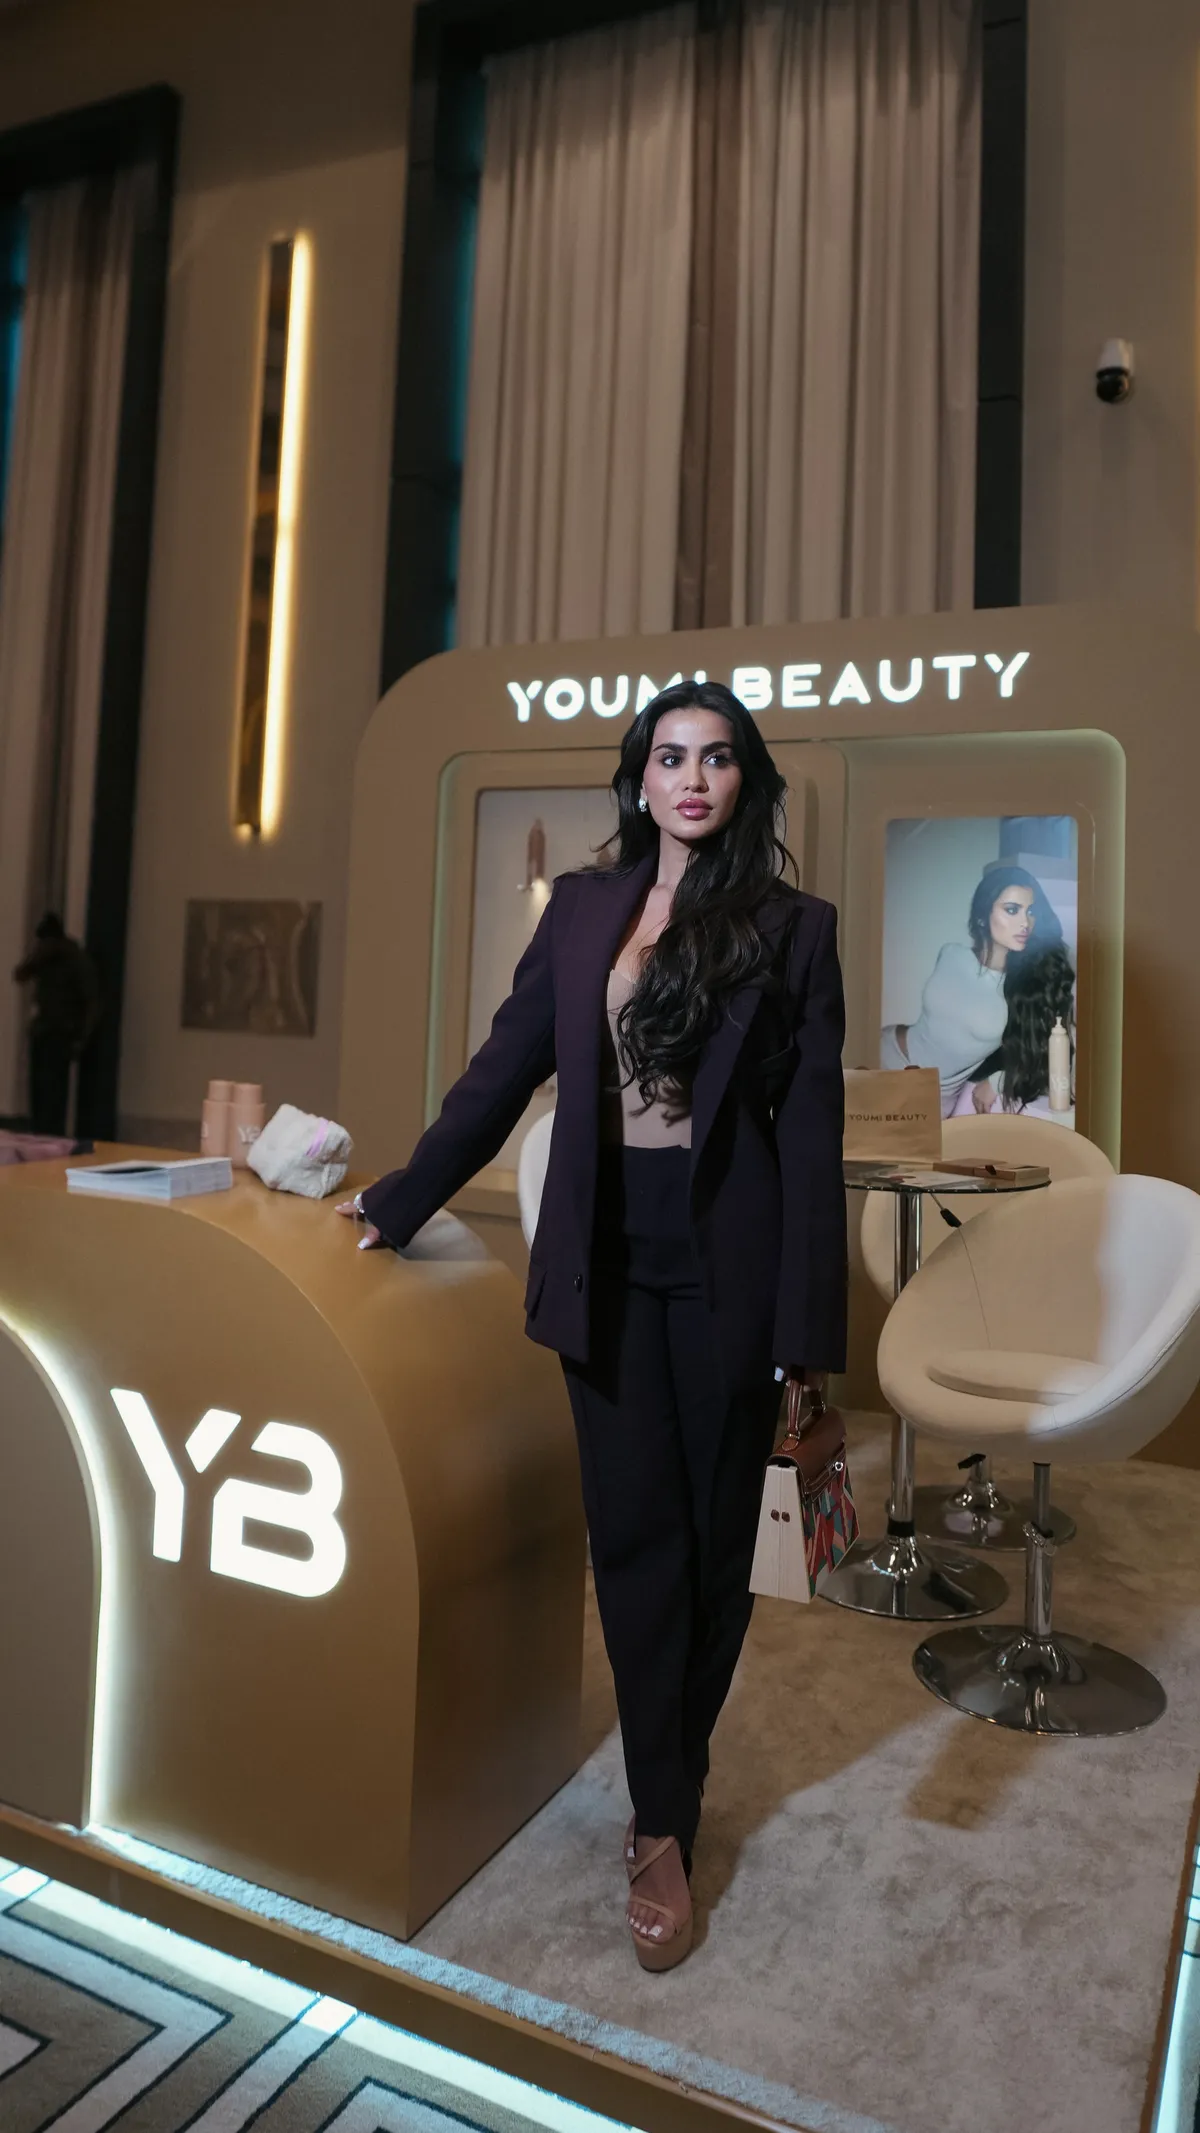
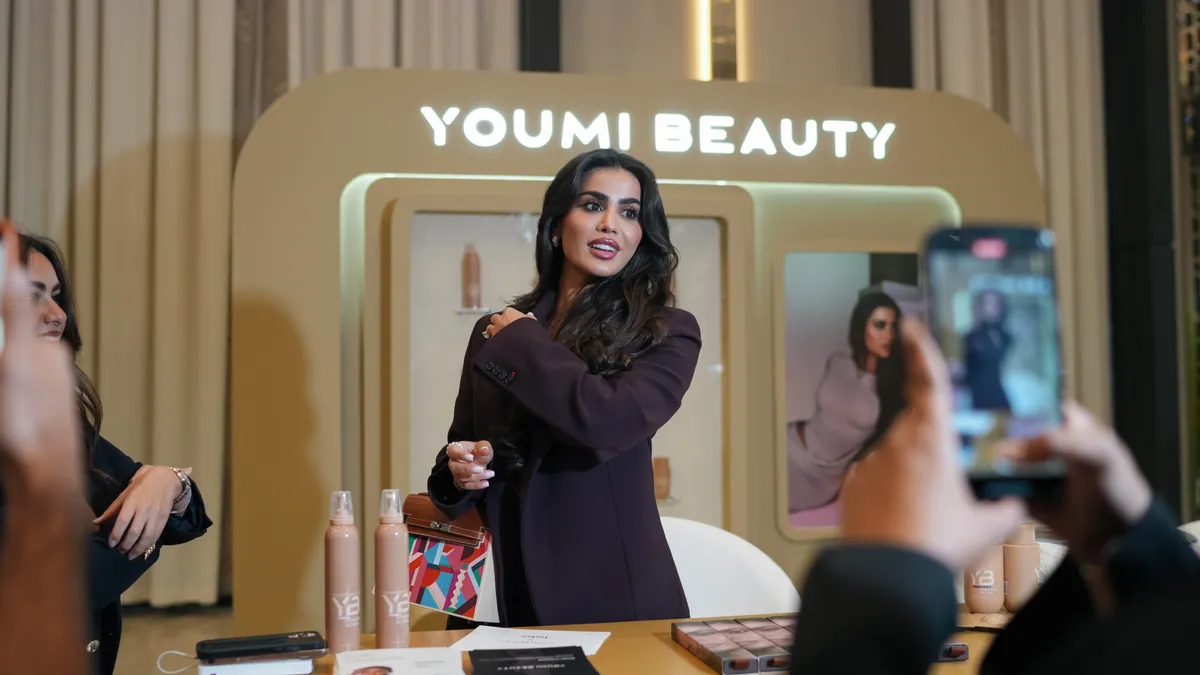
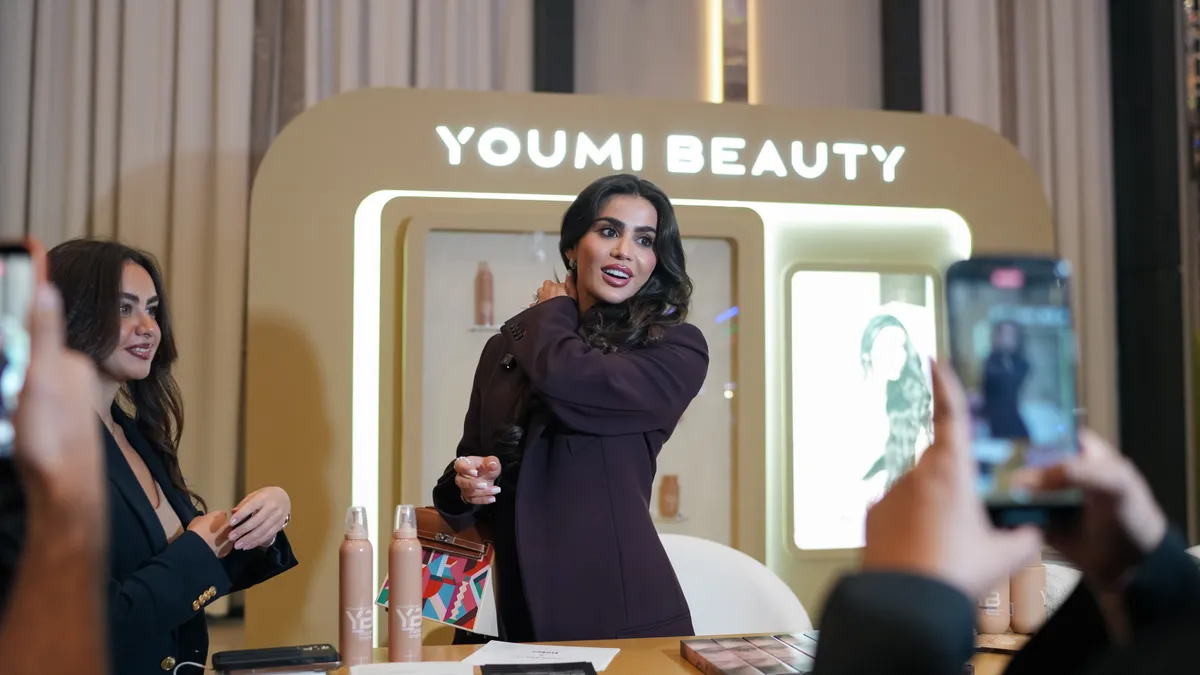
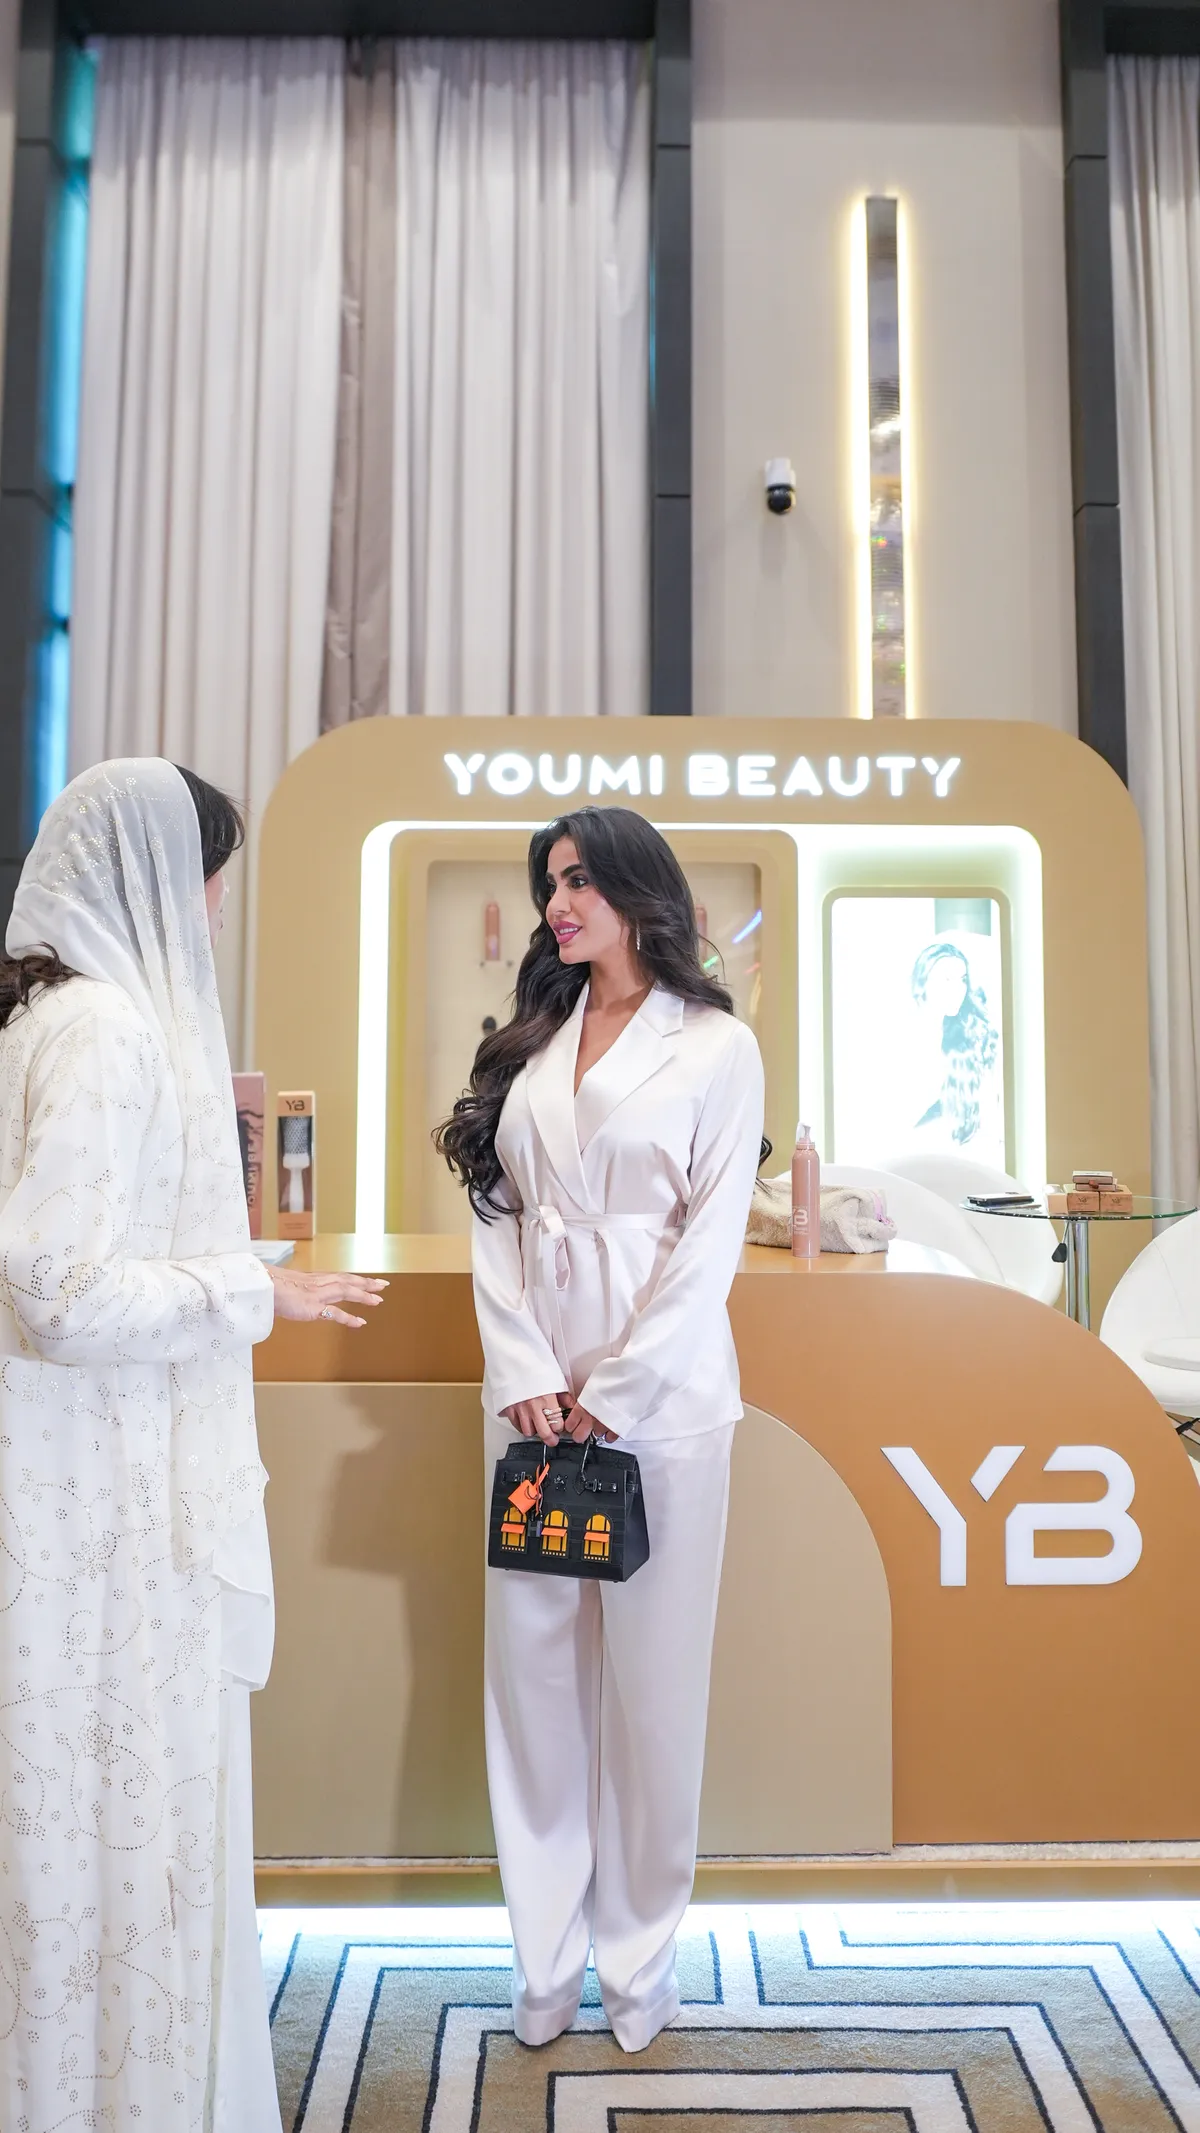
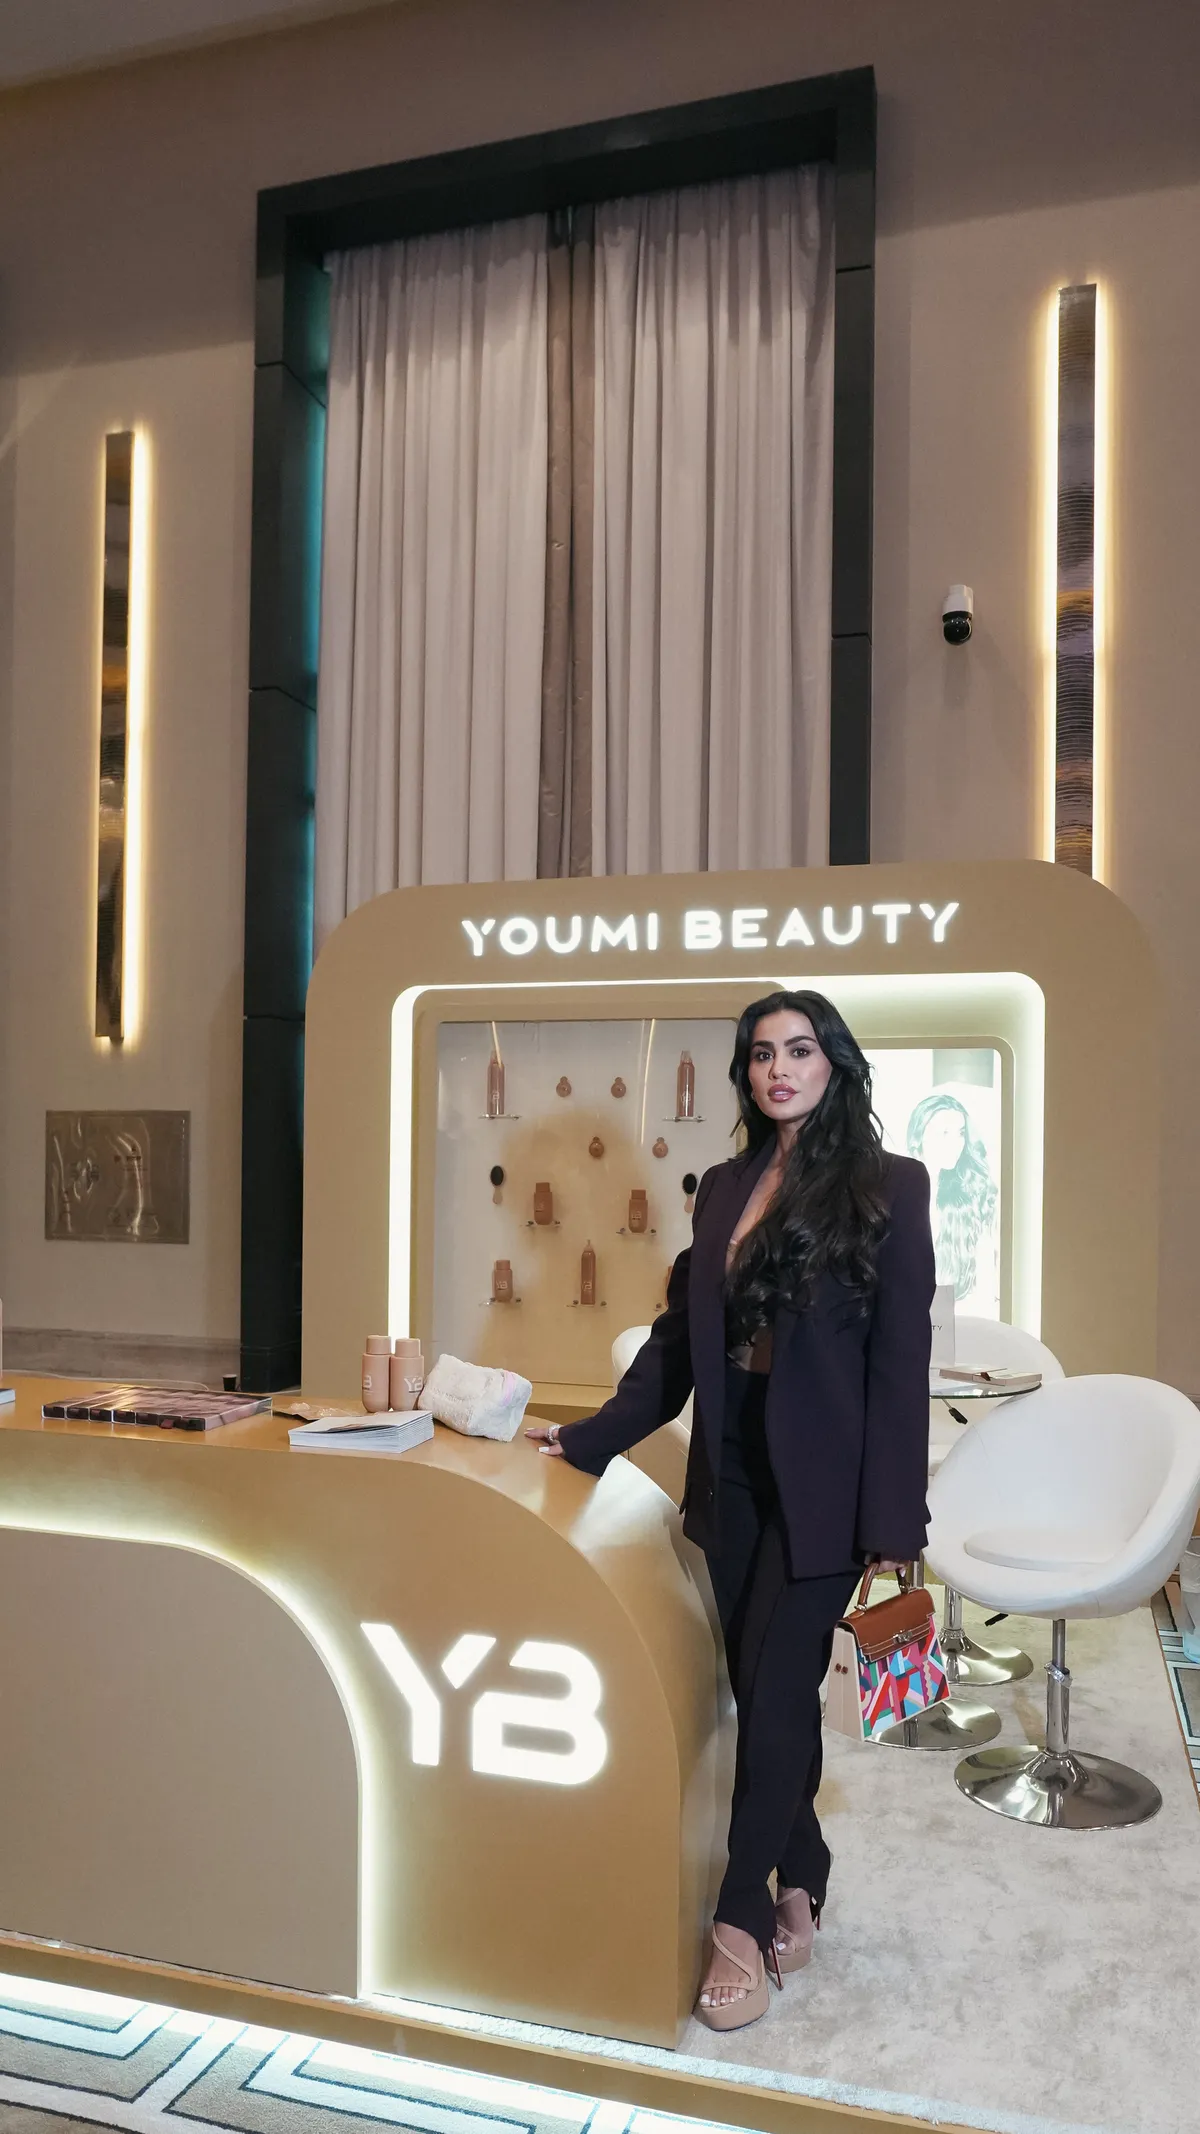
  • Youmi Beauty, photographed by DawwasEye Studios
  • Youmi Beauty, photographed by DawwasEye Studios
  • Youmi Beauty, photographed by DawwasEye Studios
  • Youmi Beauty, photographed by DawwasEye Studios
  • Youmi Beauty, photographed by DawwasEye Studios
  • Youmi Beauty, photographed by DawwasEye Studios
  • Youmi Beauty, photographed by DawwasEye Studios
  • Youmi Beauty, photographed by DawwasEye Studios
  • Youmi Beauty, photographed by DawwasEye Studios
  • Youmi Beauty, photographed by DawwasEye Studios
  • Youmi Beauty, photographed by DawwasEye Studios
  • Youmi Beauty, photographed by DawwasEye Studios
  • Youmi Beauty, photographed by DawwasEye Studios
  • Youmi Beauty, photographed by DawwasEye Studios
  • Youmi Beauty, photographed by DawwasEye Studios
  • Youmi Beauty, photographed by DawwasEye Studios
  • Youmi Beauty, photographed by DawwasEye Studios
  • Youmi Beauty, photographed by DawwasEye Studios
  • Youmi Beauty, photographed by DawwasEye Studios
  • Youmi Beauty, photographed by DawwasEye Studios
  • Youmi Beauty, photographed by DawwasEye Studios
  • Youmi Beauty, photographed by DawwasEye Studios
  • Youmi Beauty, photographed by DawwasEye Studios
  • Youmi Beauty, photographed by DawwasEye Studios
  • Youmi Beauty, photographed by DawwasEye Studios
  • Youmi Beauty, photographed by DawwasEye Studios
  • Youmi Beauty, photographed by DawwasEye Studios
  • Youmi Beauty, photographed by DawwasEye Studios
  • Youmi Beauty, photographed by DawwasEye Studios
  • Youmi Beauty, photographed by DawwasEye Studios
  • Youmi Beauty, photographed by DawwasEye Studios
  • Youmi Beauty, photographed by DawwasEye Studios
  • Youmi Beauty, photographed by DawwasEye Studios
  • Youmi Beauty, photographed by DawwasEye Studios
  • Youmi Beauty, photographed by DawwasEye Studios
  • Youmi Beauty, photographed by DawwasEye Studios
  • Youmi Beauty, photographed by DawwasEye Studios
  • Youmi Beauty, photographed by DawwasEye Studios
  • Youmi Beauty, photographed by DawwasEye Studios
  • Youmi Beauty, photographed by DawwasEye Studios
  • Youmi Beauty, photographed by DawwasEye Studios
  • Youmi Beauty, photographed by DawwasEye Studios
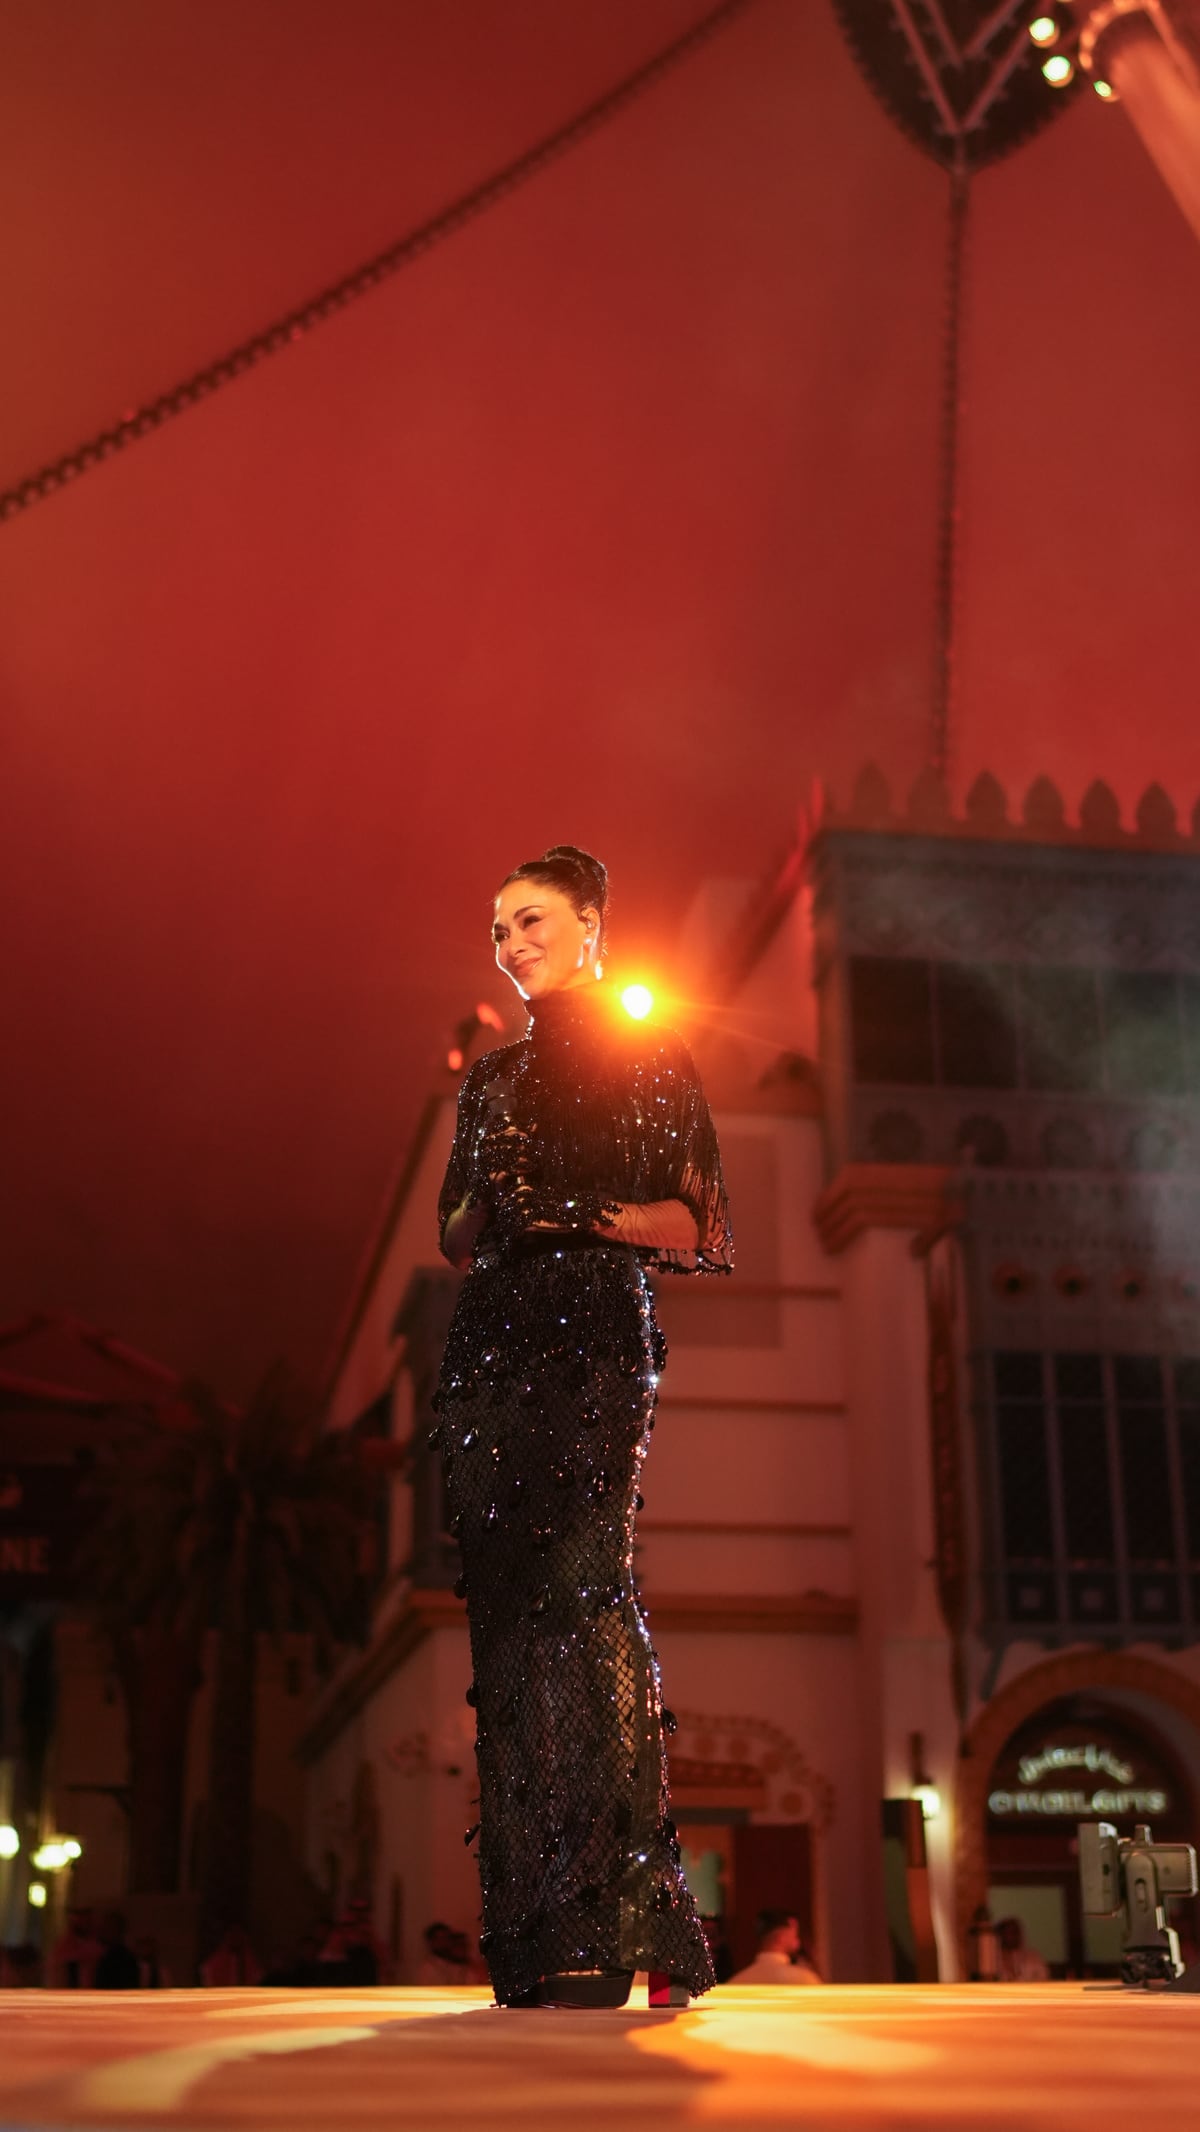
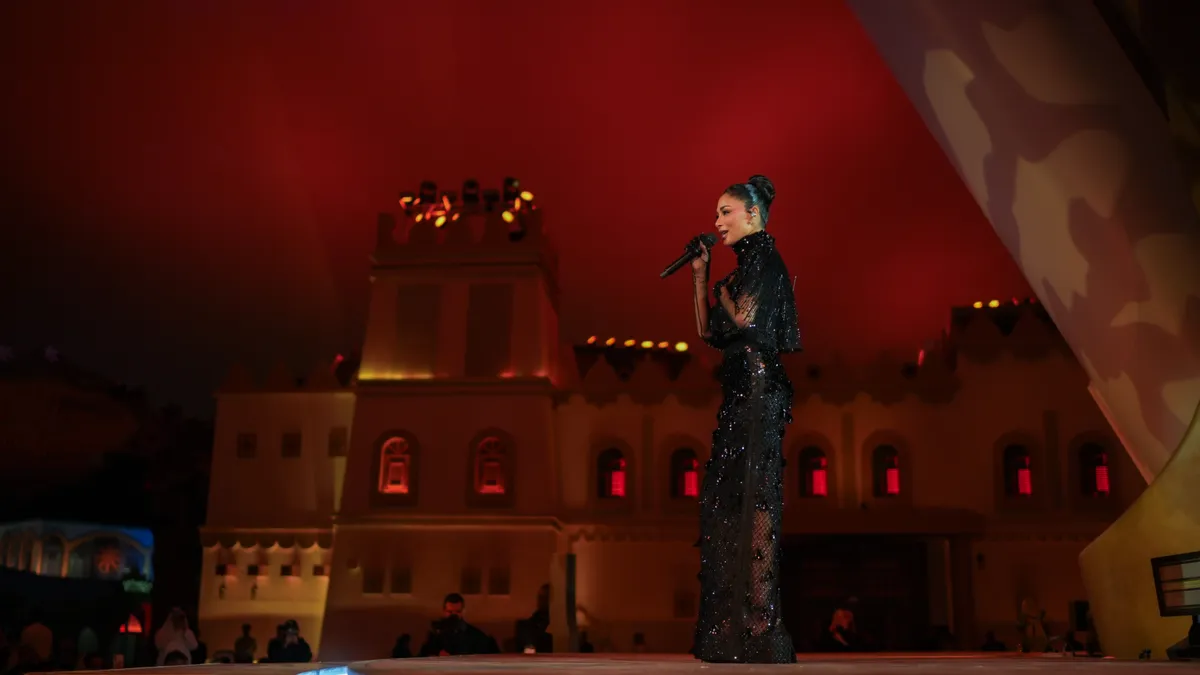
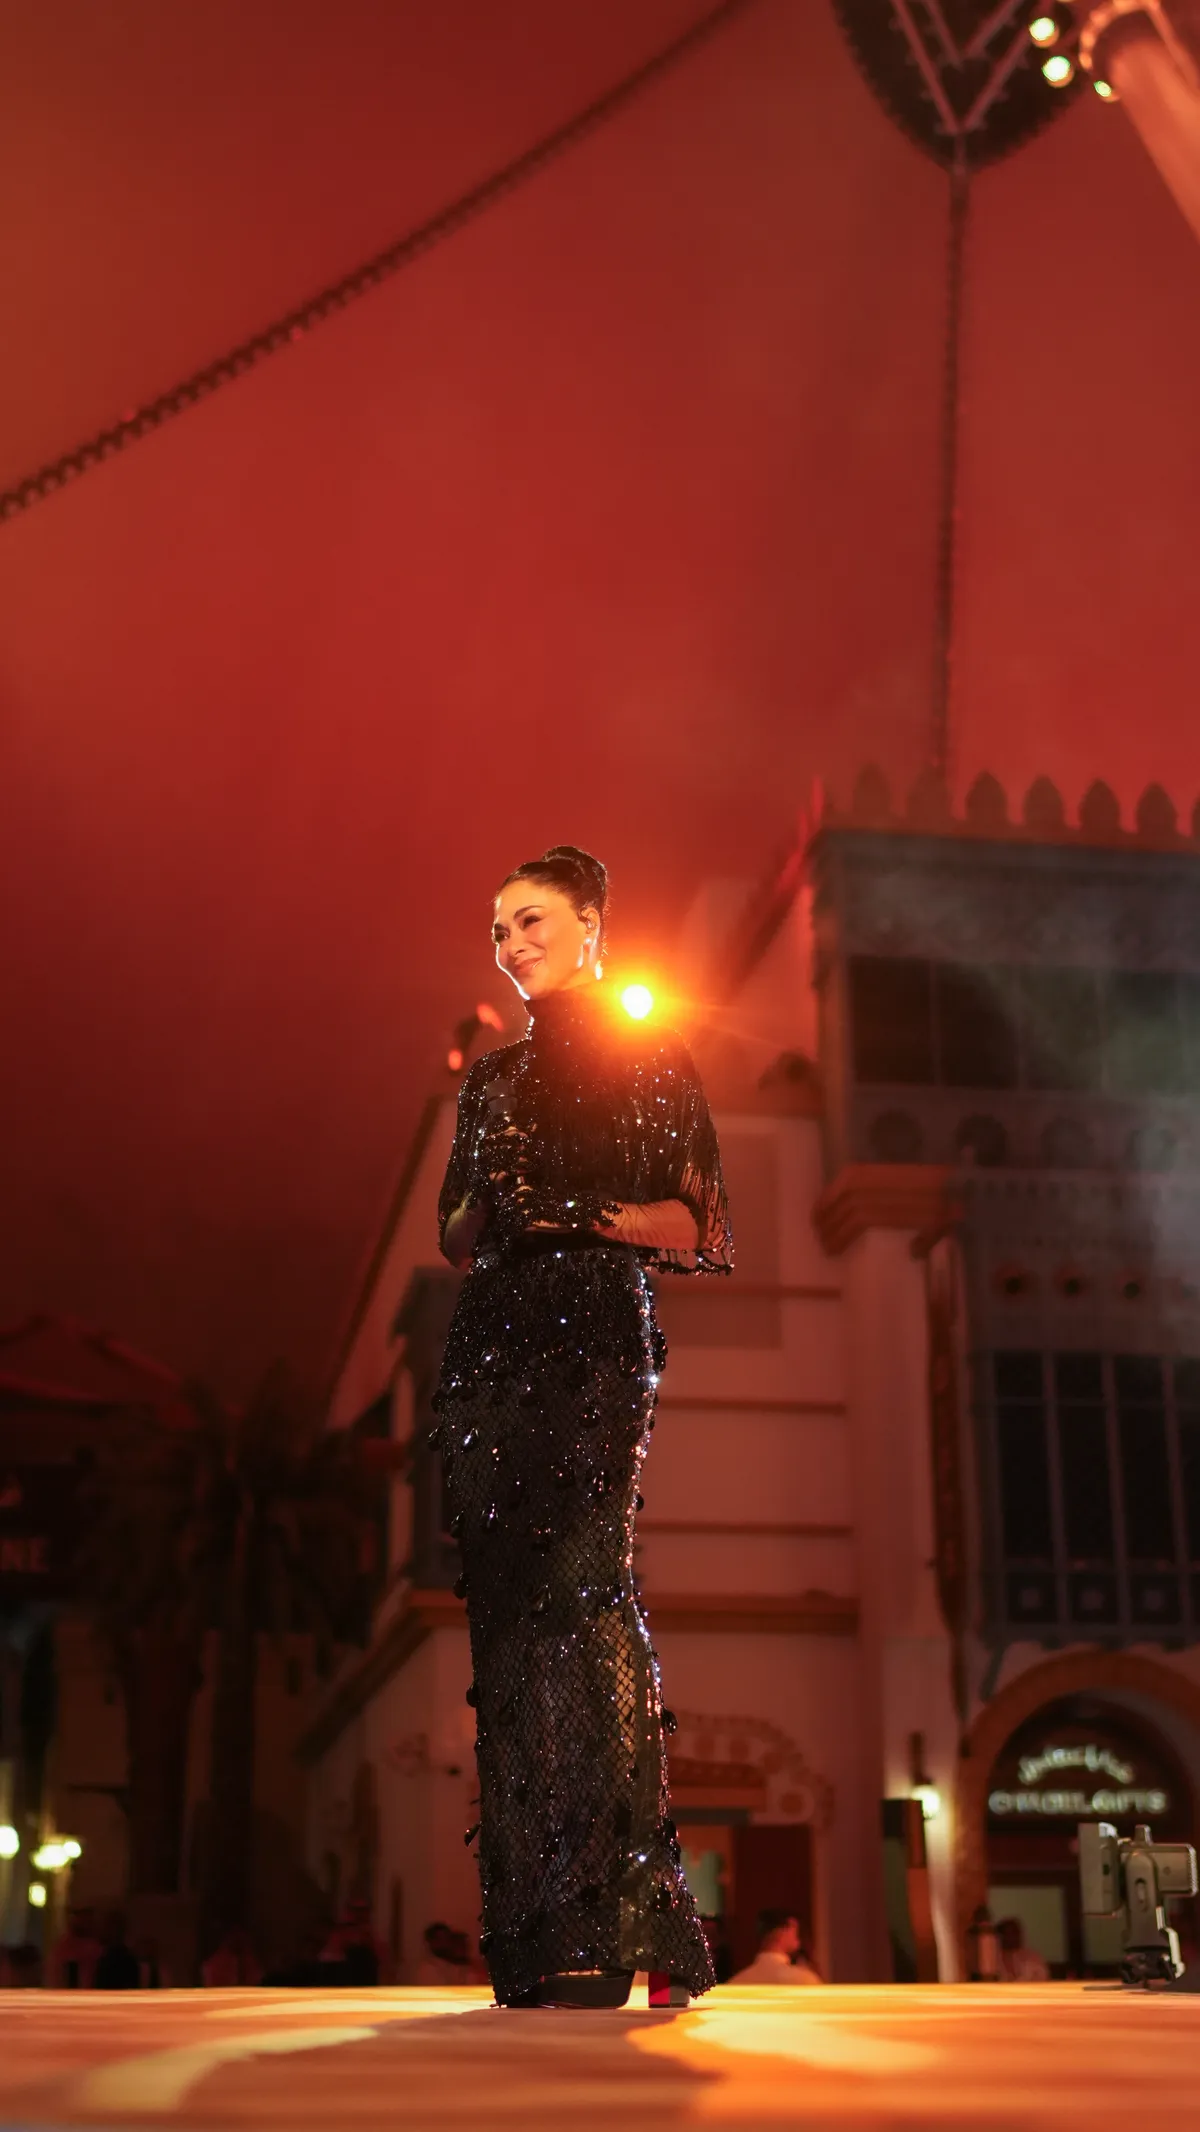
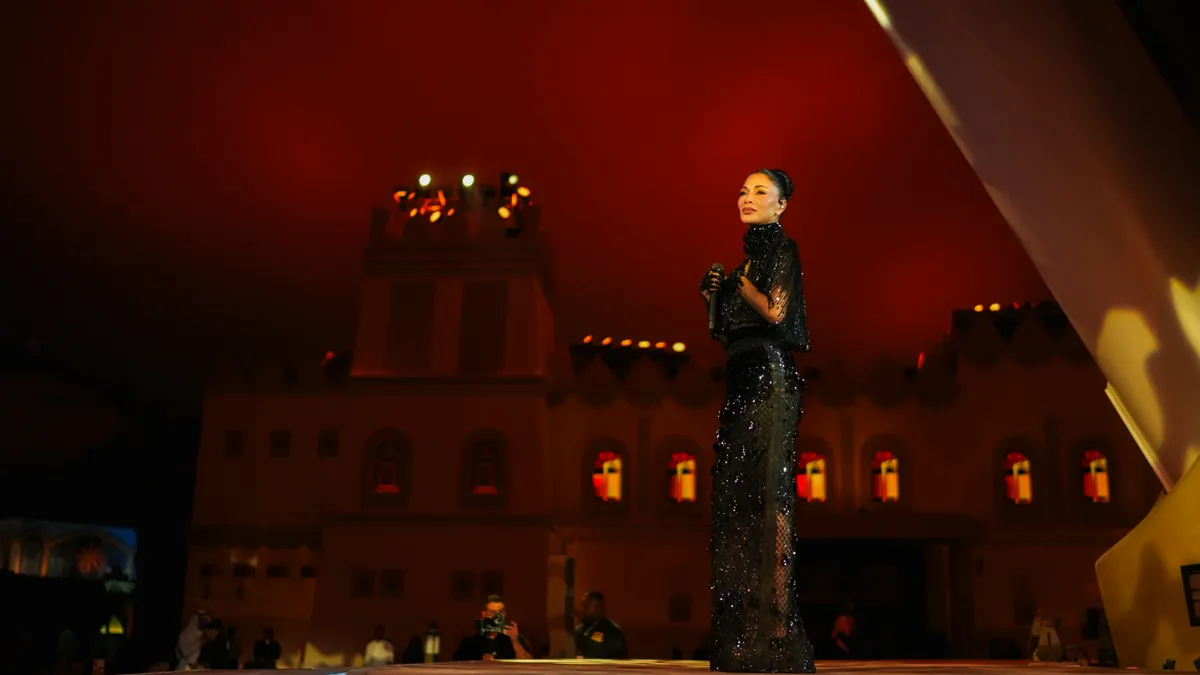
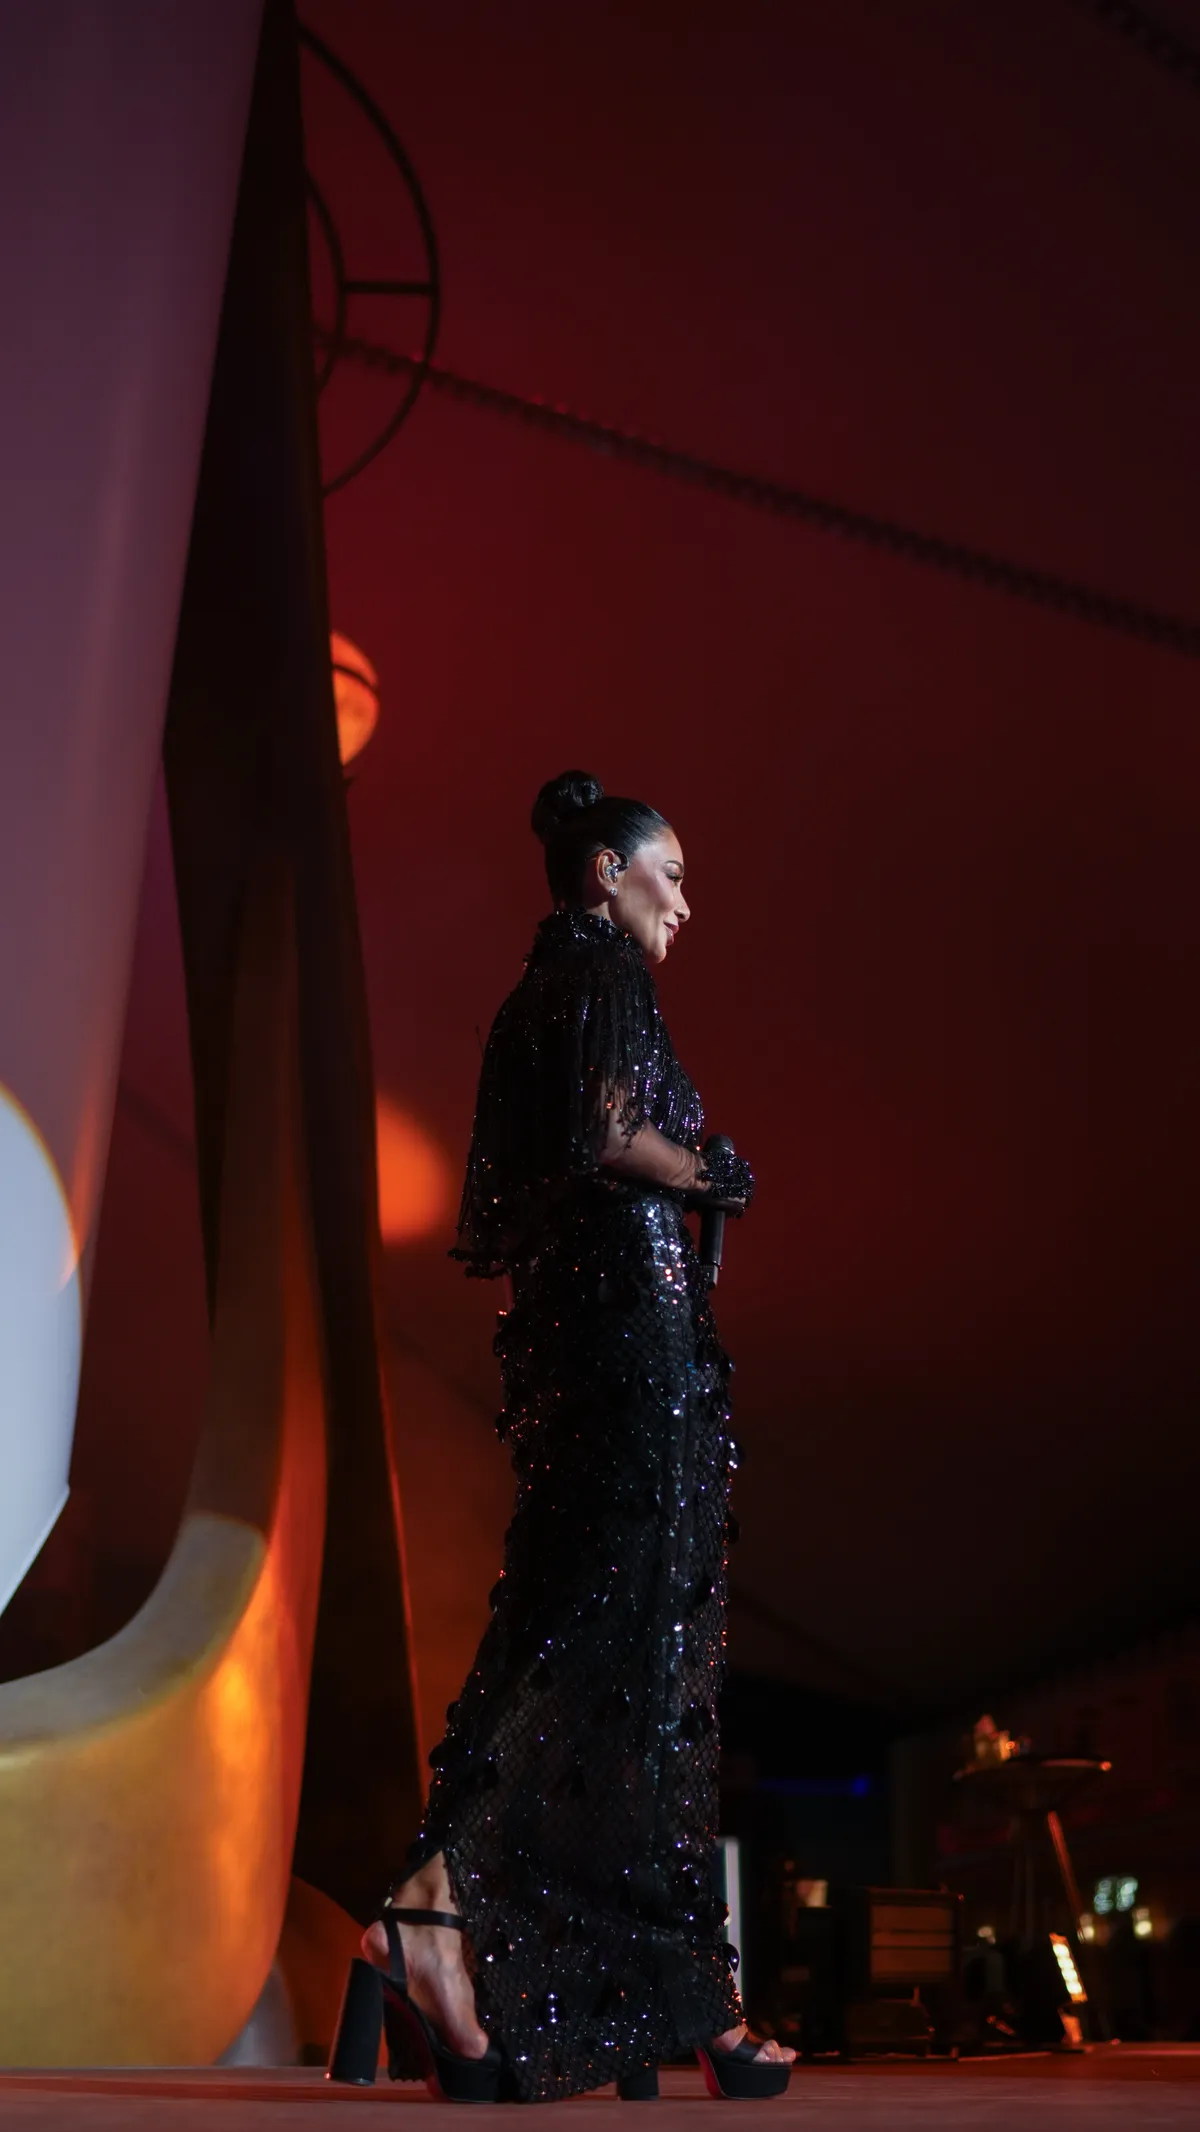
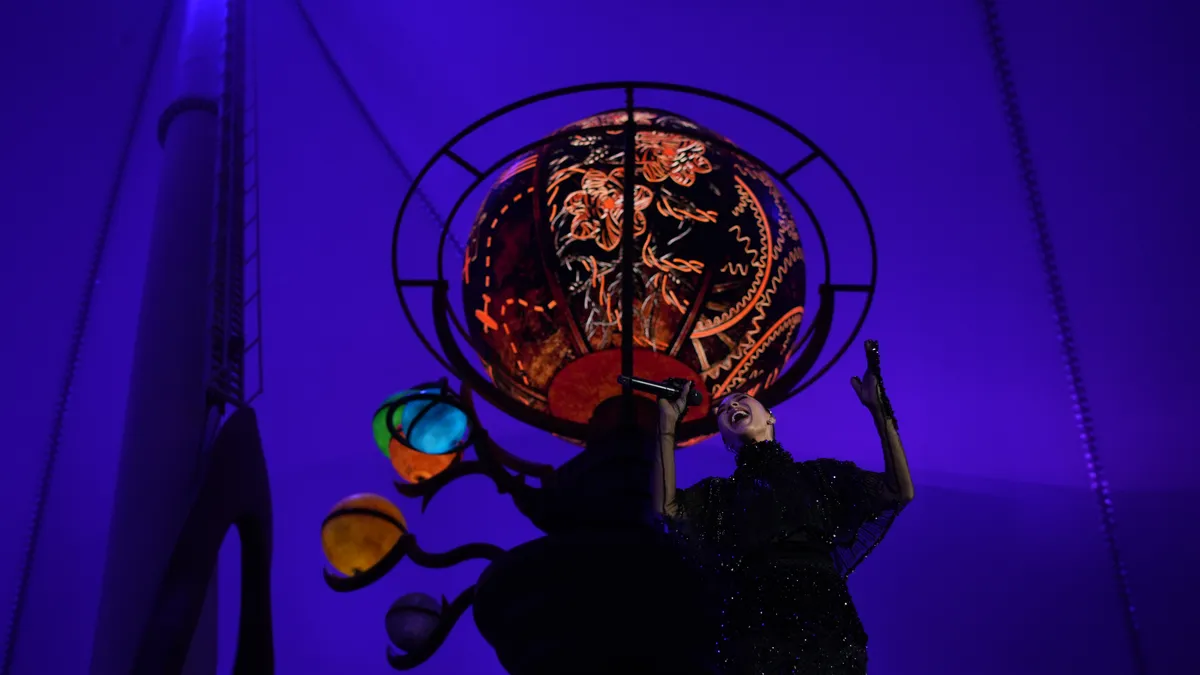
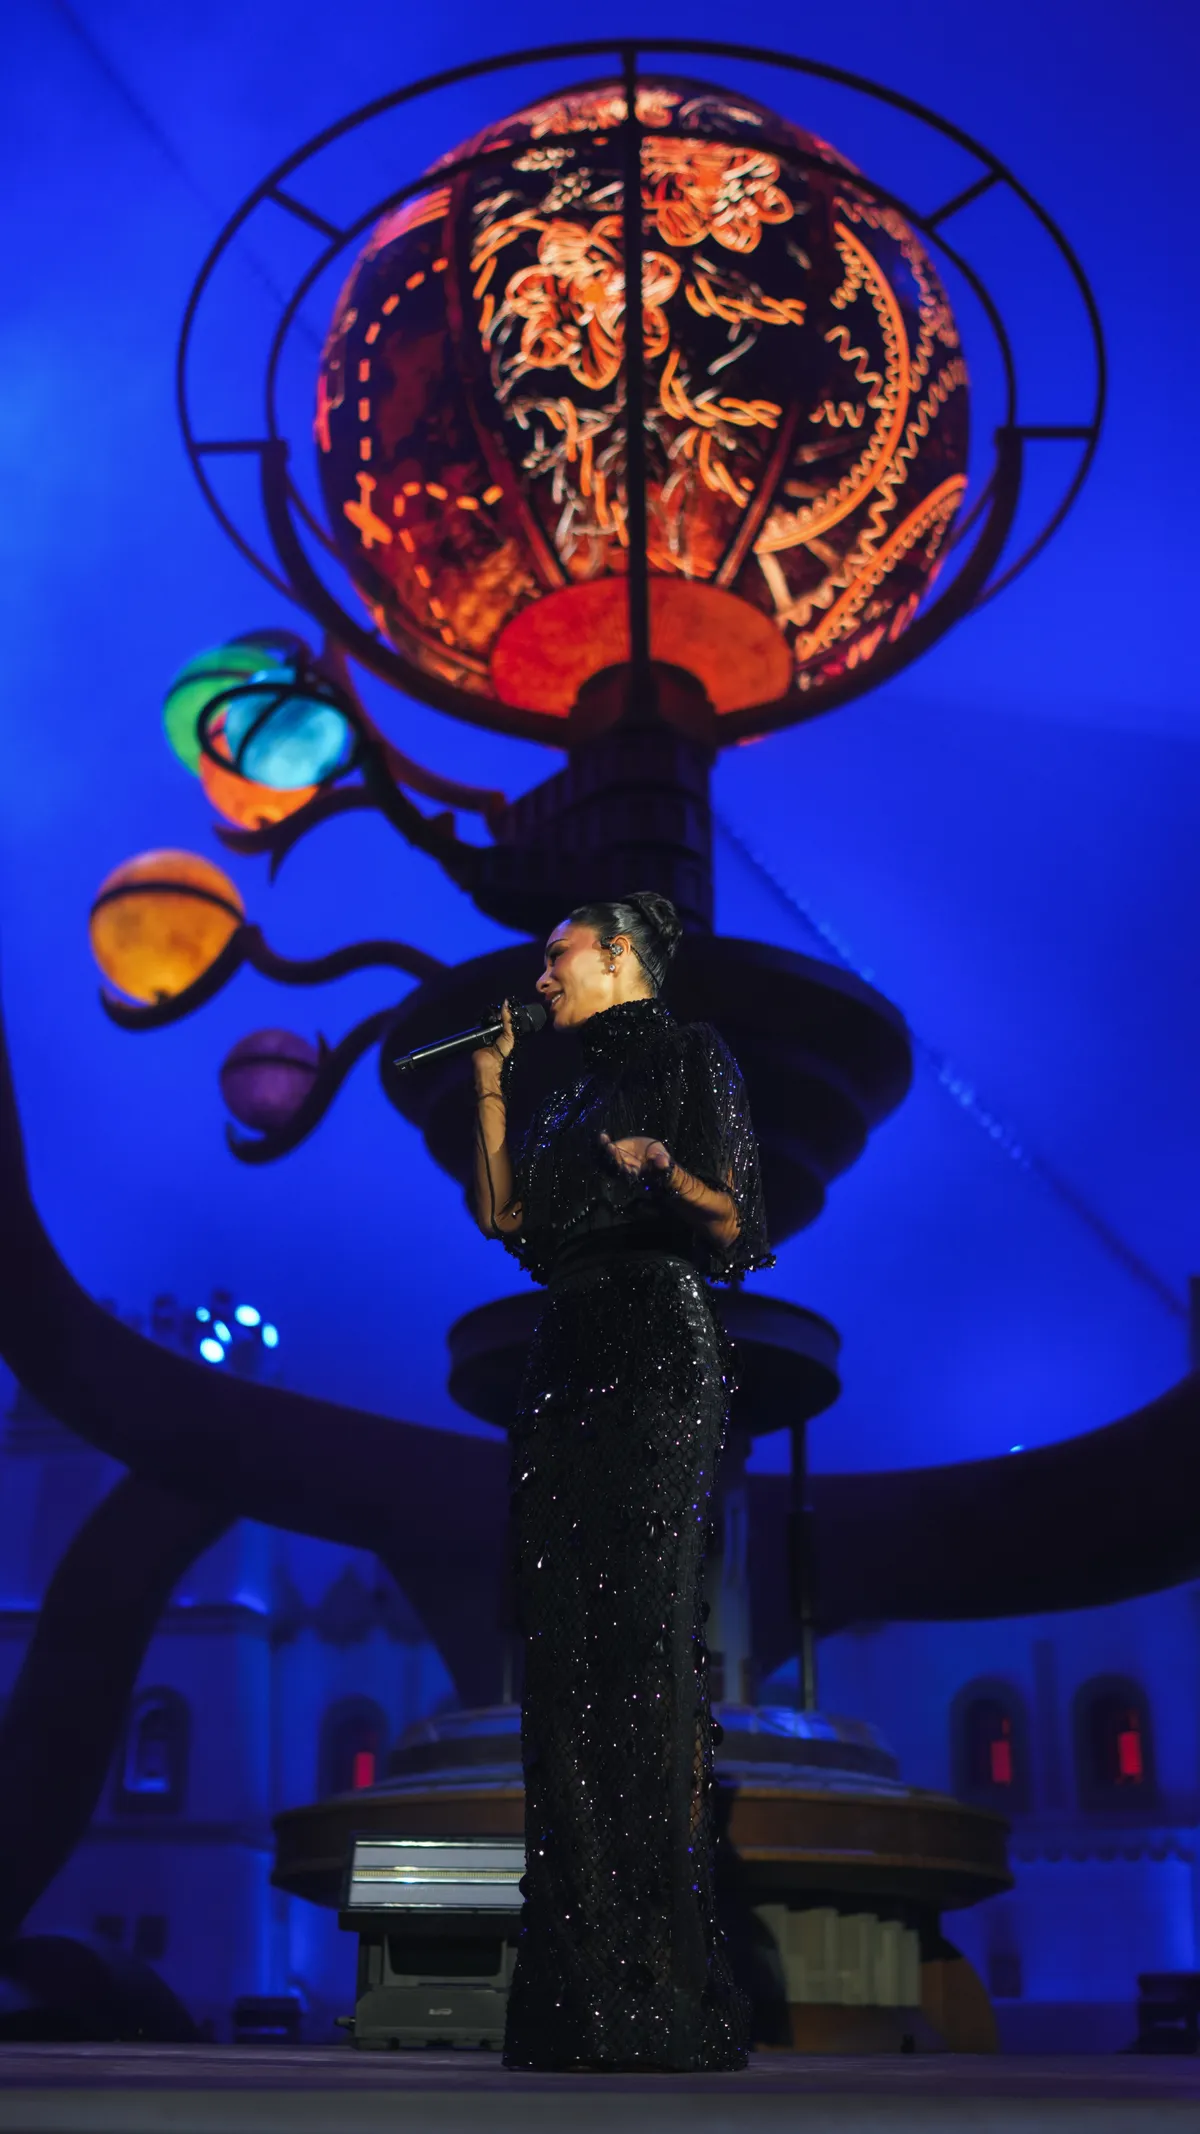
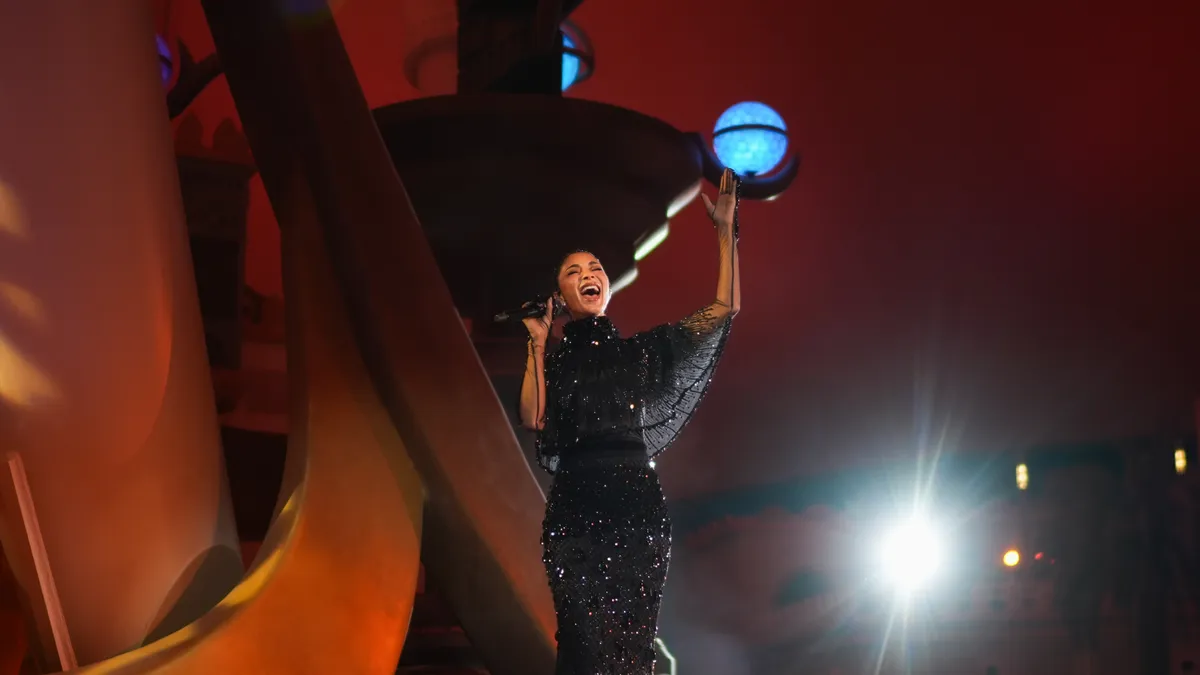
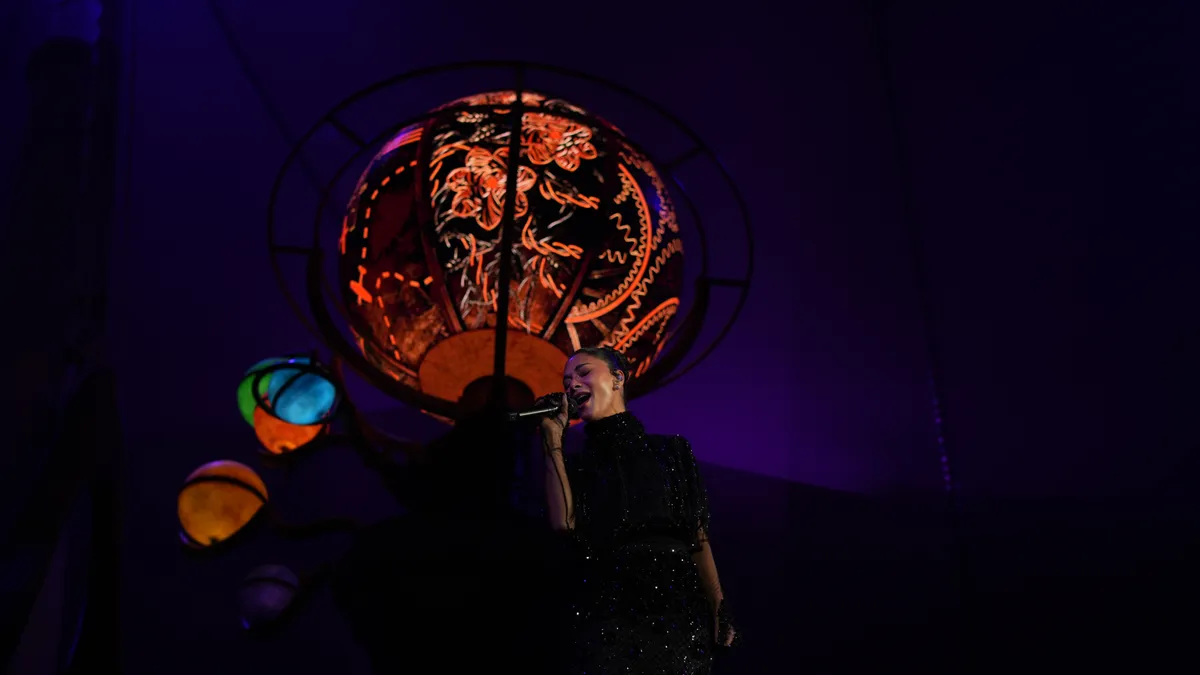
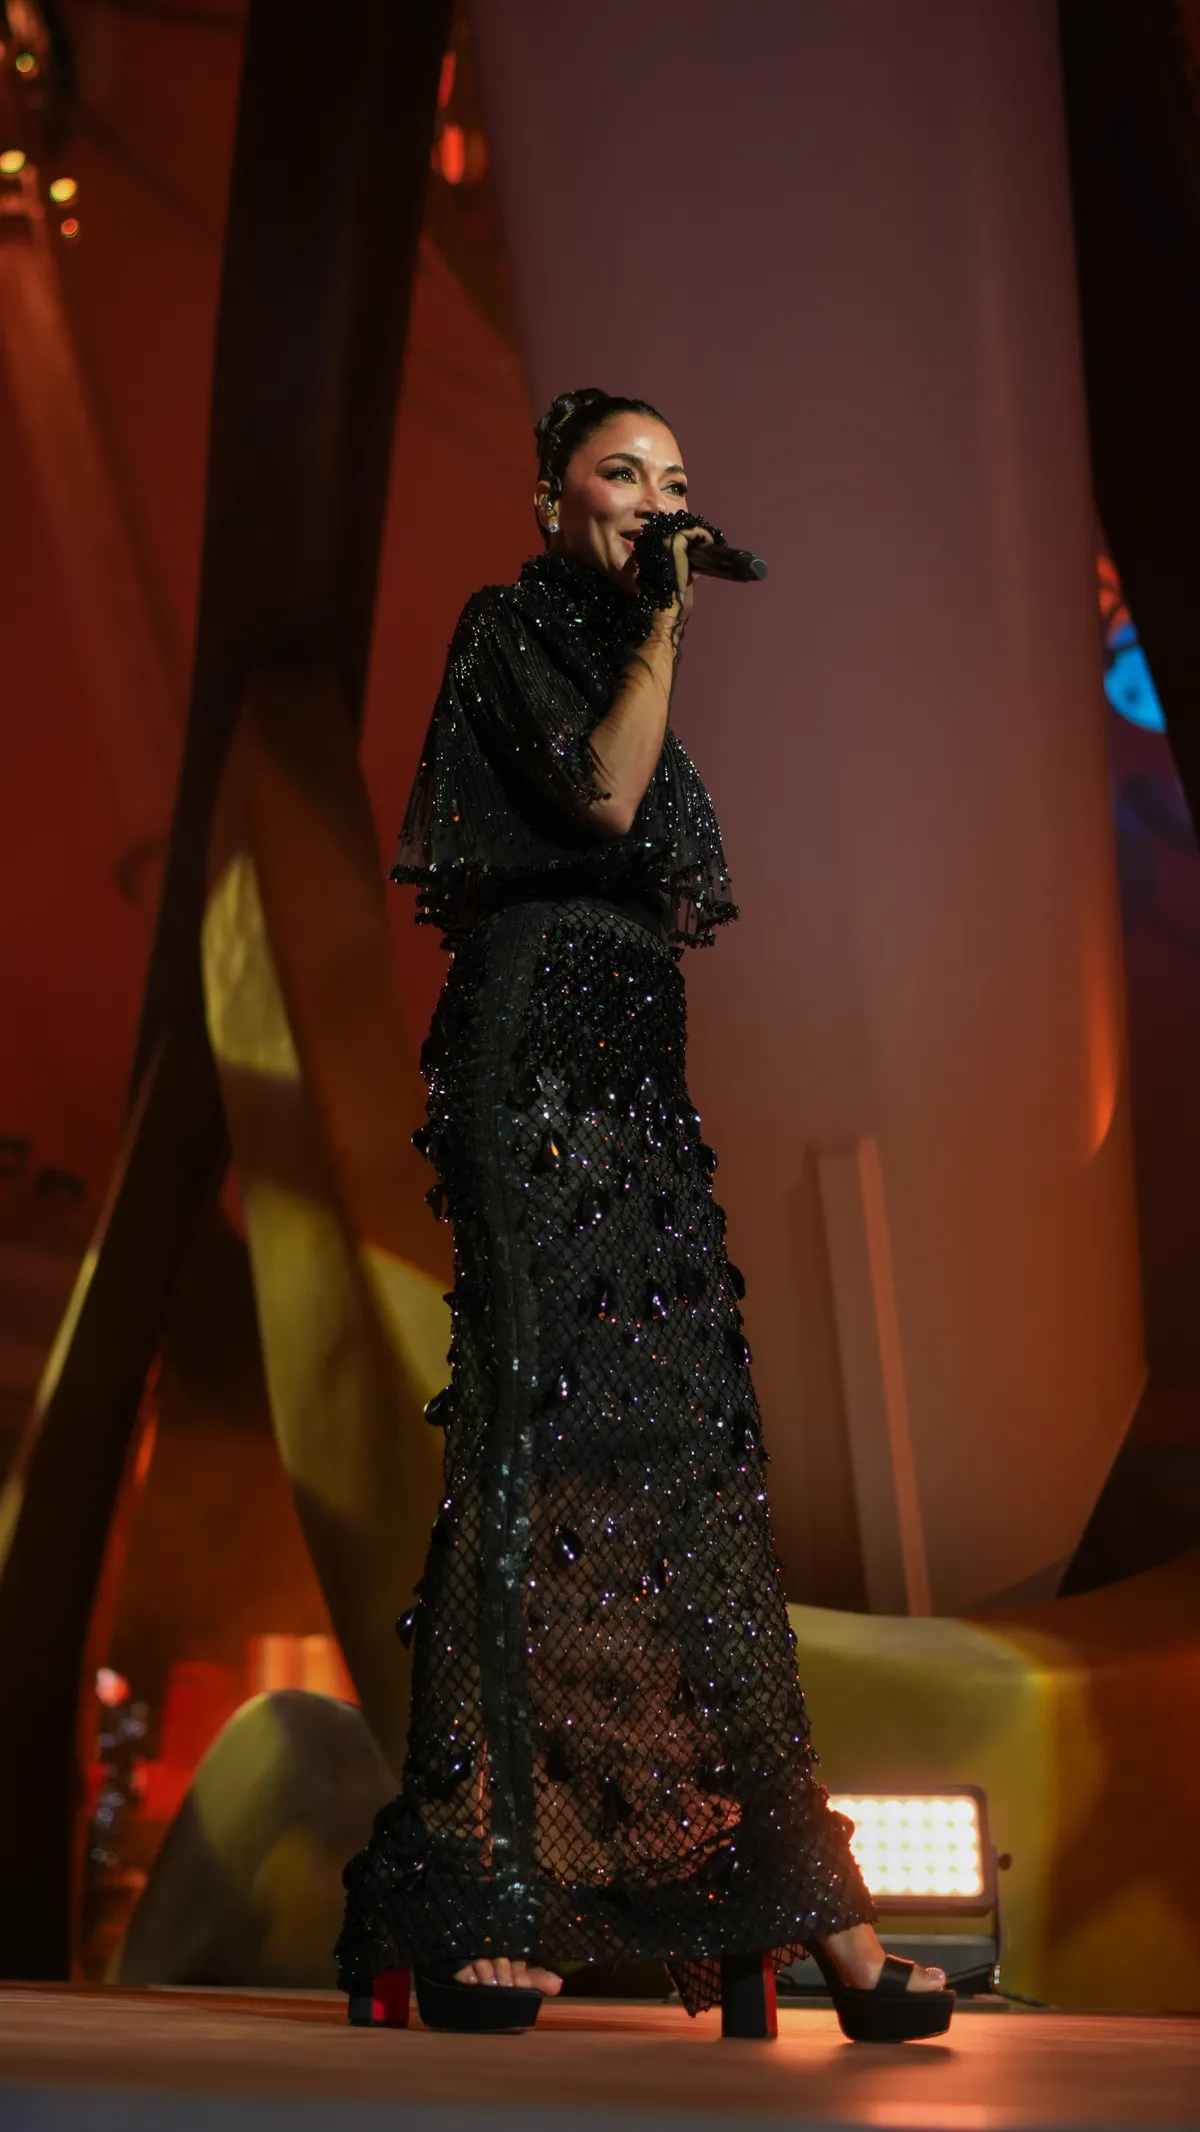
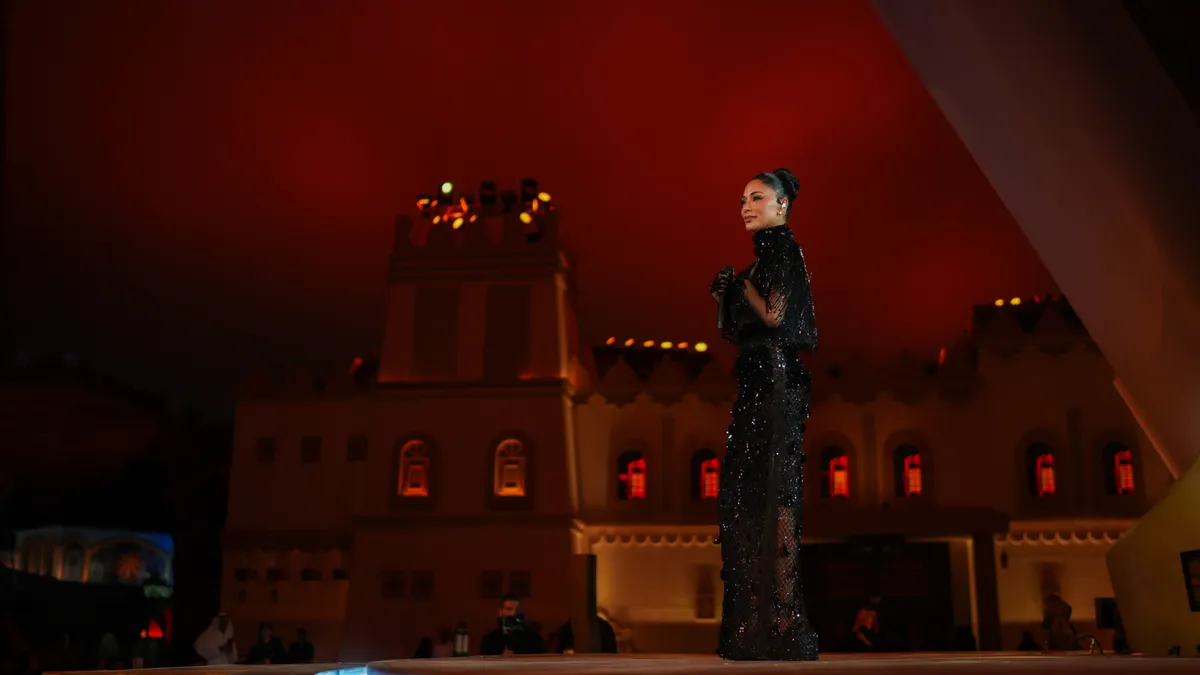
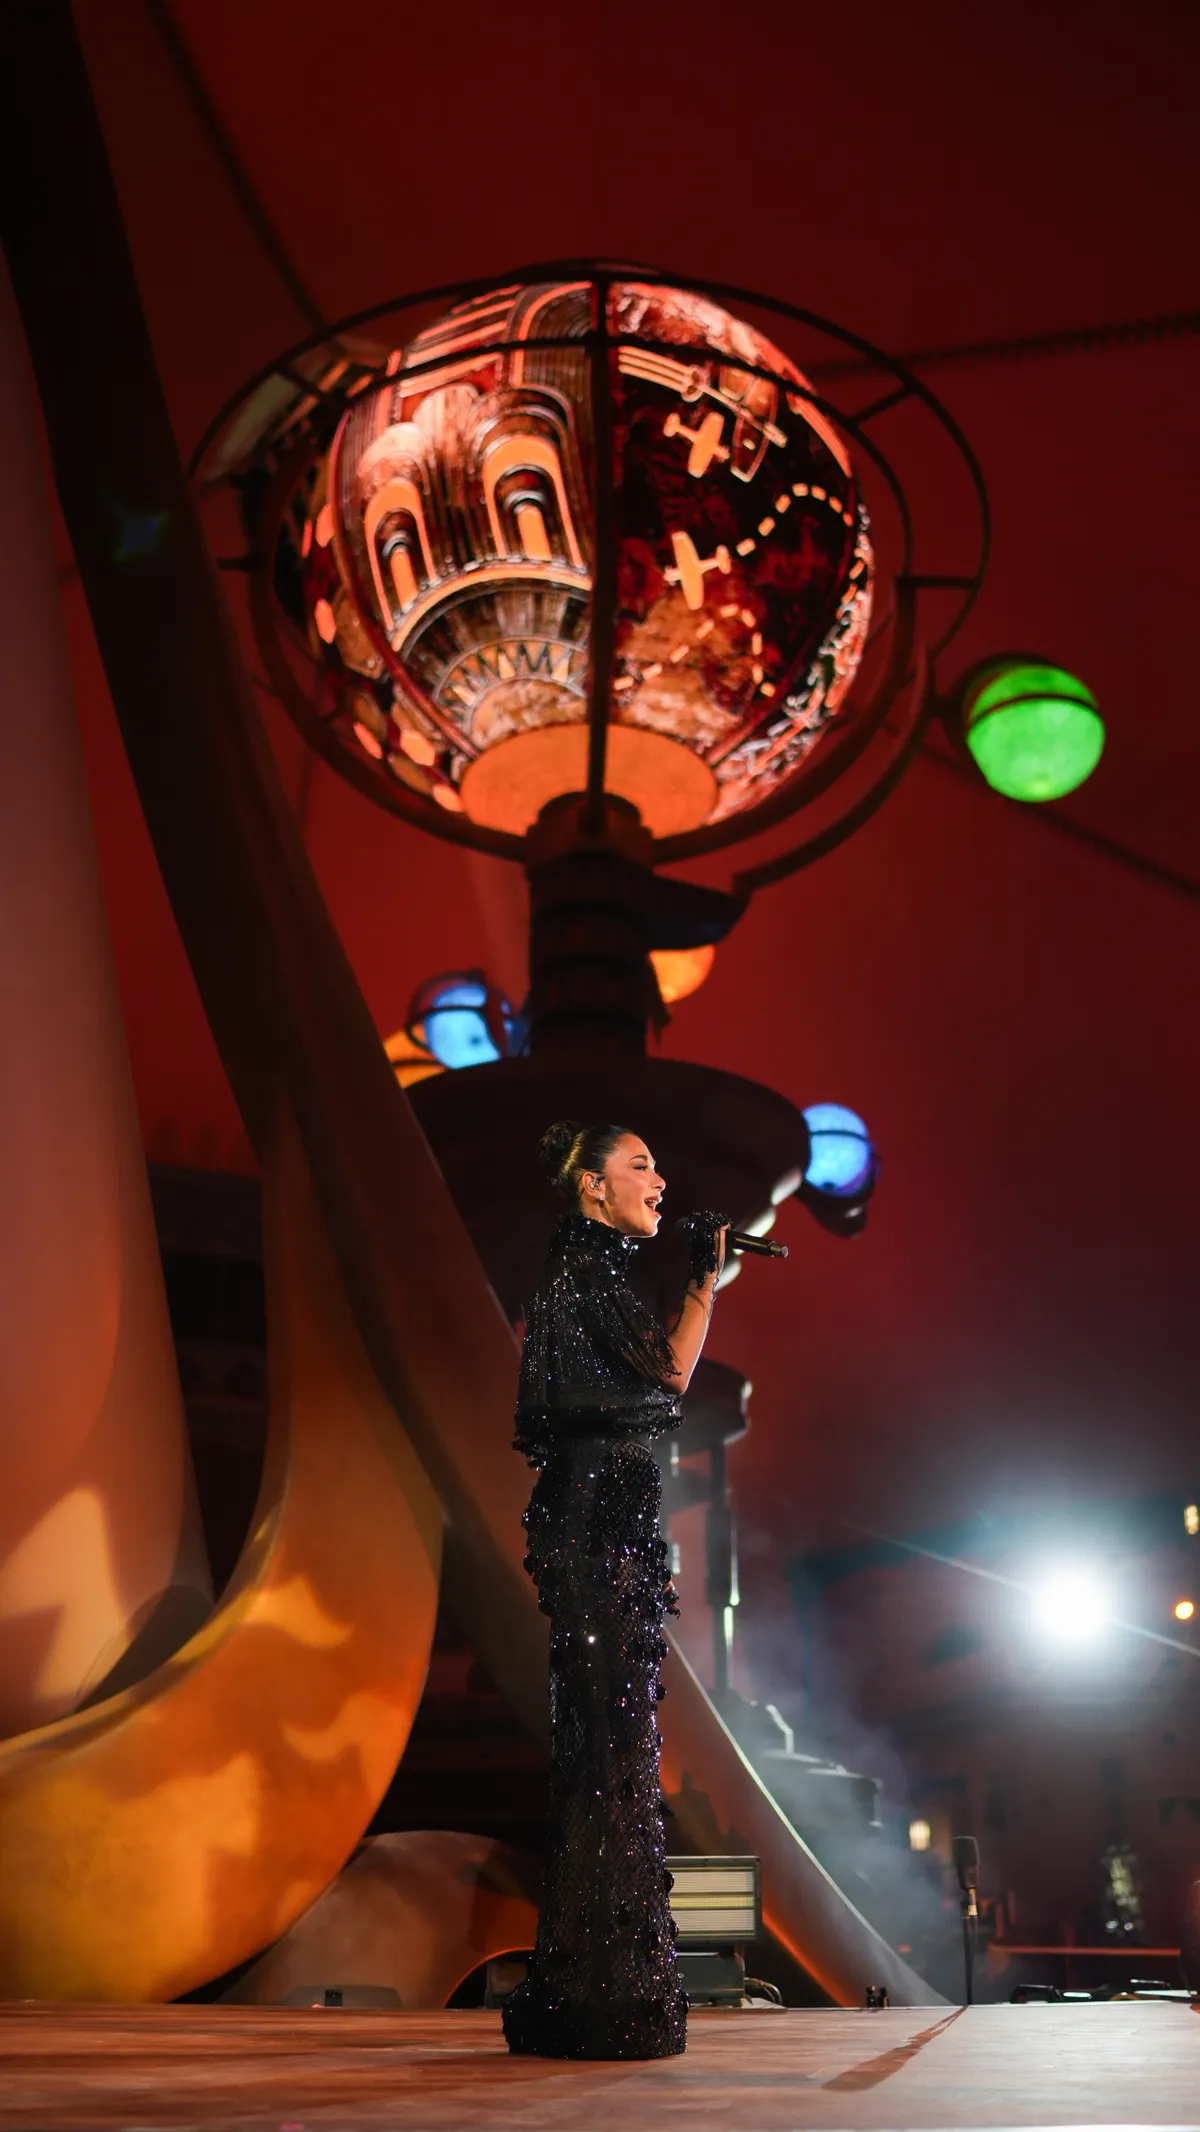
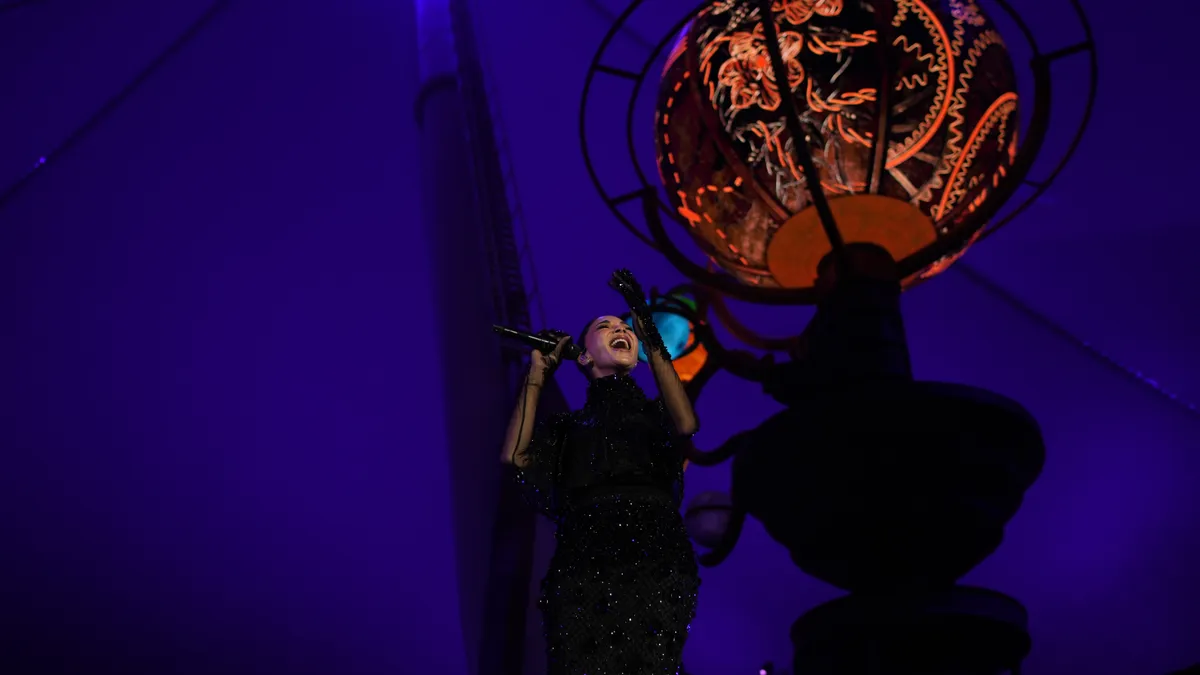
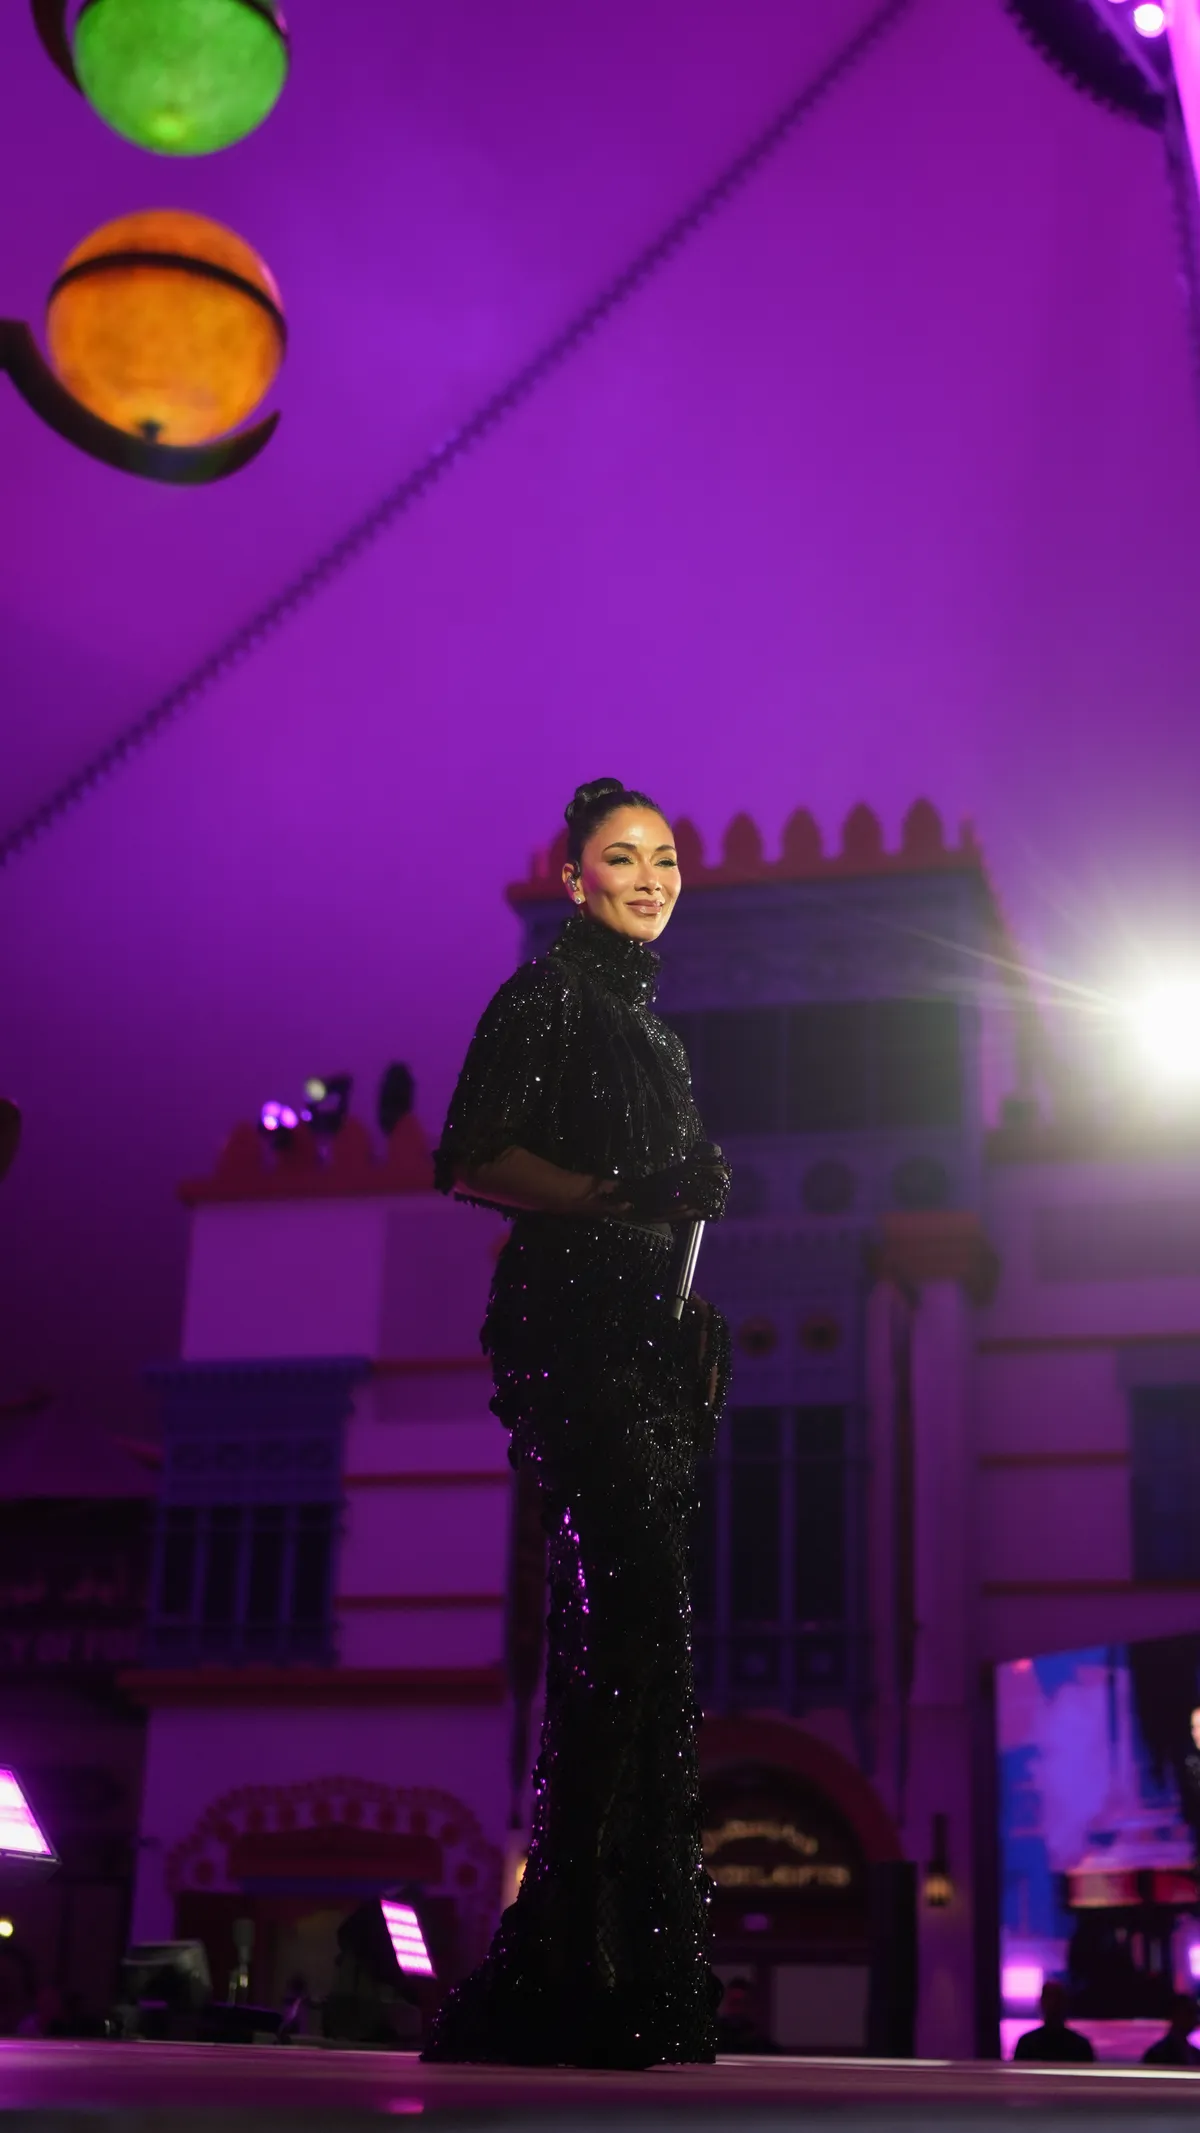
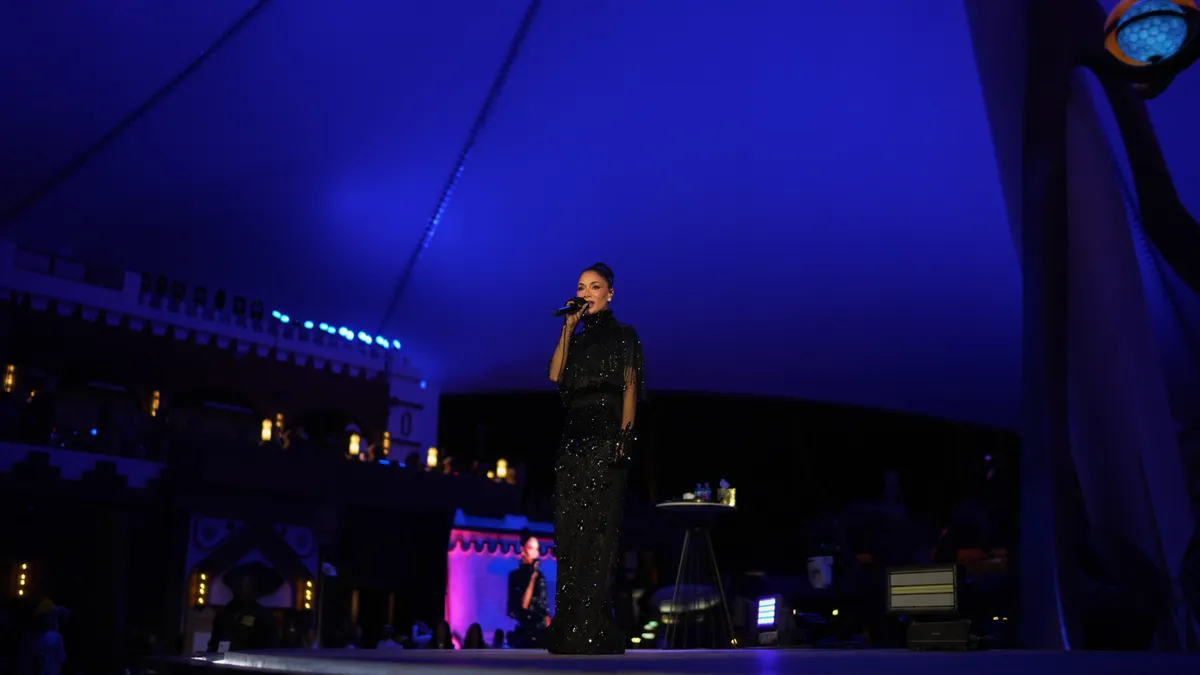
  • Nicole Scherzinger, photographed by DawwasEye Studios
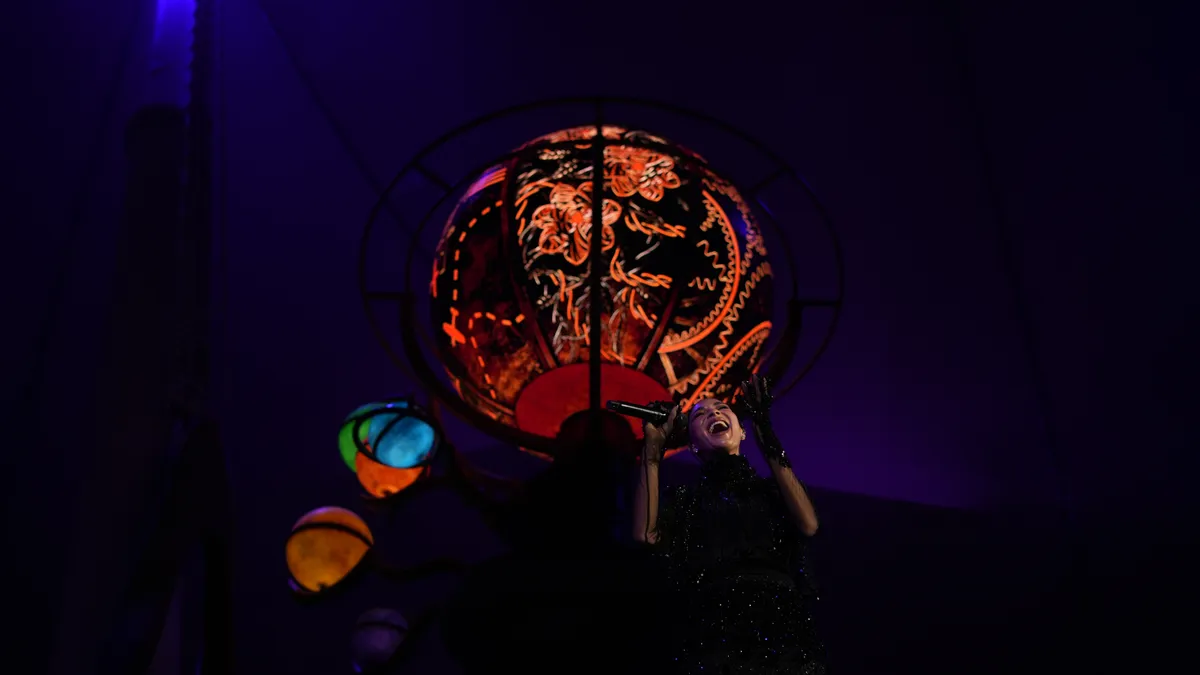
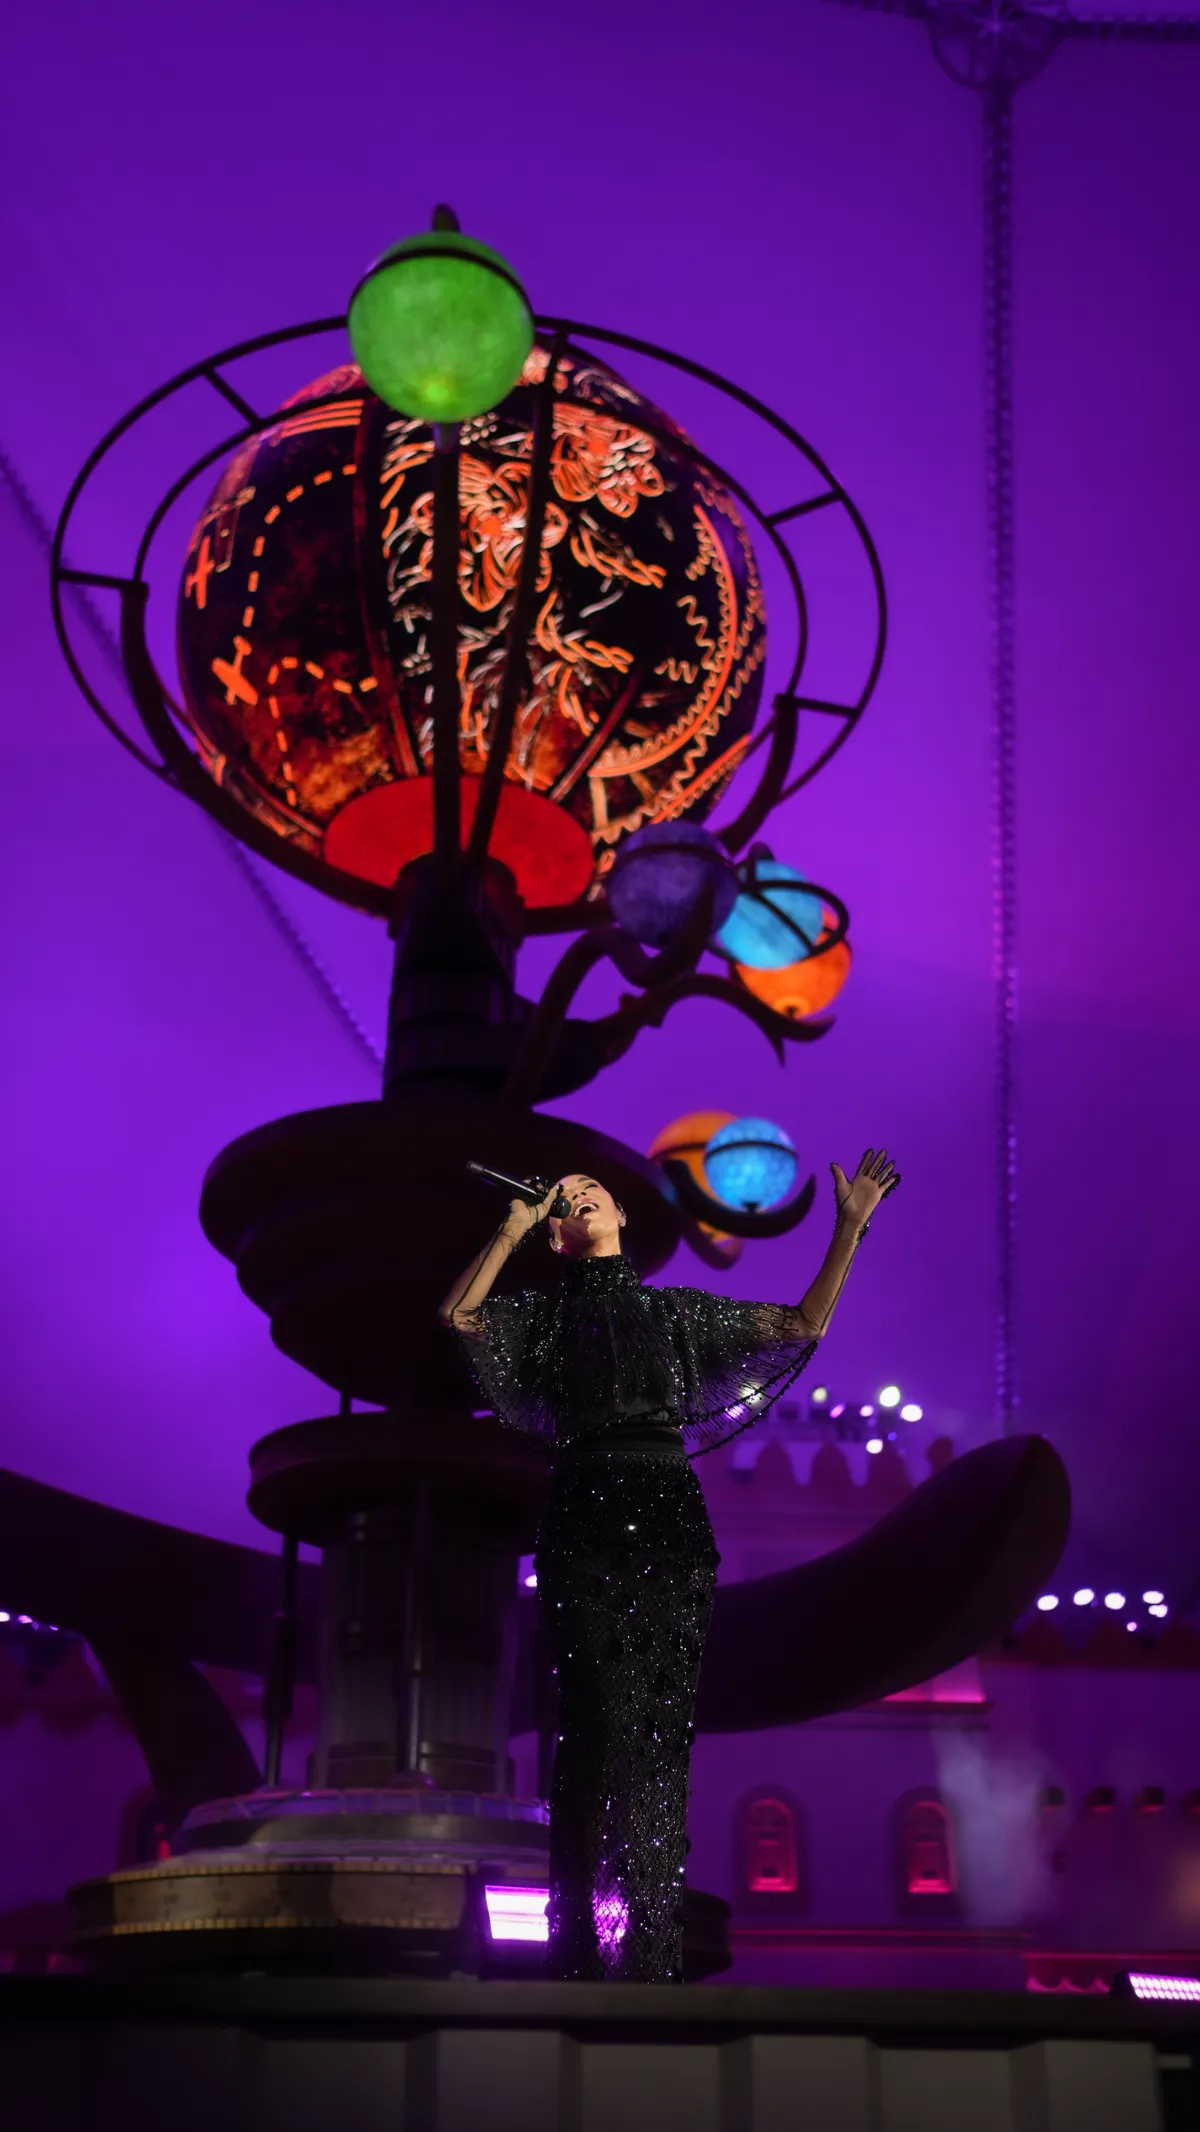
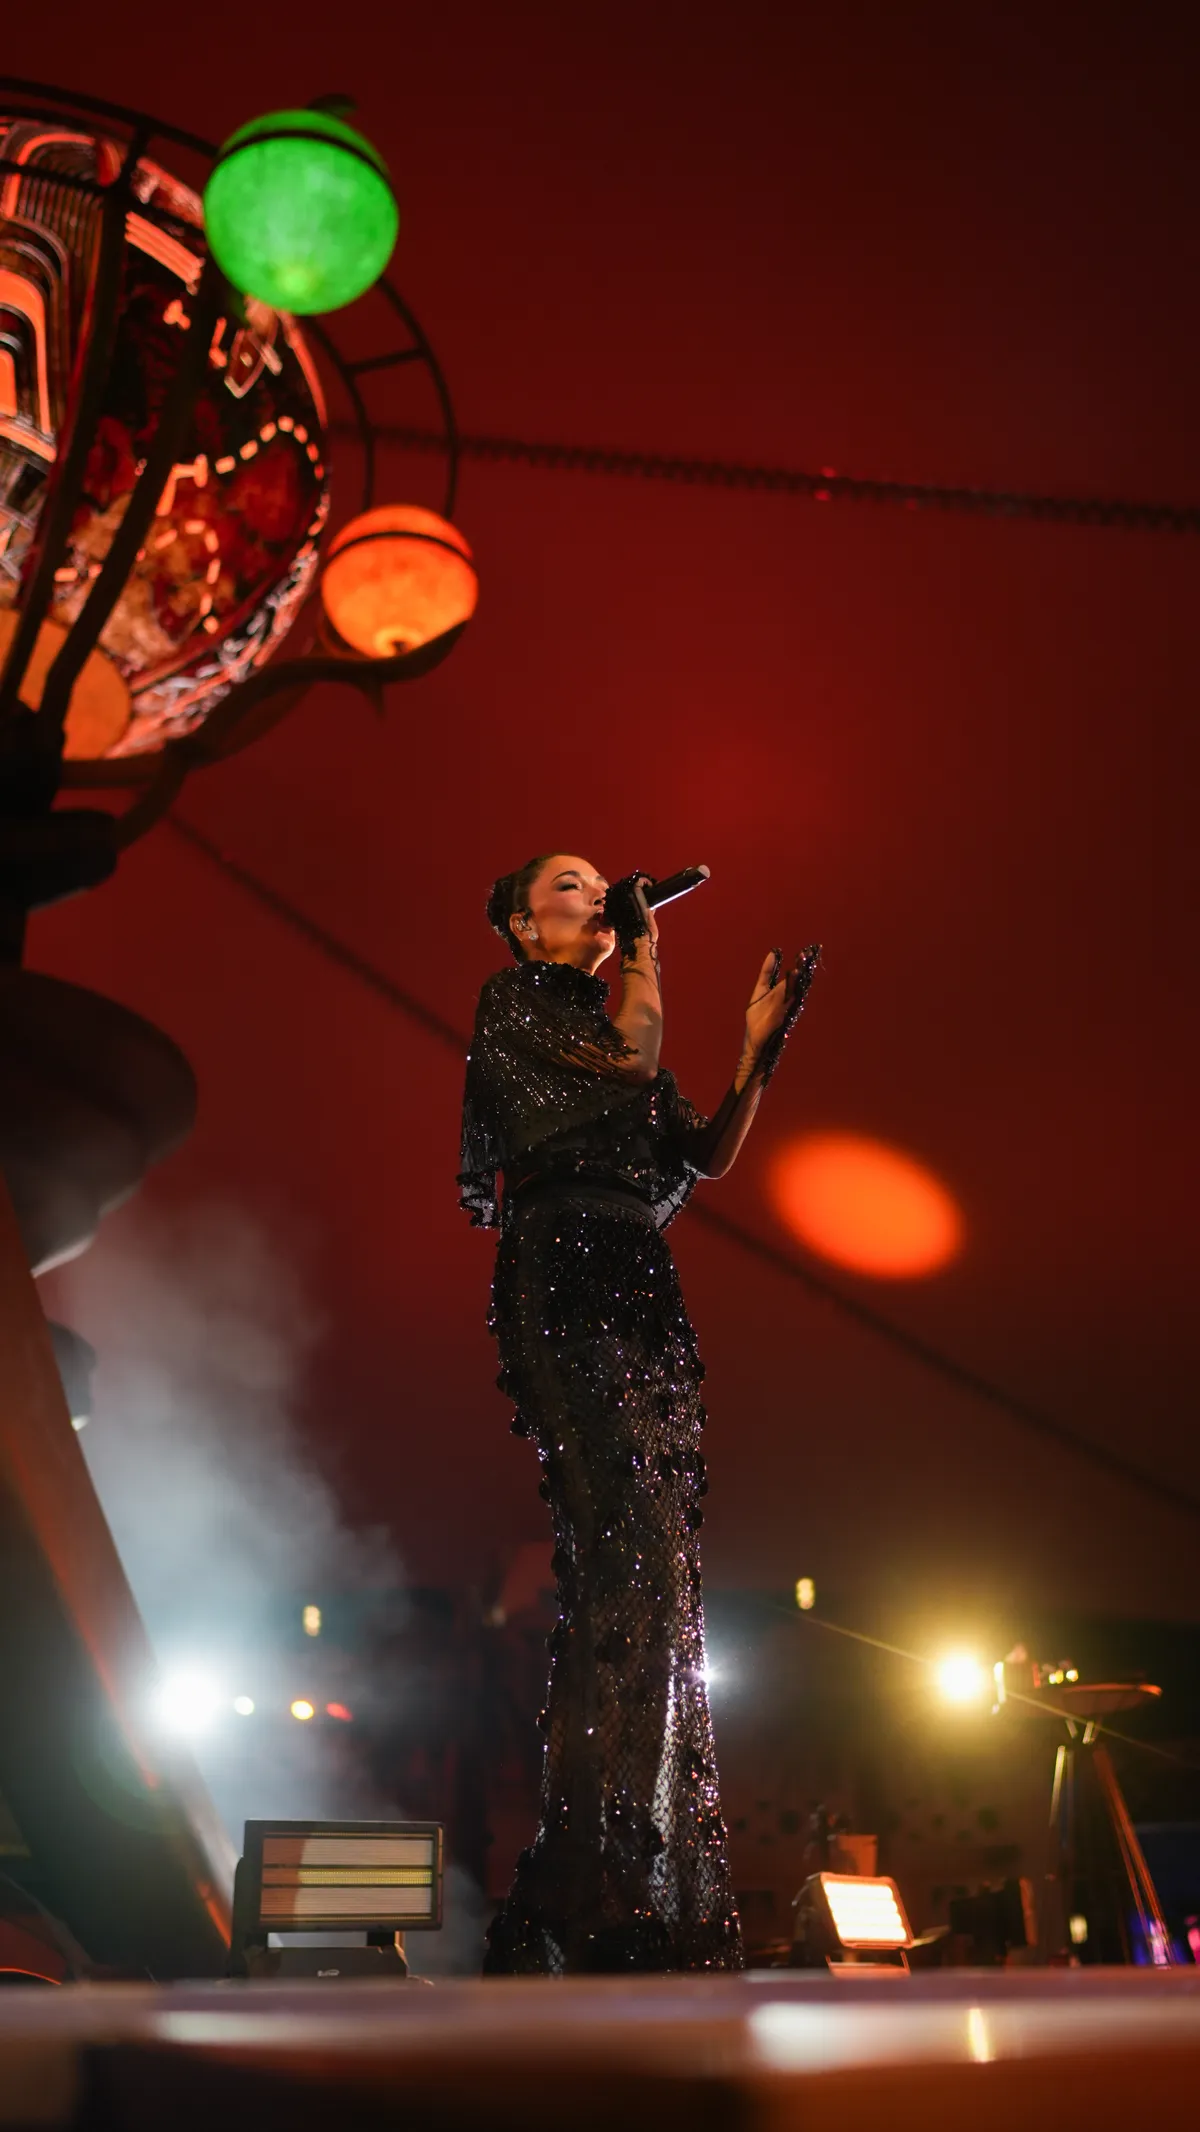
  • Nicole Scherzinger, photographed by DawwasEye Studios
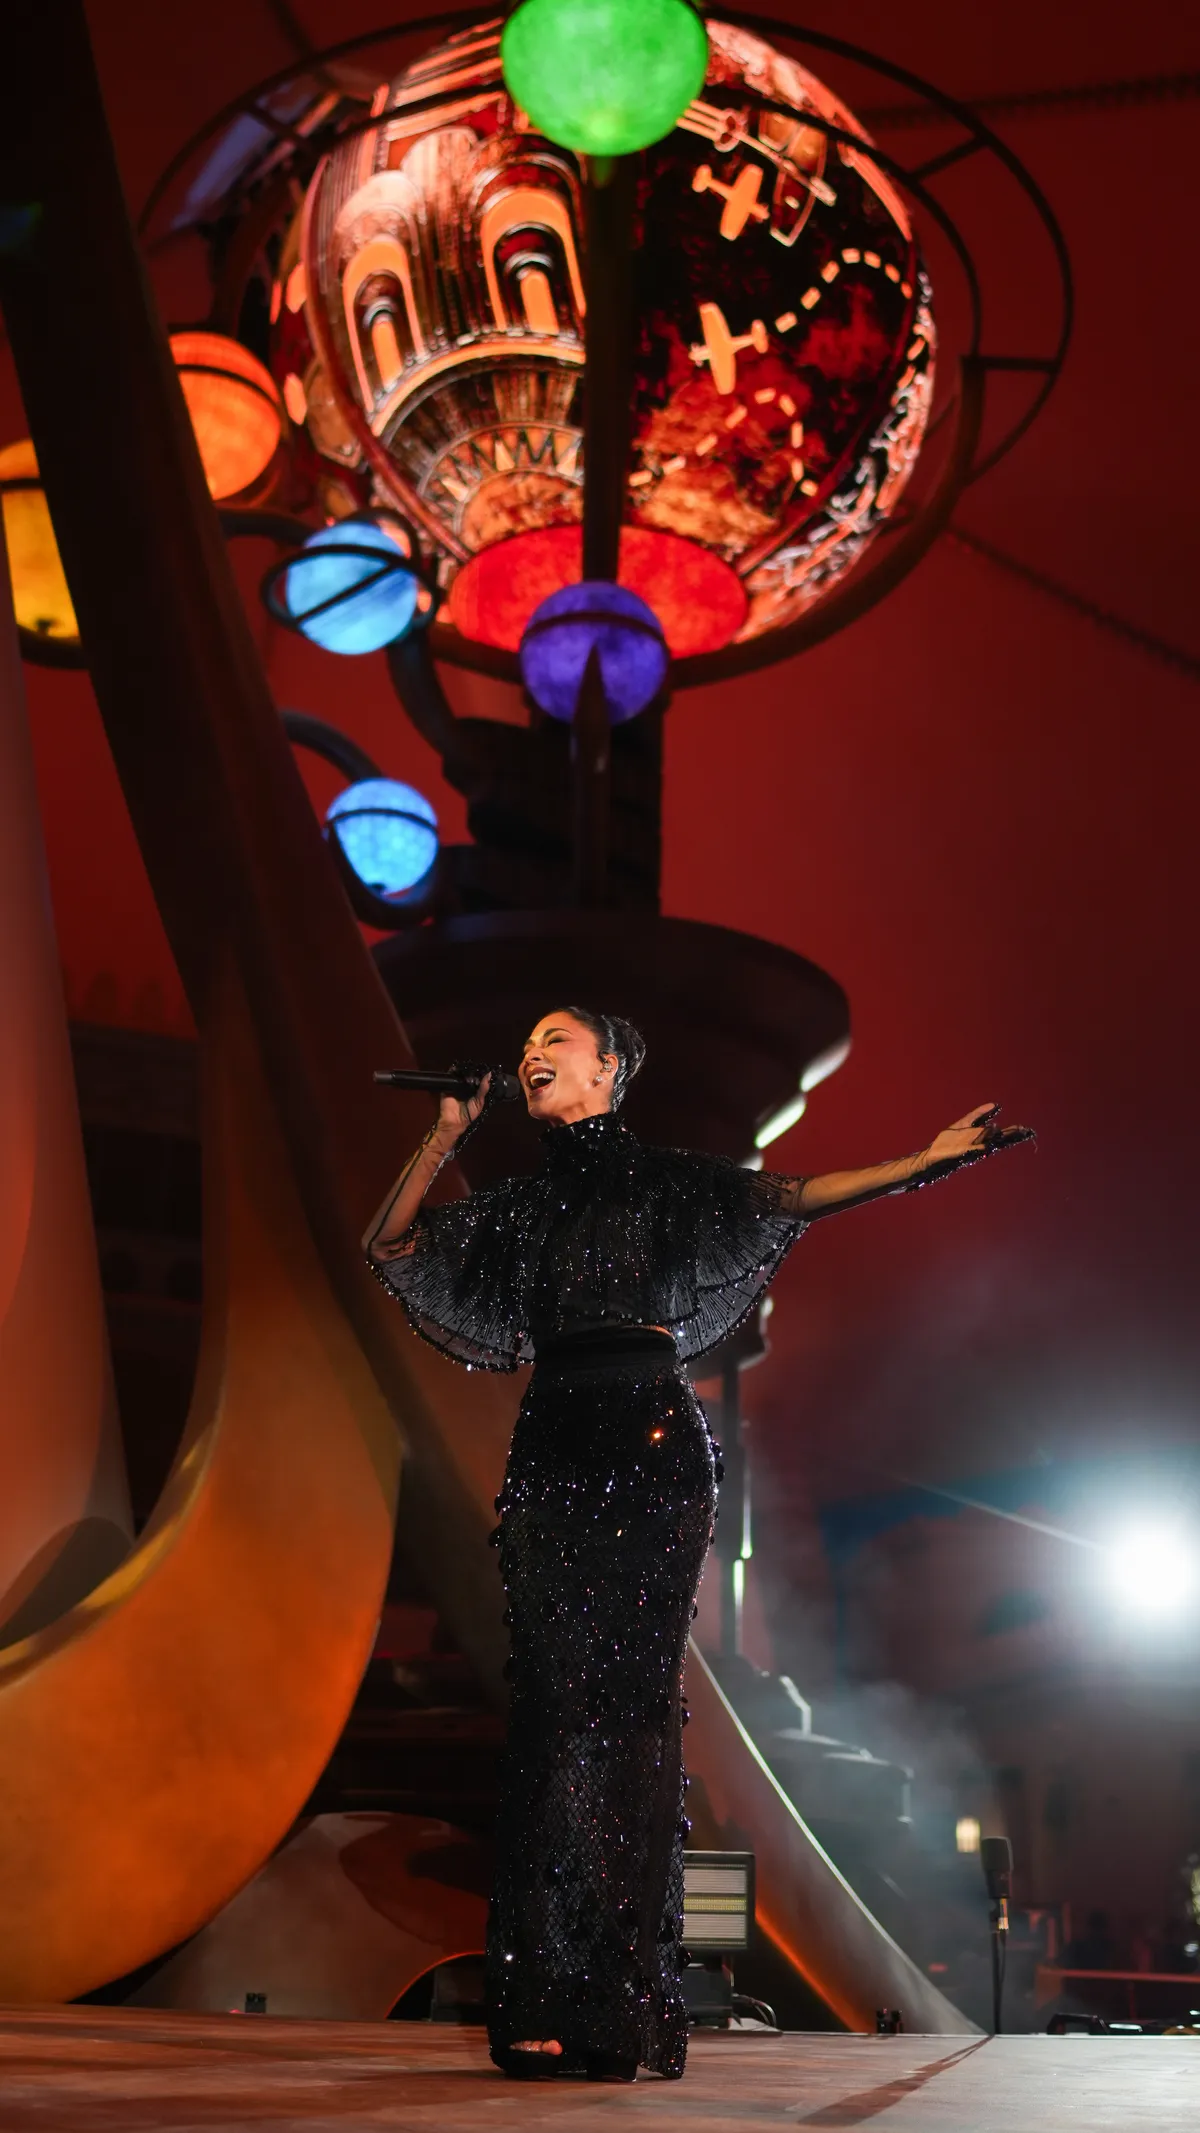
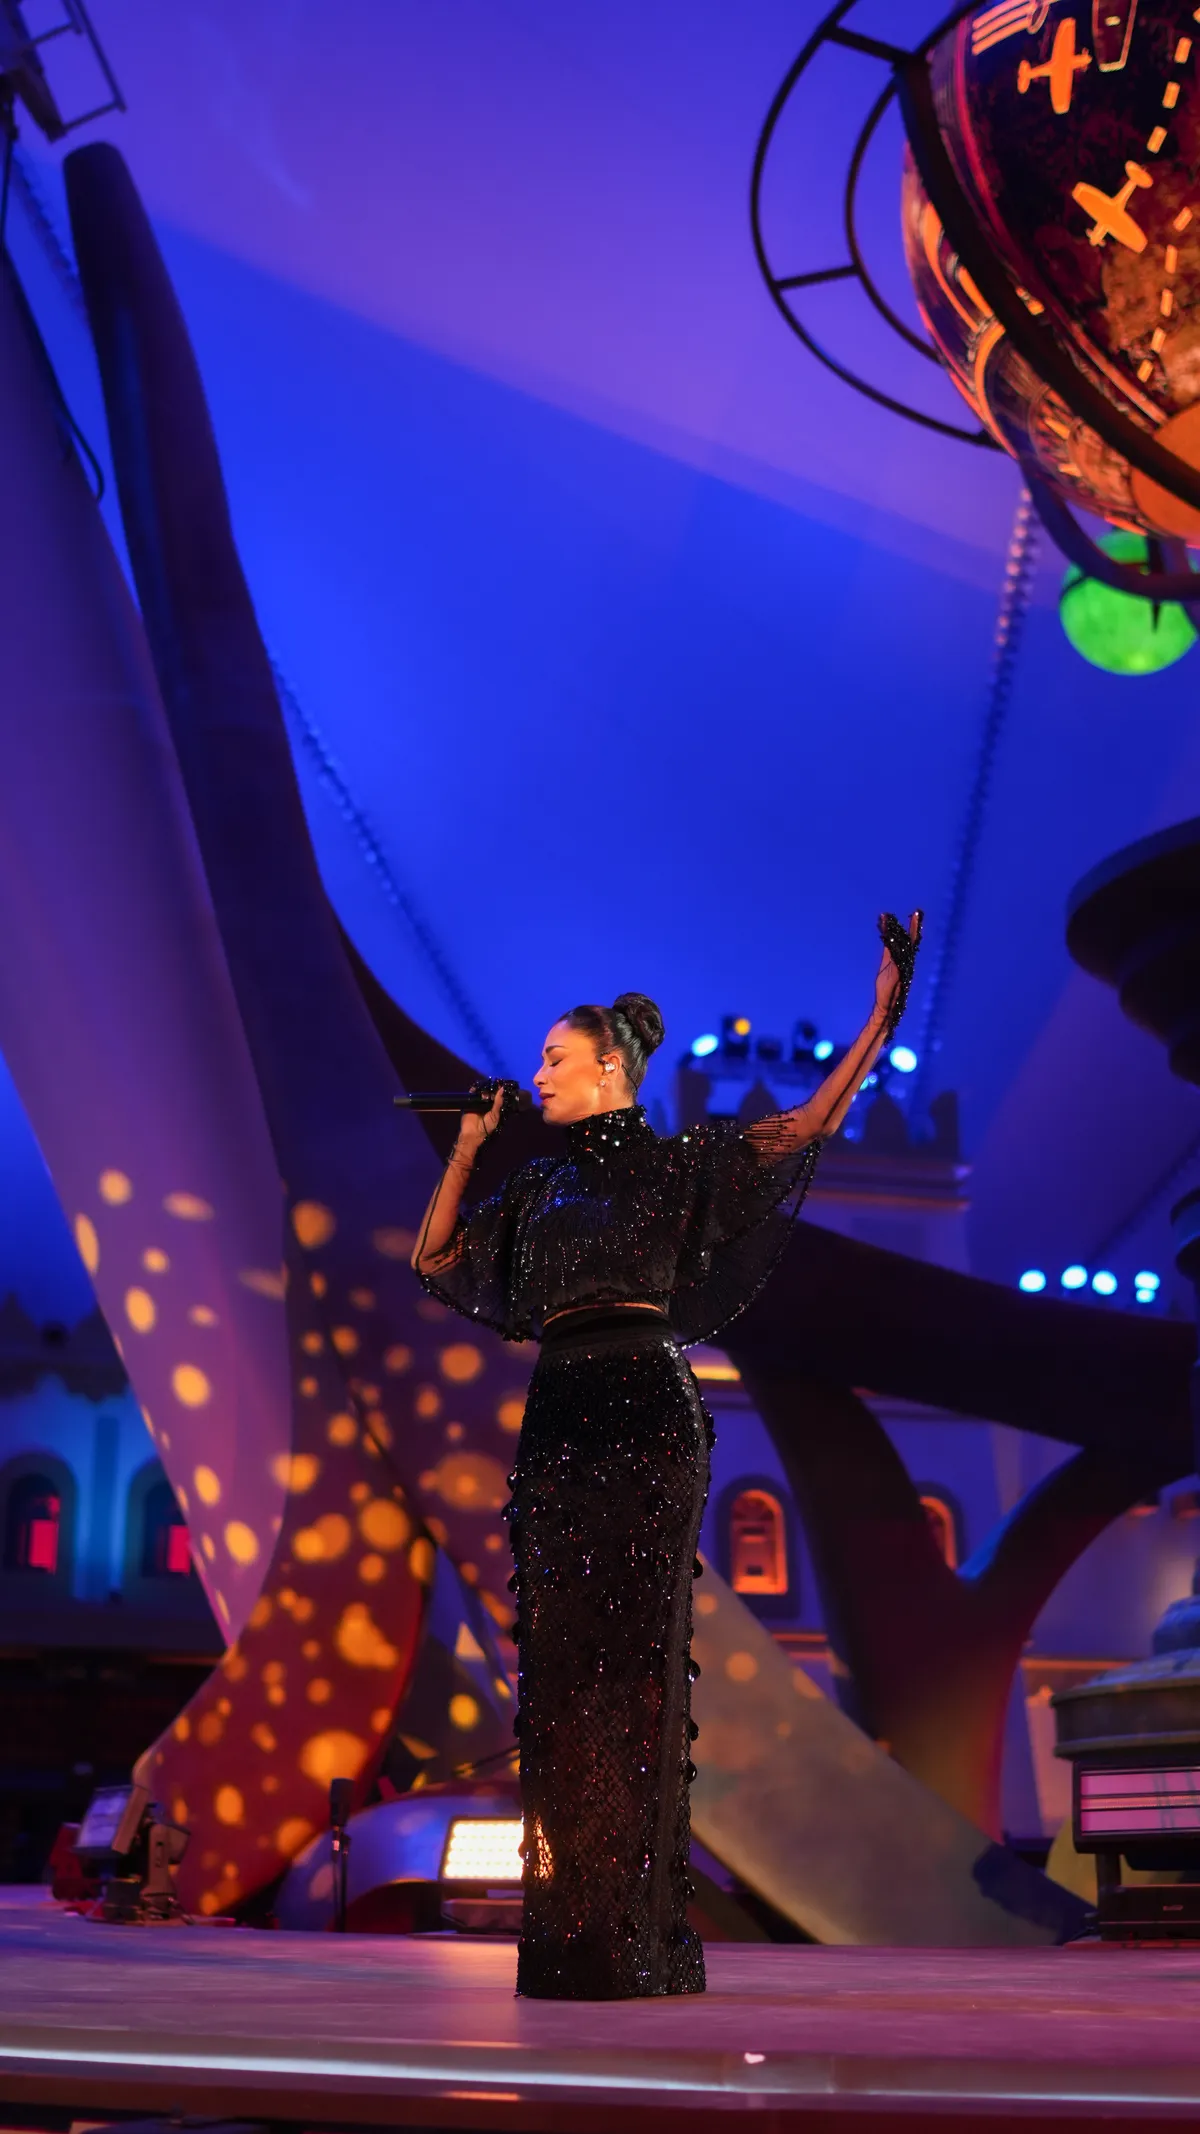
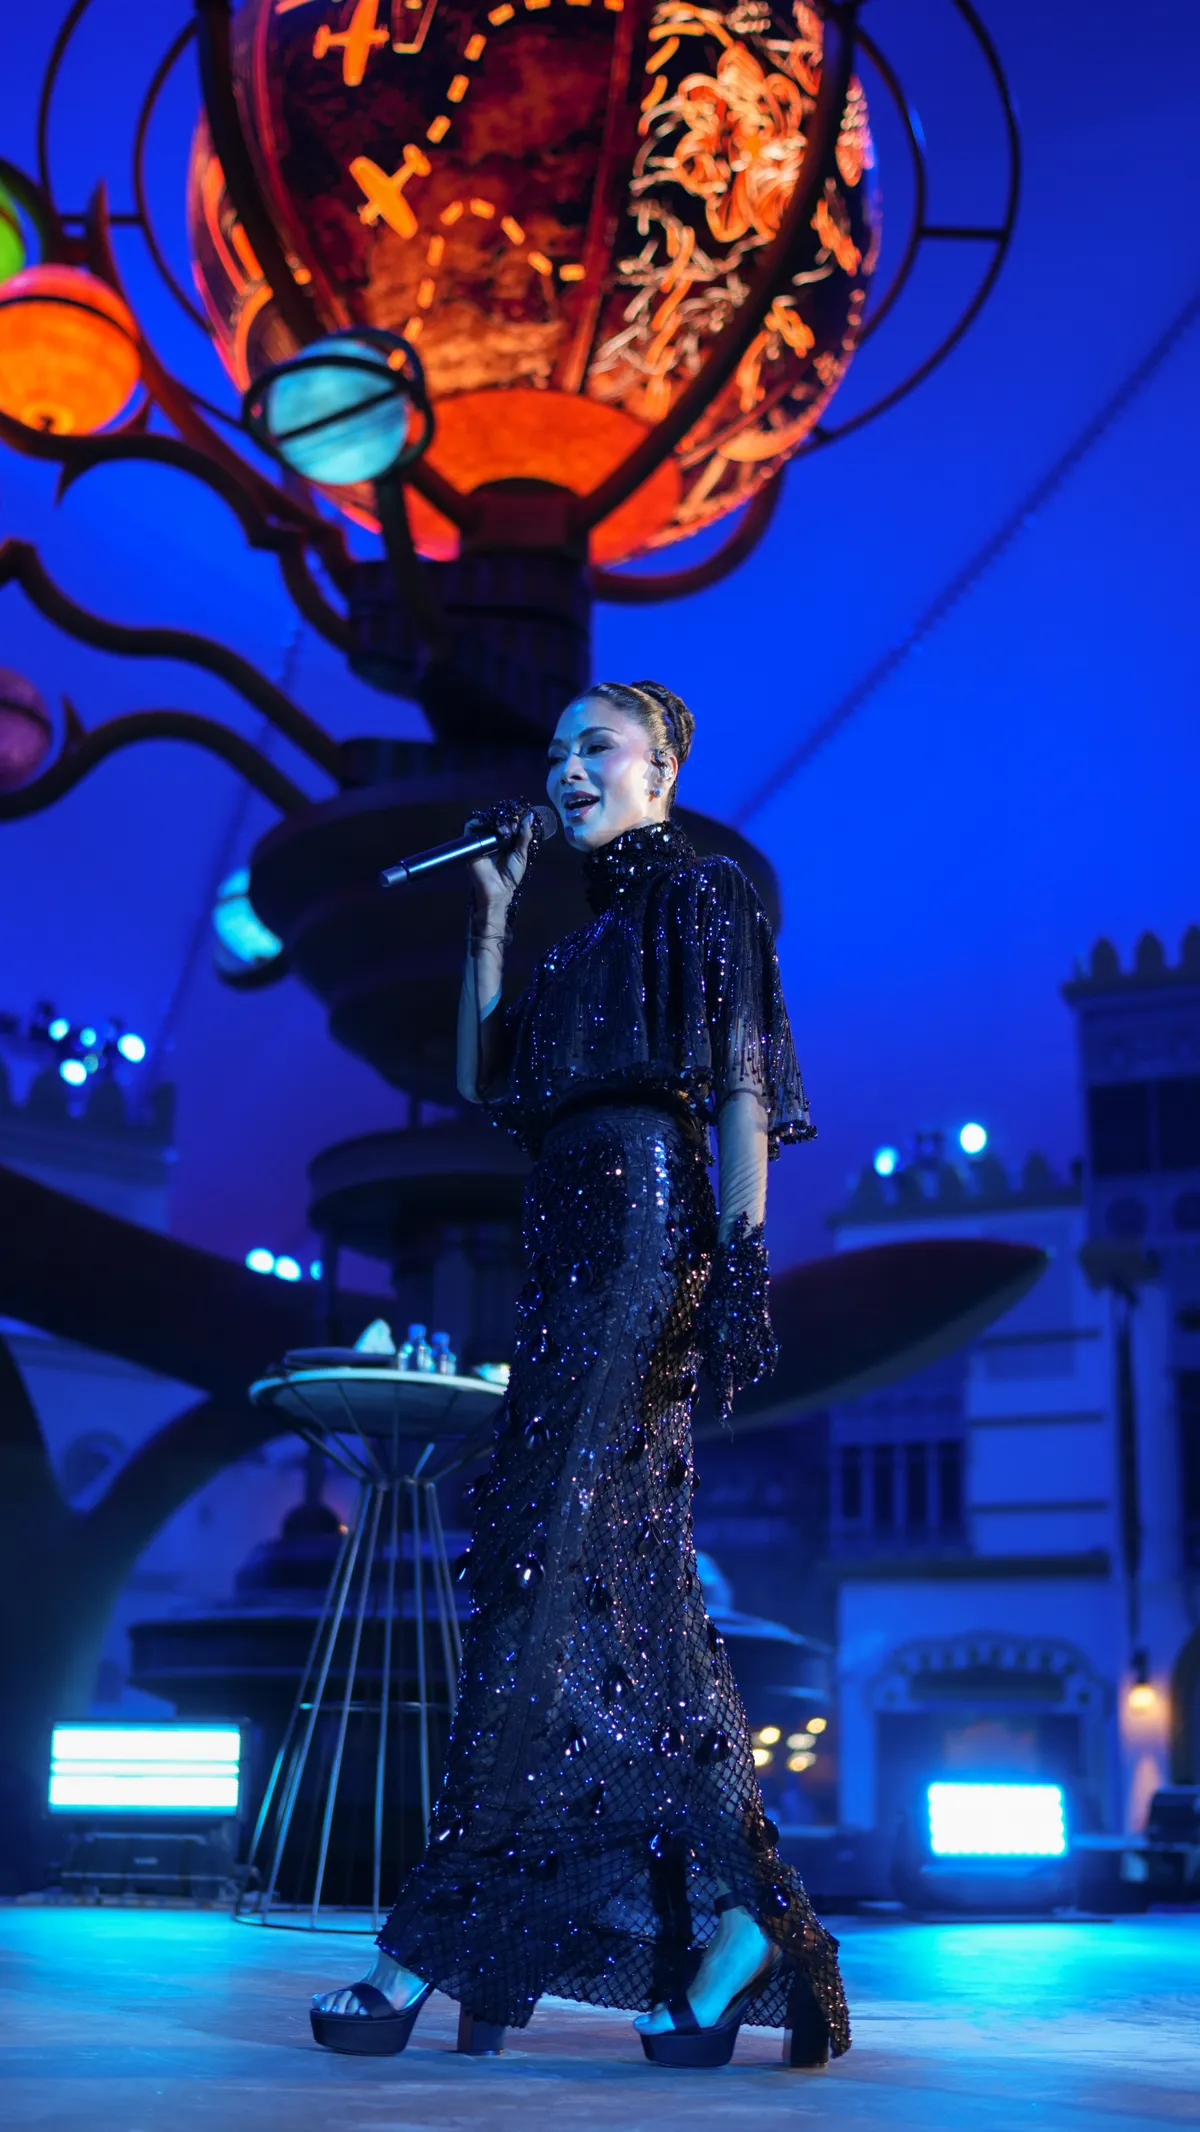
  • Nicole Scherzinger, photographed by DawwasEye Studios
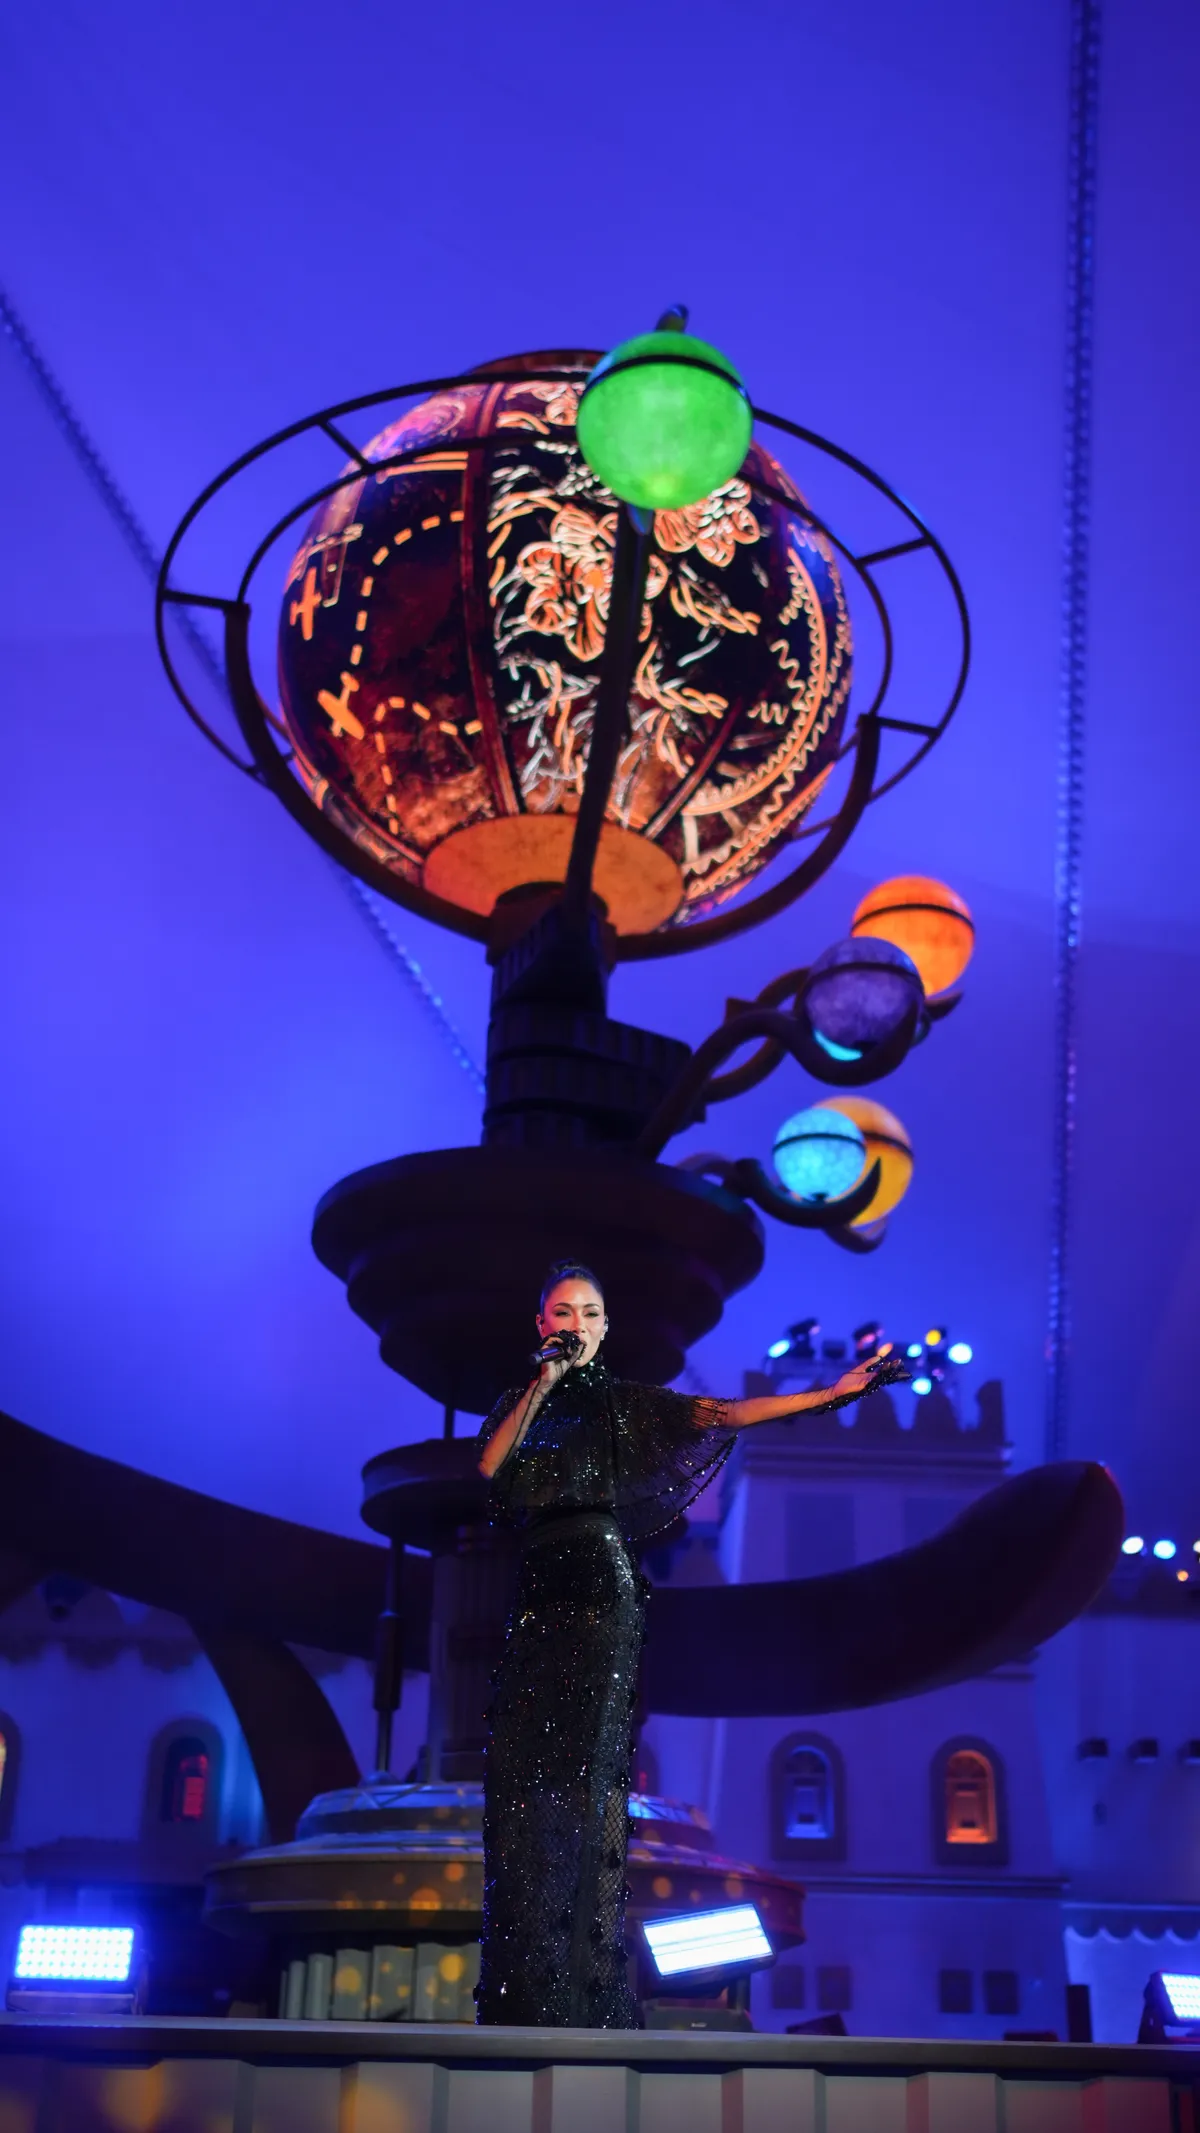
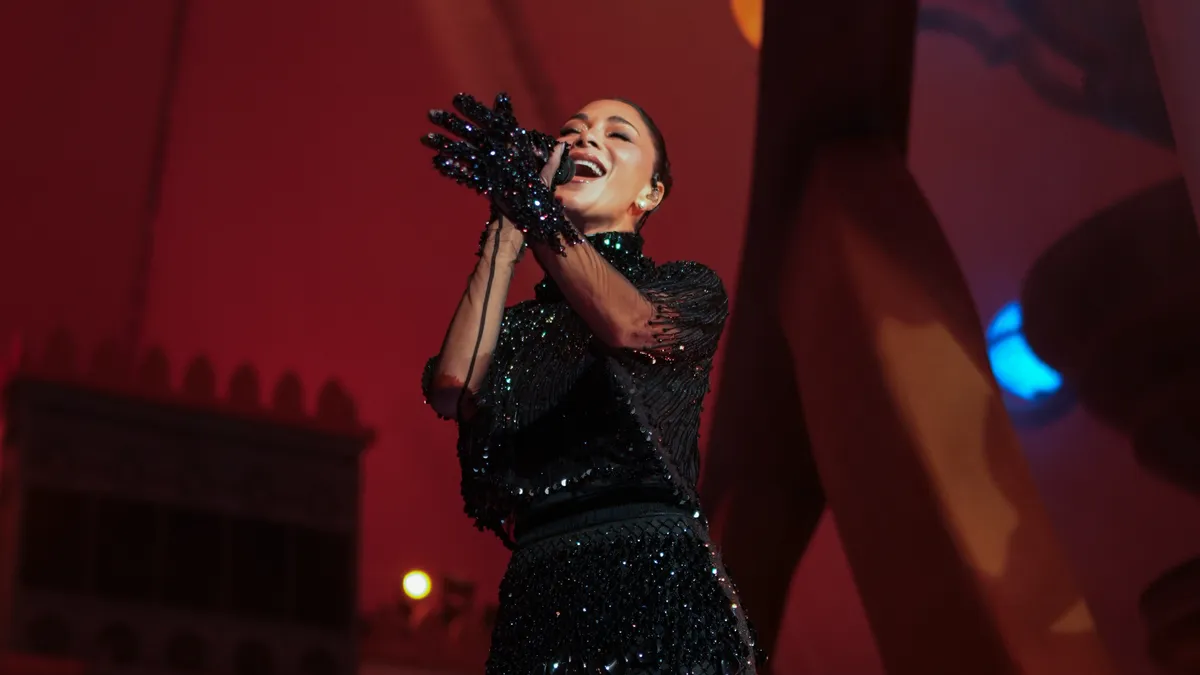
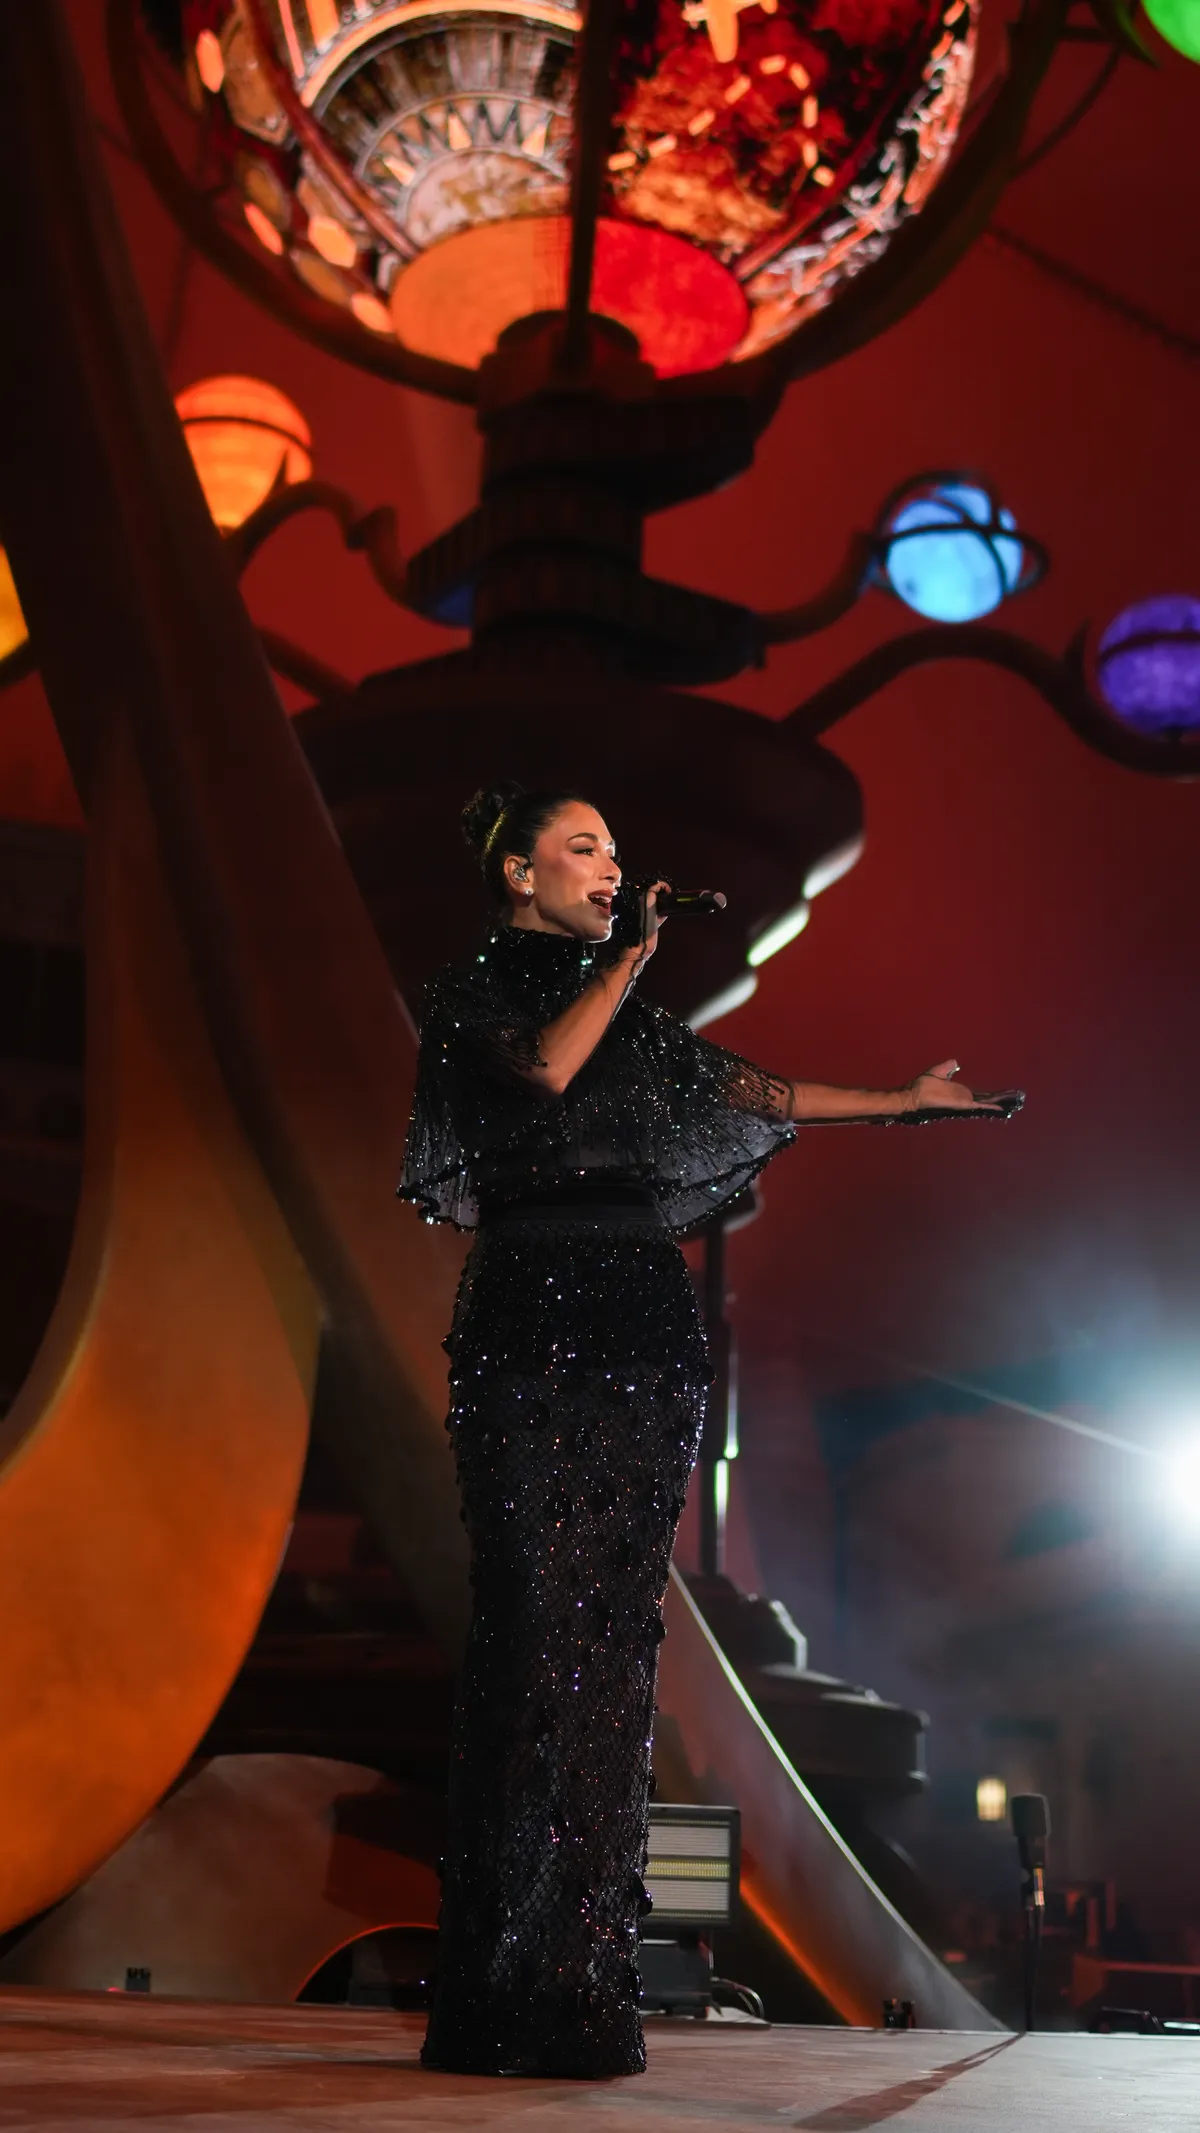
  • Nicole Scherzinger, photographed by DawwasEye Studios
  • Nicole Scherzinger, photographed by DawwasEye Studios
  • Nicole Scherzinger, photographed by DawwasEye Studios
  • Nicole Scherzinger, photographed by DawwasEye Studios
  • Nicole Scherzinger, photographed by DawwasEye Studios
  • Nicole Scherzinger, photographed by DawwasEye Studios
  • Nicole Scherzinger, photographed by DawwasEye Studios
  • Nicole Scherzinger, photographed by DawwasEye Studios
  • Nicole Scherzinger, photographed by DawwasEye Studios
  • Nicole Scherzinger, photographed by DawwasEye Studios
  • Nicole Scherzinger, photographed by DawwasEye Studios
  • Nicole Scherzinger, photographed by DawwasEye Studios
  • Nicole Scherzinger, photographed by DawwasEye Studios
  • Nicole Scherzinger, photographed by DawwasEye Studios
  • Nicole Scherzinger, photographed by DawwasEye Studios
  • Nicole Scherzinger, photographed by DawwasEye Studios
  • Nicole Scherzinger, photographed by DawwasEye Studios
  • Nicole Scherzinger, photographed by DawwasEye Studios
  • Nicole Scherzinger, photographed by DawwasEye Studios
  • Nicole Scherzinger, photographed by DawwasEye Studios
  • Nicole Scherzinger, photographed by DawwasEye Studios
  • Nicole Scherzinger, photographed by DawwasEye Studios
  • Nicole Scherzinger, photographed by DawwasEye Studios
  • Nicole Scherzinger, photographed by DawwasEye Studios
  • Nicole Scherzinger, photographed by DawwasEye Studios
  • Nicole Scherzinger, photographed by DawwasEye Studios
  • Nicole Scherzinger, photographed by DawwasEye Studios
  • Nicole Scherzinger, photographed by DawwasEye Studios
  • Nicole Scherzinger, photographed by DawwasEye Studios
  • Nicole Scherzinger, photographed by DawwasEye Studios
  • Nicole Scherzinger, photographed by DawwasEye Studios
  • Nicole Scherzinger, photographed by DawwasEye Studios
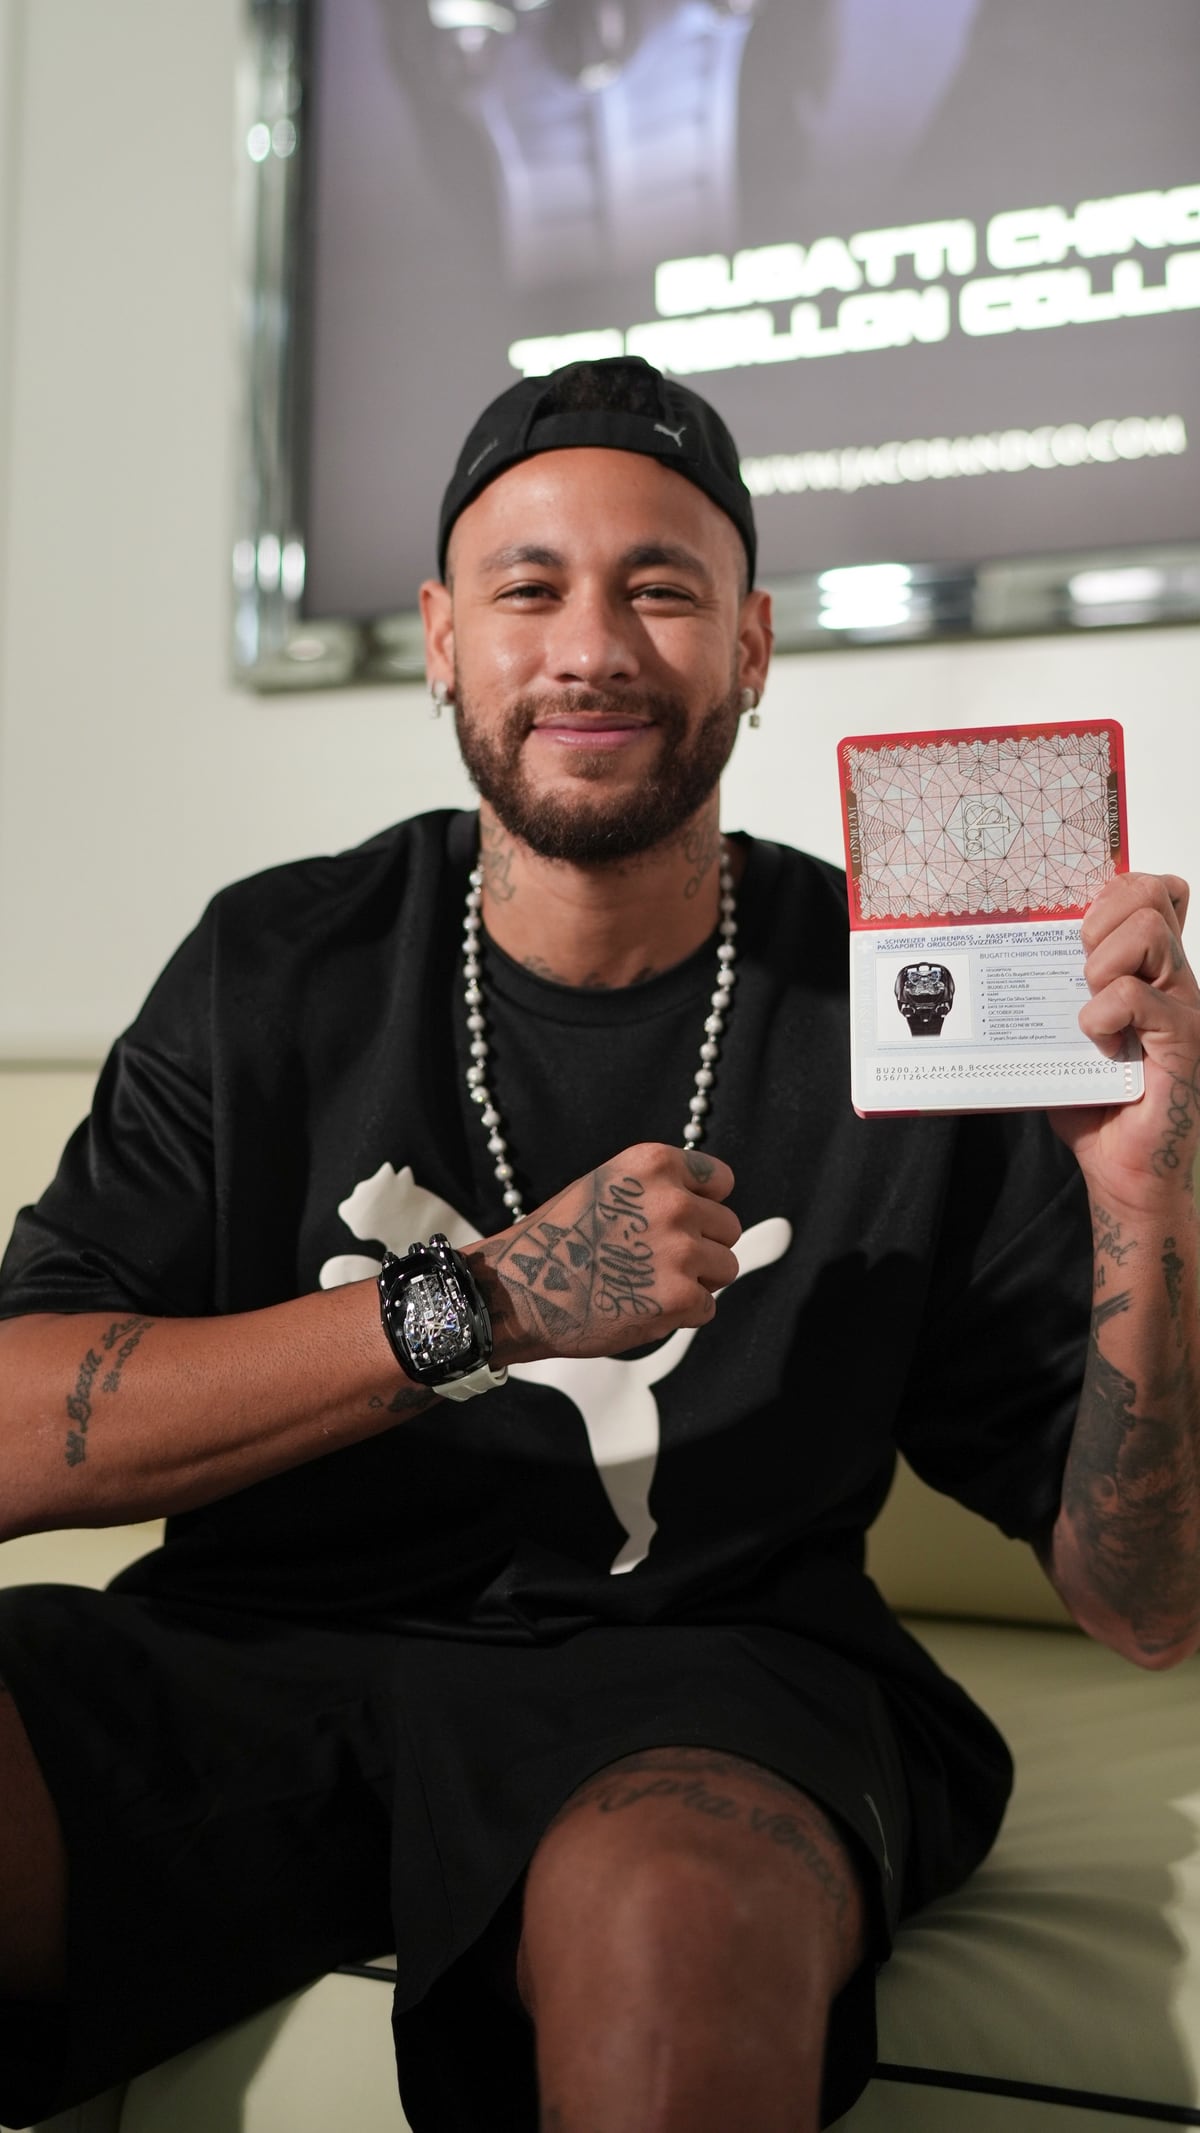
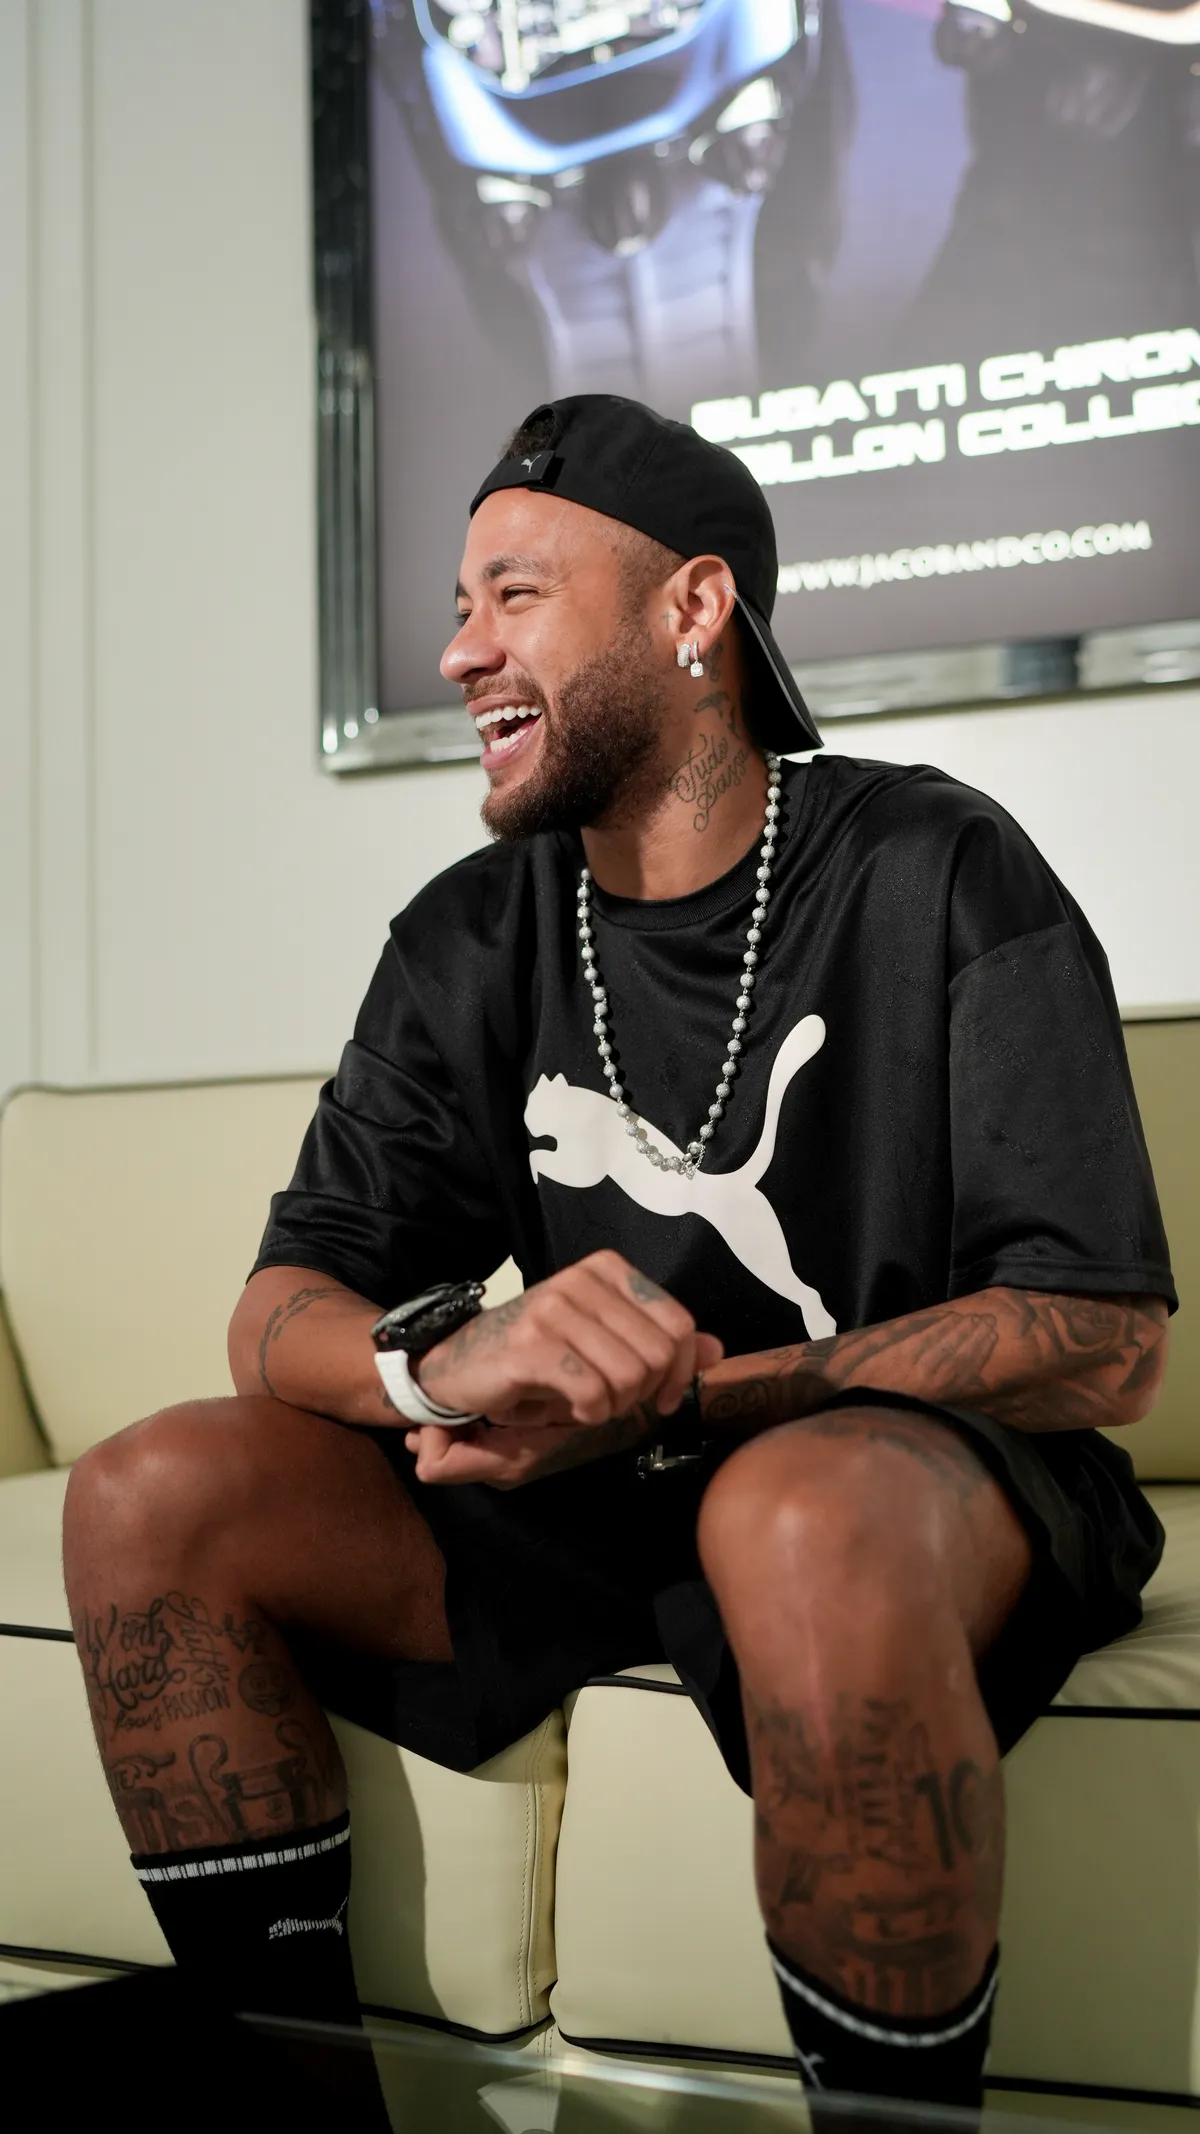
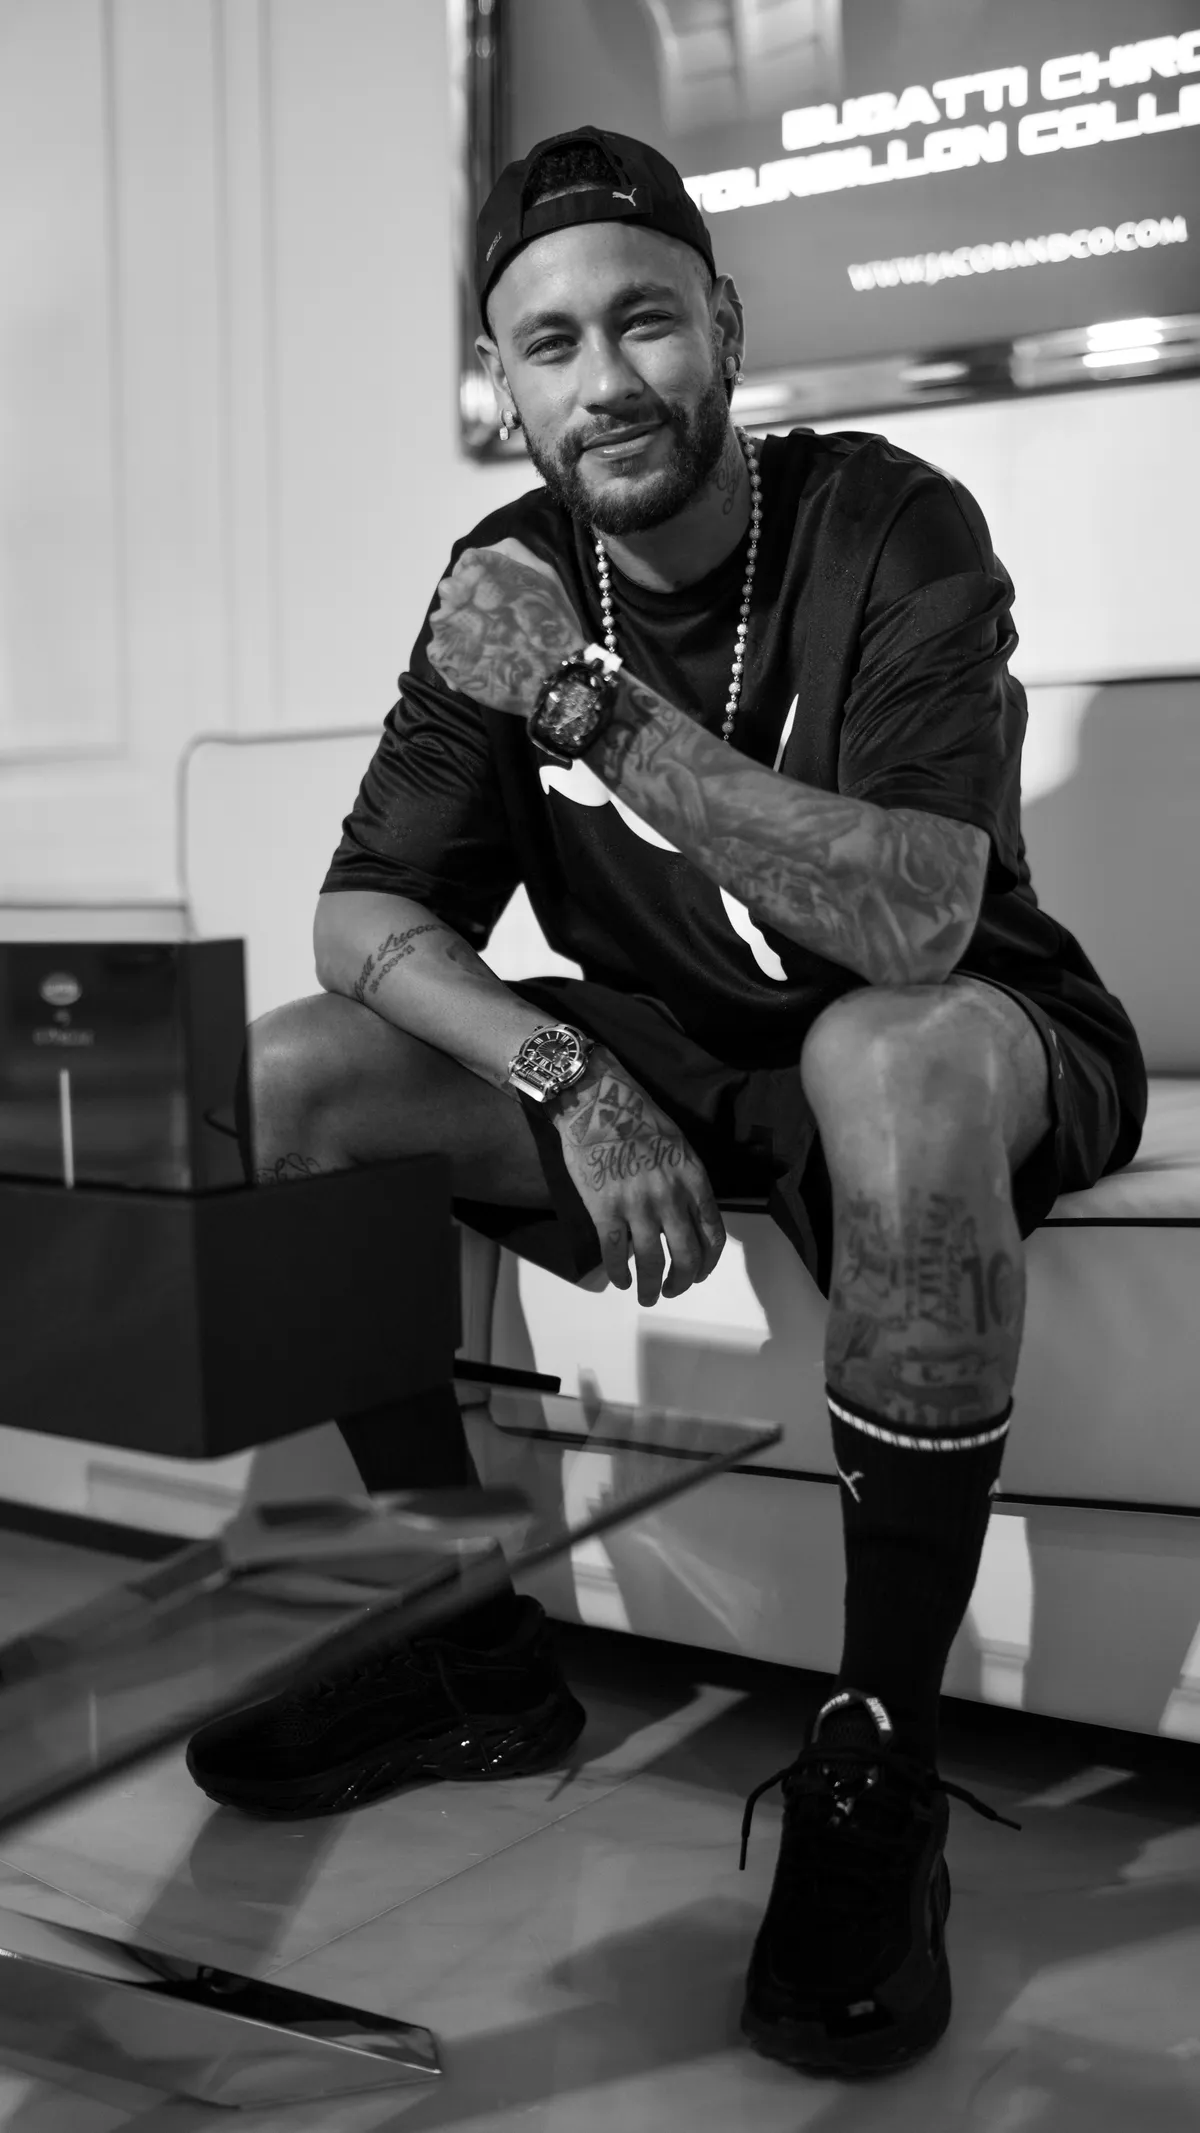
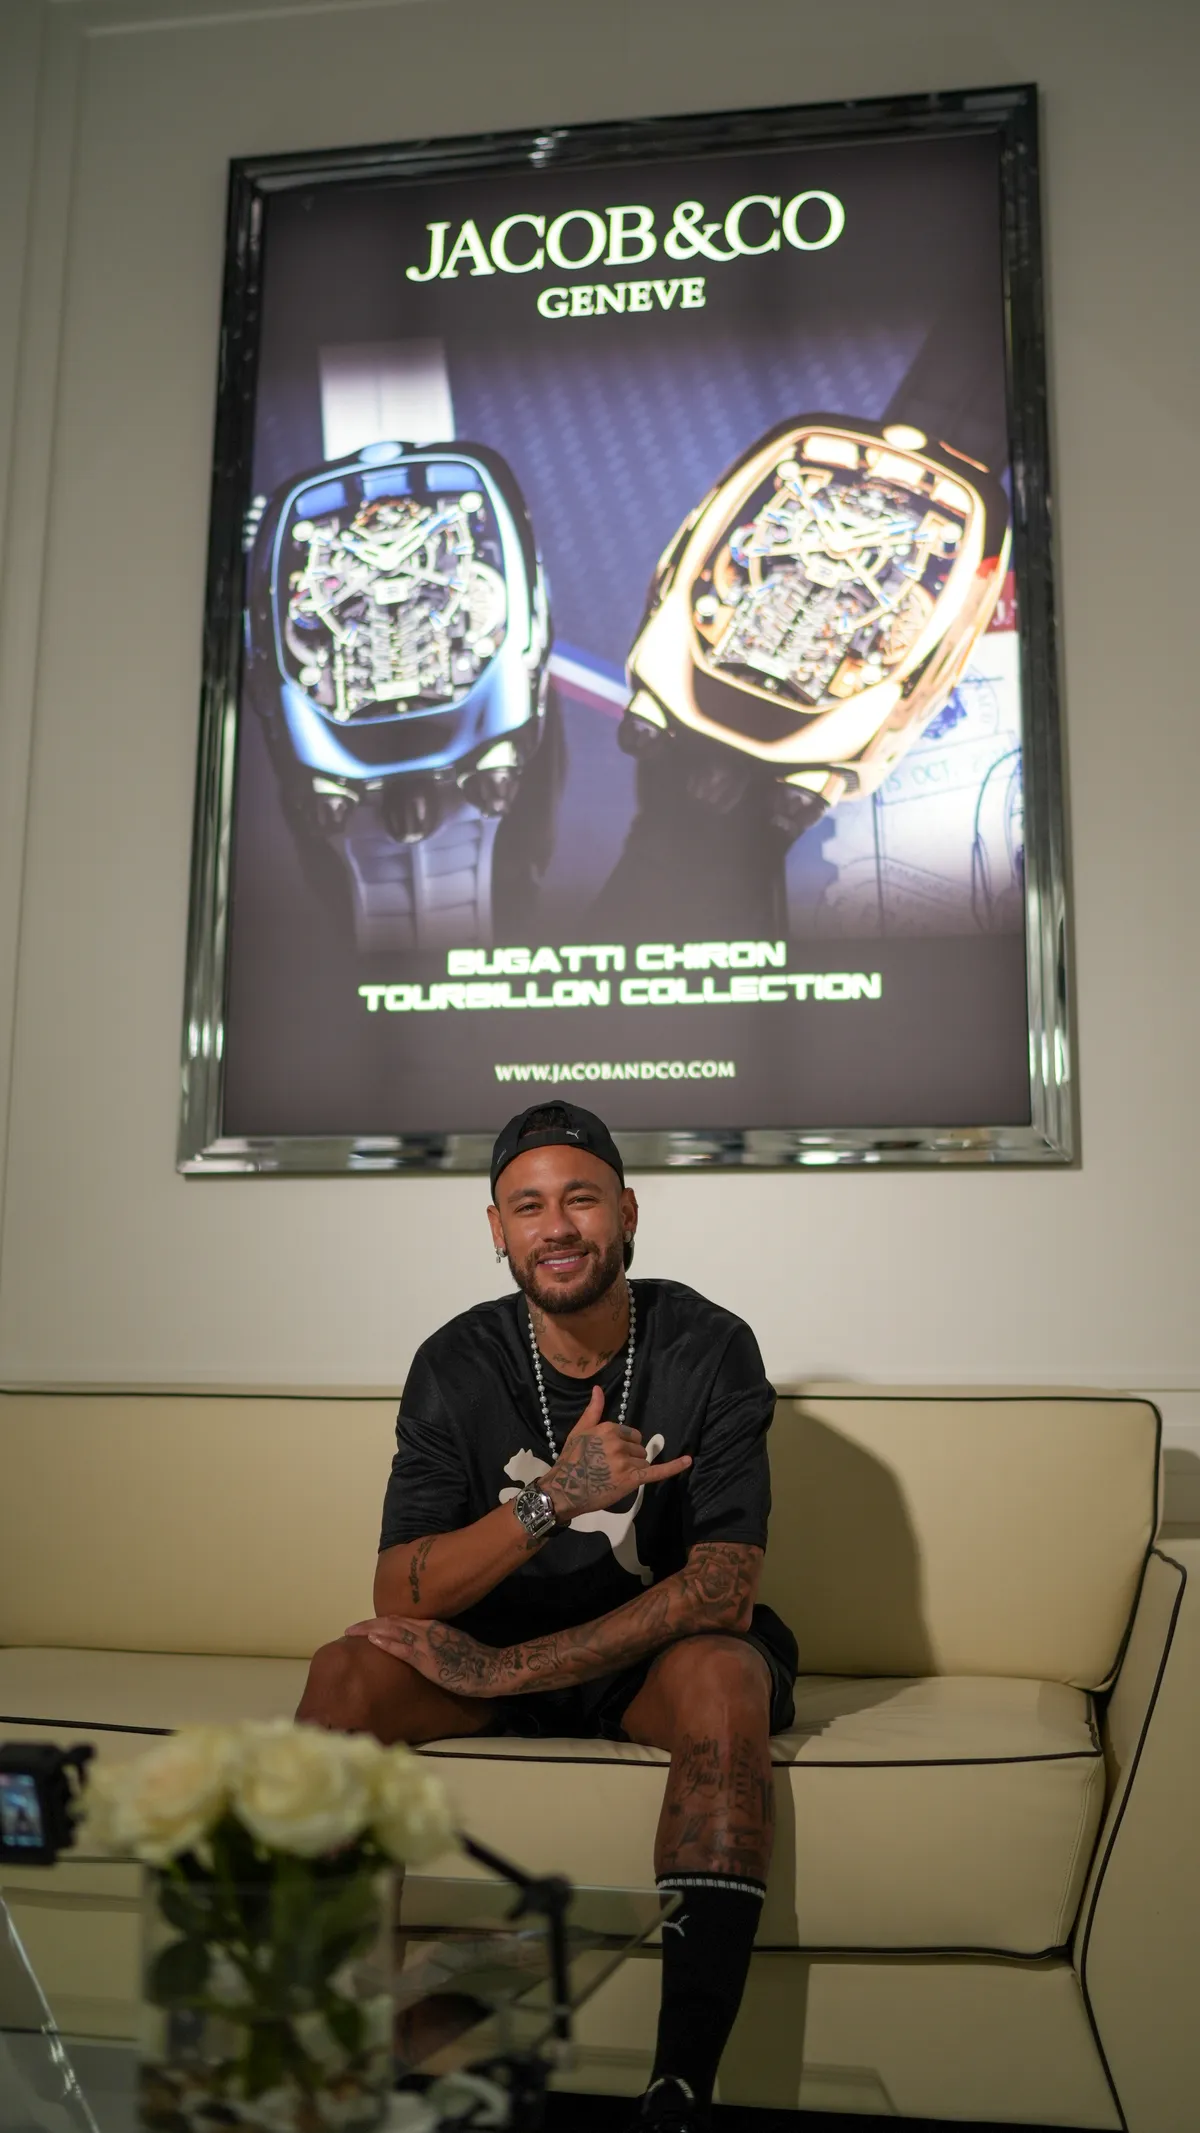
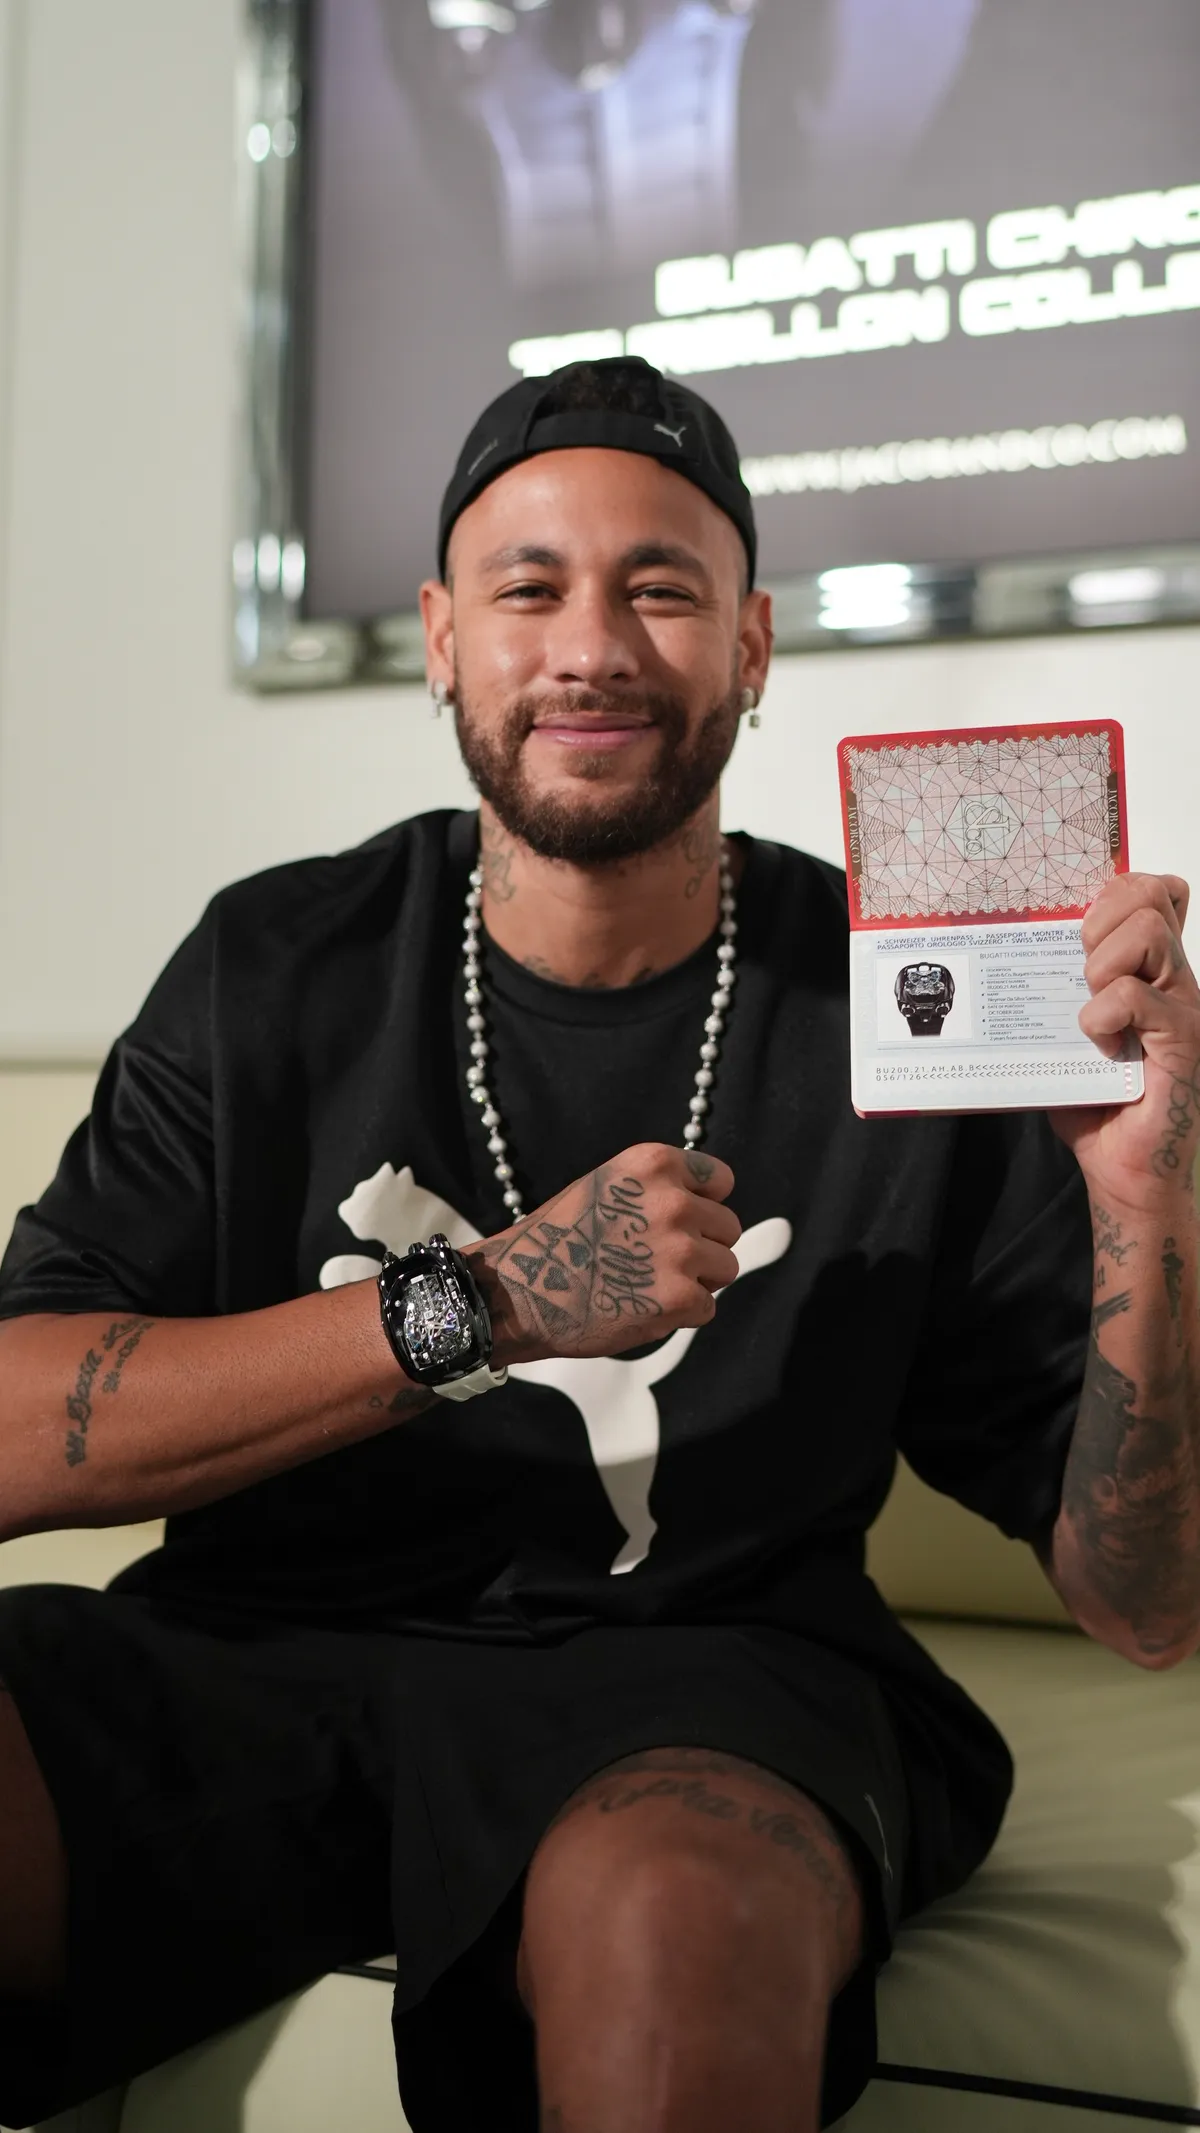
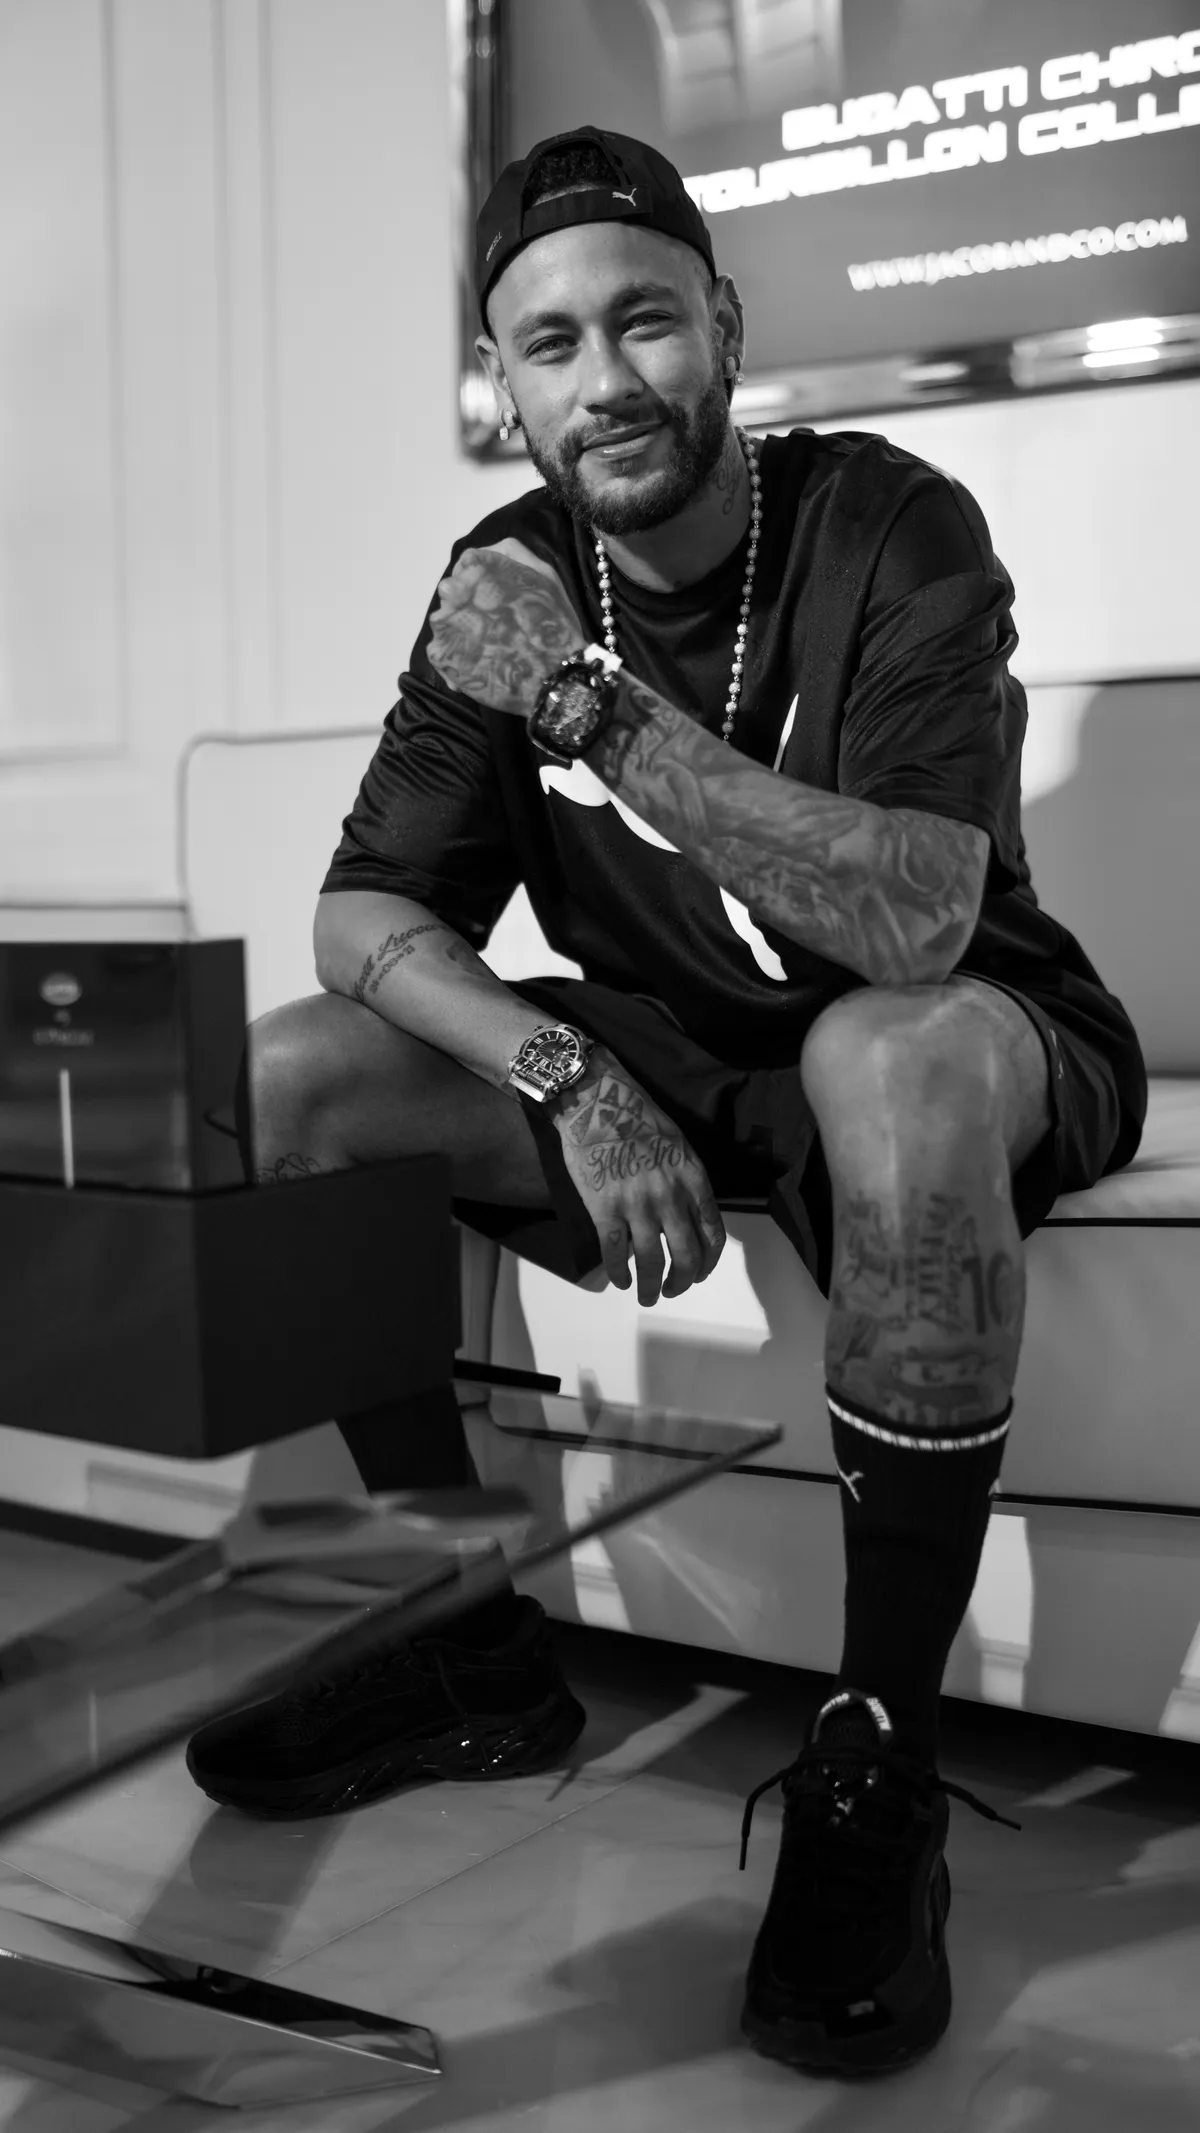
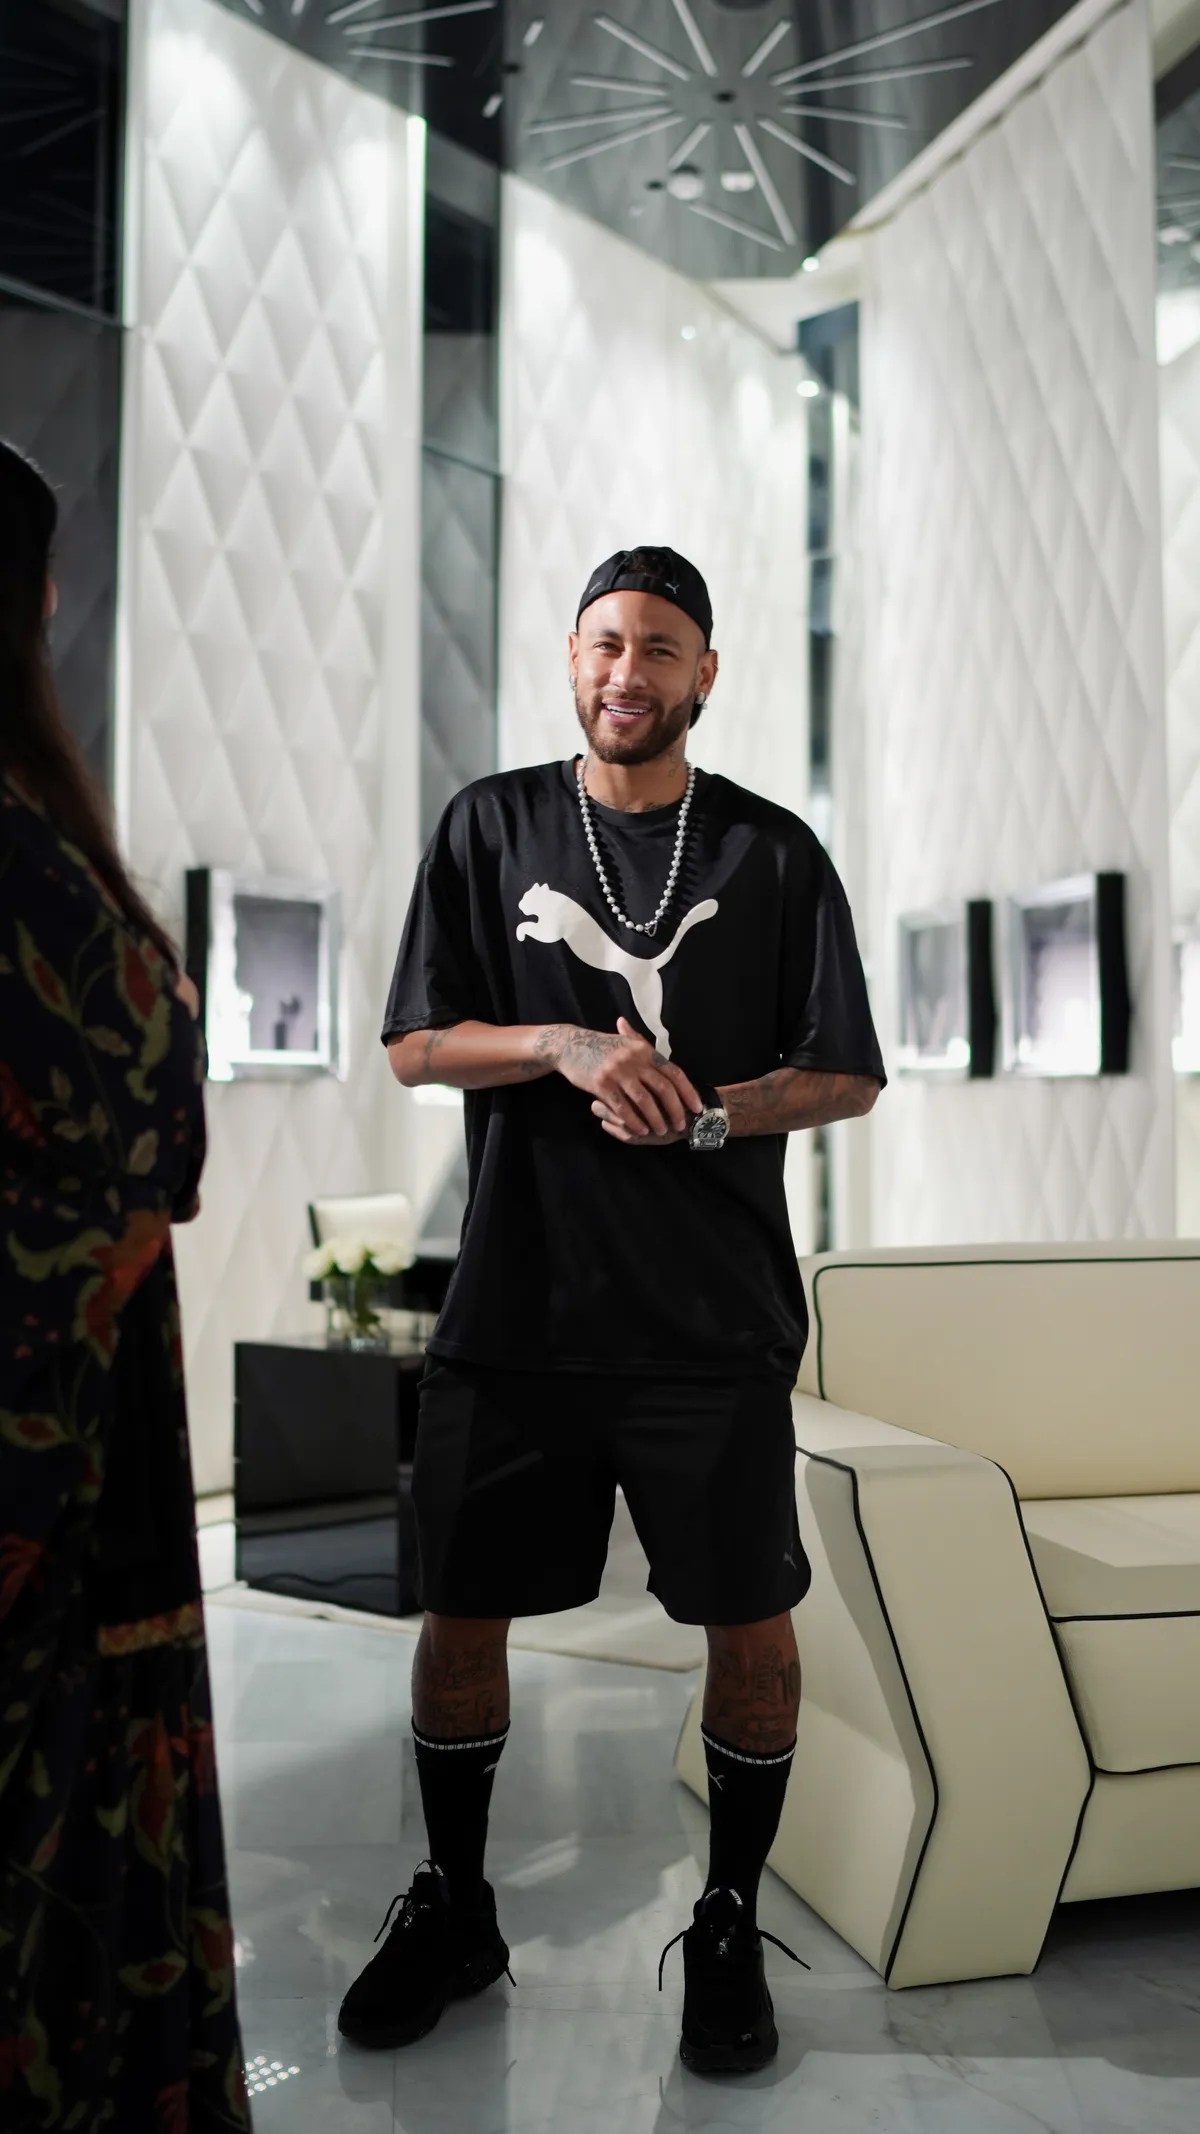
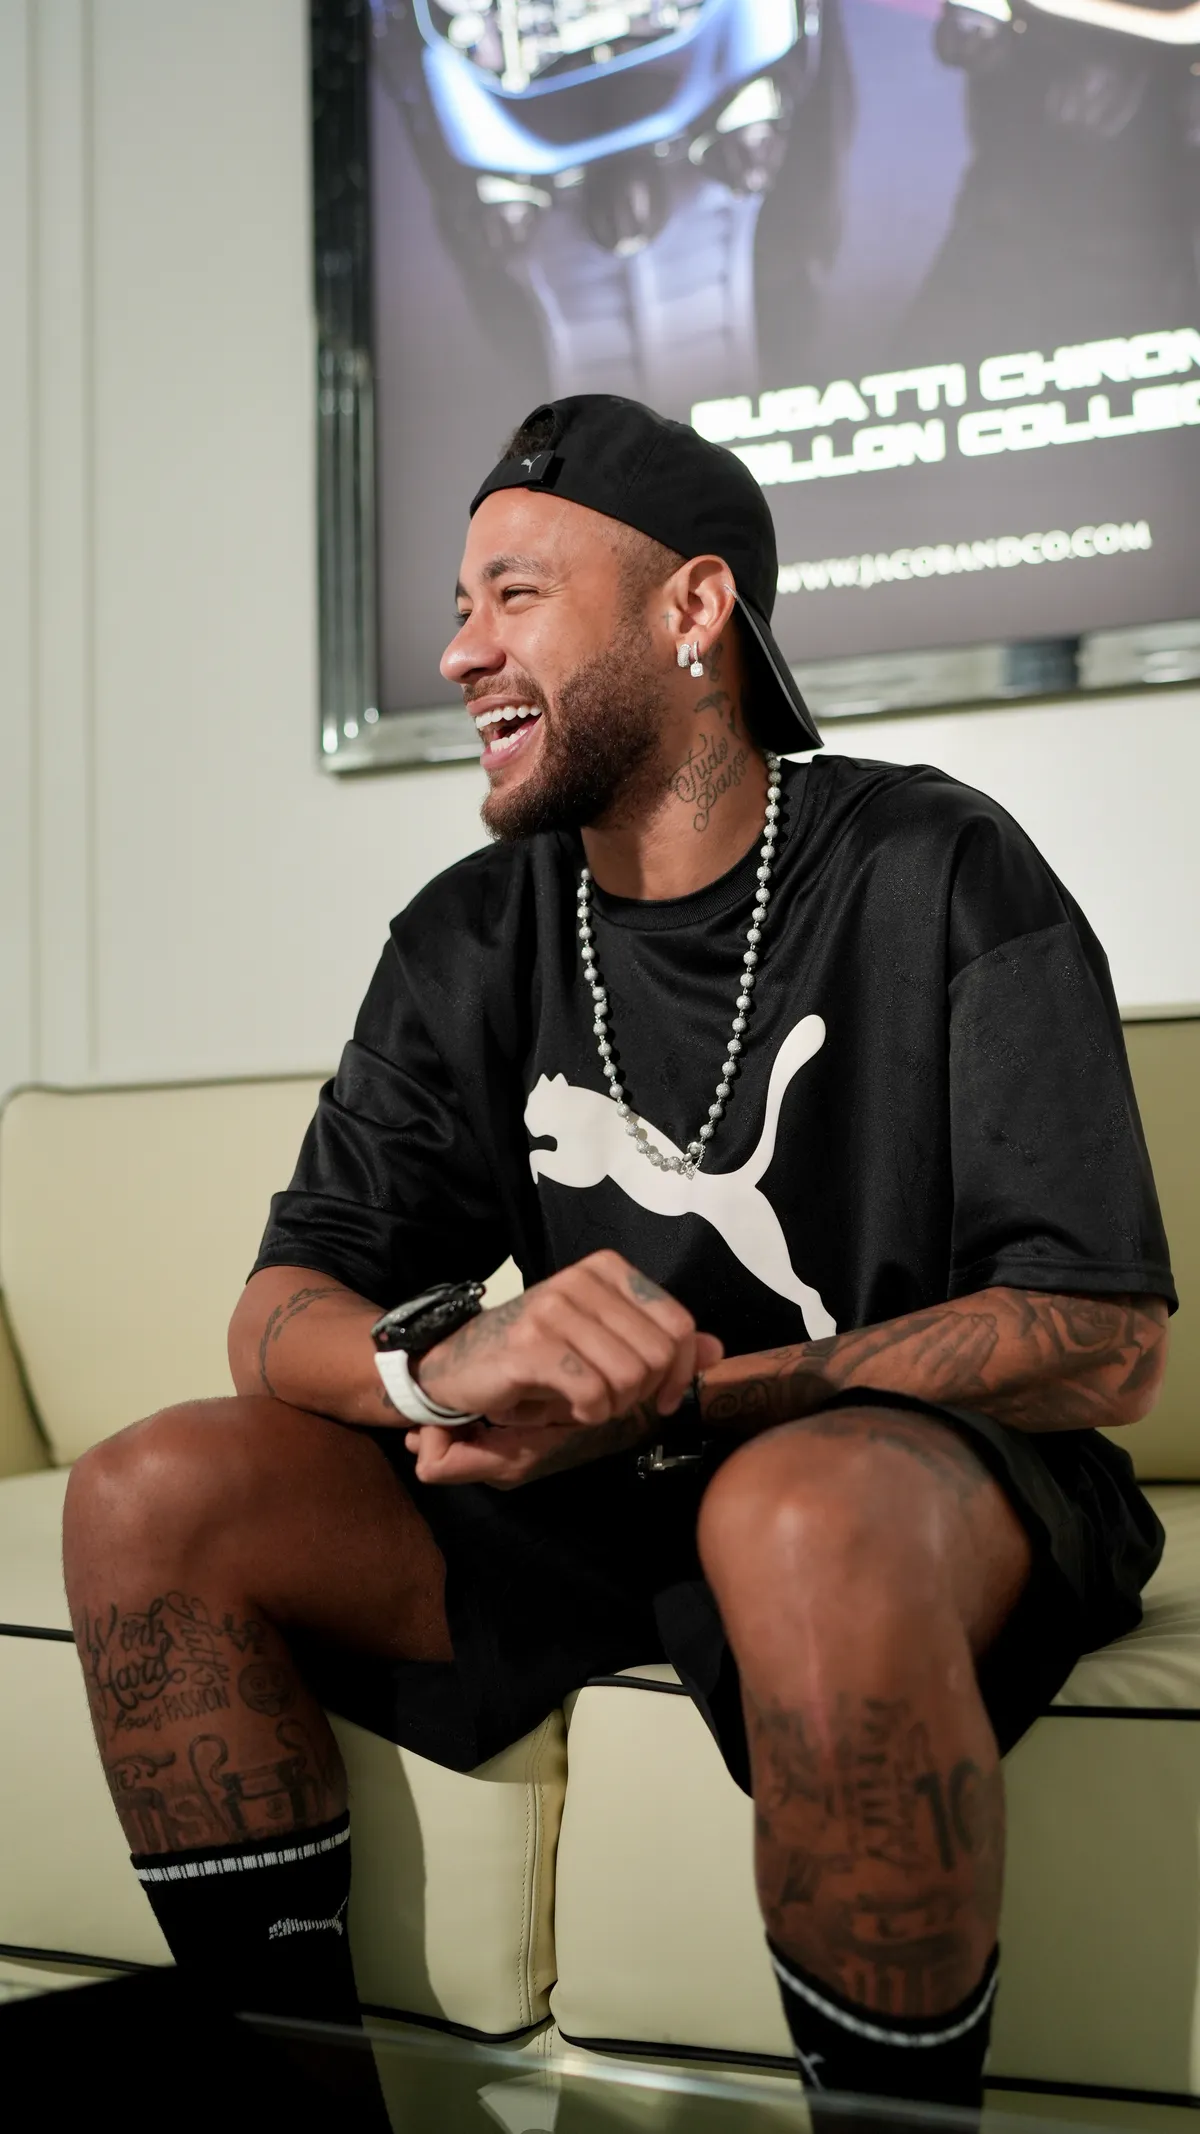
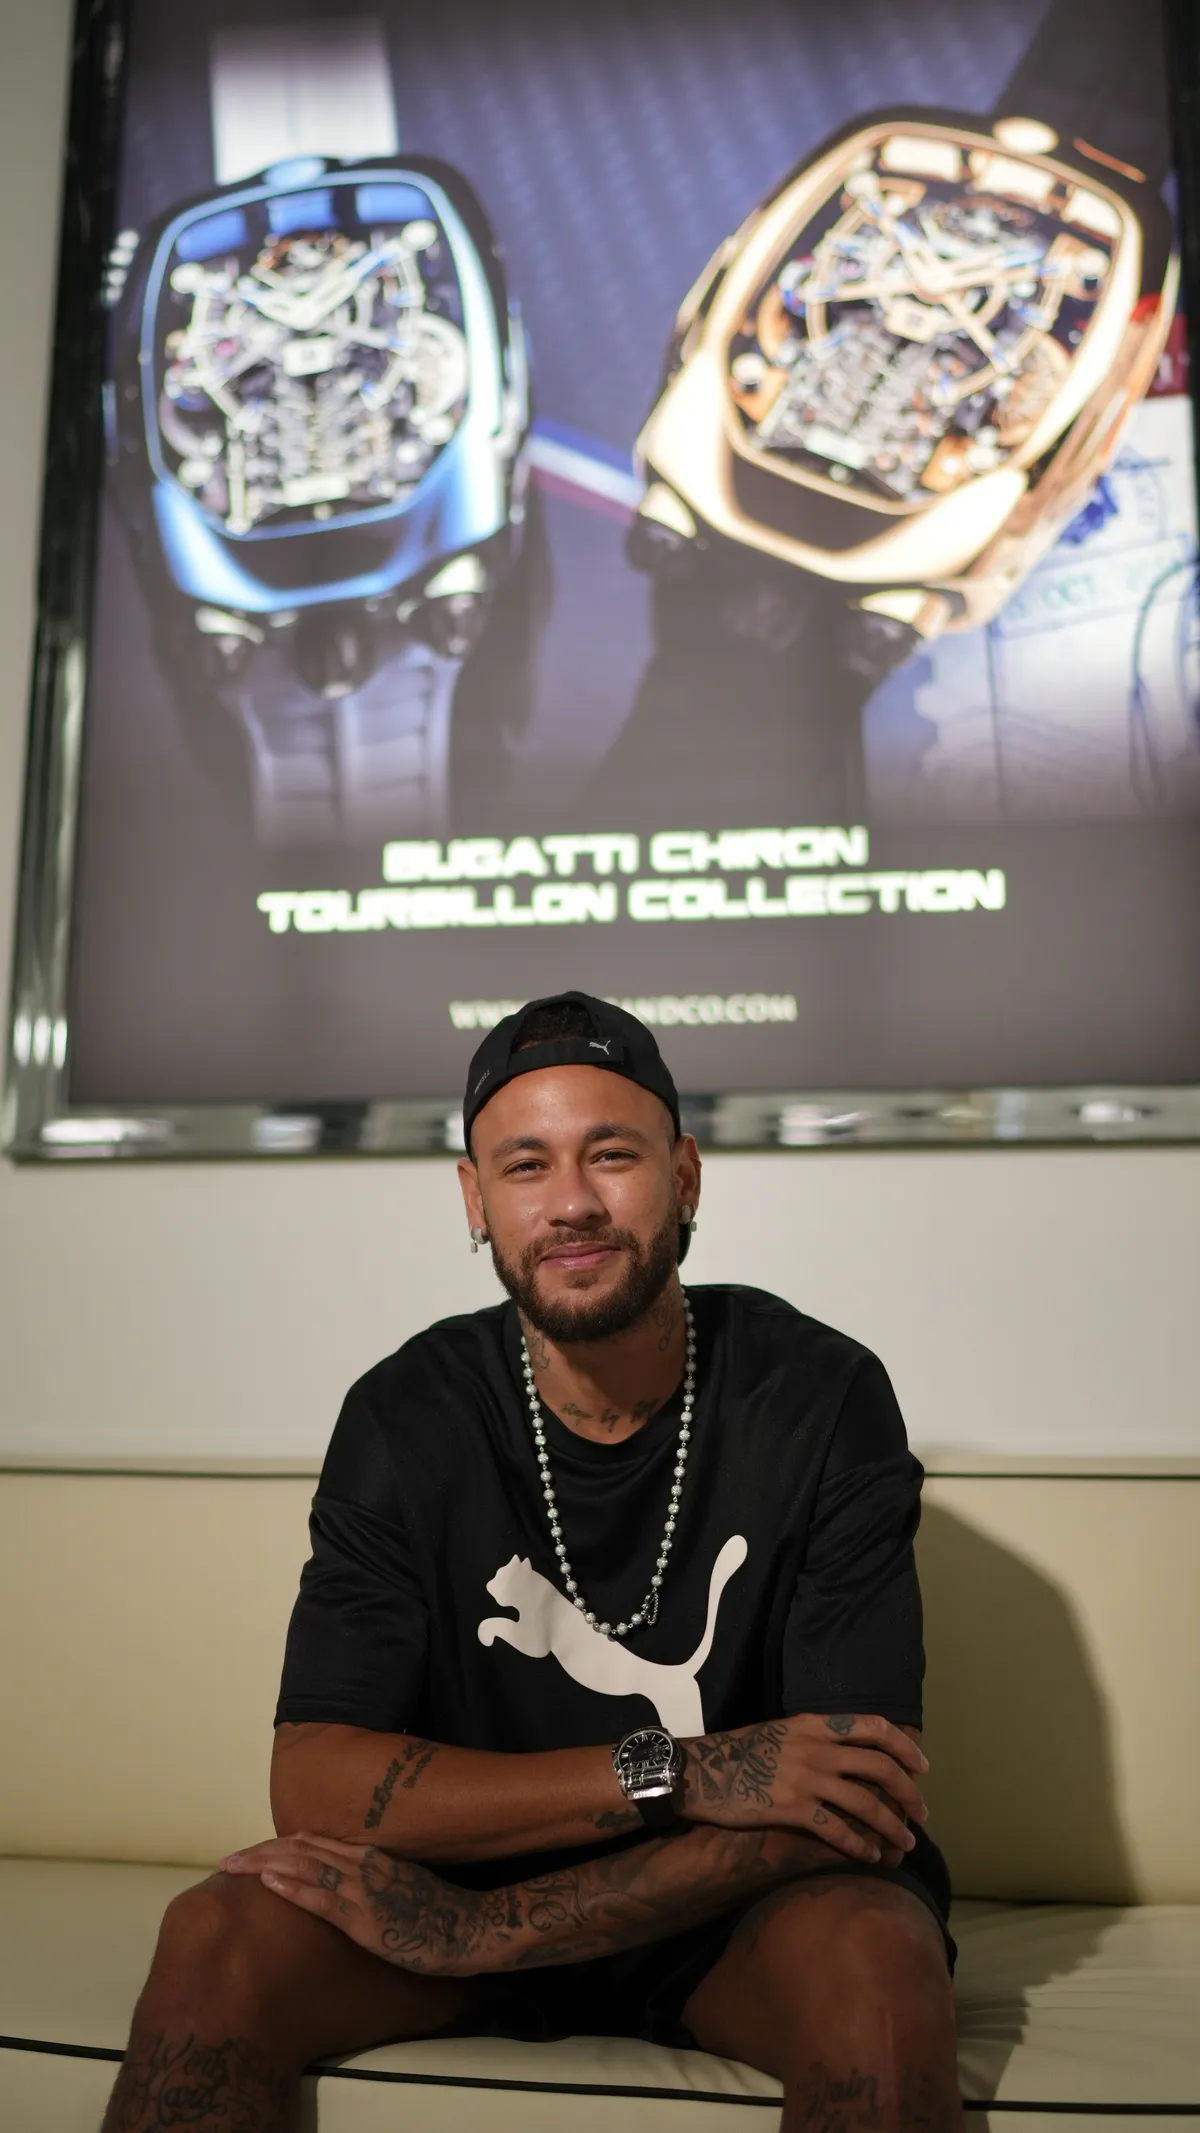
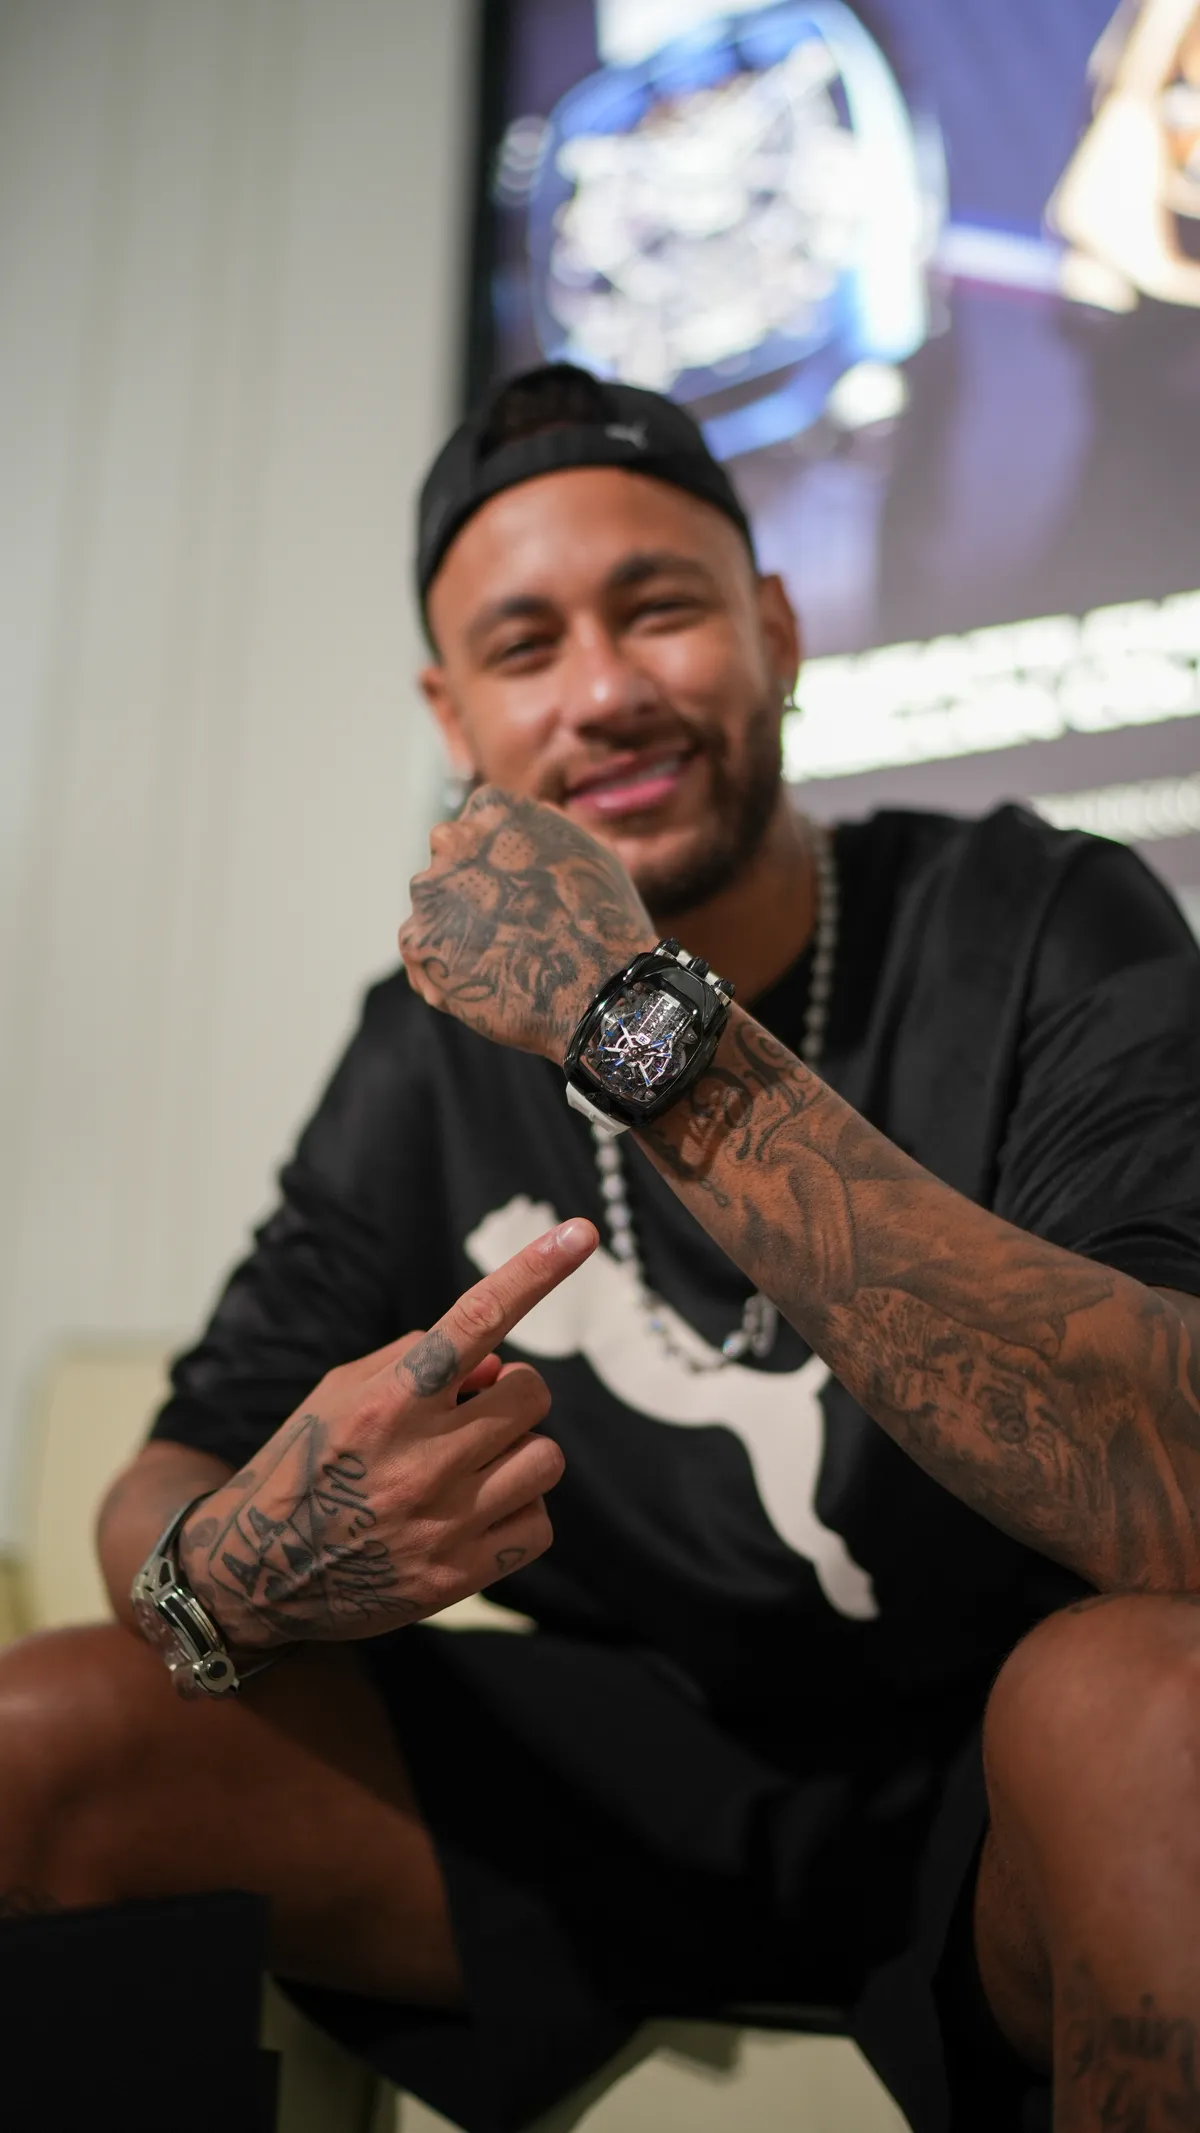
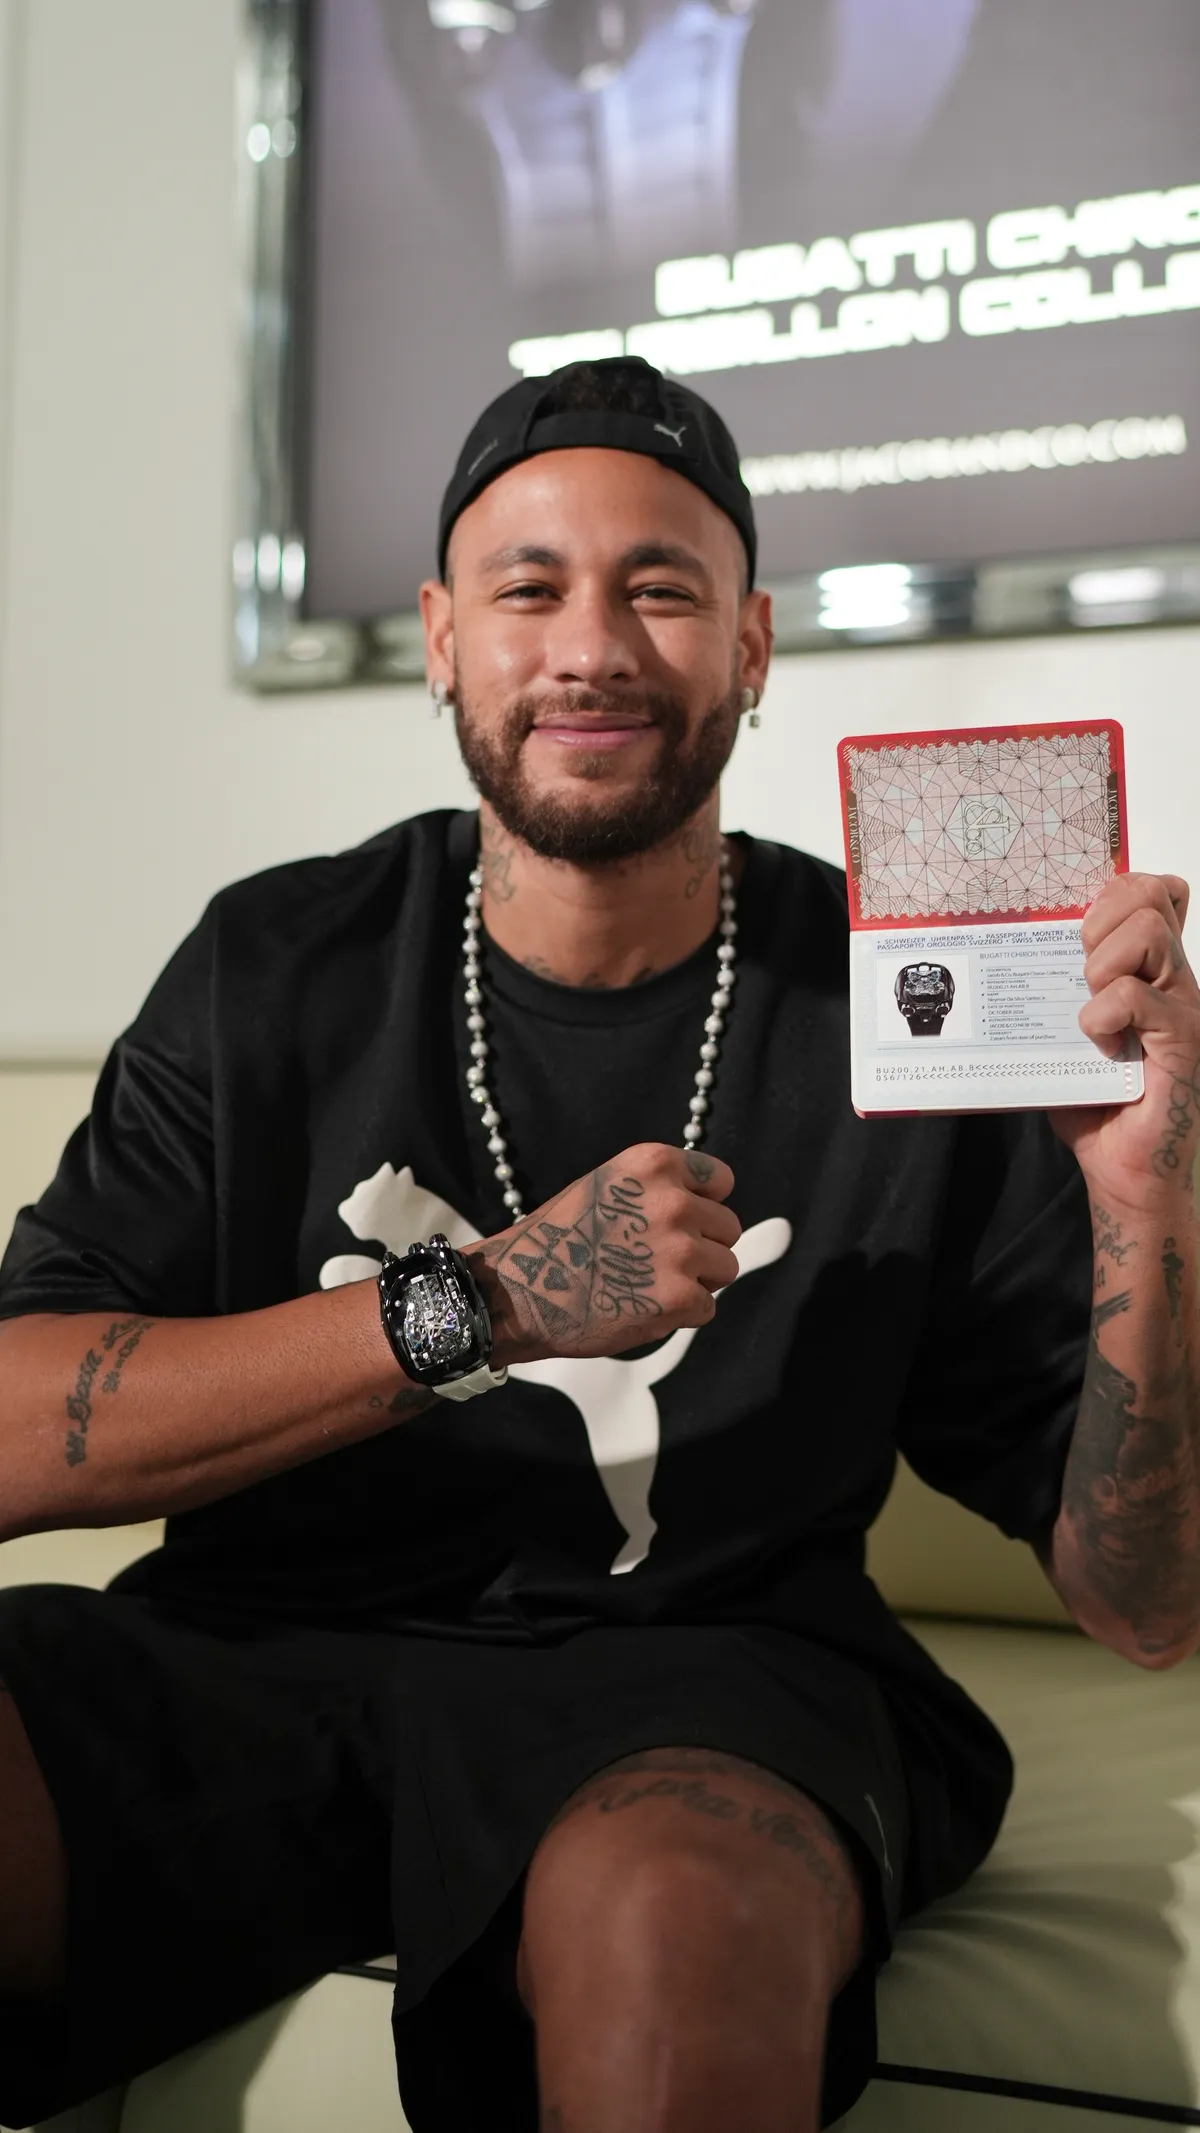
  • Neymar Jr., photographed by DawwasEye Studios
  • Neymar Jr., photographed by DawwasEye Studios
  • Neymar Jr., photographed by DawwasEye Studios
  • Neymar Jr., photographed by DawwasEye Studios
  • Neymar Jr., photographed by DawwasEye Studios
  • Neymar Jr., photographed by DawwasEye Studios
  • Neymar Jr., photographed by DawwasEye Studios
  • Neymar Jr., photographed by DawwasEye Studios
  • Neymar Jr., photographed by DawwasEye Studios
  • Neymar Jr., photographed by DawwasEye Studios
  • Neymar Jr., photographed by DawwasEye Studios
  • Neymar Jr., photographed by DawwasEye Studios
  • Neymar Jr., photographed by DawwasEye Studios
  • Neymar Jr., photographed by DawwasEye Studios
  • Neymar Jr., photographed by DawwasEye Studios
  • Neymar Jr., photographed by DawwasEye Studios
  • Lujain Omran, photographed by DawwasEye Studios
  • Lujain Omran, photographed by DawwasEye Studios
  • Lujain Omran, photographed by DawwasEye Studios
  • Lujain Omran, photographed by DawwasEye Studios
  • Lujain Omran, photographed by DawwasEye Studios
  • Lujain Omran, photographed by DawwasEye Studios
  • Lujain Omran, photographed by DawwasEye Studios
  • Lujain Omran, photographed by DawwasEye Studios
  • Lujain Omran, photographed by DawwasEye Studios
  • Lujain Omran, photographed by DawwasEye Studios
  • Lujain Omran, photographed by DawwasEye Studios
  • Lujain Omran, photographed by DawwasEye Studios
  • Lujain Omran, photographed by DawwasEye Studios
  • Lujain Omran, photographed by DawwasEye Studios
  • Lujain Omran, photographed by DawwasEye Studios
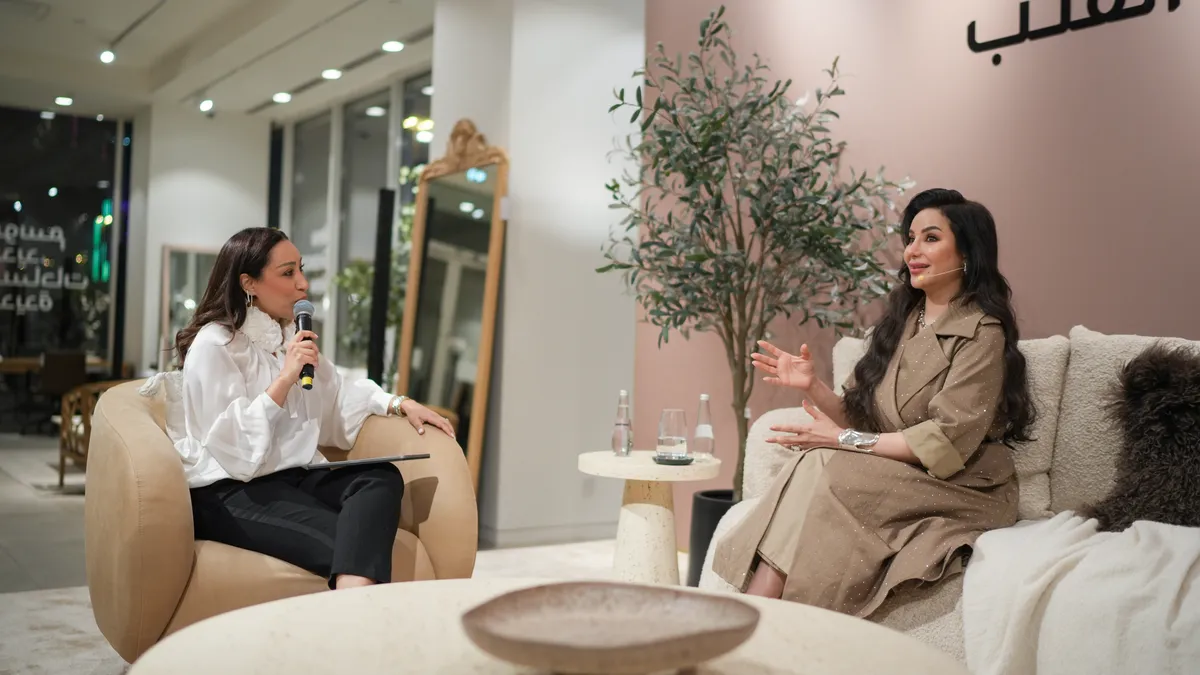
  • Lama Alakeel, photographed by DawwasEye Studios
  • Lama Alakeel, photographed by DawwasEye Studios
  • Lama Alakeel, photographed by DawwasEye Studios
  • Lama Alakeel, photographed by DawwasEye Studios
Corporate eventsCorporate events are produced by our sister company, Lamira Productions.Visit Lamira Productions ↗

Films

Moving pictures.
All films
A post from the DawwasEye Studios Instagram accountOn InstagramMany more on Instagram.@dawwasd